The grade kicks up, the legs load, and somewhere around the halfway mark the bike starts feeling like it’s working against you. Most riders answer that with more training or lighter wheels. Both help, but neither is the first place to look. The real gains hide in small setup decisions that free up a locked hip, stop a tire from pinching, or kill the handling flop that eats your focus on a low-speed switchback. These are the adjustments mechanics make on their own bikes and rarely mention to anyone. Dialed in, they turn wasted effort back into forward motion.
Please note that some of the images in this article were created with the assistance of AI.
41. Slide the Cleats Rearward to Unload the Calves
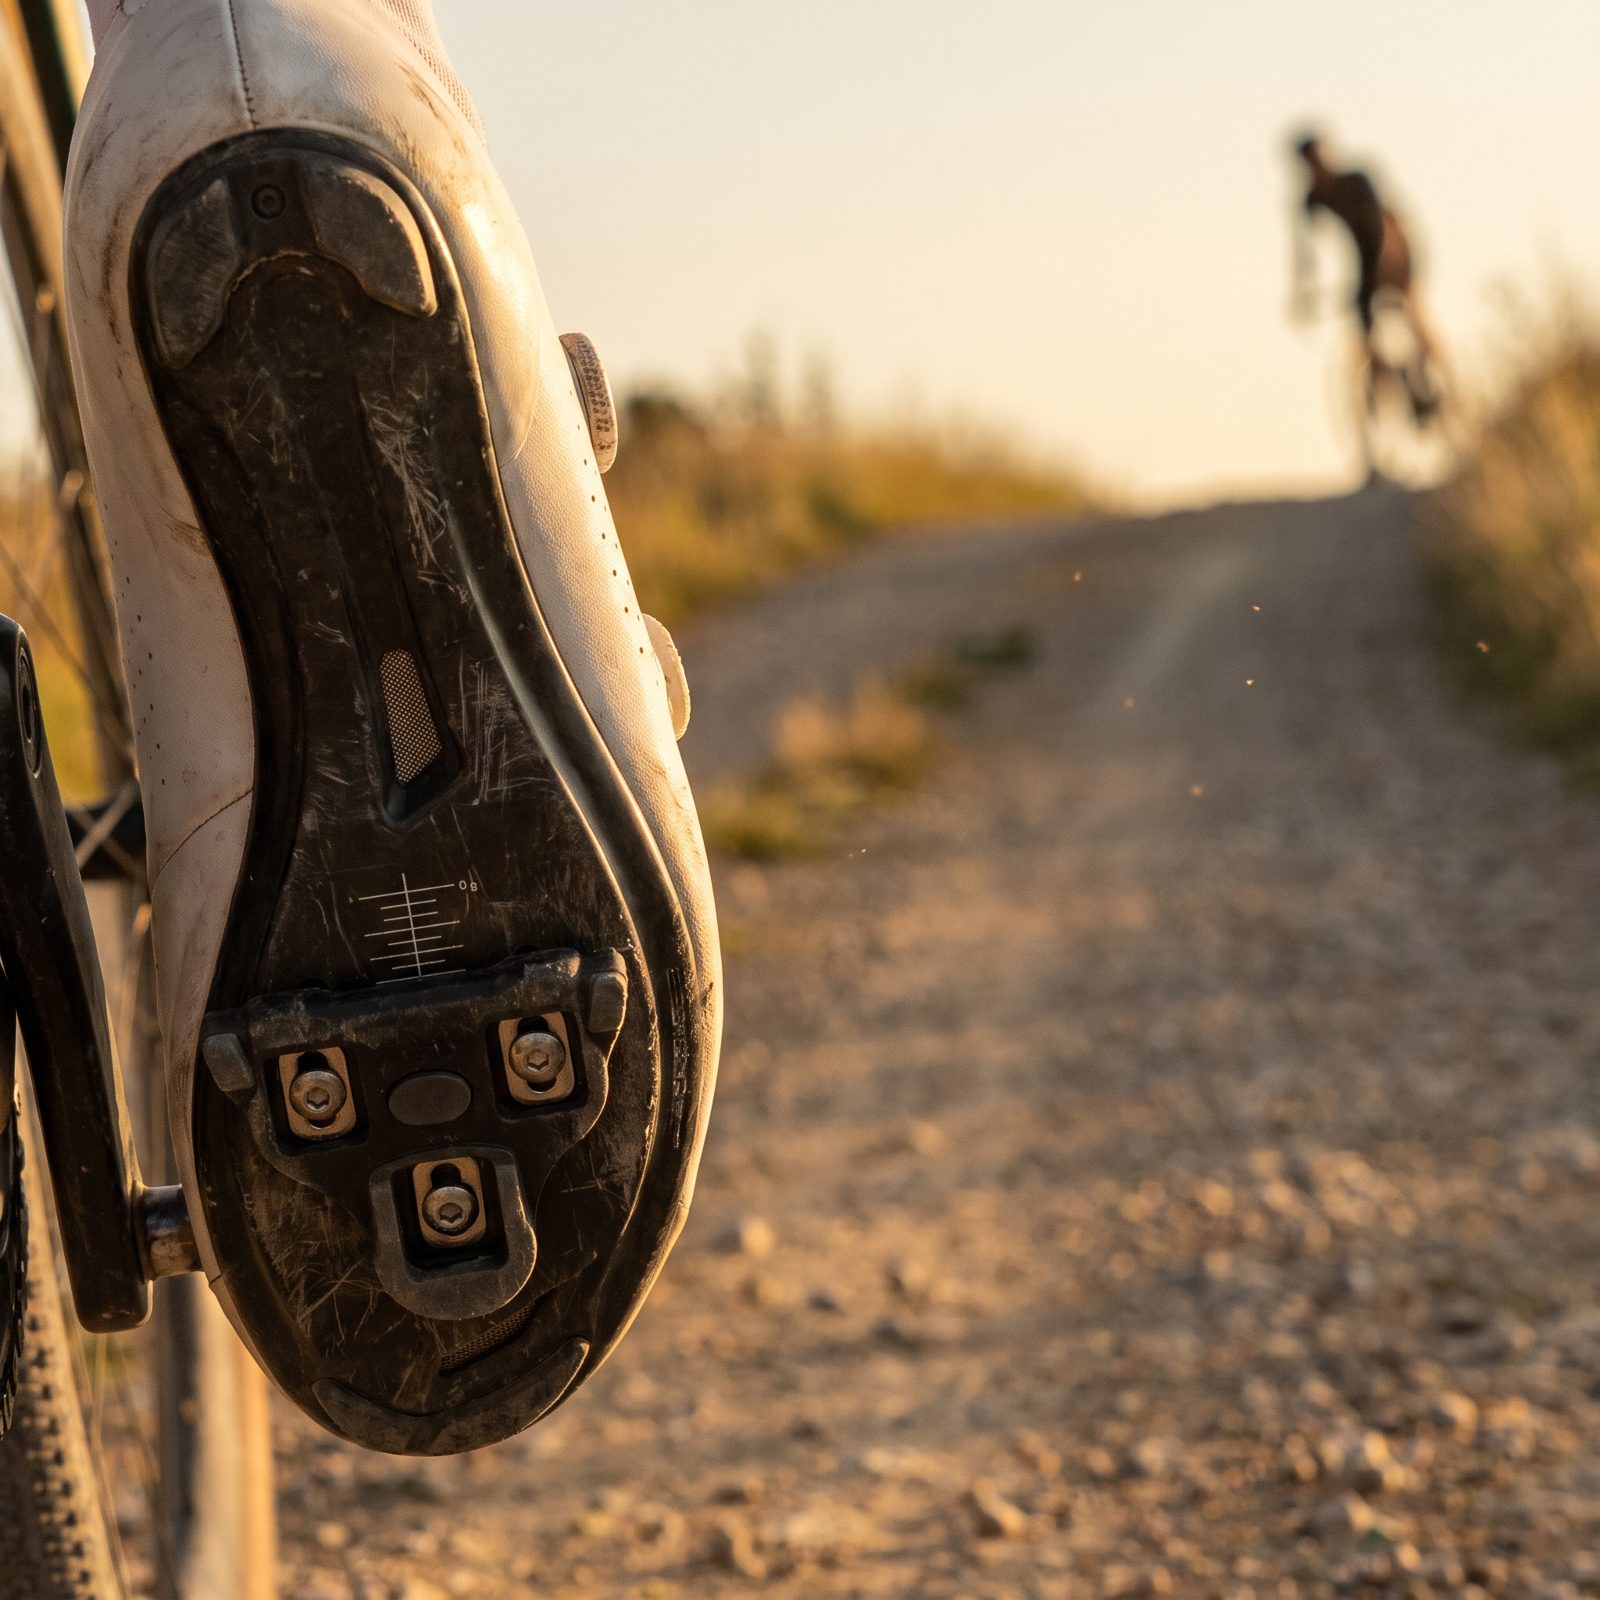
Push the cleat back a few millimeters toward the heel, and the pedal spindle sits closer to mid-foot instead of under the ball. A smaller lever arm at the ankle means the calf stops fighting to stabilize every stroke. On a long climb that’s the difference between finishing with legs and finishing with cramping calves that lock up the second you reach the car.
Nobody mentions the trade: you lose a sliver of snap in a sprint. On anything over an hour of climbing, that’s a bargain. Move it in small steps and ride each change before judging it.
40. Fit Shorter Crank Arms to Open the Hip Angle
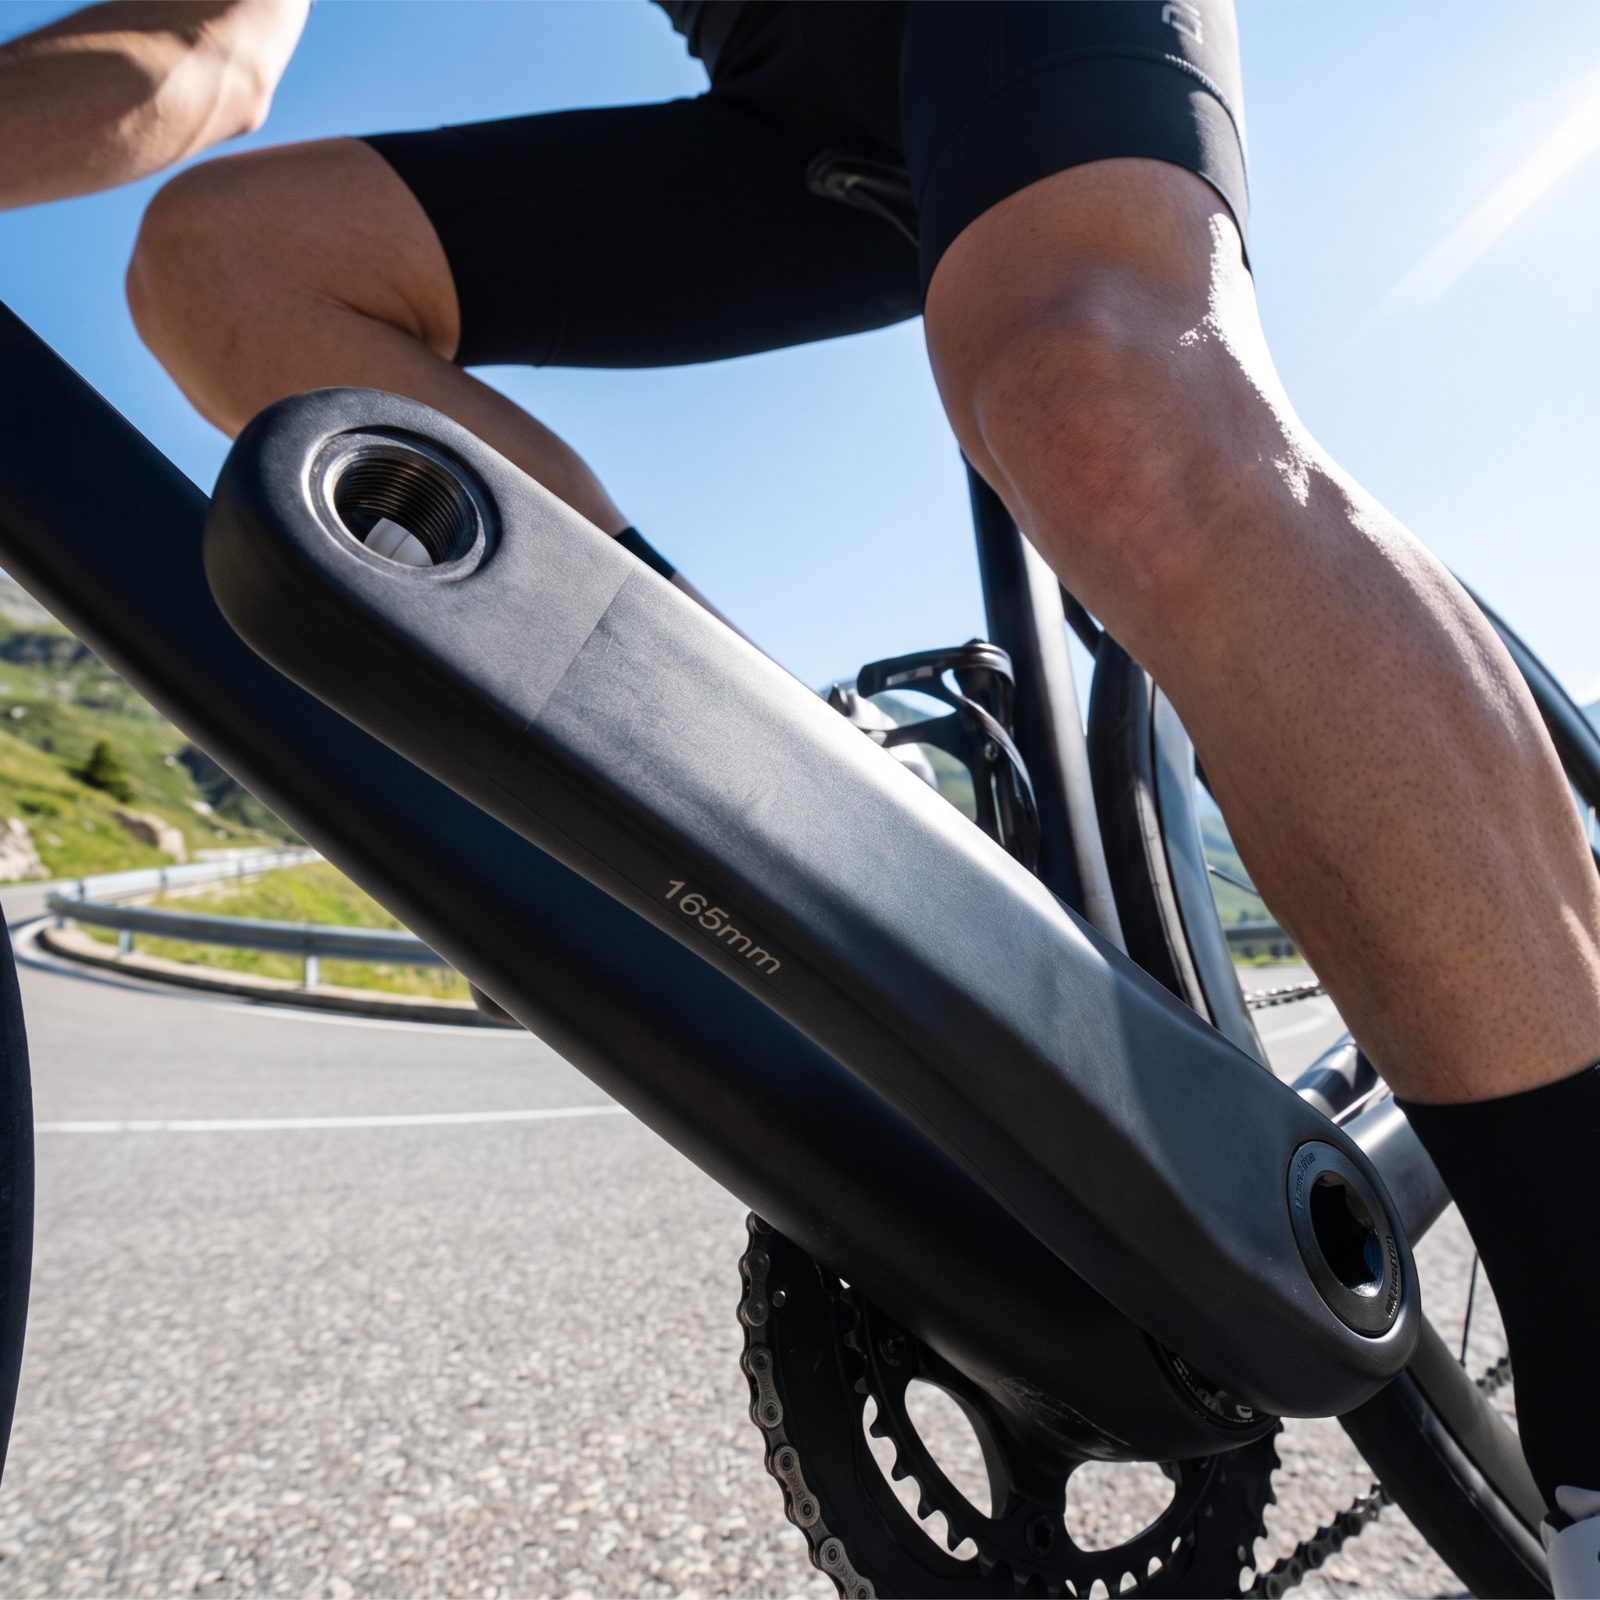
Most riders are on cranks too long for them and have never questioned it. Standard is 170 to 175mm, because that’s what shipped on the bike. Drop to 165mm or shorter and the knee doesn’t climb as high at the top of the stroke. The hip angle opens up.
Here’s why that matters on a climb. When you’re hunched forward grinding up a grade, a closed hip chokes power and squashes your breathing. Open it and you can actually drive the pedal through the top. Taller riders dismiss short cranks as a thing for small people — which is exactly backwards. The gain is biggest for anyone who feels pinched up top.
39. Run a Lightweight Tire Insert in the Rear Only
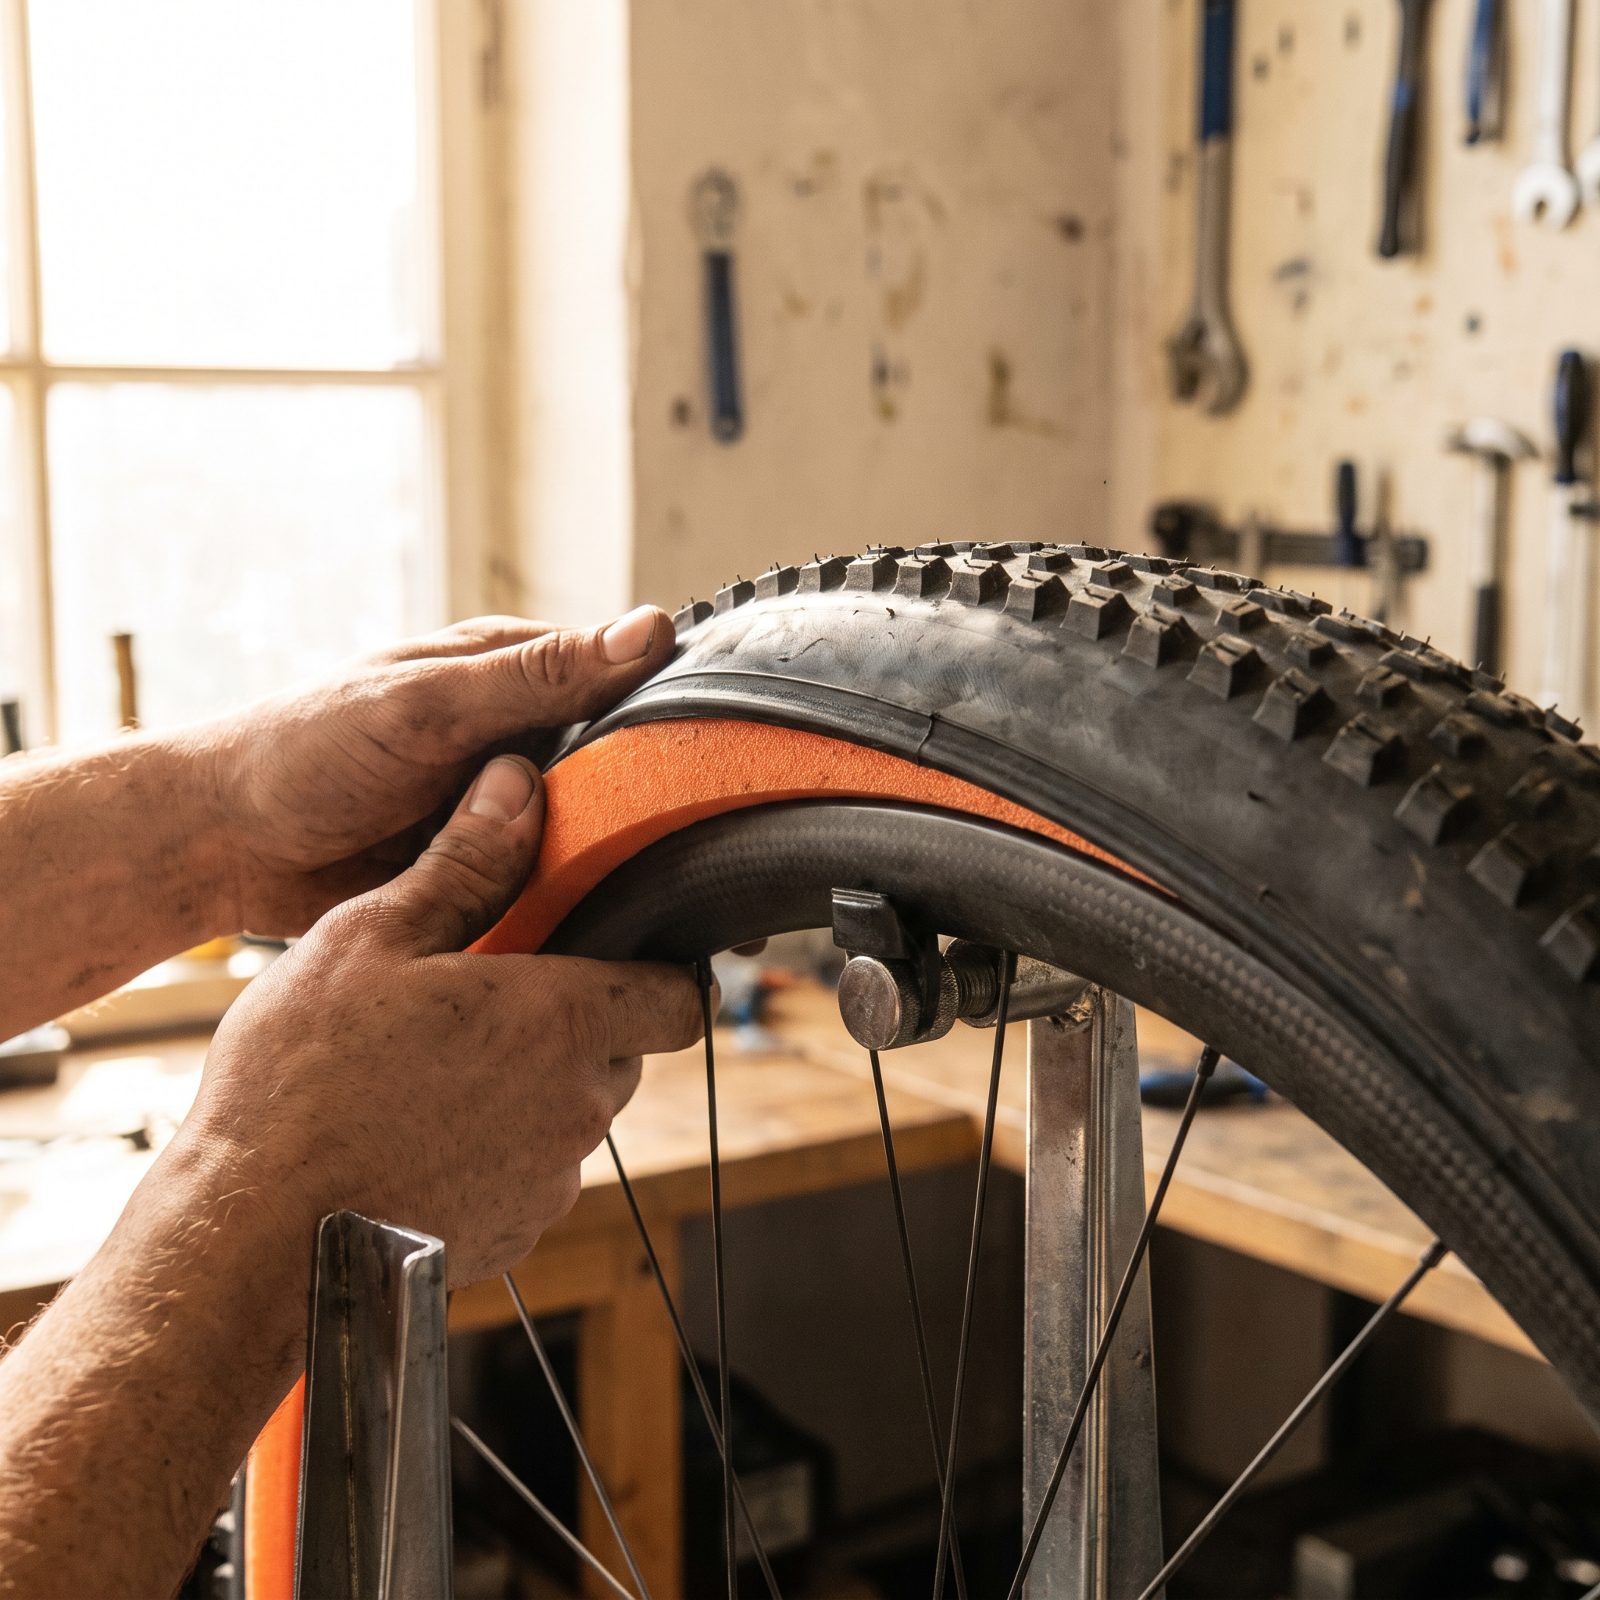
The rear tire takes the beating on a technical climb. It carries your weight, hunts for traction, and slams into roots and ledges you can’t always lift over. A foam insert back there lets you drop pressure another few psi without risking a pinch flat or burping the bead.
Lower pressure means the tire conforms to the ground instead of skittering off it — more rubber on the trail, more grip when you’re clawing up a loose pitch. Skip the front insert if weight matters to you. The front rarely takes the hits the rear does, and you keep the rotating weight off the steering.
38. Add Inner Bar Ends for a Stronger Climbing Position
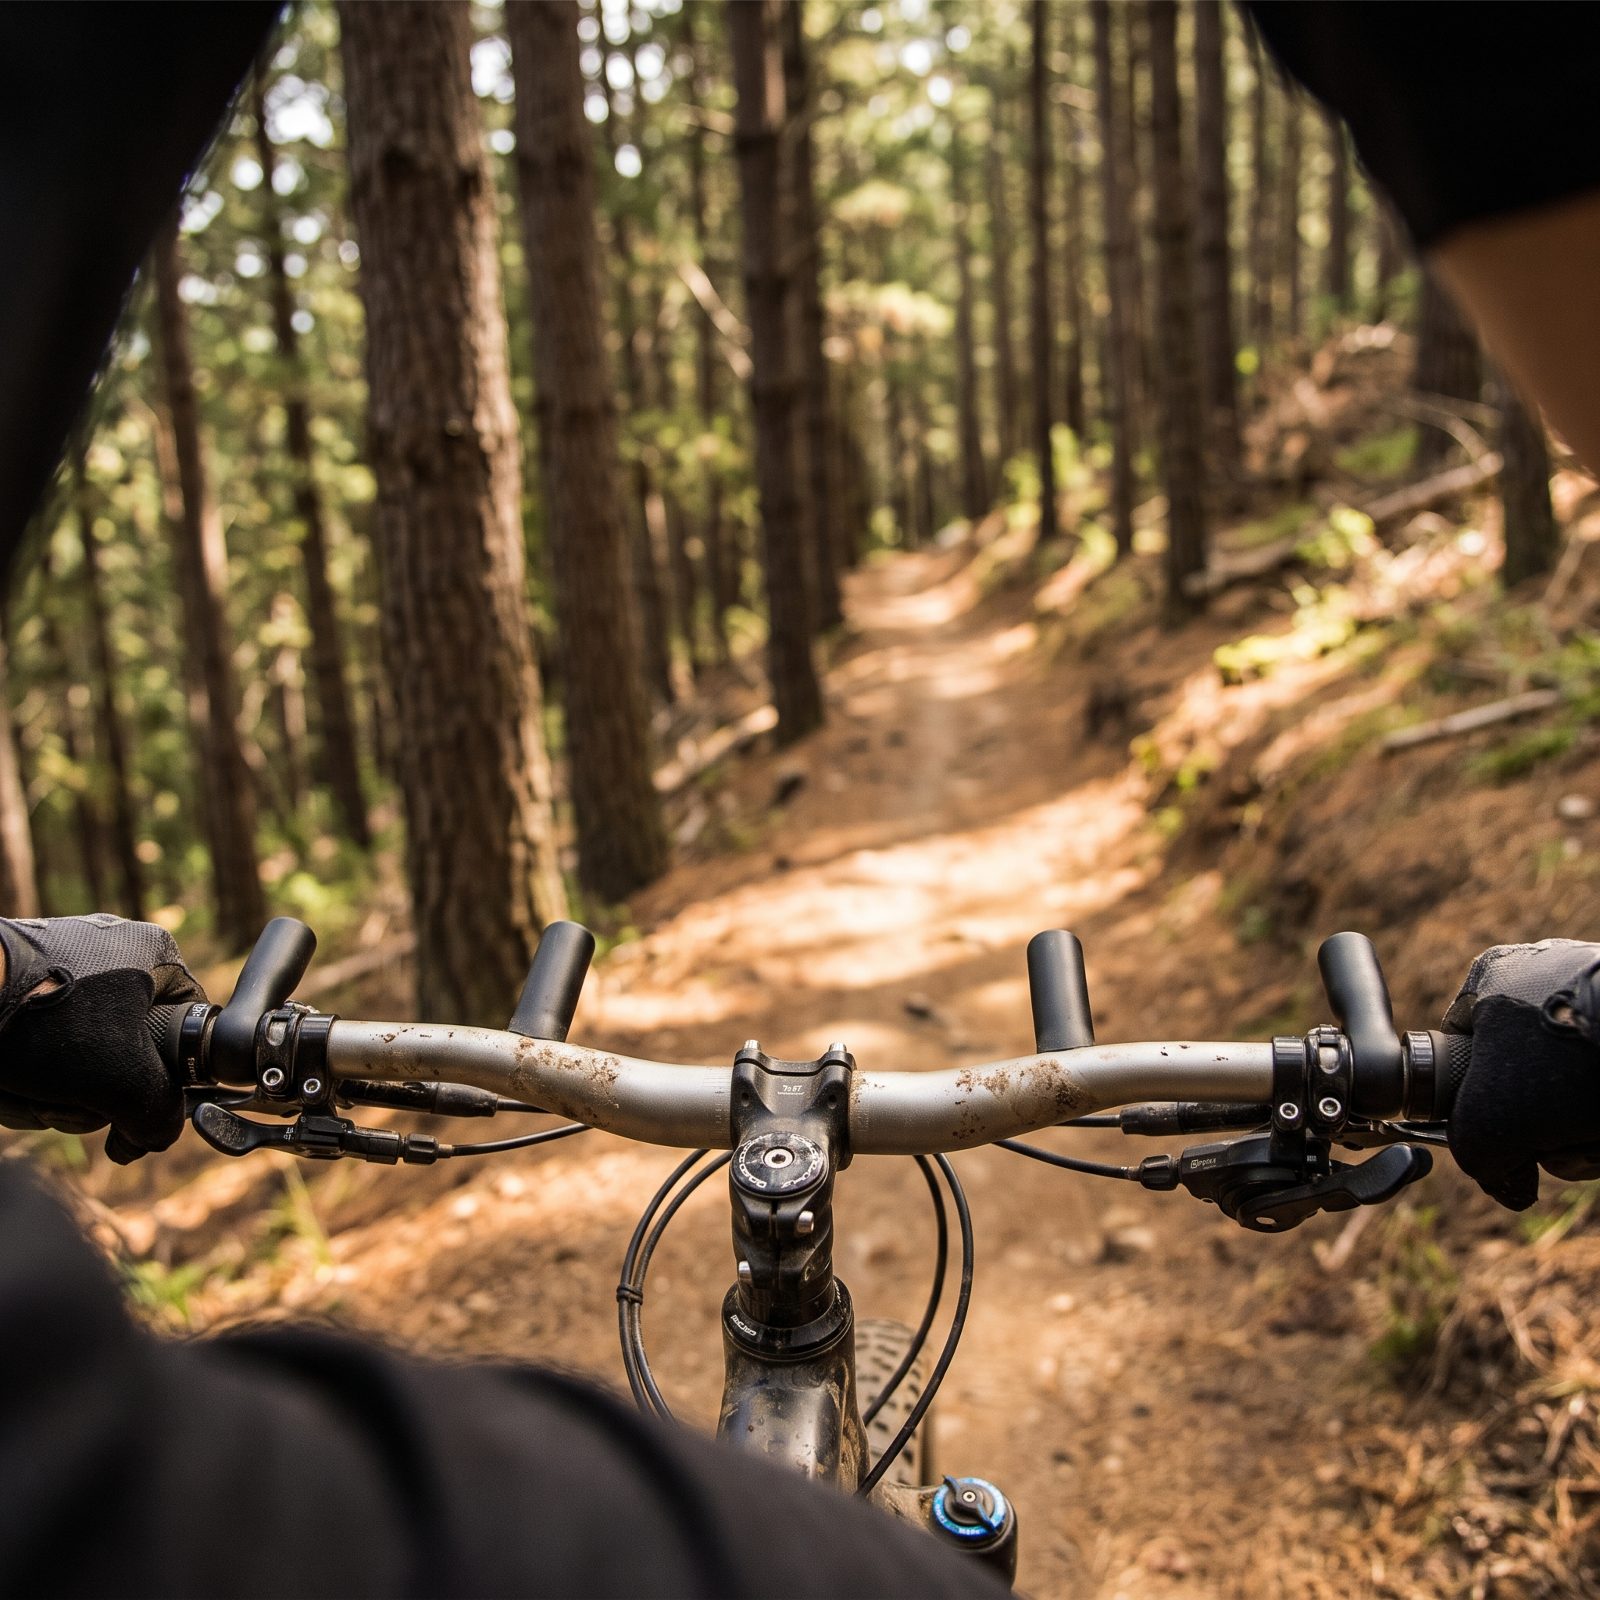
Narrow your hands and watch your climbing change. Inner bar ends mount far inboard on the bar, out near the stem on either side, giving you upright stubs to grab when you move your hands in from the usual wide stance on the outer grips. On a steady climb that narrower hold does two things at once: it drops your chest lower and shifts weight forward over the front so the wheel stops lifting, and it opens your lungs by pulling your shoulders out of a shrug.
You’ve seen riders on a long fire-road grade slide their hands inward on the flat of the bar, hunting for exactly this. A pair of stubs either side of the stem makes it a real, supported position instead of a cramped compromise.
37. Put Satellite Shift Buttons on the Bar Tops
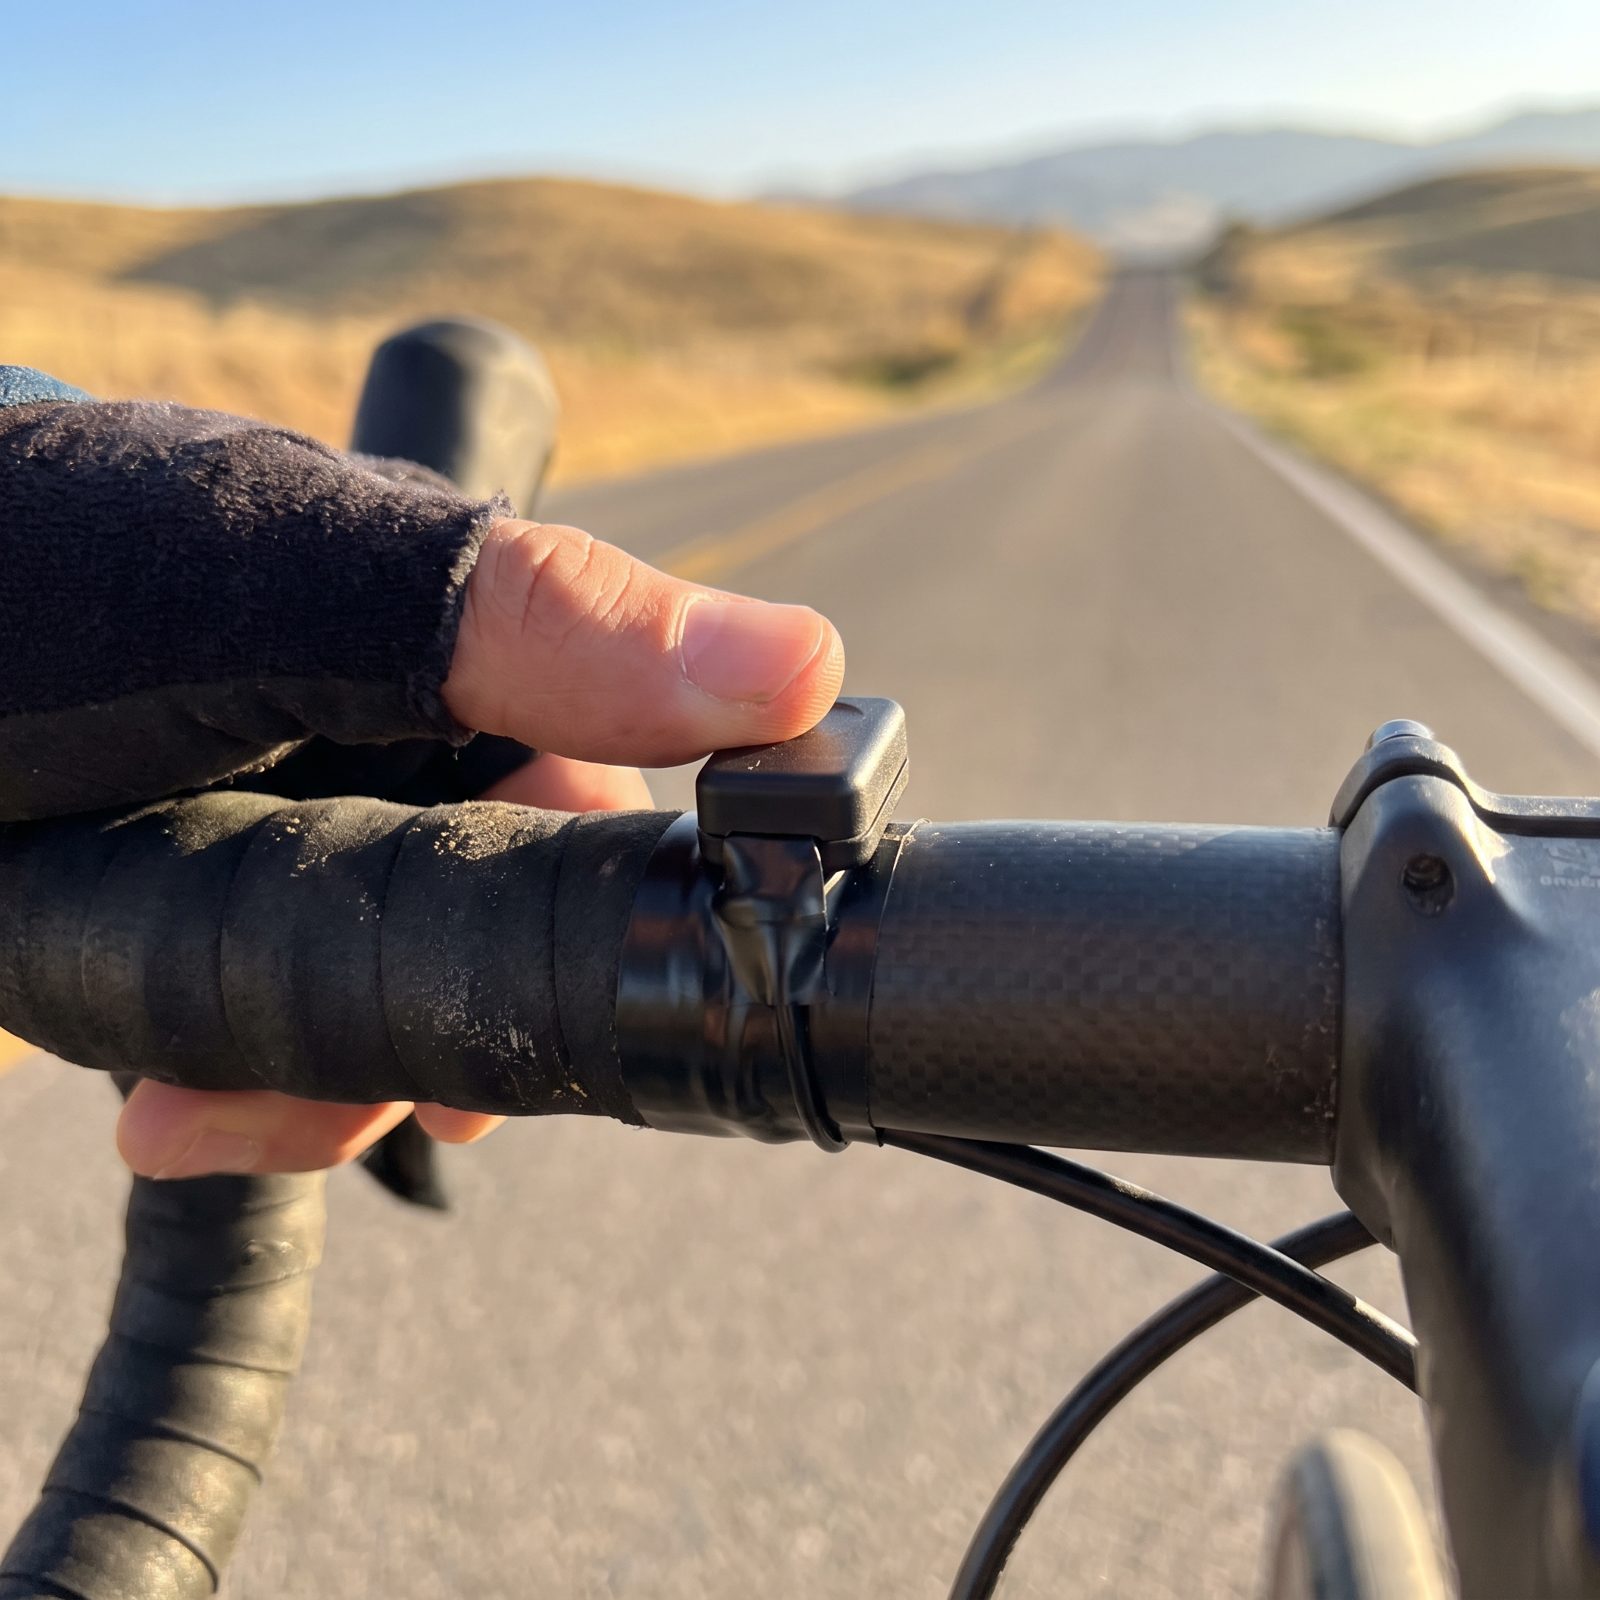
On a long climb you spend most of it with your hands on the bar tops, sitting upright, breathing. To shift, you normally have to move to the hoods. Satellite buttons wired to an electronic groupset let you change gears without moving your hands at all.
Sounds like a luxury. It isn’t. Every hand reposition on a grade shifts your weight and interrupts your rhythm, and when you’re deep into a climb, rhythm is most of what’s keeping you moving. Drop a gear with a thumb, hands planted and body still, and the cadence stays smooth where fatigue would otherwise have you lurching between positions.
36. Fit a Larger Rear Sprocket to an Internal-Gear Hub
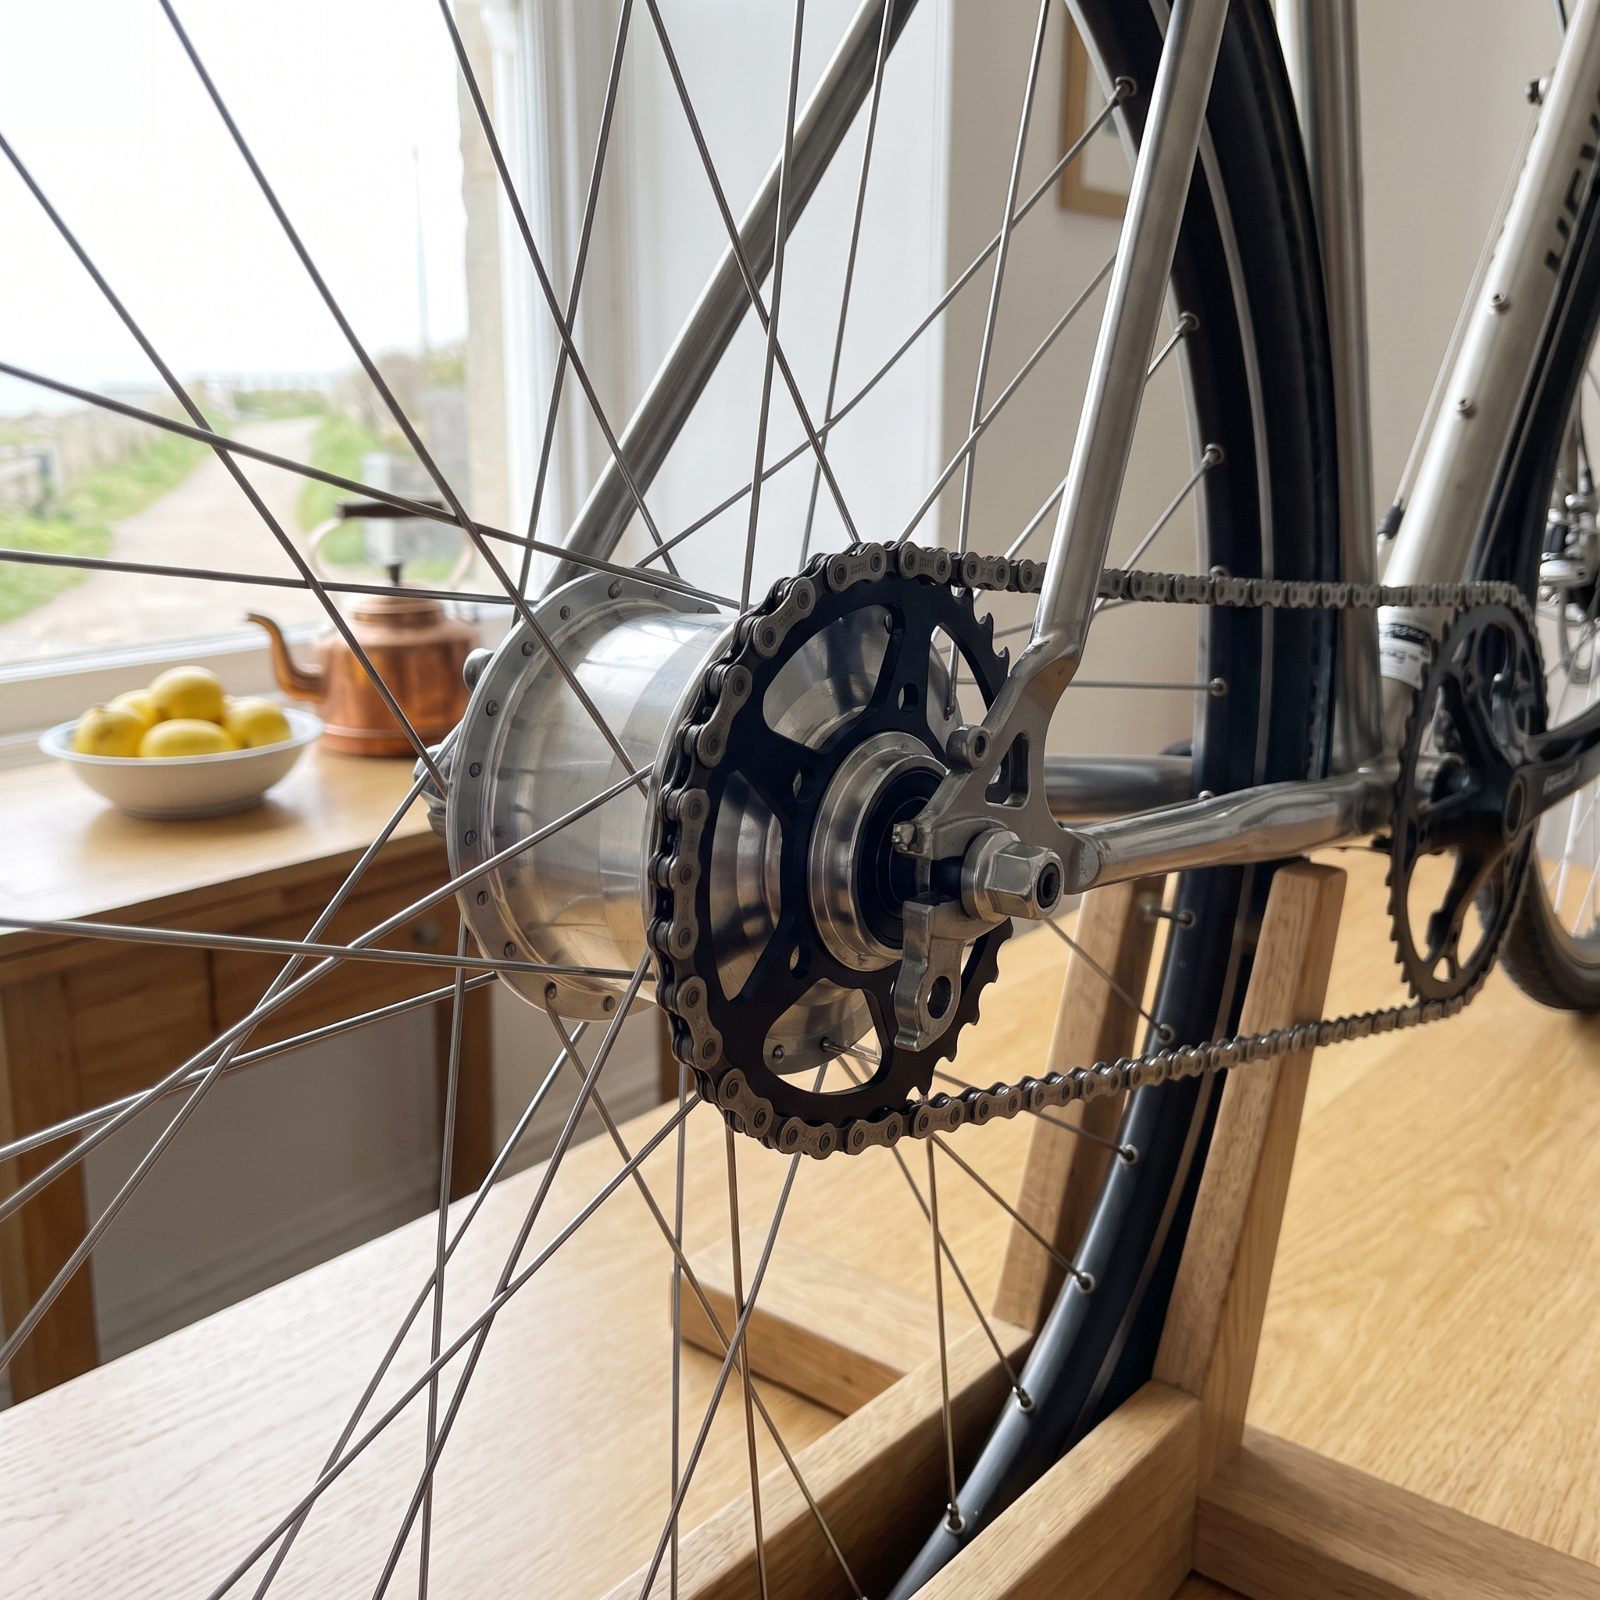
Internal-gear hubs are brilliant for low-maintenance riding and dismal on steep hills. The gear range is fixed, and the bottom gear often isn’t low enough to spin up a real grade. Most owners just suffer it — standing and grinding where a lower gear would let them sit and spin.
Swap the small rear sprocket for a larger one and you shift the whole range lower. Cheap part, maybe ten minutes with a lockring tool, and suddenly that hub climbs. You give up a bit of top-end speed, which on a hilly commute you were never using anyway. If your internal-hub bike lives somewhere with hills, this is the single best thing you can do to it.
35. Fit a High-Engagement Freehub for Technical Climbs
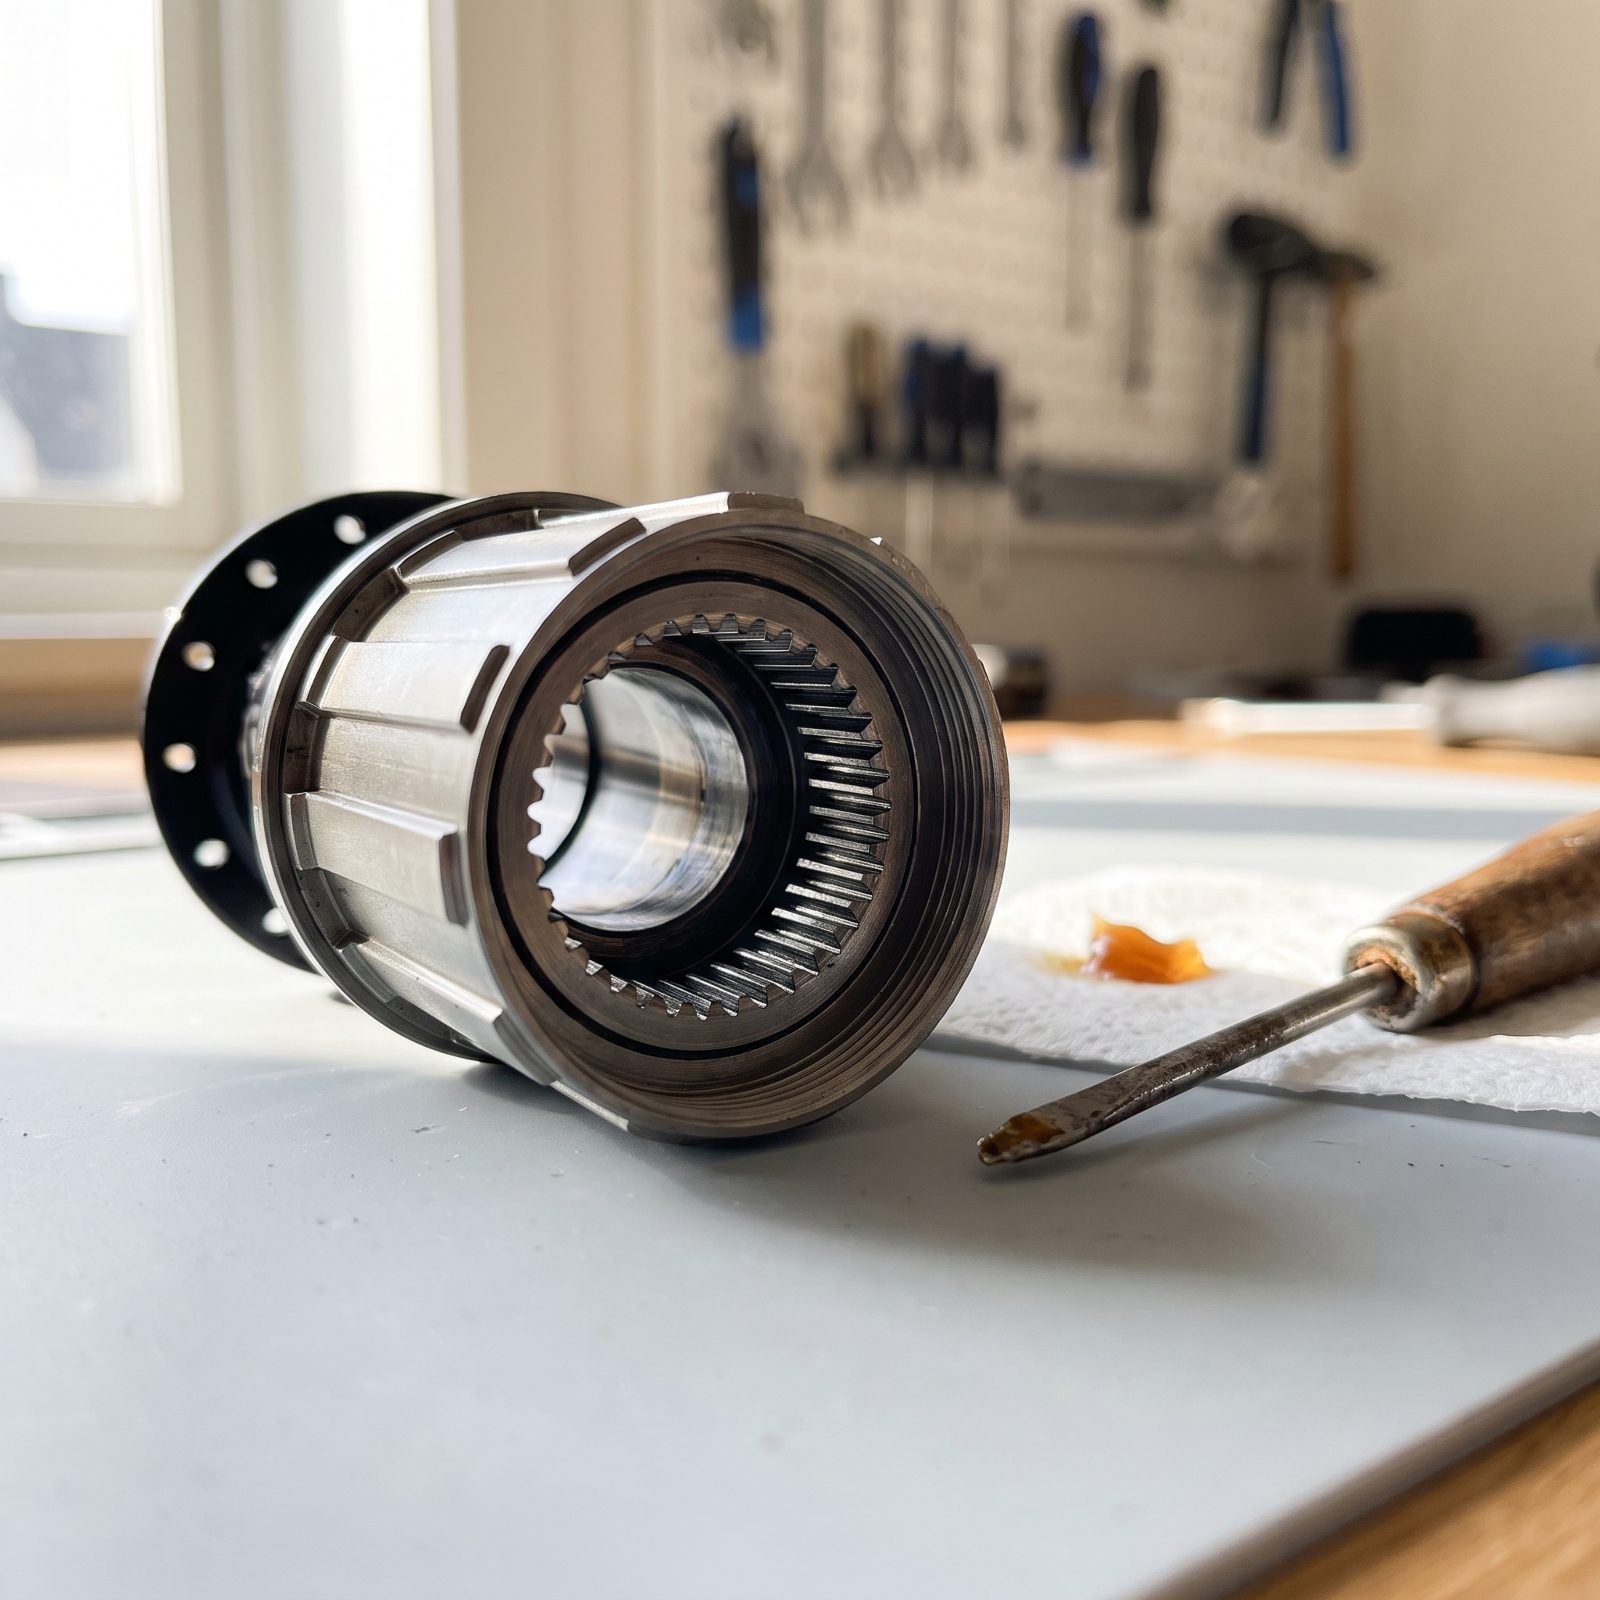
Pedal on a steep, chunky climb and you’ll feel a tiny dead spot every time you ratchet the pedals or catch yourself after a stall. That lag is your freehub engagement. A standard hub might need a chunk of crank rotation before the ratchet grabs and power actually reaches the wheel.
A high-engagement freehub cuts that gap to almost nothing. When you’re picking your way up a technical pitch, nudging the pedal a few degrees to clear a root without losing momentum, instant engagement is the difference between cleaning the move and dabbing a foot. It does nothing for your fitness. What it does is stop the bike from wasting the power you already have.
34. Use an Angle-Adjust Headset to Reduce Low-Speed Steering Flop
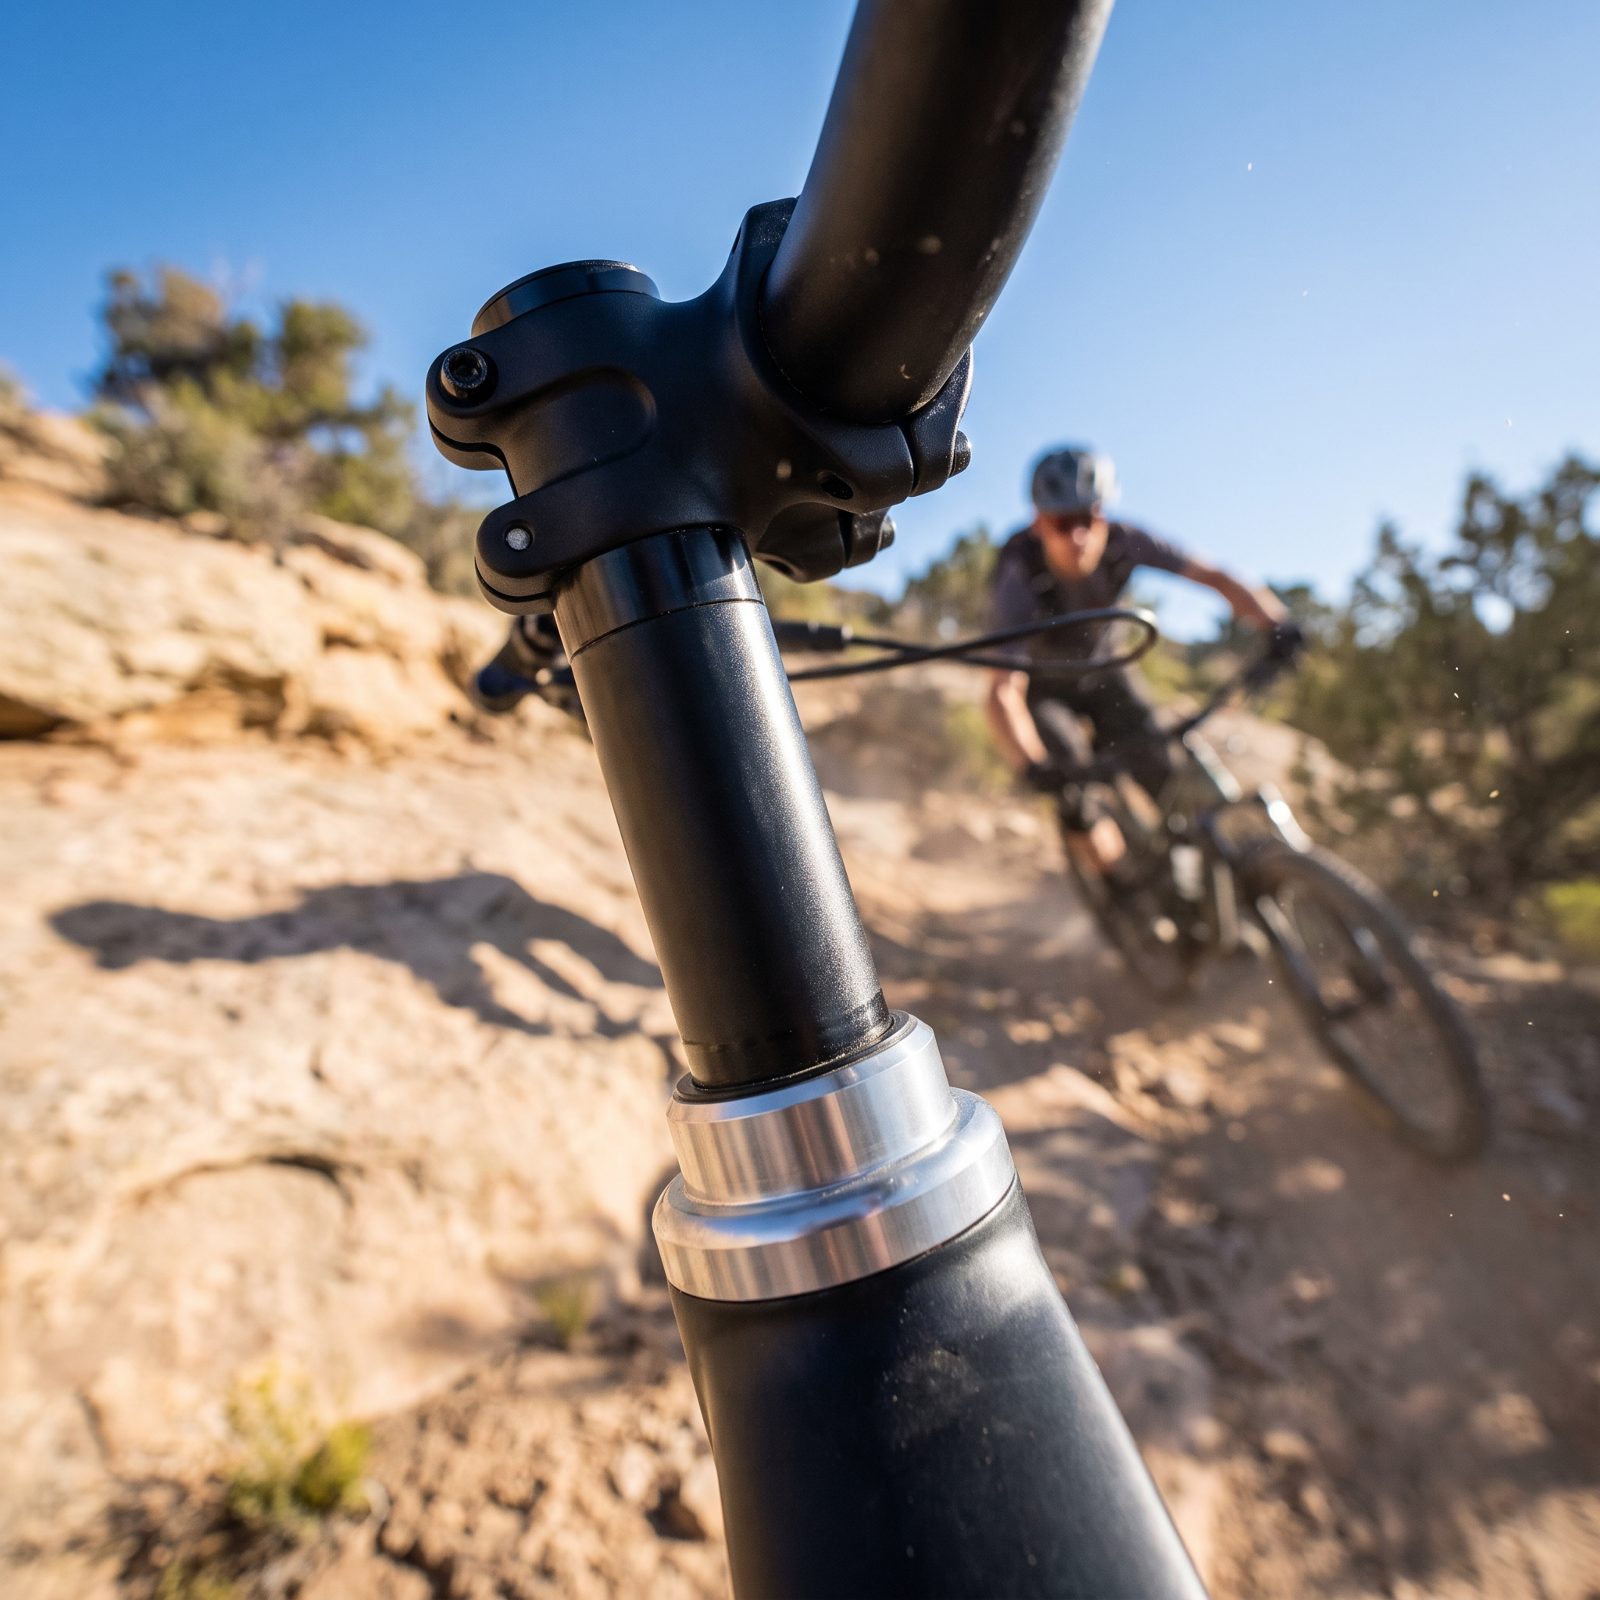
Scrub speed into a tight, dusty switchback on the way down and the front wheel wants to flop to one side while the bar fights you. That’s wheel flop, and it gets worse the slacker your head angle and the slower you go. Fighting it burns focus and energy you’d rather spend on the descent.
An angle-adjust headset steepens the head angle a degree or two with a swap of the insert cups. Steeper geometry sharpens low-speed steering and calms the flop. Now the bar sits where you put it instead of diving into the corner.
33. Internally Shorten an Overlong Suspension Fork
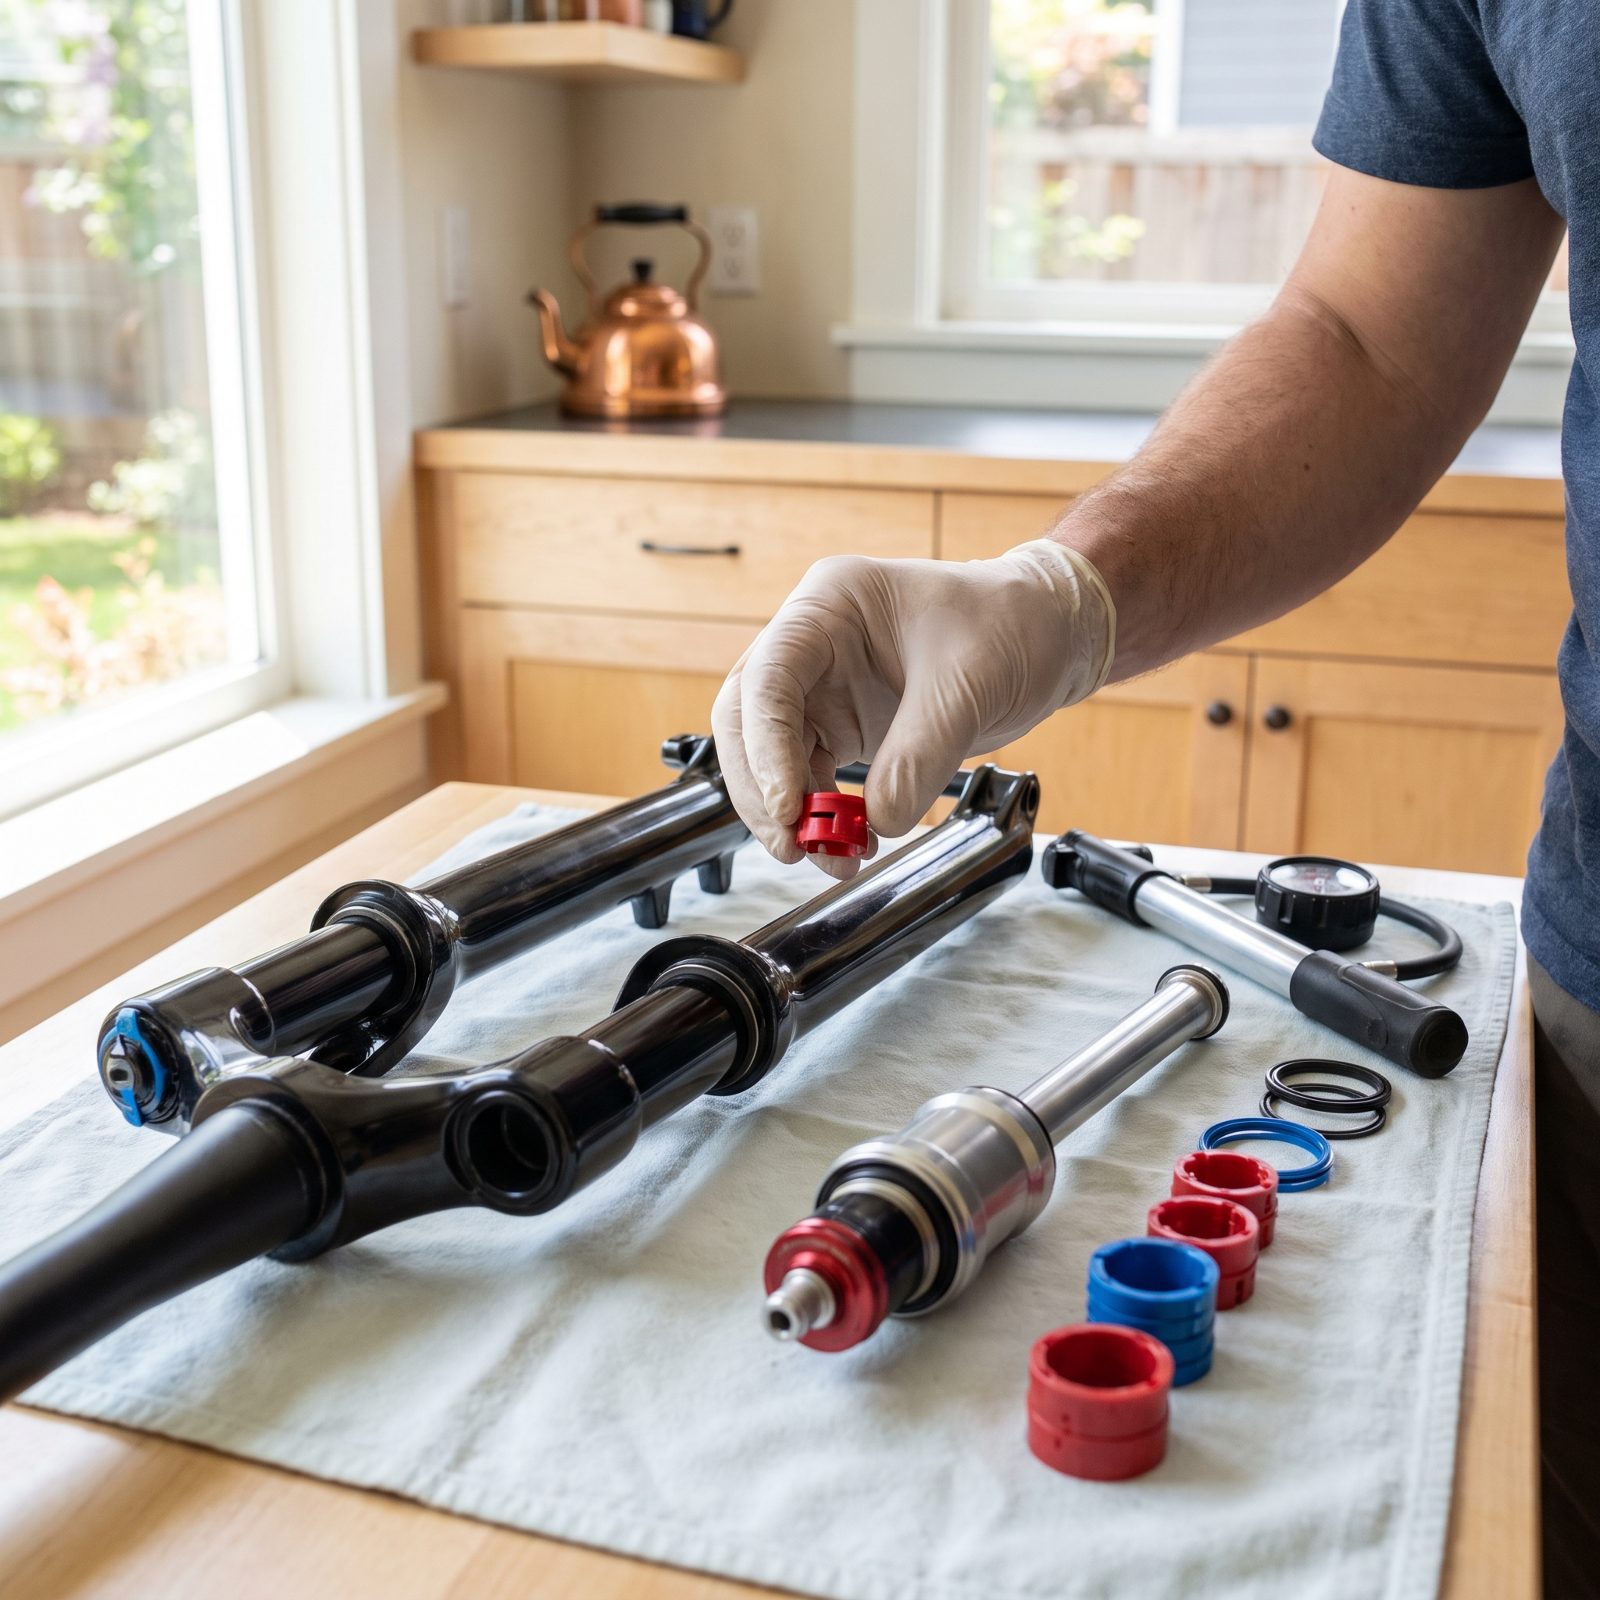
A fork with too much travel jacks the front of the bike up, slackens the head angle, and shoves your weight rearward. On a climb that means the front wheel wanders and lifts, and you spend the whole time throwing your chest over the bar to keep it planted.
Drop the fork’s travel with internal spacers and the whole front end lowers. Steeper head angle, more weight on the front, a wheel that tracks instead of wandering. This is proper bench work with the air spring apart, so it’s a job for someone comfortable inside a fork — or for a shop. The payoff is a bike that climbs the way it was built to, not one perched up on a ladder.
32. Reset Excessive Belt Tension on a Belt-Drive Bike
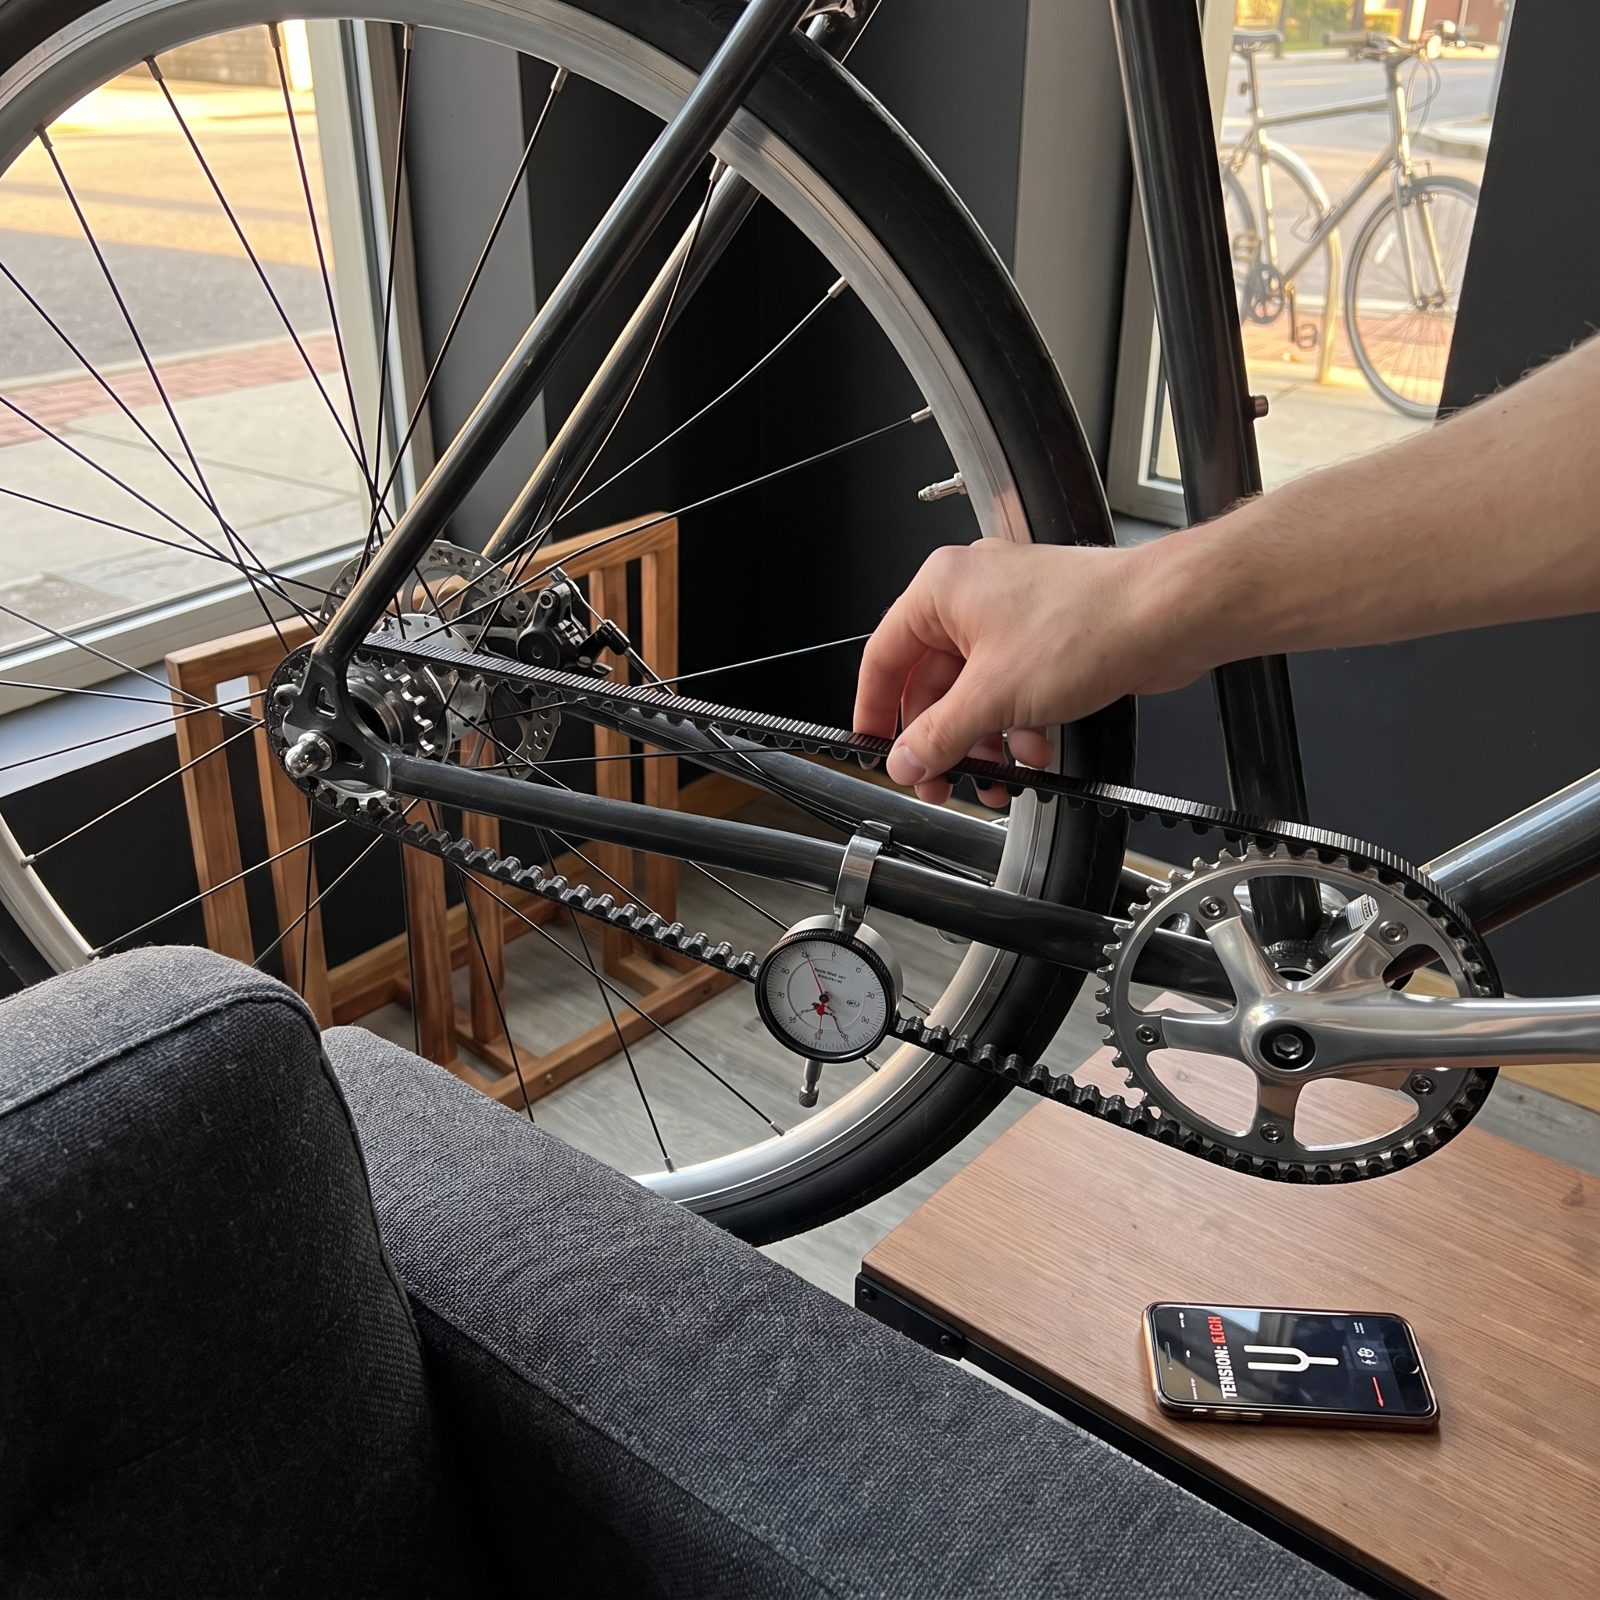
Belt-drive bikes feel clean and silent until someone cranks the belt too tight, convinced tighter means no skipping. Over-tension is a hidden tax. It loads the bottom bracket and rear hub bearings and bleeds a surprising amount of your pedaling straight into friction and drag.
On a climb, where every watt counts, you feel it as a bike that just won’t roll. Set the belt to the maker’s spec — usually checked with a free phone app that listens to the belt’s pitch — and the drag disappears. What you get back is a drivetrain that spins free again and legs that aren’t fighting their own bike up the hill.
31. Run a Wider Rear Rim to Hold Lower Pressure Without Squirm
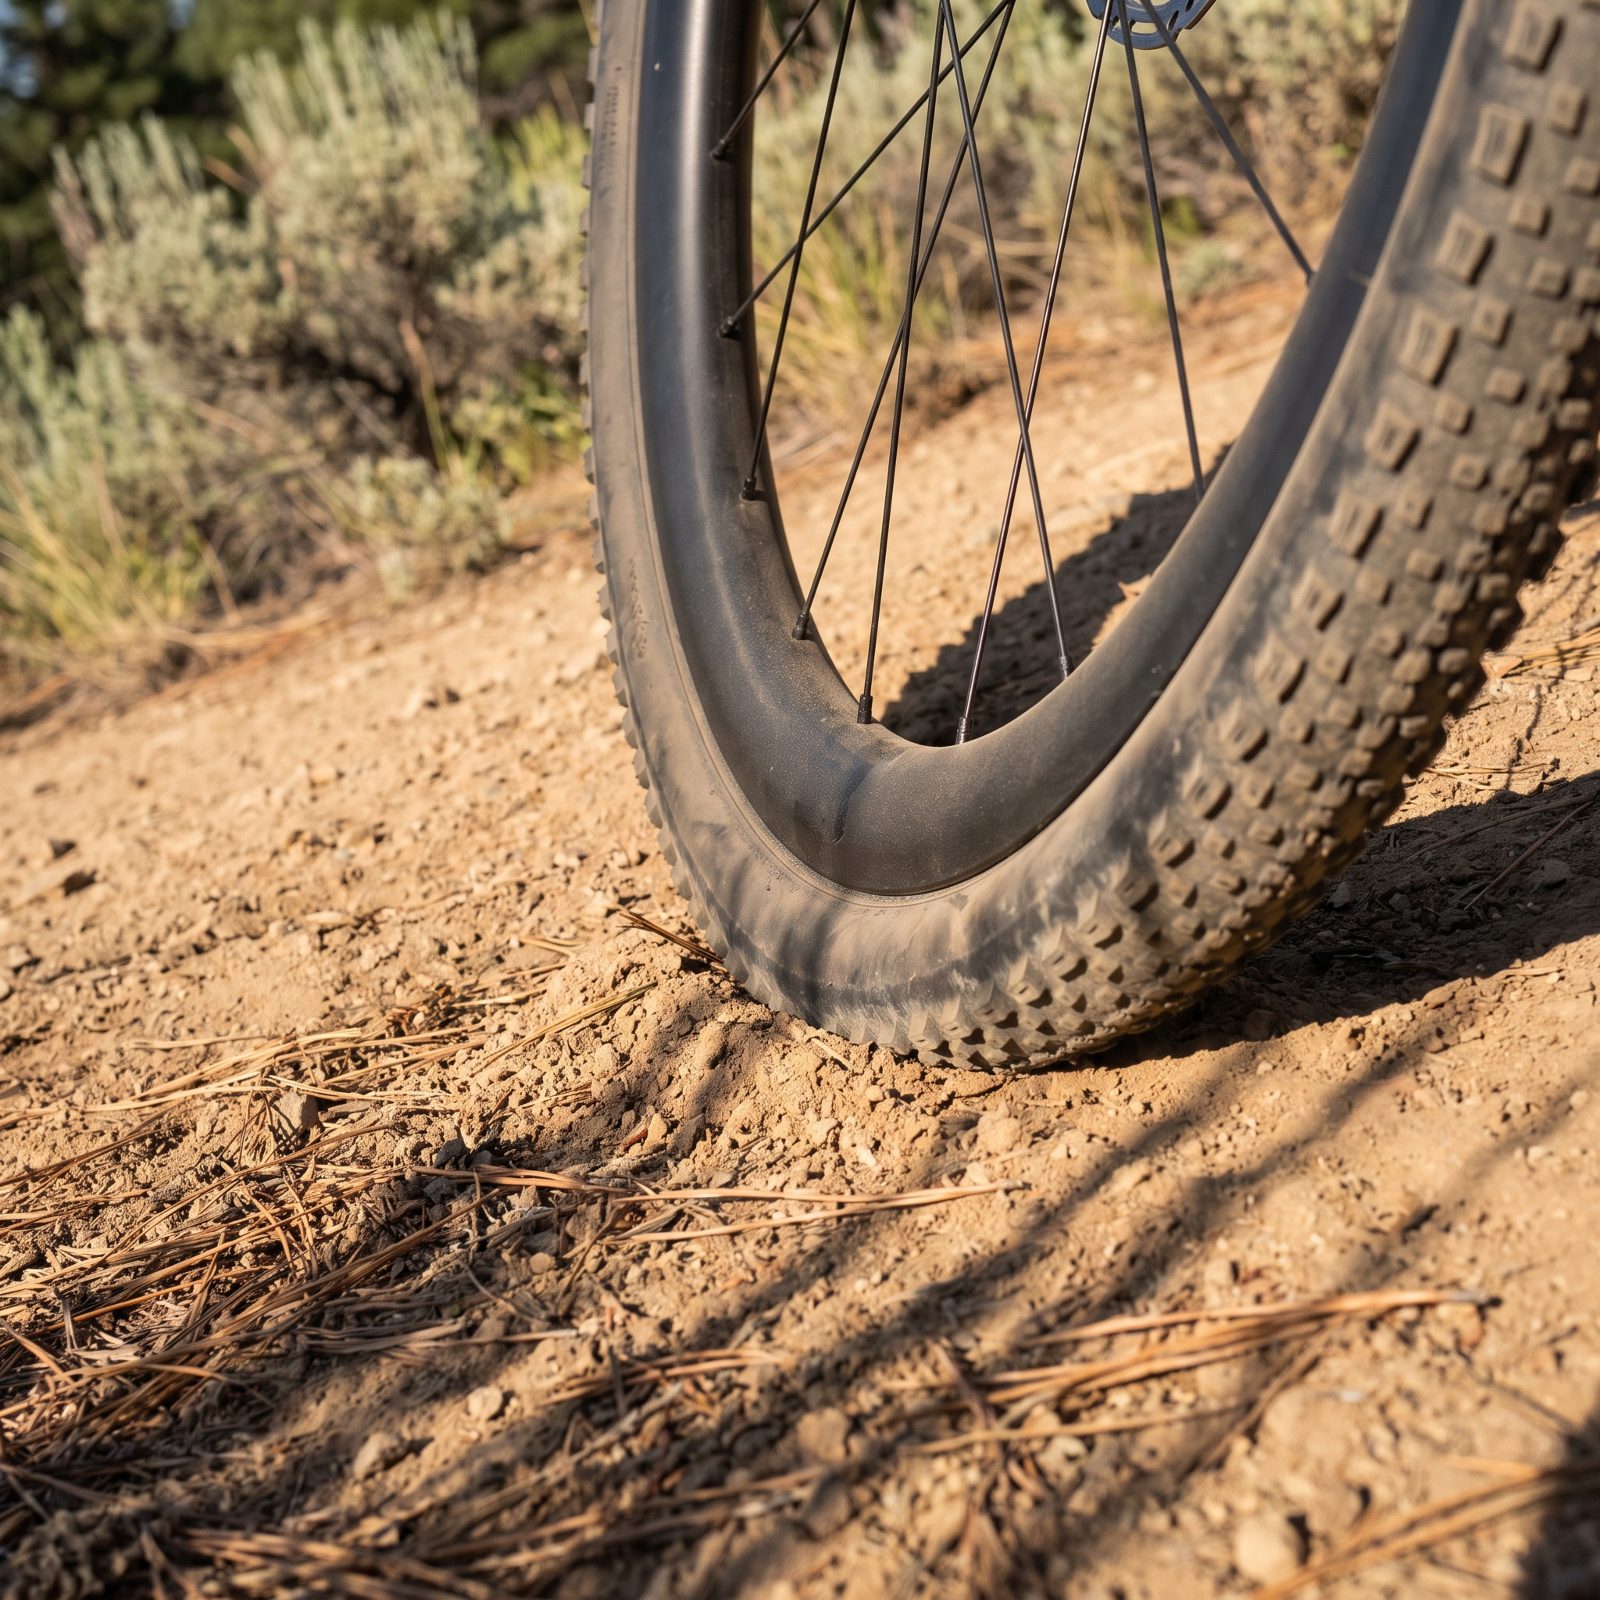
Most riders chase lower tire pressure for grip and comfort, then wonder why the bike feels vague when they stand on a climb. The culprit is usually the rim, not the tire. A narrow rim lets a fat tire fold and roll at low pressure, so every surge wastes energy flexing rubber sideways instead of pushing you up.
Go wider at the rear and the casing spreads into a squarer footprint. That squares off the contact patch, lets you drop a few psi for traction on loose climbs, and kills the squirm when you load the pedals. More rubber bites, less of your push disappears into a wobbling sidewall.
30. Swap to a Zero-Offset Seatpost to Get Over the Pedals on Steep Grades
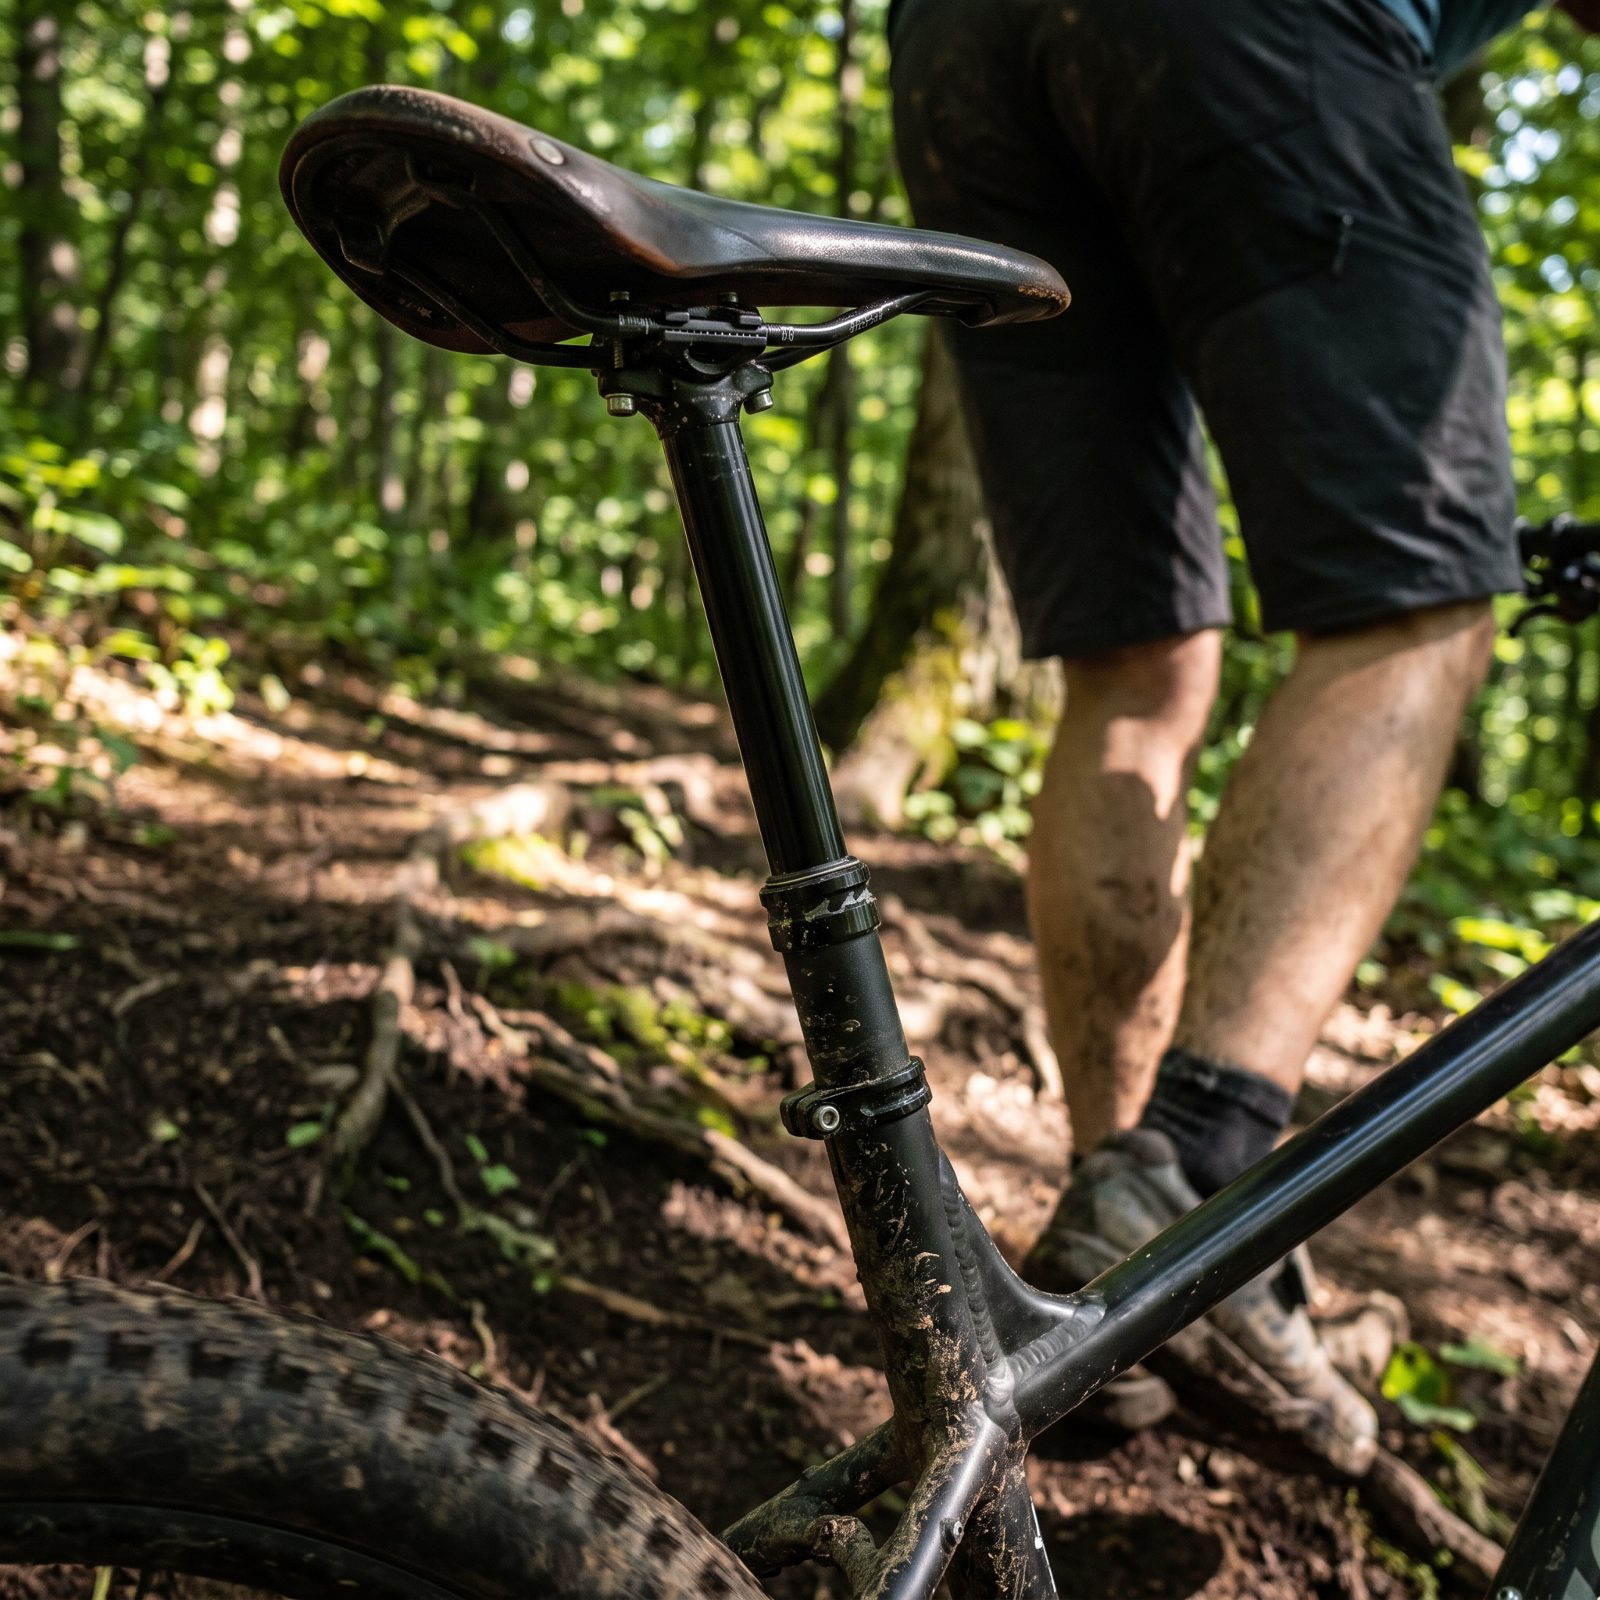
Climb something truly steep and you’ll feel your weight slide backward off the pedals, hips drifting behind the bottom bracket until your legs push at an awkward angle. A setback seatpost makes it worse, parking you further behind the cranks. Great for flat endurance pedaling. Lousy when the road tilts past twelve percent.
A zero-offset post nudges the saddle forward over the clamp, steepening your effective seat angle so your hips sit more directly above the pedals. That recruits your quads cleanly and keeps the front wheel planted. Cheap part, too, and it changes how a long seated grind feels more than you’d guess from the price tag.
29. Dial Pedal Stance Width With Thin Spacers
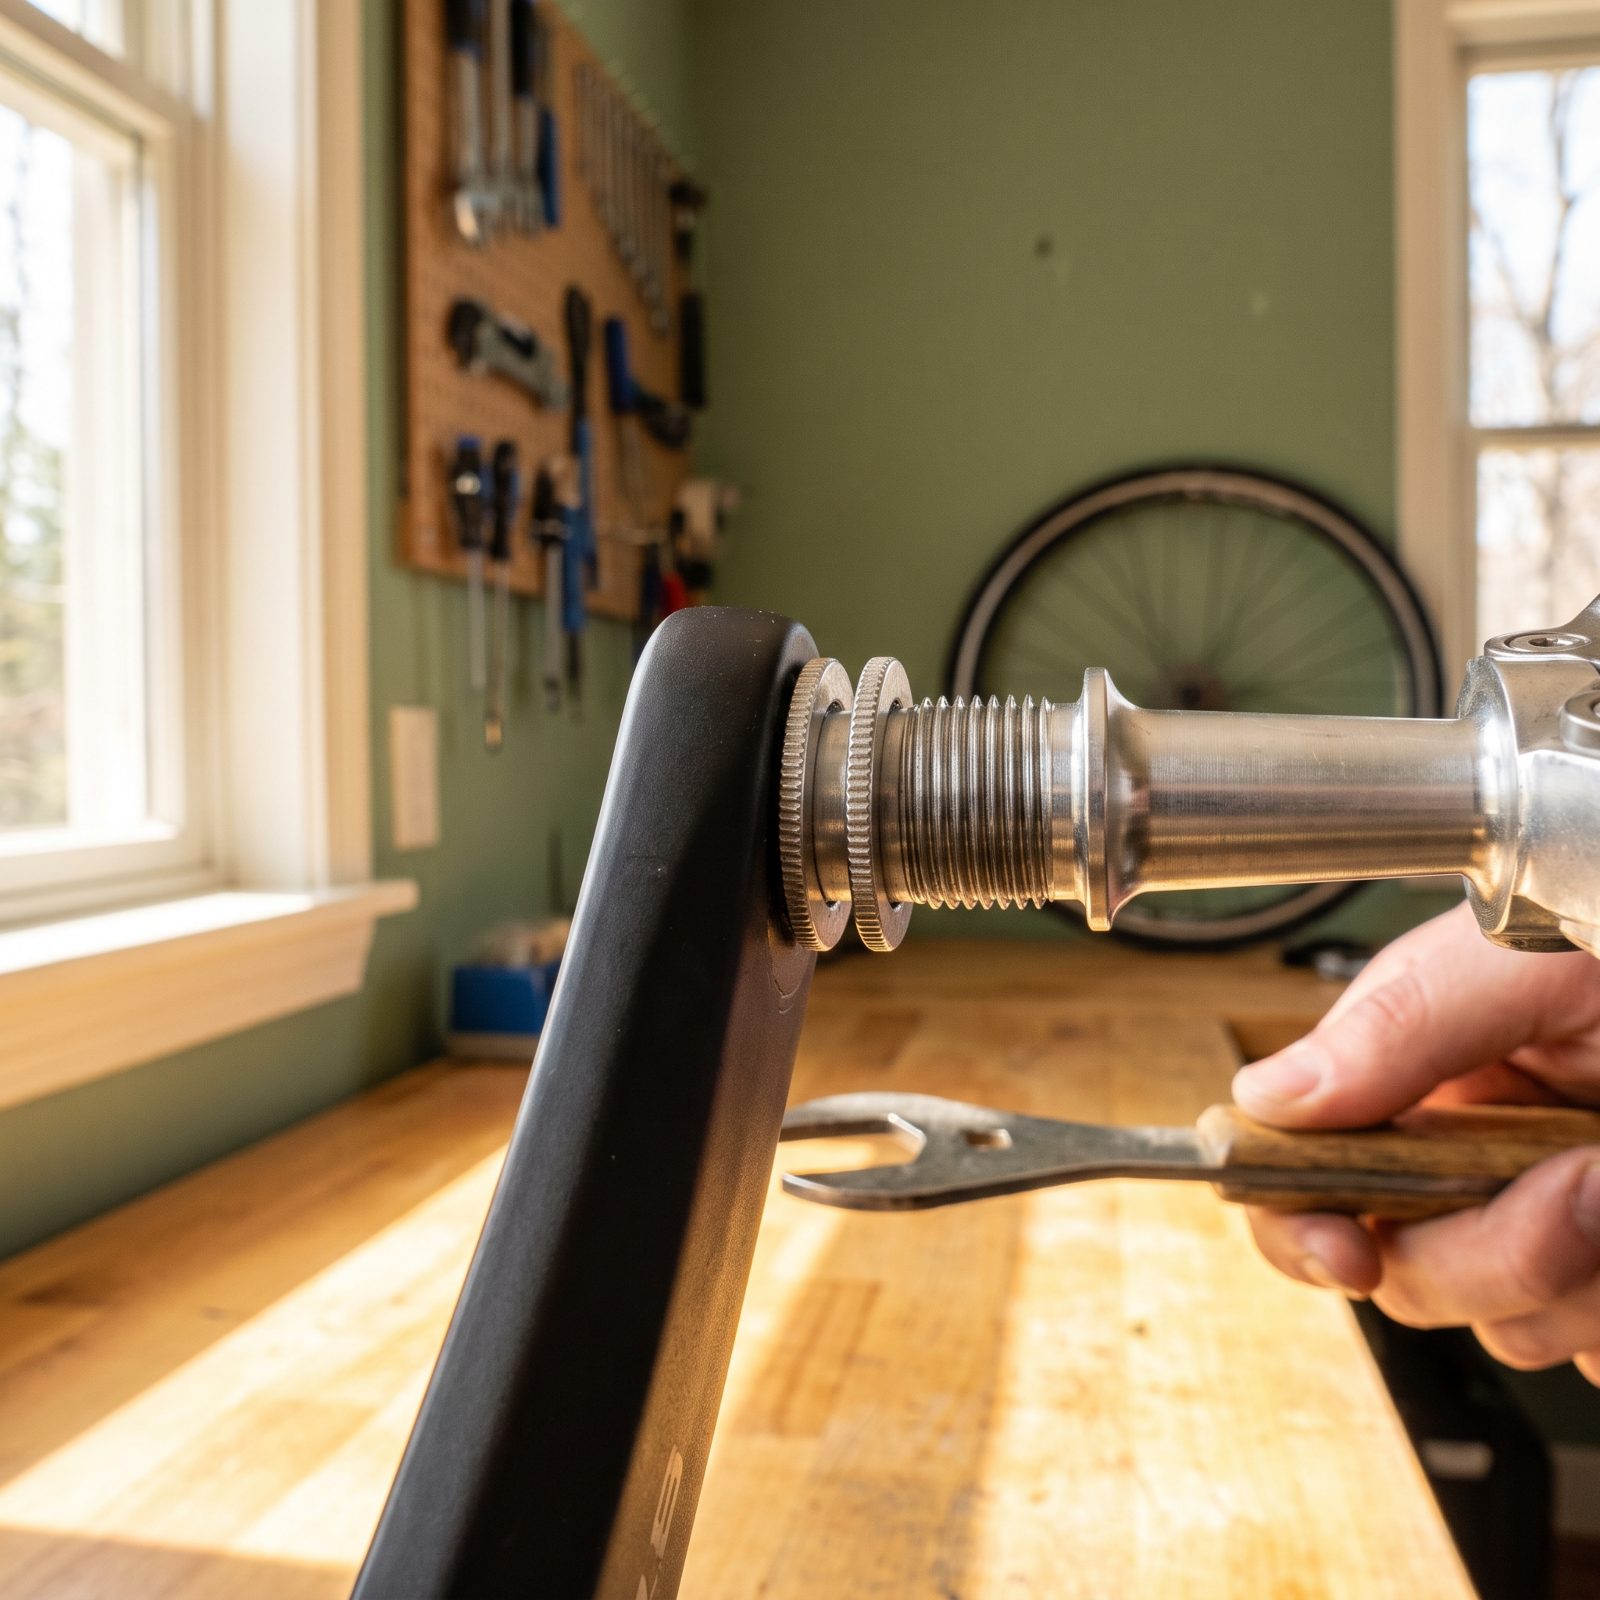
Q-factor is the distance between your pedals, and almost nobody thinks about it until a knee starts complaining halfway up a long climb. If your feet sit too close together or too far apart for your hips, every pedal stroke fights your natural tracking, and that fight shows up as wasted effort and sore joints by the summit.
Thin pedal spacers thread onto the spindle between pedal and crank, letting you widen stance a couple of millimeters at a time. Cheap, reversible, and the kind of fine-tuning most riders never bother with.
Start small. Add one spacer, ride a familiar climb, see if your knees track straighter and the push feels more direct.
28. Flip a Negative-Rise Stem to Keep the Front Wheel Down
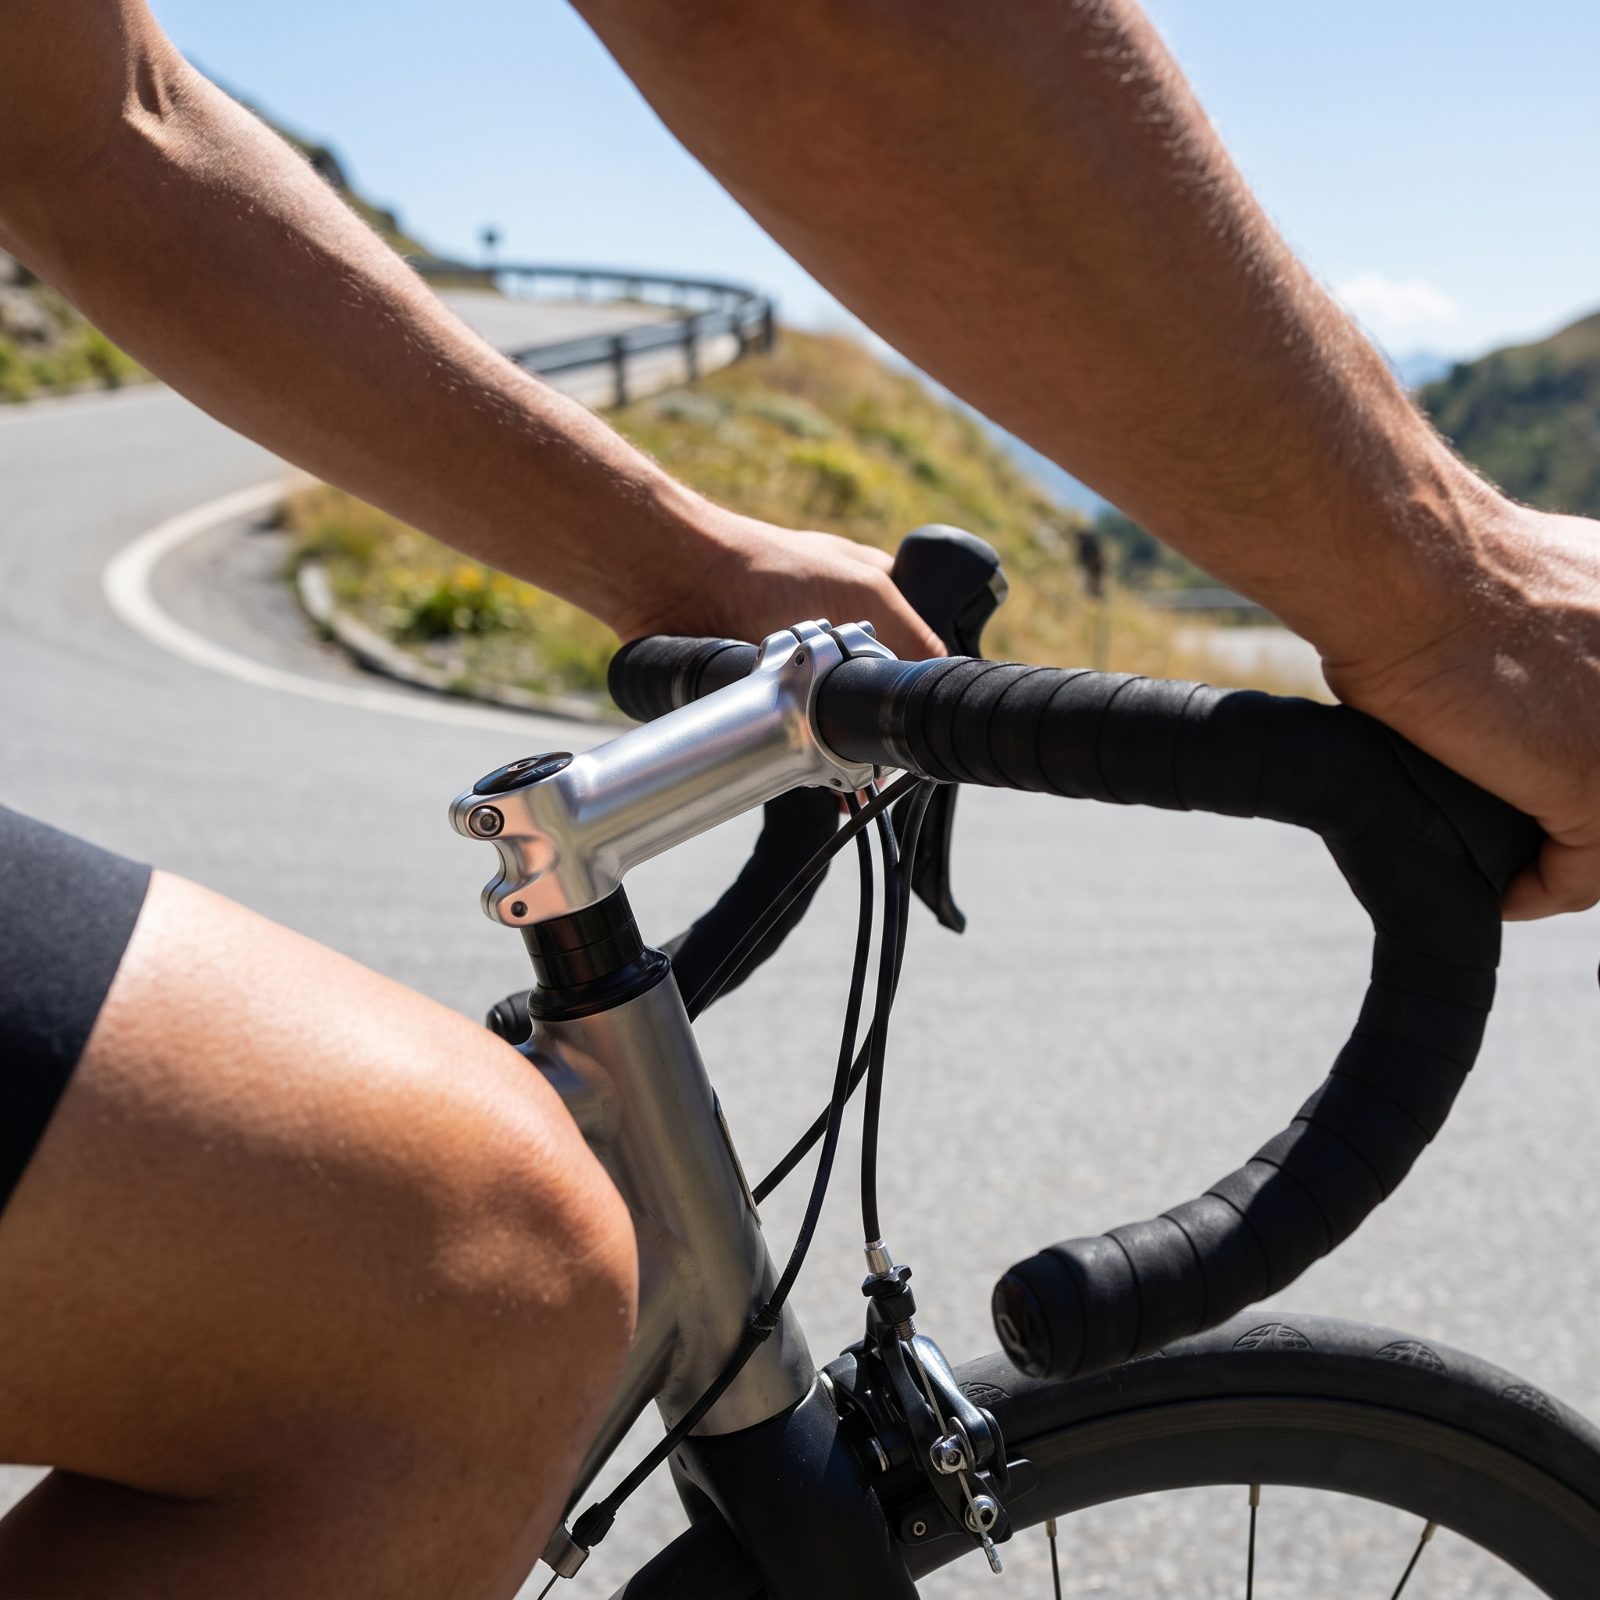
On a steep pitch, a tall front end lightens the front wheel until steering goes floaty and the bike wanders. That wander costs you. Every correction is energy you’d rather spend going up.
Flip or swap to a negative-rise stem and the bars drop, shifting more of your weight forward over the front wheel. The steering firms up, the wheel tracks where you point it, and you can climb seated or standing without feeling like the bike wants to lift and pivot out from under you.
27. Add a Suspension Seatpost for Rough Seated Climbs
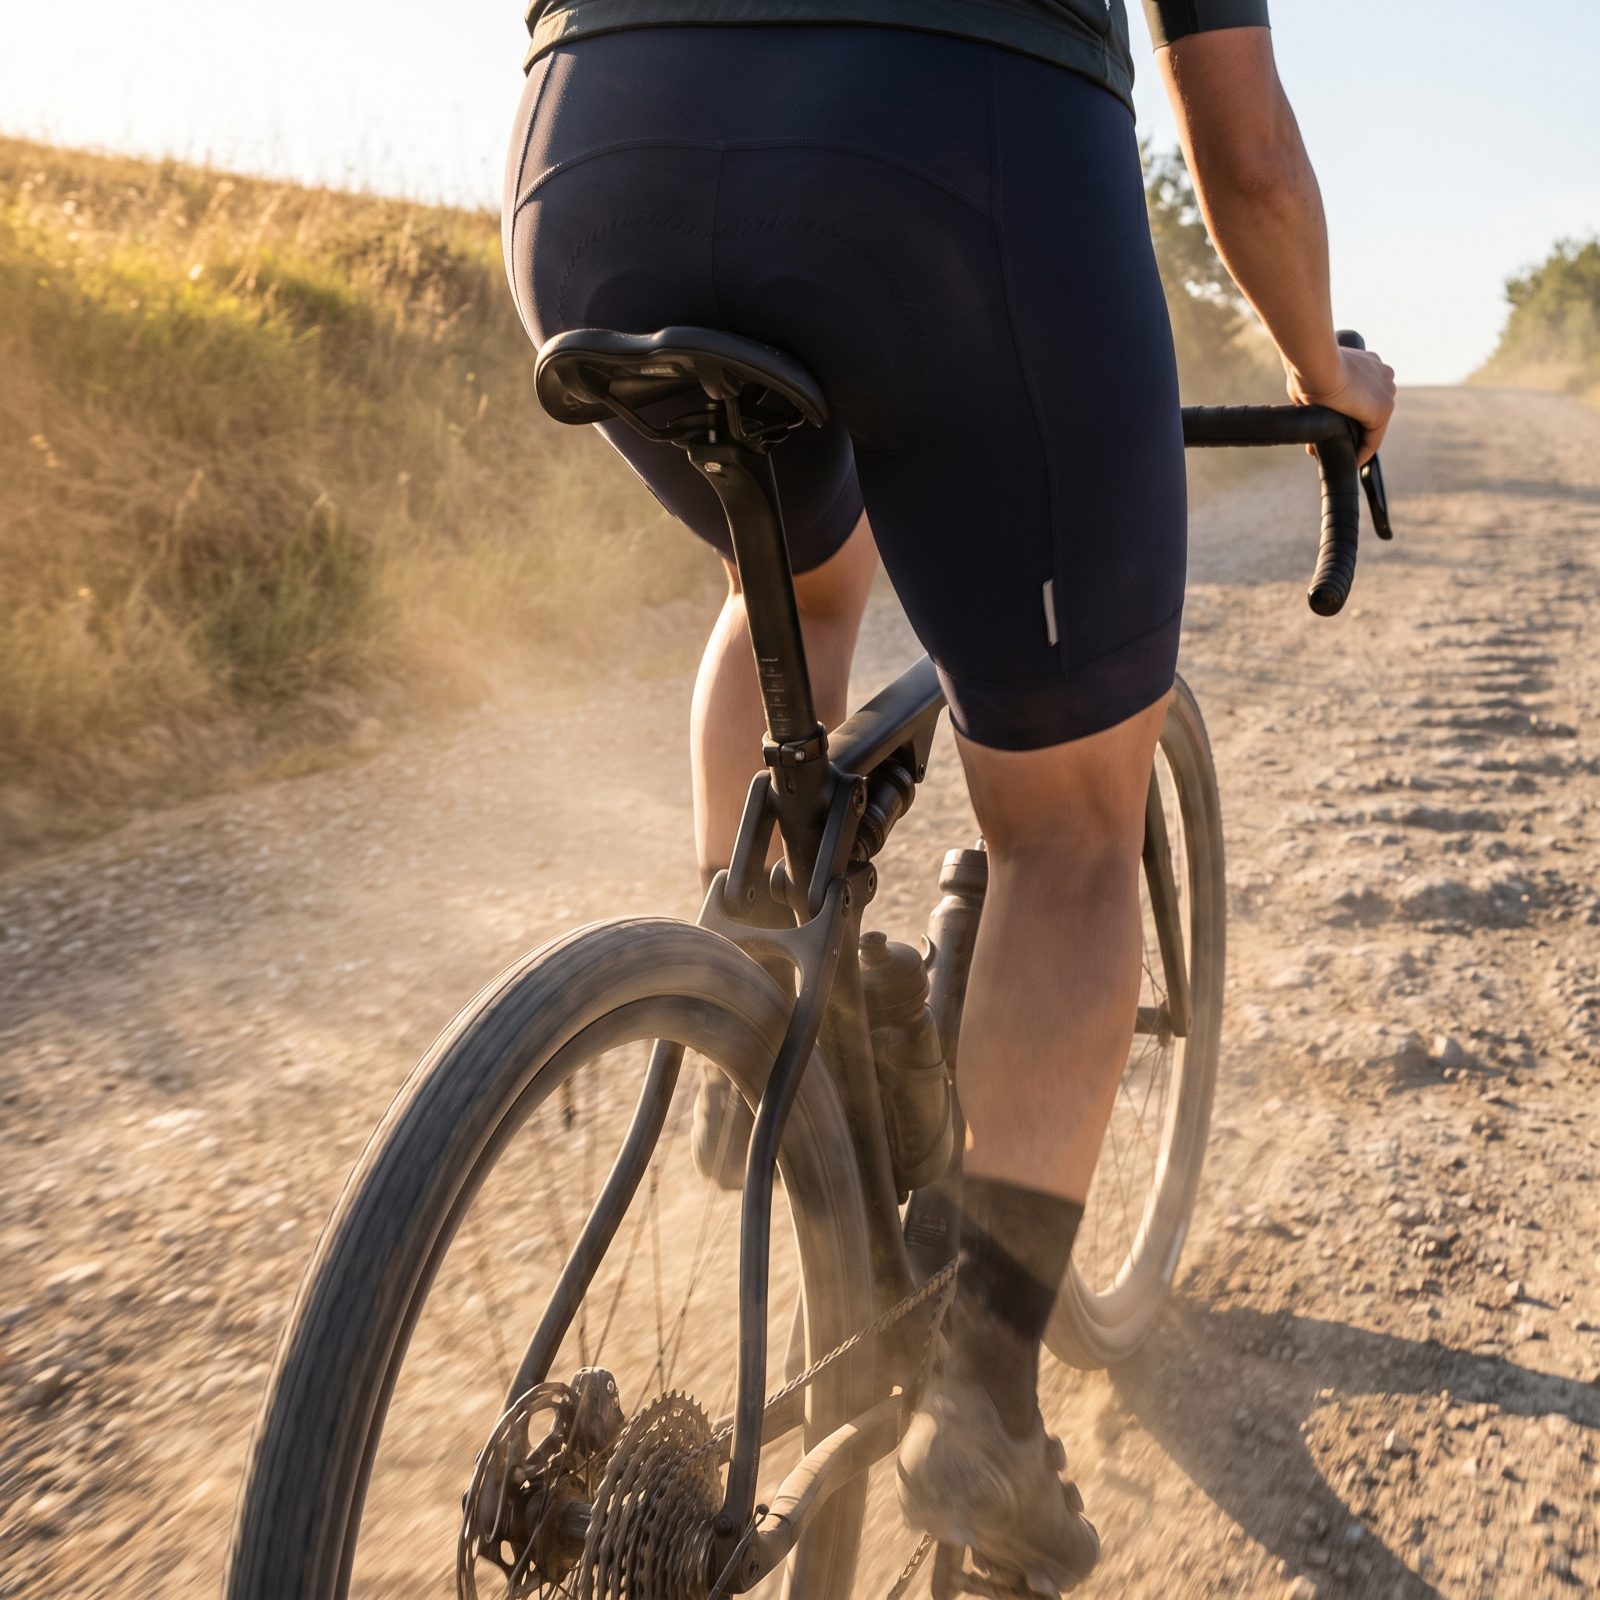
Standing eats energy. On a long, rough climb you want to stay seated and spin, but a rigid post on washboard gravel bucks you so hard that staying planted turns into its own workout. You end up hovering, bracing, and burning matches you can’t afford.
A suspension seatpost soaks up the chatter right where you sit. Linkage designs offer the most travel, elastomer-sprung posts a bit less. Either way your rear wheel stays loaded and traction holds, because you’re not getting pogo’d off the dirt every few feet.
They cost a little weight and a little money. On rough seated climbs, the energy you save pedaling smoothly pays it right back.
26. Pair a Grippy Rear Tire With a Faster Front Tire
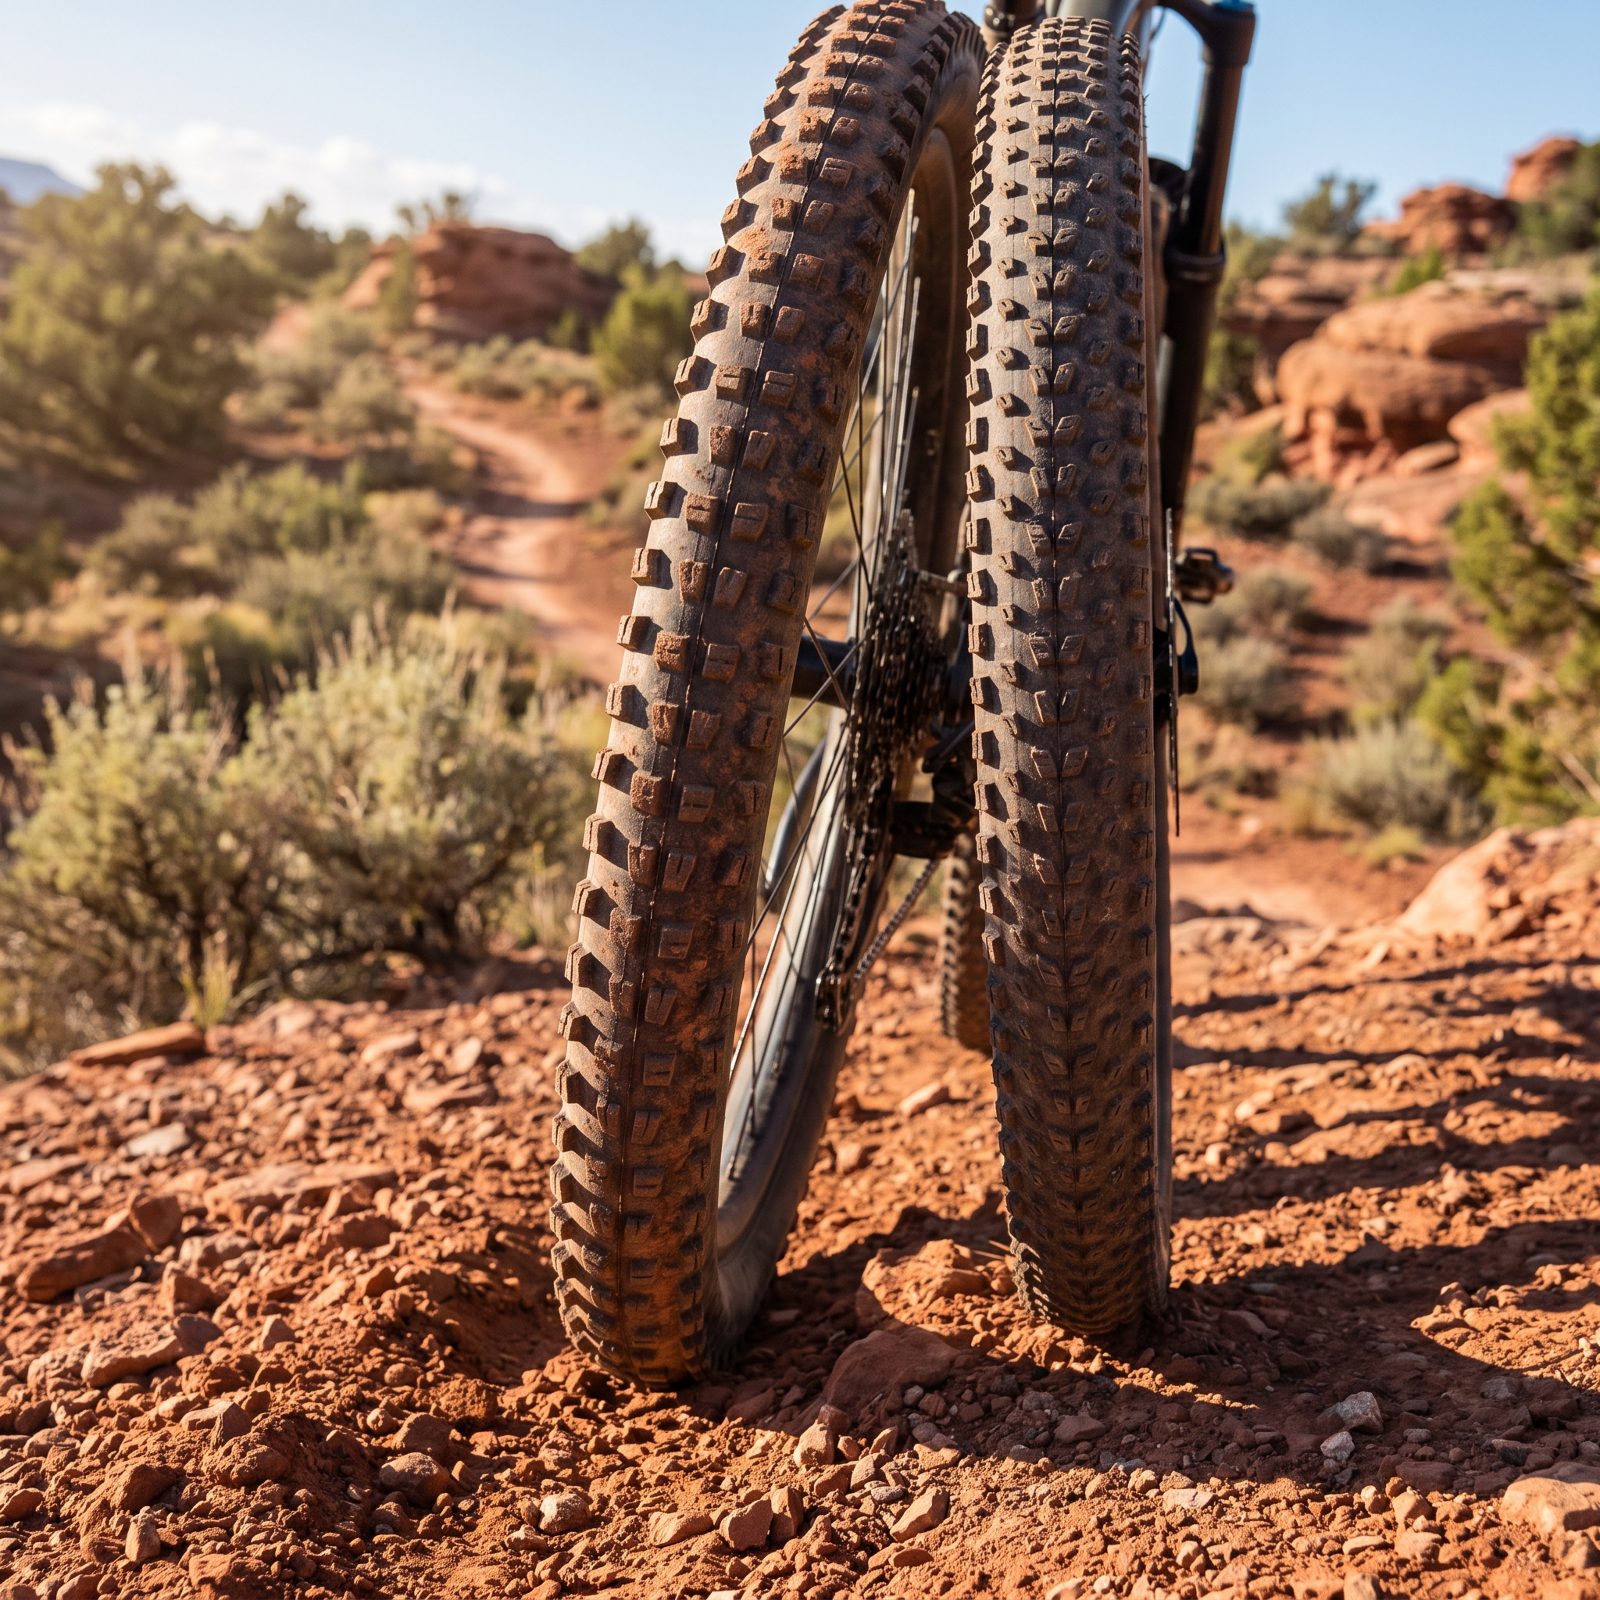
Matching front and rear tires feels tidy, but the two wheels do different jobs on a climb. The rear puts power down and needs grip. The front mostly needs to roll clean and track straight, because it isn’t clawing for traction the way the driven wheel is.
So run a heavily knobbed, grippy tread on the rear and a faster-rolling tire up front, with big blocky knobs out back and a smaller, tighter tread on the front. You scrabble up loose pitches without spinning out, and you stop dragging a heavy knobby on the wheel that doesn’t need one. Less rolling resistance where it’s wasted, more bite where it counts.
25. Fit an Oval Chainring to Smooth Out the Dead Spot
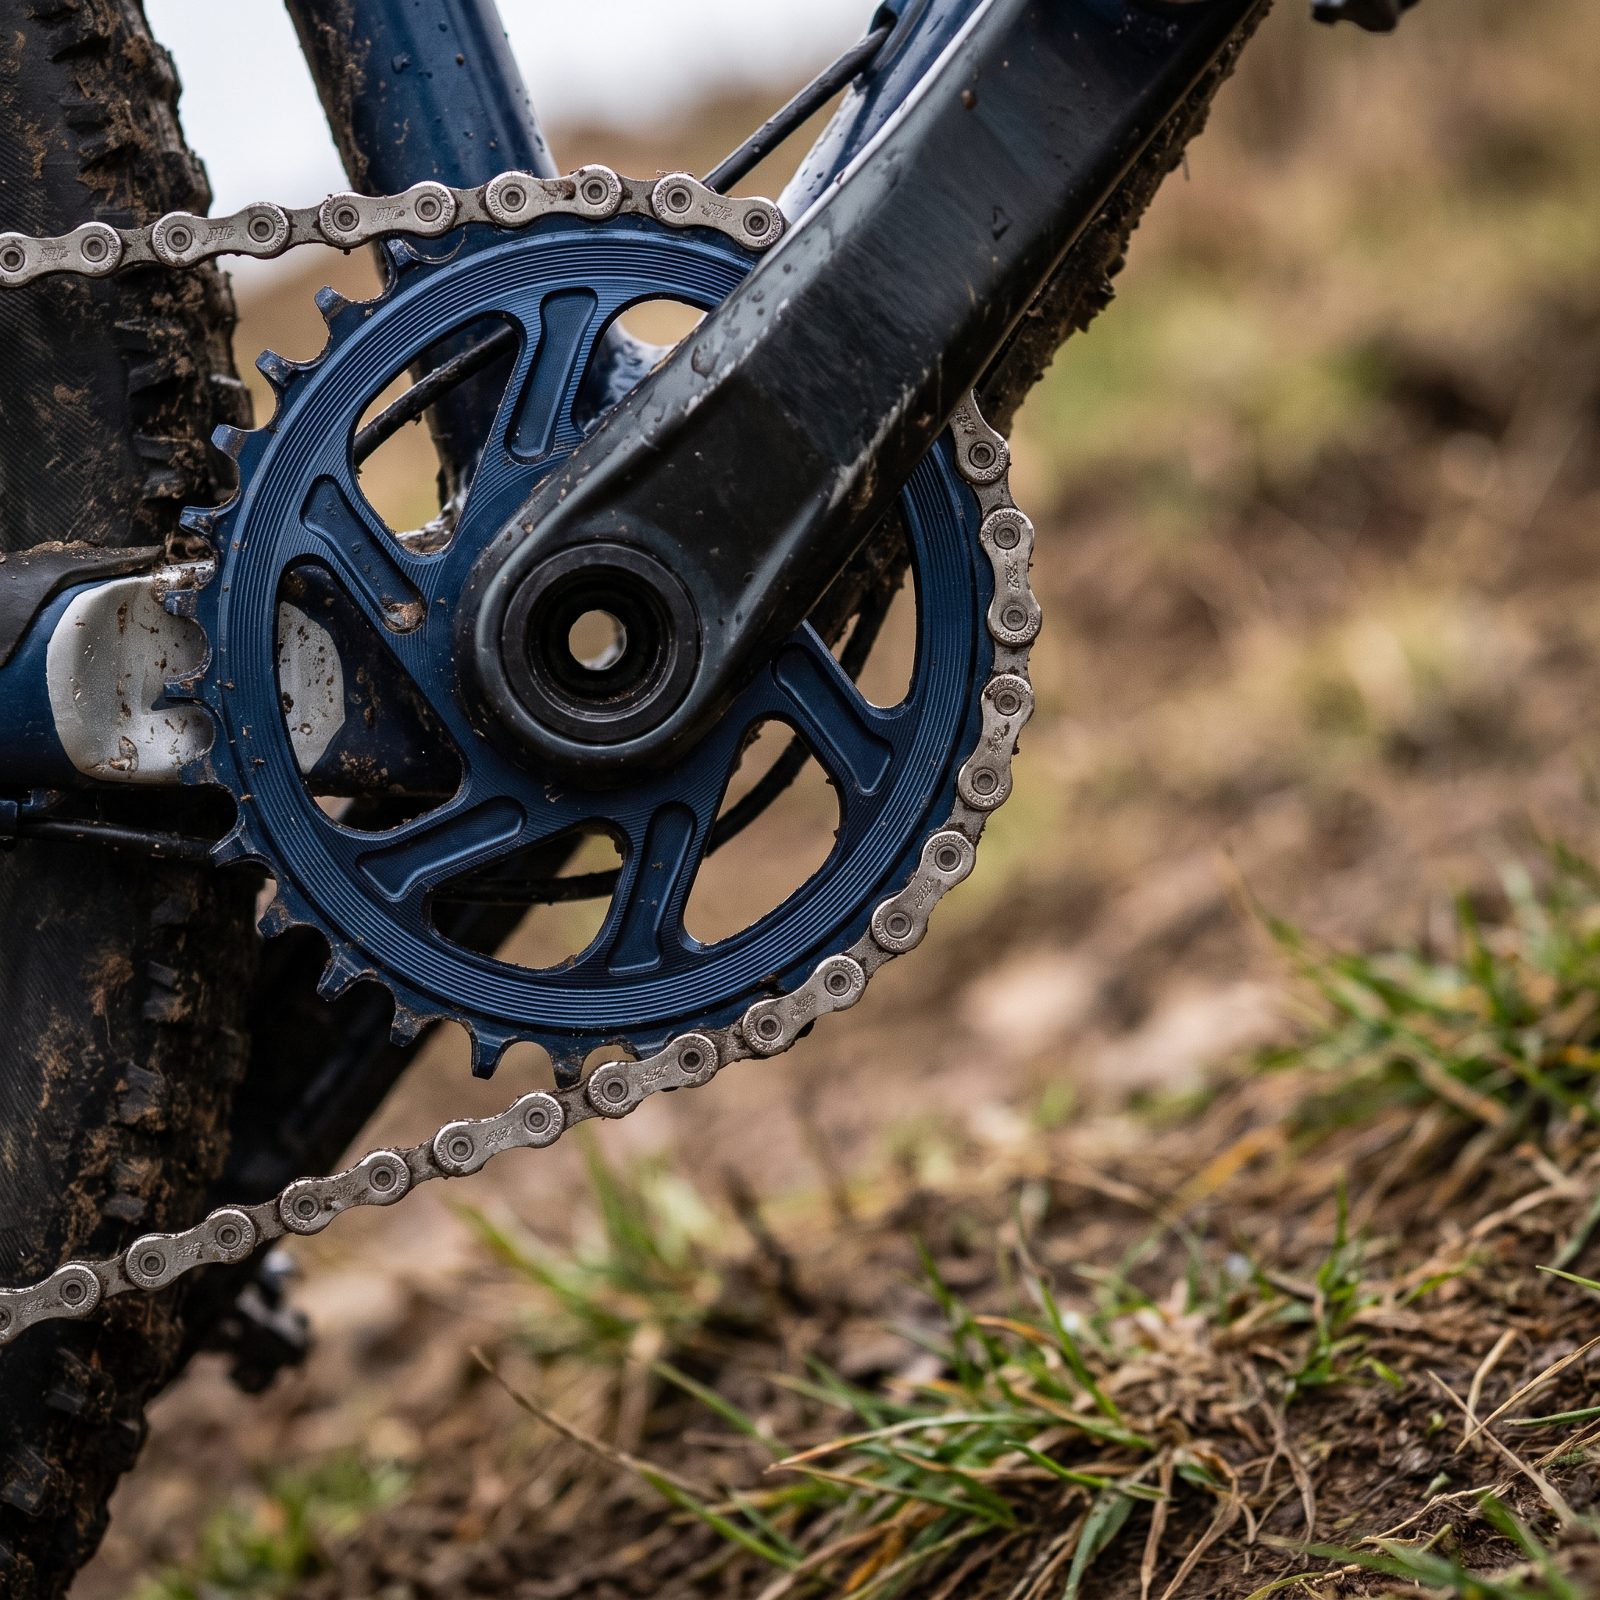
Pedaling has a dead spot. Twice per revolution, top and bottom of the stroke, your legs produce almost nothing while your knees whip through the transition. Grind up a climb at low cadence and that dead spot becomes a lurch you can actually feel through the whole bike.
An oval chainring varies its effective size through the pedal circle, growing where you push hard and shrinking through the dead zone so the ring matches the uneven power your legs really make. Smoother stroke, better traction, because the rear wheel gets a steady pull instead of pulse-and-pause.
24. Run a Left-Crank Power Meter to Stop Blowing Up on the First Pitch
The classic climbing mistake happens in the first two minutes. Fresh legs, adrenaline, and a steep ramp send riders charging off the bottom at a number they can’t hold, and the whole rest of the climb turns into damage control.
A left-crank power meter measures one leg and doubles it, giving a steady wattage reading for a fraction of what a dual-sided unit costs. Watch the number instead of your legs and you’ll see the early surge for what it is: a loan against the top of the climb. Hold a pace you can actually sustain, and you arrive stronger.
It’s the least romantic upgrade here and one of the most effective. The power doesn’t lie the way fresh legs do.
23. Put Live Gradient on the Bike Computer
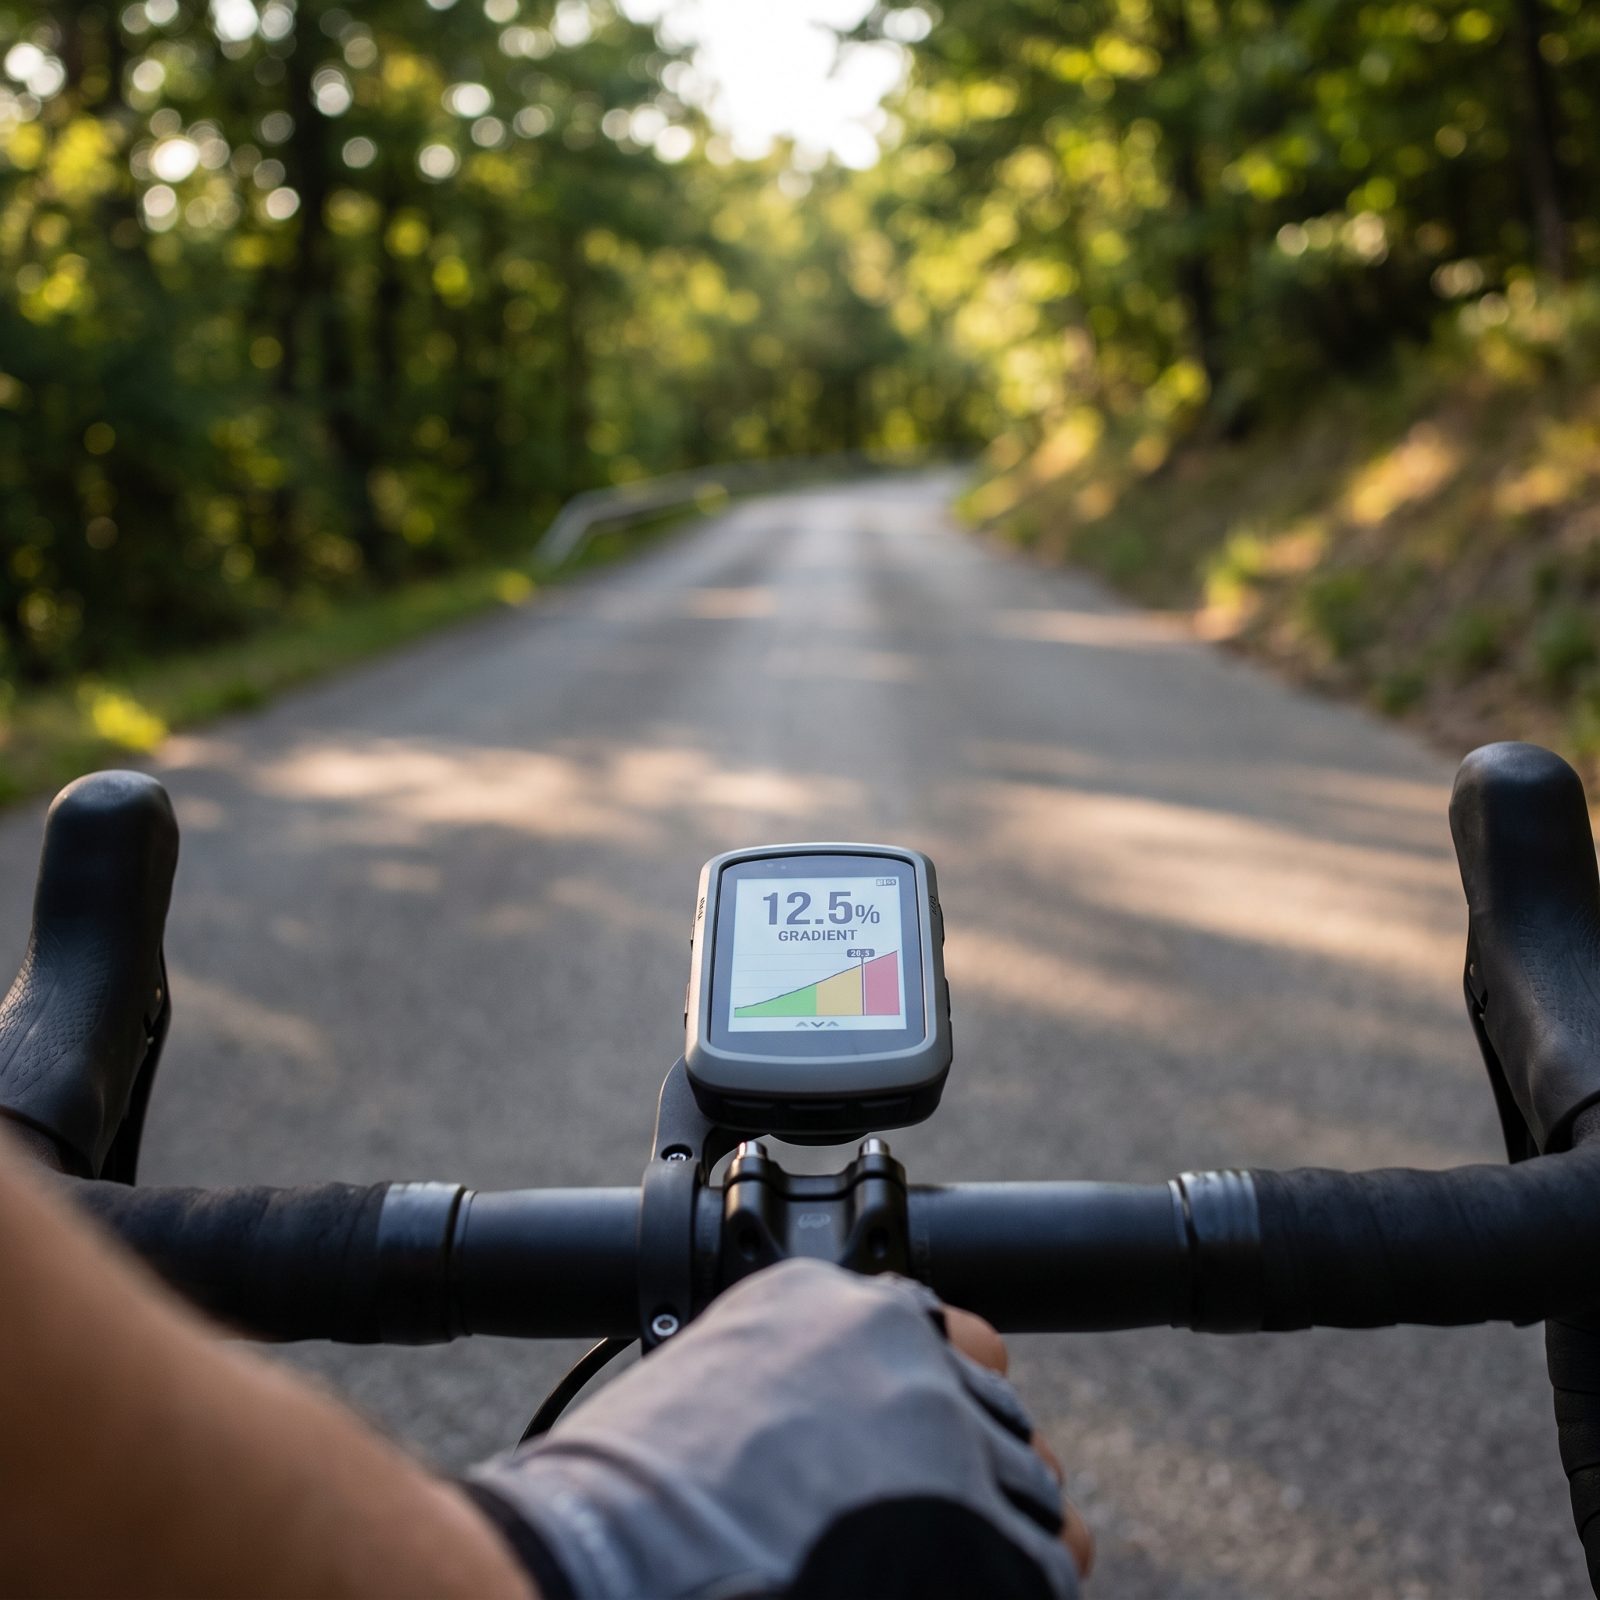
Your eyes lie about how steep a road is. A pitch that looks gentle can be dragging you up at eight percent, and there you sit, frustrated, convinced you’re having a rotten day when you’re really just underestimating the hill.
Set the computer to show live gradient and the guesswork vanishes. See the real number and you can pace honestly, shifting early for the steep bit, settling into a rhythm instead of panicking, and no longer blaming your legs for plain physics.
22. Add a Cadence Sensor to Break the Grinding Habit
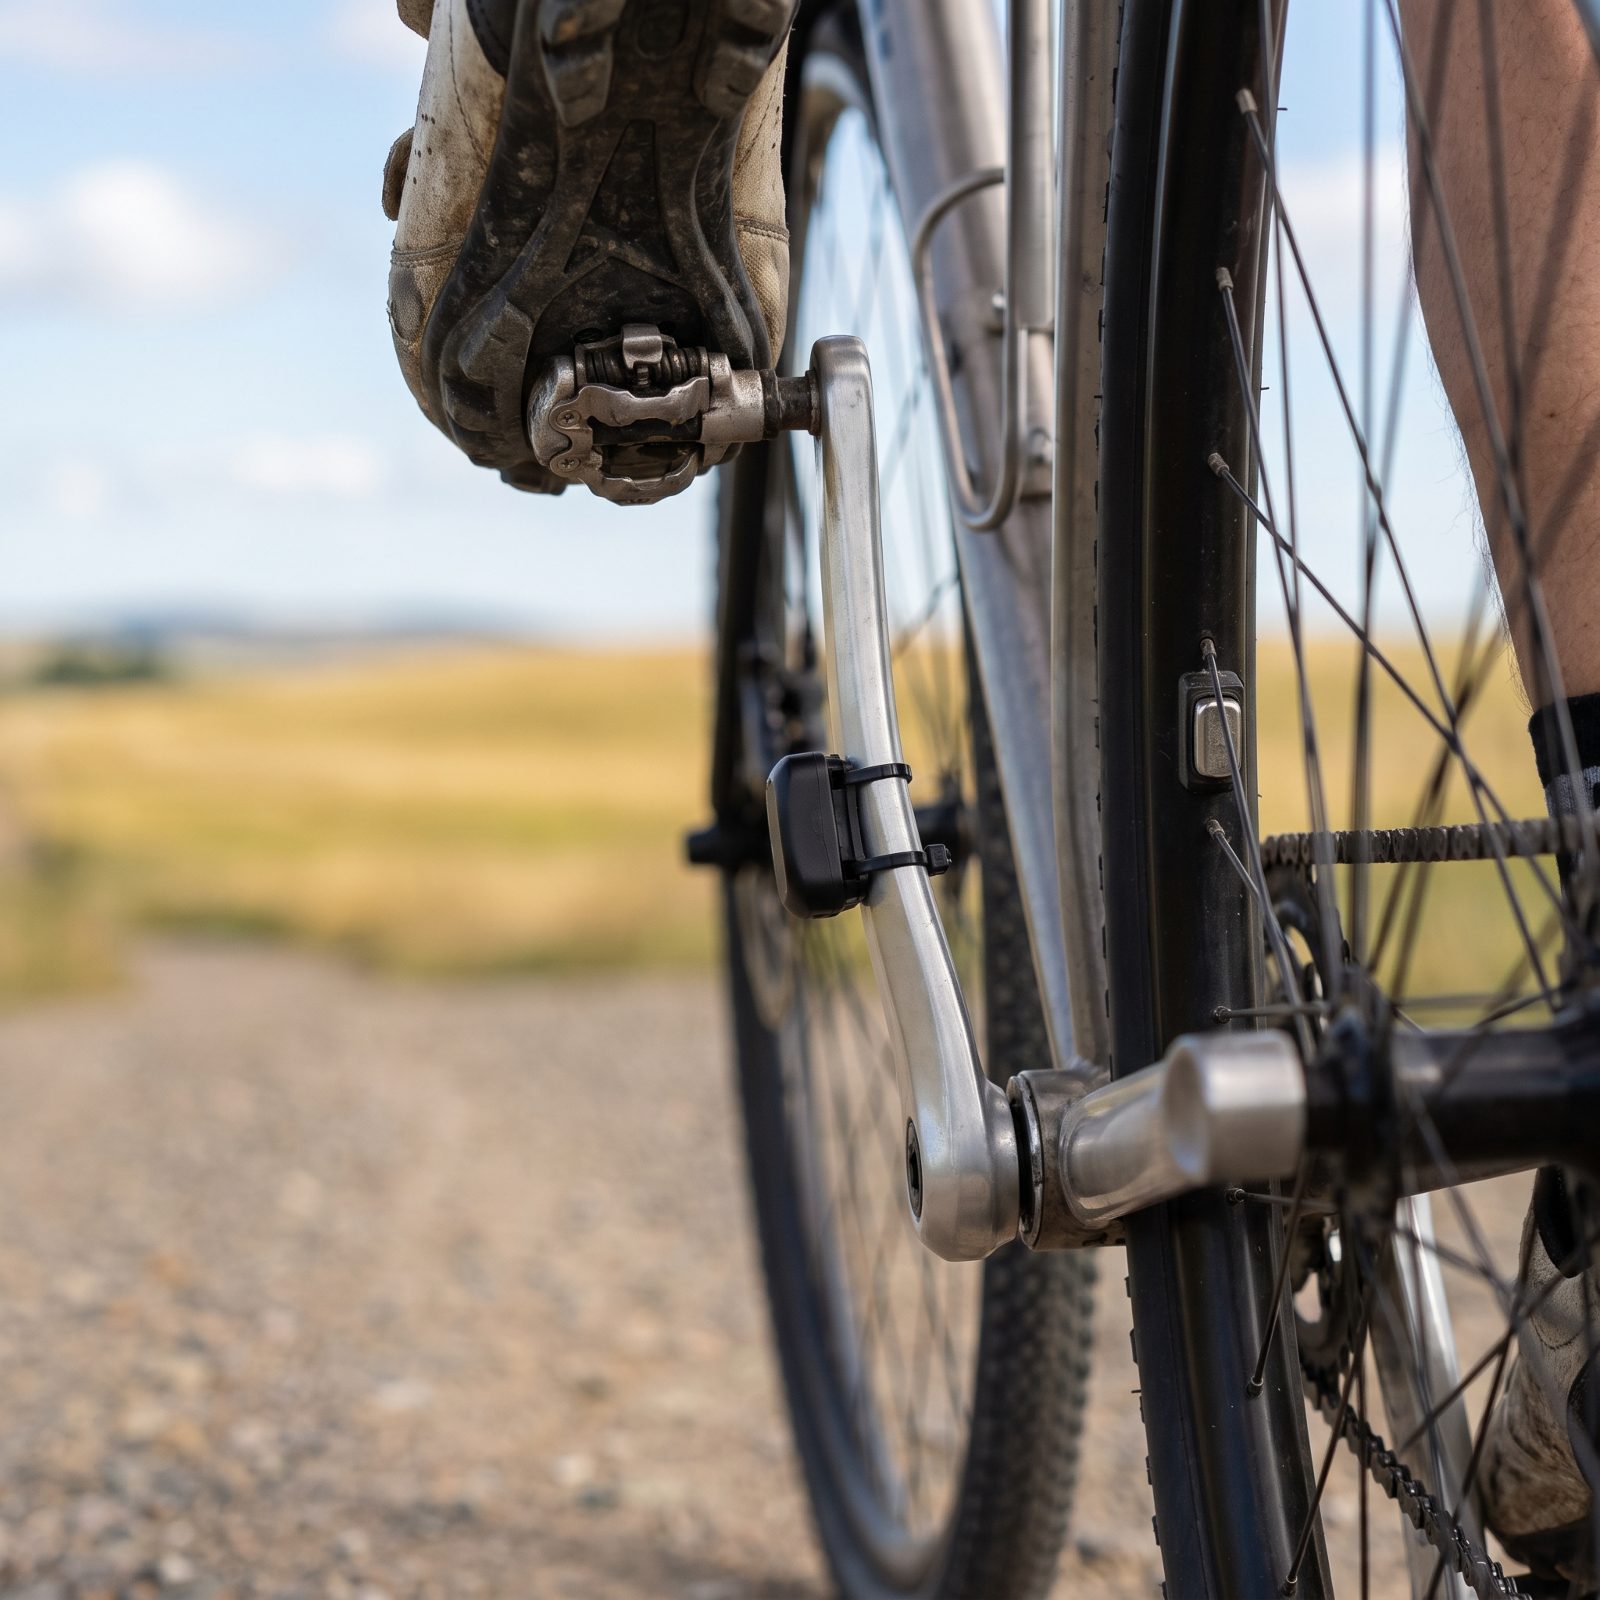
Grinding a tall gear at a crawl feels productive. It isn’t. Low cadence loads your muscles hard, floods them with fatigue faster, and chews through the energy you need for the top of a long climb. Most self-taught riders grind without knowing it, because grinding feels strong.
A cadence sensor is a cheap puck that clips to the crank and shows your pedal speed in real time. Spin a lighter gear on climbs and the work shifts off your muscles and onto your lungs and heart, which recover far better mid-effort.
Cheap, five minutes to install, and it rewires one of the most common bad climbing habits there is.
21. Install a Dropper Post for Technical Starts and Step-Ups
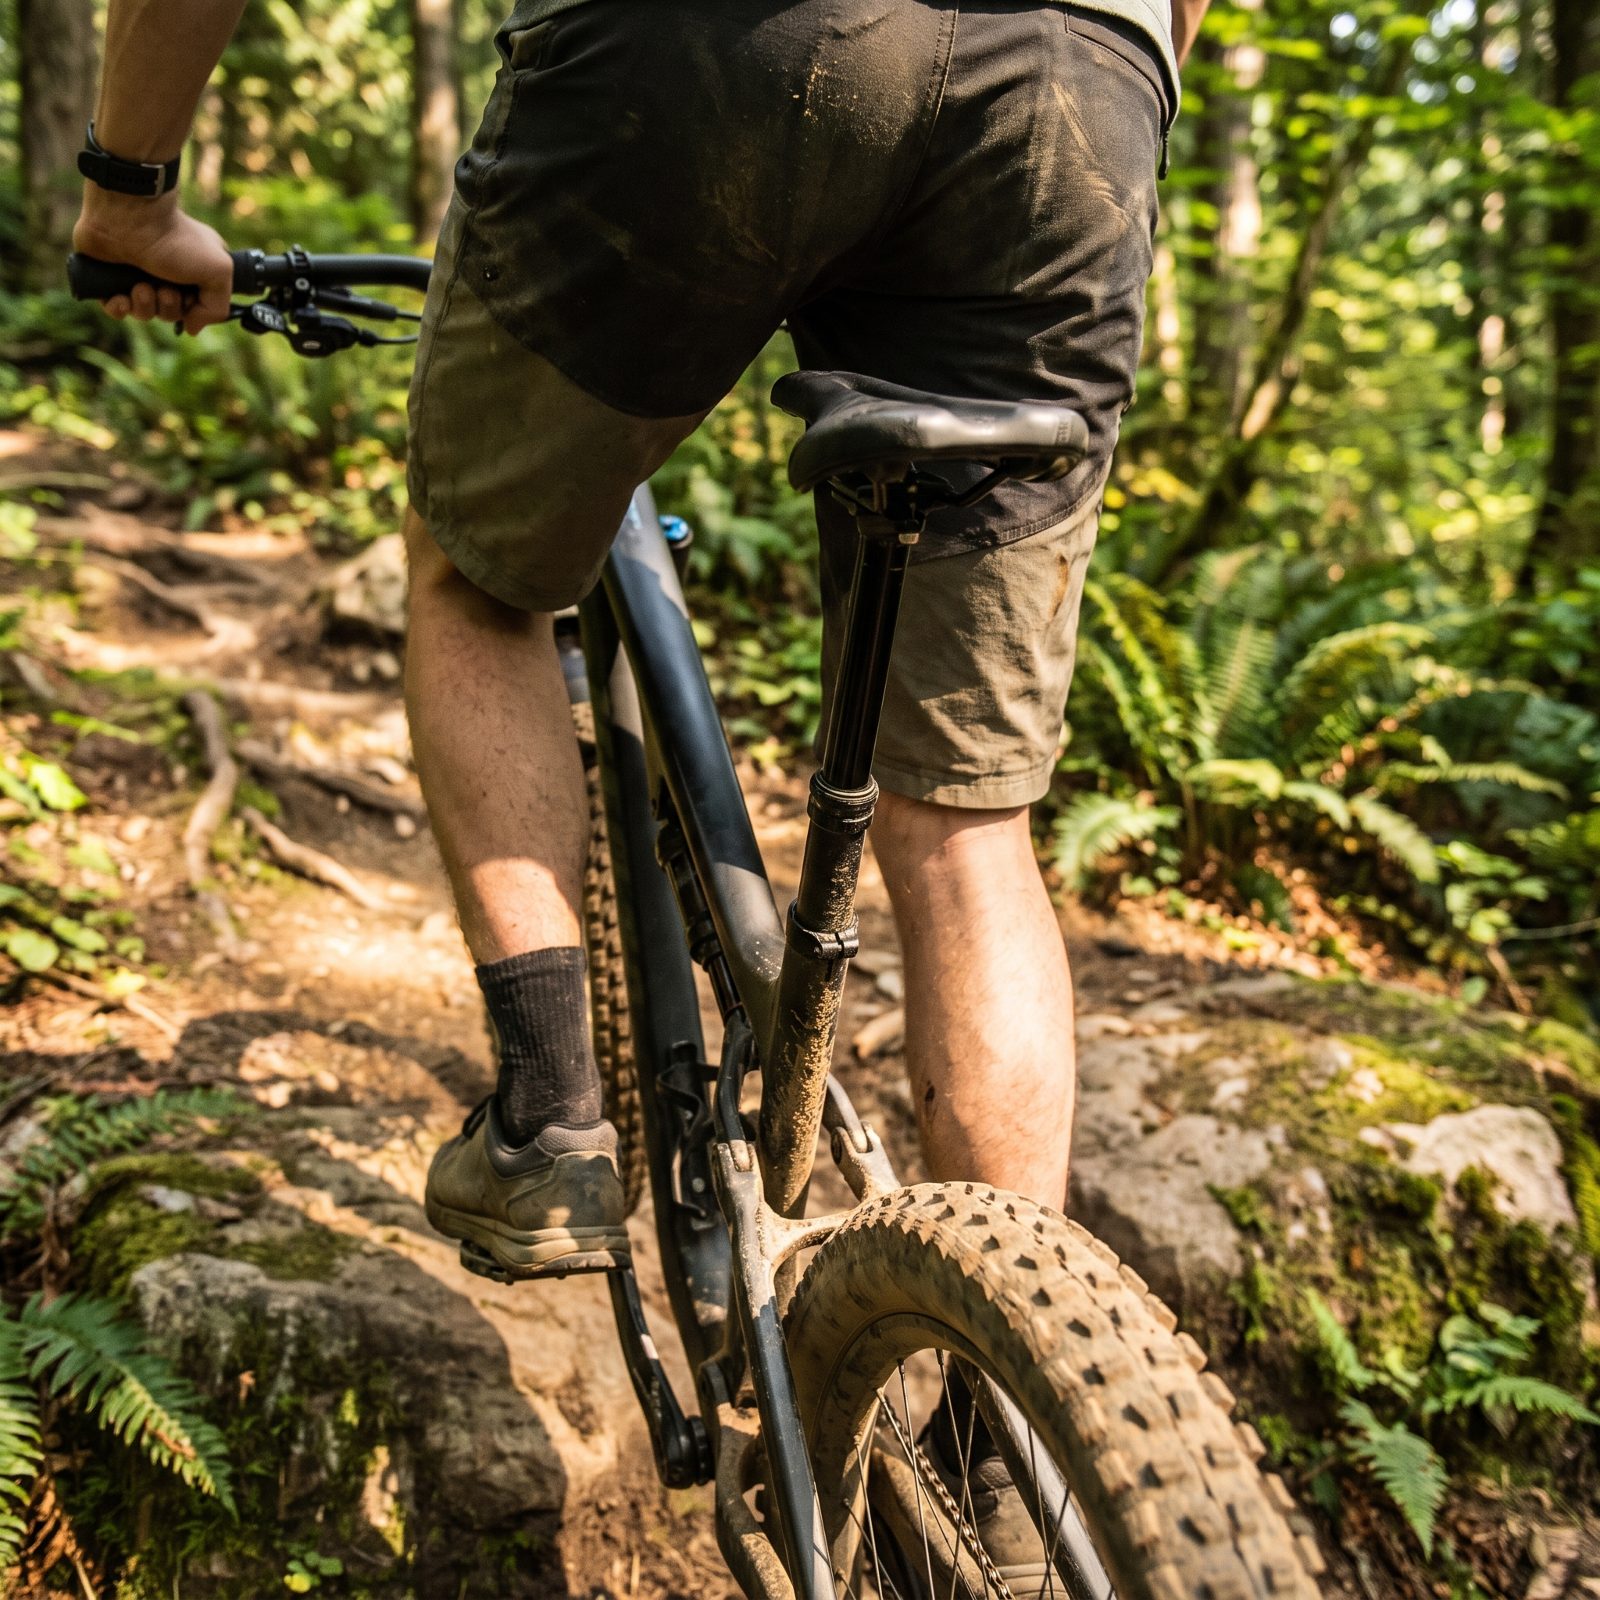
Most riders write off a dropper post as a descending toy. On a steep technical climb it earns its keep a different way entirely. Drop the saddle a few inches when the trail kicks up through roots, ledges, or a tight switchback, and your weight gets low while your body stays free to shift. You can dab, step up onto a rock, and remount without the nose jamming into your thigh.
The lever lives under your thumb. No stopping, no fumbling with a seatpost collar in the cold. Cable-actuated models run a couple hundred bucks or so; the slicker hydraulic ones cost more and need less fiddling. For anyone who rides chunky uphill terrain, it rewrites how reachable a climb feels.
20. Tip the Saddle Nose Down Slightly for Long Climbs
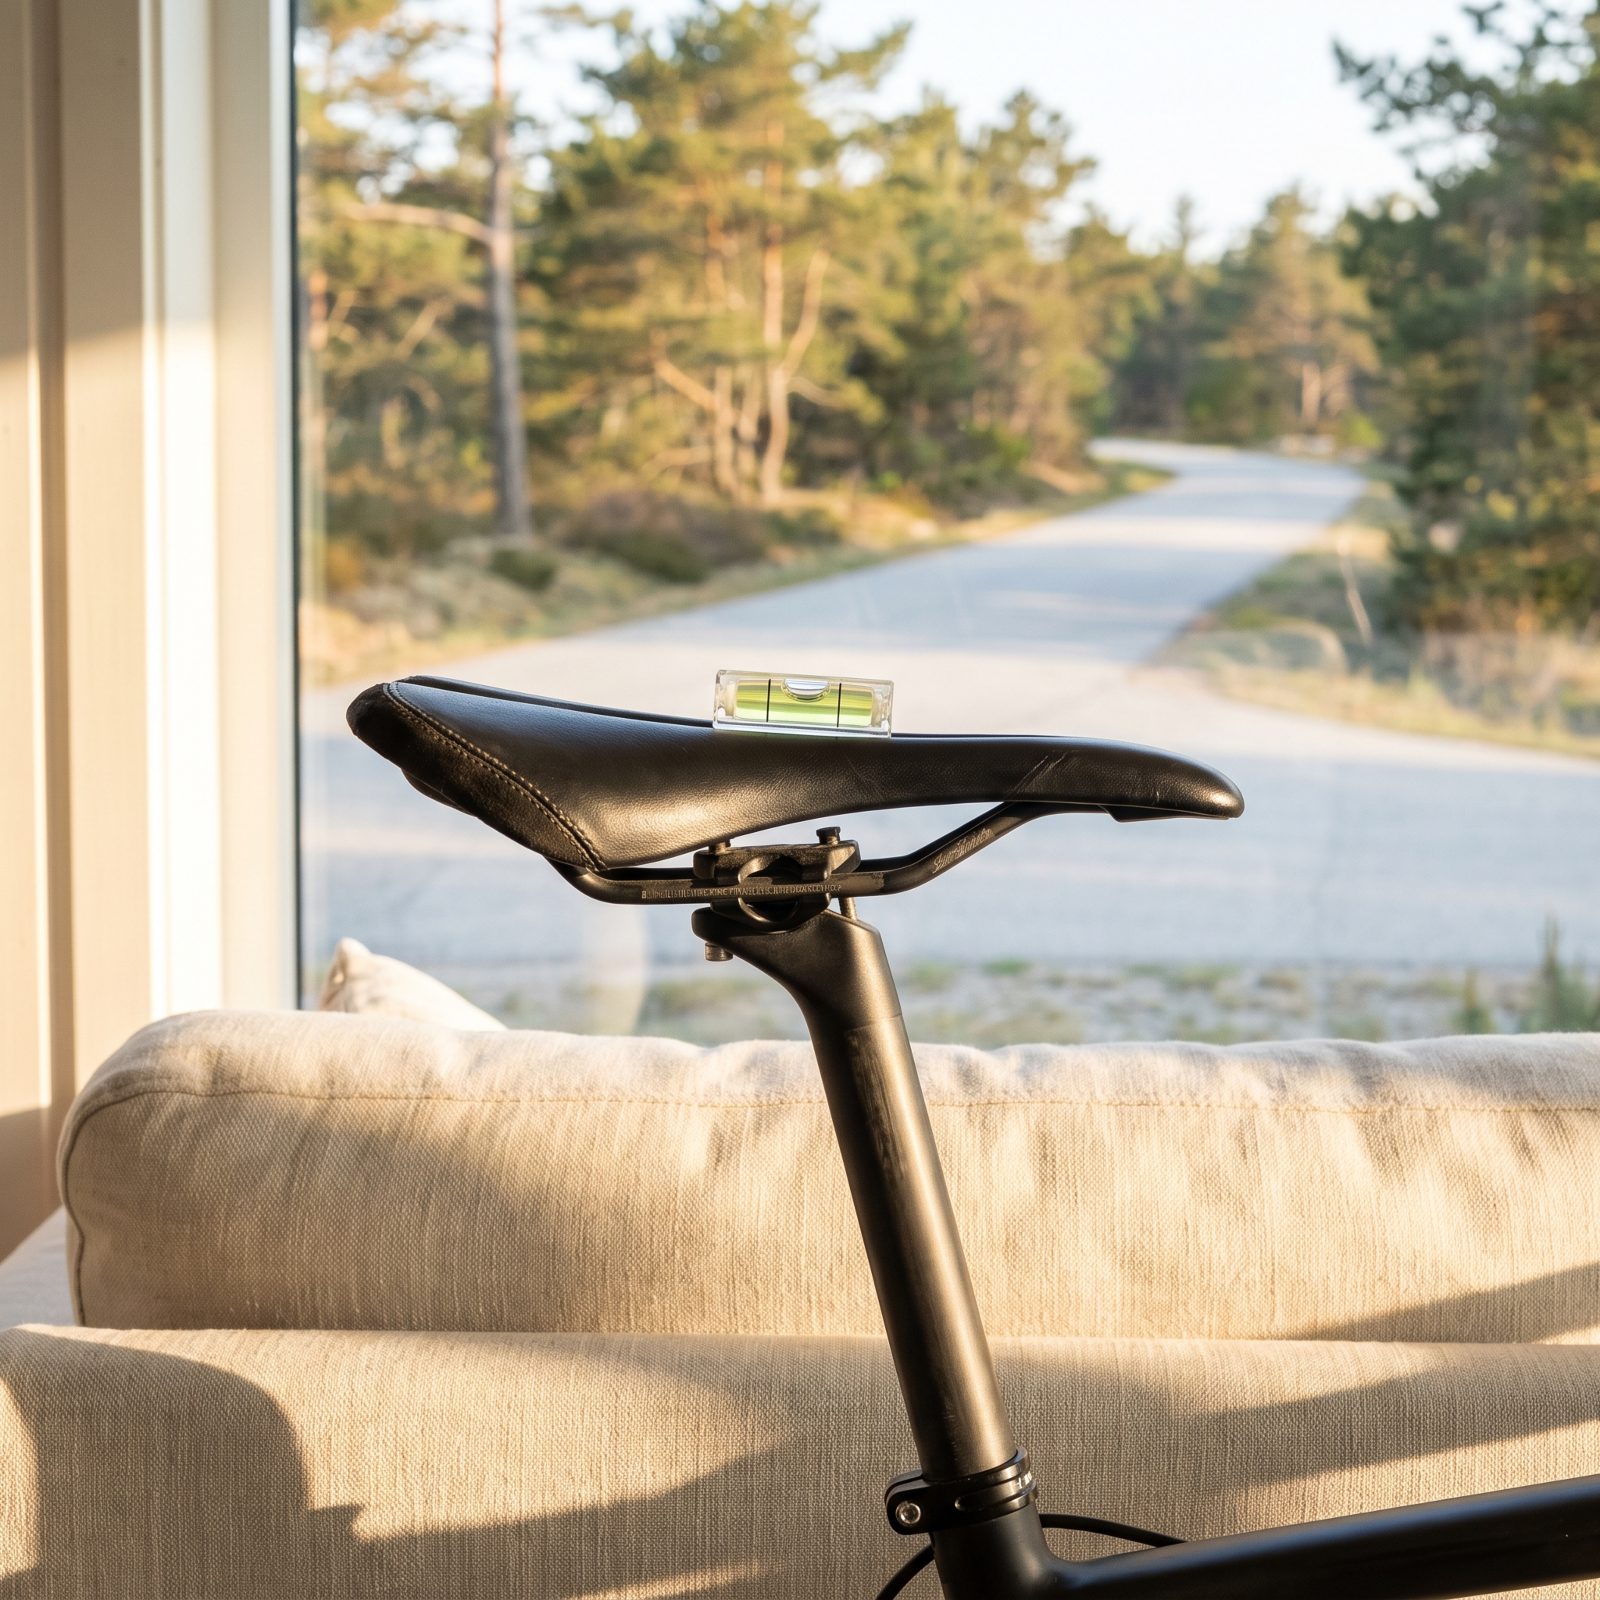
A degree or two of nose-down tilt sounds like nothing. On a sustained climb it quietly fixes a problem you may not even know you have. When the grade pitches up, your effective saddle angle rotates right along with it, so a level saddle ends up pointing uphill and digging into soft tissue. A touch of forward tilt hands you back a neutral perch.
Go too far, though, and you slide forward onto your hands. Your wrists pay for it. The sweet spot is small. Loosen the clamp, nudge it, ride a real climb, adjust again.
19. Correct a Saddle That Is Set Too Low
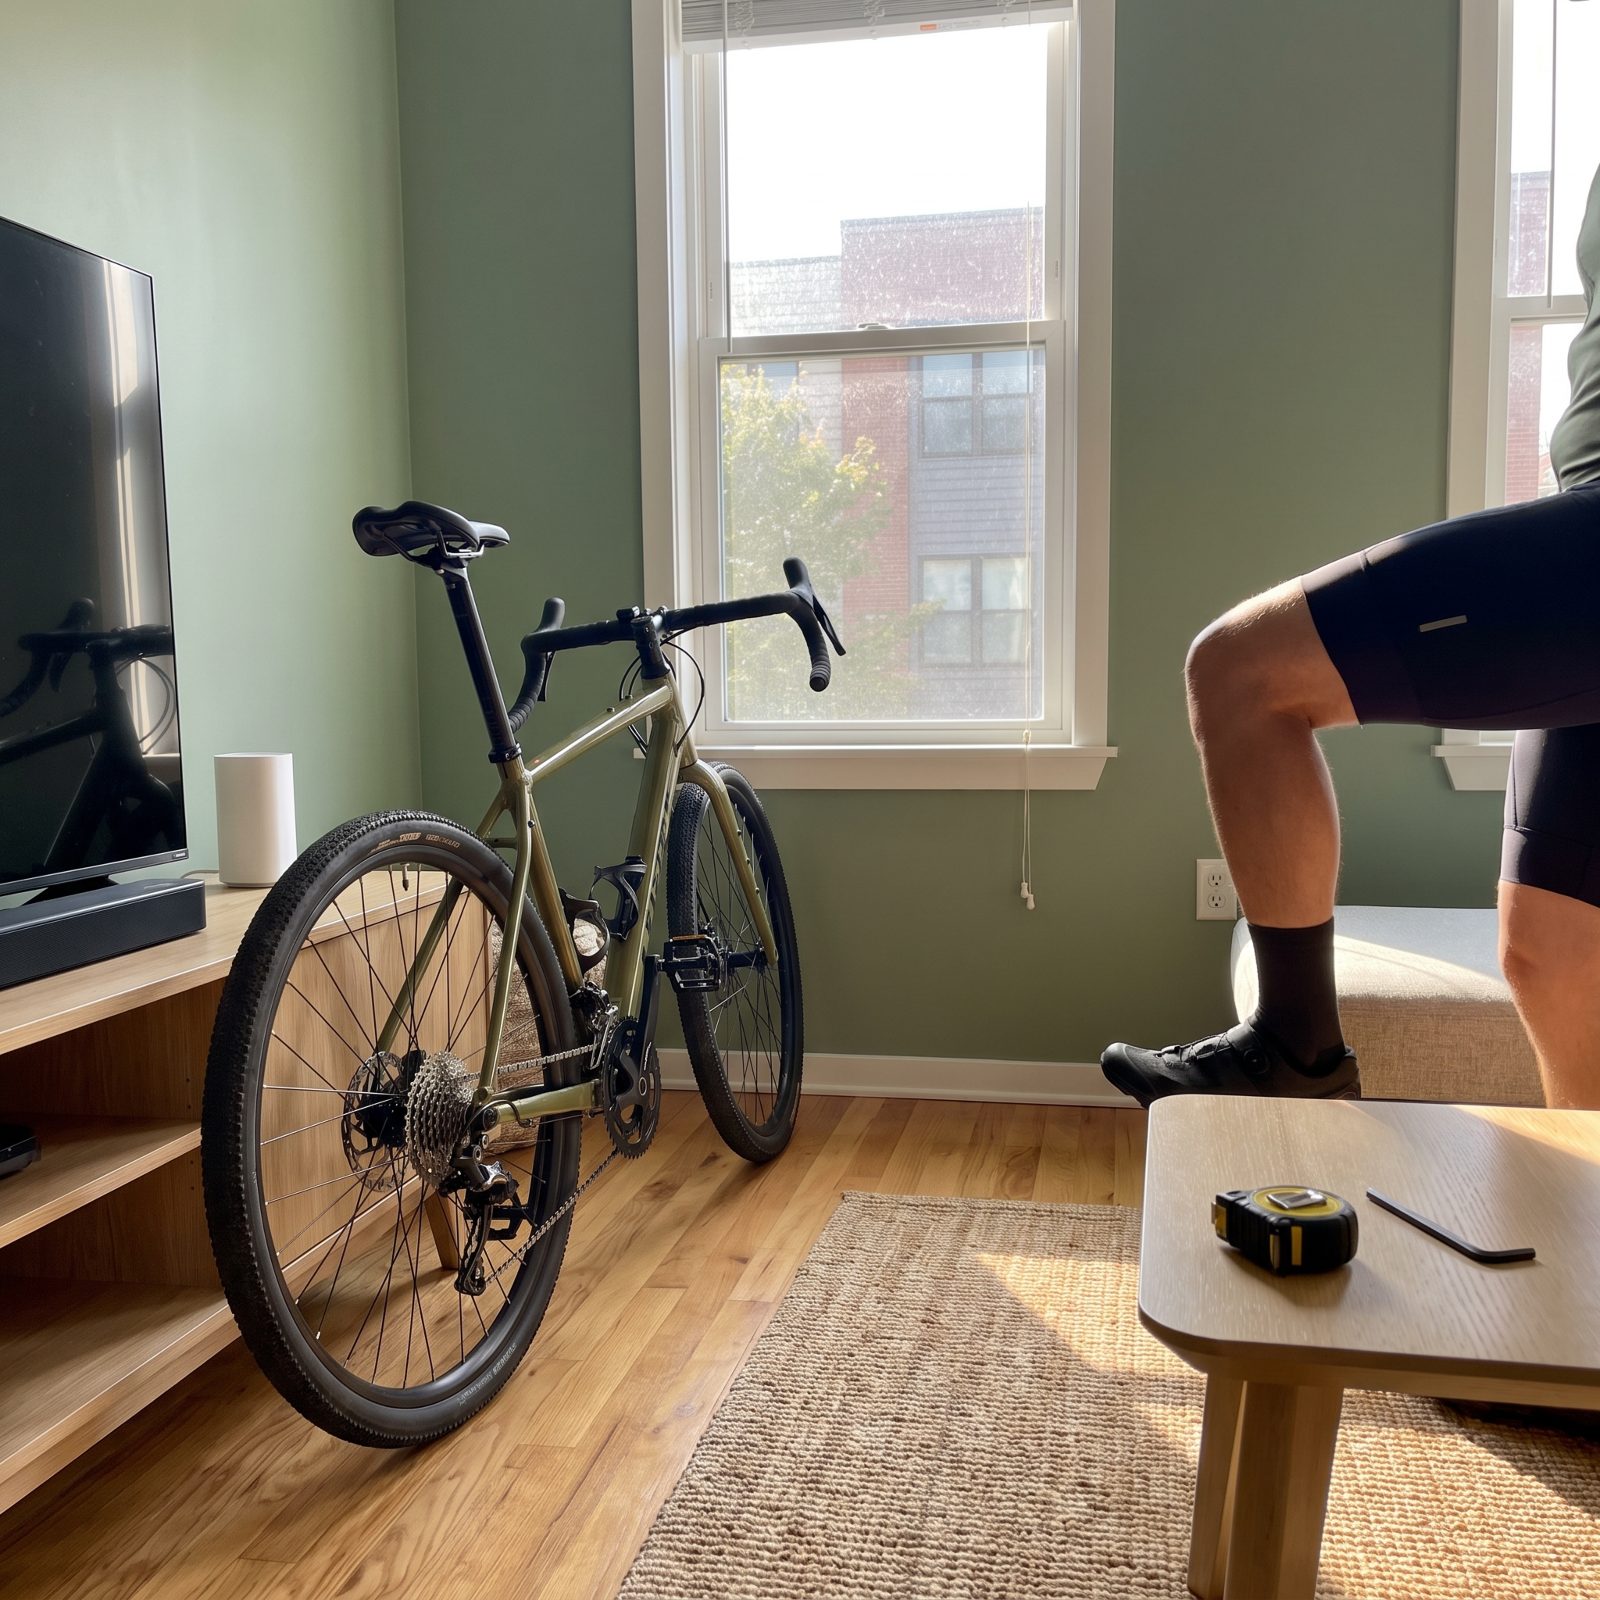
A low saddle is the slow leak in a lot of climbing legs. Drop it even a centimeter below where your leg wants to extend, and every pedal stroke dumps work onto your quads that your glutes and hamstrings should be sharing. Over a long climb that tallies up to real fatigue, and sometimes a cranky knee.
Here’s the rough check: at the bottom of the stroke, with your heel on the pedal, your leg should be straight, which leaves a slight bend at the knee when you pedal normally on the ball of your foot. Most people set saddles low because flat-footing at a stop feels safe. You’re trading one second of comfort for an hour of wasted effort.
18. Move Supplies From a Backpack Into a Frame Bag
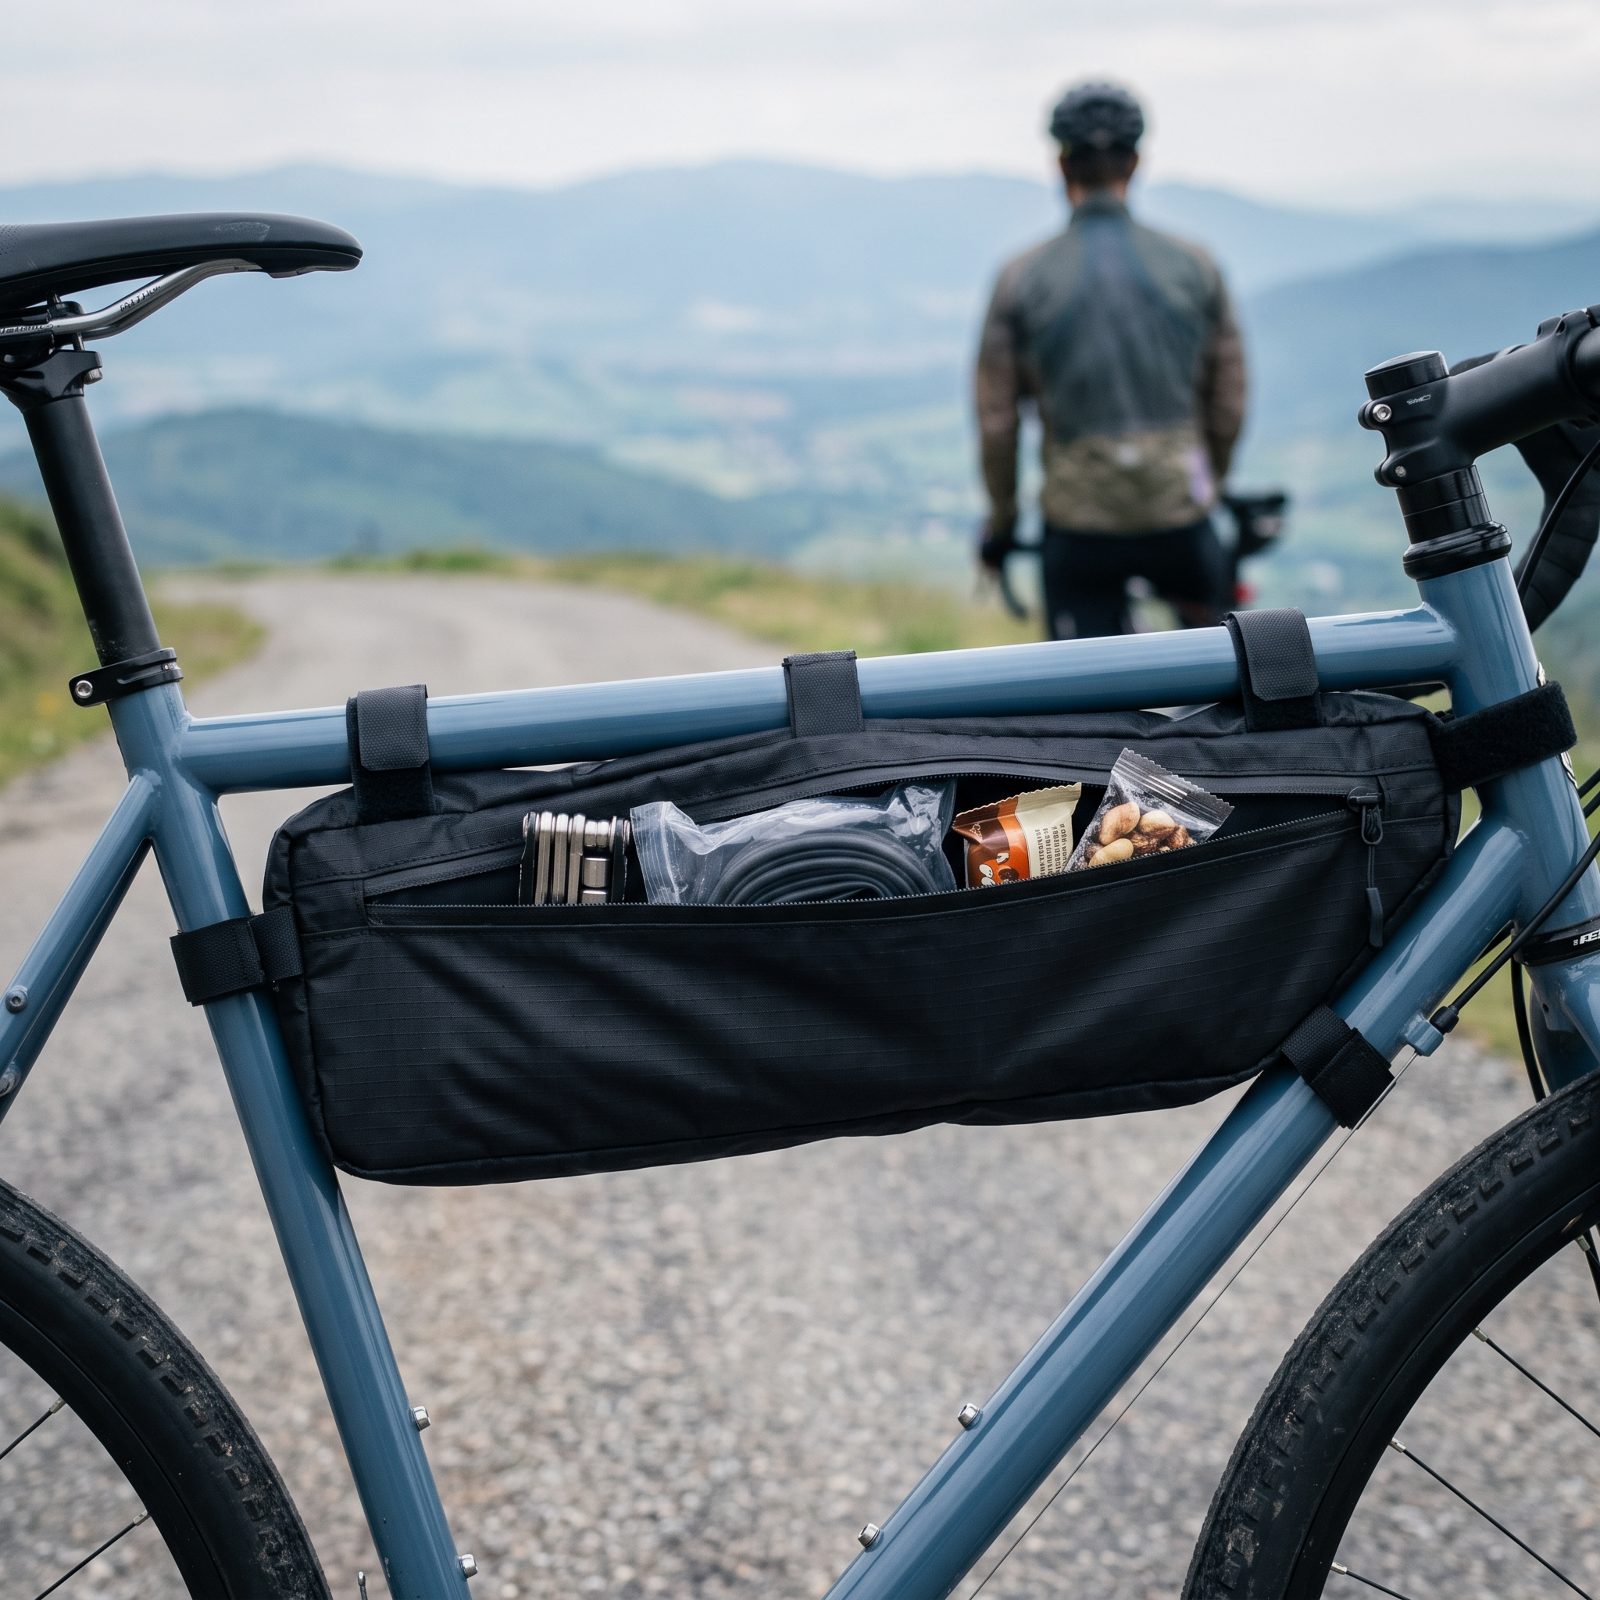
Carry five pounds on your back and your legs still carry it, just with worse leverage. Weight on your shoulders hoists your center of gravity, sweats up your spine, and sloshes around when you stand to climb. Move that same load into a frame bag and the bike shoulders it instead, low and centered.
Your back finally breathes. The bike feels planted. A stuffed pack, meanwhile, rounds your shoulders and presses on your diaphragm, which is about the last thing you want when you’re gasping up a grade. A half-frame bag tucks into the main triangle and keeps the weight right where the bike wants it.
17. Center Cargo Between the Axles Instead of Over the Rear Wheel
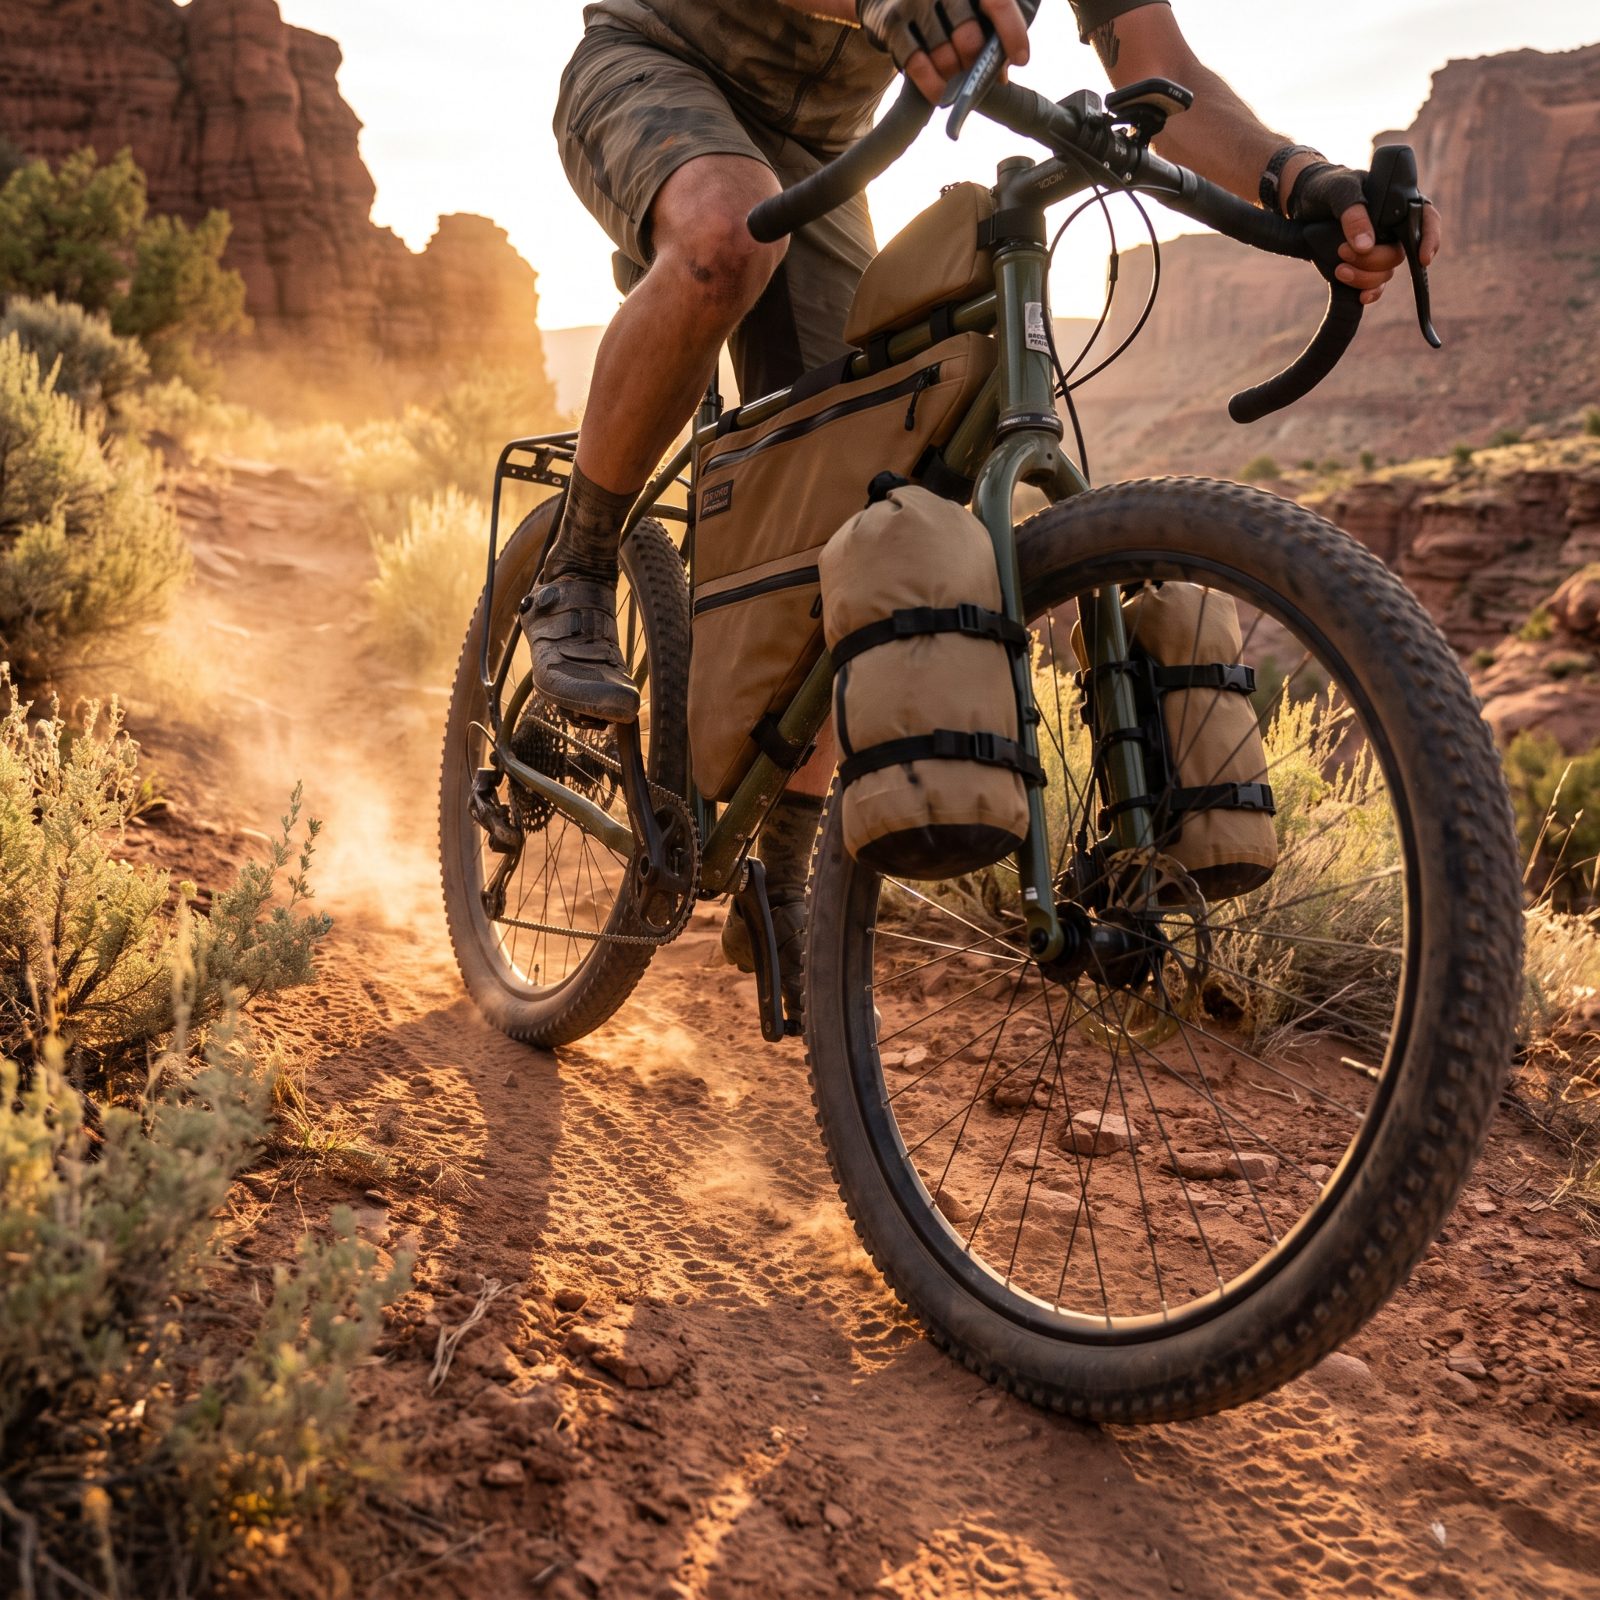
Pile everything onto a rear rack and the bike turns into a pendulum. The front wheel goes light, the steering gets vague, and when you stand to climb the back end wags like a tail. Load drifts rearward because that’s where racks and panniers live. Wrong place for climbing, wrong place for control.
Spread it toward the middle of the wheelbase instead. Frame bag, fork cages, a modest load up front to balance the tail. The bike tracks truer, the front stays weighted on steep pitches, and the handling quits fighting you.
16. Carry a Route-Sized Repair Kit Instead of the Entire Workshop
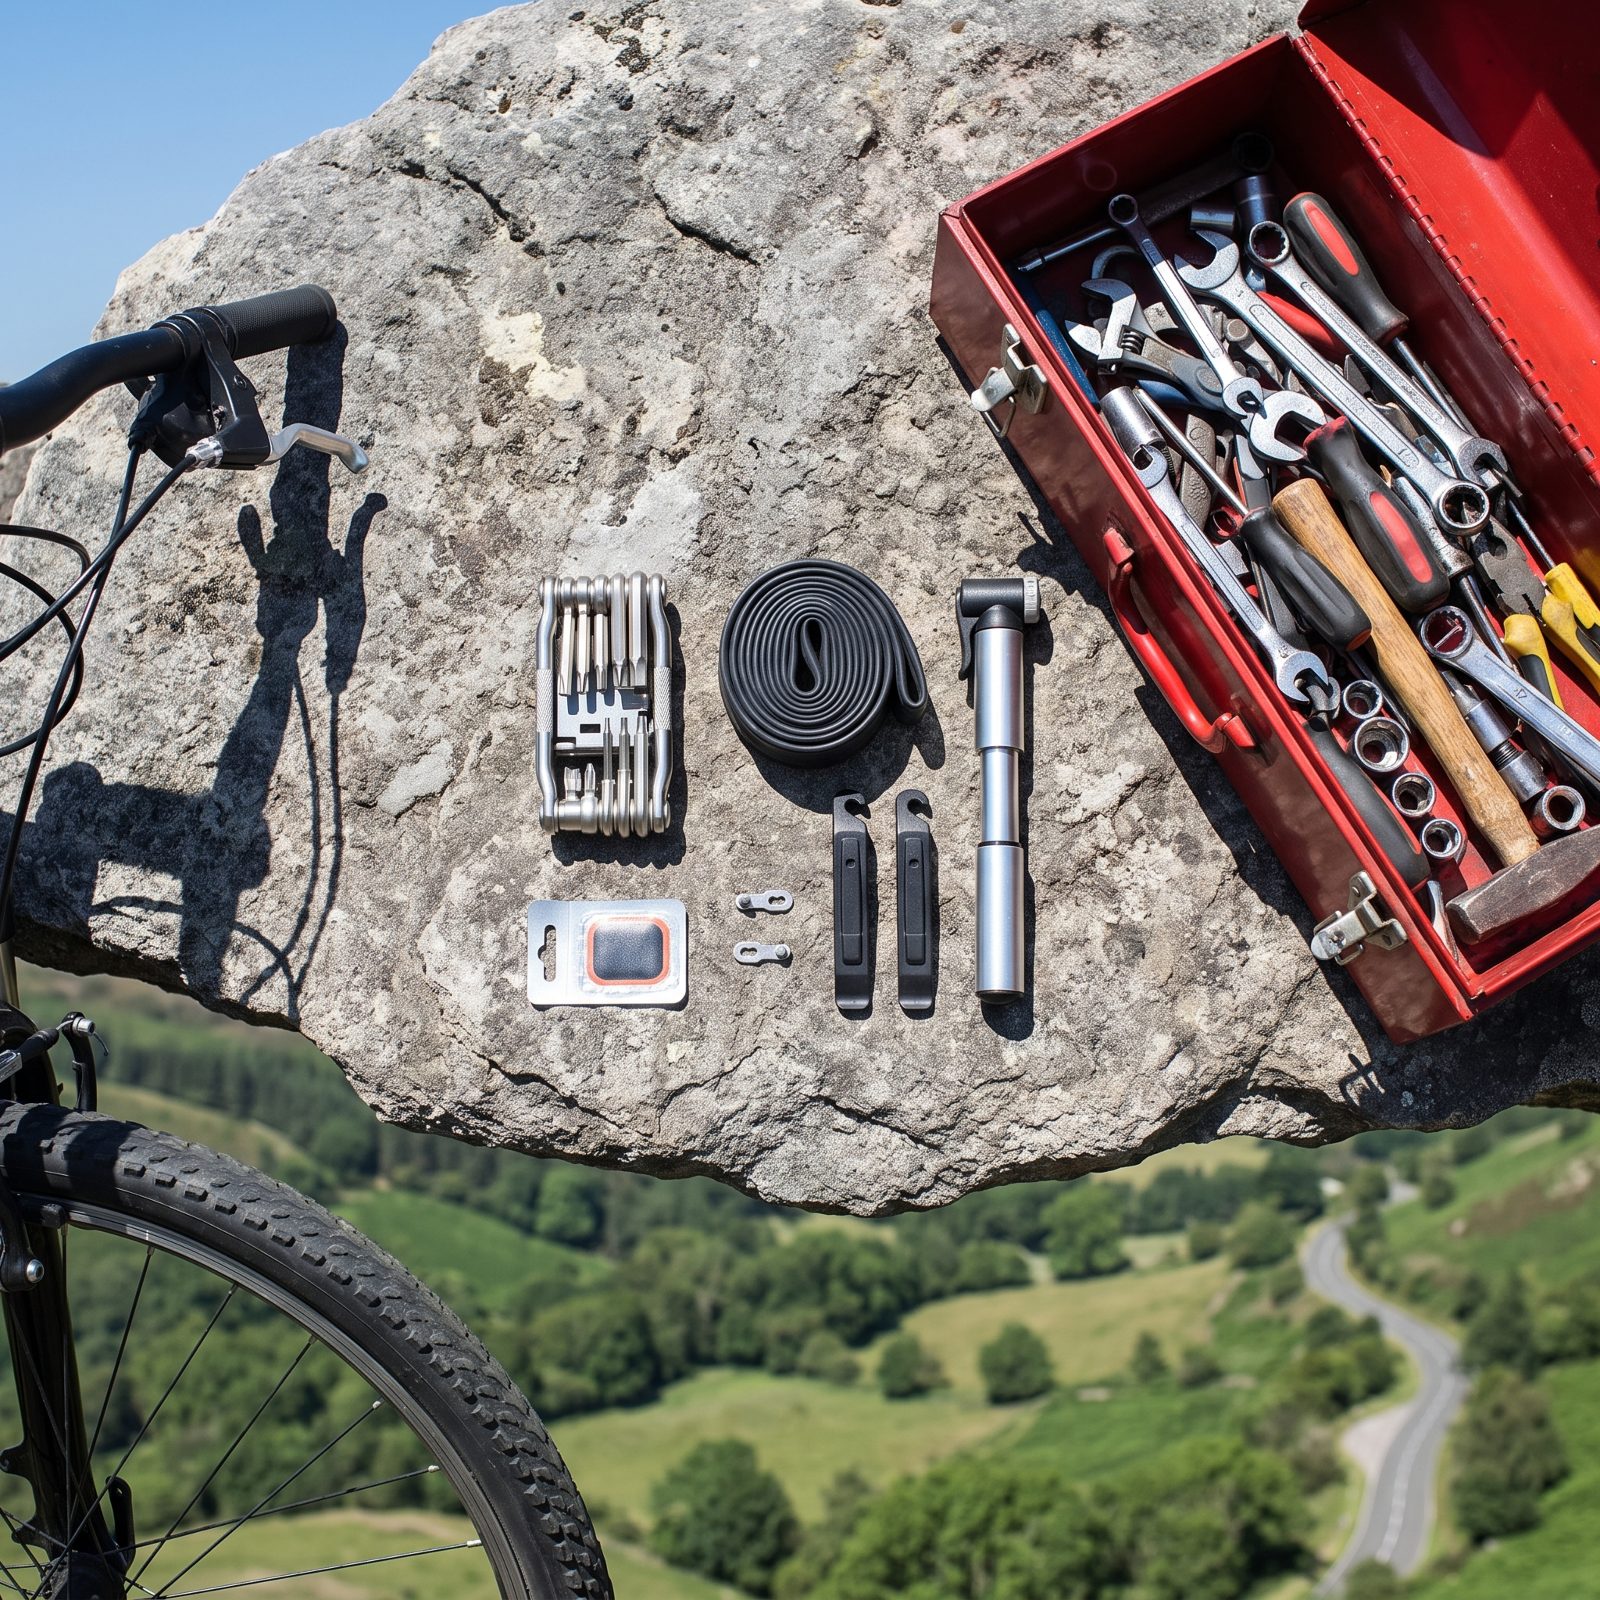
There’s a certain rider who packs for the apocalypse and then wonders why the climb feels heavy. A spare chainring. A full set of hex keys. A chain breaker for a chain that will never break. All of it riding along as dead weight on every pedal stroke of every outing.
Match the kit to the ride. A day loop near home needs a tube, levers, a pump, a multi-tool, and a quick link — done. A remote bikepacking route justifies more. Weigh what you actually reach for over a season and most of the backup gear never leaves the bag. It just climbs every hill with you for nothing.
15. Lower Tire Pressure for More Climbing Traction
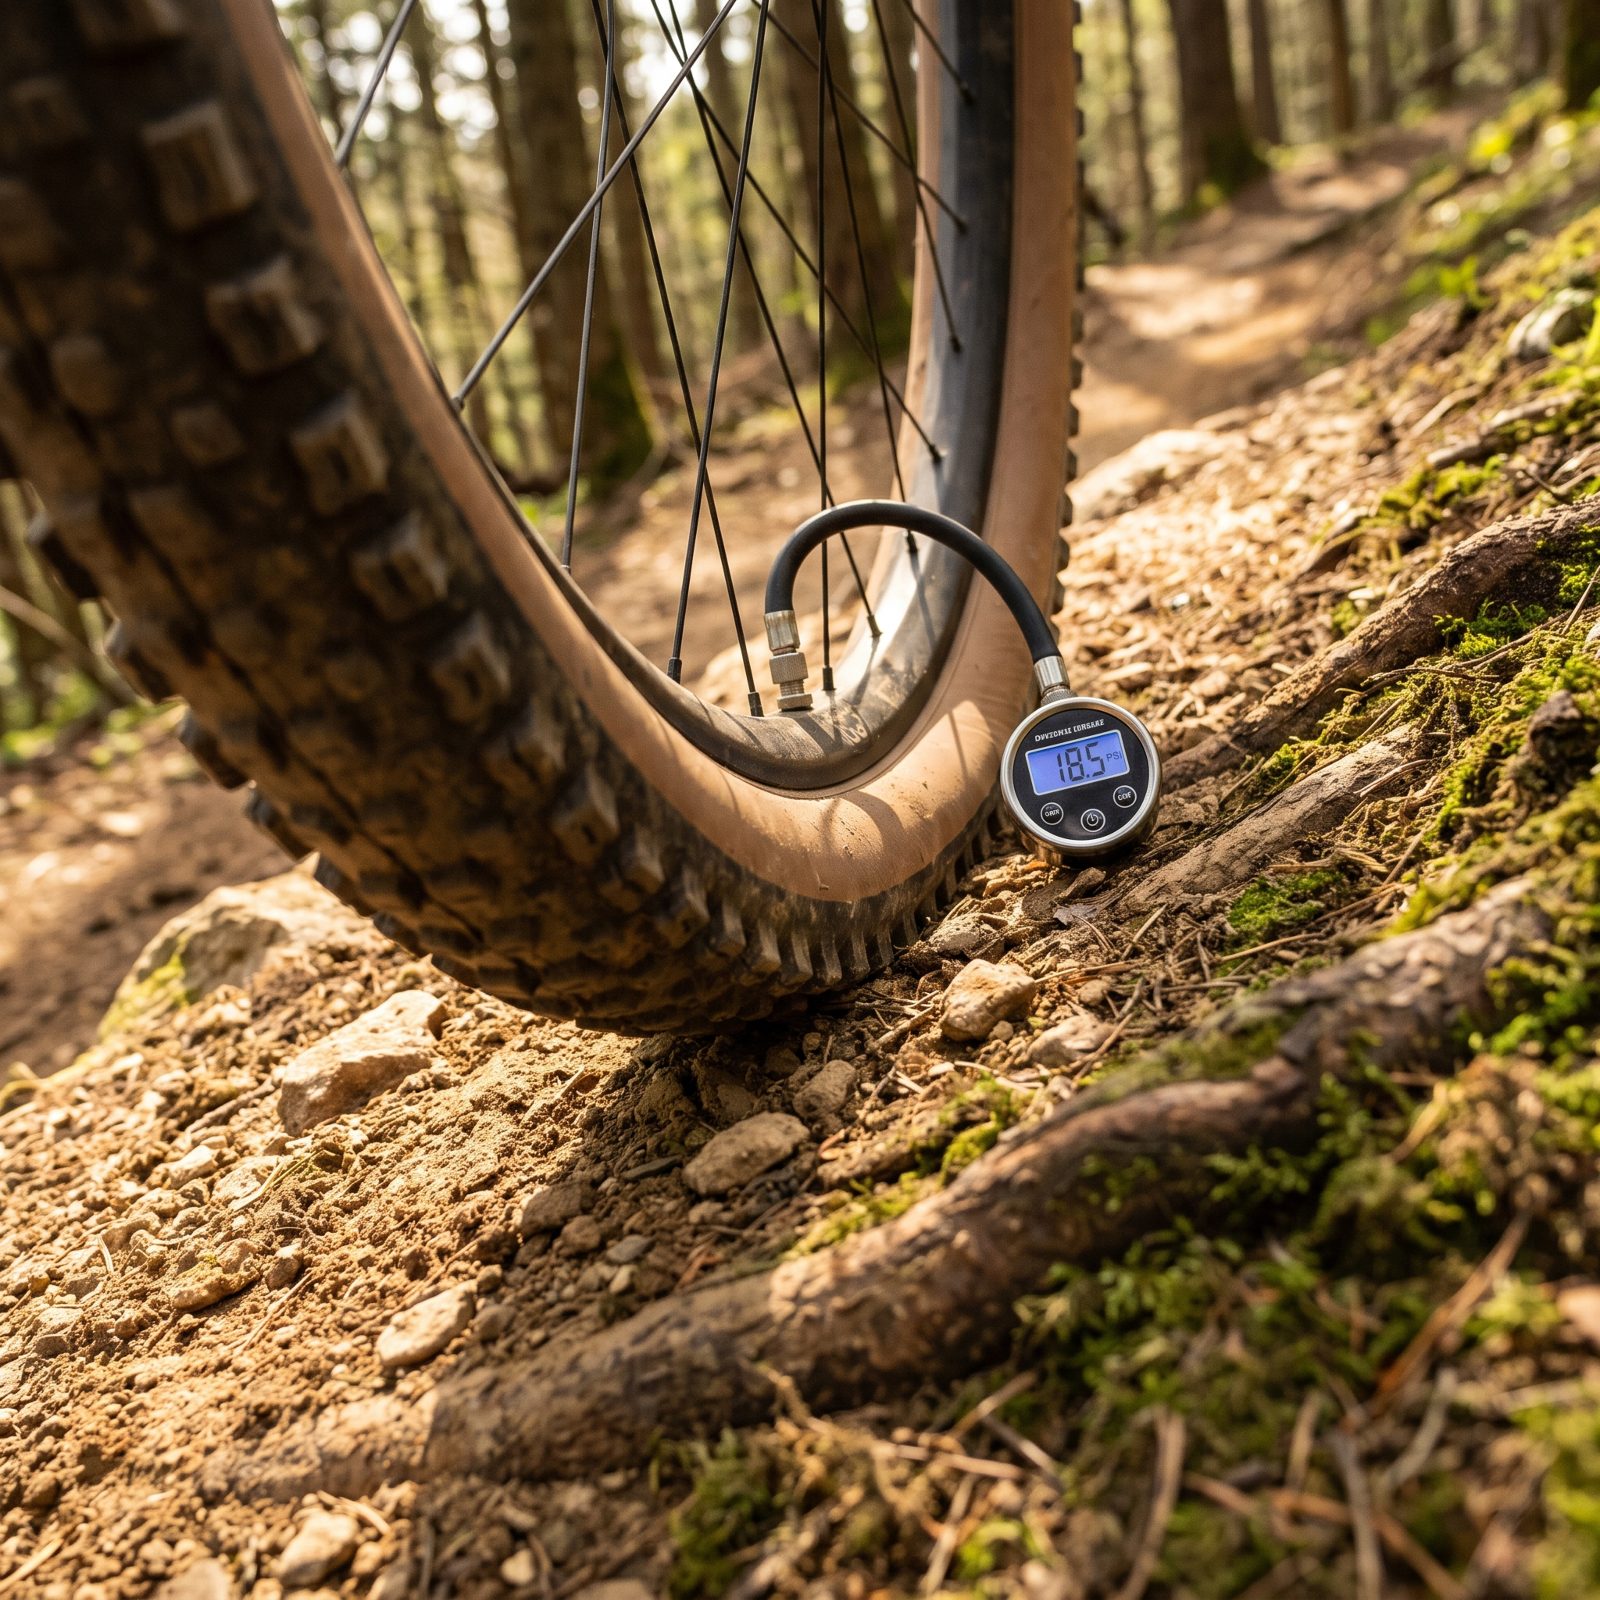
Hard tires skip. Soft tires grip. That’s the whole idea. When the trail tilts up and turns loose, an overinflated tire bounces off the small stuff and spins instead of digging in. Let some air out and the casing flattens over roots and rocks, the knobs find purchase, and traction that was slipping suddenly holds fast.
No single right number exists. It rides on tire width, rider weight, and casing. Wider tires and heavier riders can run surprisingly low. Start a few psi below your usual, feel how the climb changes, and keep nudging until it feels planted without squirming through the corners.
14. Convert to Tubeless to Run Lower Pressure Safely
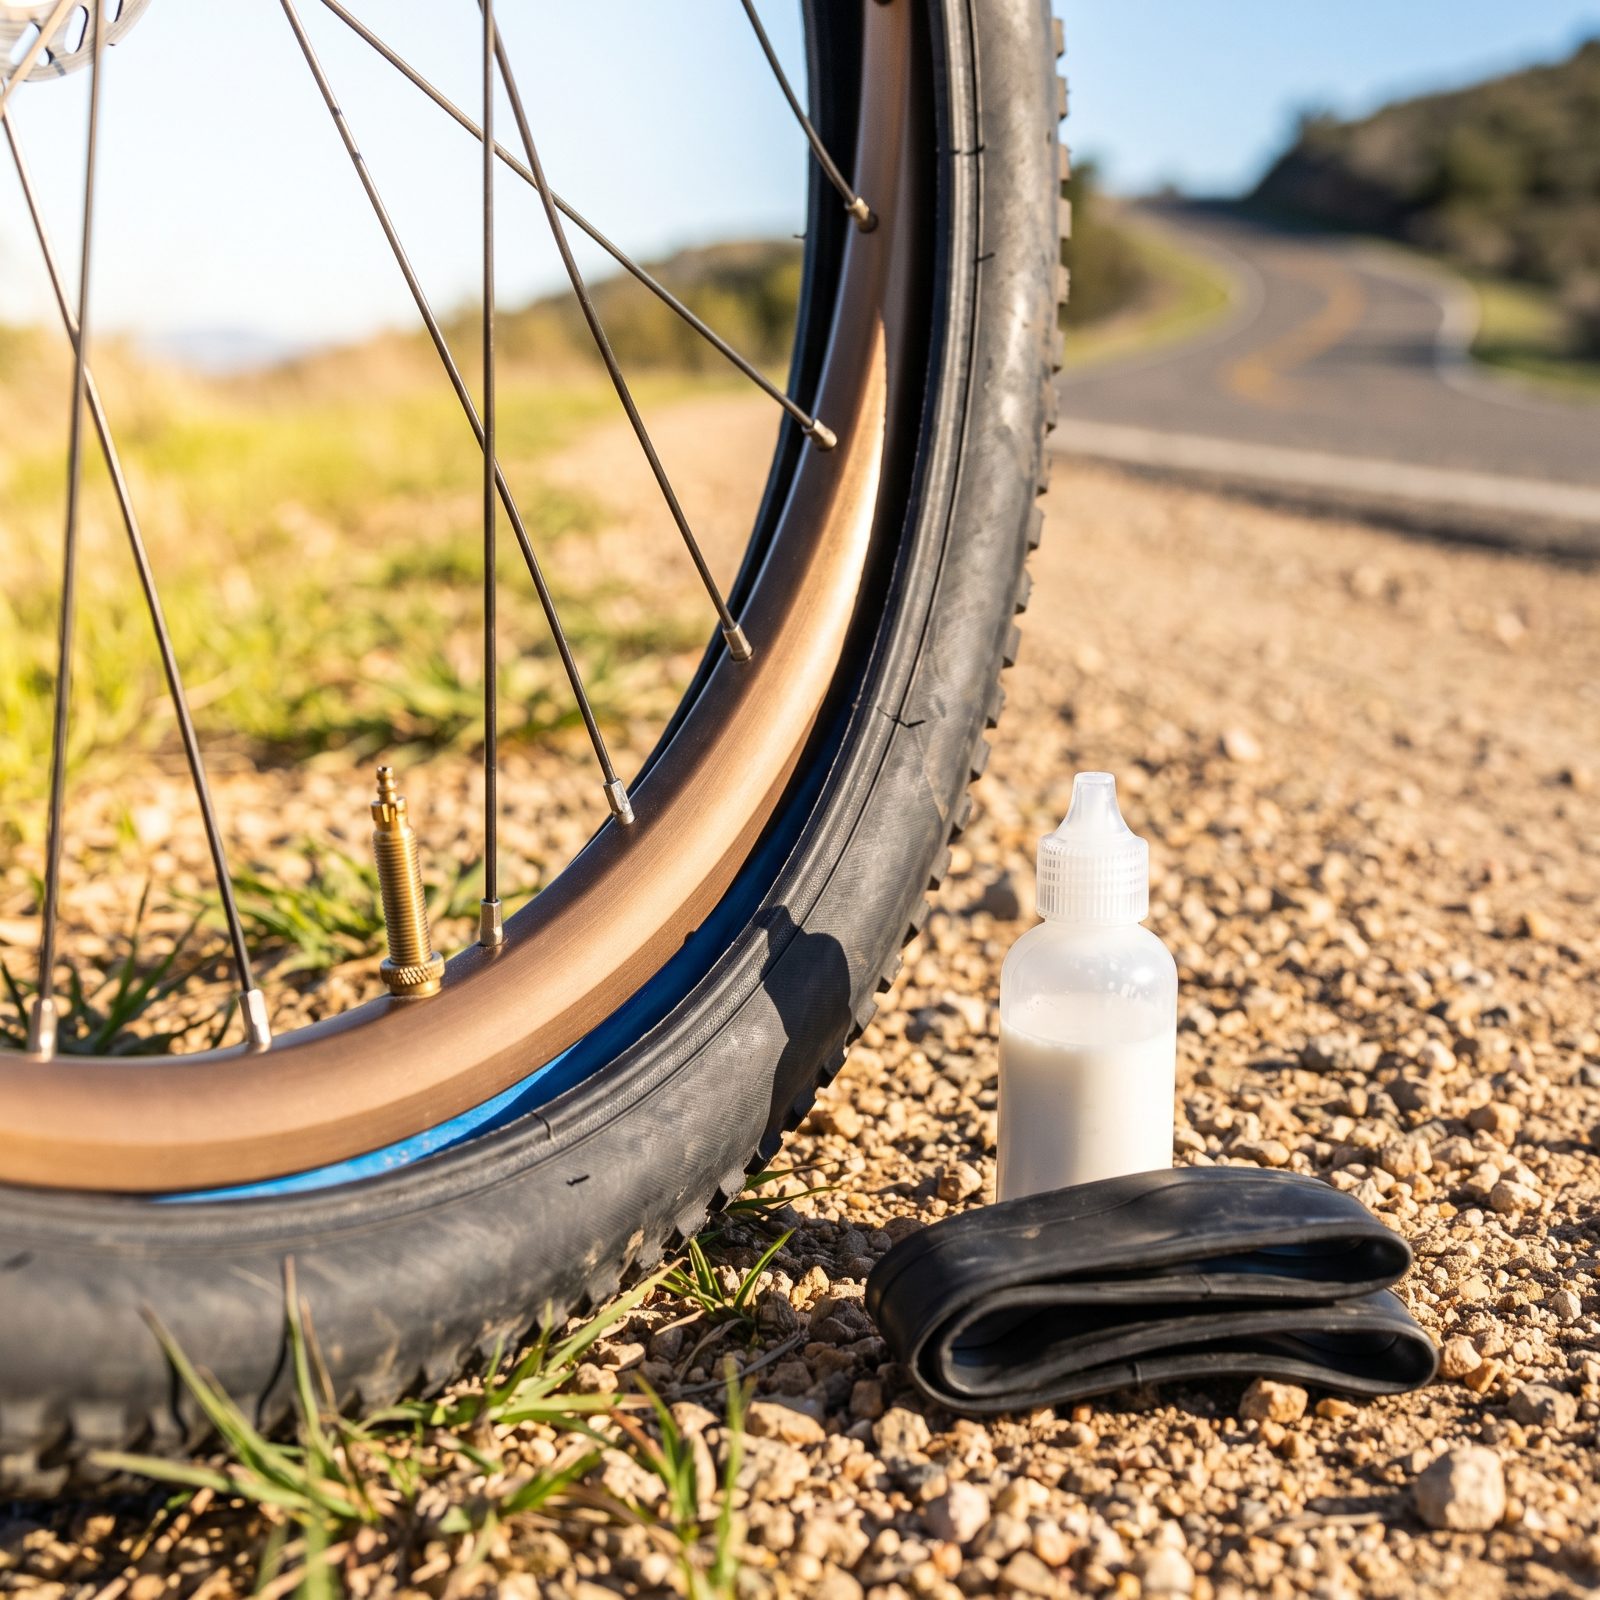
Lower pressure gives you traction. But with a tube inside, go too low and you pinch flat the first time the rim smacks a rock. Tubeless removes that ceiling. No tube to pinch means you can run several psi lower without punishment, and the sealant plugs small punctures while you keep rolling right along.
The conversion wants tubeless-ready rims and tires, tubeless tape, valves, and a few ounces of sealant. The setup can get messy and the first inflation is sometimes stubborn, often needing a compressor or a booster pump. Once the bead seats, it mostly stays quiet. Top up the sealant a couple times a year and it keeps doing its job.
13. Choose Supple Tire Casings That Deform More Easily
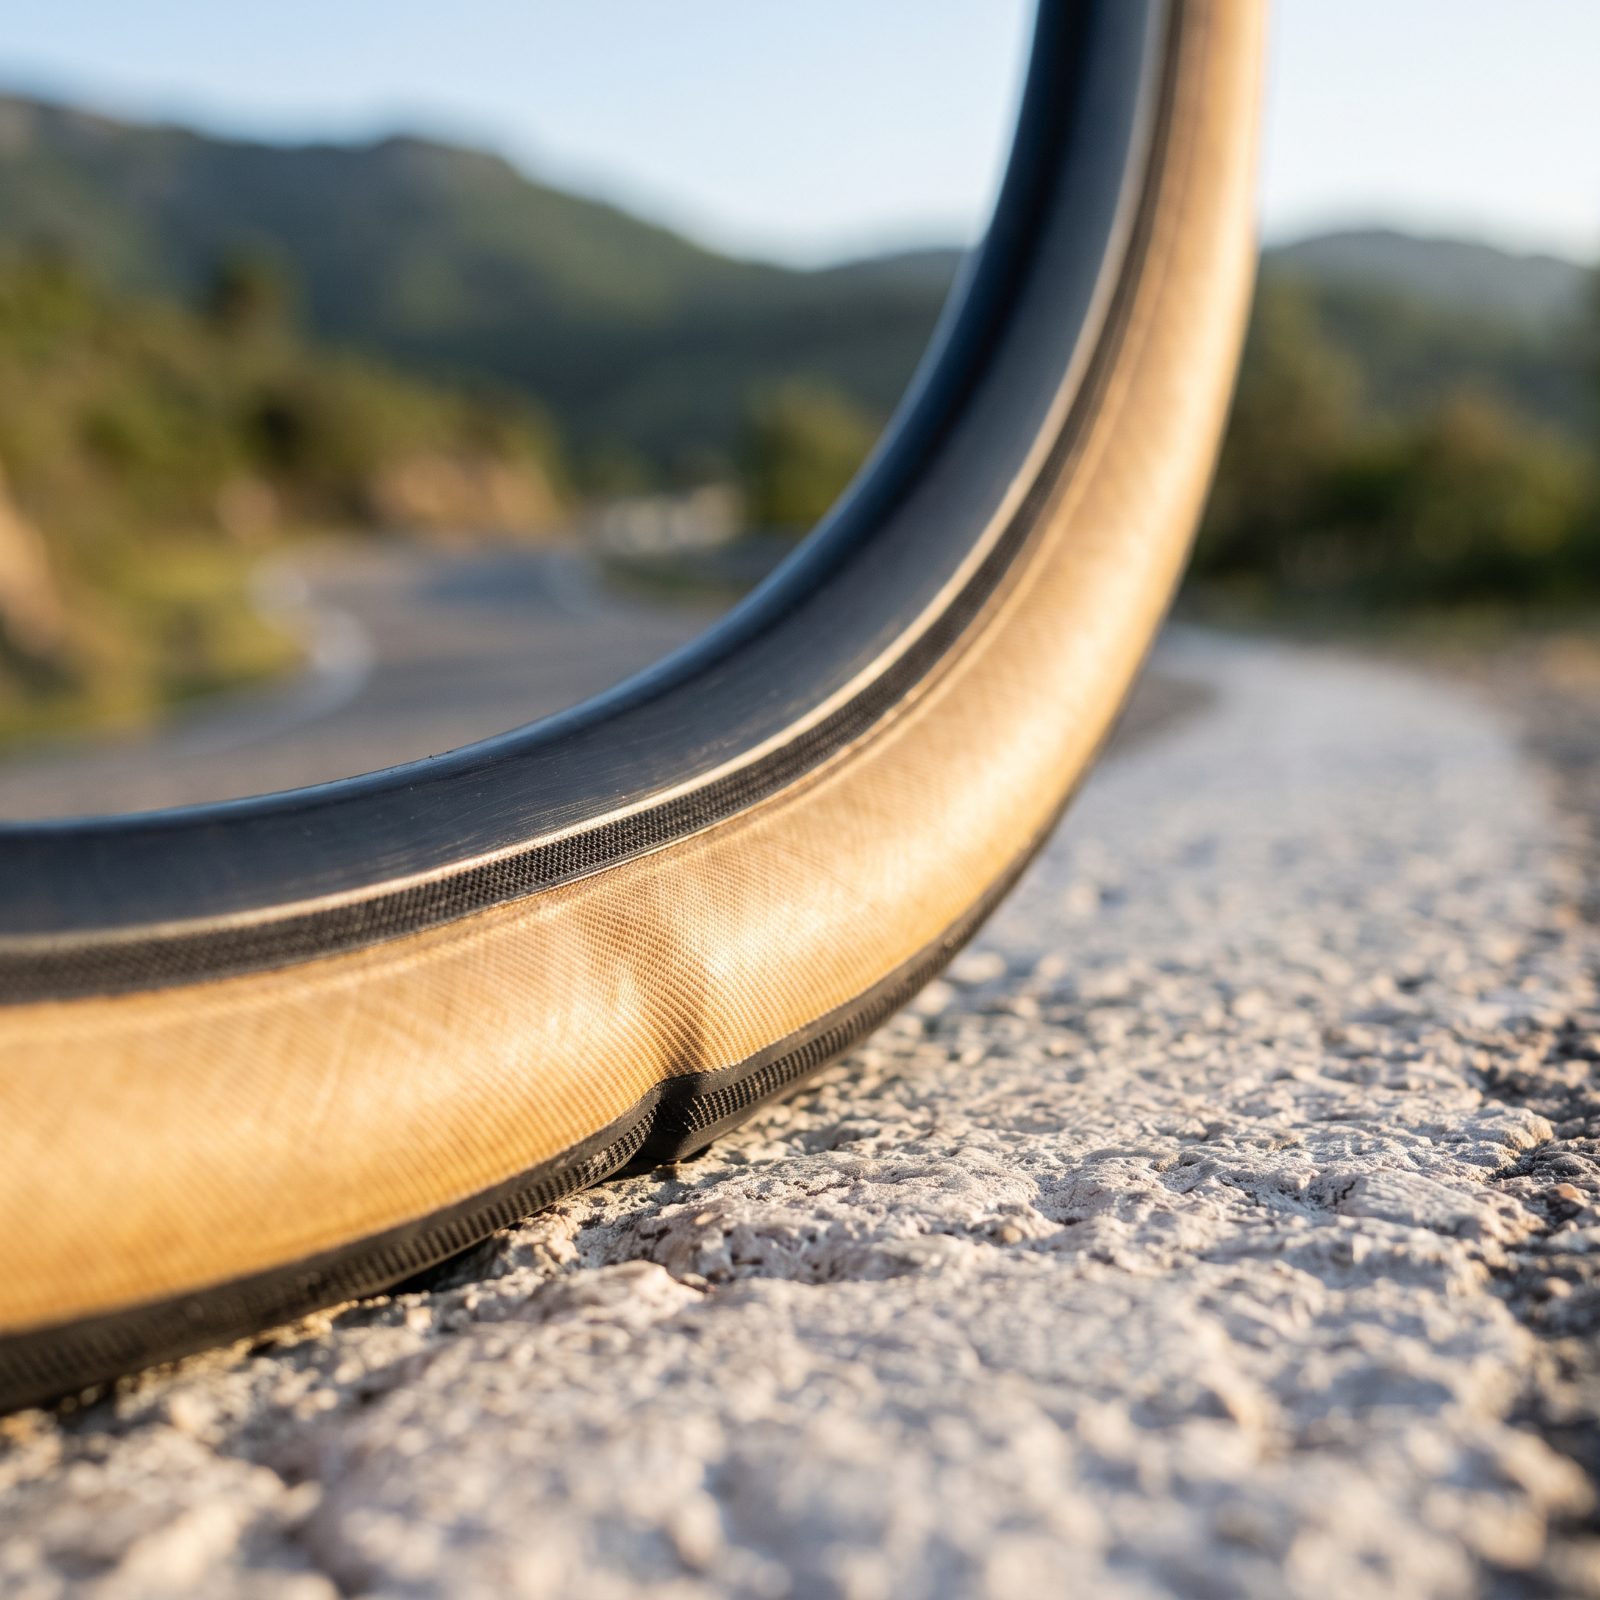
Two tires at the same pressure can feel like completely different animals, and casing is why. A supple, high-thread-count casing flexes and conforms to the road or trail instead of fighting it. Less of your energy gets wasted bouncing you around, so more goes straight to forward motion. On a long climb that saved effort is real money.
The tradeoff is durability. Thin, supple sidewalls cut and wear faster than armored touring rubber. For racing and spirited climbing it’s a trade worth making. For loaded touring over sharp gravel, maybe not. Match the casing to how and where you actually ride.
12. Replace Butyl Tubes With Lightweight TPU Tubes
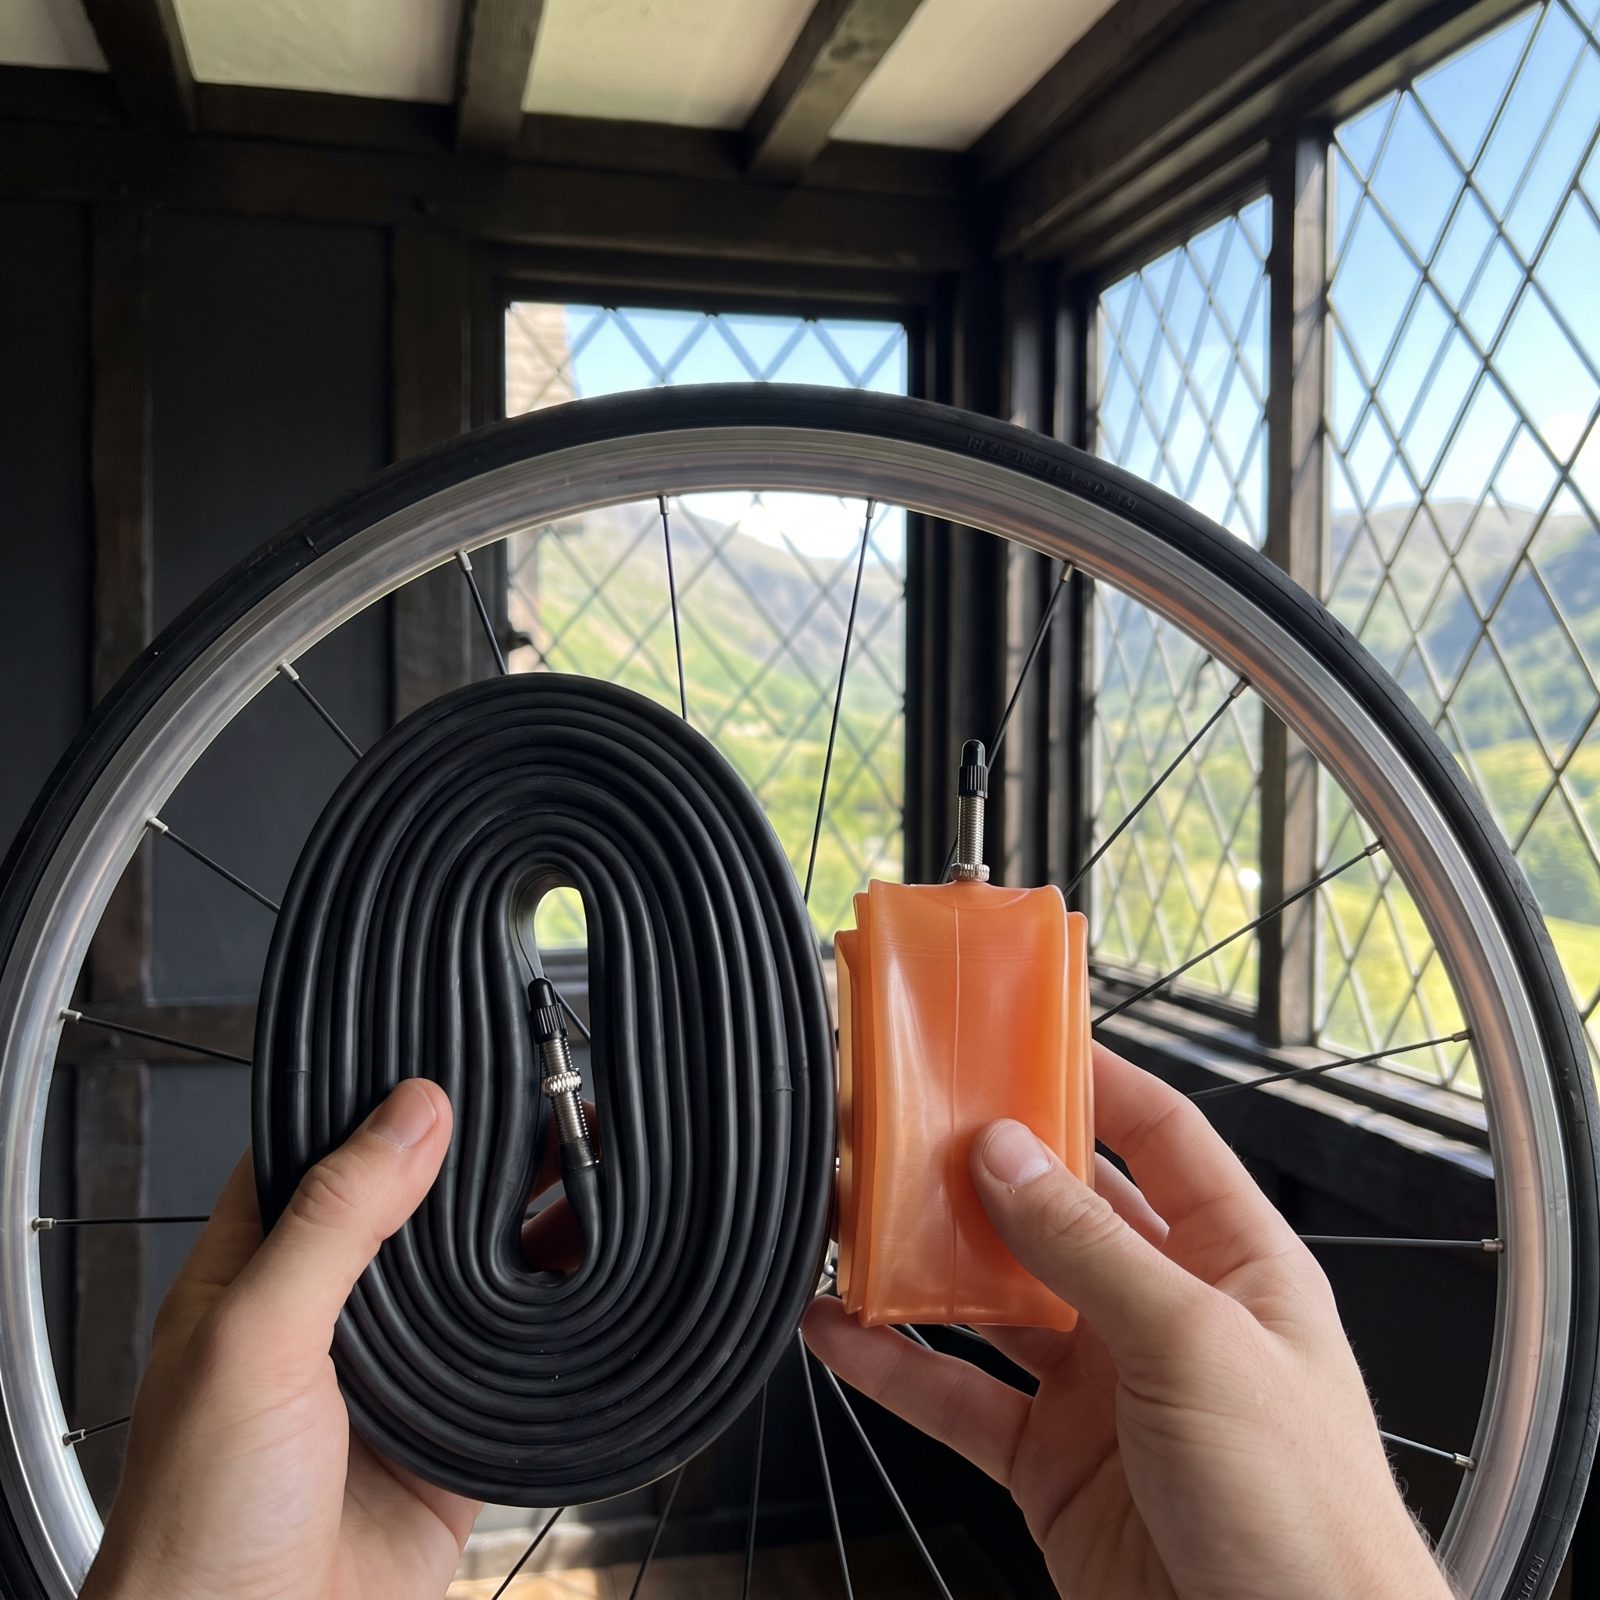
Rotating weight at the edge of the wheel costs you more than weight anywhere else on the bike, because you have to spin it up every single time you accelerate or crest a riser. Swap heavy butyl tubes for TPU ones and you shave that weight exactly where it stings worst.
A TPU tube folds down to the size of a deck of cards and weighs a fraction of butyl. The savings per wheel is modest in grams but sits in the worst possible spot for dead weight. They cost more, and some riders find them trickier to patch out on the road, so carry a spare. For anyone chasing easier climbing without buying new wheels, it’s a small, smart change.
11. Fit a Lighter Wheelset to Reduce Rotating Mass
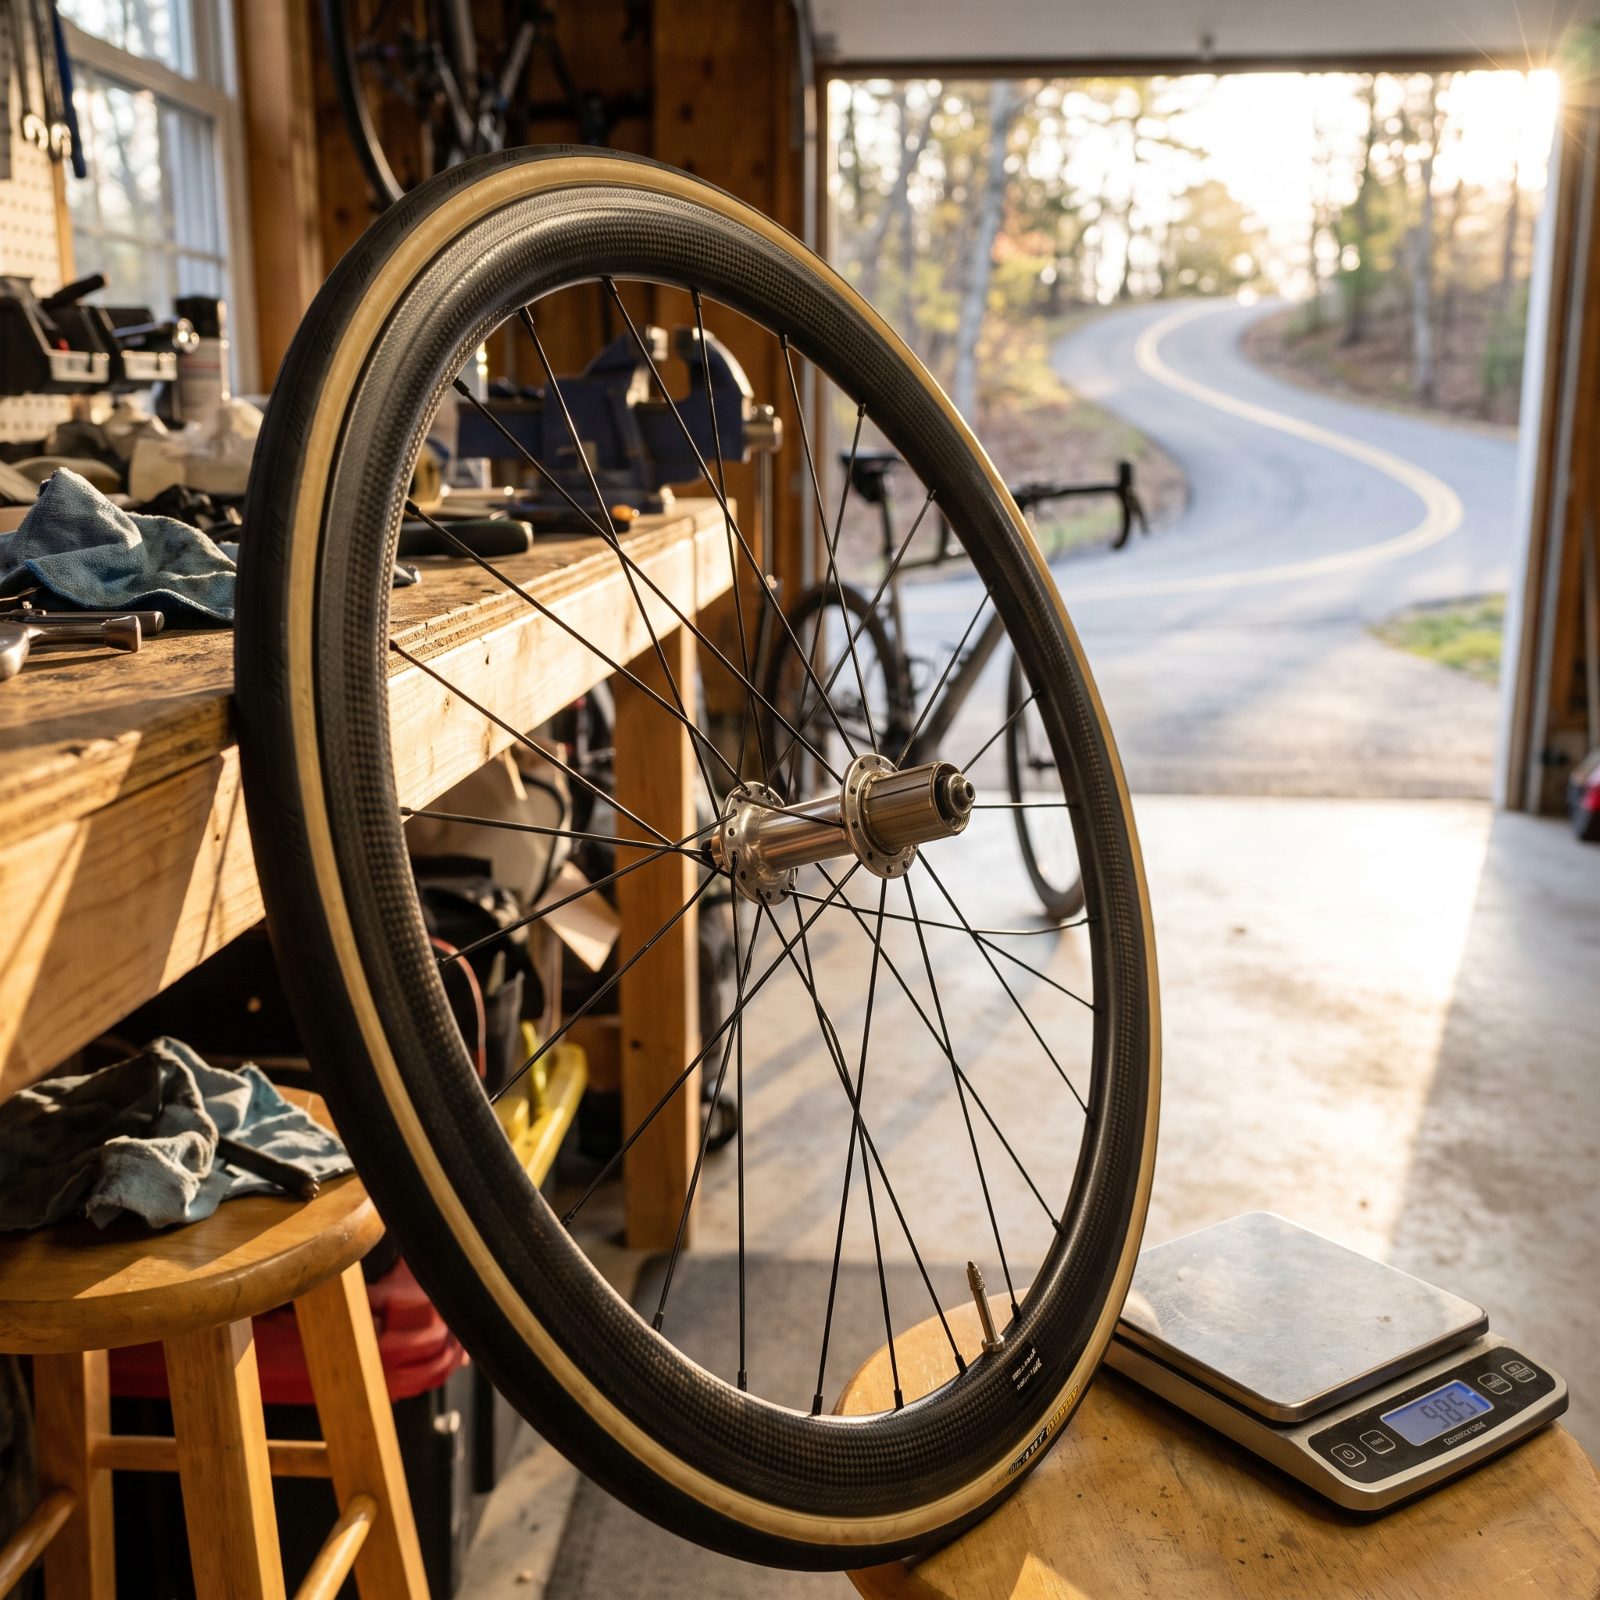
Weight at the rim fights you twice: once when you lift the bike, and again every single time the wheel spins up. That second cost is the one that matters on a climb, where you’re constantly nudging the cadence back up after every pedal stroke.
Dropping 300 grams off a wheelset feels like far more than the same 300 off the frame, because the bike accelerates out of switchbacks instead of lugging. You don’t have to chase a feather-light pair, either. A mid-tier alloy set with a quality hub often beats a heavy factory wheel by a noticeable margin for sensible money.
10. Add a Derailleur Hanger Extender for a Bigger Cassette
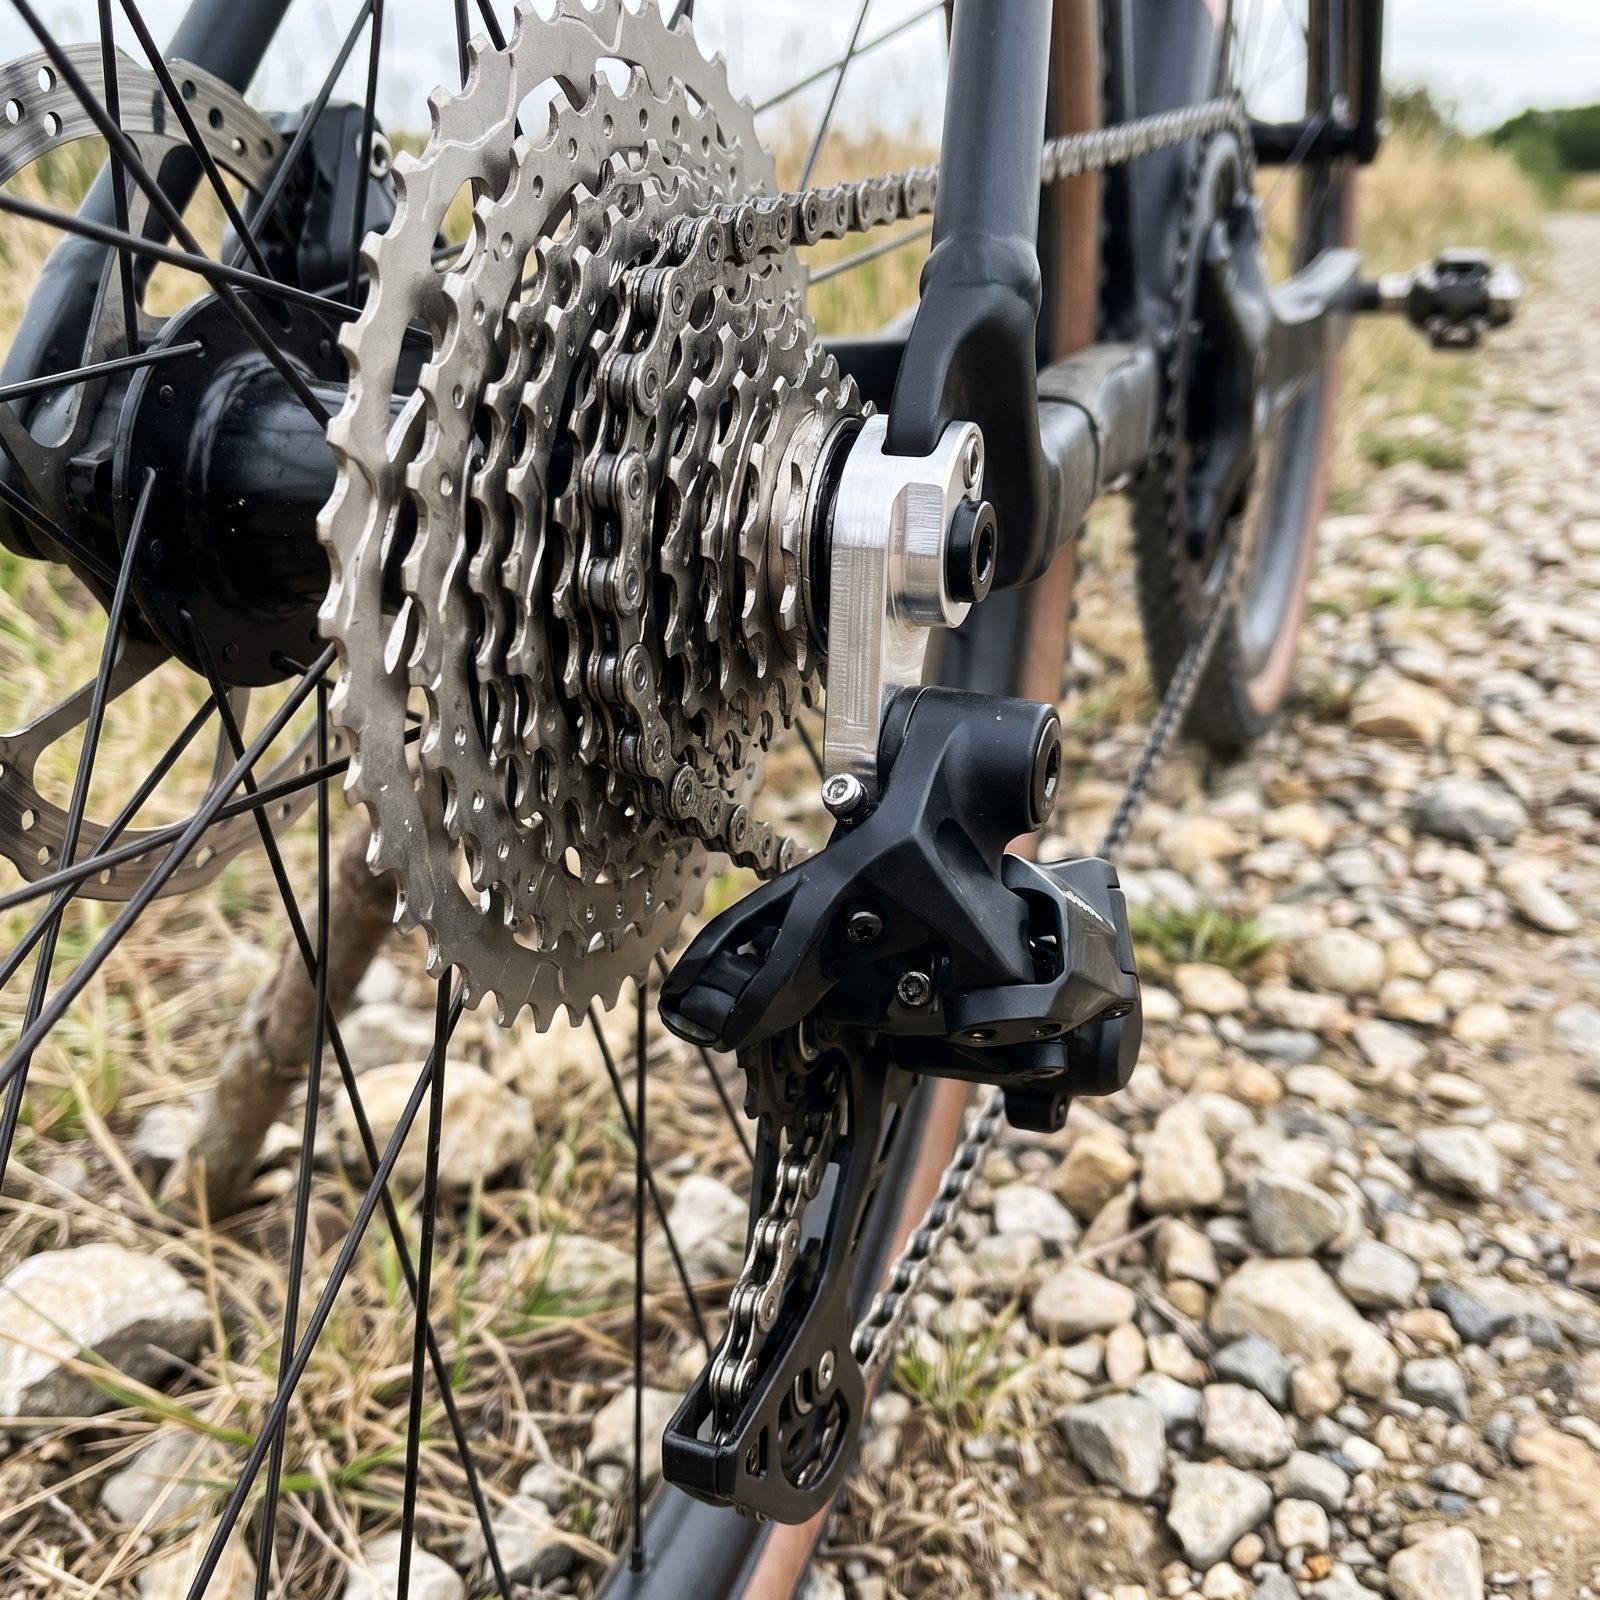
Older frames and budget drivetrains often cap out at a cassette too small for a loaded bike on a real grade. A hanger extender is a cheap bracket that drops the derailleur lower and back, buying clearance for a much bigger low cog the frame was never meant to run.
Suddenly that 11-42 becomes an 11-50, and the wall that forced a dismount stays rideable. Ugly little part, nobody talks about it, and it quietly solves a problem that otherwise means buying a whole new drivetrain.
9. Replace the Front Chainring With a Smaller One
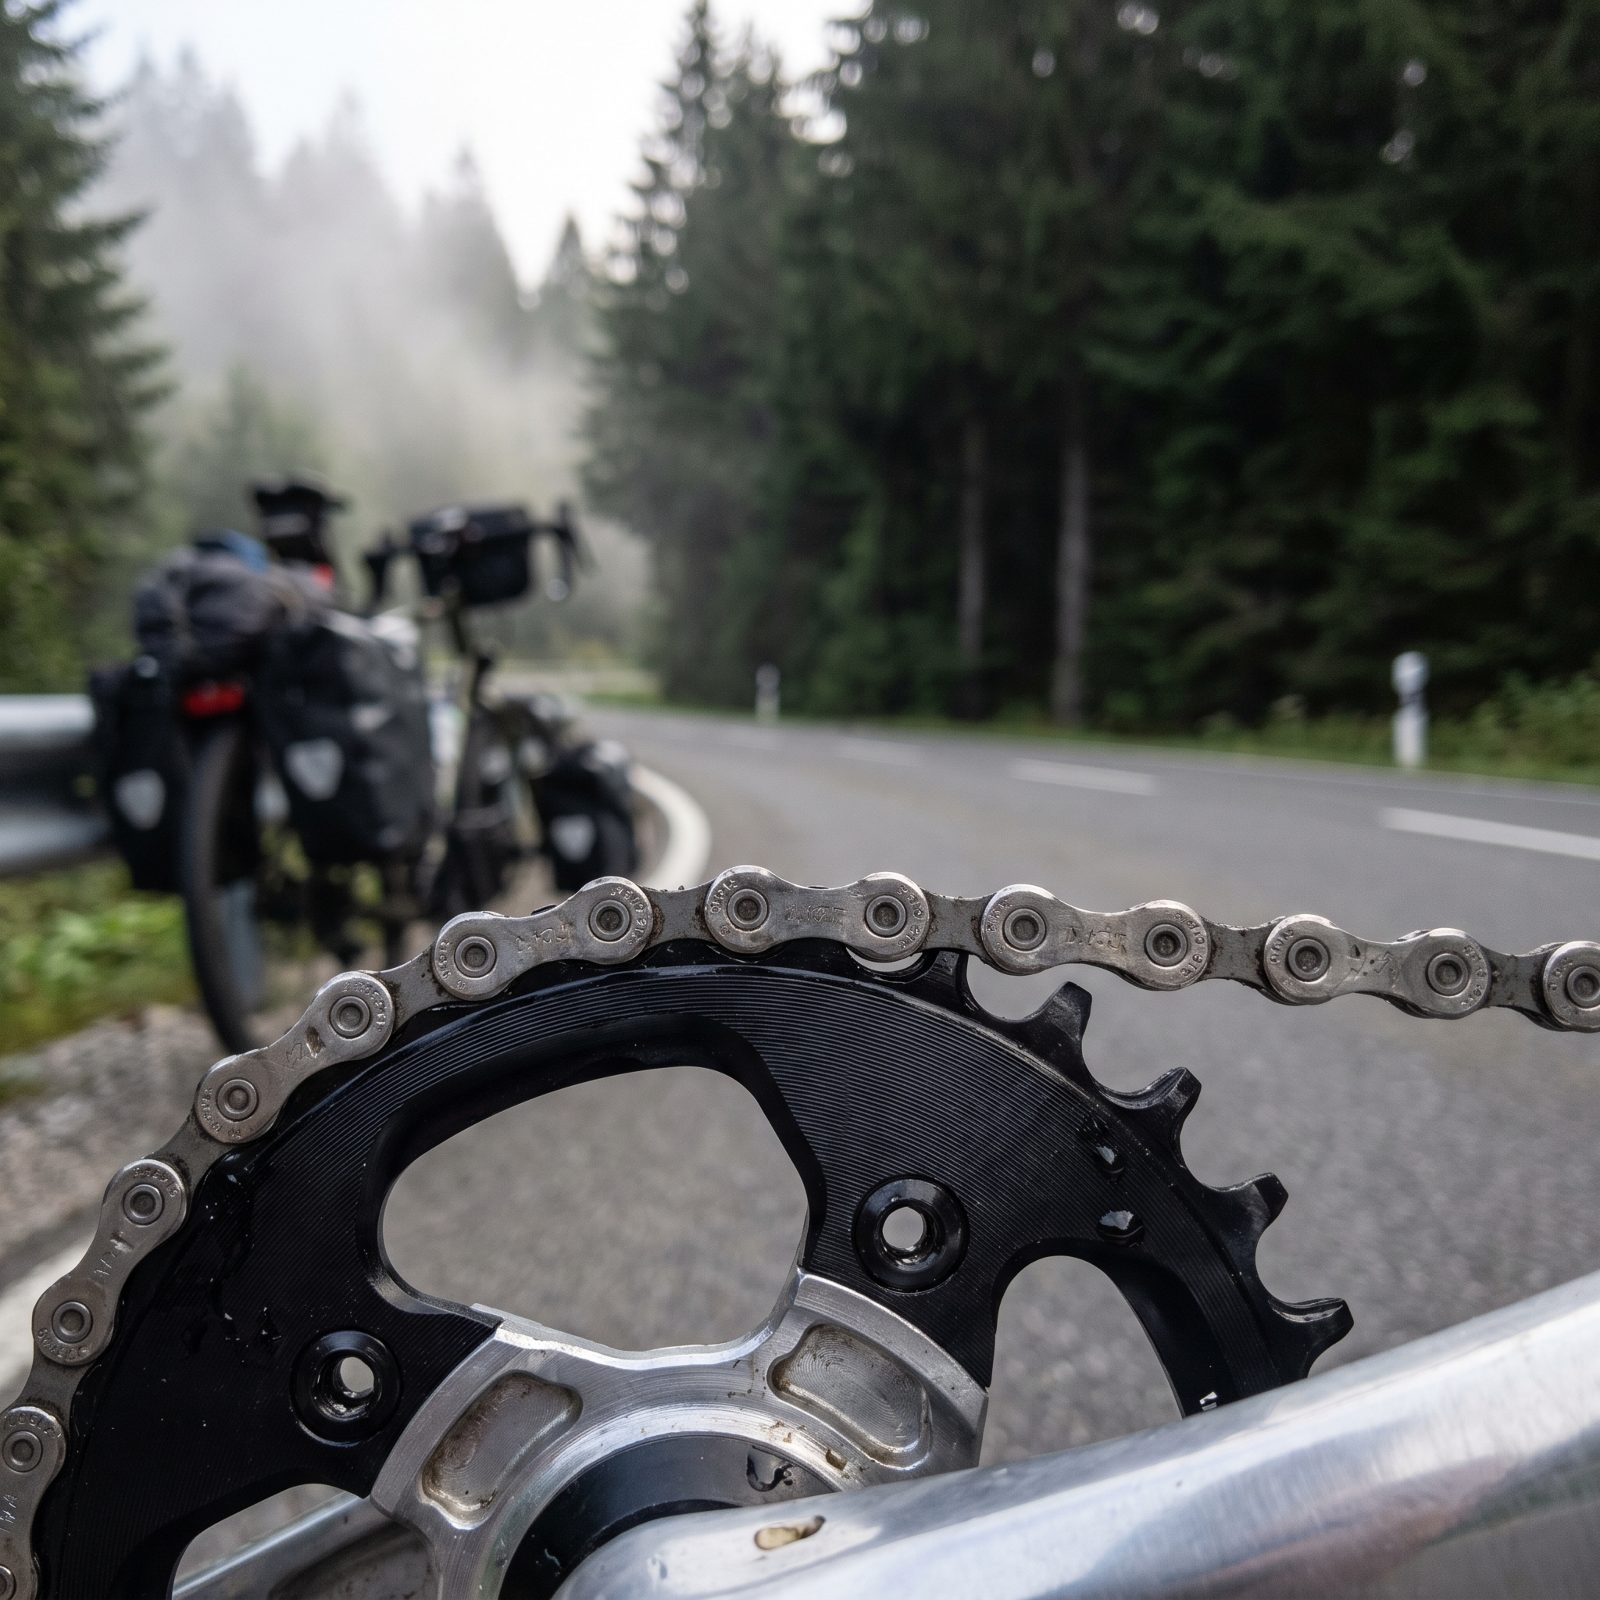
One of the cheapest climbing upgrades on the shelf. On a 1x setup, swapping a 34-tooth chainring for a 30 drops every gear across the whole range by roughly a tenth. No new cassette, no derailleur drama, just one part and twenty minutes.
What you give up is top-end speed you probably weren’t using anyway. Spin out on descents? You coast. But if you crawl up grades in your lowest gear with your knees screaming, a smaller ring hands you room to breathe. Check your chainring’s bolt pattern first so the new one actually fits the crank.
8. Convert a 1x Drivetrain to 2x for a Lower Bailout Gear
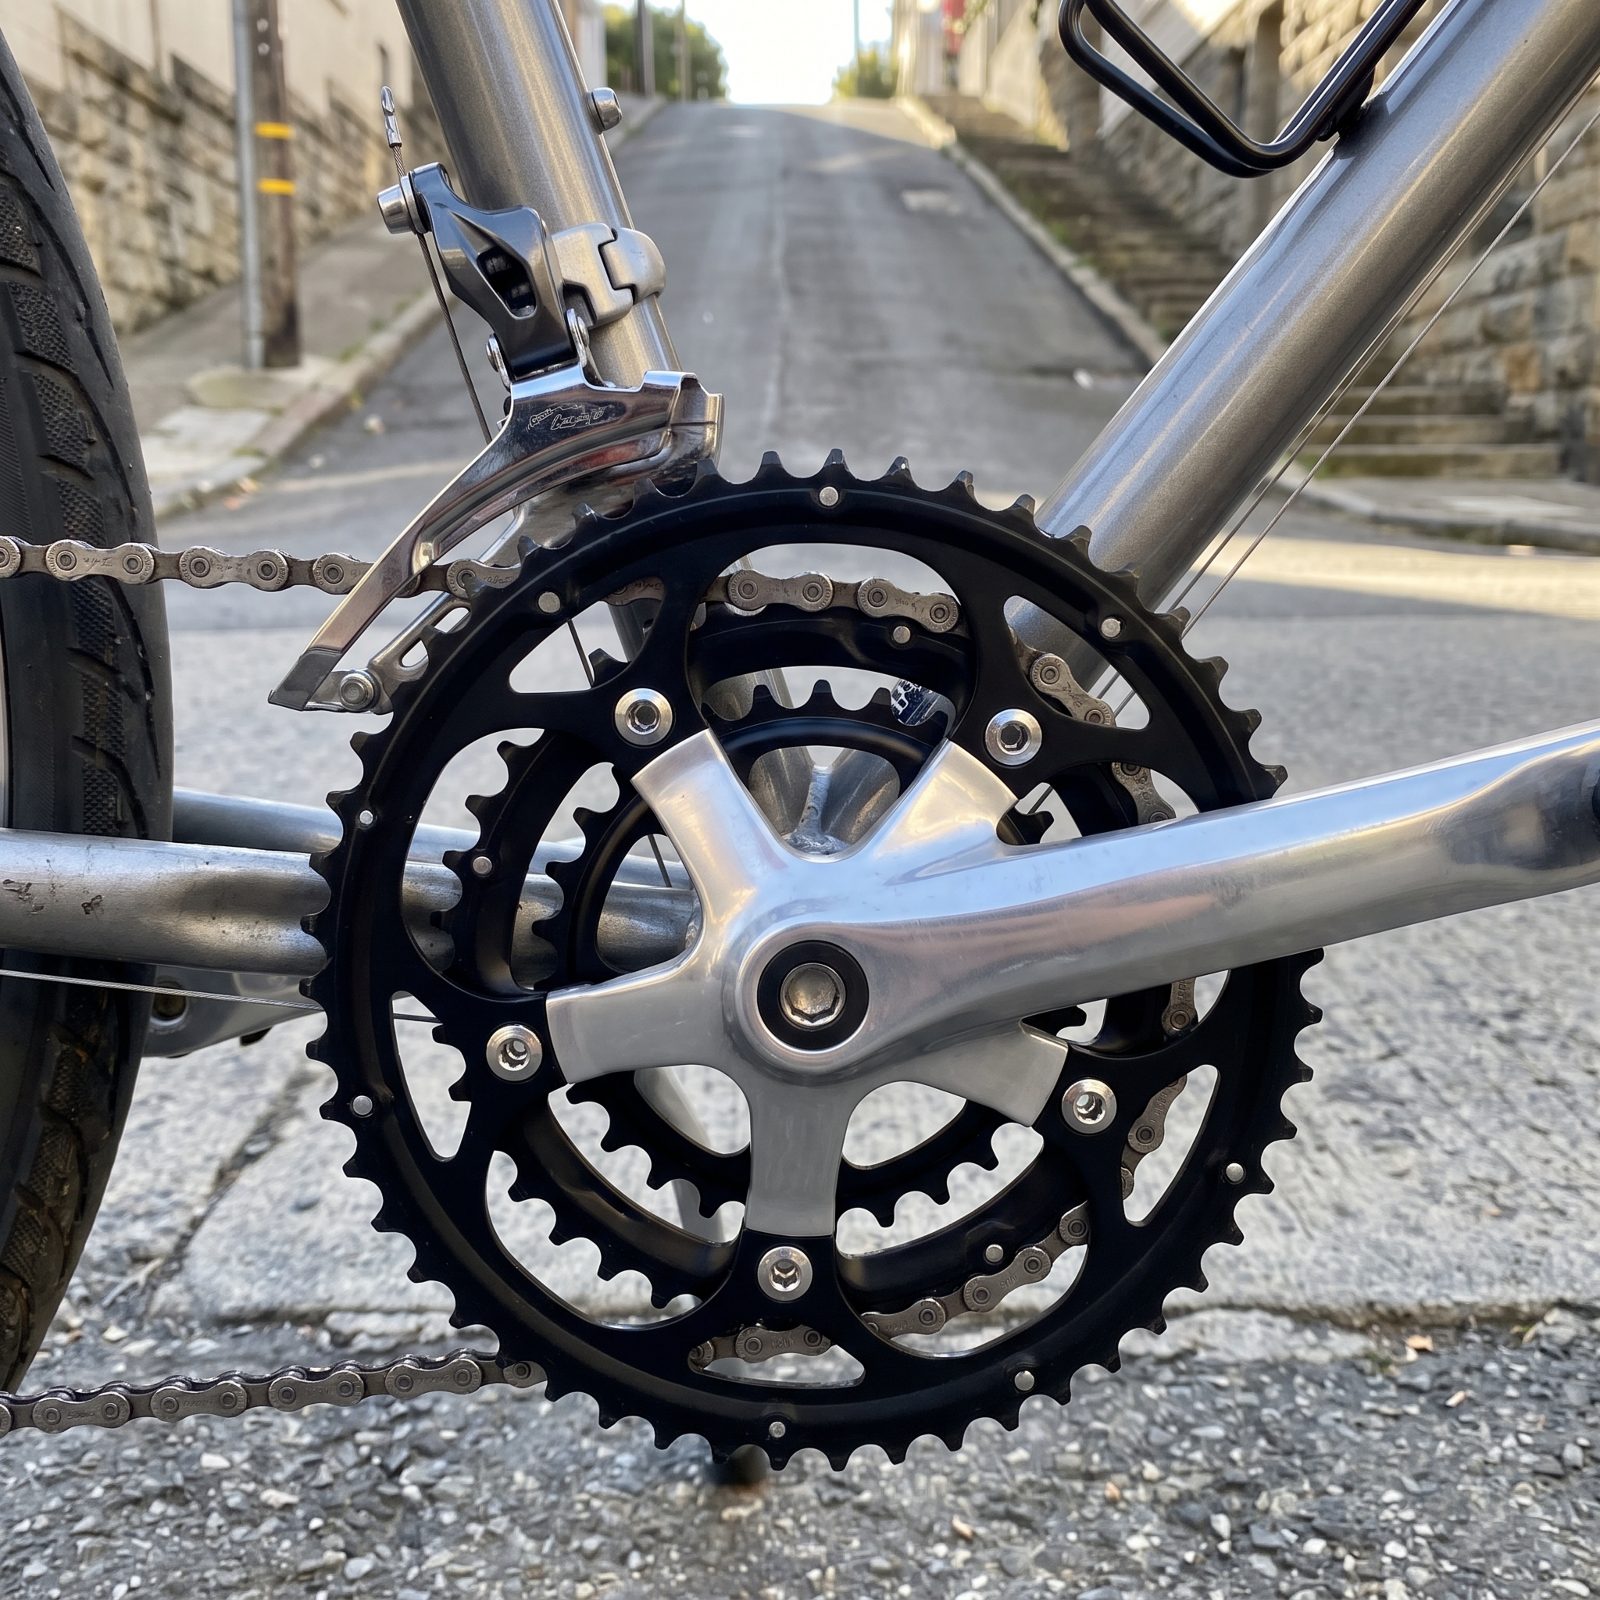
The 1x craze sold a lot of riders on simplicity and then left them without a true rescue gear. Add a front derailleur and a small inner ring and you’ve got the granny gear back, the one that makes a loaded climb survivable.
A 2x gives a wider total range and smaller jumps between gears, so you hold a steady cadence instead of lurching between ratios. The catch: it needs a compatible crank, a front shifter, and a derailleur, so it’s a bigger job than a chainring swap. For heavy touring or genuinely steep terrain, the extra shifting earns its keep.
7. Swap a Suspension Fork for a Rigid Fork on Smooth Climbs
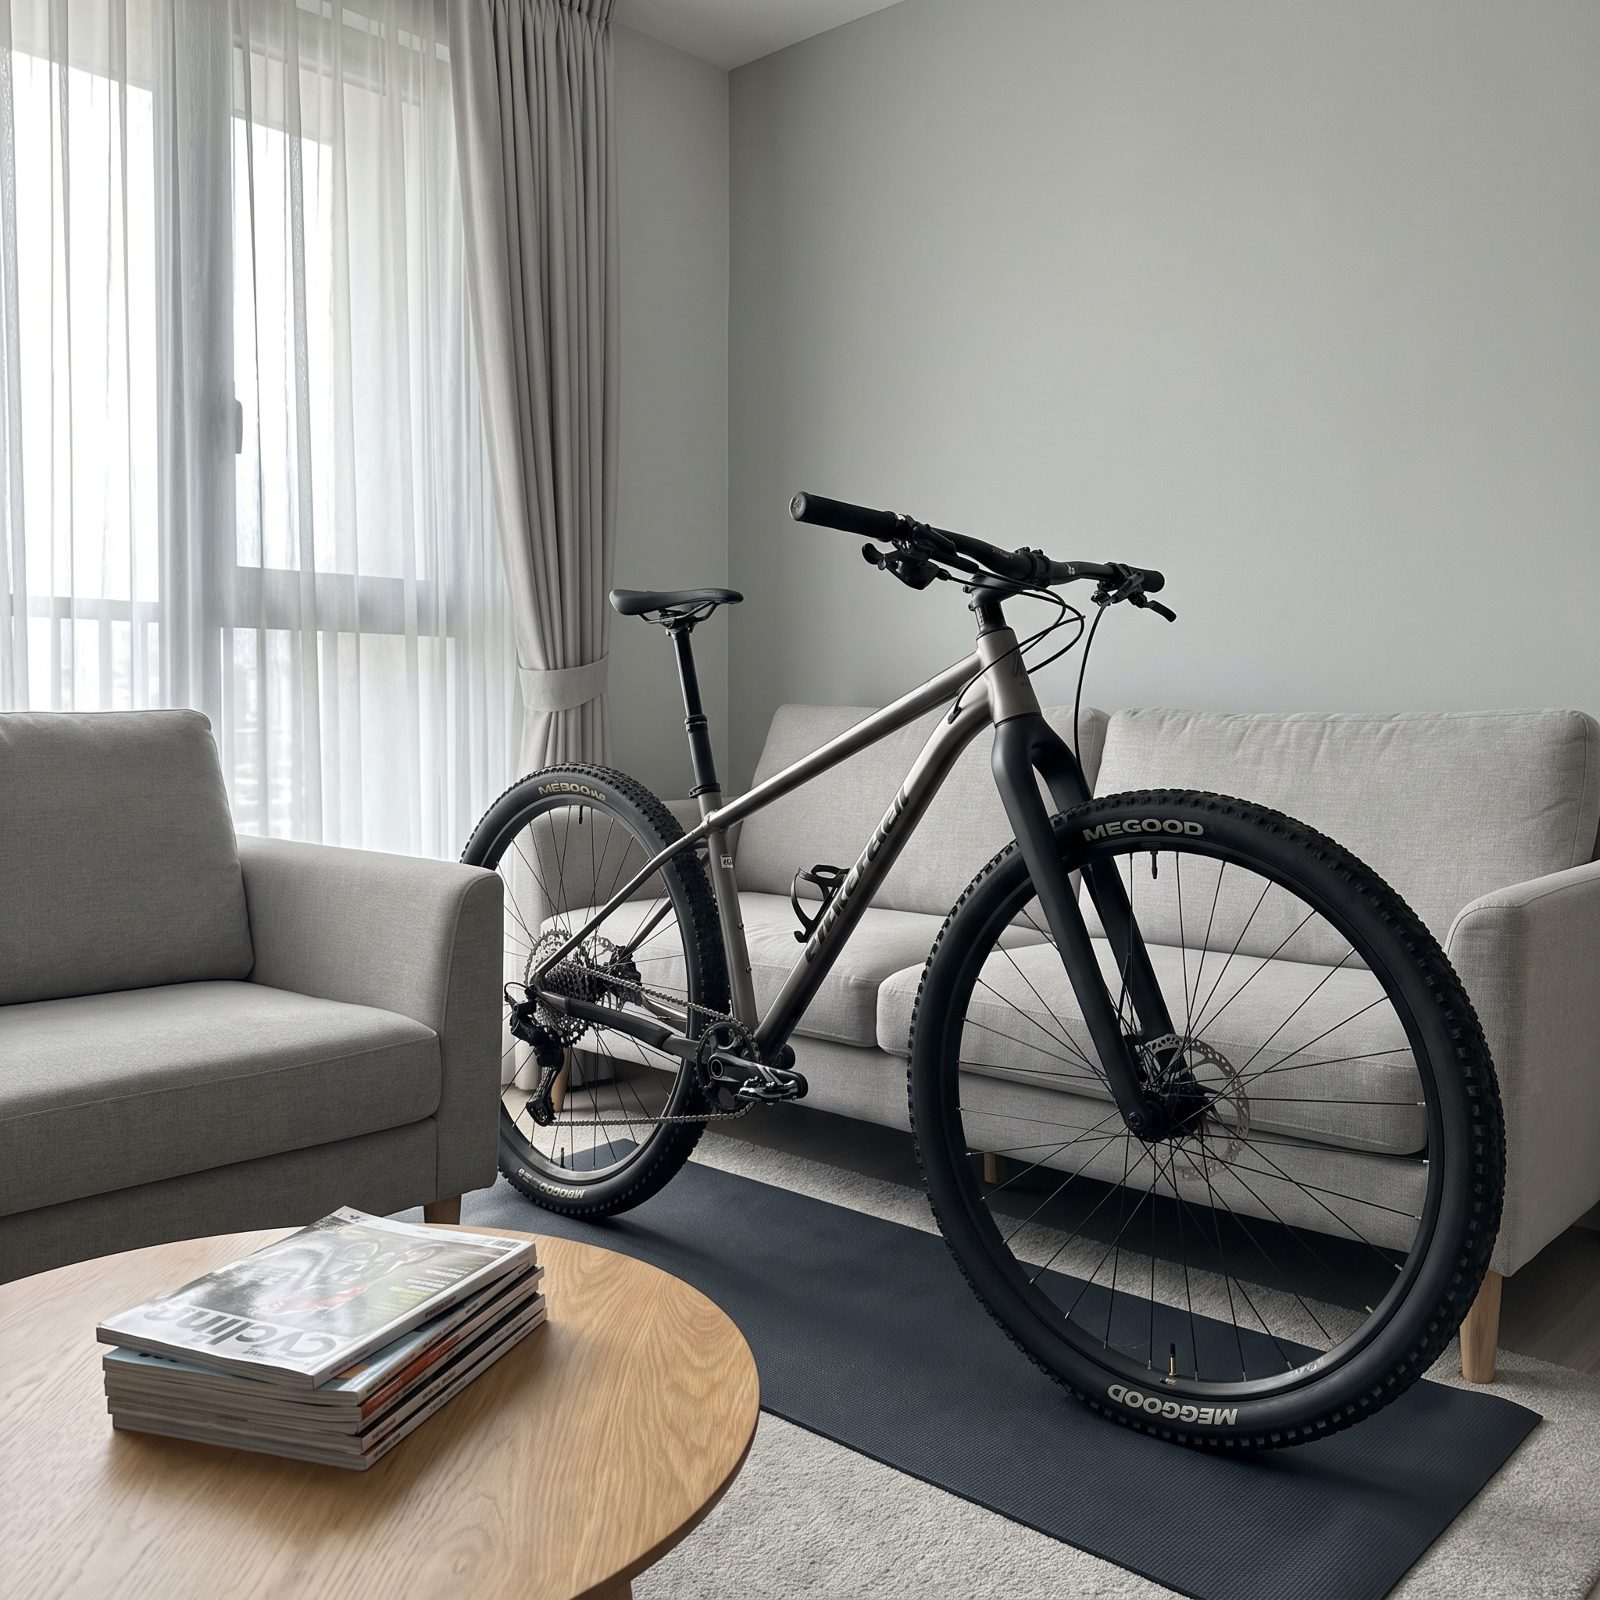
A suspension fork bobs. Every time you stand and push, some of that effort vanishes into compressing the fork instead of driving the wheel, and on fire roads, pavement, and buffed climbs with no real hits to absorb, that’s pure wasted energy.
A rigid fork kills the bob and sheds a pound or more off the front. The ride gets firmer, so this only makes sense if your climbs are genuinely smooth. Mind the axle-to-crown length when picking one — a fork that’s too short steepens your geometry in a way you’ll feel the moment you tip into a corner.
6. Use the Suspension Climb Switch on Smooth Ascents
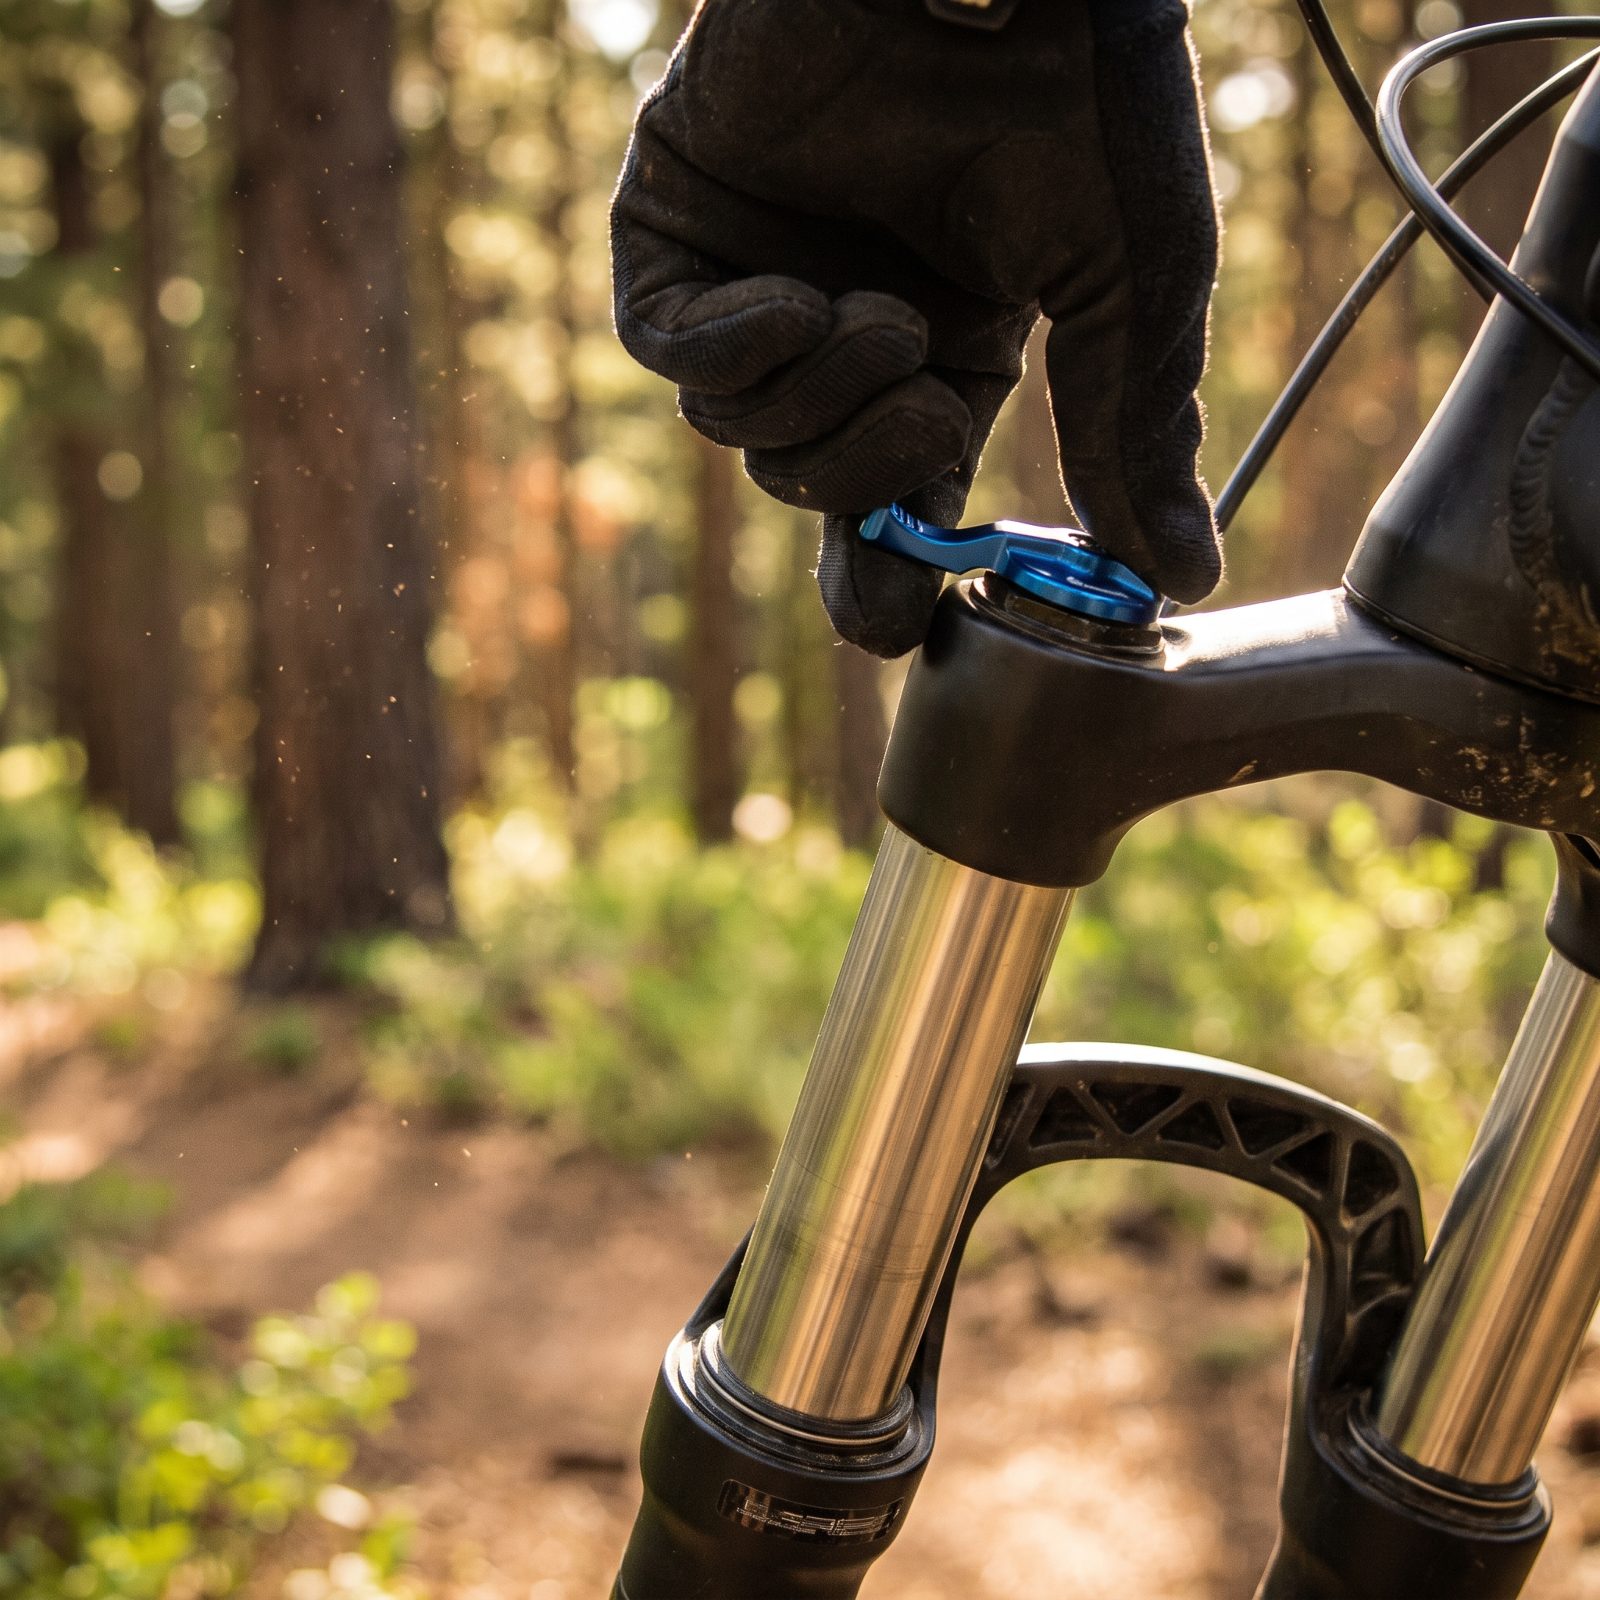
Most trail forks and shocks already have the fix built in, and most riders forget it exists. The climb switch firms up the suspension so it stops soaking your pedaling energy on smooth ground.
Flip it at the base of a fire-road grind, pedal up without the bob, flip it back before the descent. Free efficiency, already paid for, sitting on the bike right now.
5. Reset Excessive Fork Sag to Keep the Bike Balanced
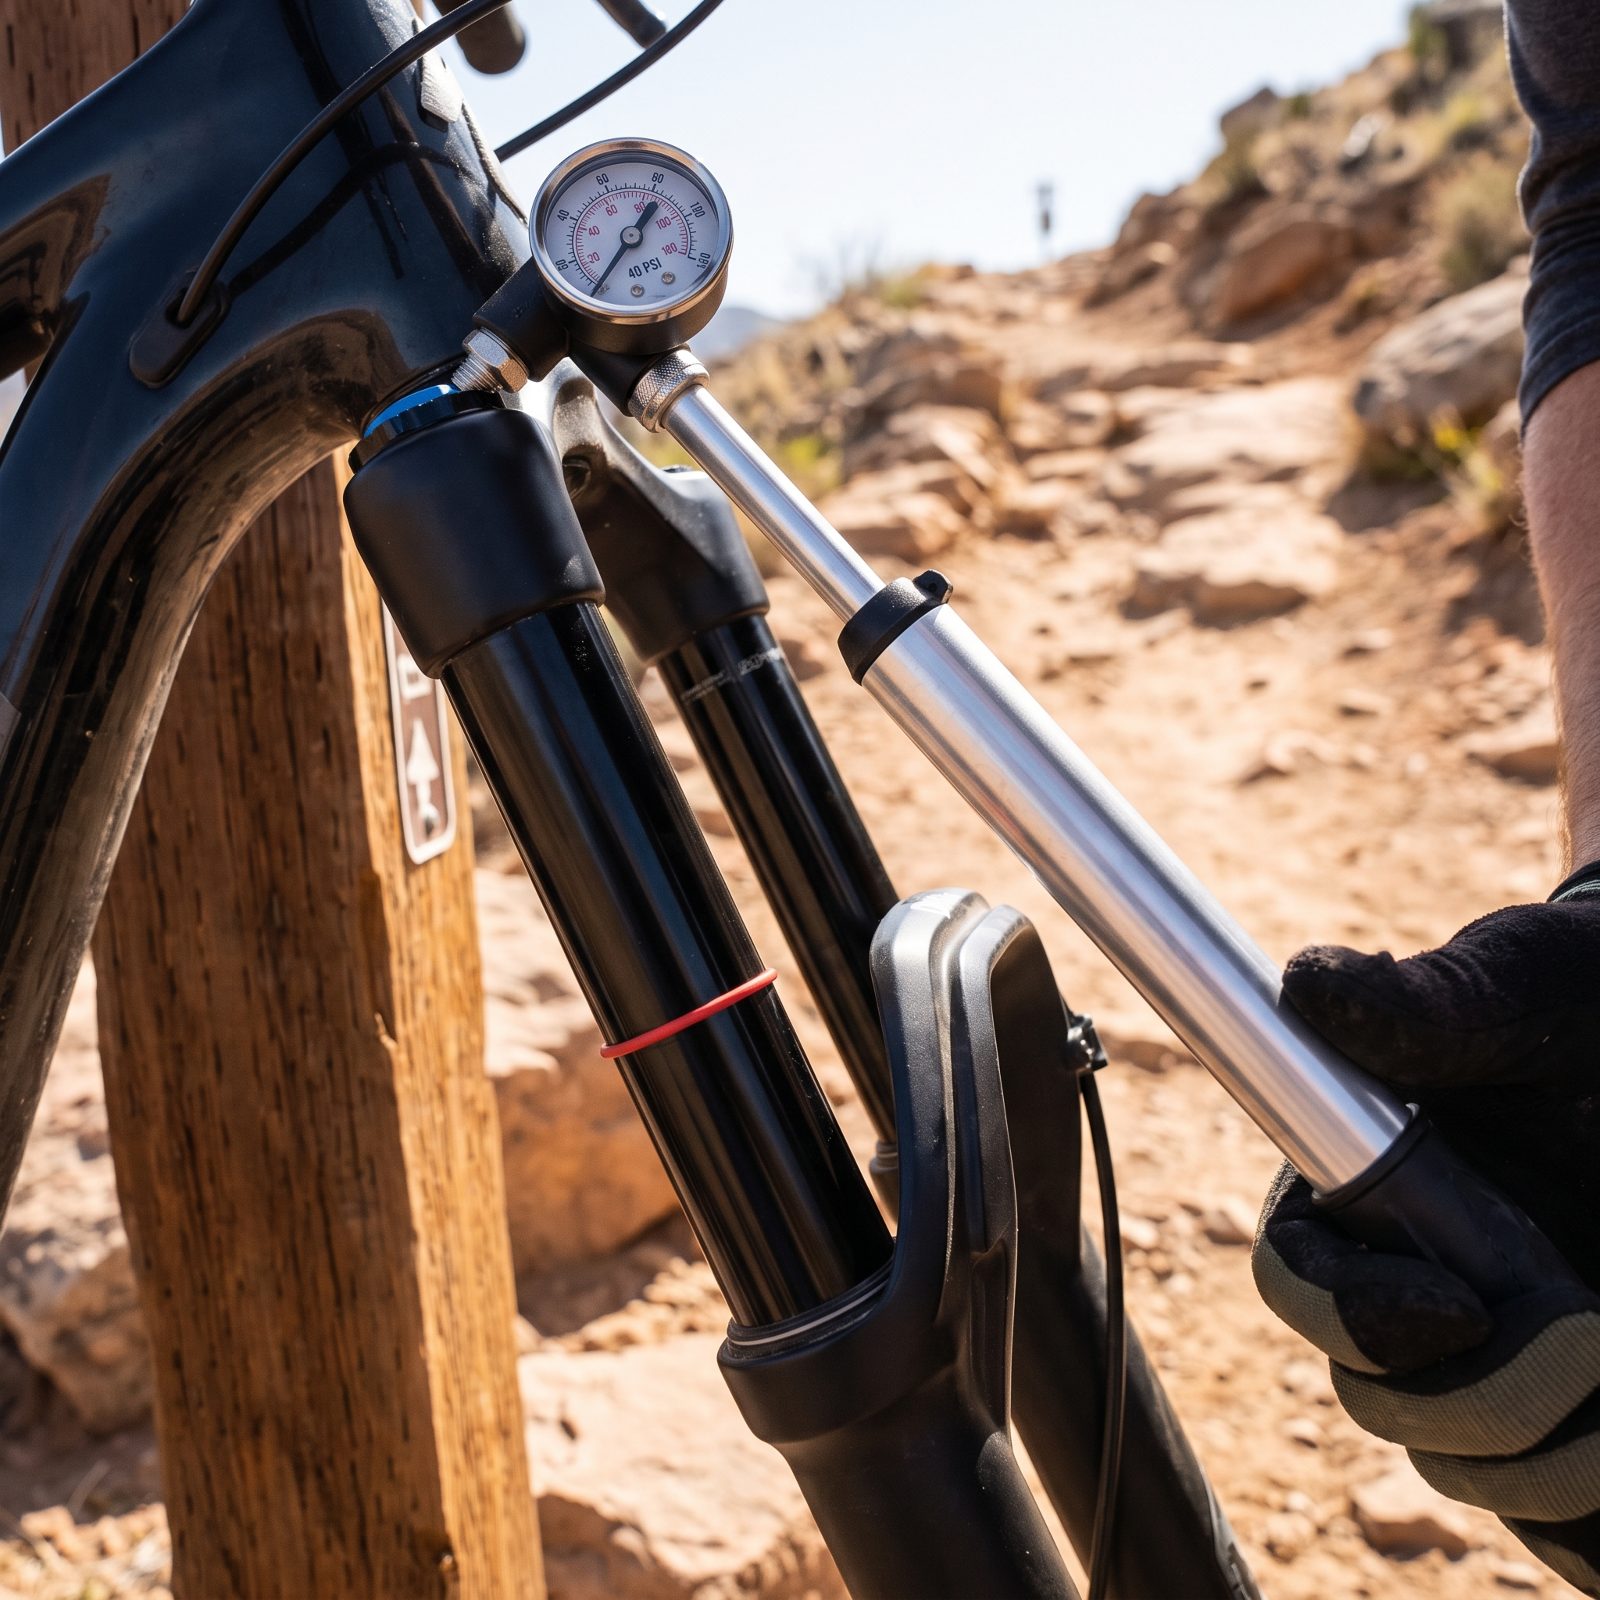
A fork with too much sag sits deep in its travel, which slackens the head angle and tips your weight rearward. On a steep climb that means a wandering, lifting front wheel you’re constantly fighting to keep planted.
Set the air pressure for the sag the manufacturer recommends, usually somewhere around a fifth to a third of travel. Now the front end sits higher, steers truer, and holds its line uphill. A shock pump and five minutes, and the handling payoff is wildly out of proportion to the effort.
4. Replace Sticky Cable Housing With a Low-Friction Set
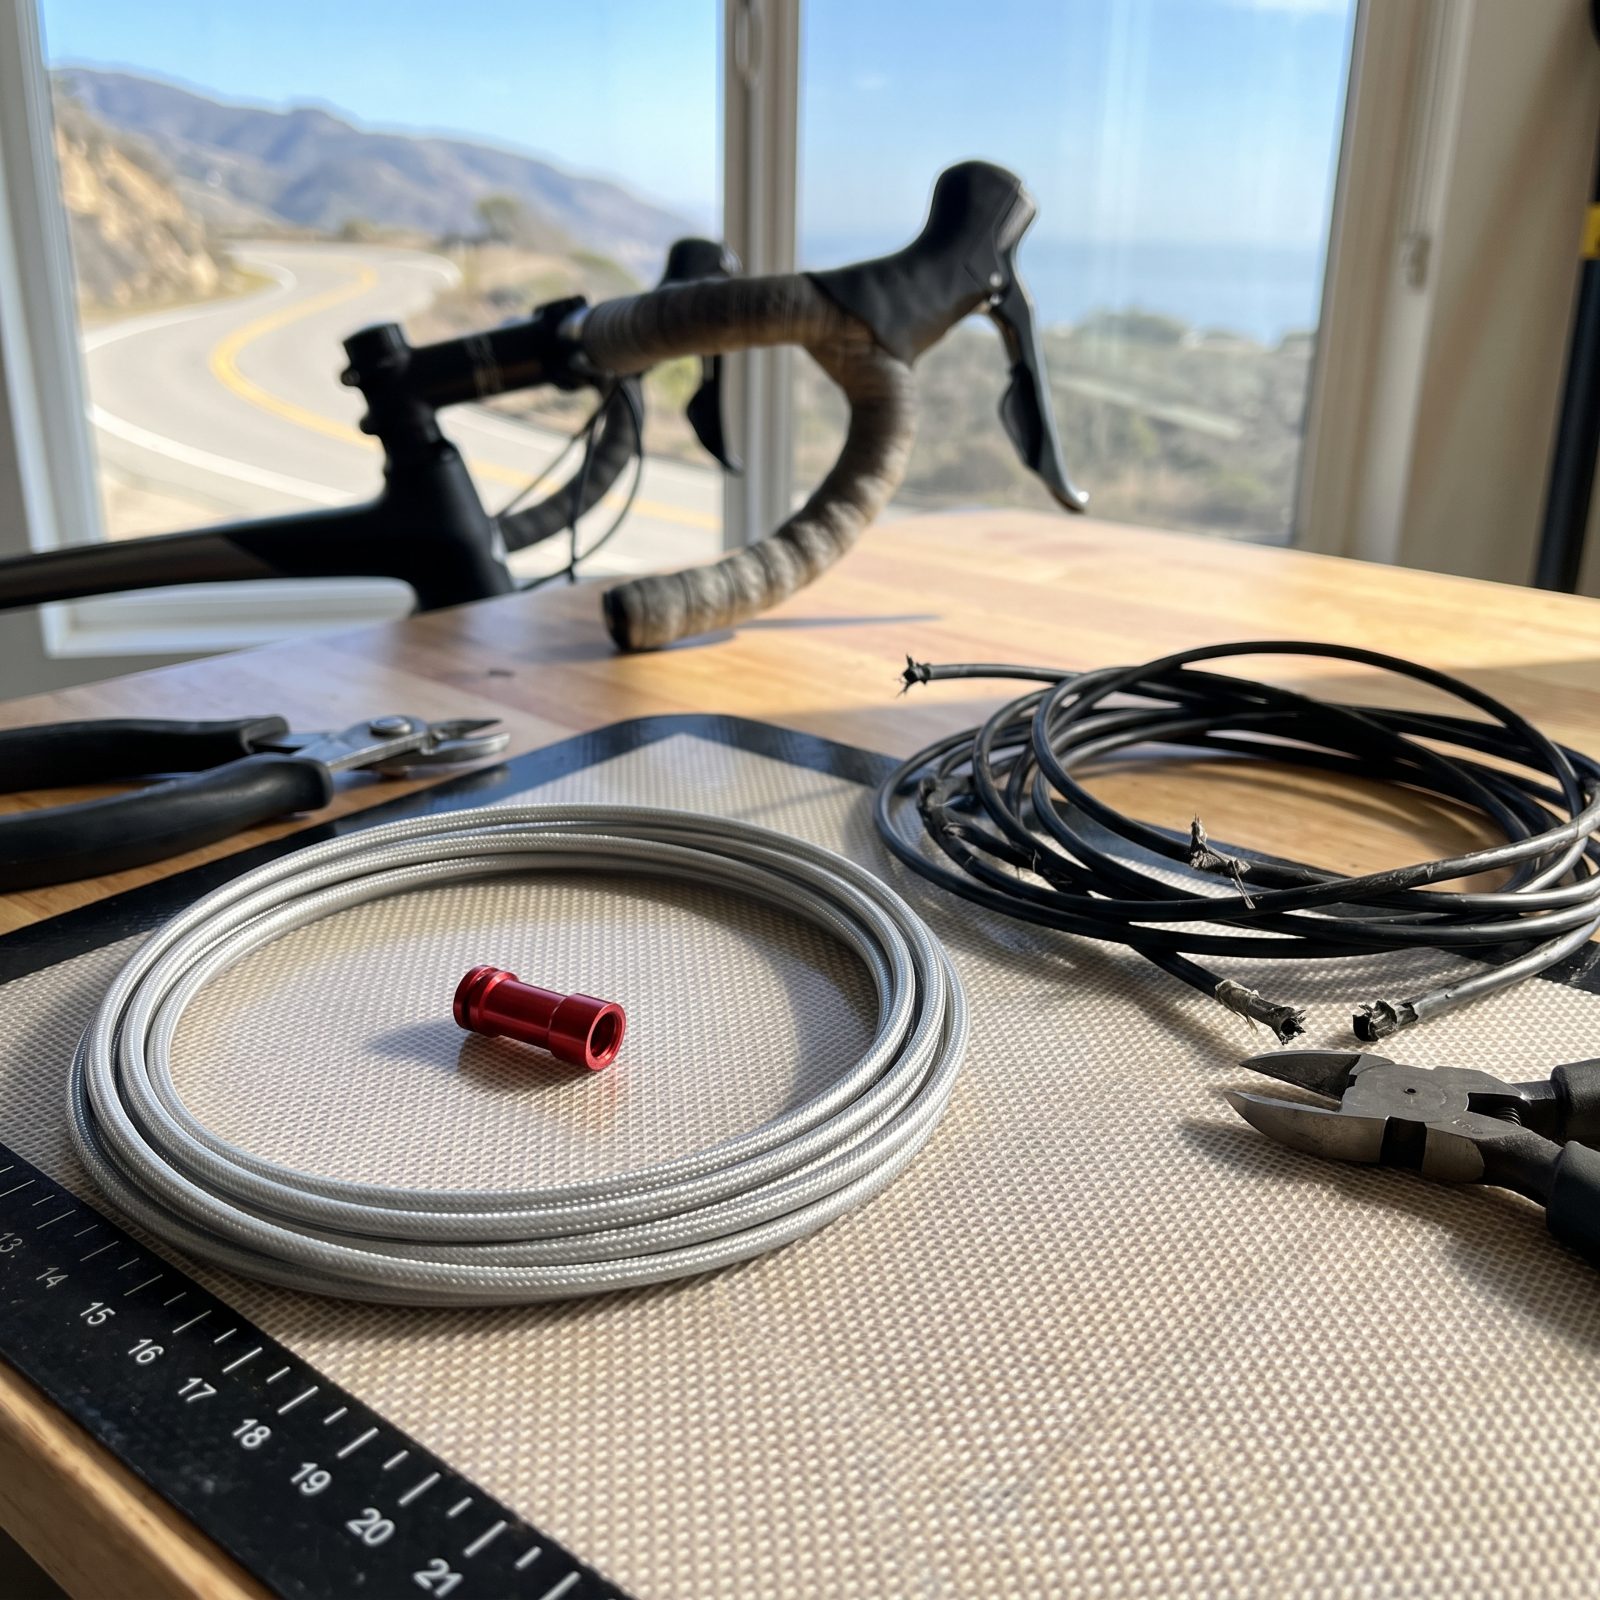
Every grimy, kinked run of cable housing adds drag to your shifting, and on a climb you want shifts instant and precise. A gritty cable makes you hesitate before changing gears, which means grinding in the wrong ratio right when it hurts most.
Fresh low-friction housing with a slick liner, cut cleanly and routed without tight bends, makes the lever action crisp again. Small part, tedious afternoon. But a drivetrain that shifts the second you ask stops bleeding momentum on the steep stuff.
3. Hot-Wax the Chain to Cut Drivetrain Friction
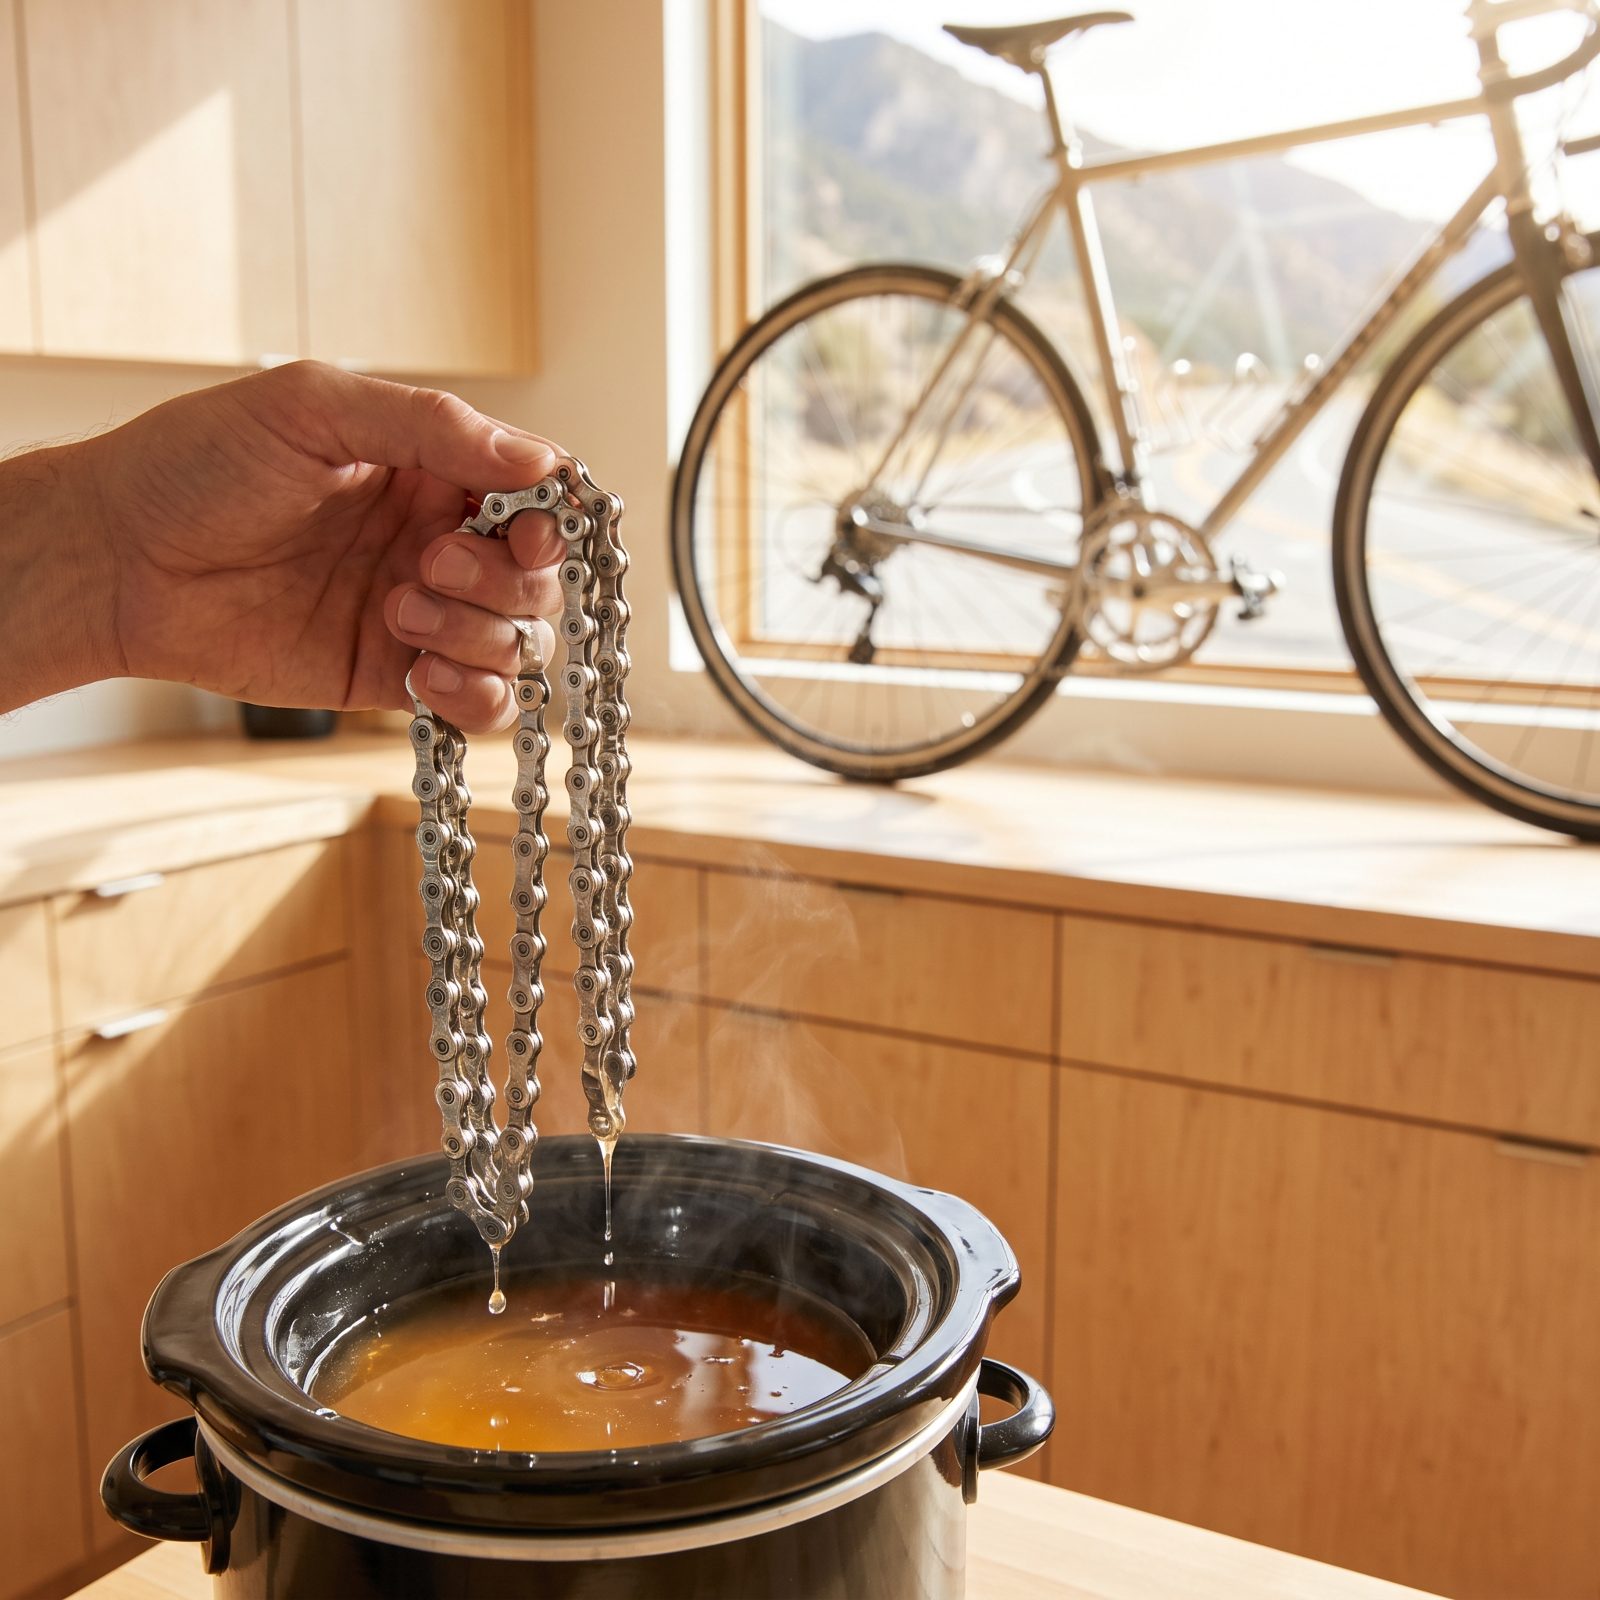
Oil holds grit. Wax doesn’t. A chain dipped in molten paraffin runs cleaner and with less friction than one slathered in sticky lube that turns to grinding paste within a few dusty miles.
Less friction in the drivetrain means more of your effort reaches the road, and on a long grind those watts add up. The setup is fiddly, though — strip the chain fully, melt the wax in a cheap slow cooker, dip, hang, and flex it loose. This is a weekend-warrior ritual, not a trailside fix. What you get back is a drivetrain that stays silent and clean long after an oiled one would be black and gritty.
2. Replace a Rough Bottom Bracket Bearing
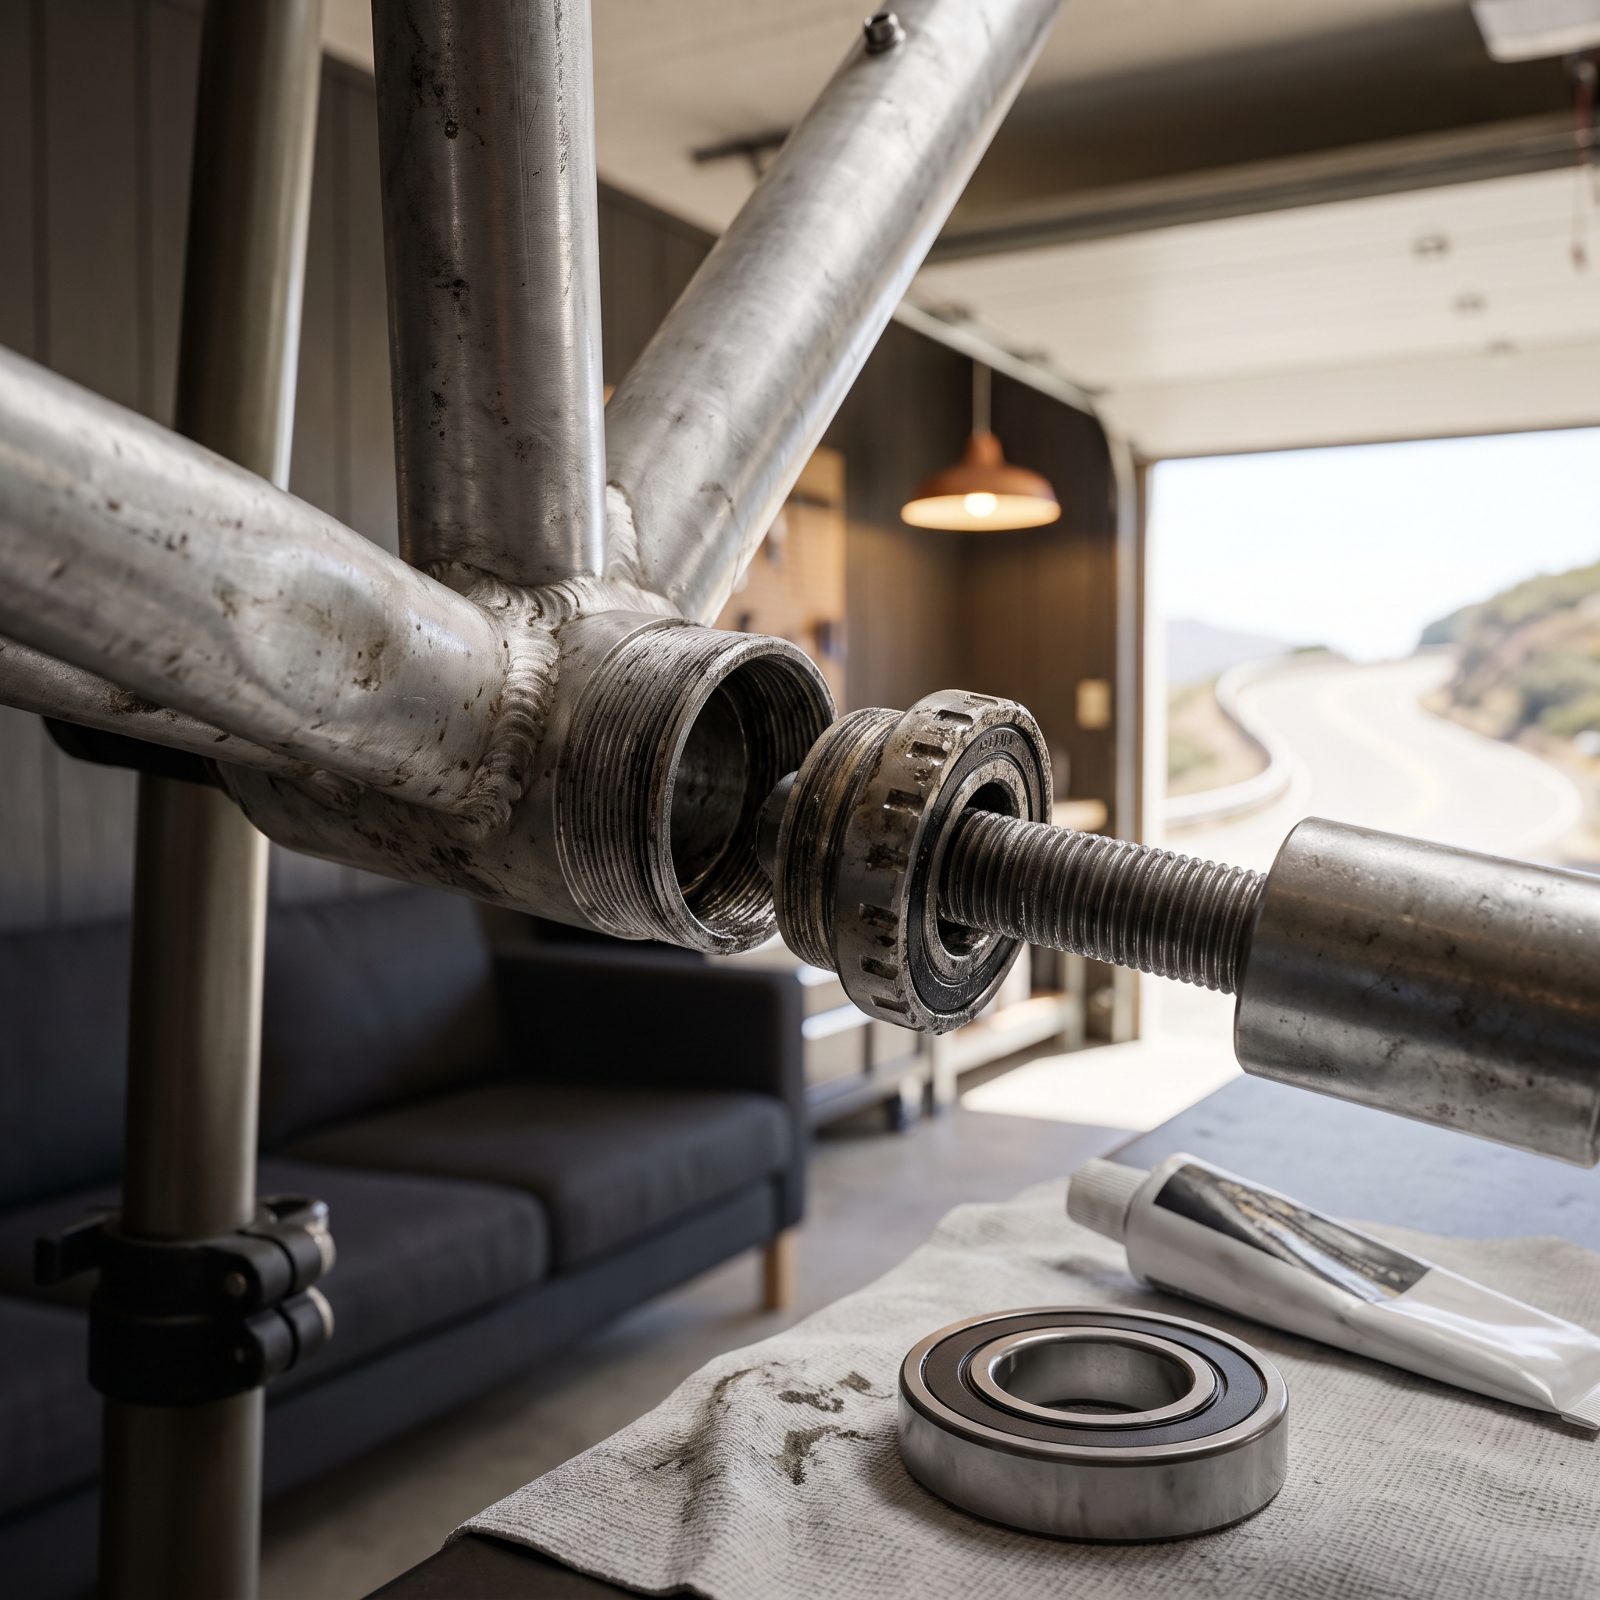
A notchy bottom bracket is a slow leak you never notice until it’s gone. Spin the cranks with the chain off and feel for grinding or roughness. If it’s there, you’re pedaling against it on every rotation of every ride.
A fresh sealed bearing is cheap, and the difference is a crank that spins free and silent again. Nobody upgrades a bottom bracket for fun — which is exactly why a worn one gets ignored for years while it quietly taxes every climb.
1. Recenter the Brakes to Stop That Rotor or Rim Rub Stealing Your Legs
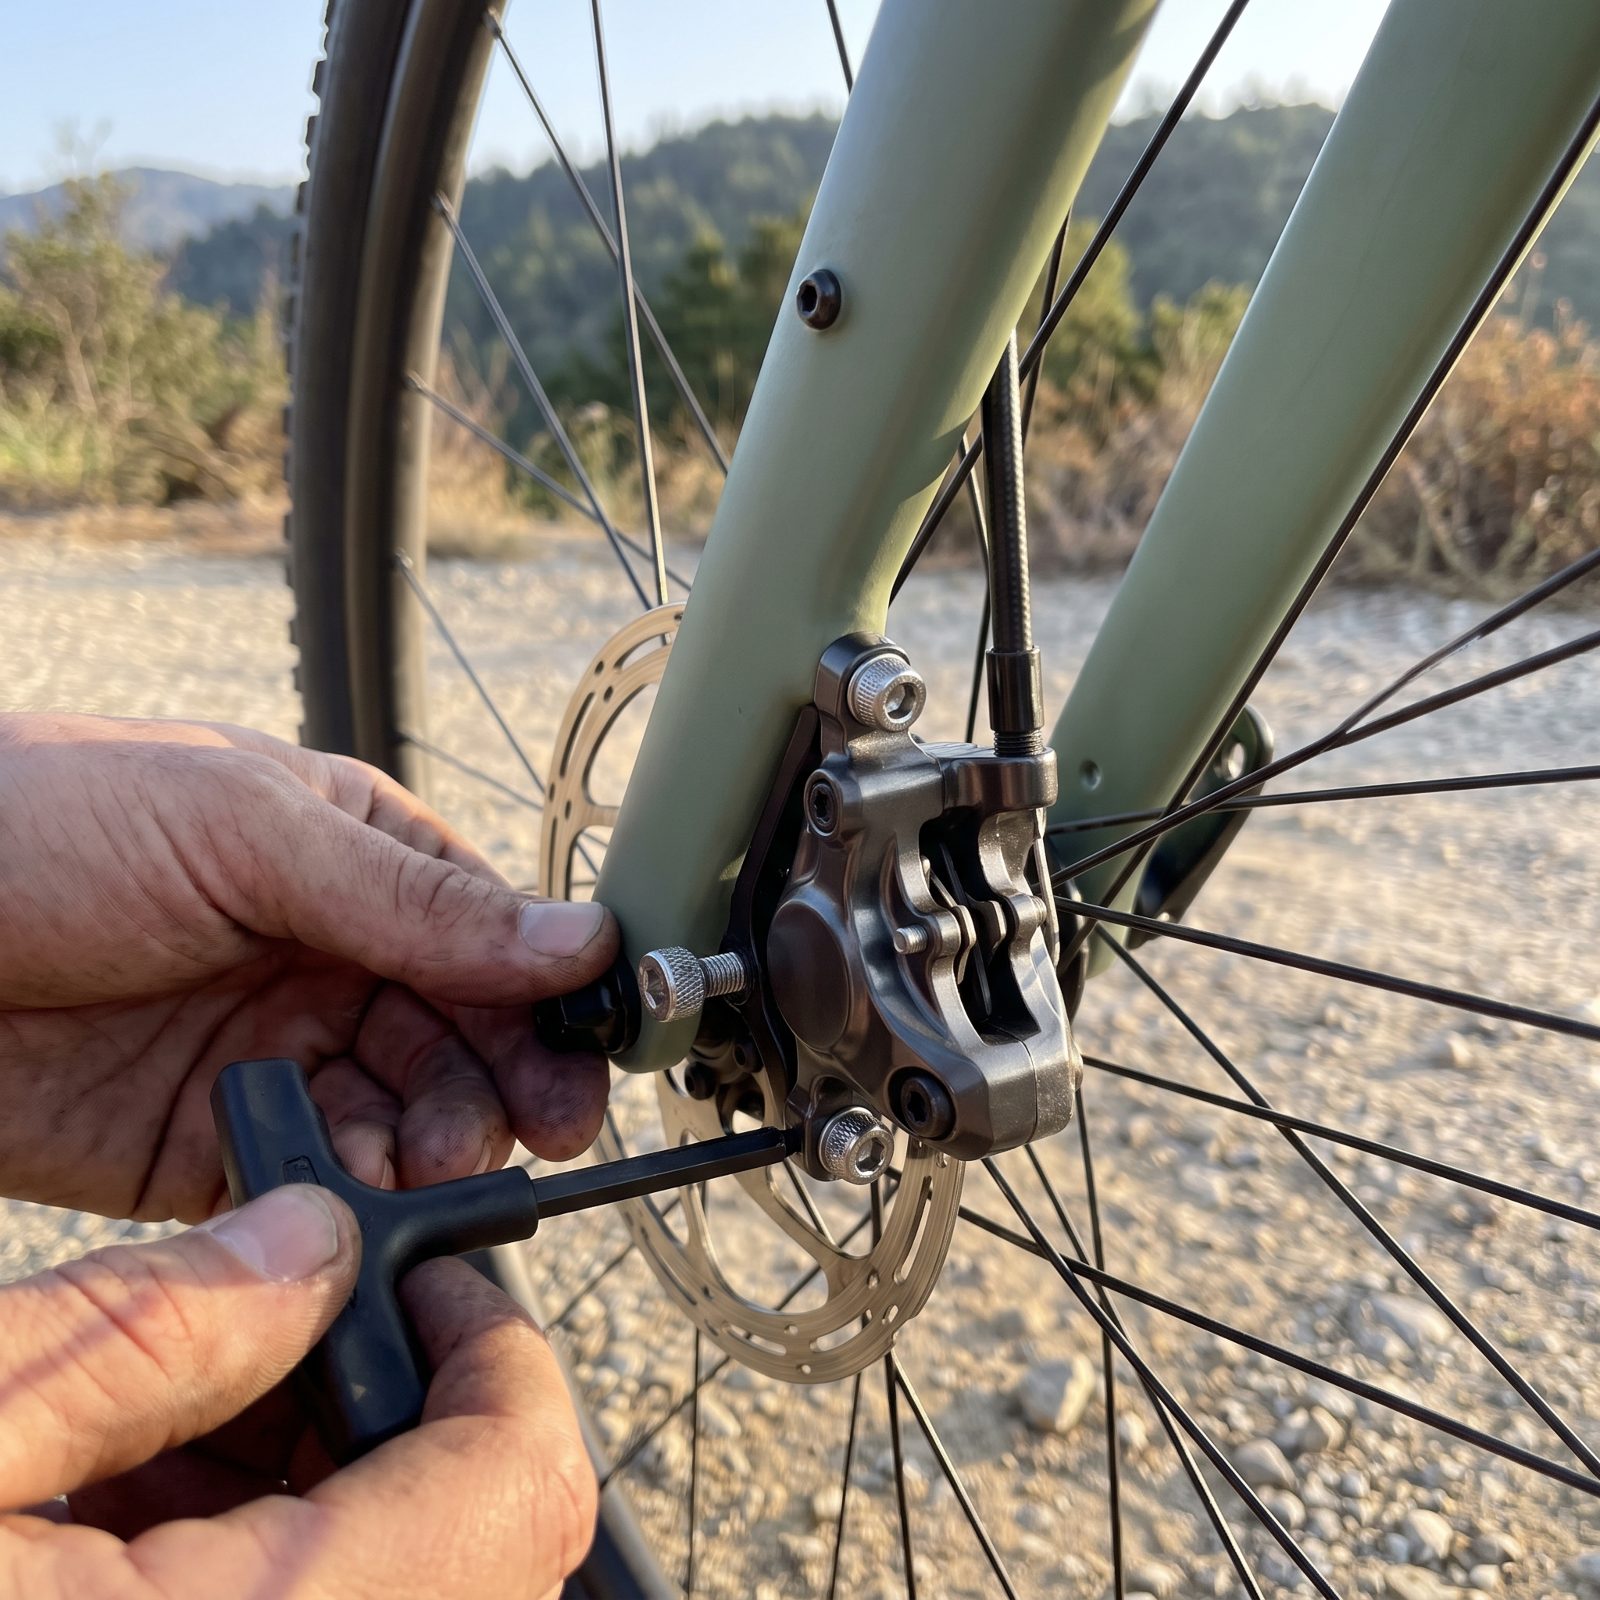
That faint shhk… shhk on every wheel rotation isn’t harmless. A rubbing disc rotor, or a pad that keeps kissing the rim, is friction you pay for the whole ride, and pointed uphill that tax compounds with every pedal stroke. Most riders just tune it out. They shouldn’t.
The fix takes two minutes. Loosen the caliper mounting bolts a half turn, squeeze the brake lever hard so the caliper self-centers over the rotor, then snug the bolts back down while you keep the lever pinned. Spin the wheel. Silence. Rim brakes get the same cure from a small barrel adjuster or a pad nudge.
Nobody tells you how much drag a light rub piles on. On flat tarmac? Barely anything. But grind up a hill at walking pace and you feel every ounce of it disappear the moment it’s gone.