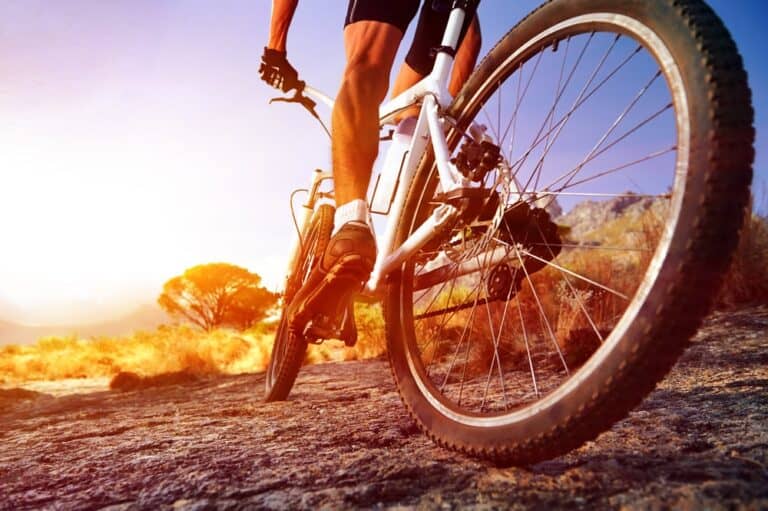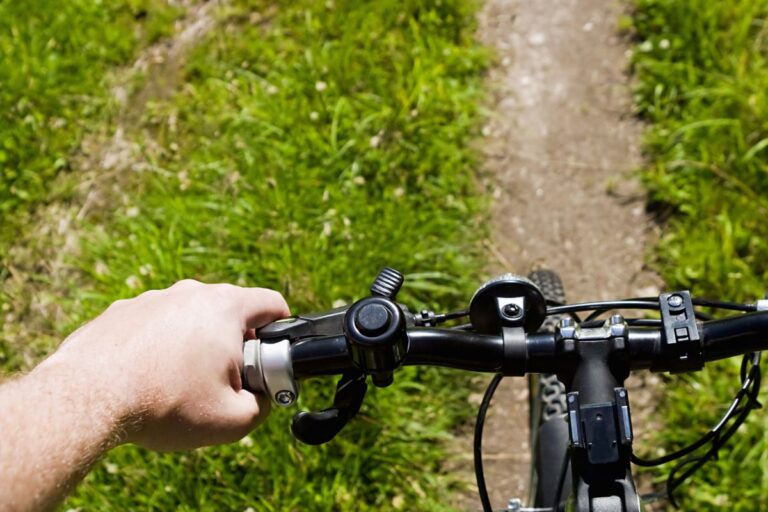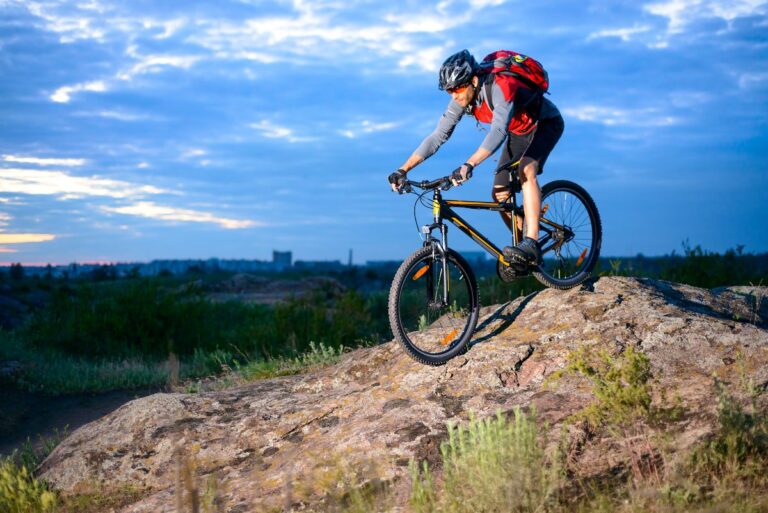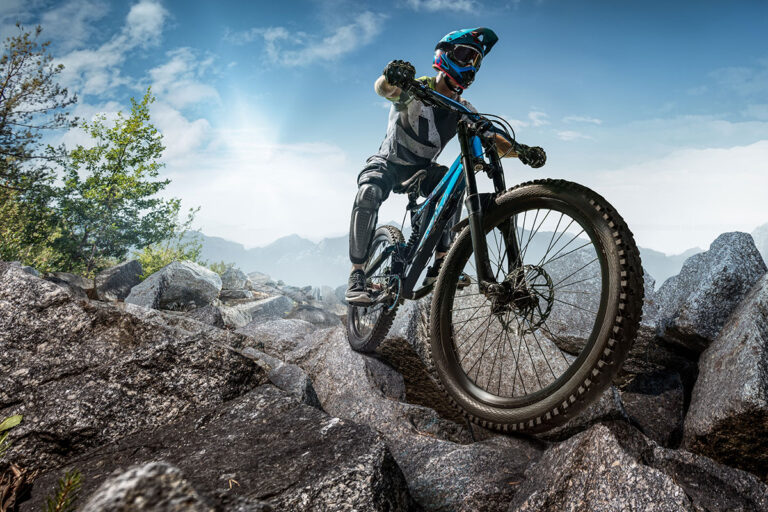
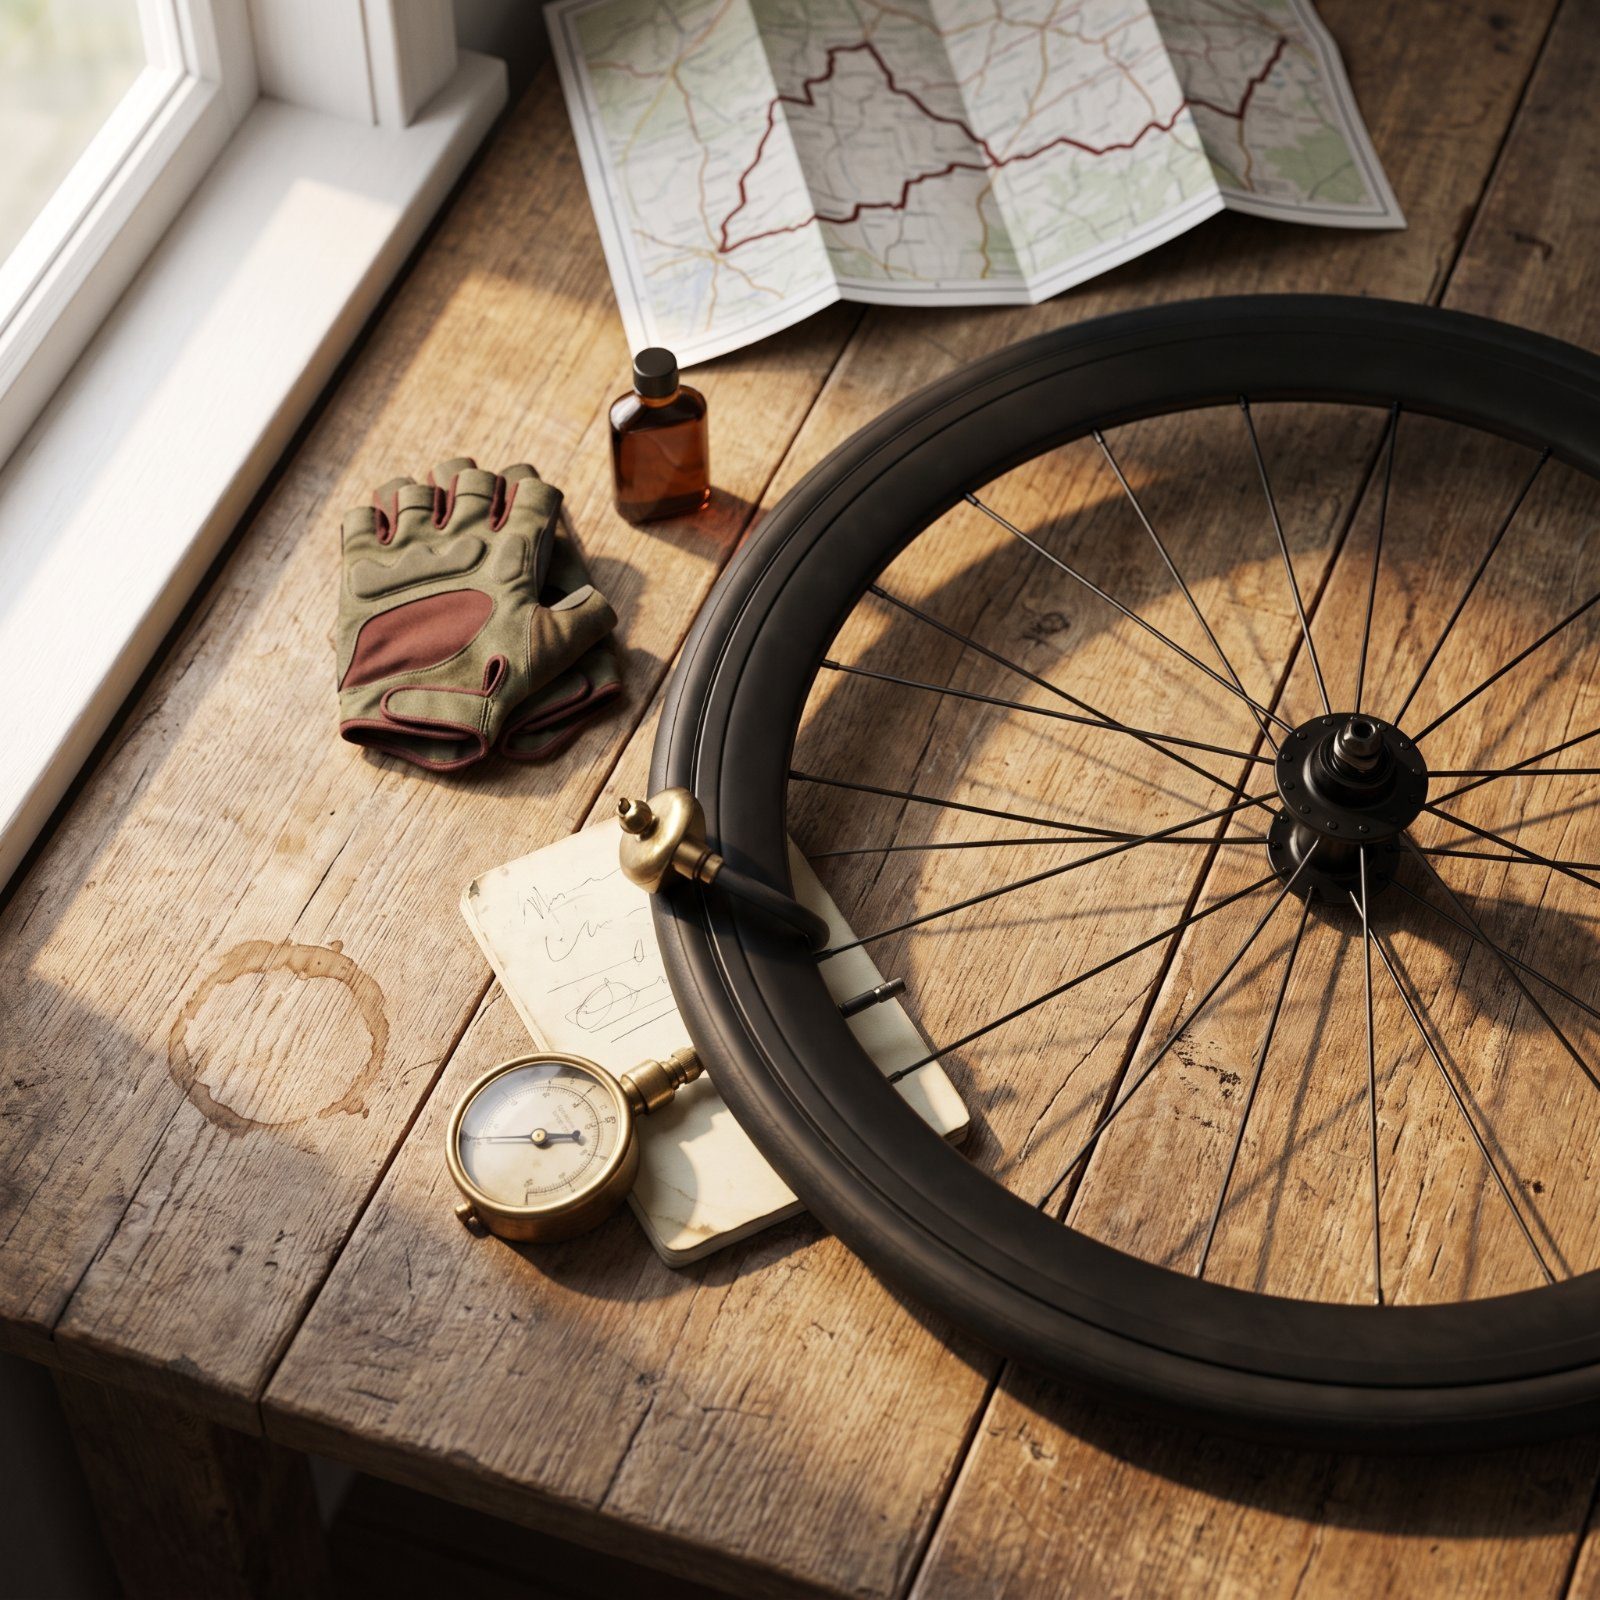
Two riders with identical legs finish minutes apart on the same loop. Same watts, same bike. One just made fewer mistakes. Free speed is real, and it has nothing to do with intervals or a new power meter. It lives where most riders never think to look: the half-second before a shift, the two pedal strokes after a hilltop, the air pressure in the front tire. These are the small corrections experienced riders make without ever talking about them, mostly because they look boring written down. They work anyway. Here are the ones worth stealing.
Please note that some of the images in this article were created with the assistance of AI.
45. Float the Hips Over Chipseal to Stop Bumps Stealing Momentum
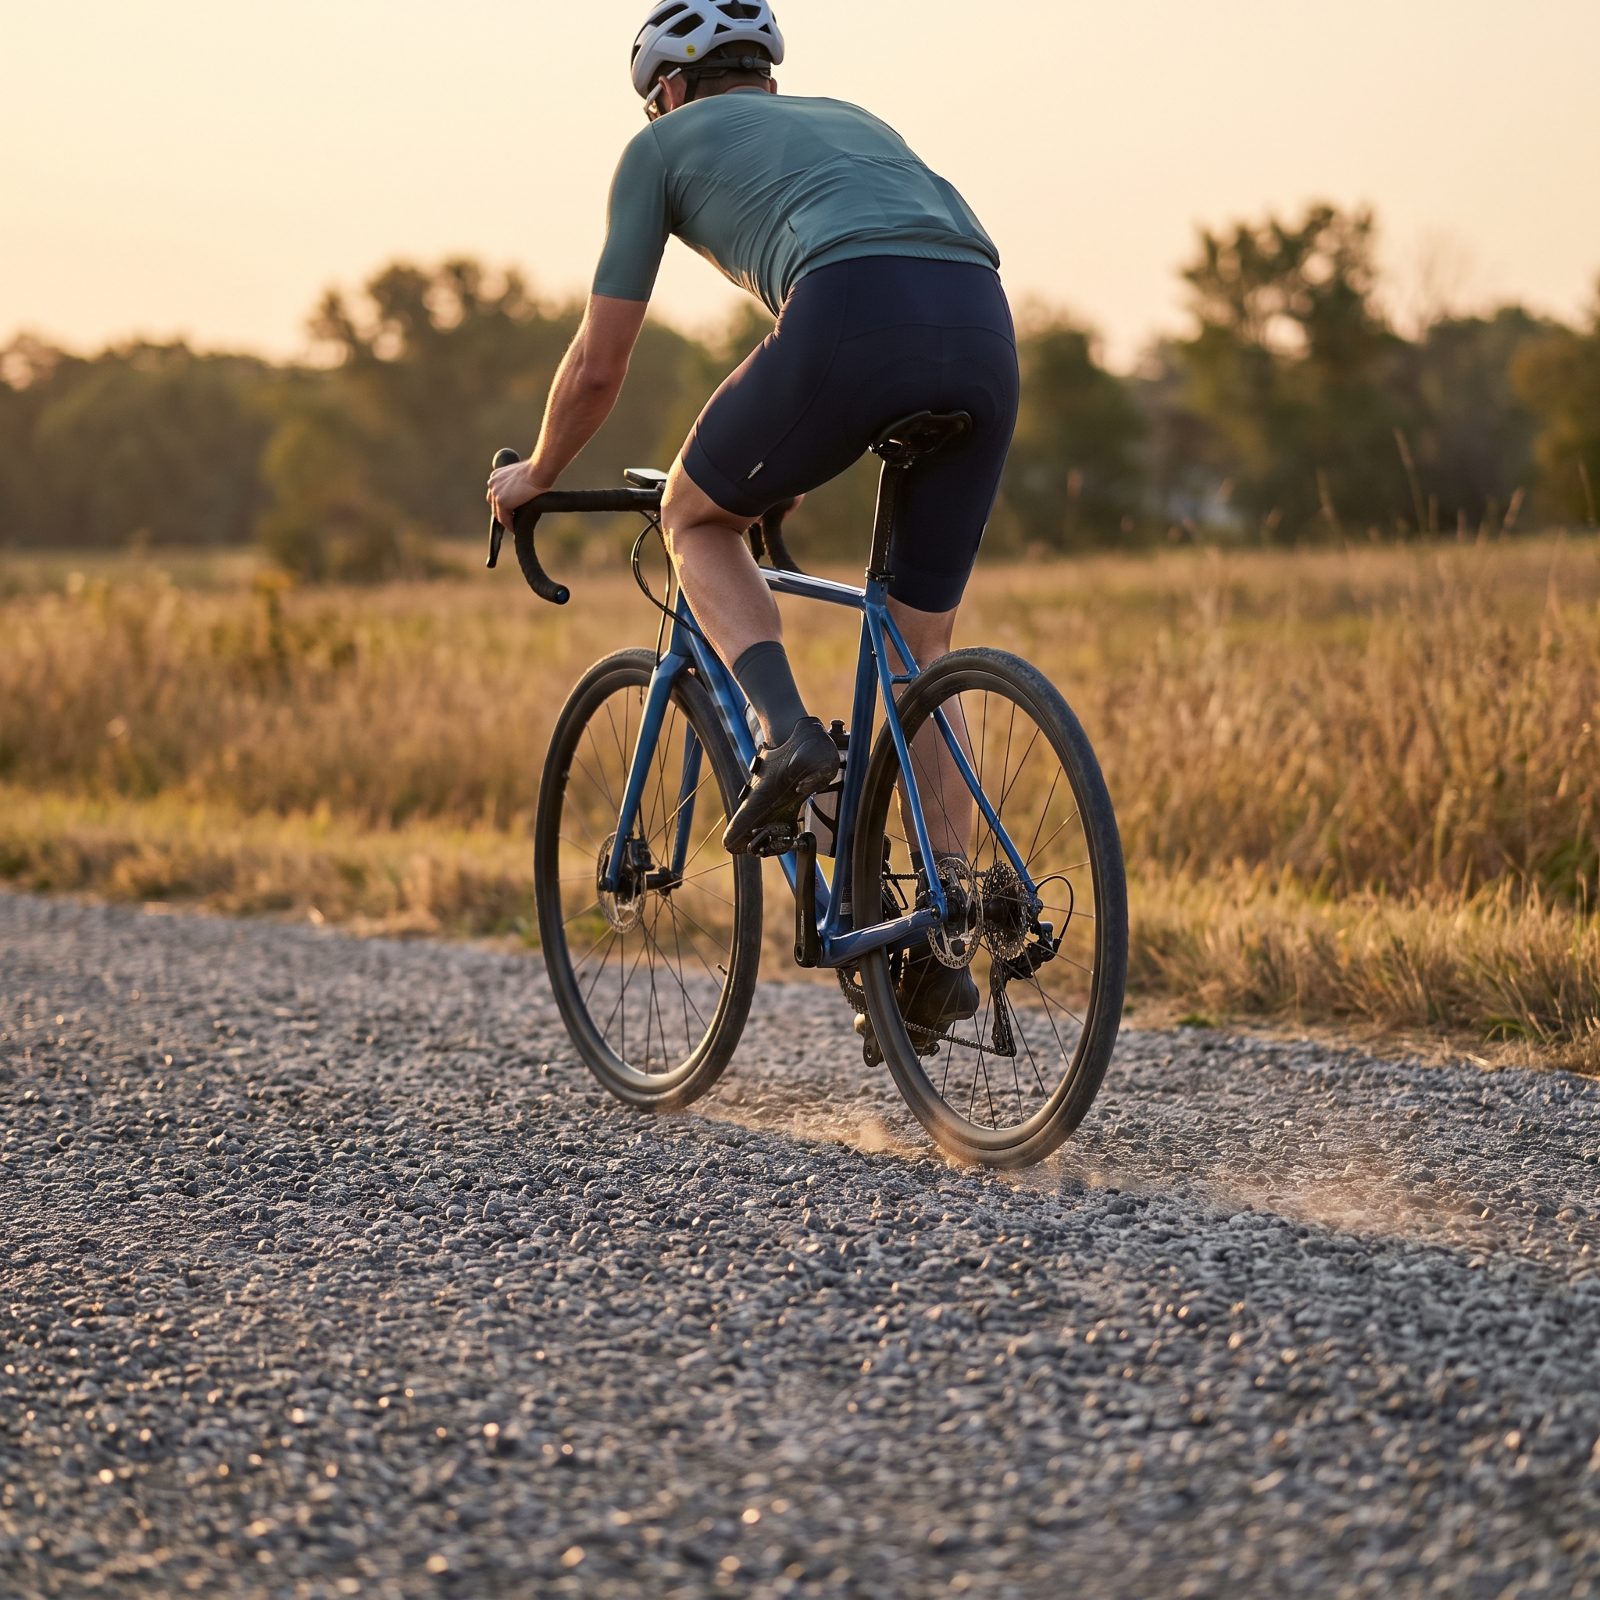
Chipseal is a thief. Every vibration that rattles up through a locked-up body is energy that was headed for the pedals and never arrived, and the fix costs nothing. Stay seated but light on the saddle so the bike can move under you, keep the elbows and knees loose, and let your hips stay relaxed on the leather.
Your body becomes the suspension the bike doesn’t have. The wheels track the road instead of pogoing off it, and the speed you built stays with you.
44. Keep Pedaling for Two Strokes Beyond Every Crest
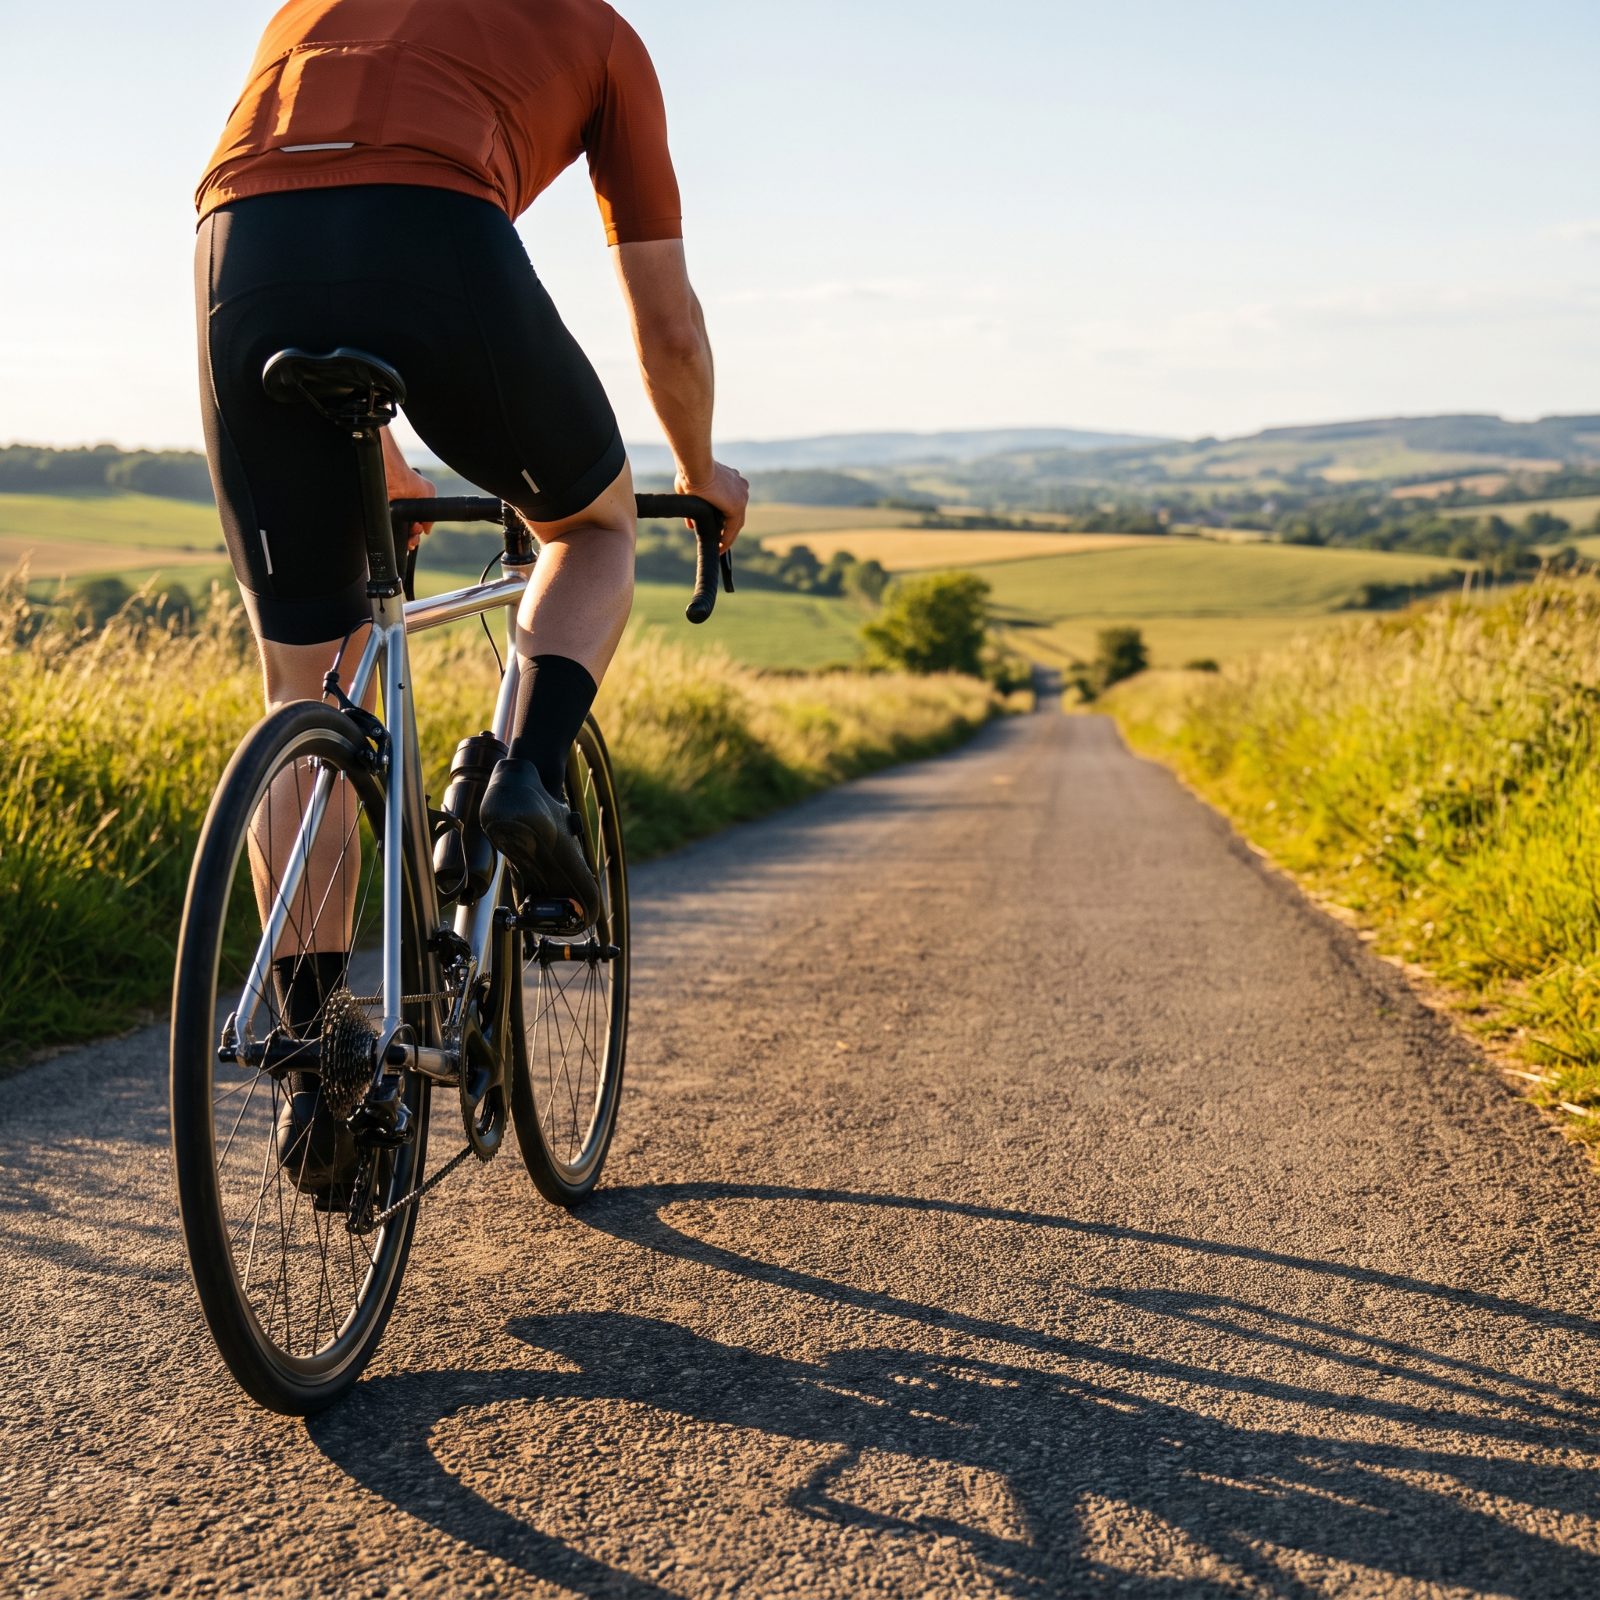
Most riders quit pedaling the instant the summit arrives. It feels earned. It’s also the exact moment the road starts handing speed back for nothing, and coasting through it tosses the gift away.
Push two more strokes past the top. You accelerate into the descent instead of flopping over it, and that little head start snowballs the whole way down the far side. Do it on every roller in a ride and the free distance piles into real minutes.
43. Add a Firm Pedal Stroke at the Bottom of Each Roller
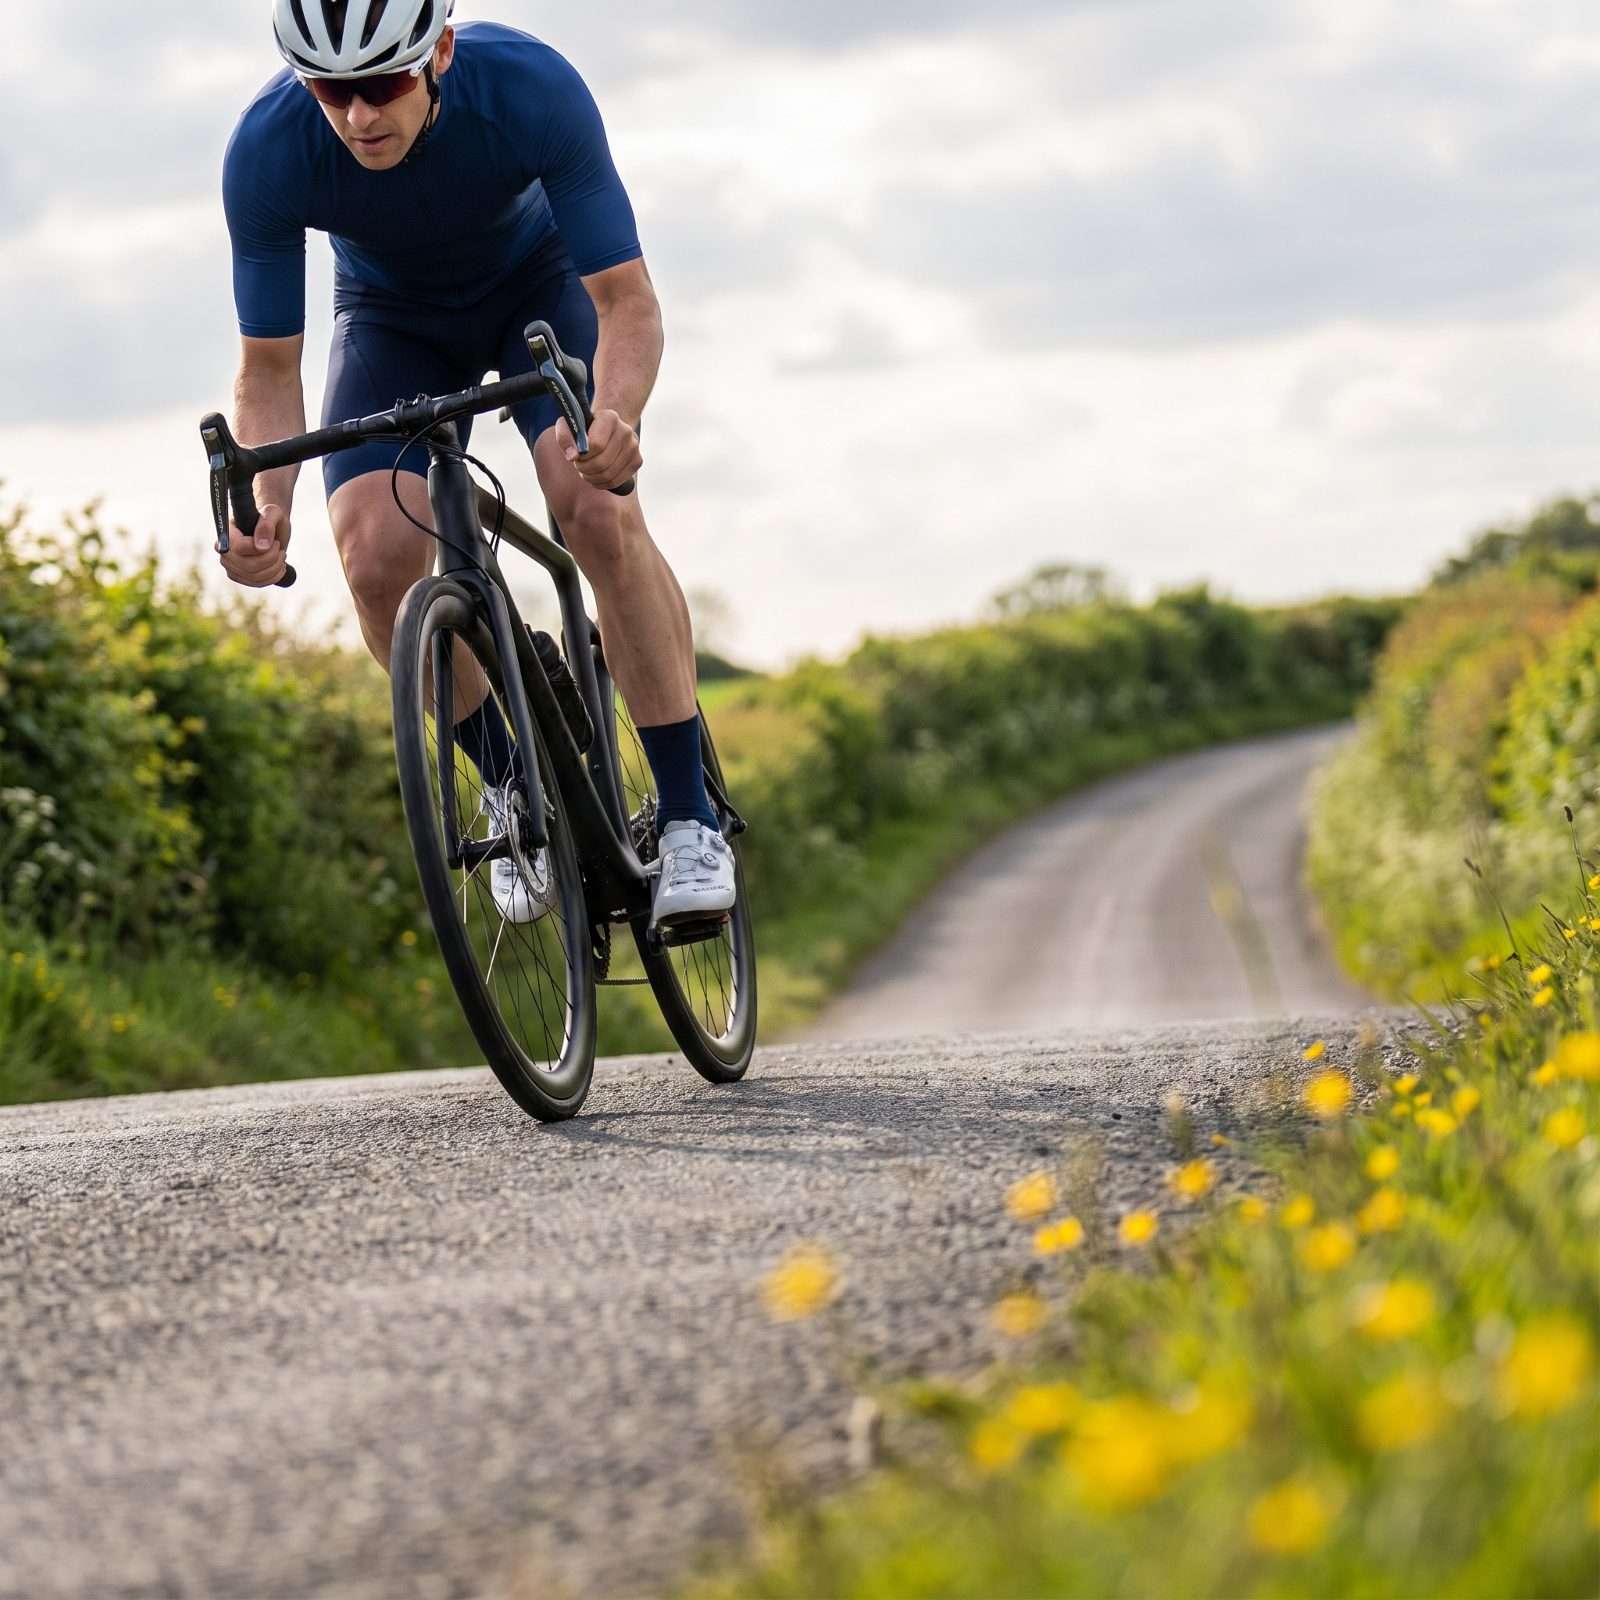
The bottom of a roller is where momentum is highest and the legs feel freshest. That’s the spot to spend a hard, deliberate stroke or two — not halfway up the climb where it costs you double.
Carry the speed you gathered on the way down straight into the base of the next rise. The bike does most of the early work, and you top out faster for less effort. Grind up from a dead stall instead and you’ll pay for the whole hill with your heart rate.
42. Watch the Rider Ahead’s Shoulders Instead of Their Rear Wheel
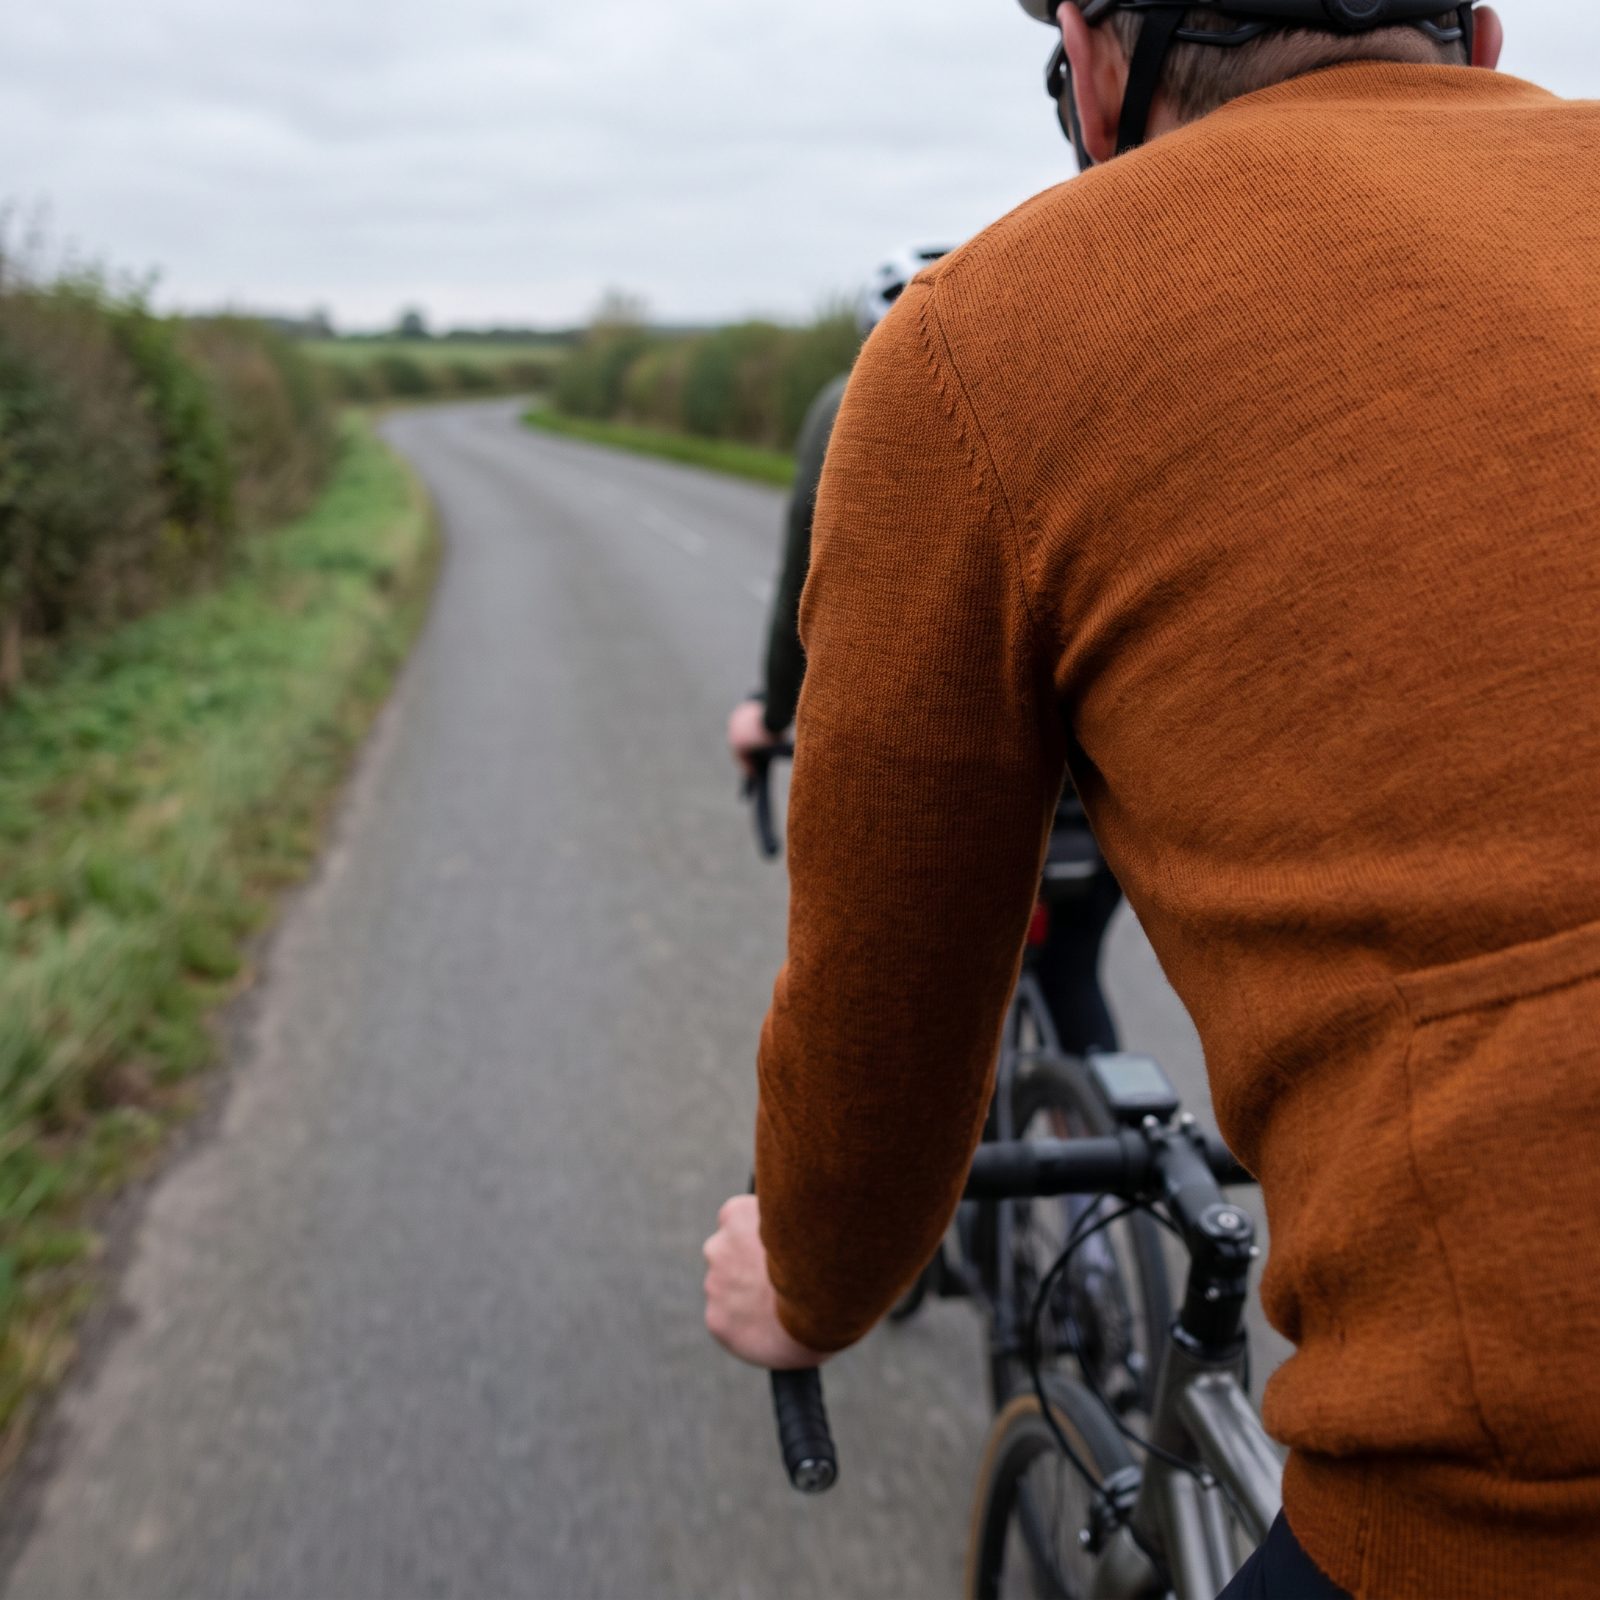
Staring at the wheel in front is how beginners ride. It feels safe, and it’s actually the slowest way to read a group, because by the time a wheel moves, the decision that moved it already happened.
Shoulders tell you first. A lift signals braking before the brakes touch; a dip toward a line signals a turn before the bars twist. Read them and your reactions land a beat earlier, which means fewer surges and fewer panic grabs at the levers. Smoother riding is faster riding, and it sips far less energy over a long day.
41. Use the Bike’s Shadow to Catch Flared Elbows
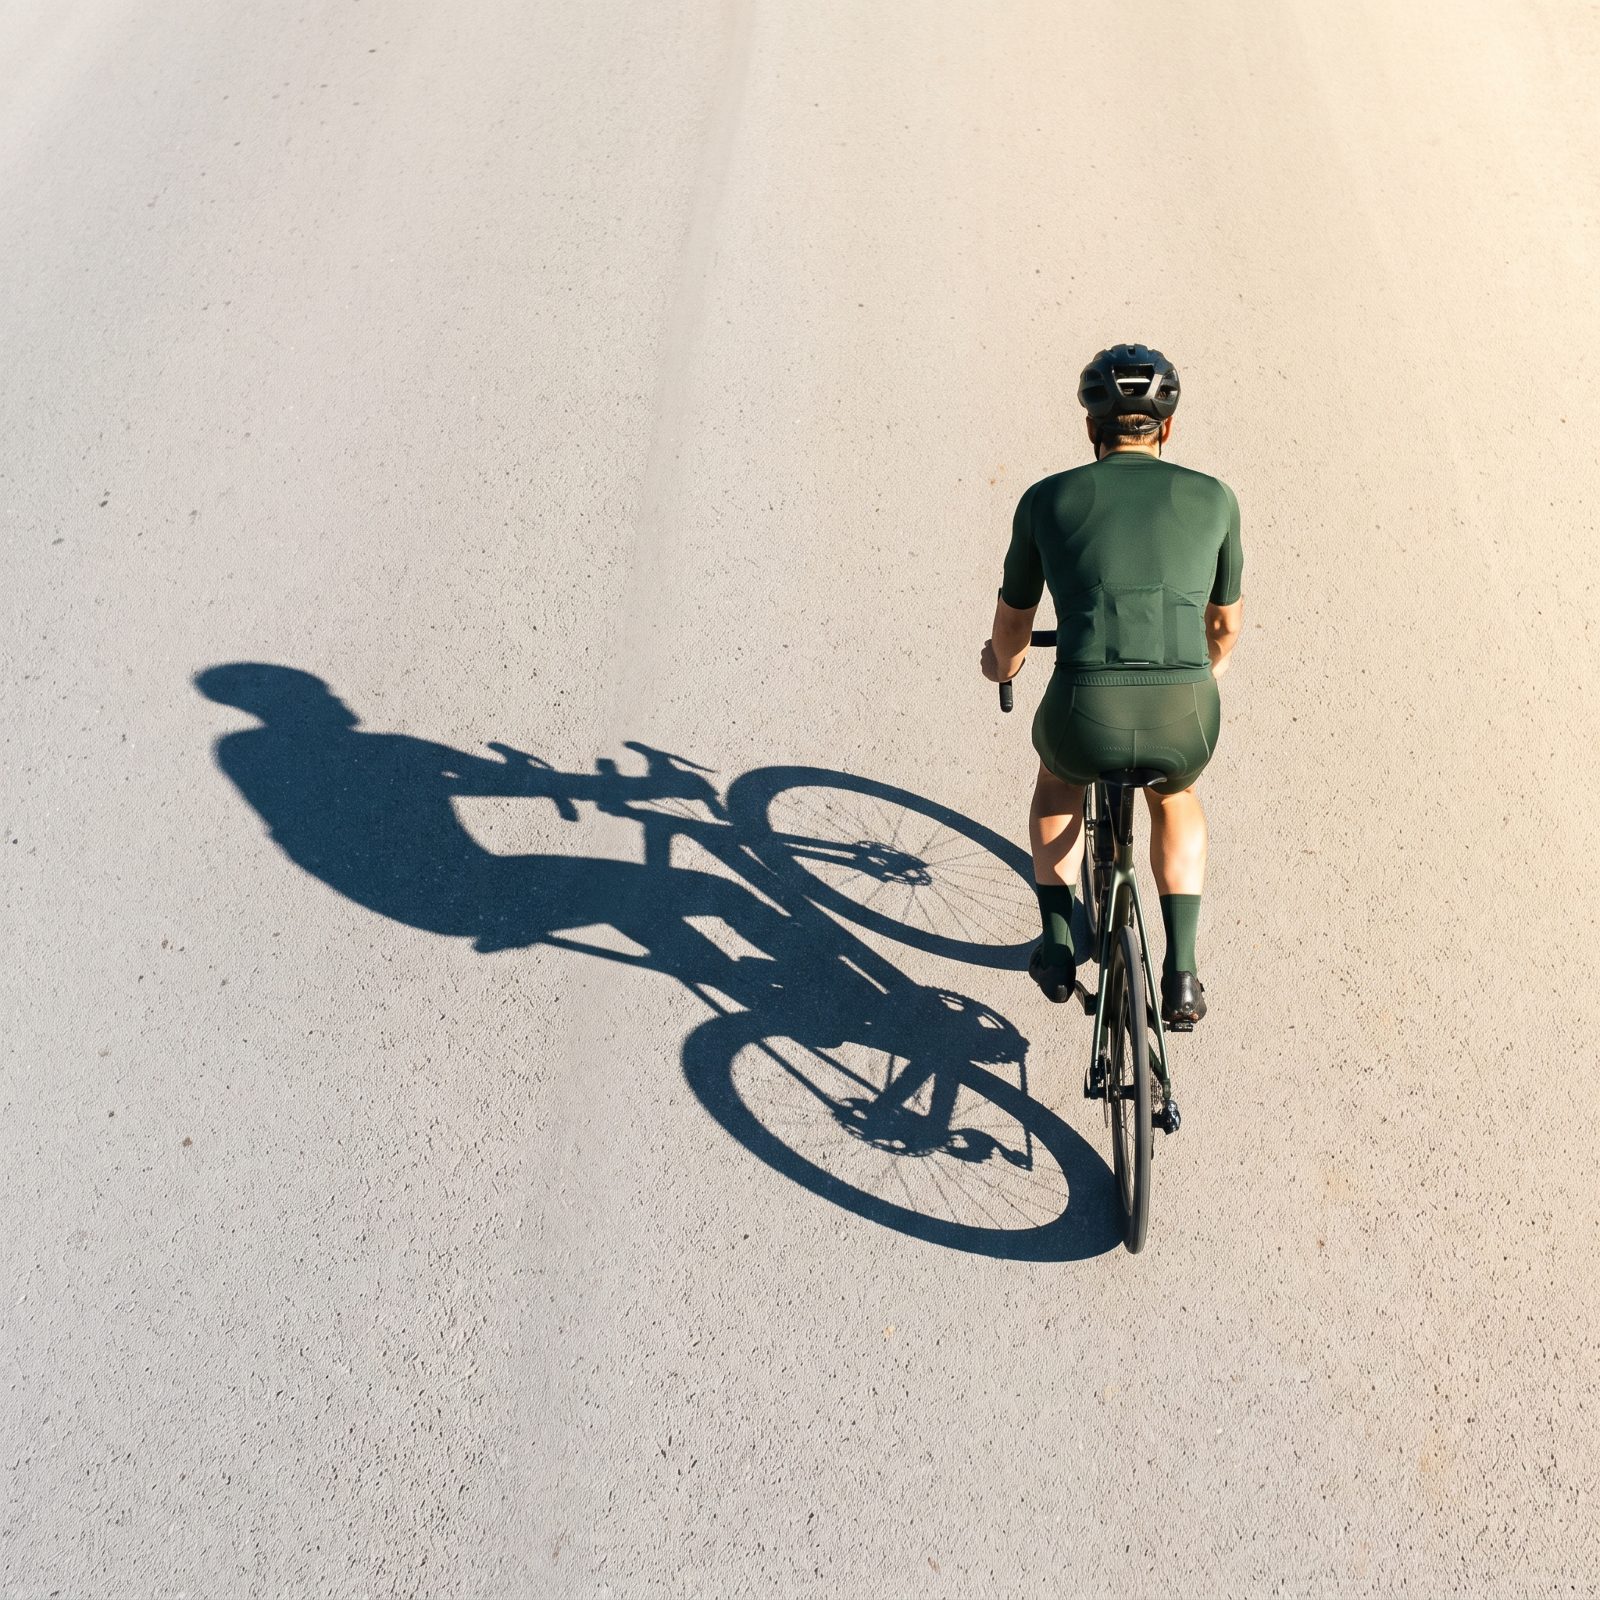
Riders talk endlessly about aero bars and skinsuits, then leave their elbows flapping out like a scarecrow. Those elbows catch more wind than any wheel upgrade on the market.
On a sunny day the road hands you a free mirror. Glance at your shadow and you can see instantly whether your arms are tucked or flared, whether your back is a sail or a wedge. Narrow the elbows, drop the chest a touch, watch the silhouette shrink. No wind tunnel, no coach — just the sun doing the job for nothing.
40. Ease Pedal Pressure for a Split Second During Each Shift
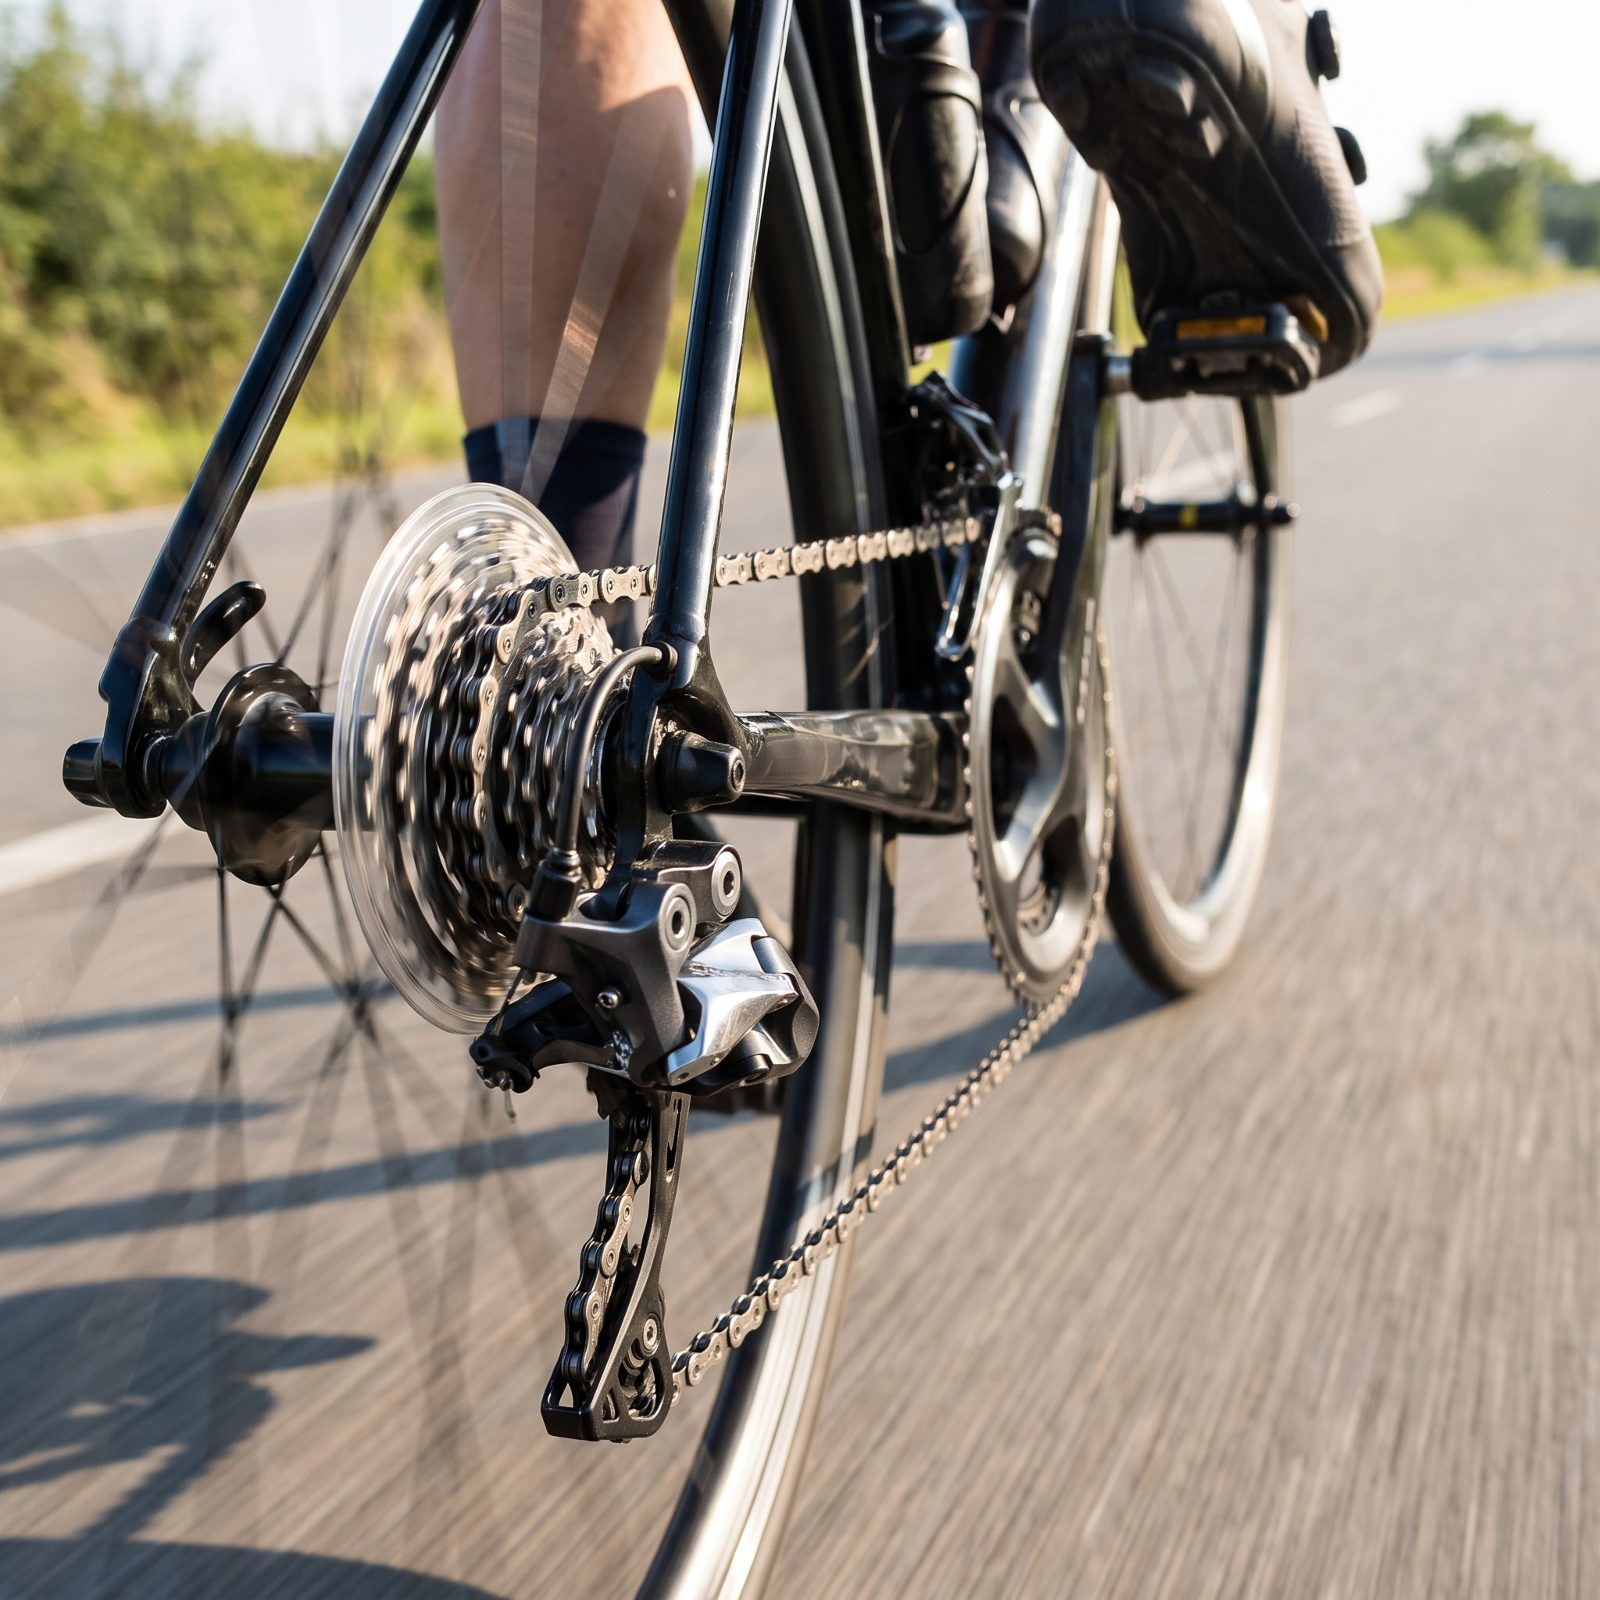
Shifting under full load is how chains get mangled and shifts turn clunky. The half-second of grinding, skipping and hesitation that follows is lost momentum, and the worn teeth it leaves behind cost real money down the line.
Soften the pressure for an instant as the lever clicks. The chain drops cleanly onto the next cog, the drivetrain stays quiet, and you keep rolling without that jerky pause. It feels like nothing. Over a hilly ride with a few hundred shifts, it adds up to smoother speed and a cassette that lasts a whole lot longer.
39. Leave the Paceline Front Before Speed Starts Fading
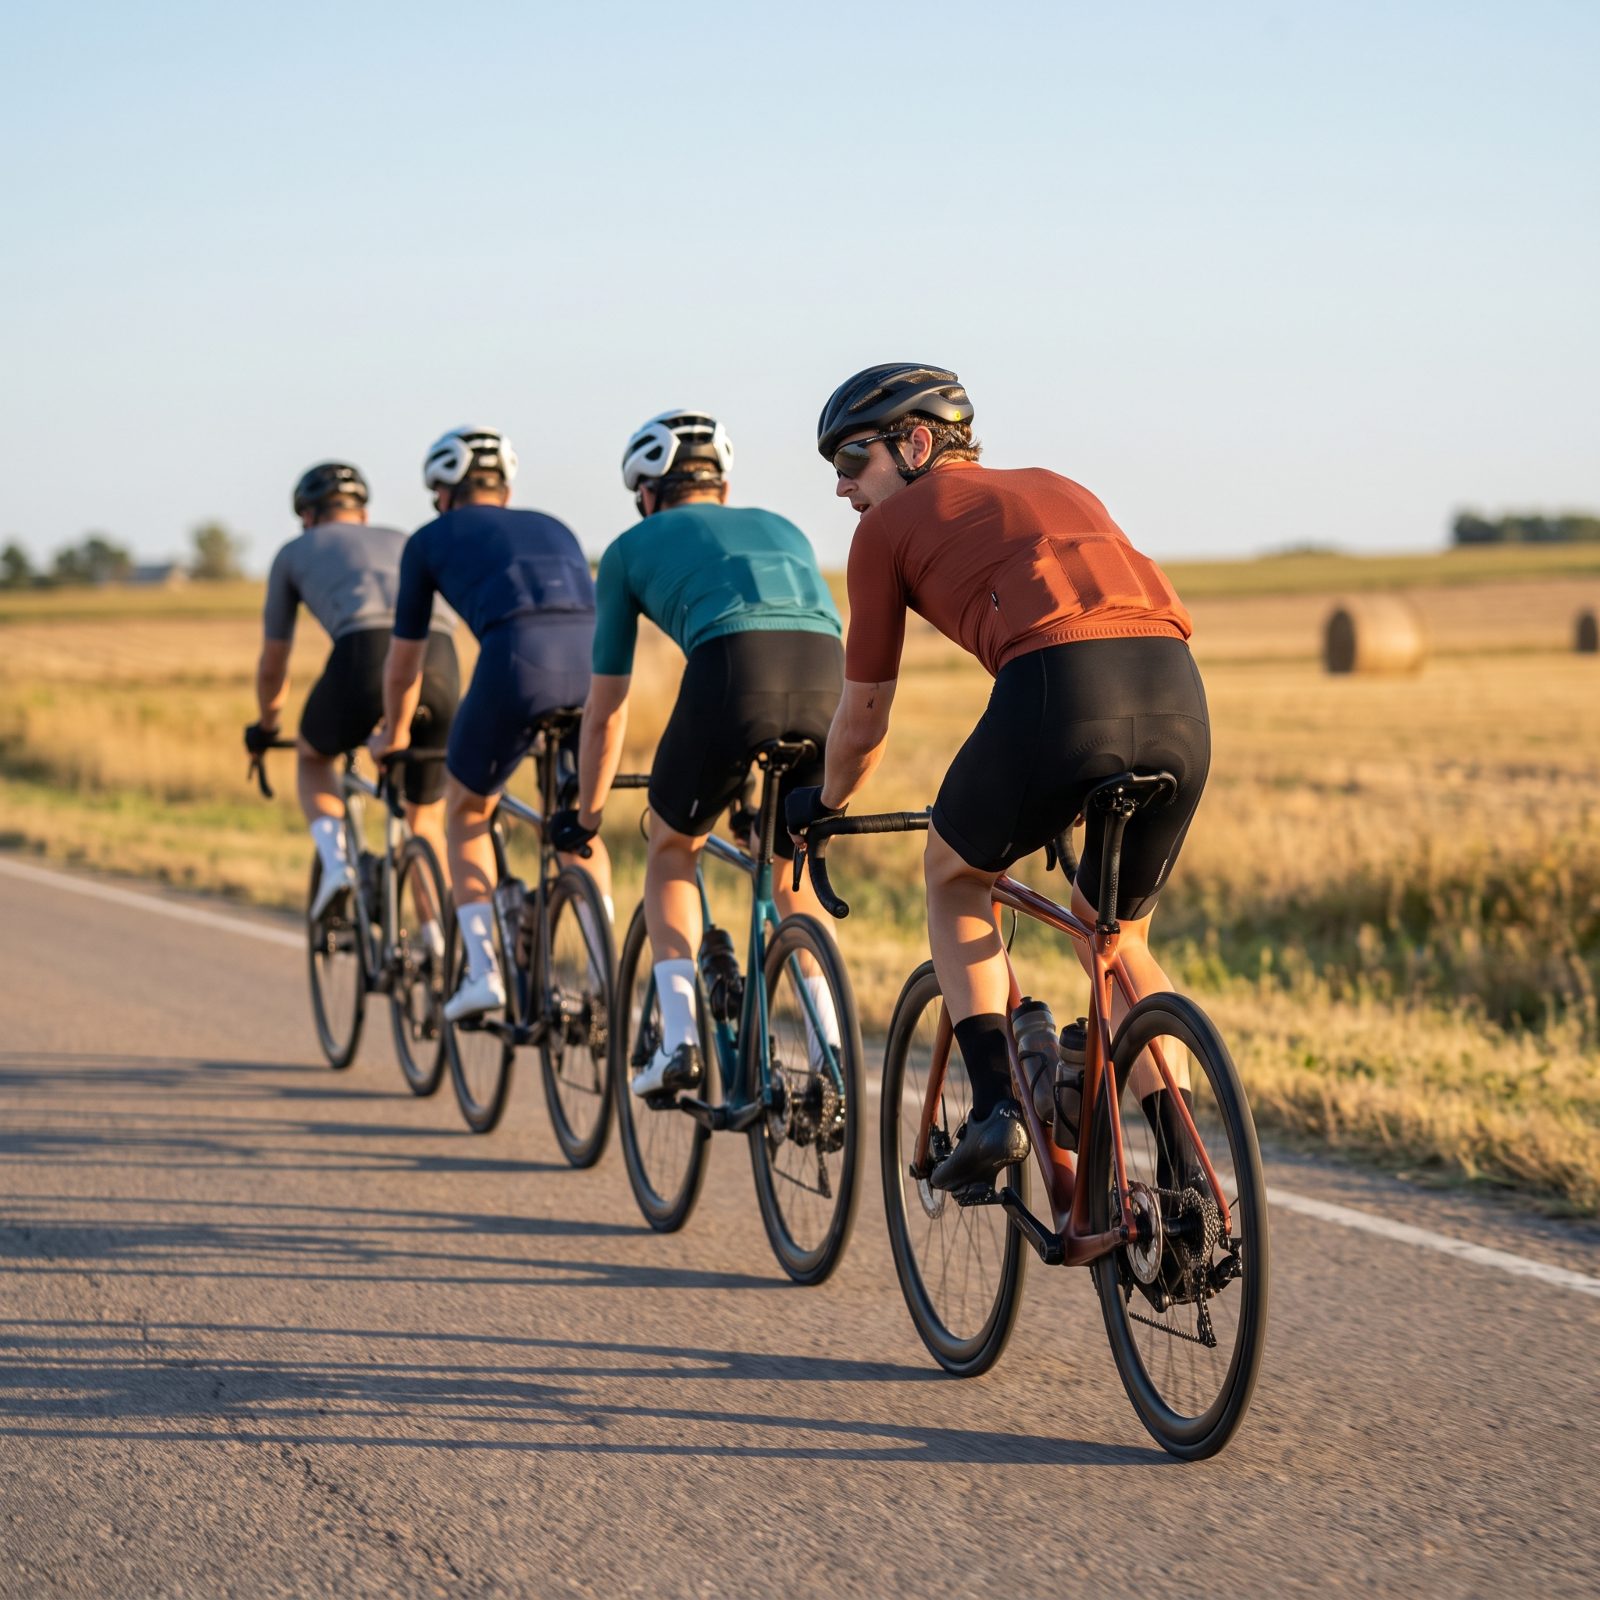
Here’s the classic rookie move at the front of a paceline: staying up there until the legs scream, then slowing the whole group as you limp off. Everyone behind brakes, the rhythm breaks, the average speed sags.
Pull off while you’re still turning a strong, steady pace. The next rider takes over seamlessly, the group holds its speed, and you recover in the draft instead of blowing up in the wind.
A good pull is one nobody remembers. A bad one is the surge that shattered the line.
Short, honest turns keep the whole machine faster than one hero burying himself up front.
38. Close Group-Ride Gaps Before Corners, Not After Them
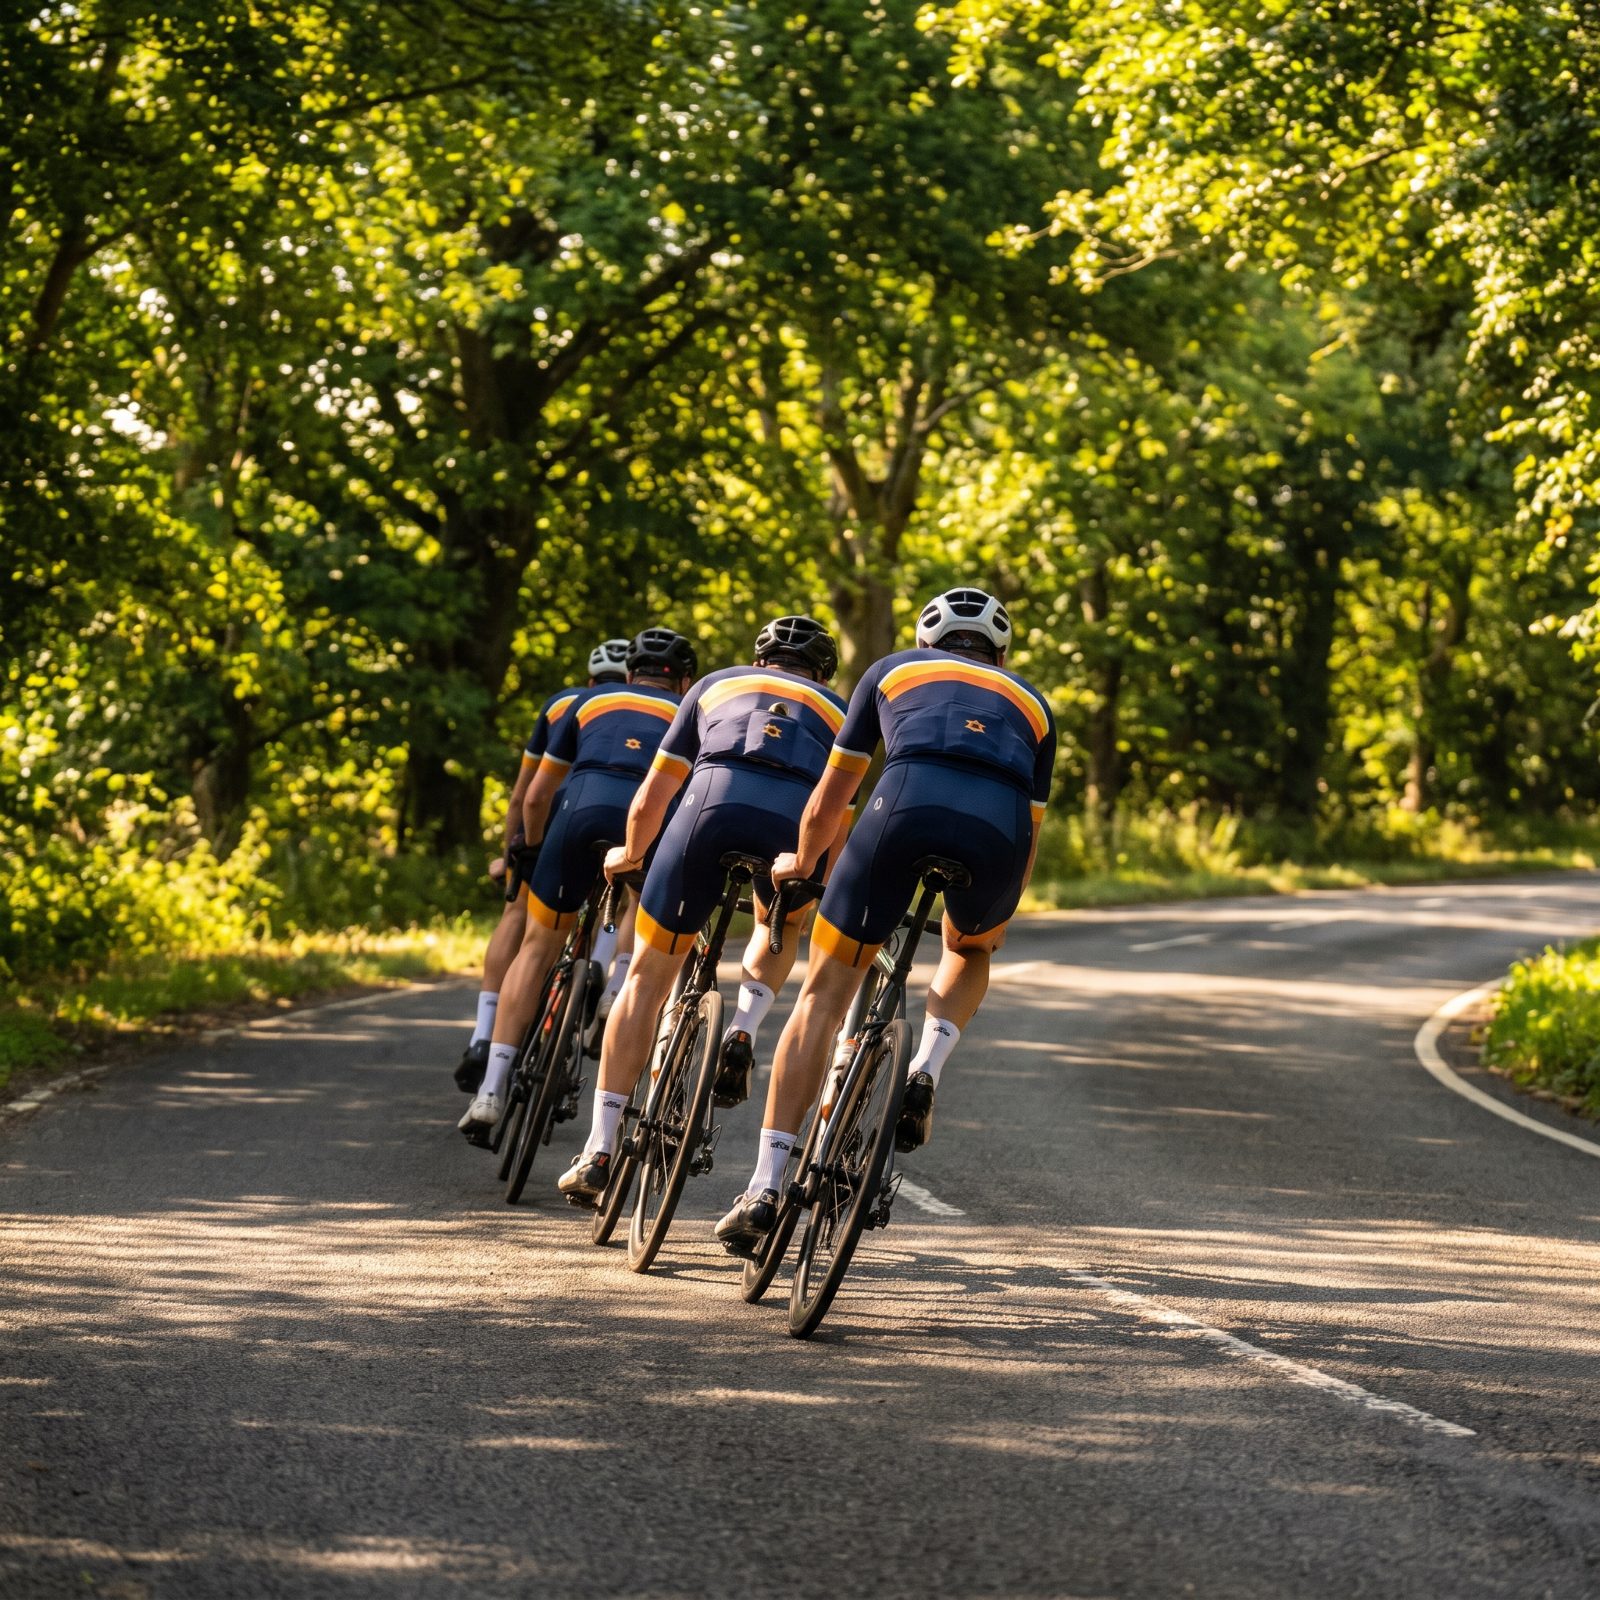
Watch any club ride and you’ll see it. A gap opens before the corner, then everyone scrambles to sprint back on after. That accordion effect at the rear burns matches all day for no reason at all.
Close the gap on the approach so you’re glued to the wheel ahead going in. You carry the group’s exit speed instead of chasing it. The riders who get this coast where everyone else is sprinting, and they roll home with legs to spare.
37. Select the Descent Gear Before the Road Tips Down
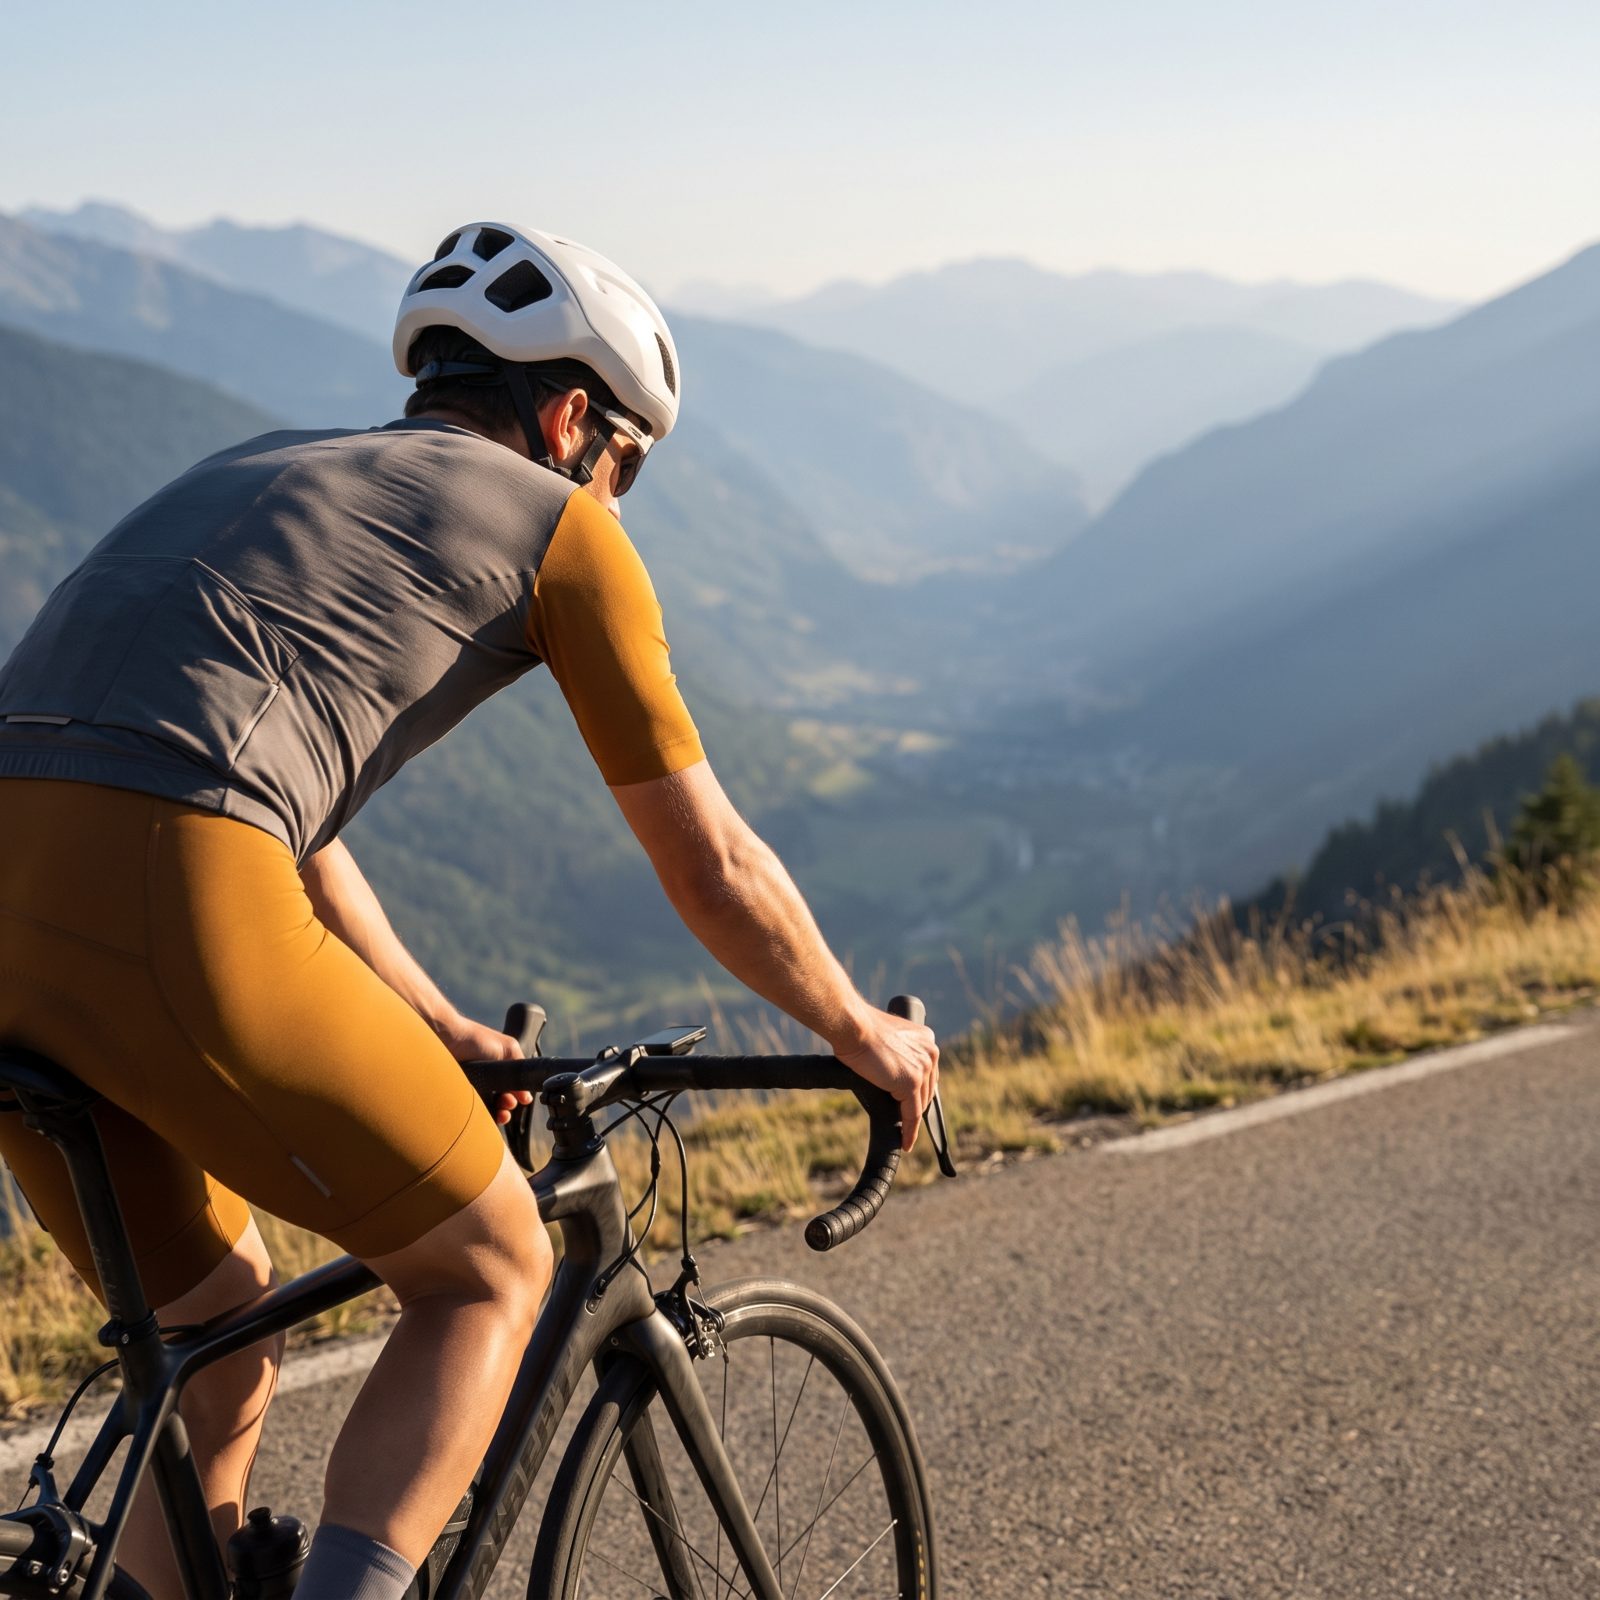
Fumbling for a harder gear once gravity already has you is a fool’s errand. The cranks spin too fast to load the chain cleanly, so the shift clunks, the legs spin out uselessly, and the first chunk of the descent is gone before you ever reach the gear you wanted.
Drop into the big ring while the road’s still flat up top. By the time it tips down you’re set to put real power through the first pedal strokes, catching the acceleration at its sweetest instead of scrambling for it.
36. Run Slightly Less Pressure in the Front Tire
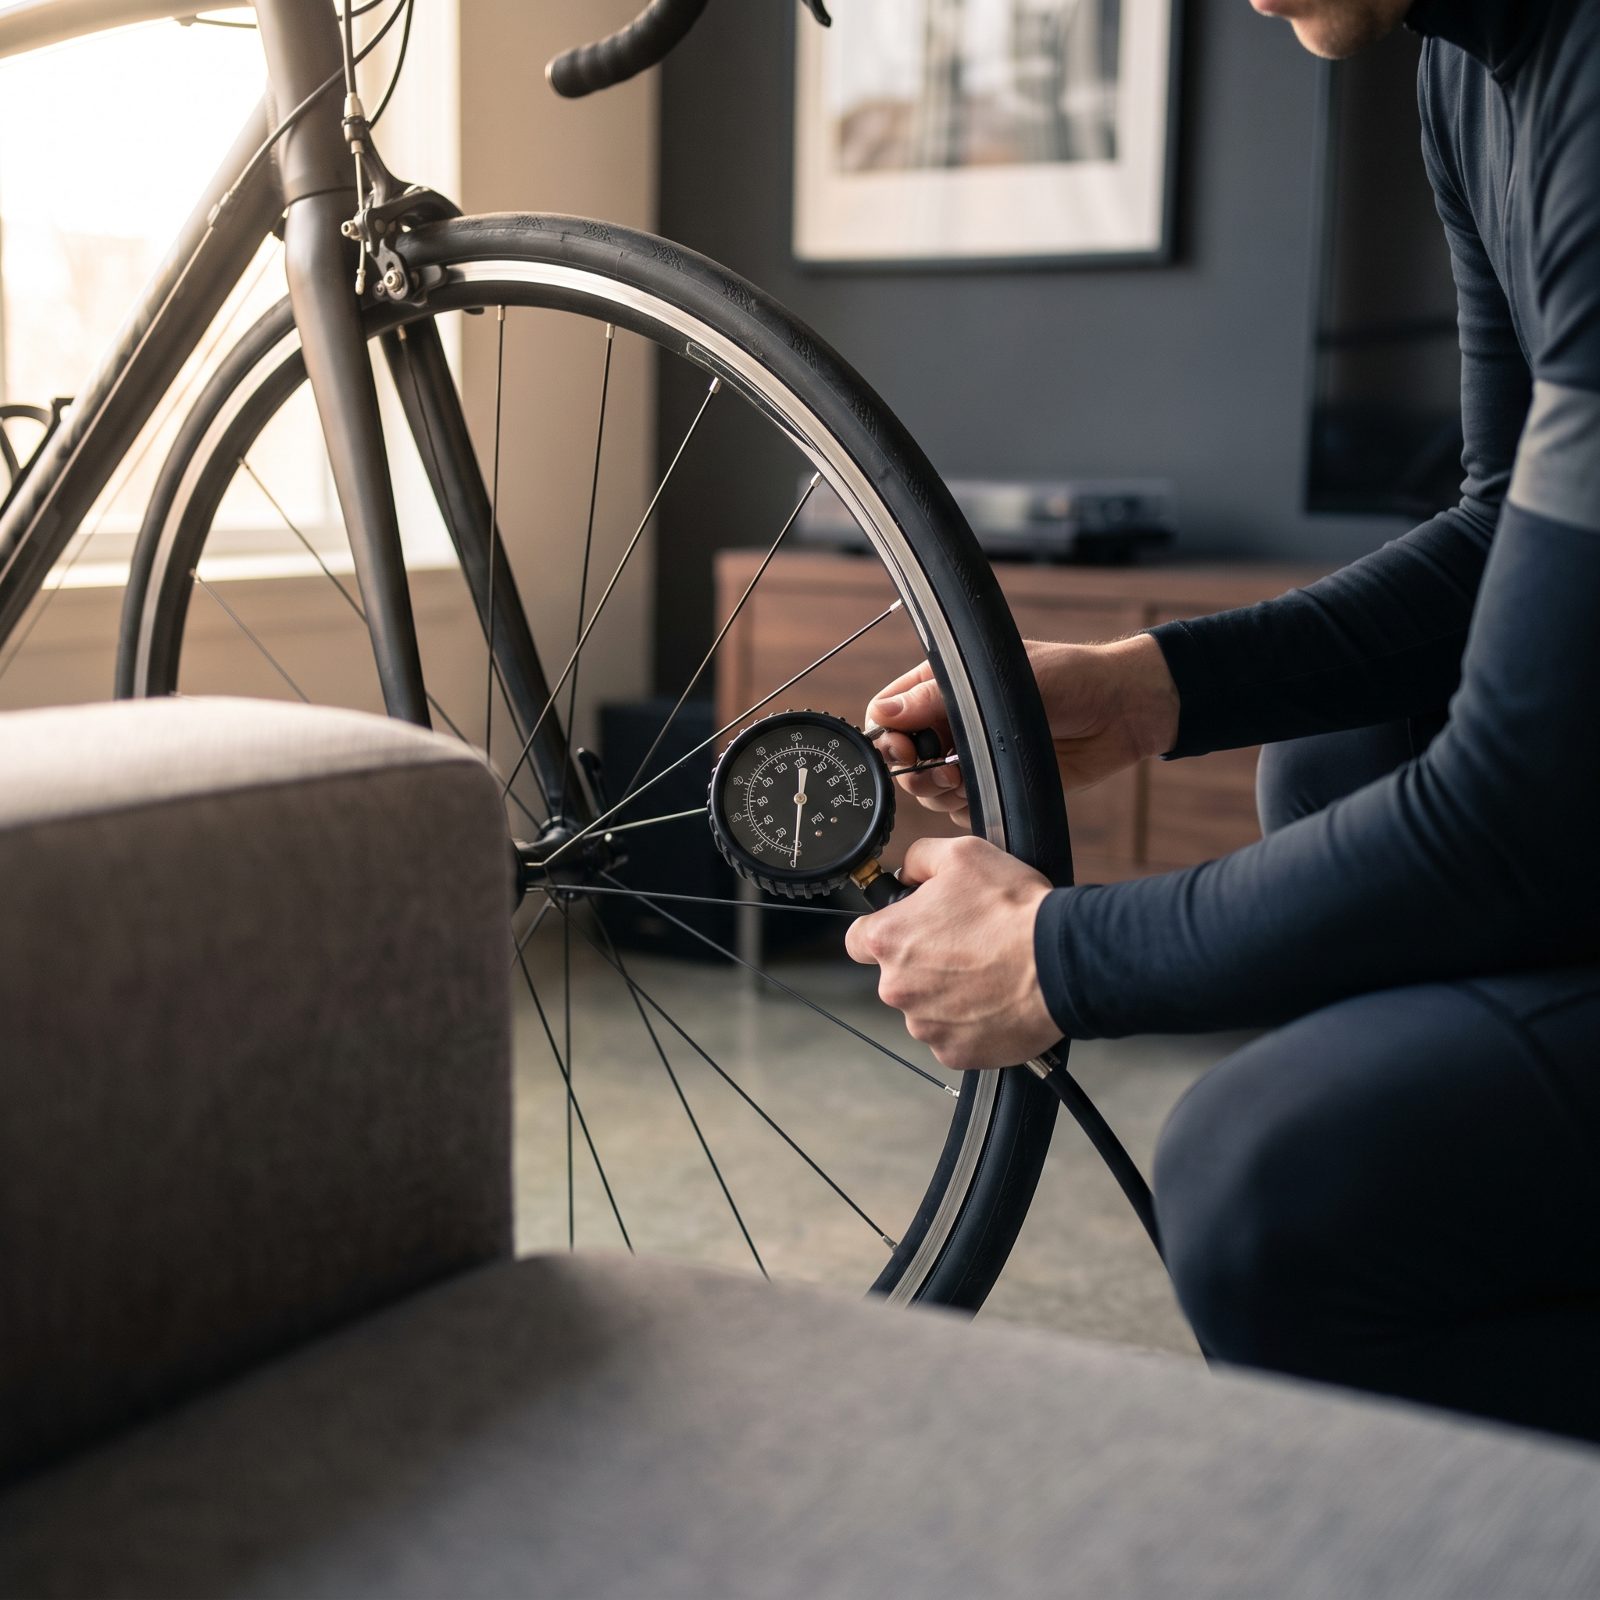
The old wisdom was simple: more pressure, less rolling resistance. Then the rollers in modern labs proved the exact opposite on real roads. Past a certain point, a rock-hard tire bounces instead of rolling, and every bounce is speed thrown away.
So run a touch less pressure up front than your gut tells you to, especially on chipseal and chewed-up back roads. The front carries less weight than the rear, so it gains the most from a supple setup. The wheel conforms to the surface, grip sharpens in the corners, and your hands quit going numb. Faster and more comfortable — all from letting a little air out.
35. Measure the Tire’s Installed Width Before Choosing Pressure
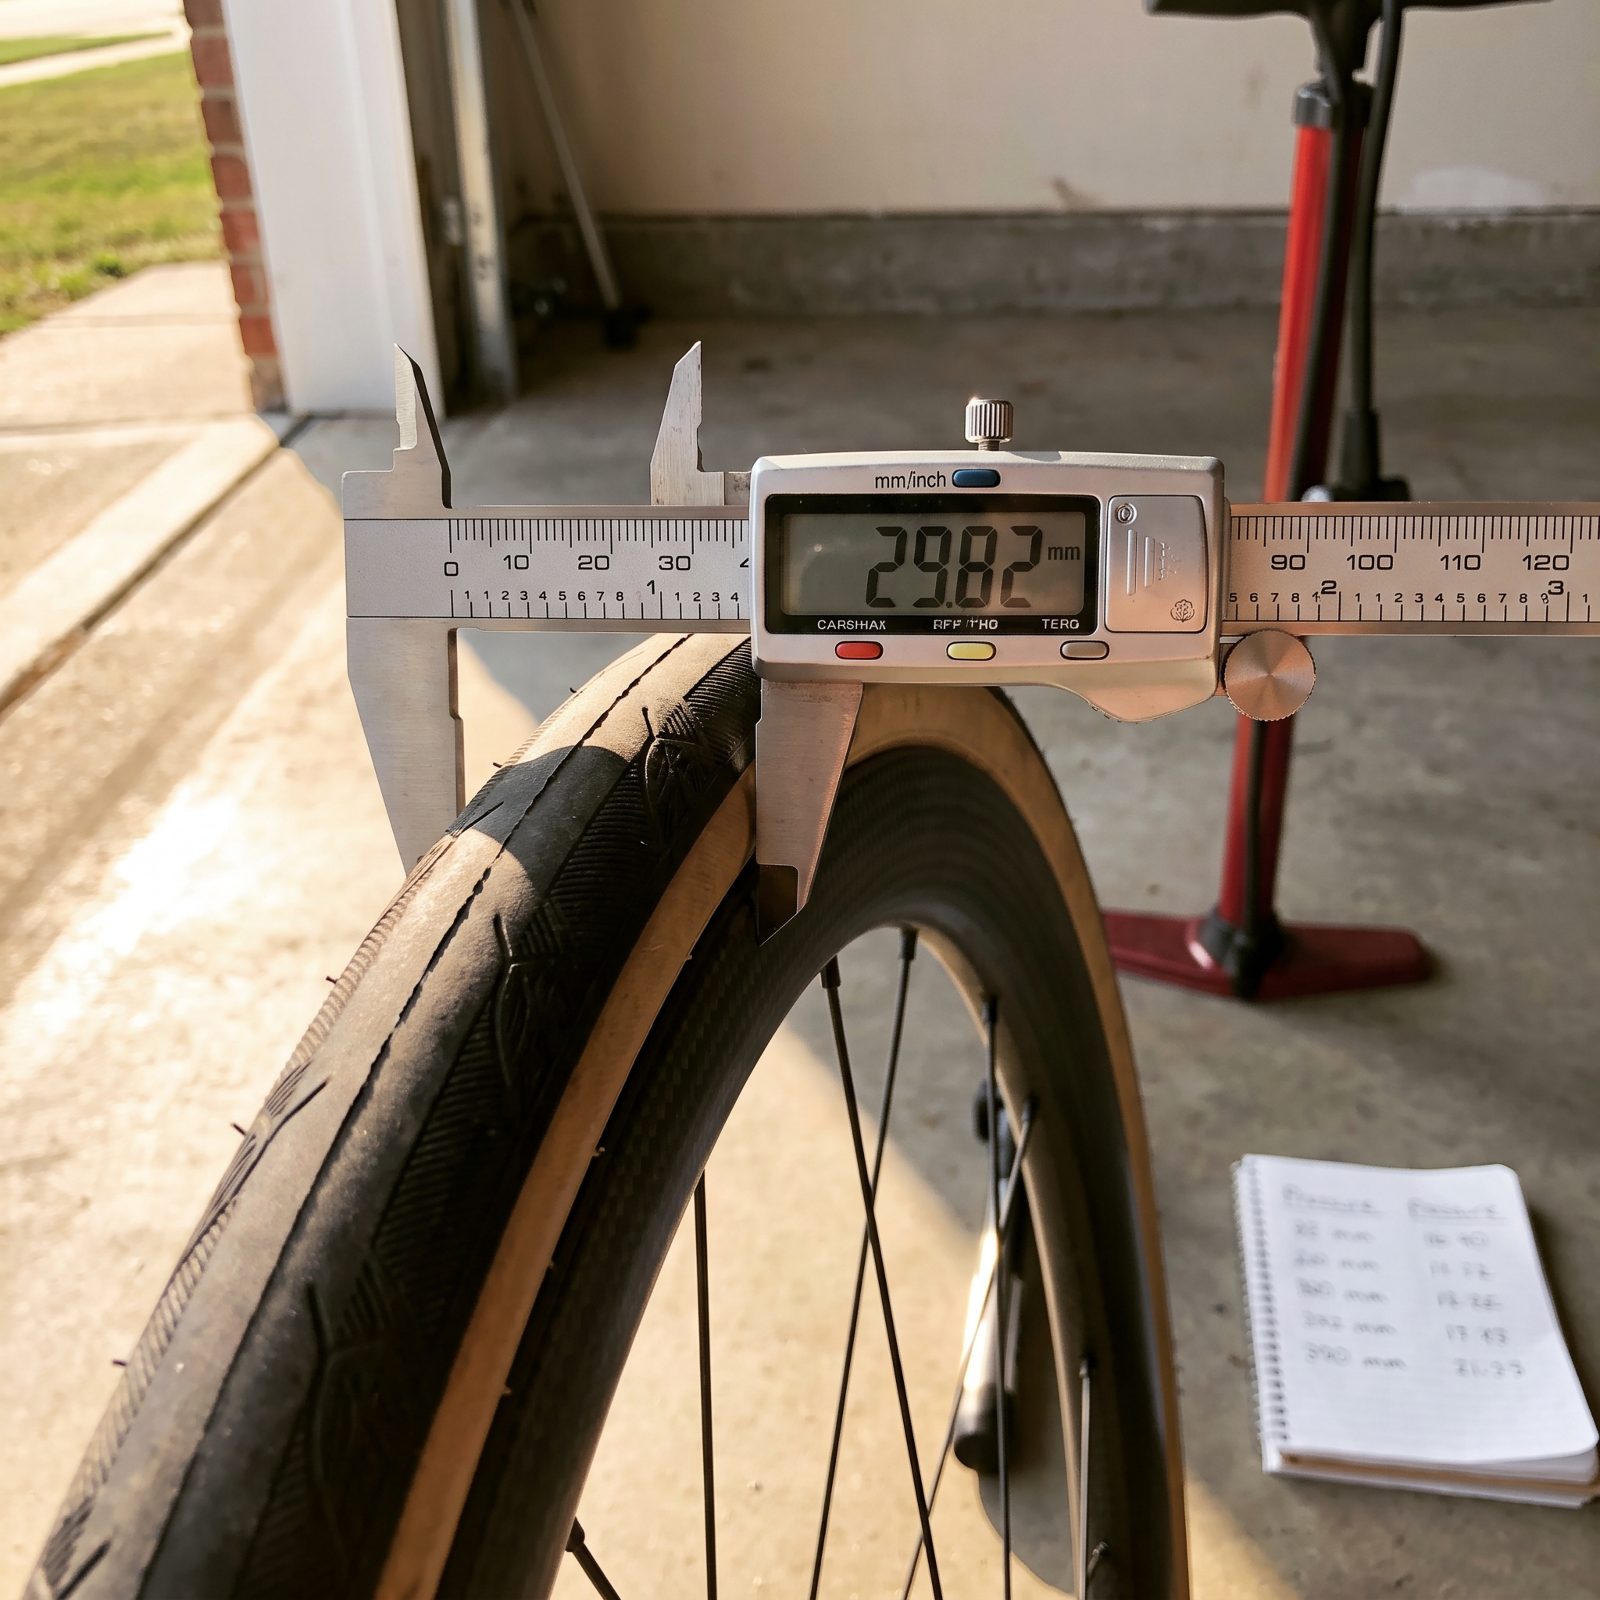
The number stamped on the sidewall is a starting point, not an answer. Mount a 28mm tire on a modern wide rim and it often measures 30mm or more, which changes the air volume completely. More volume means less pressure for the same support.
Measure the casing with a caliper once it’s seated and inflated, then feed that real width into any tire-pressure calculator instead of the printed size. Most riders carry too much air simply because they trusted the sidewall.
34. Reseat the Thru-Axle When a Disc Rotor Starts Rubbing
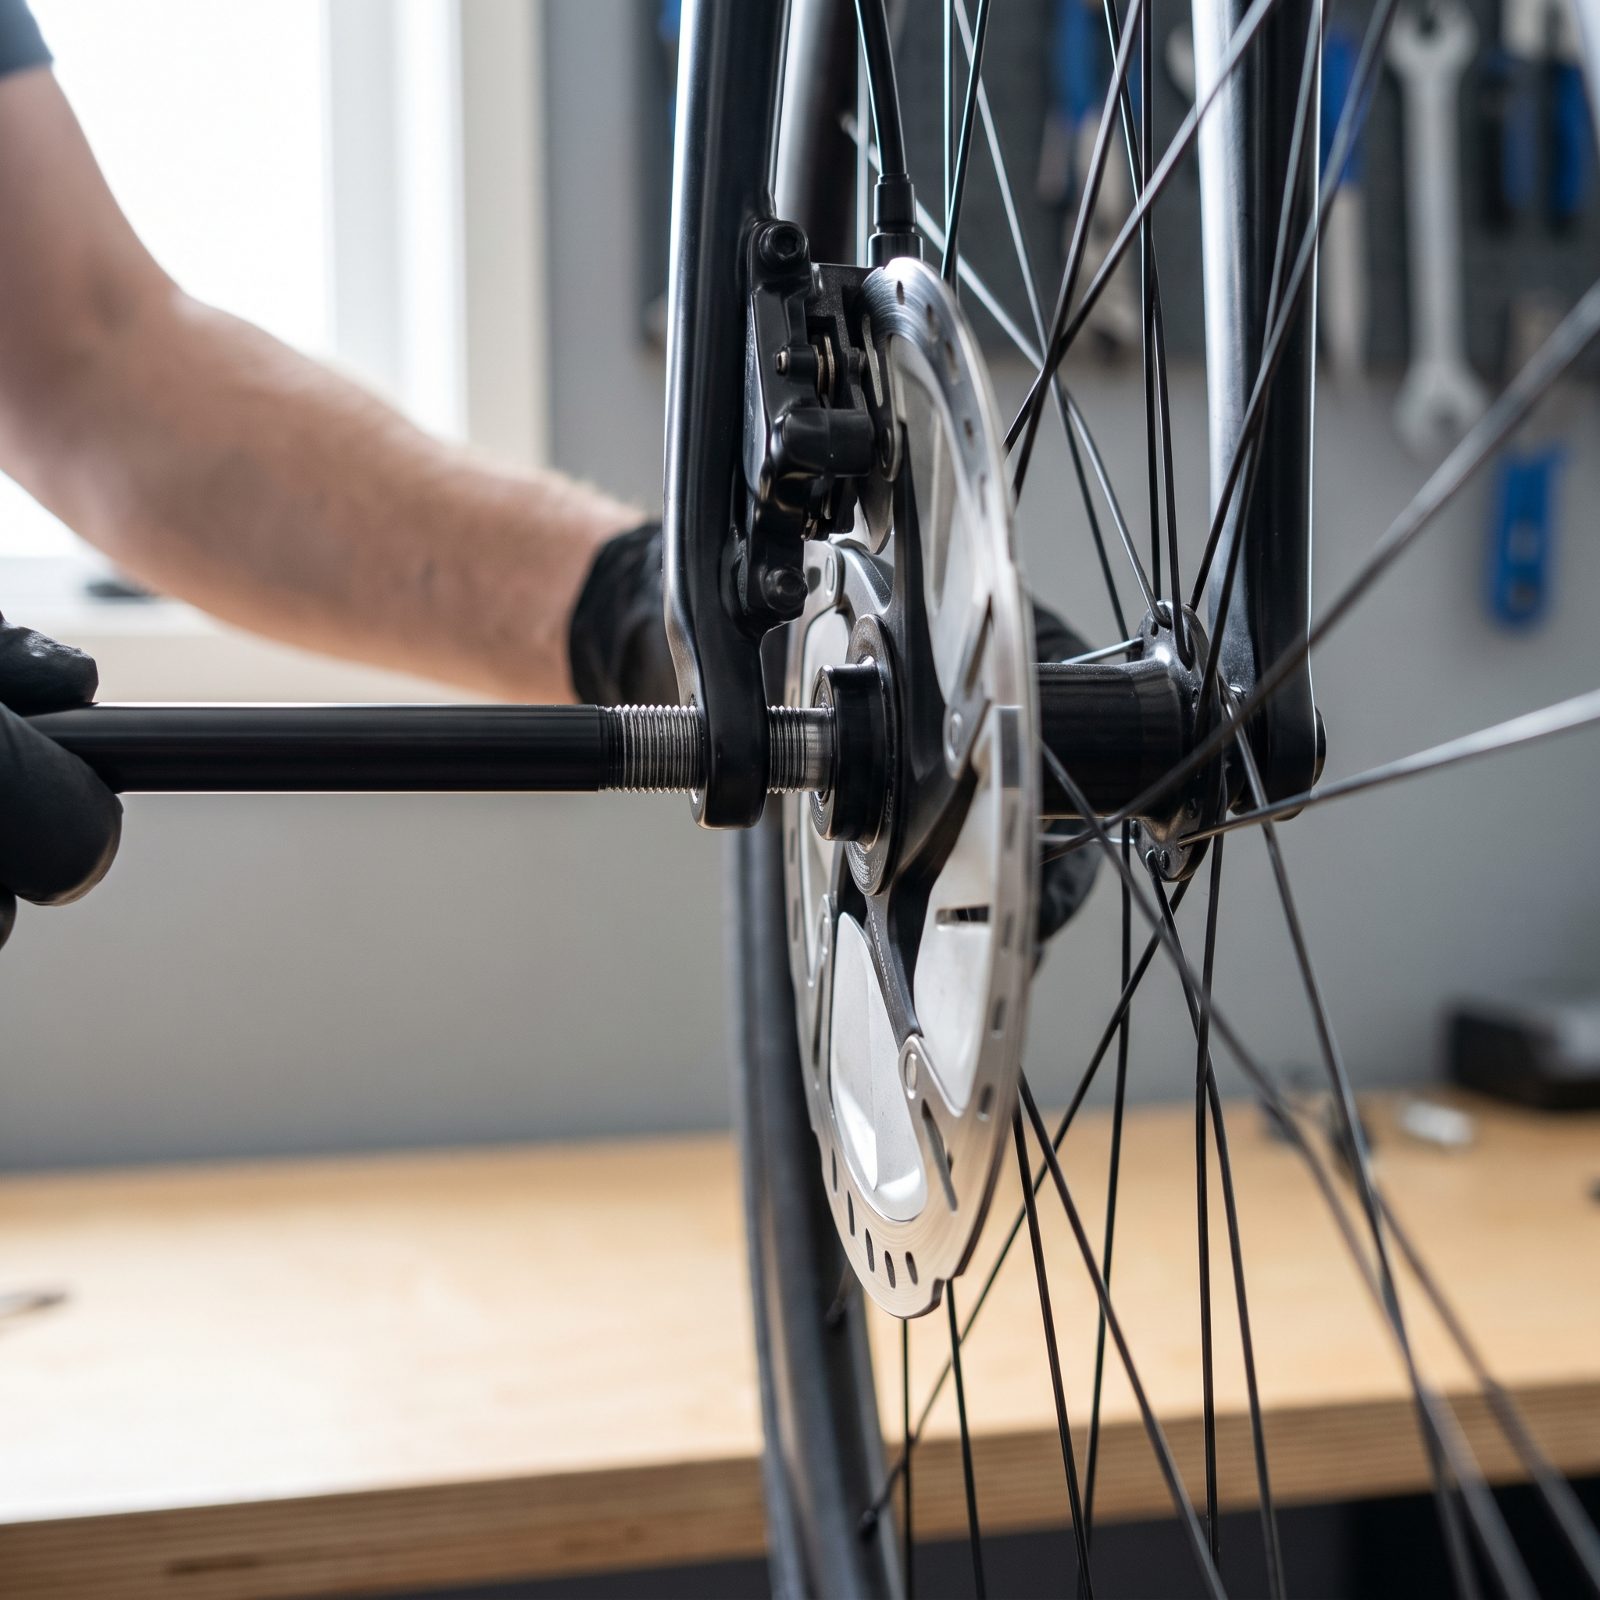
That faint tick every wheel revolution is costing you free watts. A rubbing rotor drags whether you feel it or not, and the fix usually isn’t the caliper at all.
Here’s the drill. Loosen the thru-axle, hold a tiny bit of outward pressure on the wheel to center the hub in the dropouts, then torque the axle back down. Hubs don’t always seat straight when you close an axle under load, and a hair of misalignment tilts the rotor straight into a pad. One minute, and most phantom rubs vanish.
33. Unwind the Handlebar Before You Stand and Accelerate
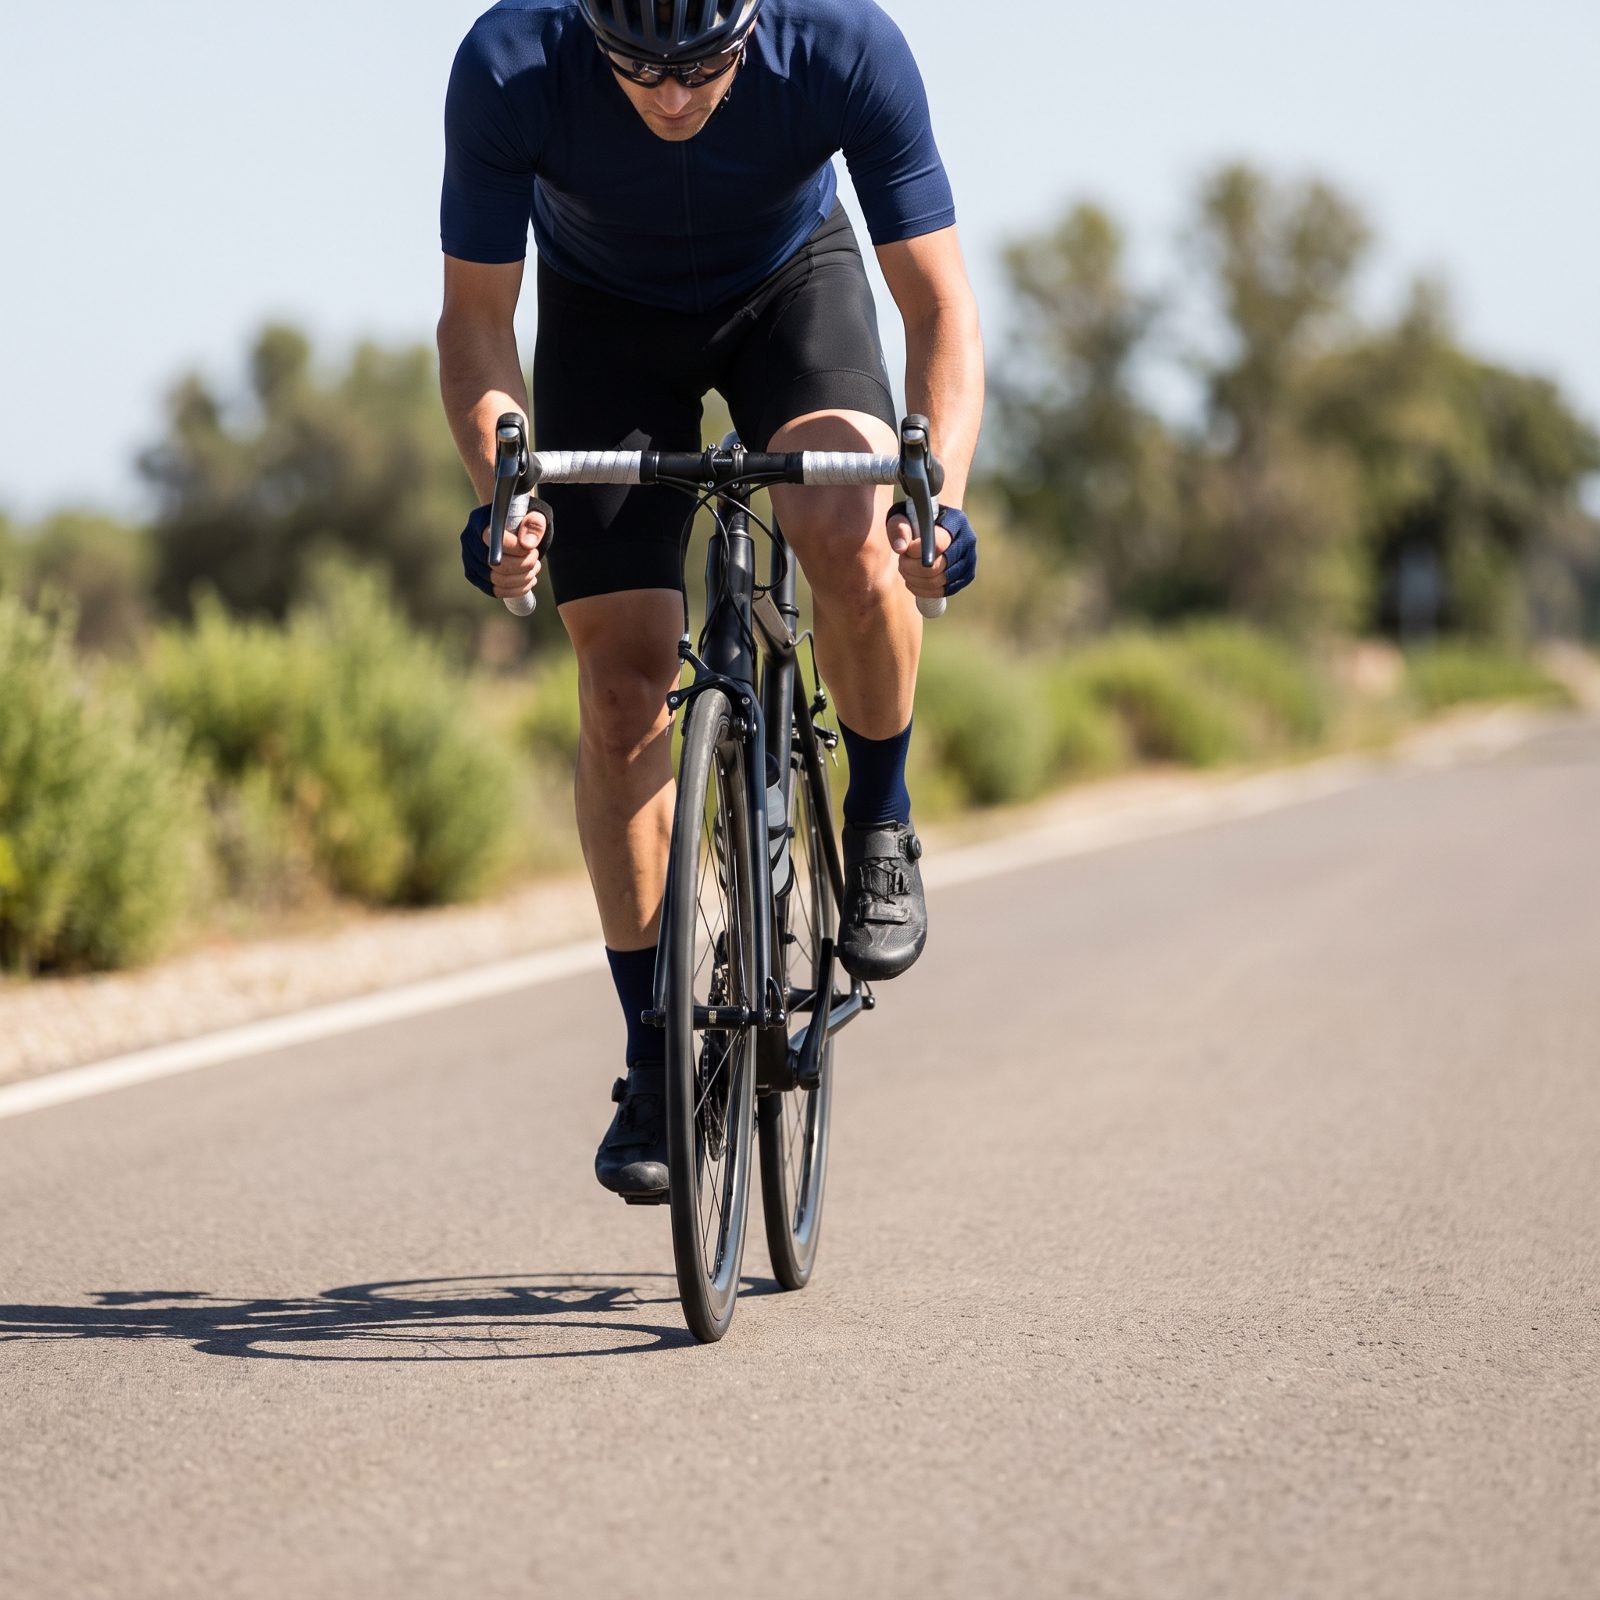
A crooked bar scrubs speed you never notice losing. Riders drift the front wheel slightly off-line through a corner, then stamp on the pedals before the bar comes back to center.
Square the handlebar first. A straight front wheel rolls with less sideways scuffing, so every watt of that hard effort goes into forward motion instead of fighting the steering. Unwind, then accelerate. Small on paper, obvious in the legs over a long ride.
32. Pick the Straighter Chainline Whenever the Terrain Allows
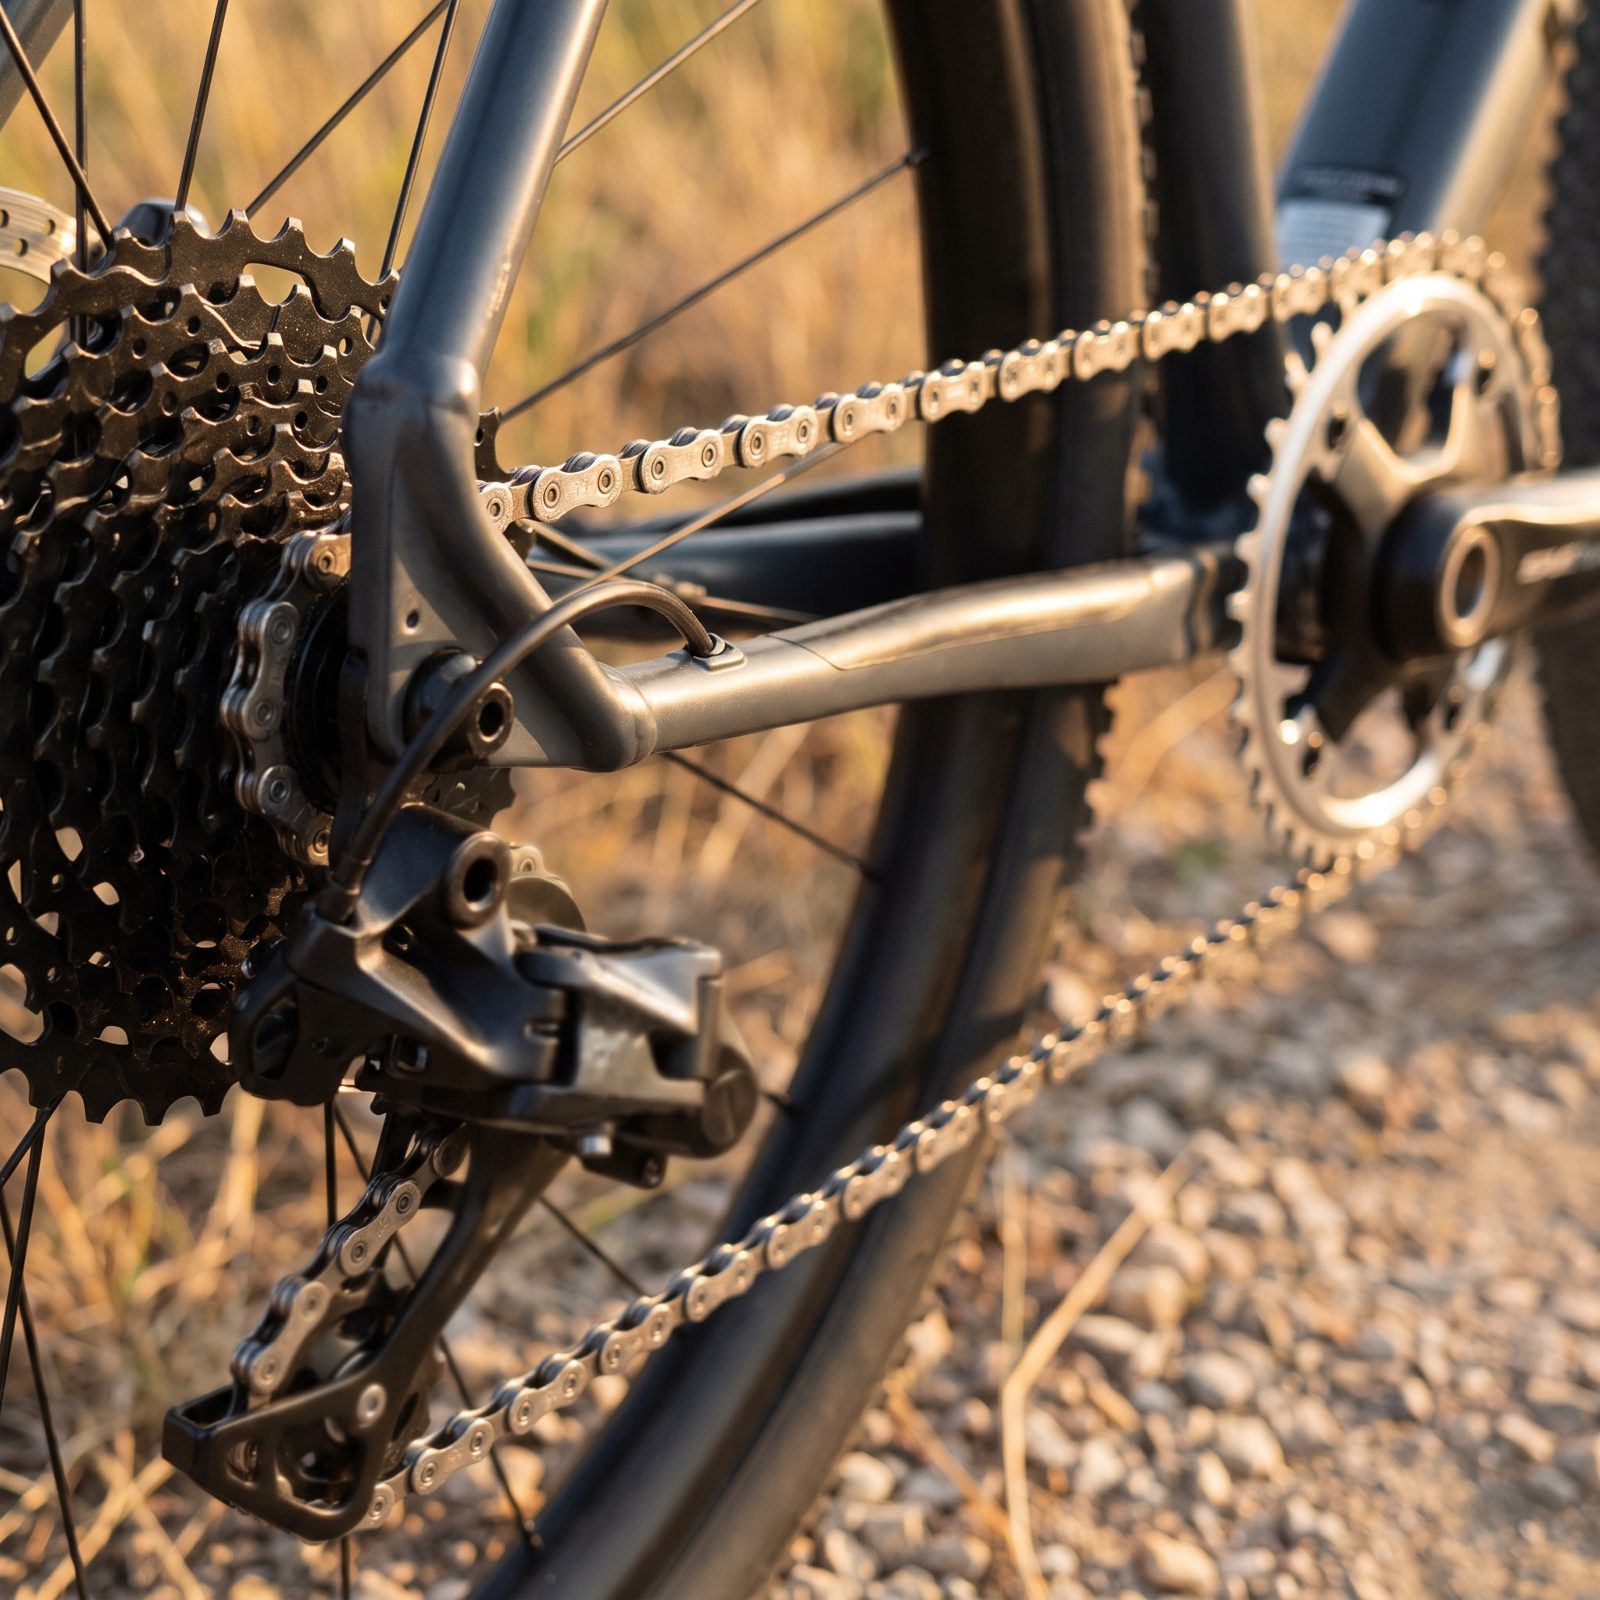
Cross-chaining, big ring to biggest cog or small ring to smallest, bends the chain hard and wastes effort as friction. The difference is real, just small enough to ignore for years.
On flat and rolling ground where you have gear choices, shift to keep the chain running close to straight. A near-aligned chain spins with noticeably less drivetrain loss than a sharply angled one.
31. Spend Your Hard Efforts Uphill, Not on the Fast Descent
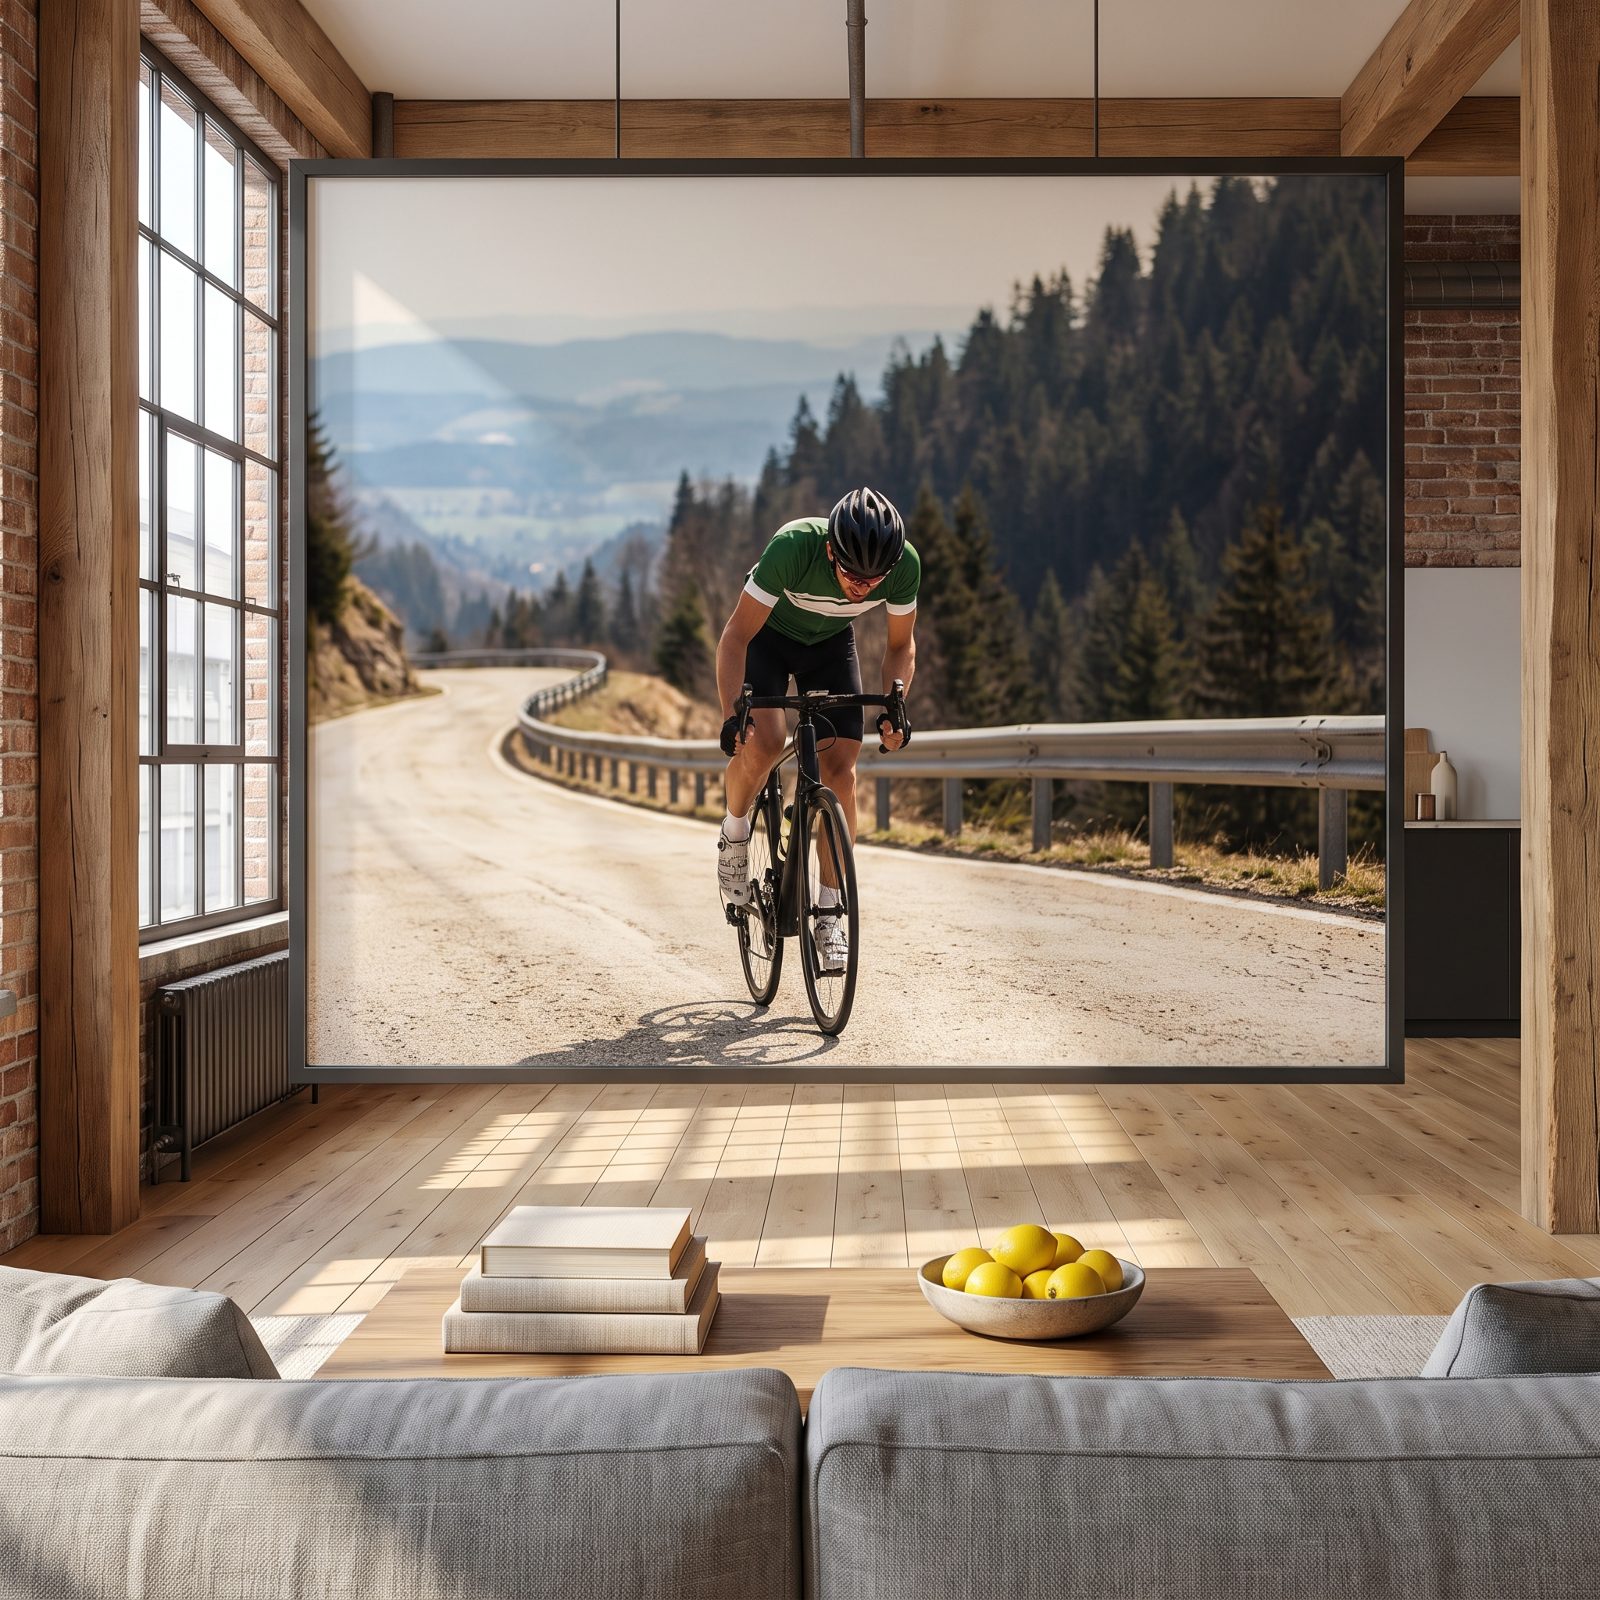
Smashing it on a descent is fun and almost useless. You’re already moving fast, air resistance eats most of your extra power, and the time you buy is tiny.
Put that same effort into the climb instead, where you’re slow and drag barely matters. A watt spent crawling uphill buys far more time than a watt spent flying down. Ride the hills hard, float the descents, and your average climbs without a single extra training hour.
30. Draft on the Leeward Side When the Wind Comes Across
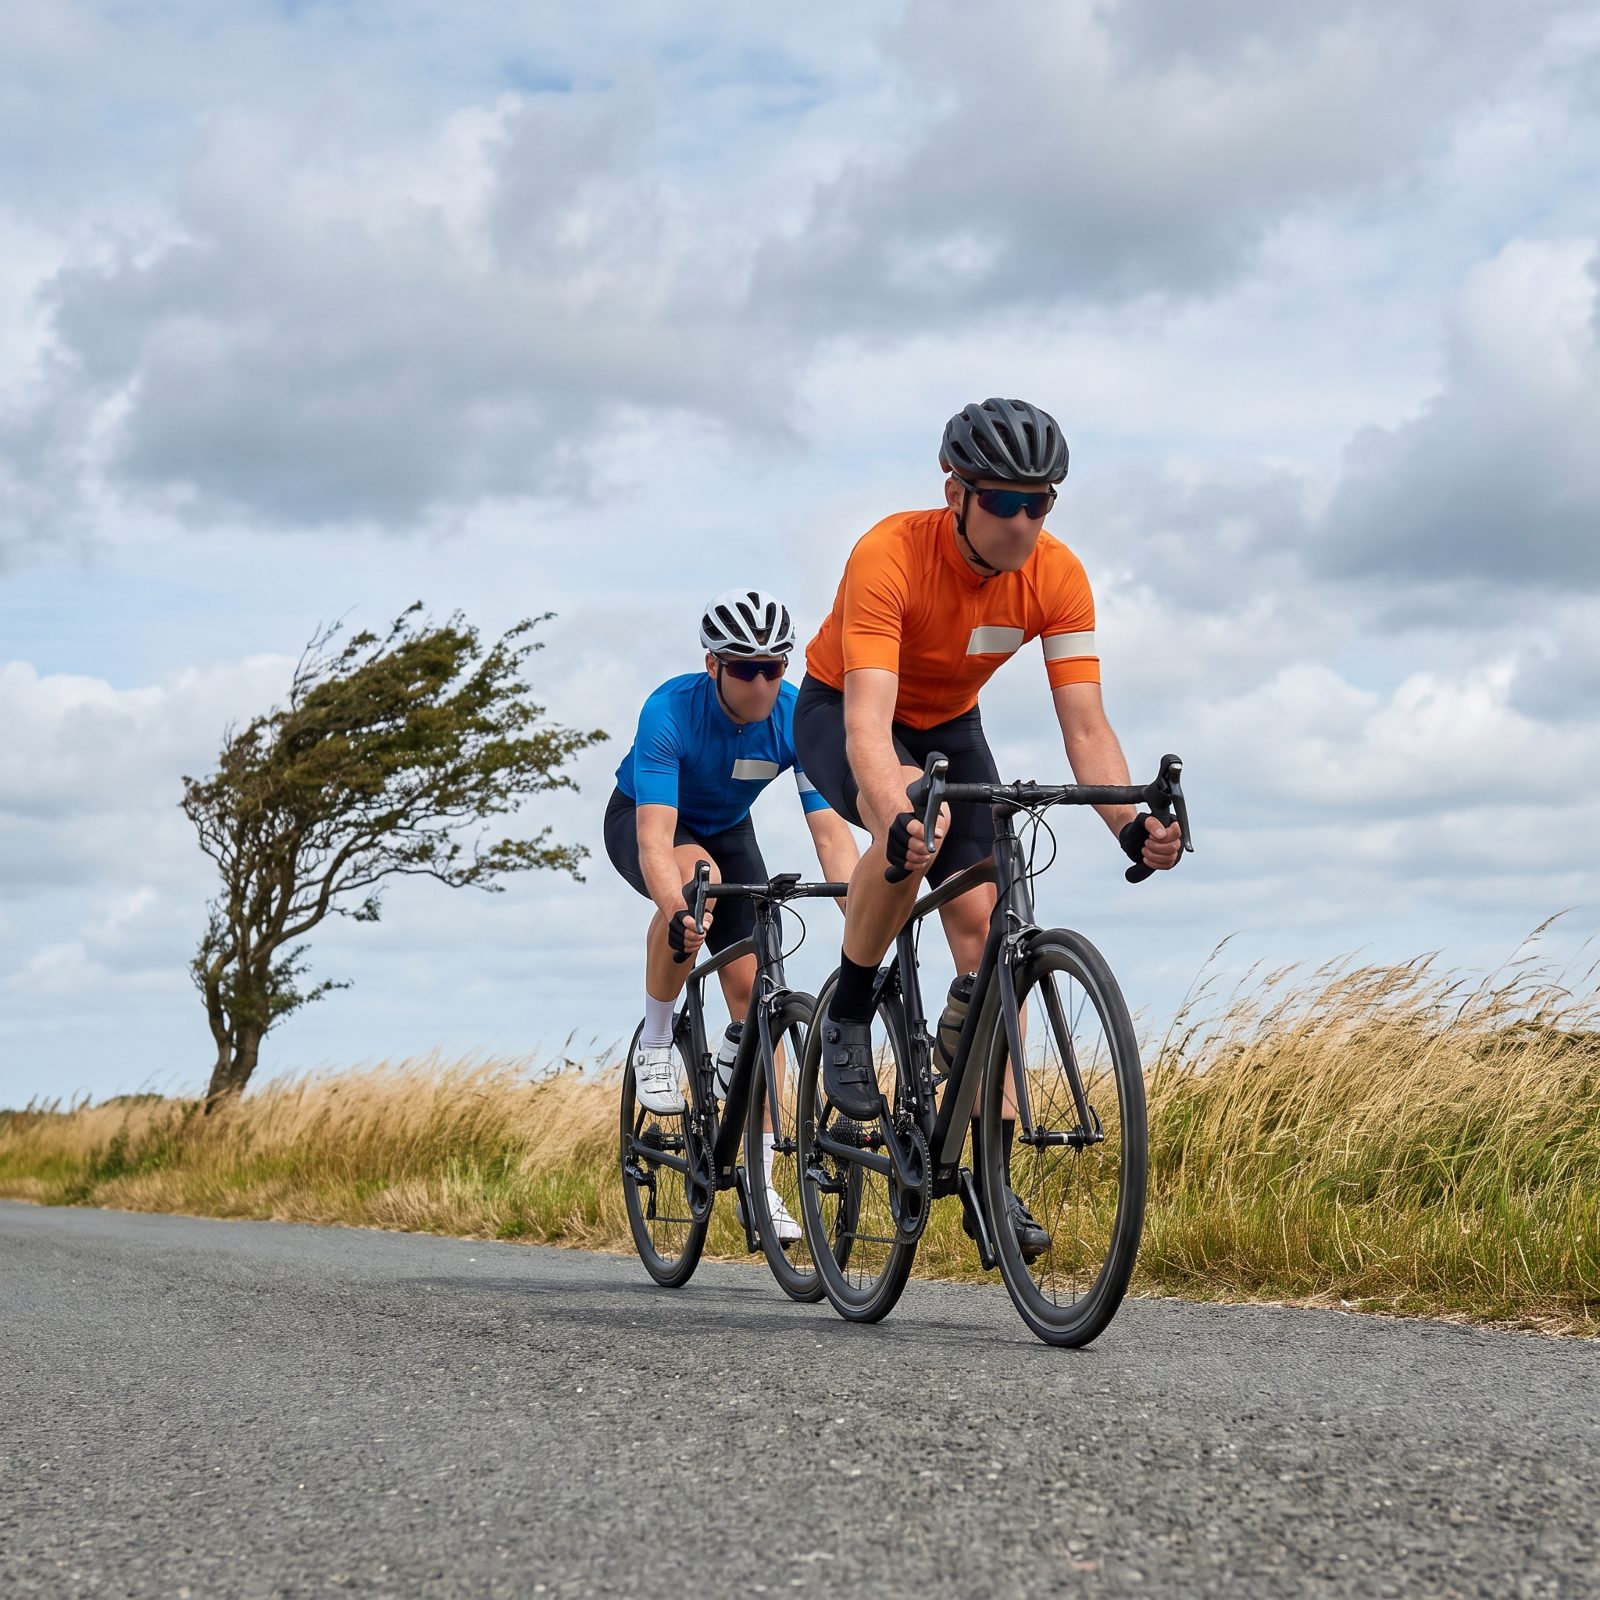
In a straight headwind you sit directly behind the rider ahead. In a crosswind, that same spot leaves you flapping in the breeze.
When wind hits from an angle, slide over to the sheltered side so the lead rider’s body actually blocks the air coming at you. New riders stay glued to the back wheel and wonder why the draft feels gone. The pocket moves with the wind, so follow it and you ride easier for the same speed.
29. Drop the Forearms Toward Horizontal on the Hoods
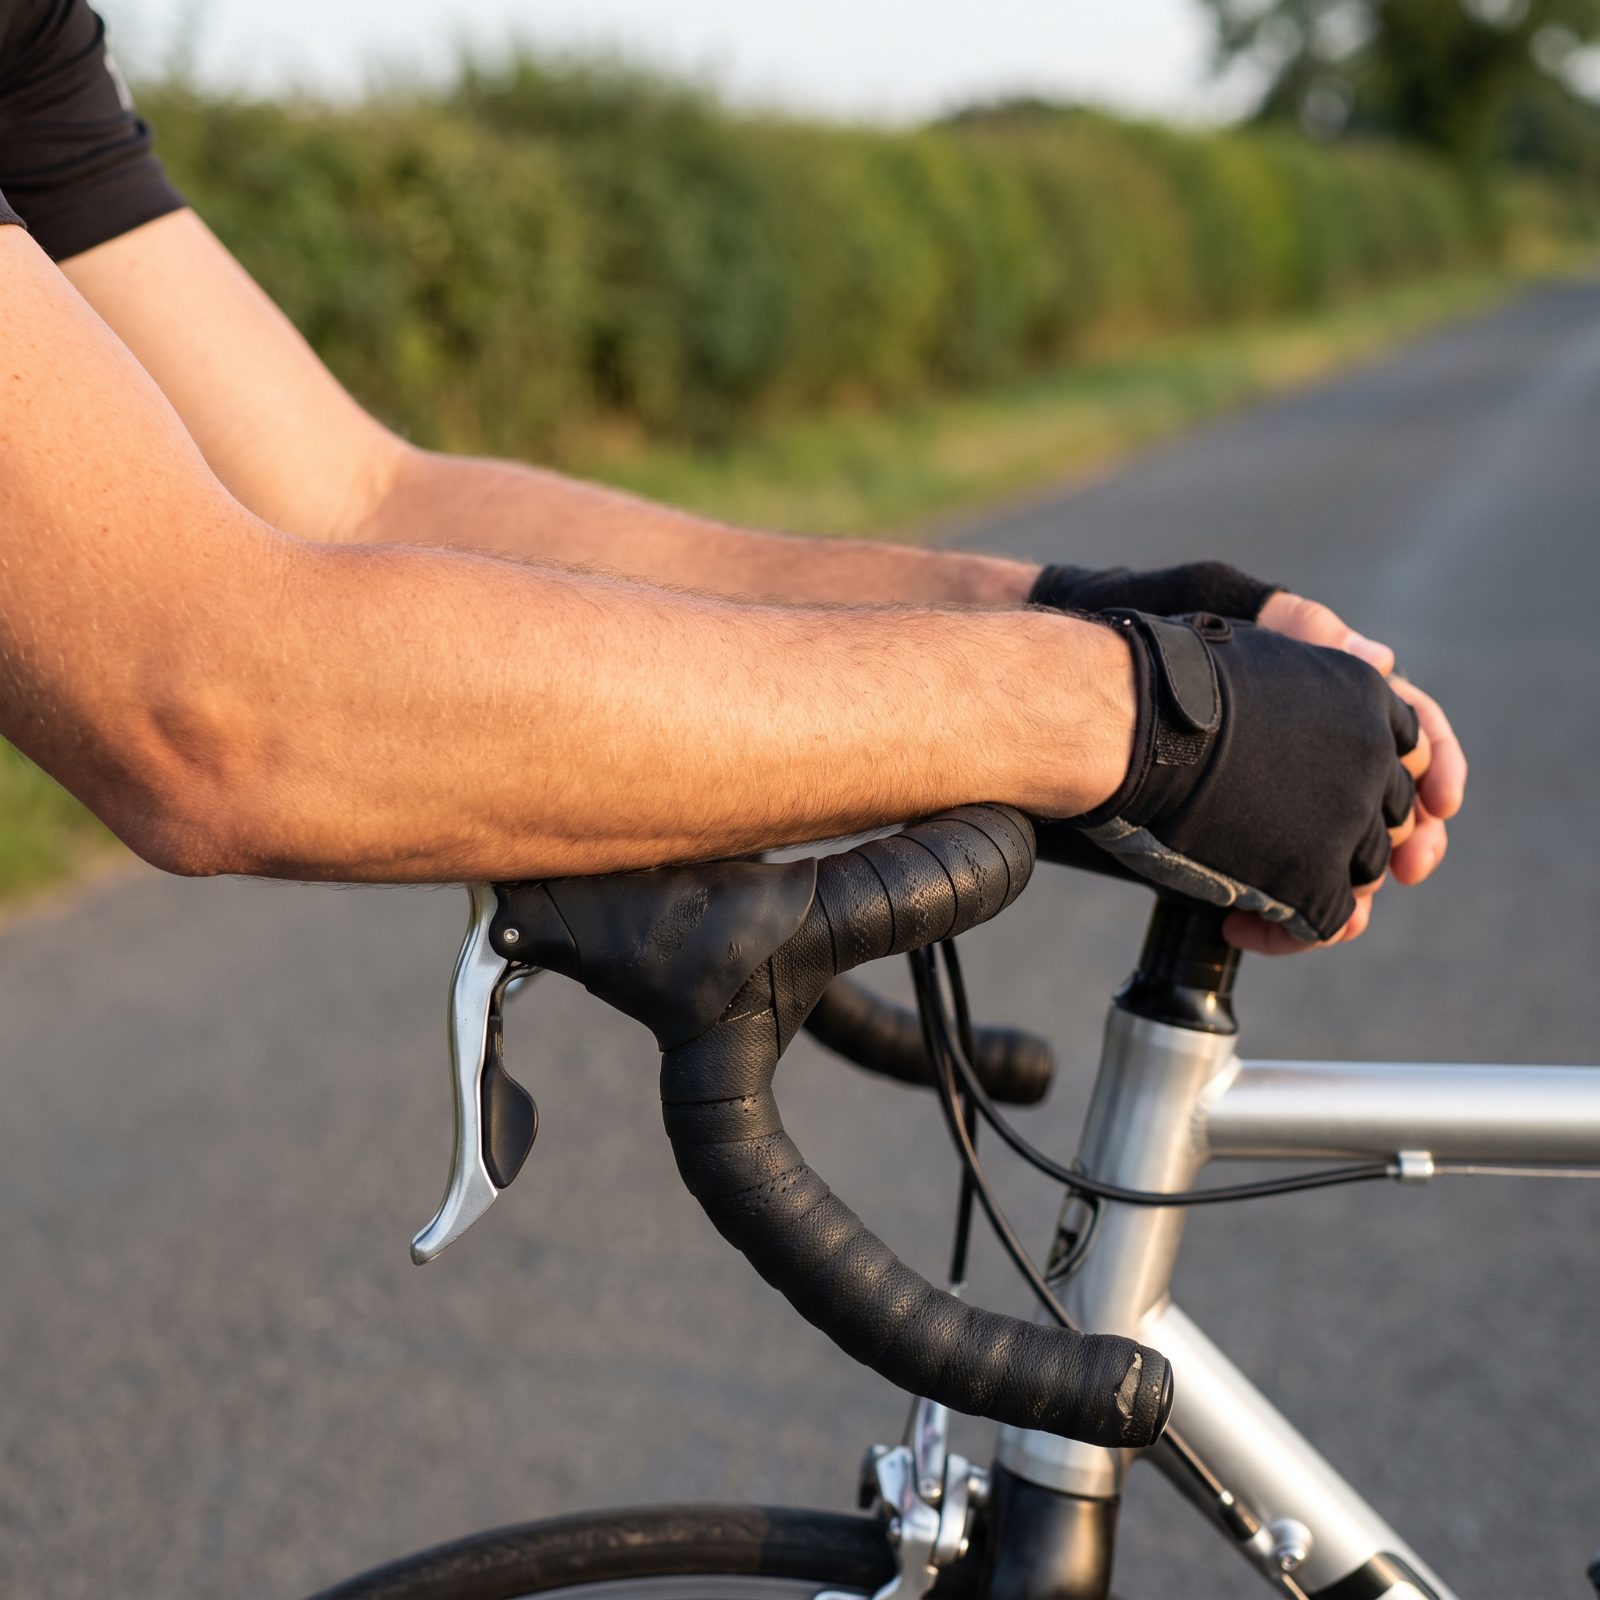
You don’t need aero bars to find a faster shape. Riding the hoods with your arms bent and your forearms dropped toward level is one of the biggest free aero gains on a standard road bike.
Start from a relaxed grip on the hoods, then hinge at the elbows and bring your forearms close to horizontal, chest lower, hands relaxed. You’ve shrunk your frontal area without touching your fitness. And it’s sustainable, far easier to hold than a deep drop over a long flat stretch.
28. Angle the Hoods Slightly Inward for a Narrower Grip
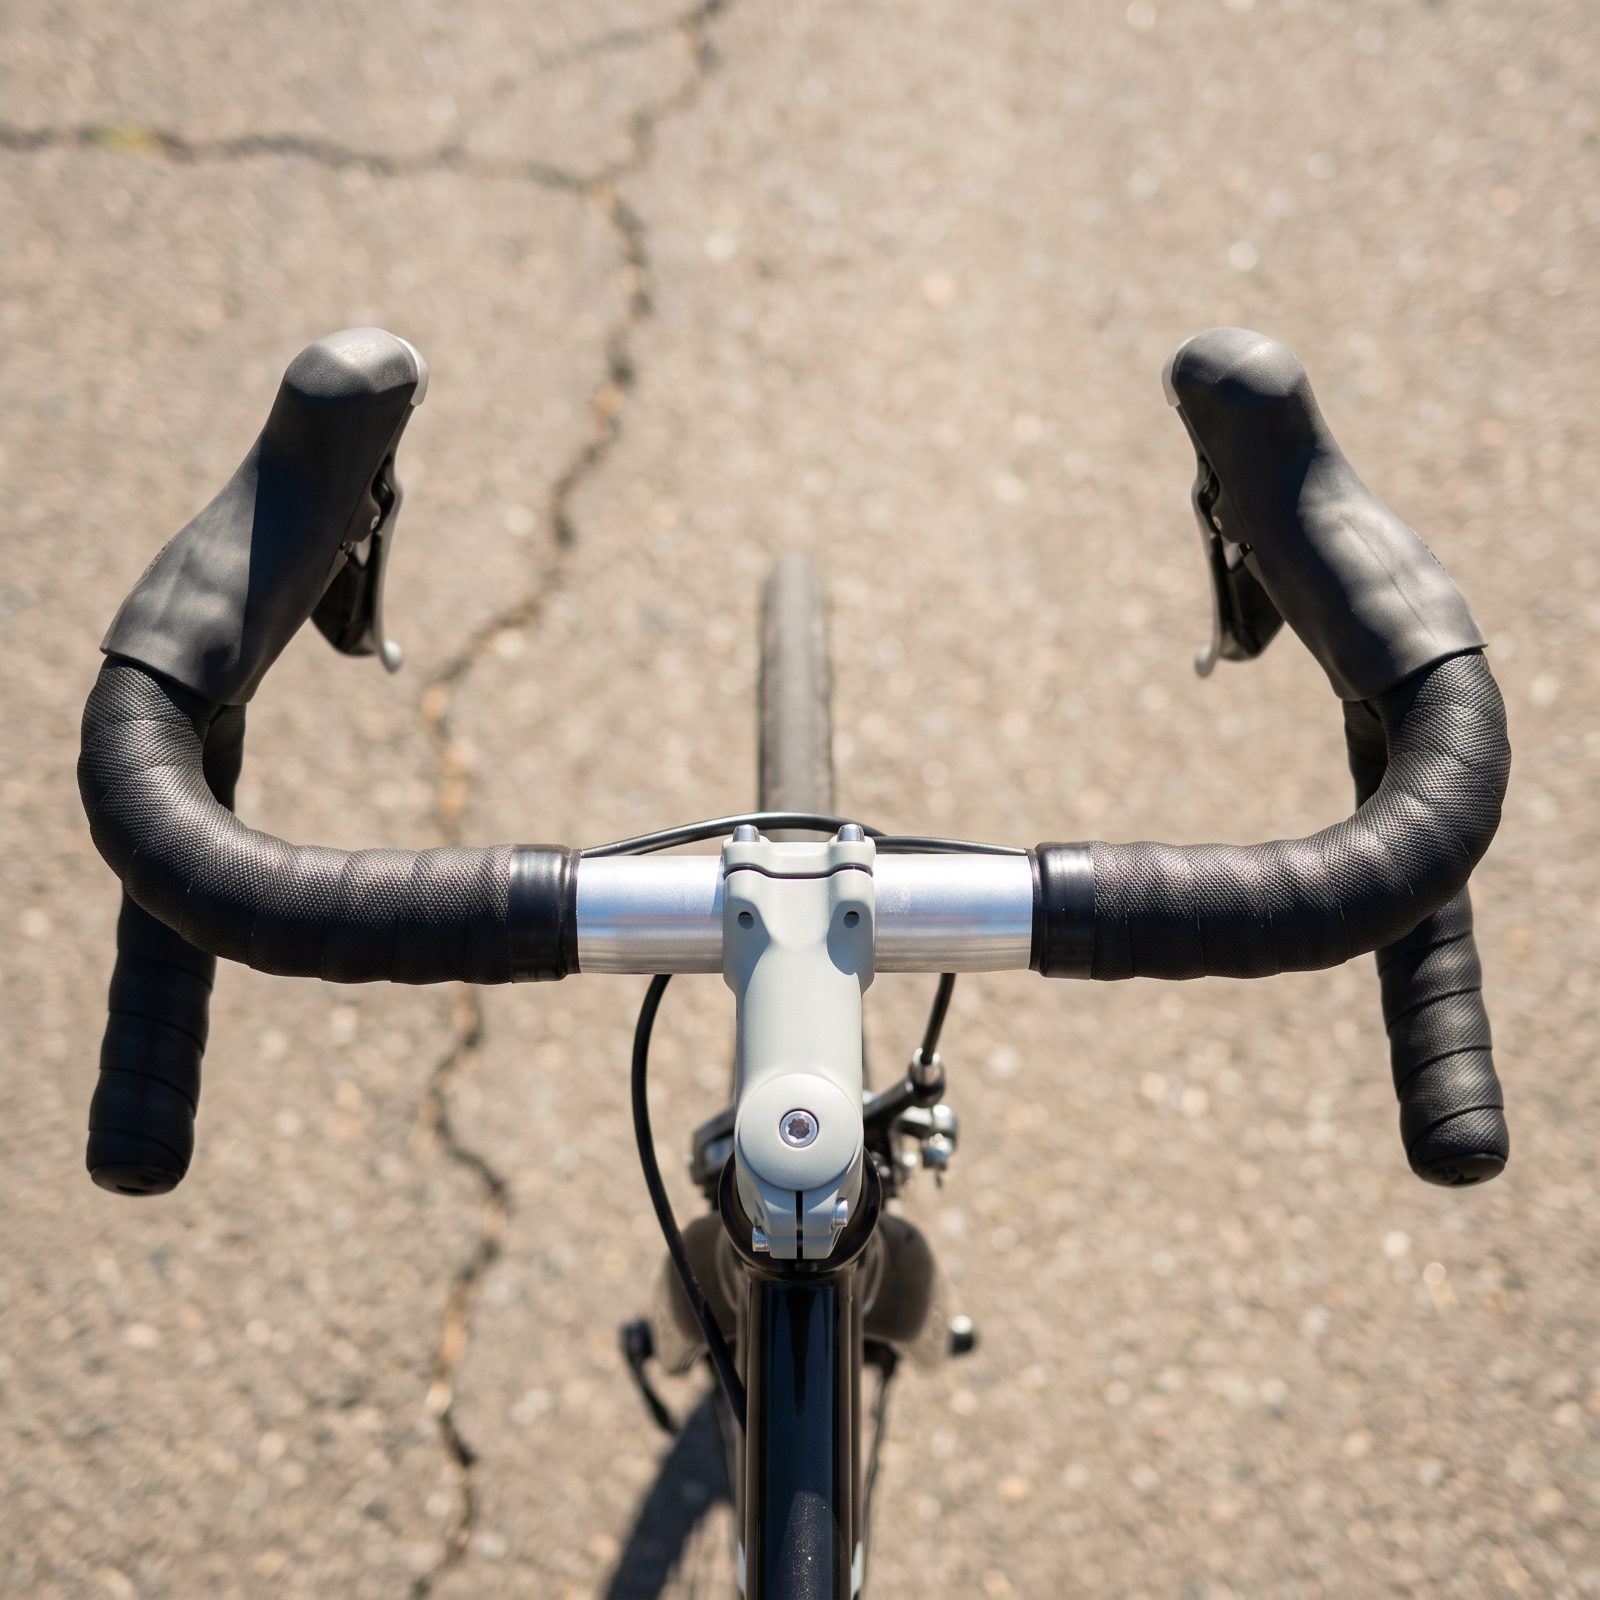
A narrower hand position cuts the air you push, and you can often get it without buying a single component.
Rotating the brake hoods slightly inward brings your hands closer together on the tops of the bar, tucking your arms in and shrinking your shoulder width to the wind. The hoods pictured are rotated to an exaggerated degree, nearly facing each other, which is not a rideable setup; on your own bike go gentle, not extreme, so braking and shifting stay comfortable. Pair it with the dropped-forearm trick and the two stack into a meaningfully slipperier shape on flat roads.
27. Level the Saddle Enough to Stop the Forward Slide
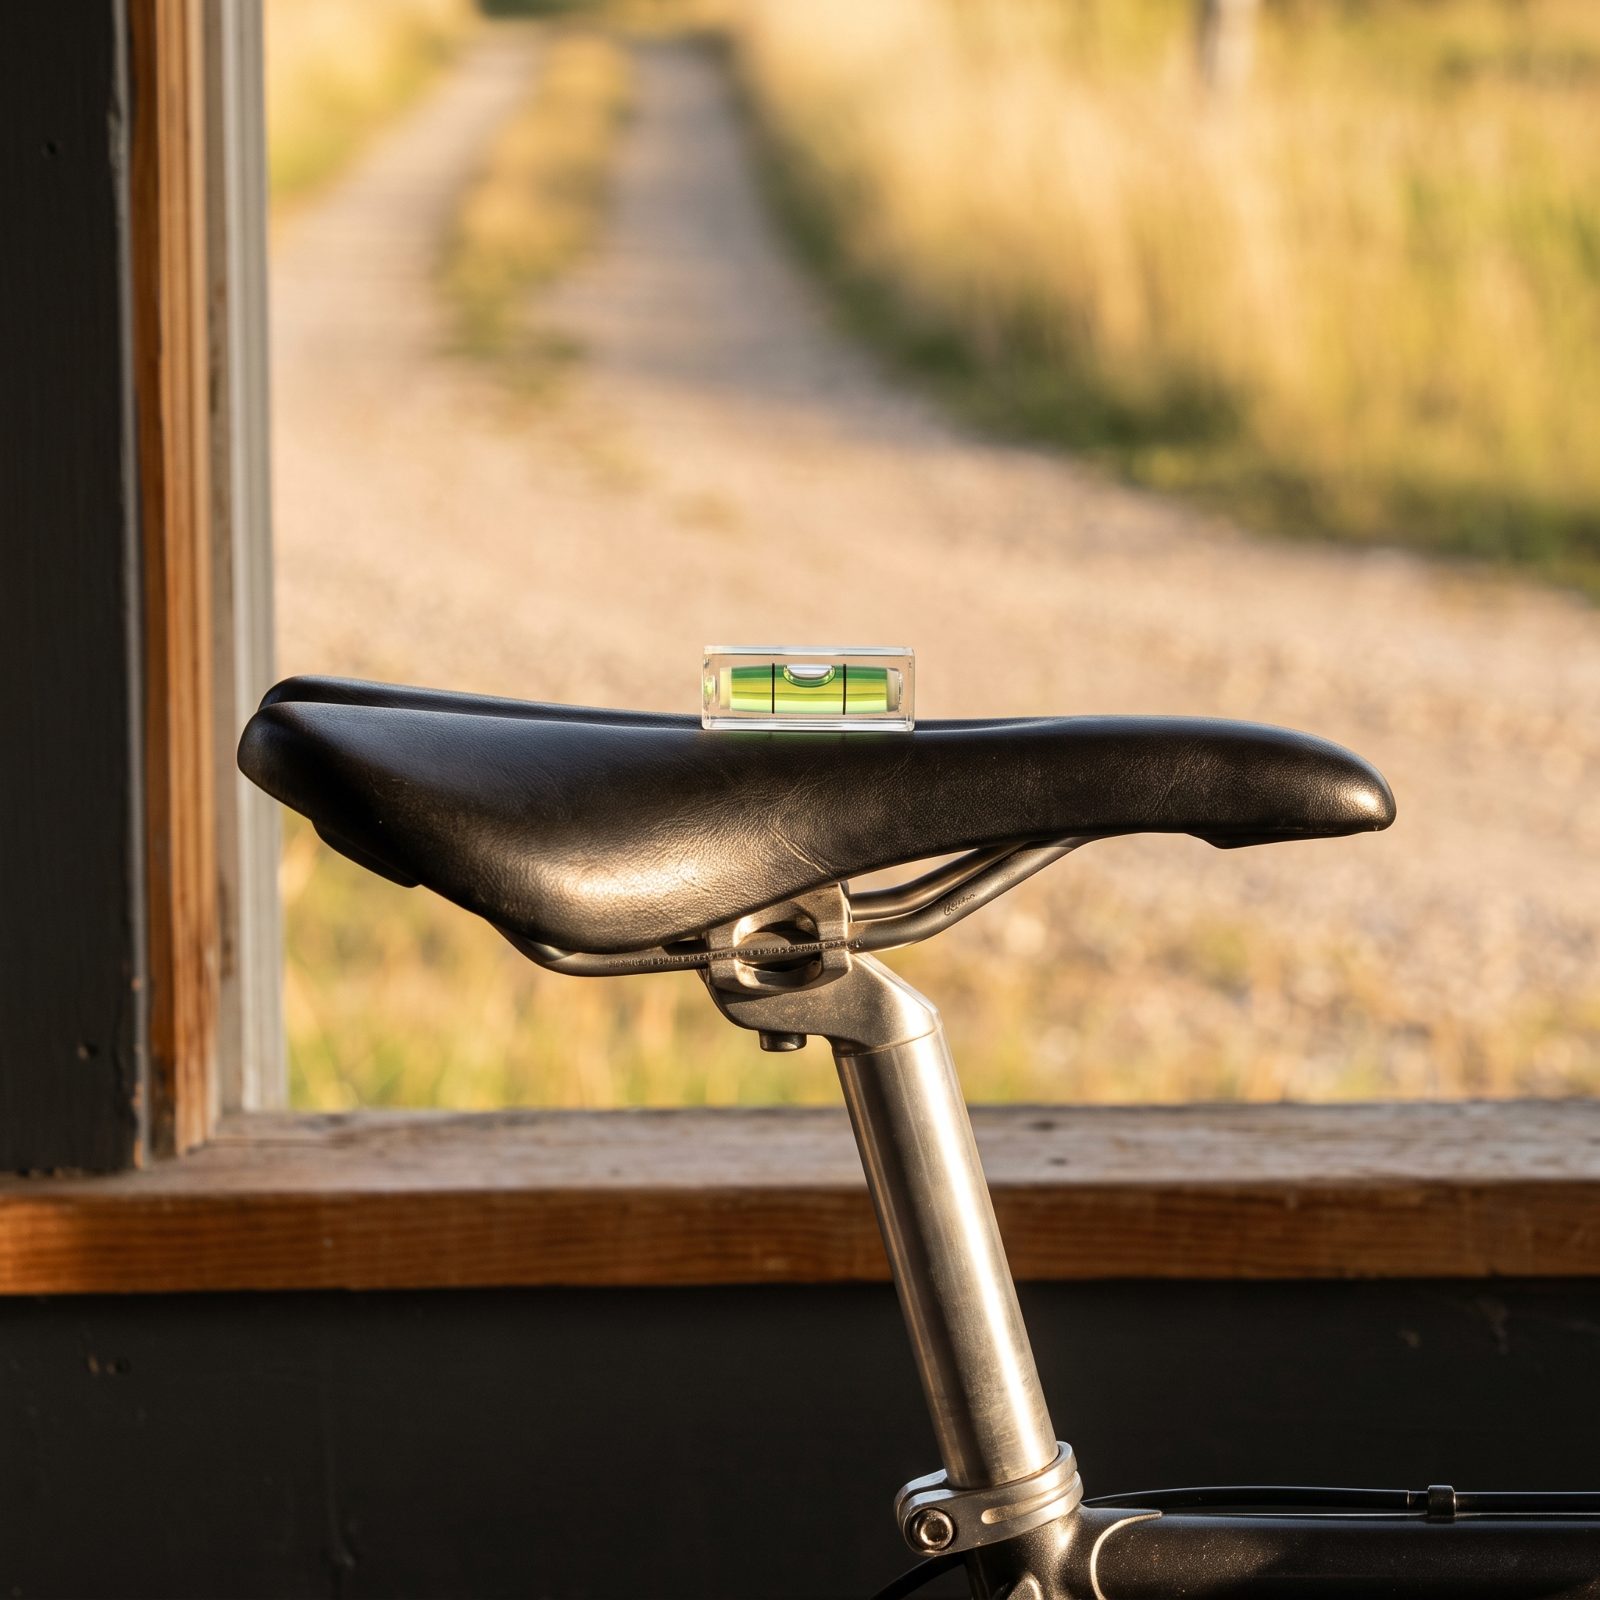
A saddle tipped nose-down feels relieving for about a mile. Then you notice you’re always creeping forward, bracing your weight through your arms to stop the slide.
That constant push loads your hands and shoulders, tires your upper body, and leaks power you should be sending to the pedals. Bring the saddle close to level, just enough that you sit still. Your arms relax and steer, and your legs do the work they’re supposed to.
26. Raise an Unsustainably Low Handlebar Position
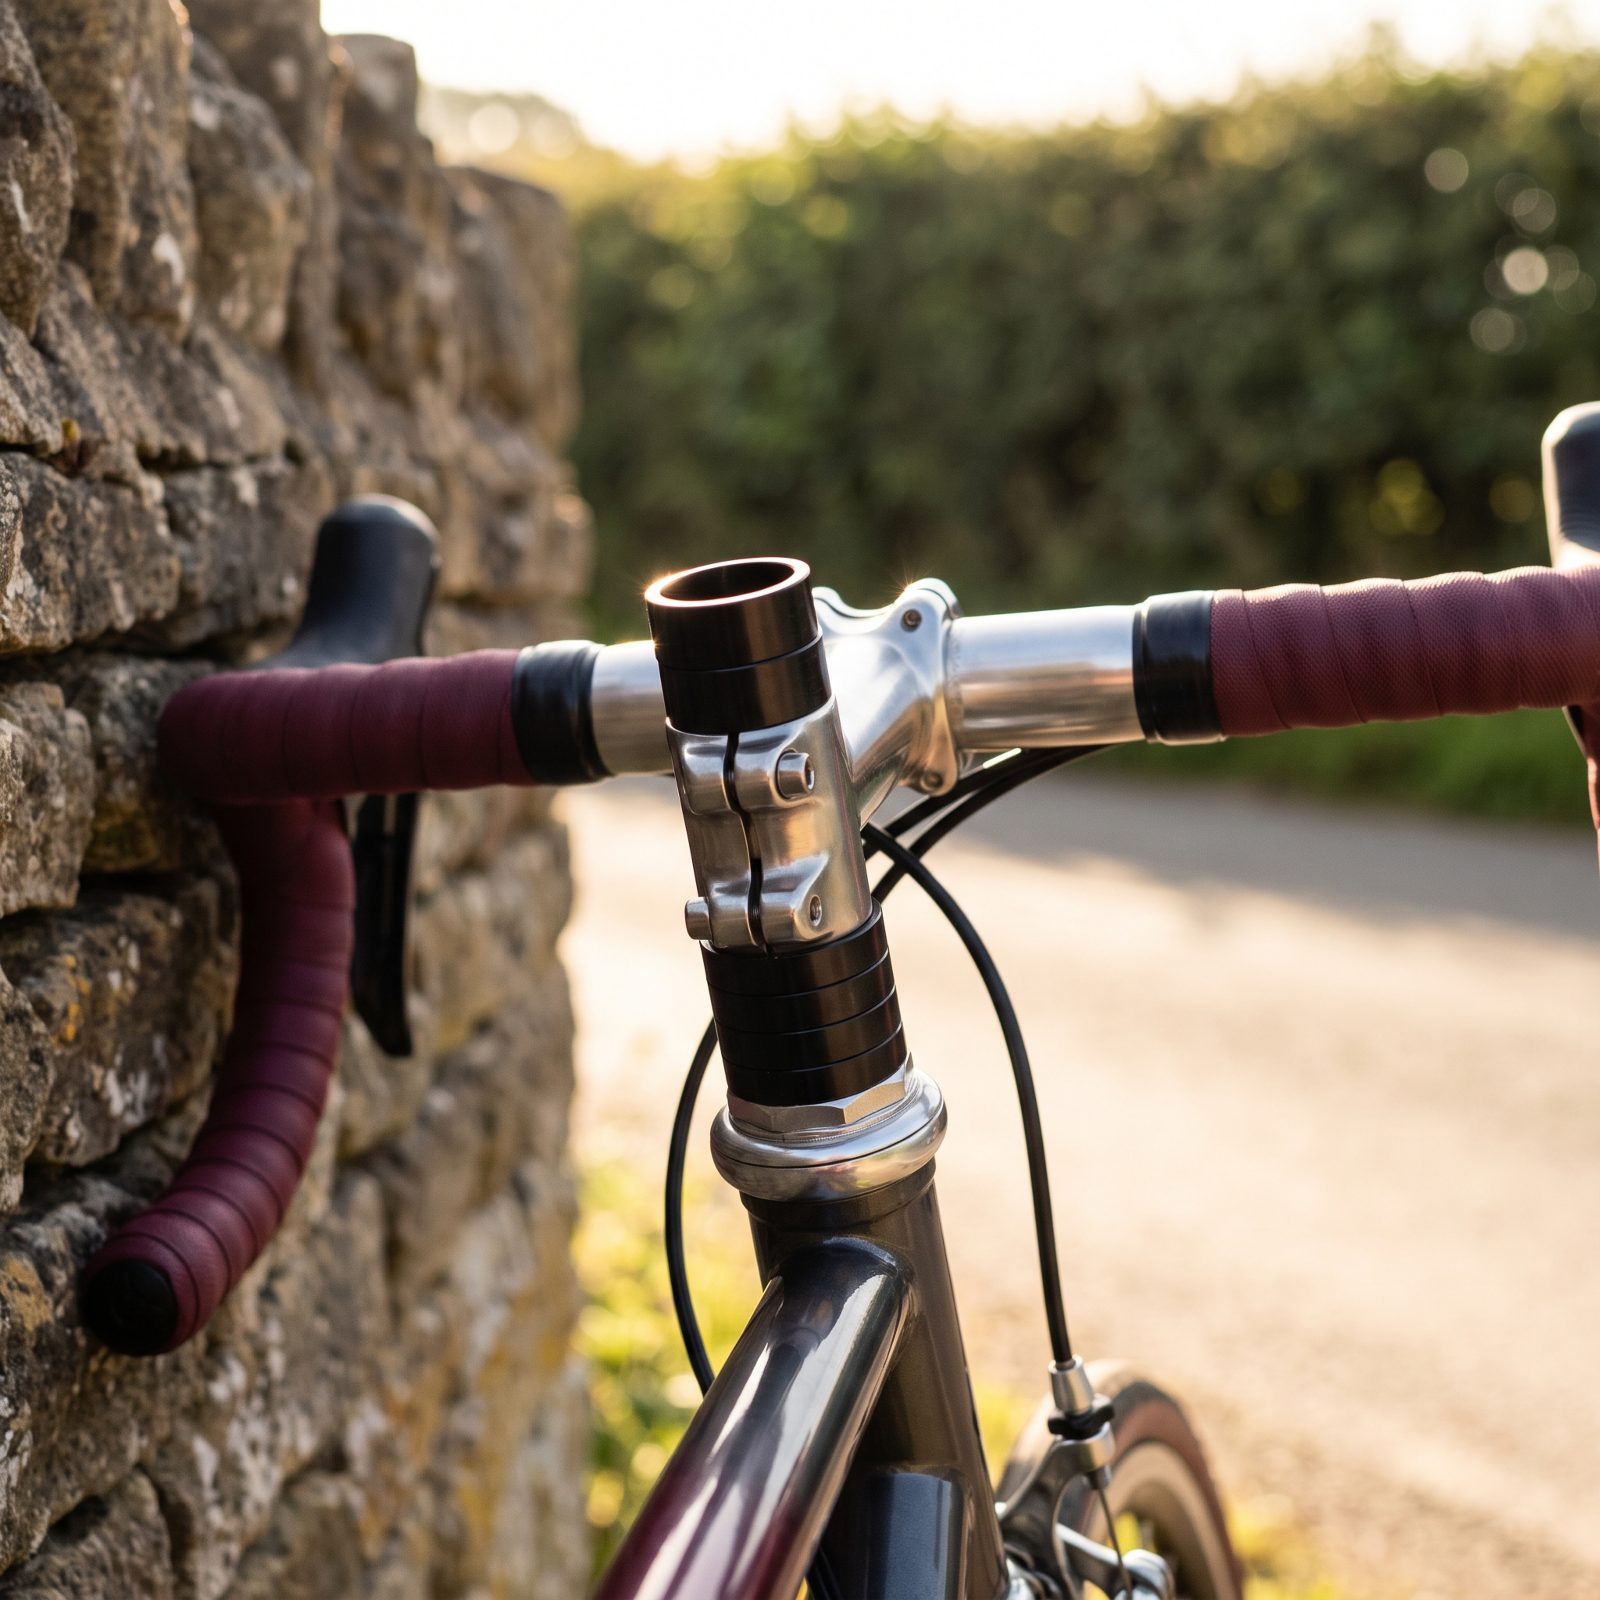
The slammed-stem look costs most riders free speed, and nobody admits it at the group ride. If your back is screaming by mile twenty, you’re sliding around on the saddle, closing up your hip angle and strangling the power you could be putting down.
So raise the bars. One spacer, maybe two. A position you can actually hold in the drops for a real stretch beats a racy setup you bail out of after ten minutes, because an aero tuck only helps when you can keep it.
25. Tilt the Computer Screen for Glances Without Lifting the Head
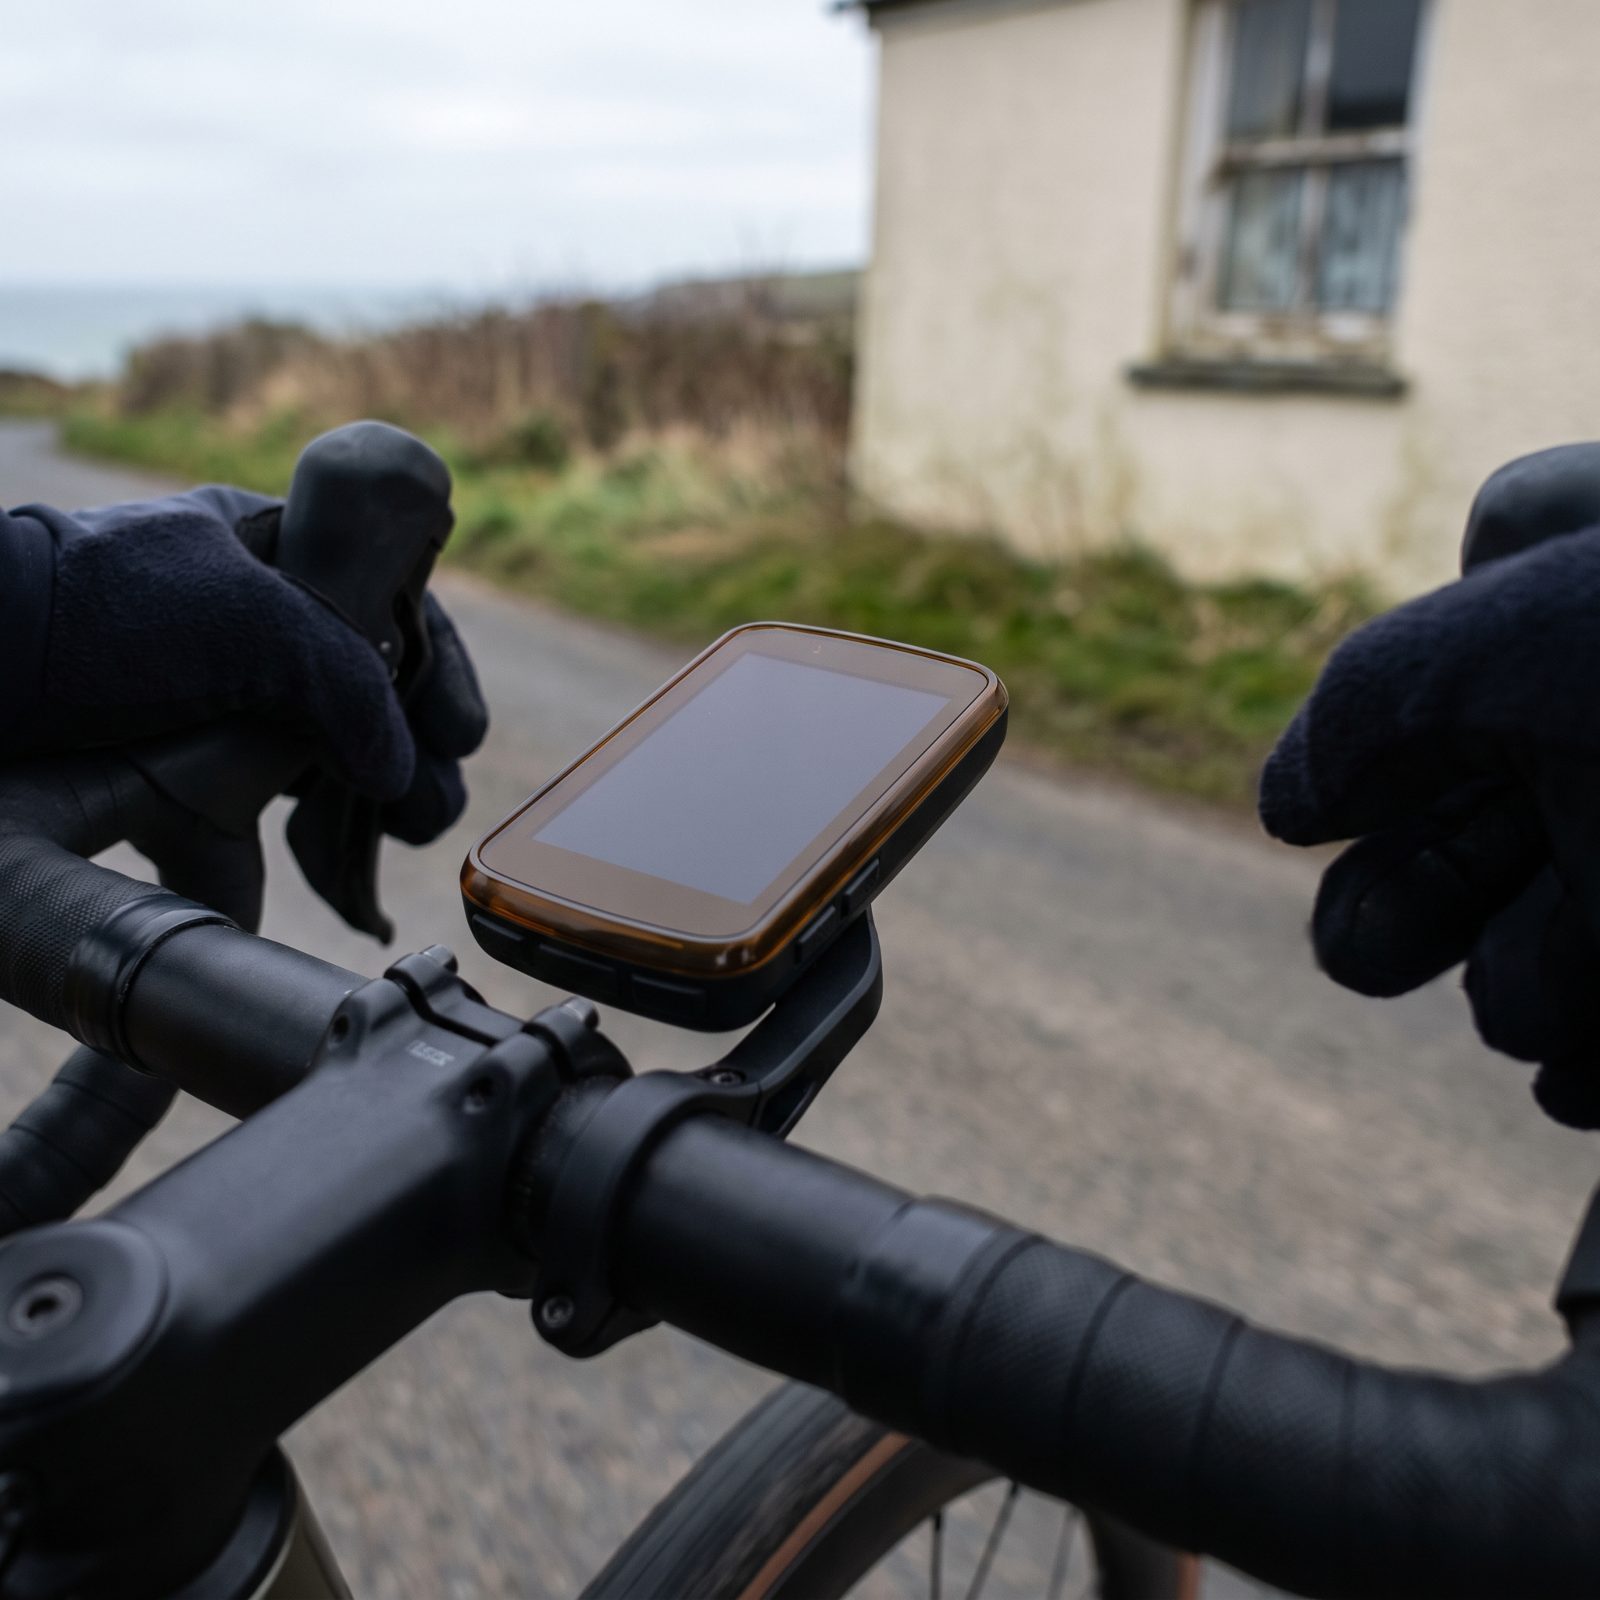
A flat-mounted computer forces you to crane your neck every time you want your speed. Lift the head and the torso follows, which drags you upright and parks a wall of air right in front of your chest.
Angle the mount up a few degrees so the screen meets your eyes while you stay low. Now you read the number with a flick of the eyes instead of a nod of the neck. Small fix. The payoff on a long hold is bigger than it has any right to be.
24. Clean Eyewear Before Riding to Spot the Smoothest Line
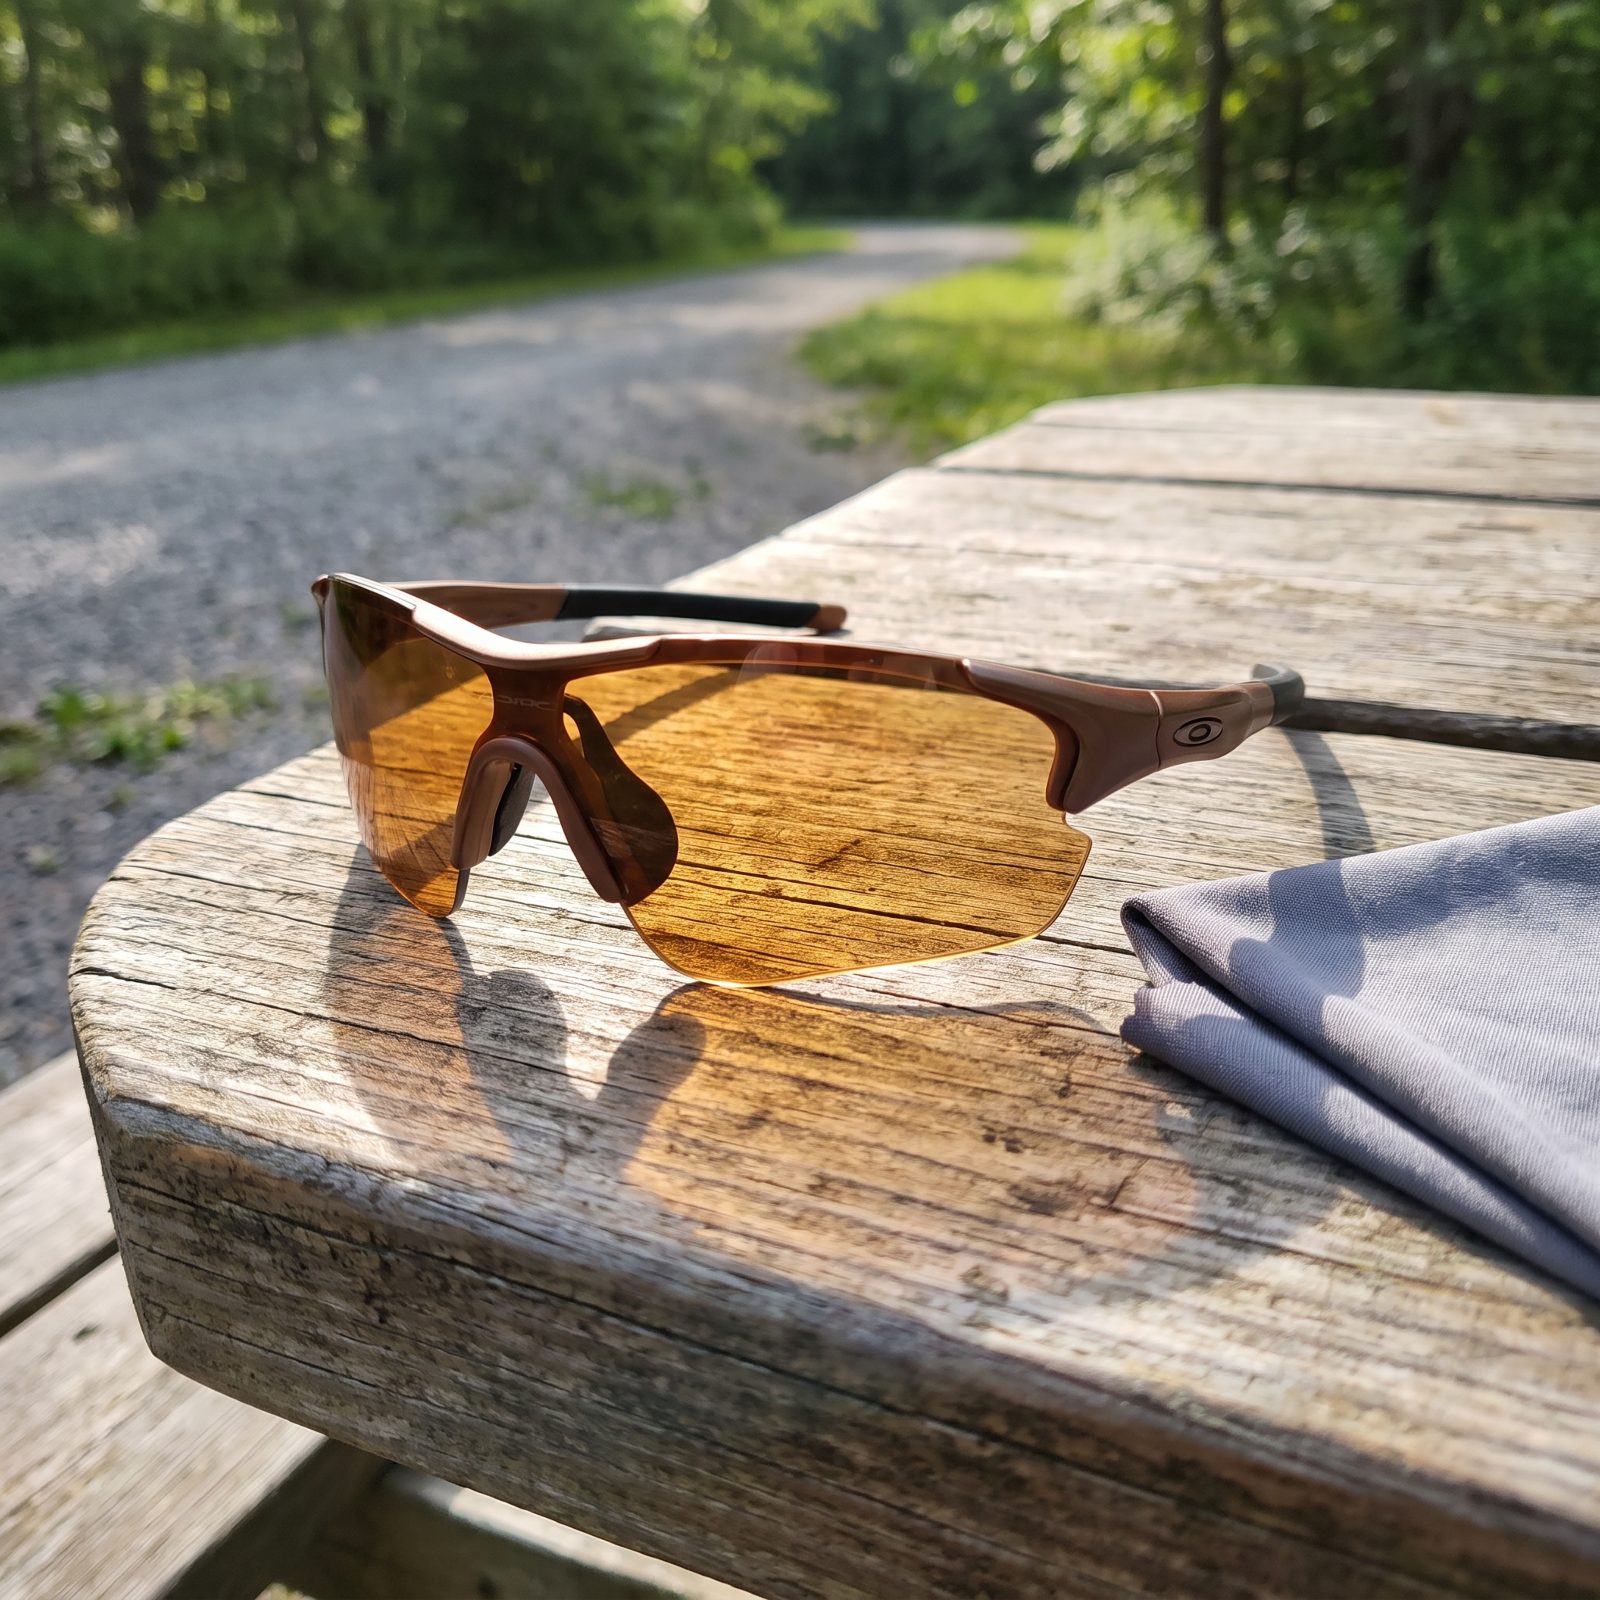
Dirty lenses make you ride slower, and you’ll never clock why. Haze, fingerprints and a film of dried salt flatten the road into a grey smear. You miss the glass, the pothole, the better line through a rough patch, so you brake on instinct and scrub speed you didn’t need to lose.
Clean glasses let the surface read in sharp relief. You pick the smooth line a beat earlier and hold momentum through the junk. Sounds trivial, we know. Ride a filthy pair for an hour and you’ll feel how much work your eyes were quietly doing.
23. Distribute Jersey-Pocket Cargo to Prevent Fabric Bulging
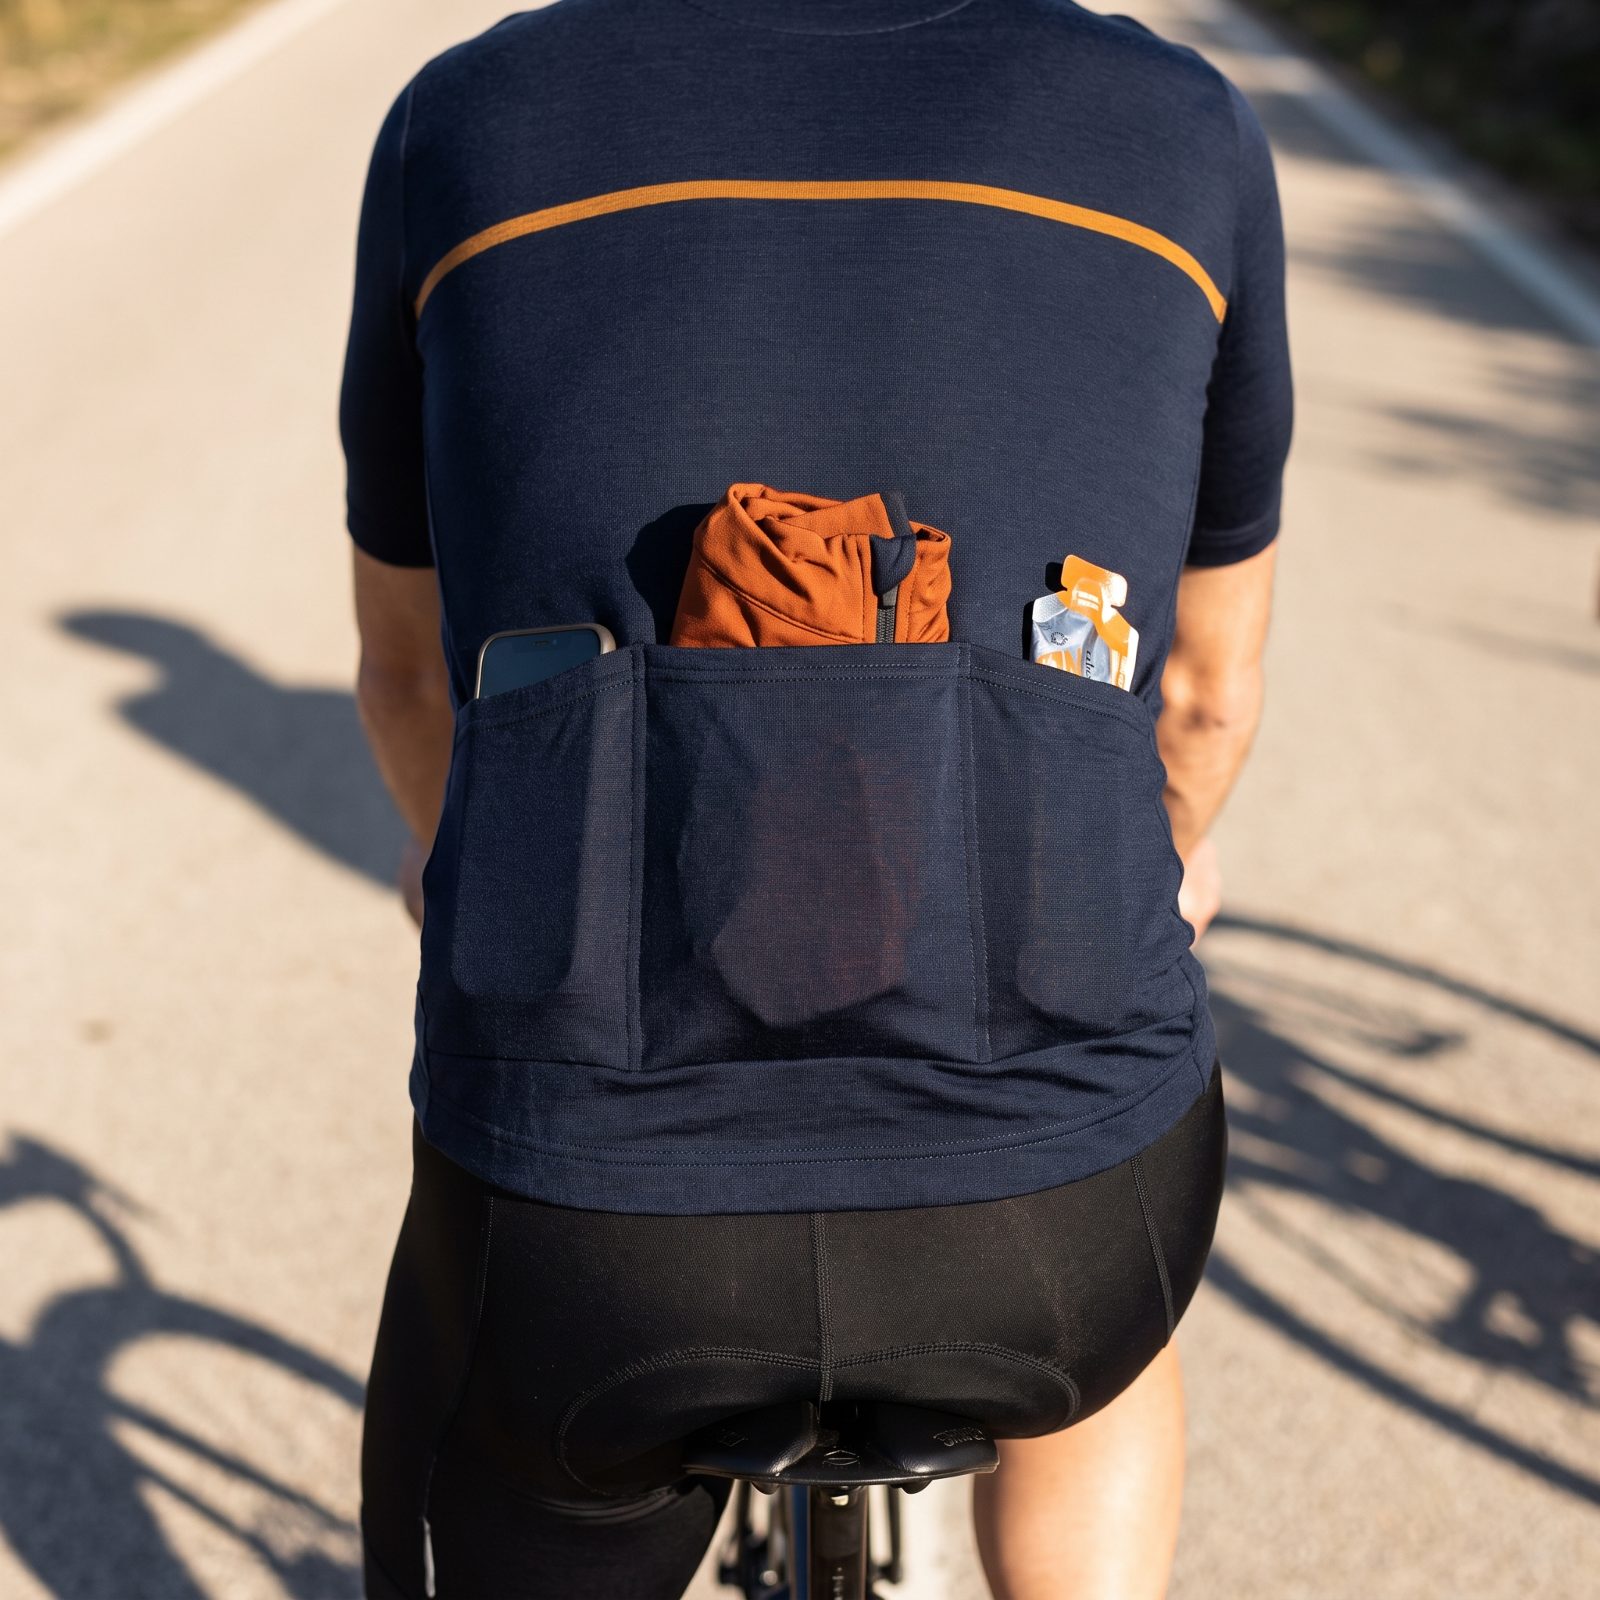
Dump everything in one pocket and the loaded side billows out like a sail. That flapping fabric is drag, and a lopsided load tugs your posture off-square over the miles.
Spread the weight across all three pockets, heaviest low and centered. Phone one side, food the other, layers down the middle. The jersey sits flat, the air slides over clean, and you stop feeling that lean to one side on long climbs. Free speed, and it costs you nothing.
22. Cinch the Hem of a Rain Jacket Before Descending
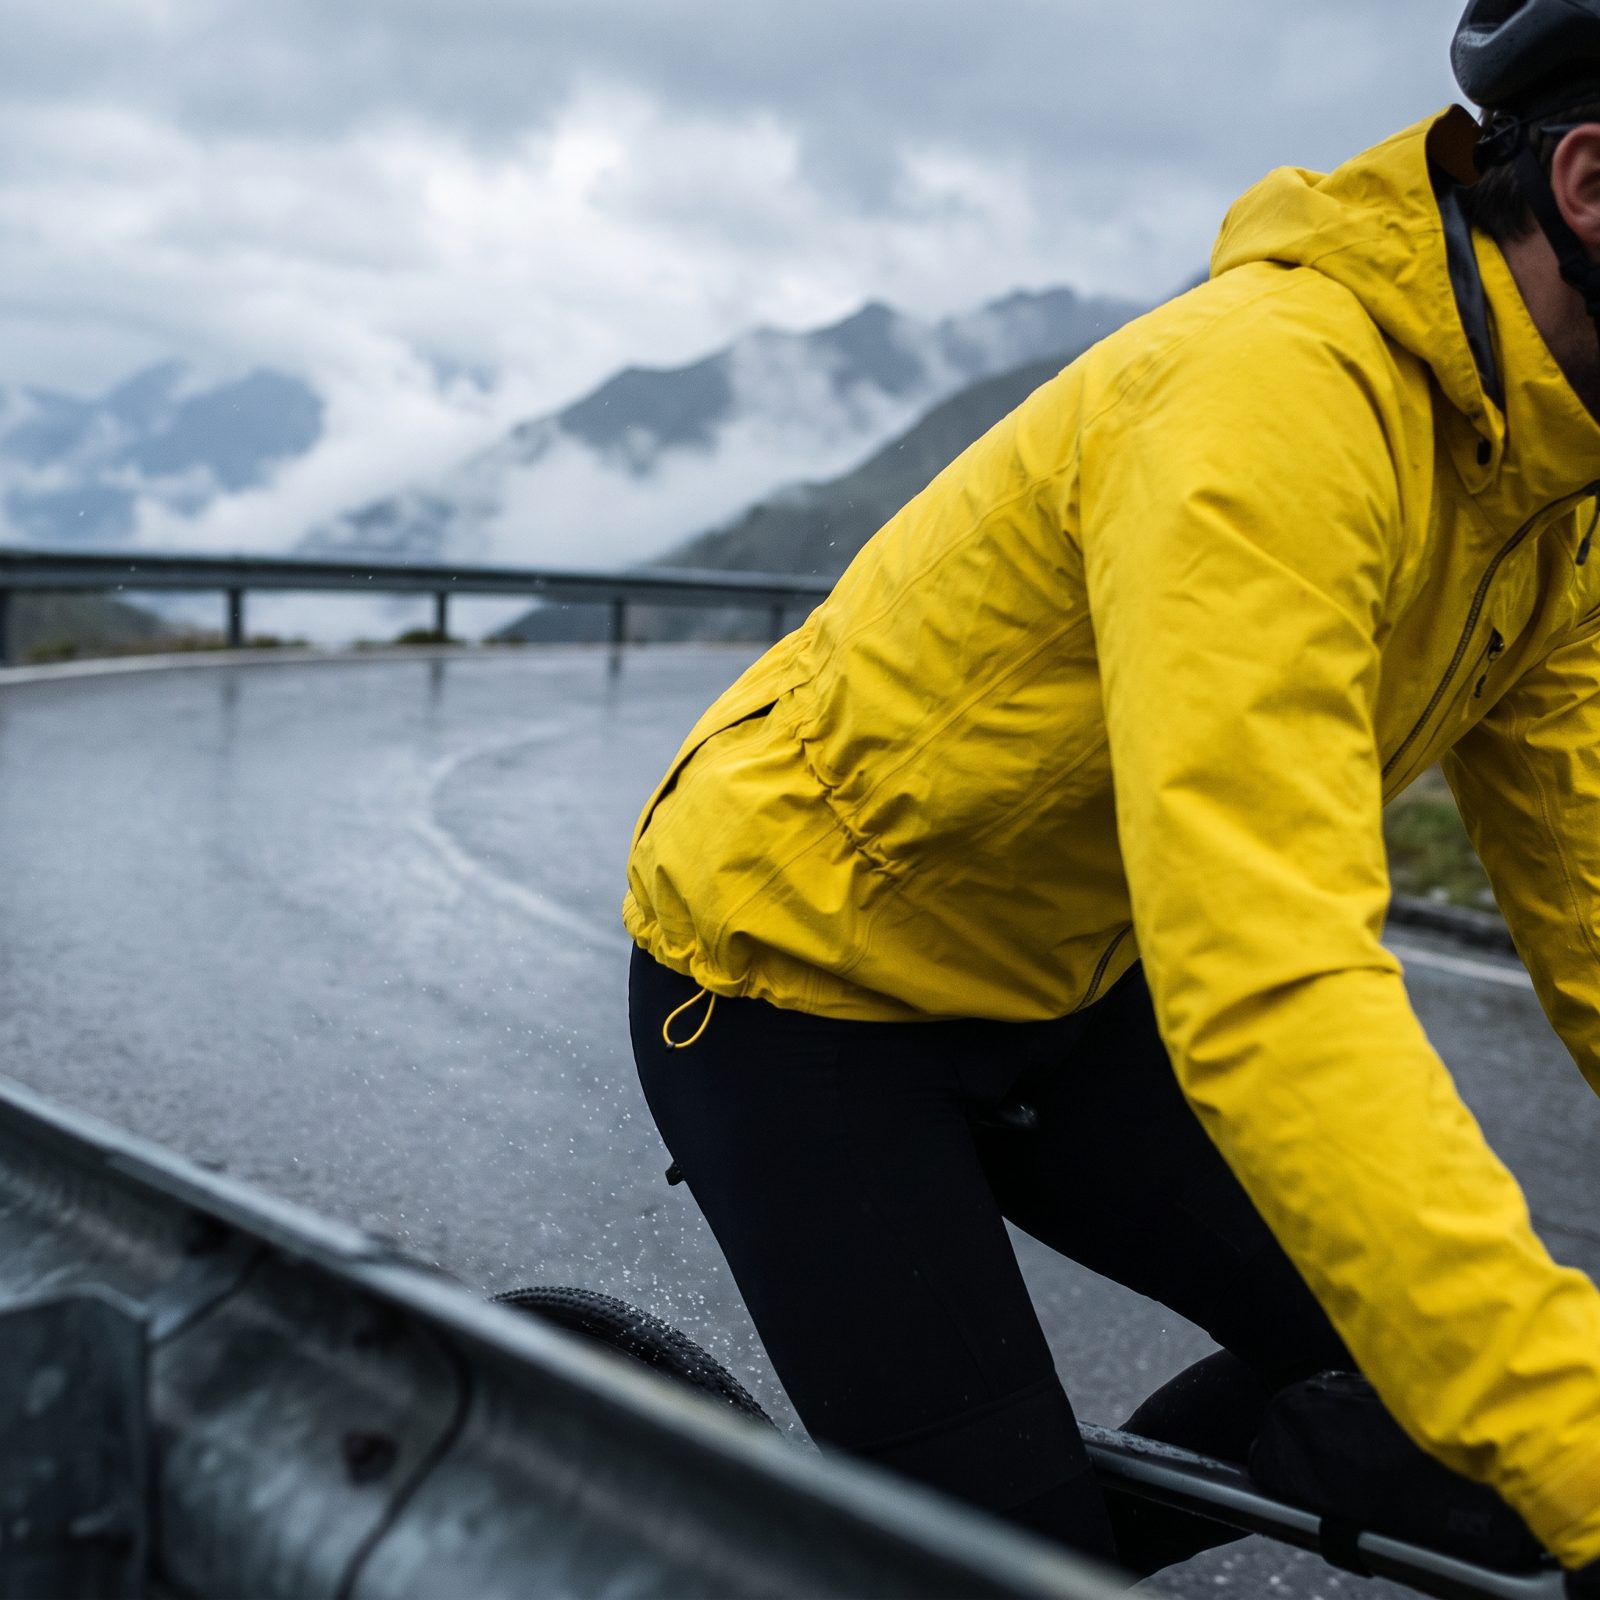
A loose rain shell on a descent becomes a parachute. The hem catches the wind, inflates, and suddenly you’re wrestling a balloon strapped to your torso at the exact moment you want to be slippery and composed.
Pull the drawcord tight before you drop in. A snug hem pins the jacket to your body so it works like a layer instead of a sail. Bonus: less flapping noise, so you actually hear the car coming up behind you.
21. Zip the Jersey Fully Before Fast Sections
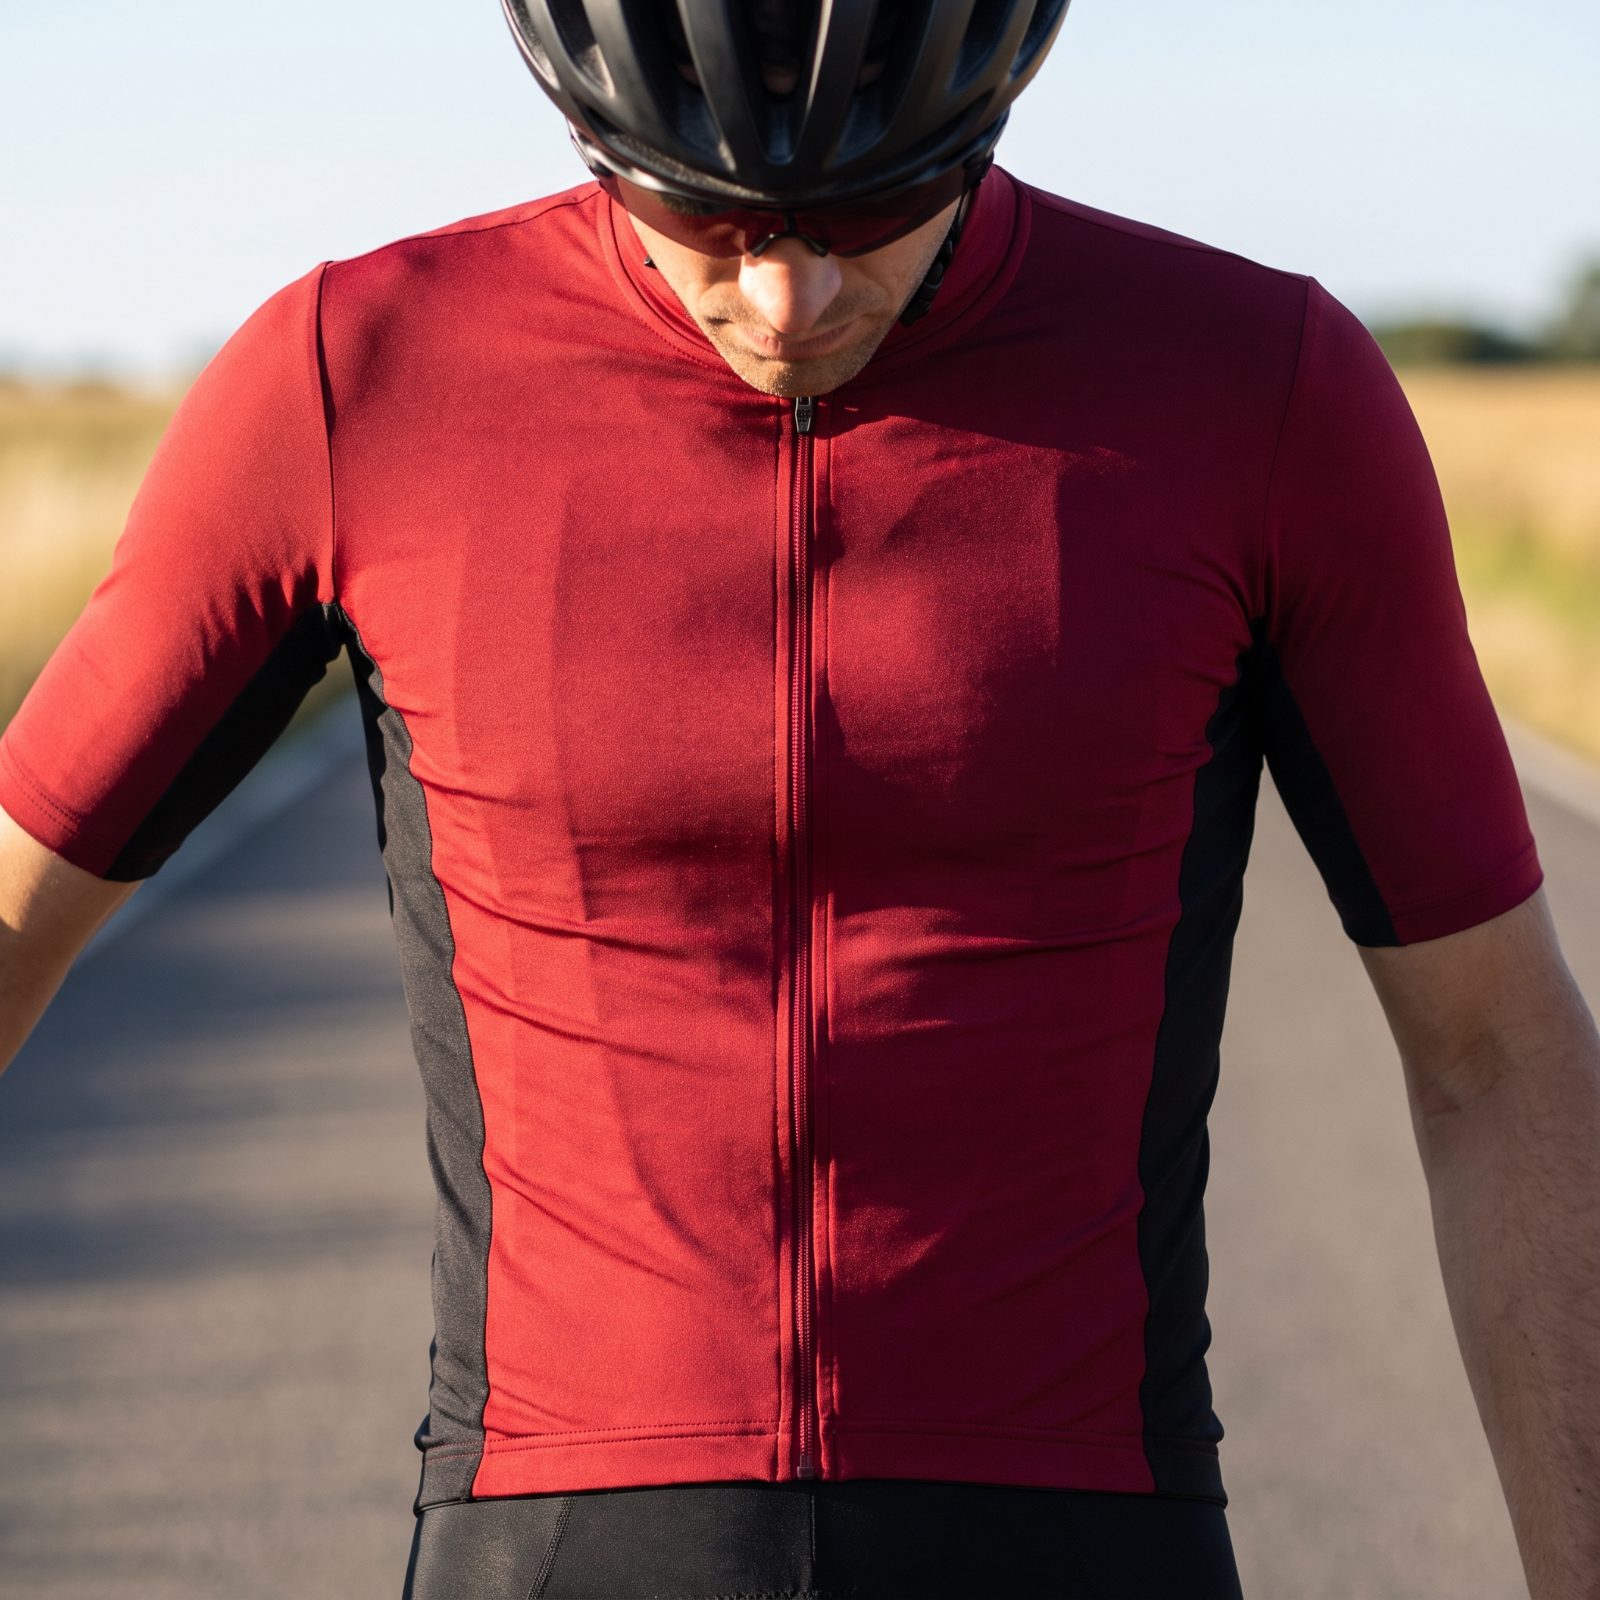
Riders crack the zipper for air and then leave it gaping into a headwind. An open jersey scoops wind and rattles like a flag on a pole, and that flutter is pure drag feeding straight into your legs.
Zip it up before the fast flats or the downhill run. The torso goes smooth, the air stays outside where it belongs. Open it again when you hit the climb and your lungs start begging. A simple ritual that adds up on anything with speed in it.
20. Load the Outside Pedal Before Turning In
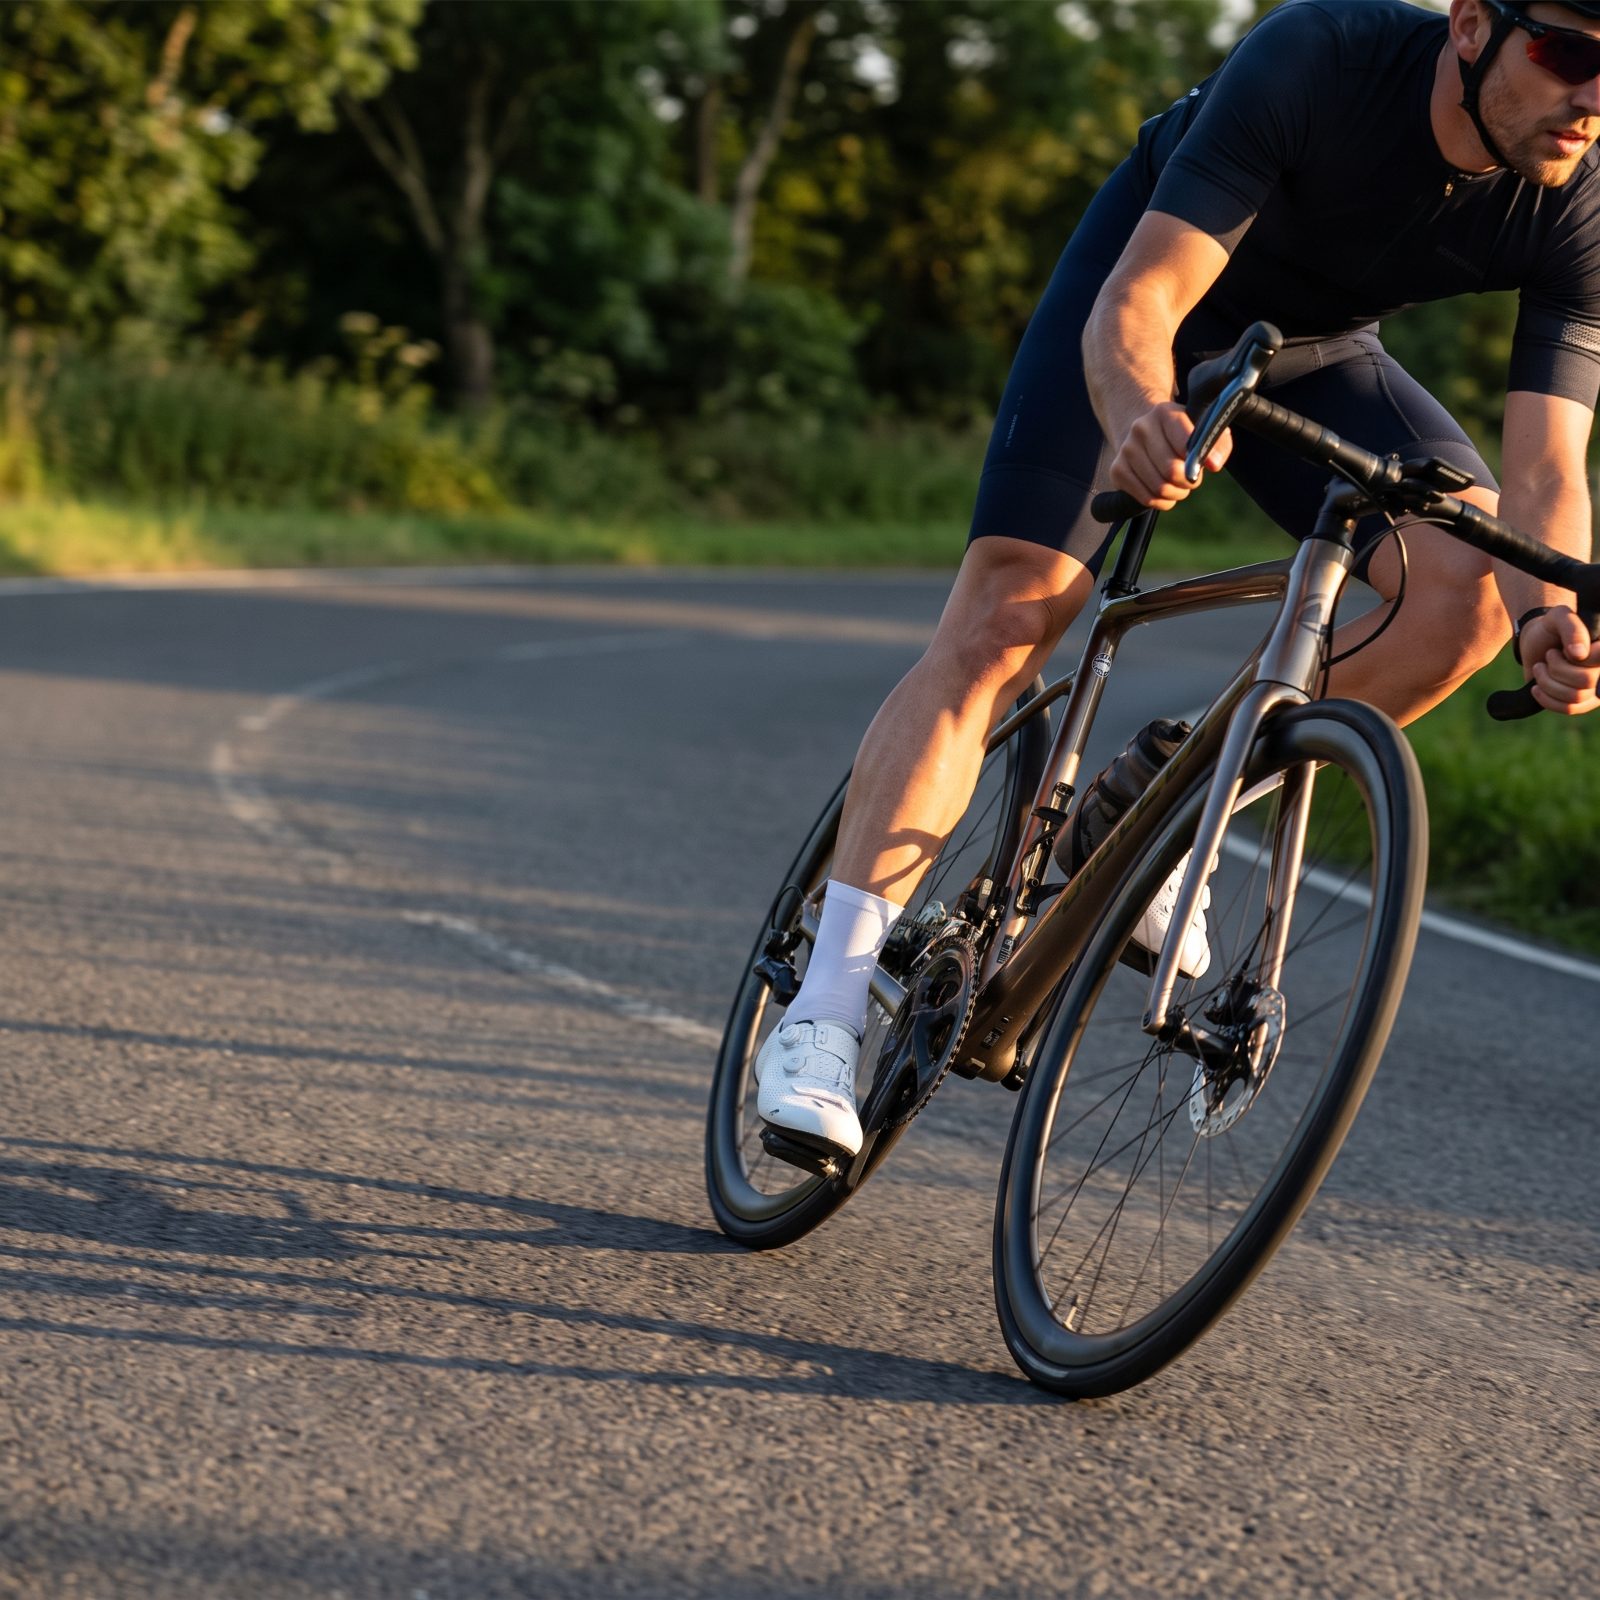
Where you put your weight in a corner decides how much grip you actually have. Drop the outside pedal to the bottom of the stroke and stand firm on it as you tip the bike in. Your weight drives down through the tire’s contact patch, the bike settles, and the rubber bites.
Plenty of everyday riders get this backwards, unlike the rider here: the road bends left, and the right (outside) pedal sits at the bottom while the left (inside) pedal is high. Load that outer foot and the bike feels planted rather than nervous. You carry more speed because you trust it to hold. Keep the inside pedal up, too, so it clears the ground on the lean.
19. Finish Most Braking Before Leaning the Bike
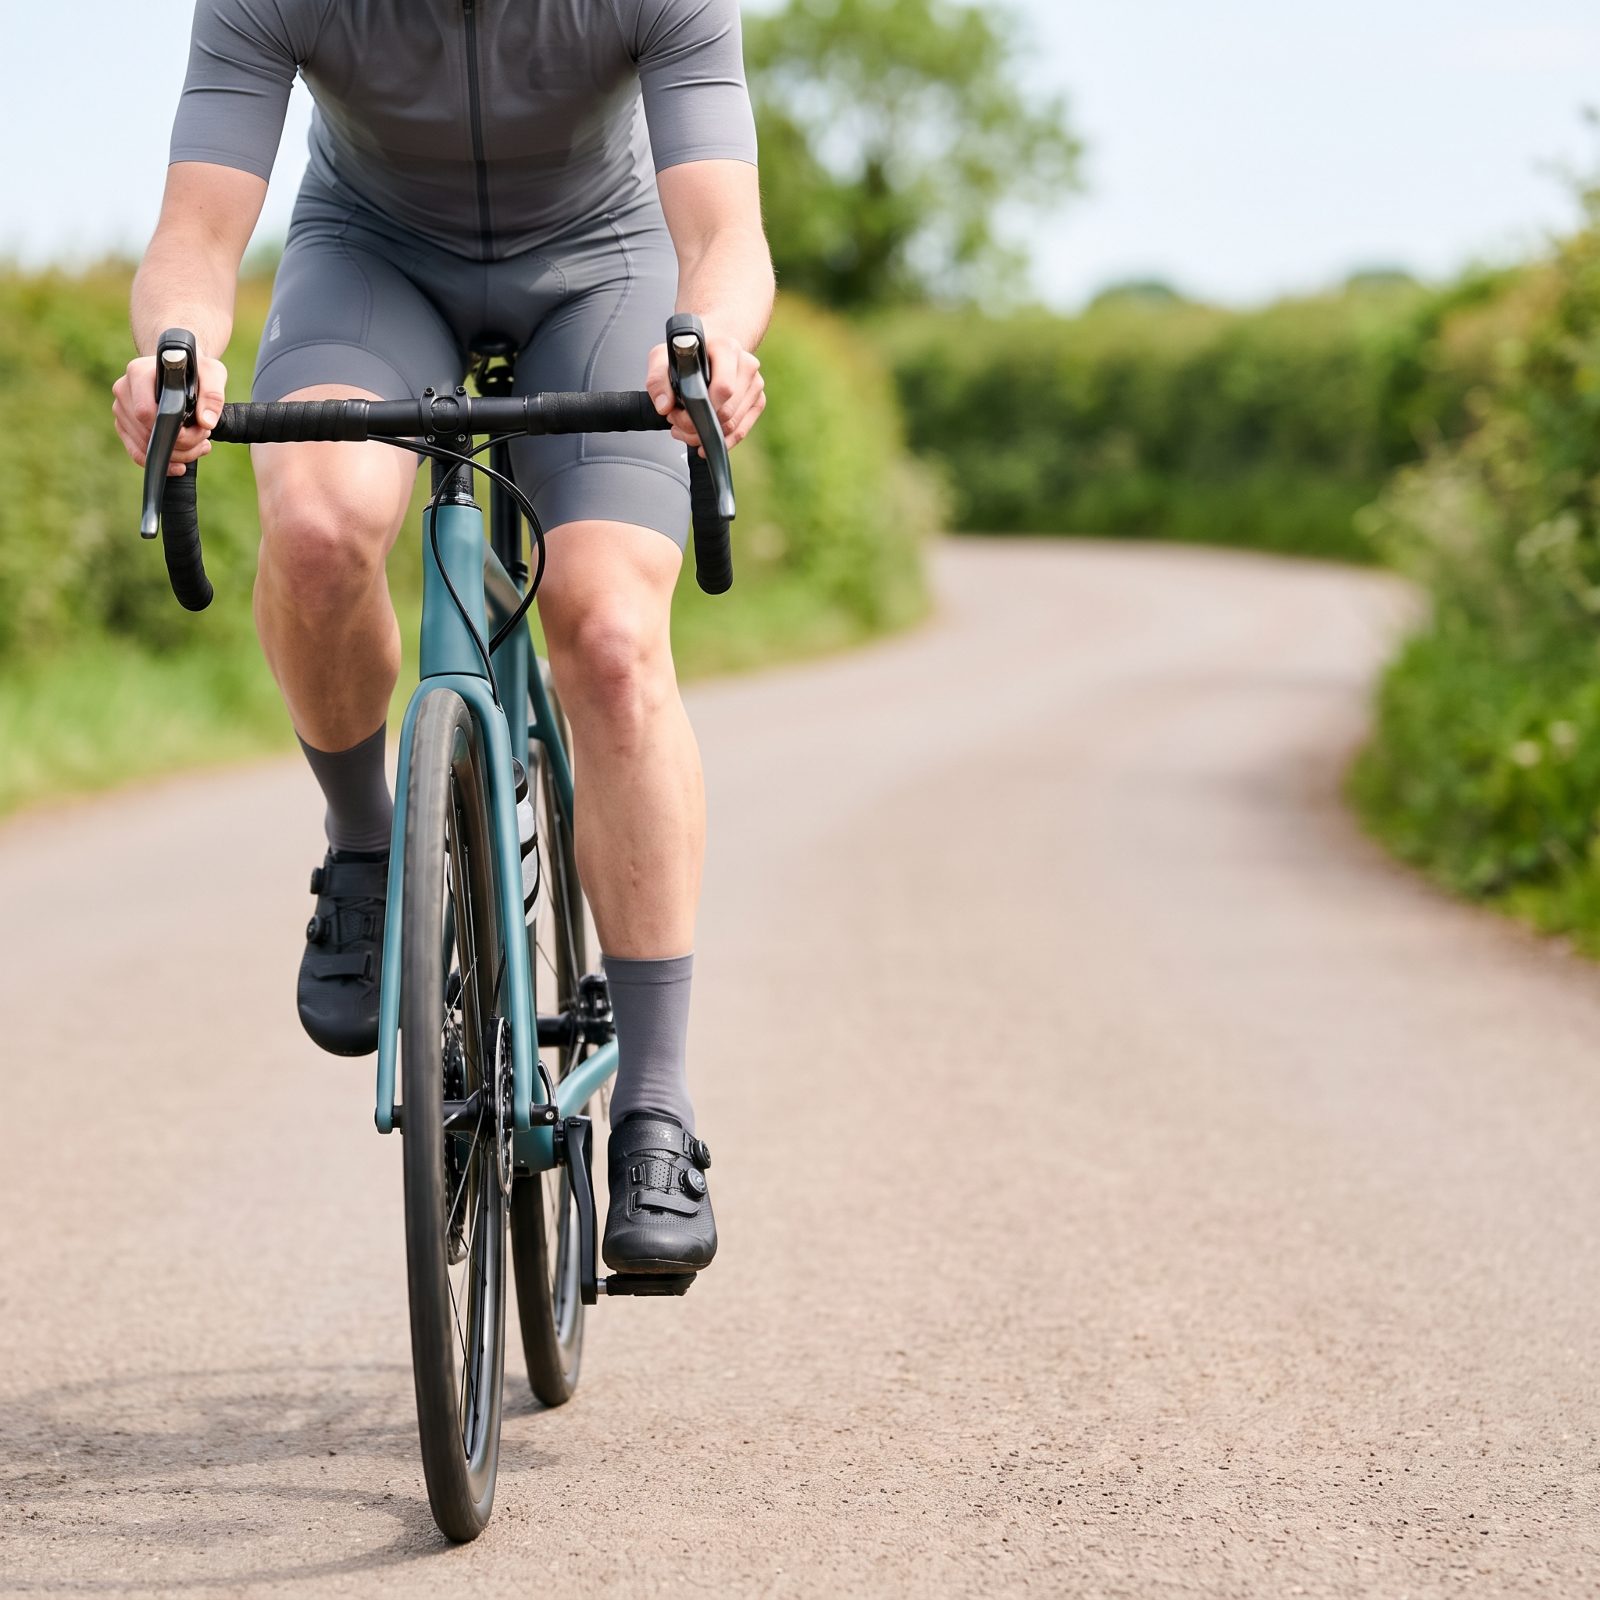
Braking hard while already leaned over is how good riders scare themselves half to death. A tire can grip or it can slow. Ask it to do both at full lean and the front washes out from under you.
Sort your speed while the bike is still upright on the approach. Brake, release, then lean. Enter the turn already at the right speed and you’re smooth and settled instead of grabbing at levers mid-corner, which means you end up carrying more pace, not less, because you’re no longer fighting the bike through the apex.
18. Look Through the Corner to Its Exit
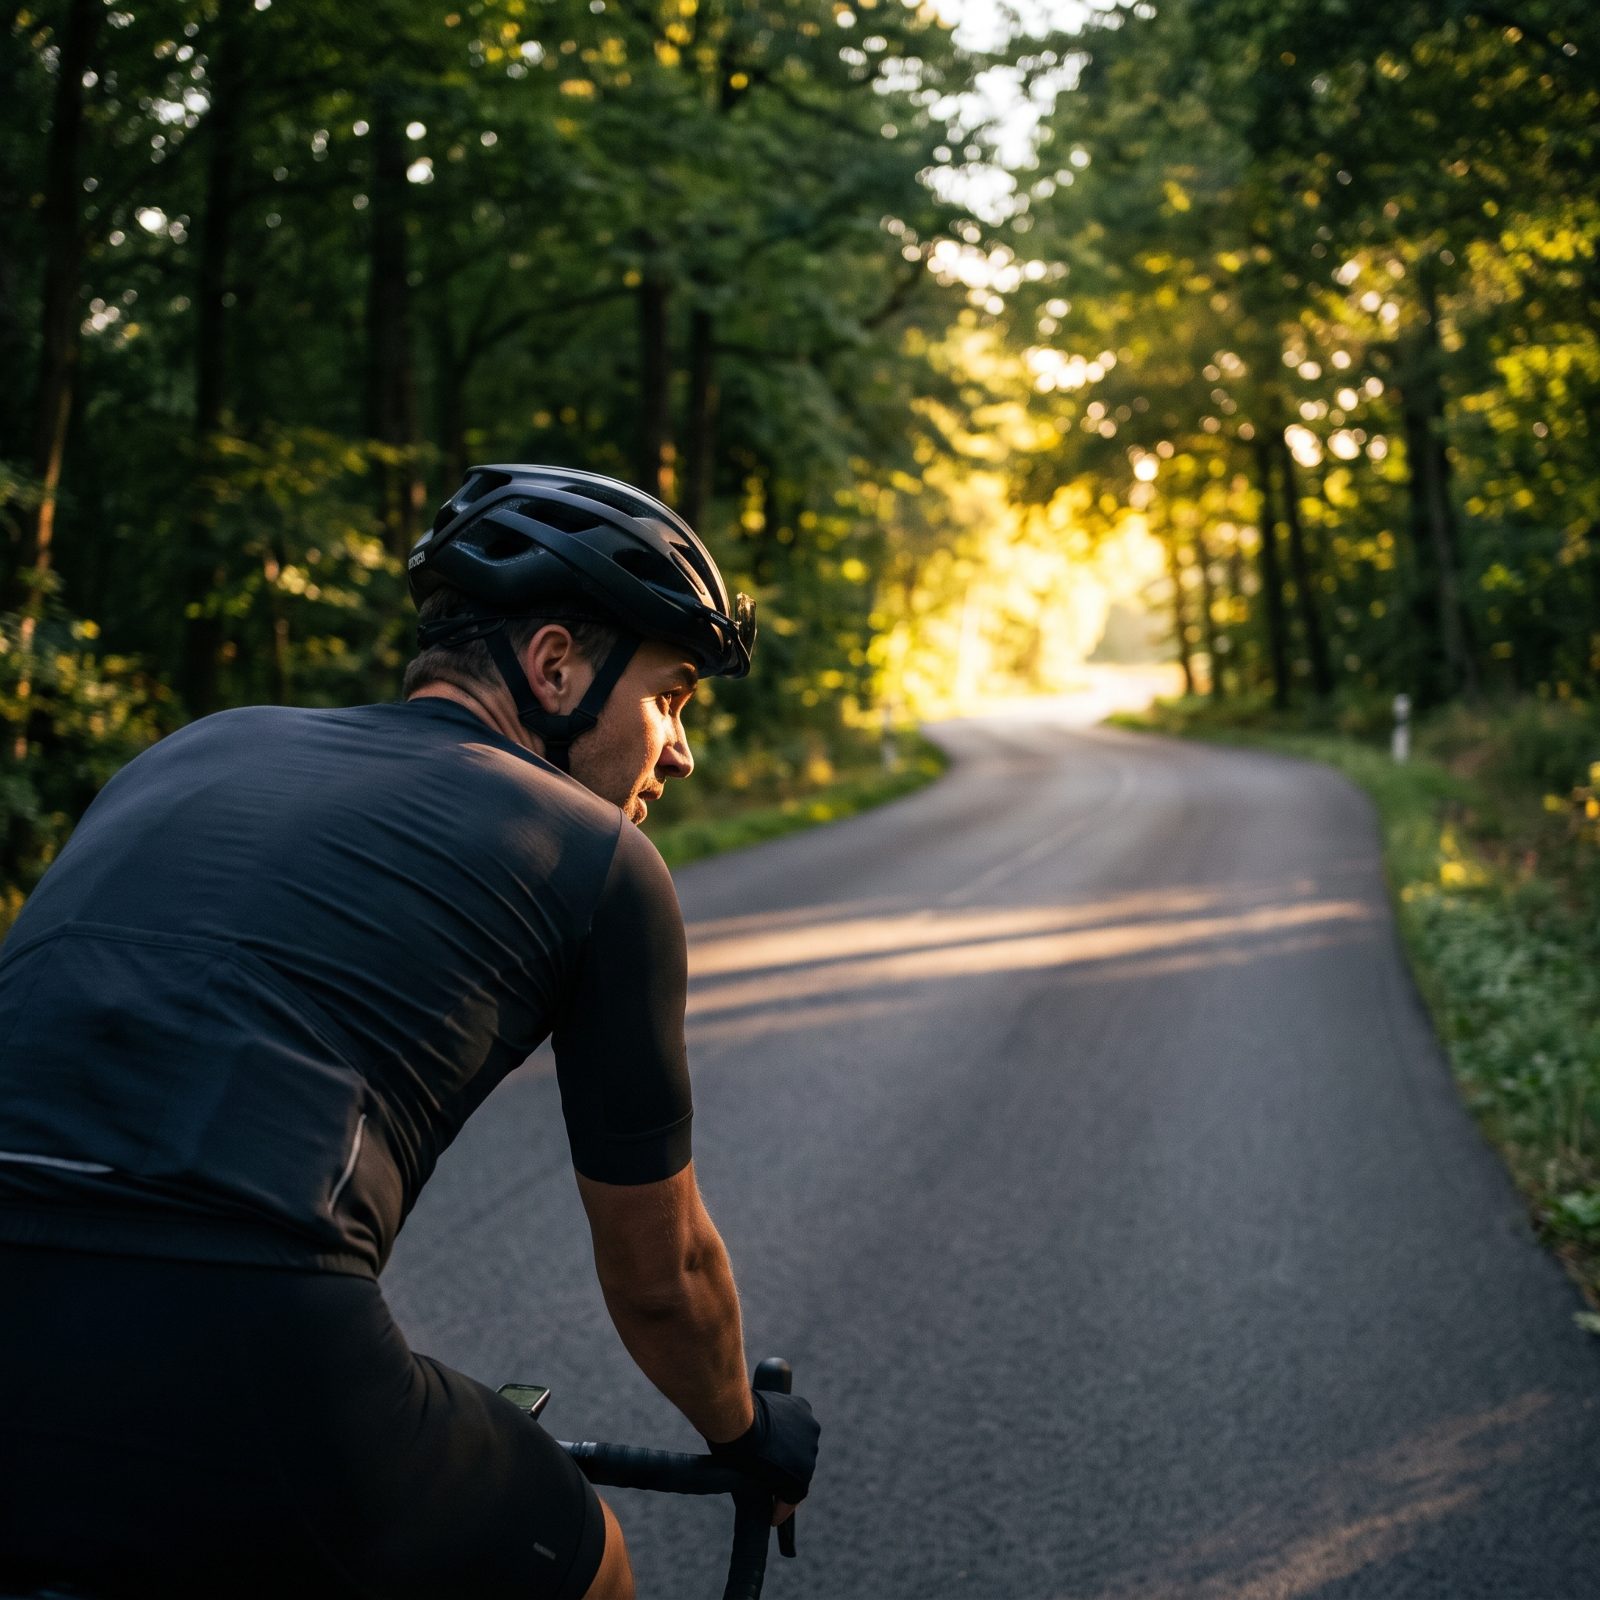
The bike goes where your eyes go. Stare at the gravel in front of your wheel and you’ll tense up, pick a tight line and drift wide at the exit.
Turn your head and look all the way through to where the corner opens up. Your hands quietly follow your gaze, your line flows, and the whole turn feels slower even as you’re going faster. Half technique, half trick of the brain. Works on every corner you’ll ever ride.
17. Use the Widest Safe Cornering Arc Available
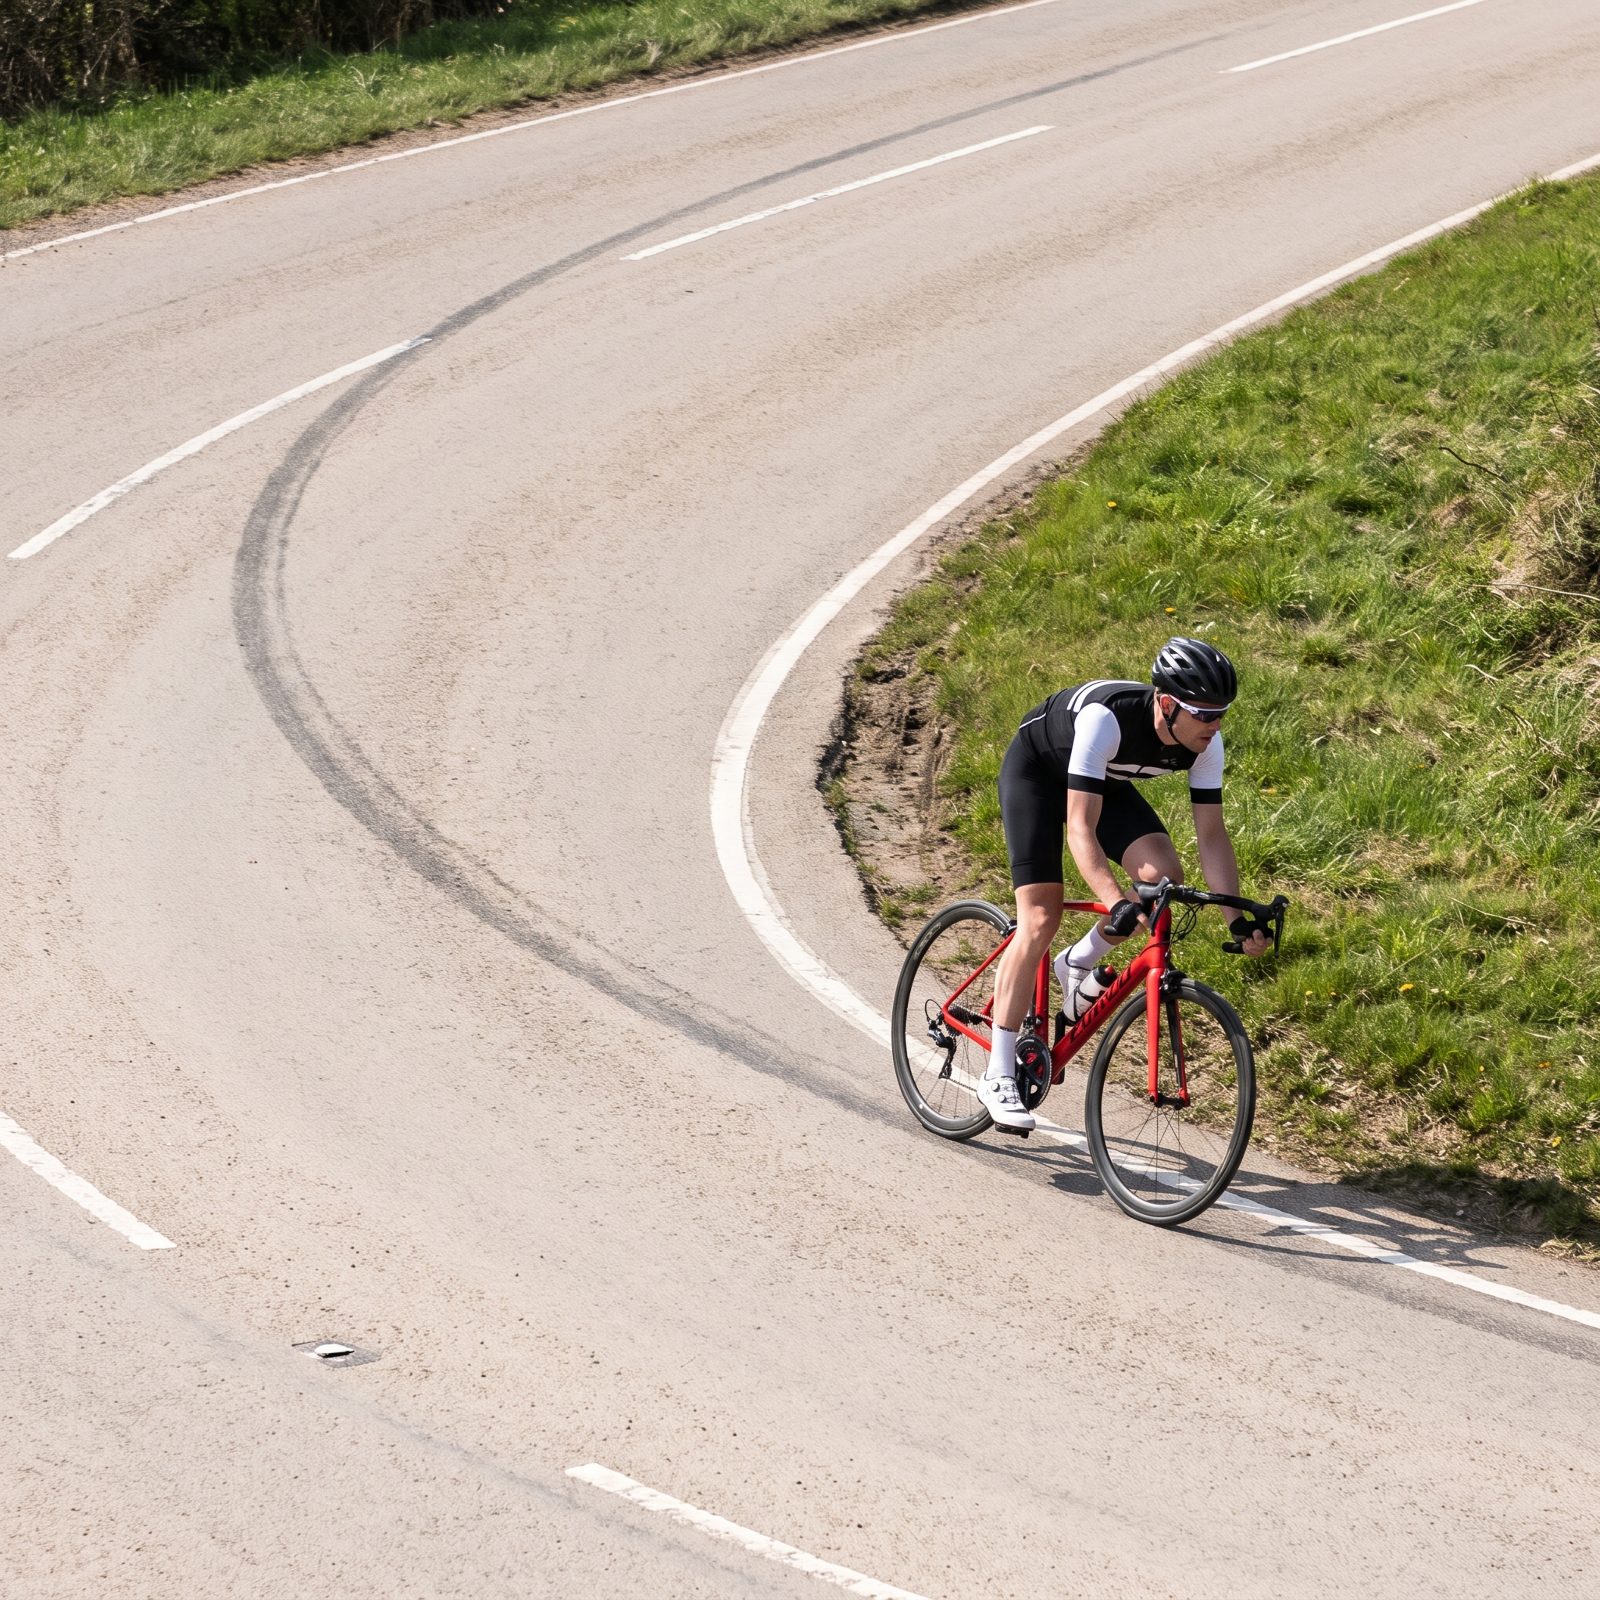
A tight line through a corner is a slow line. Hug the inside the whole way, as this rider is doing along the edge line beside the grass verge, and you’ve forced the sharpest possible arc, which means more lean and more braking for the same bend.
Instead, start wide, clip the inside near the middle of the turn, then let the bike run back out toward the exit, all kept safely inside your own lane. That geometry straightens the corner out and lets you hold more speed without the drama. On a descent you know well, it’s the gap between surviving the bends and genuinely flowing through them.
16. Shift Before the Gradient Bites
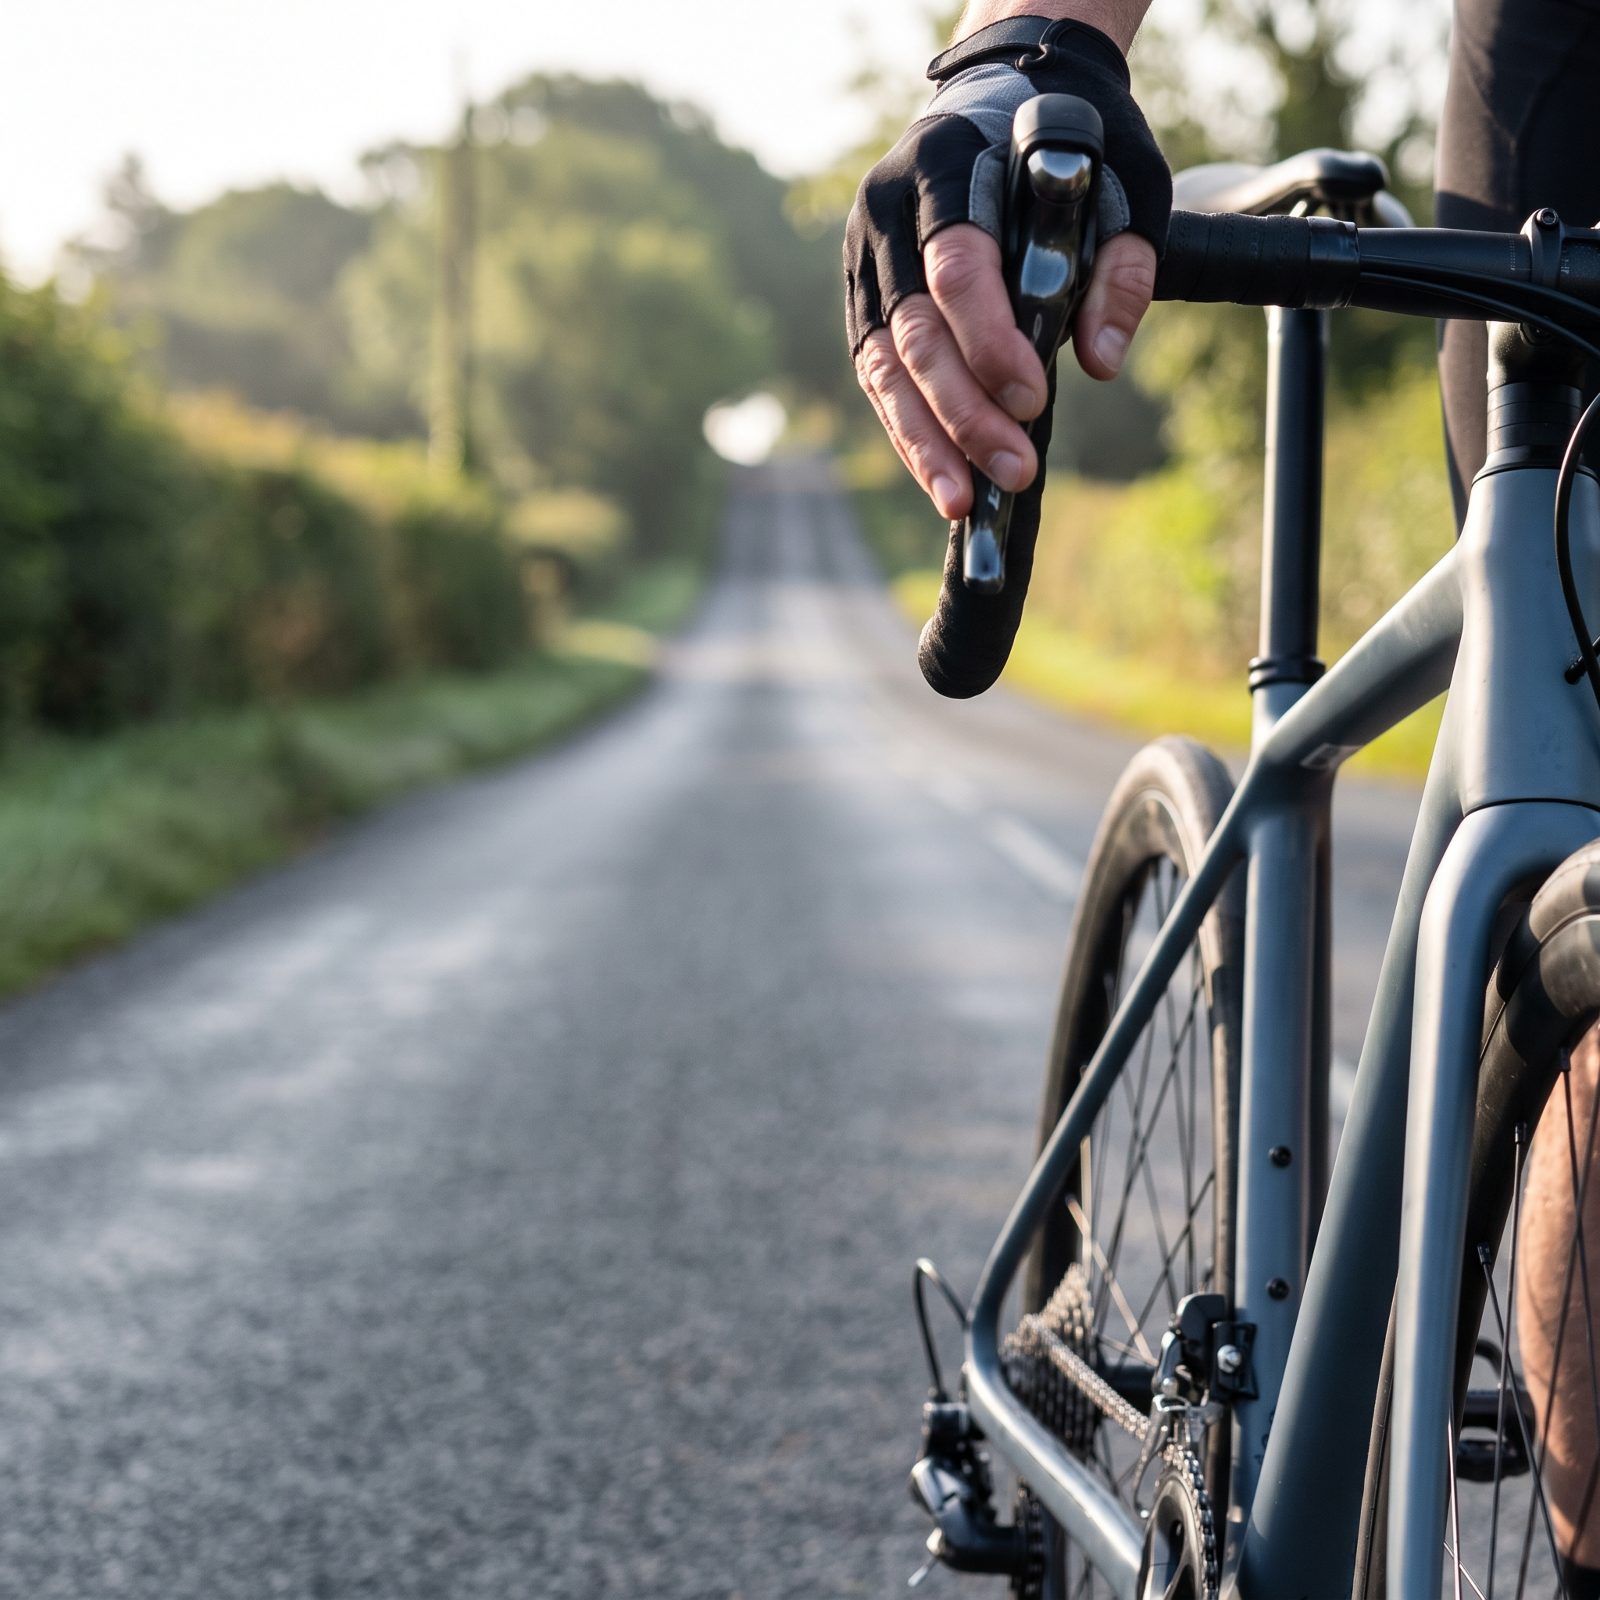
Most riders shift when the climb already has them, and by then the chain is loaded, the pedals are grinding, and the derailleur clatters instead of clicking. The gear change costs momentum you just paid for.
Shift a beat early instead, while the road is still flat and the drivetrain is unloaded. The chain slides across the cassette clean and quiet, the legs keep spinning at the same rhythm as the slope arrives, and there’s no lurch, no lost speed.
It feels almost too simple. But watch experienced riders at the base of any hill and the shift happens before the gradient does, every single time.
15. Stay Seated Through the Opening Meters of a Climb
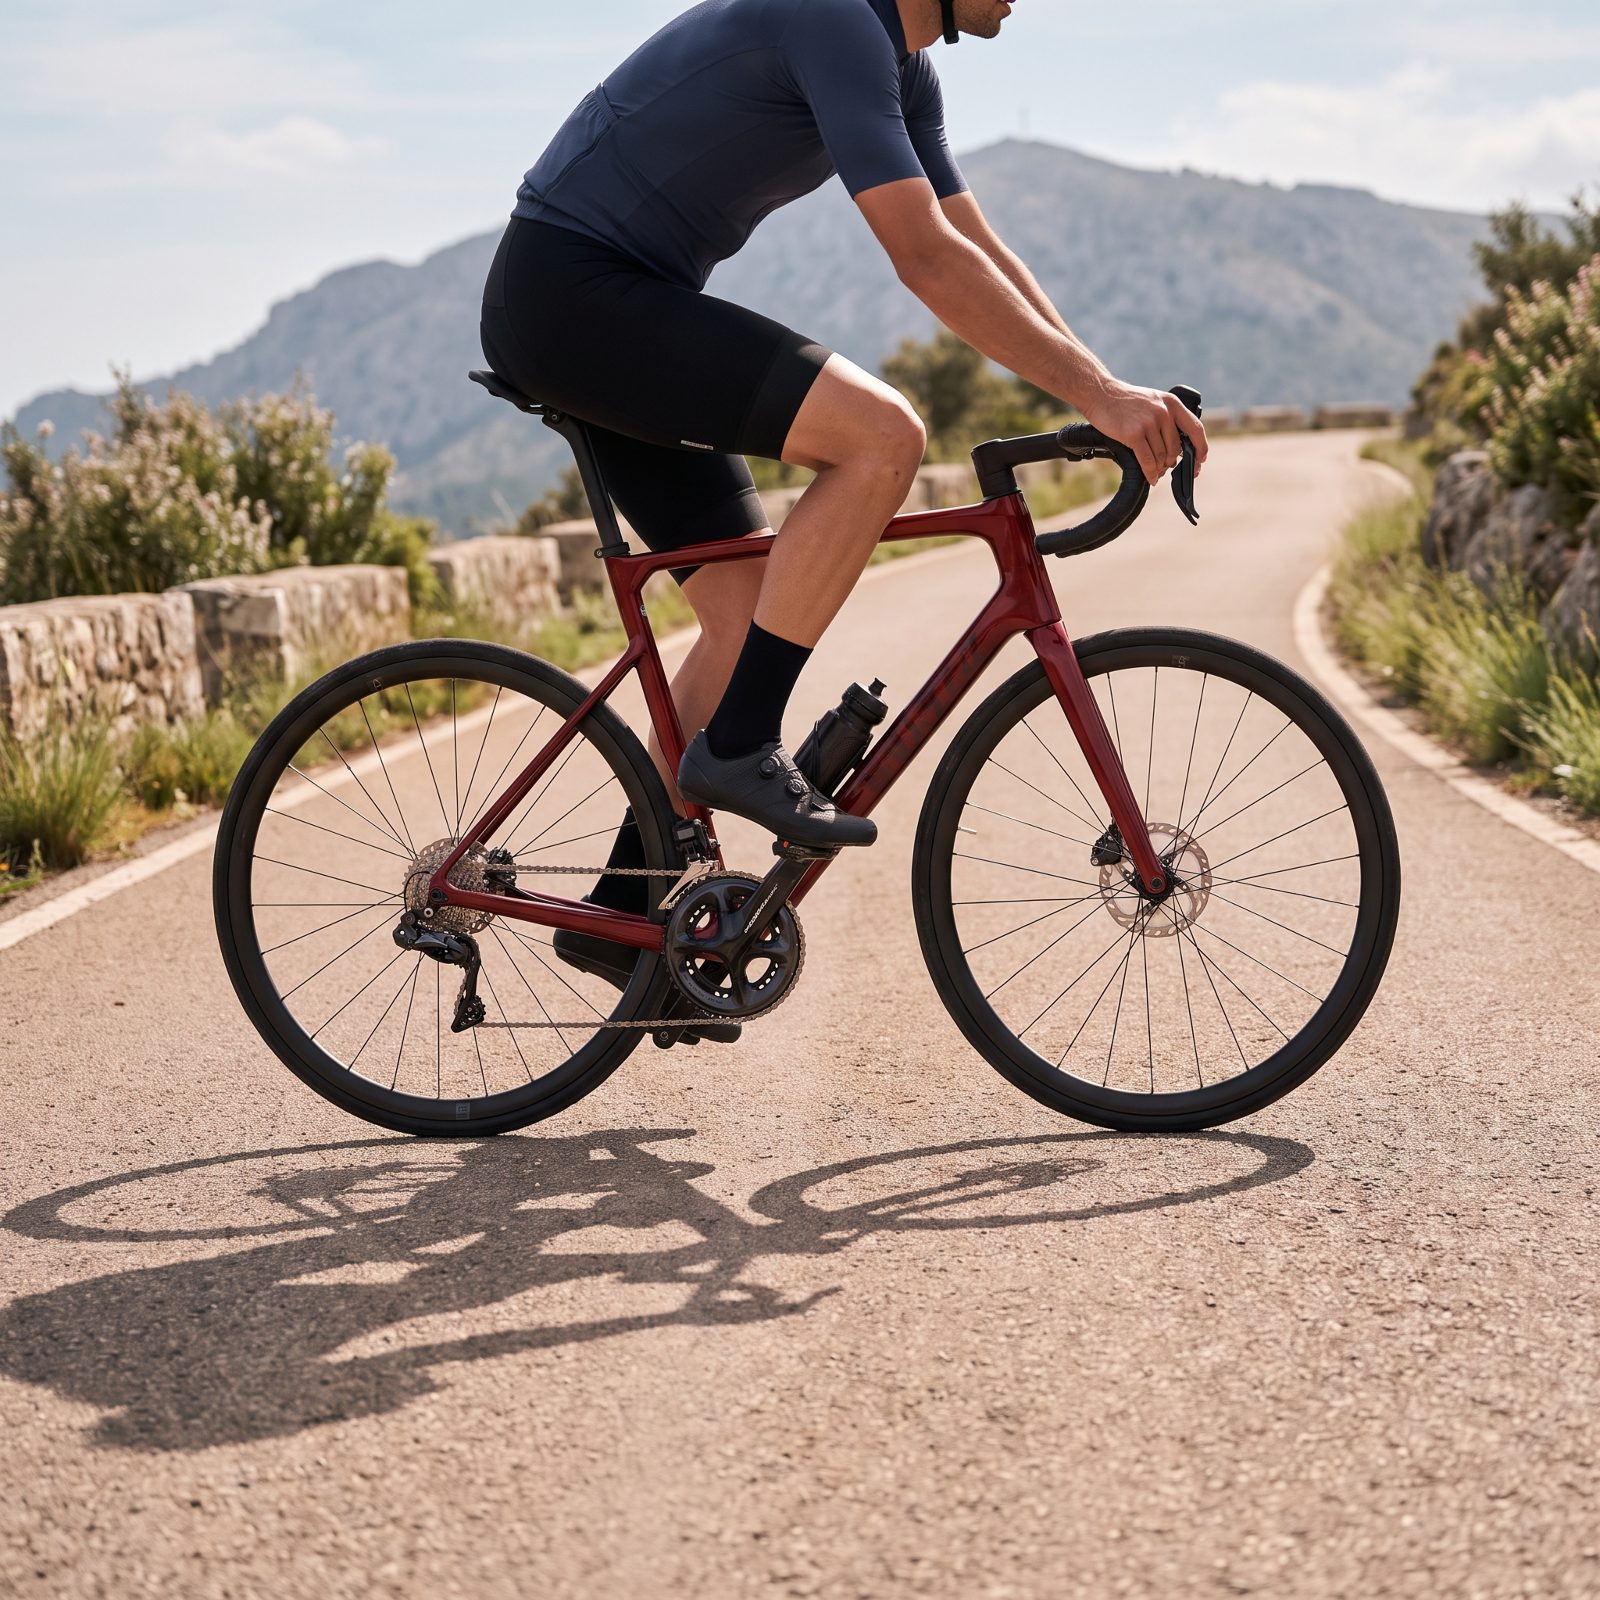
Standing up the second the road pitches feels powerful. It usually isn’t. Jumping out of the saddle early spikes the heart rate, burns matches you’ll want later, and barely adds speed on anything but a wall.
Stay seated and the effort stays smooth — the big muscles do steady work, breathing stays even, and the climb settles into a rhythm you can hold all the way to the top. Save the standing for when you actually need it.
14. Stand Only for the Steepest Part of a Short Ramp
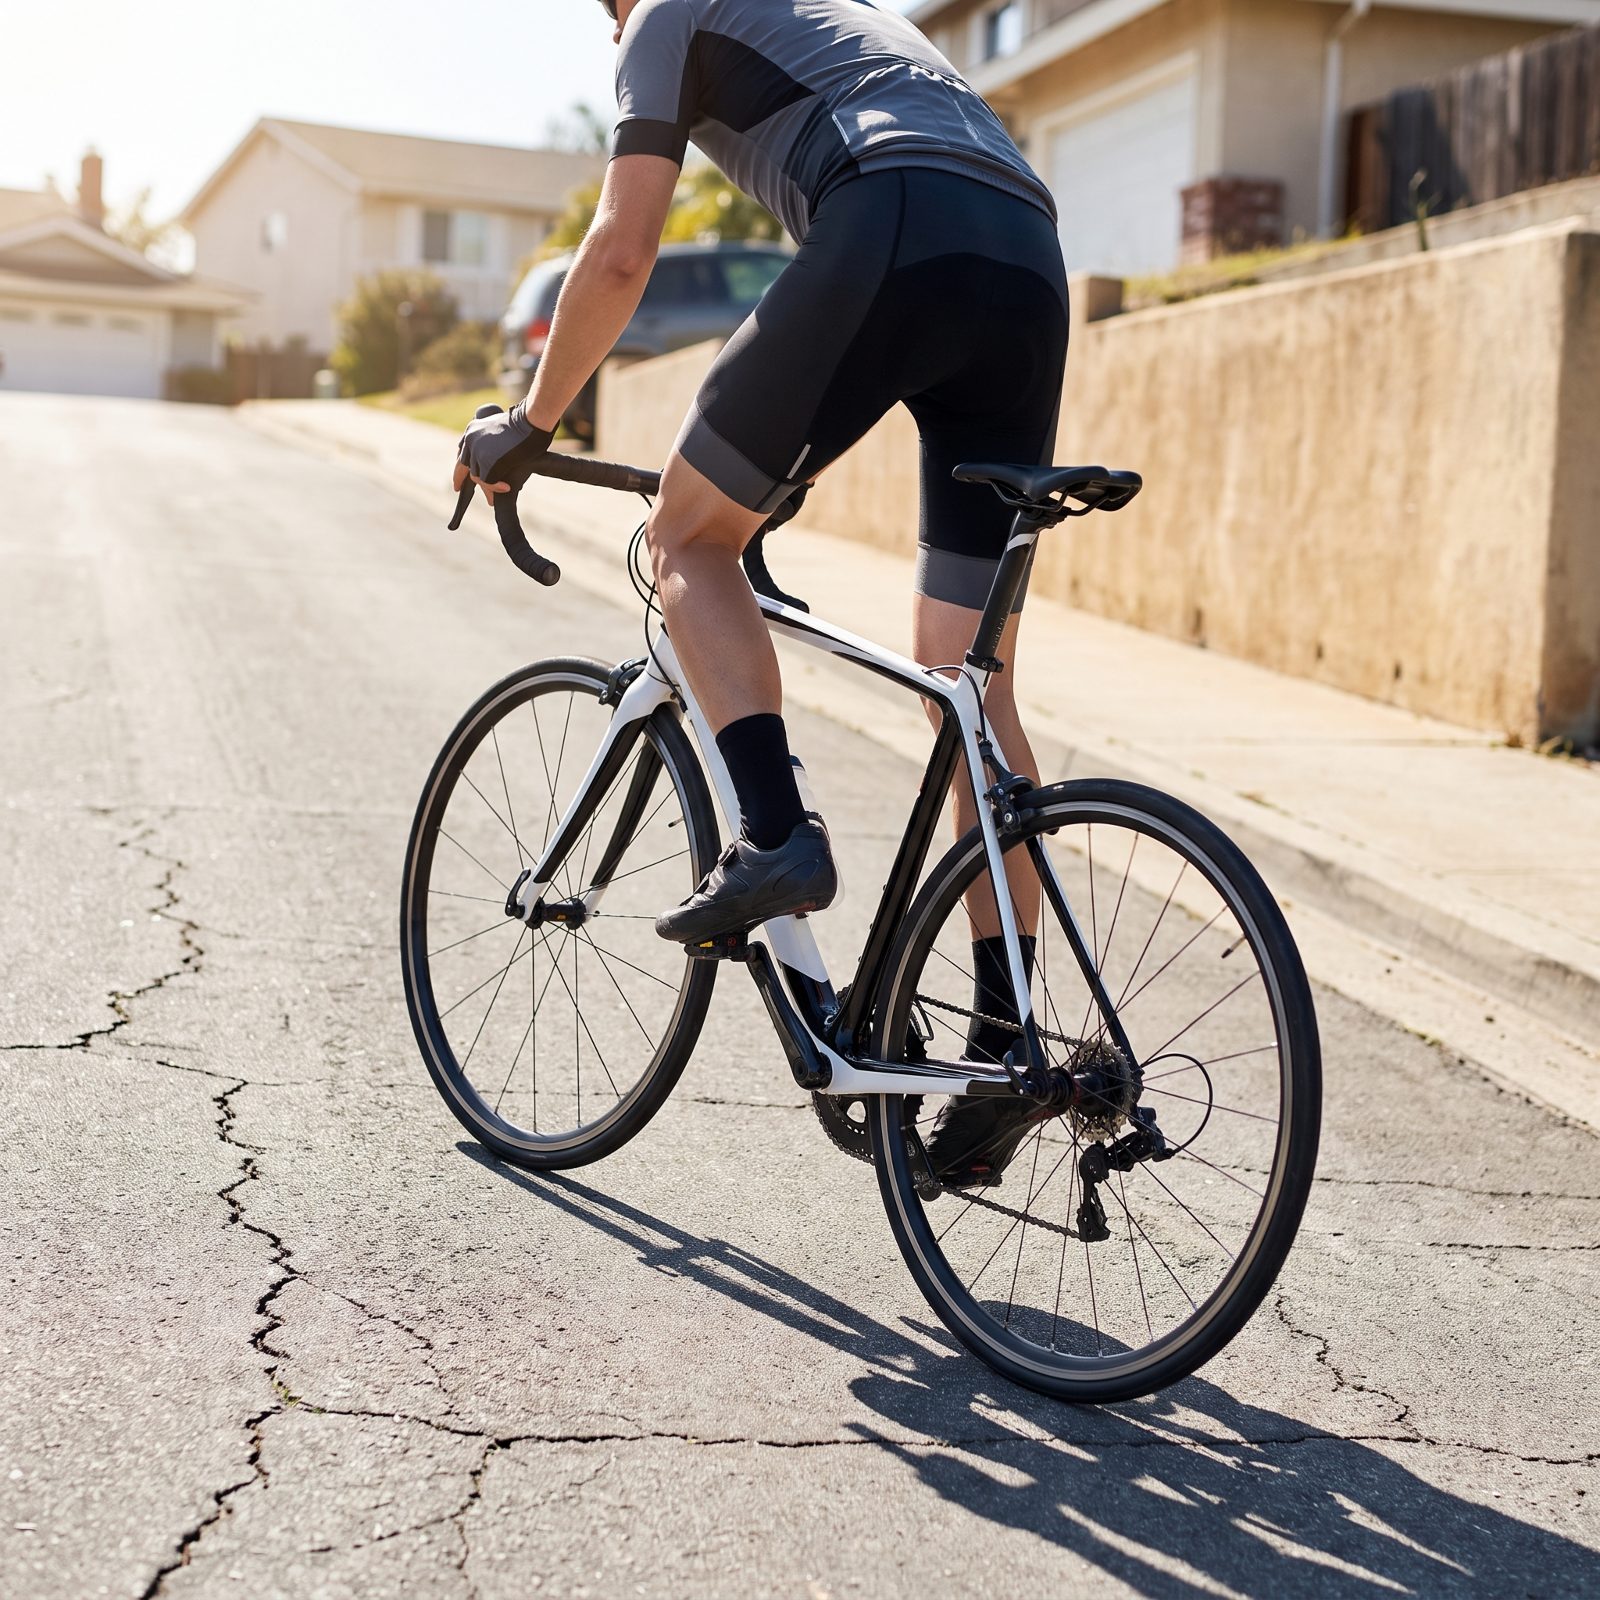
There’s a right place to stand, and it’s narrow. Not the whole hill. Just the ugliest few meters where the gradient kicks past what a seated gear can handle.
Stand there, drive the pedals with body weight instead of raw leg strength, then sit the instant the slope eases. Done right, you clear the hardest section without redlining and drop back into the saddle with speed still on the clock. Stand the entire ramp and you just burn through the energy you needed for the top.
Standing is a tool for the steepest meters, not a badge for the whole climb.
13. Tuck the Chin While Keeping the Eyes Up
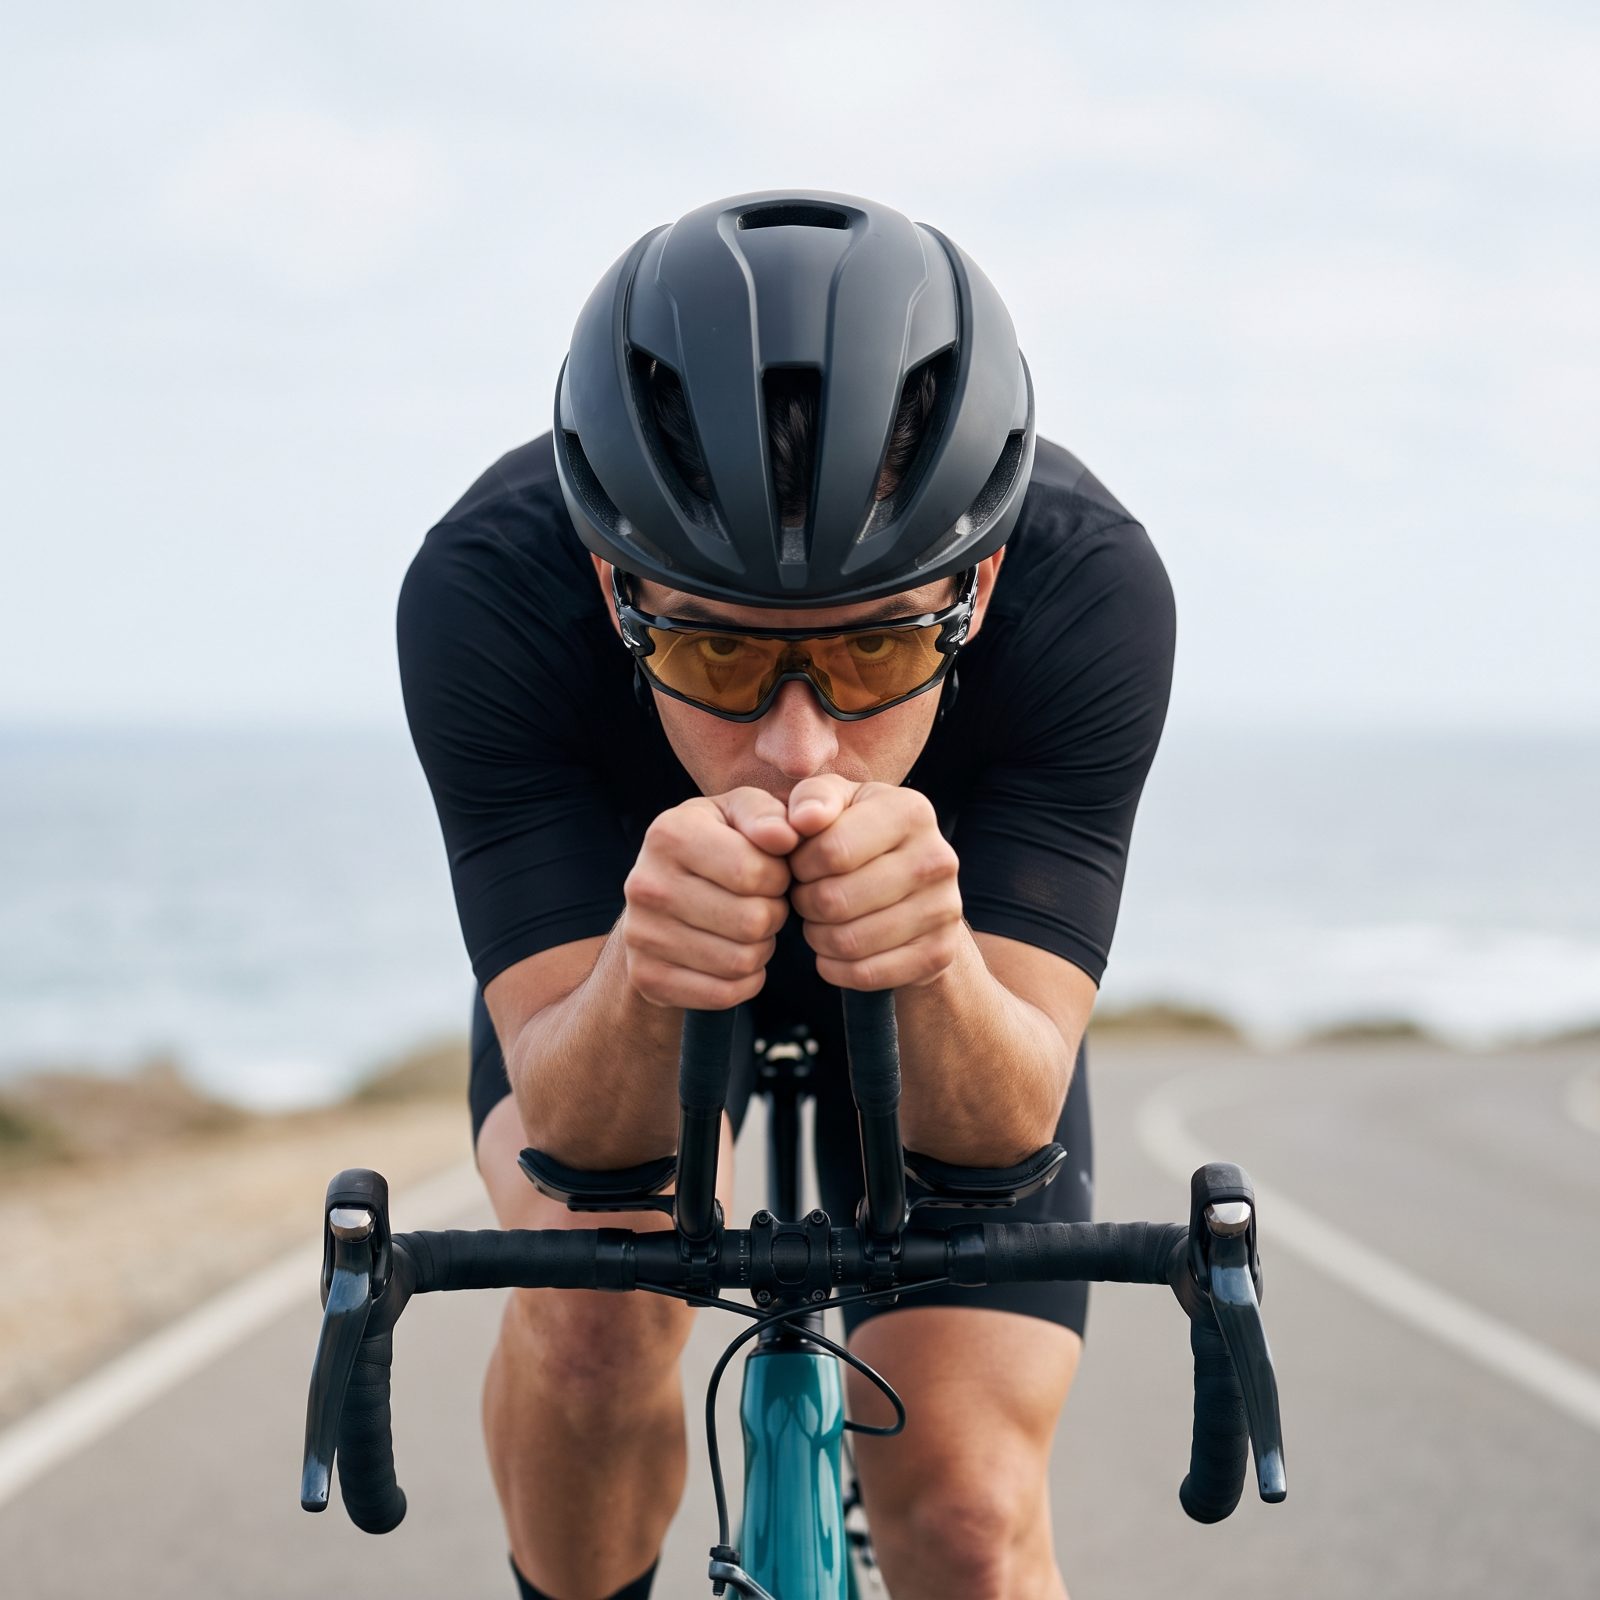
Riders chasing an aero position often drop the whole head, which saves a little drag and costs a lot of road awareness. Looking down at the front tire at speed is how people hit potholes they could have seen coming.
The fix is a split move. Tuck the chin to lower the head and shoulders, but roll the eyes up to keep the road in view. The body gets smaller to the wind while the sightline stays long — you lose nothing in safety and shave real drag off a flat run.
12. Soften the Grip on Open, Straight Roads
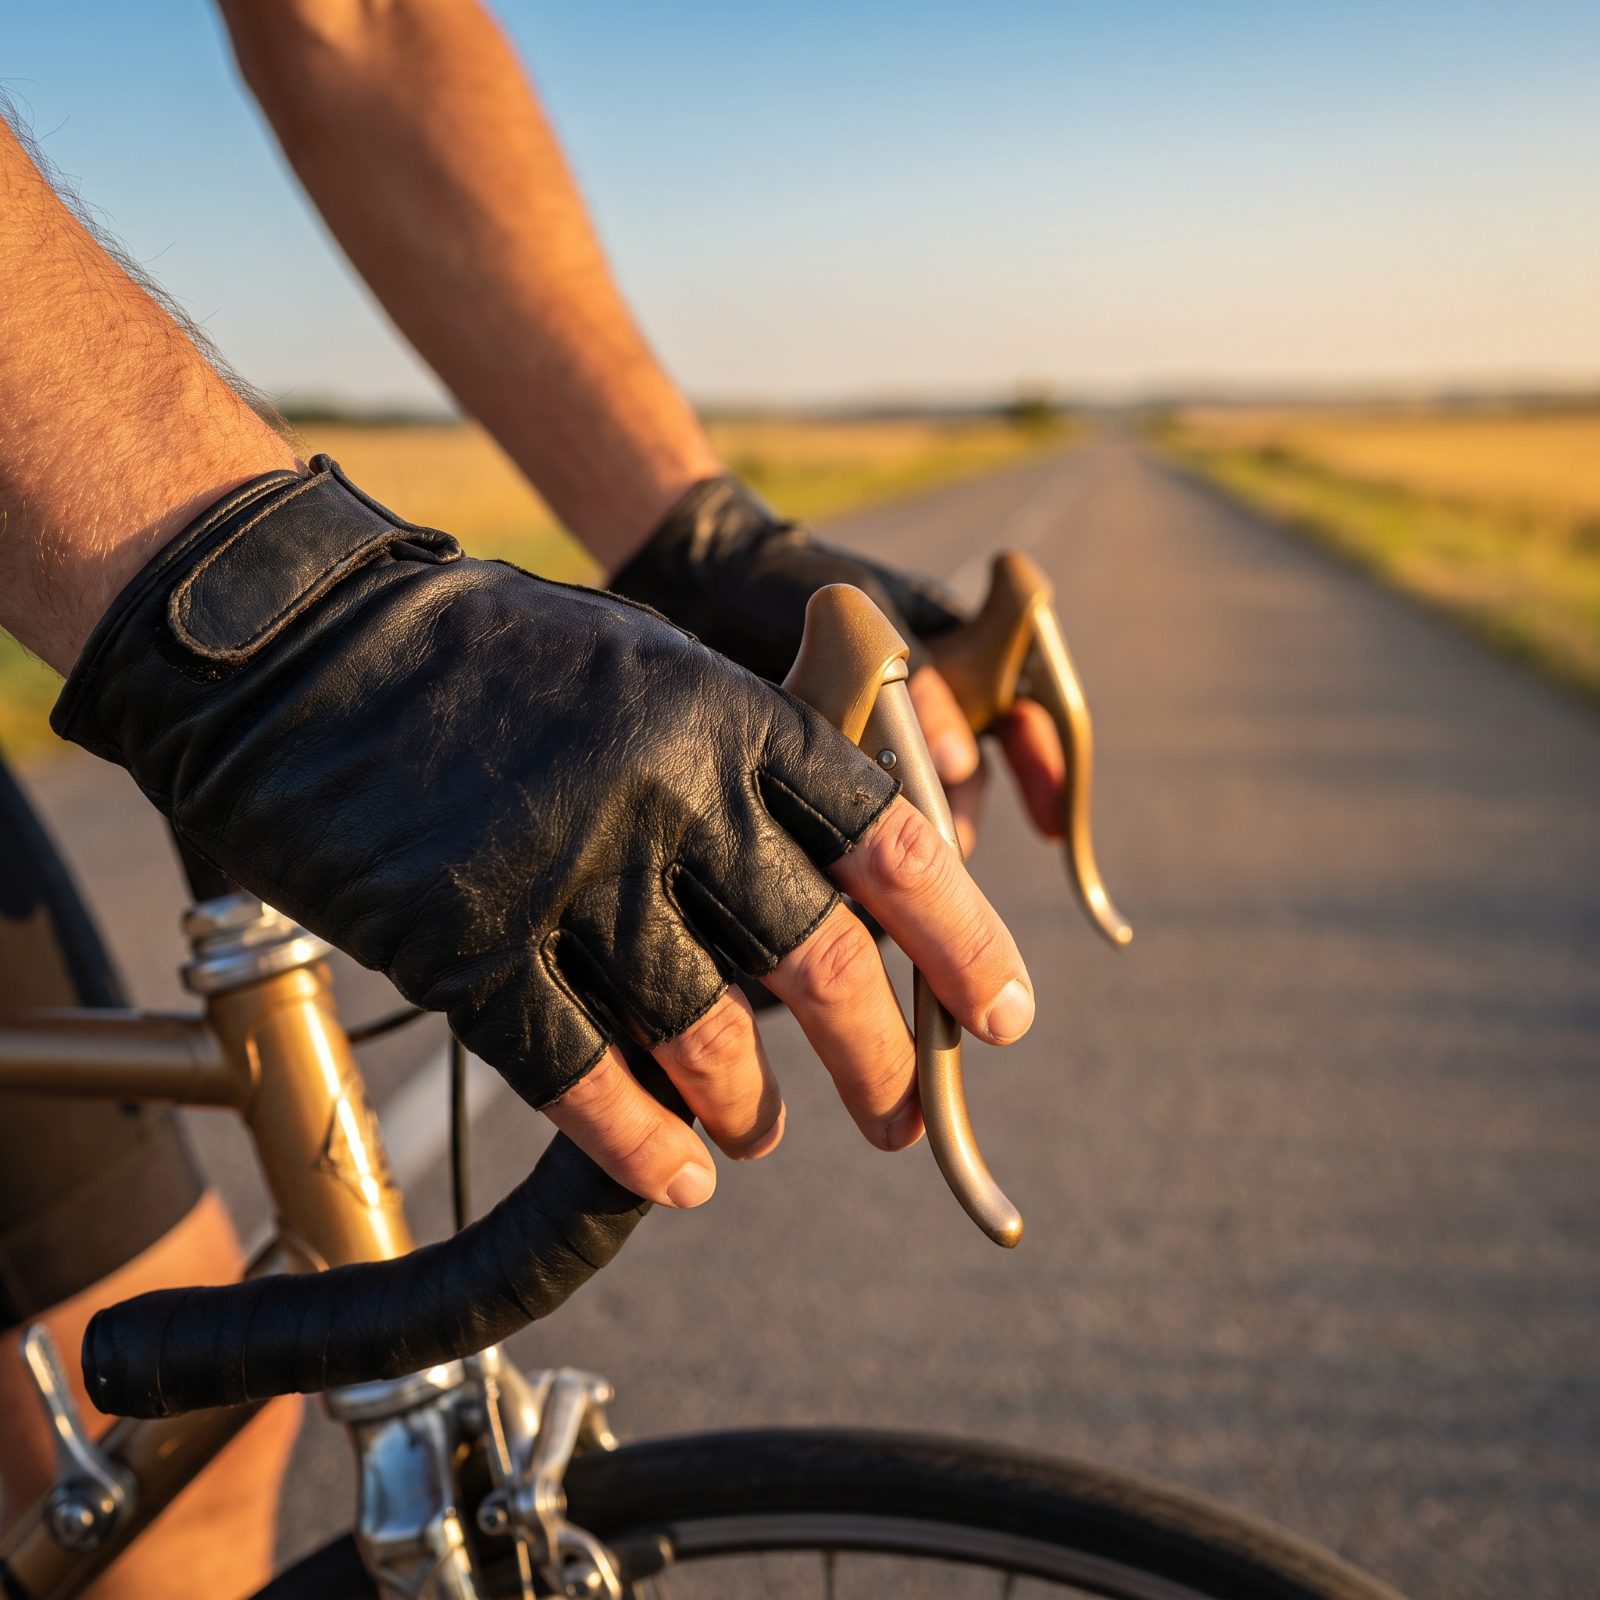
A white-knuckle grip does nothing for speed and plenty against it. Tense hands feed tension up the arms into the shoulders, tight shoulders burn energy that should be going to the legs, and the whole stiff upper body transmits every bump straight through.
So loosen up on open, predictable roads. Let the fingers rest, drop the shoulders, let the bike float a little underneath you. The arms act like soft suspension instead of rigid poles, you fatigue slower, and you’ll find yourself holding a higher pace for the same effort.
11. Keep the Knees Narrow When Speed Builds
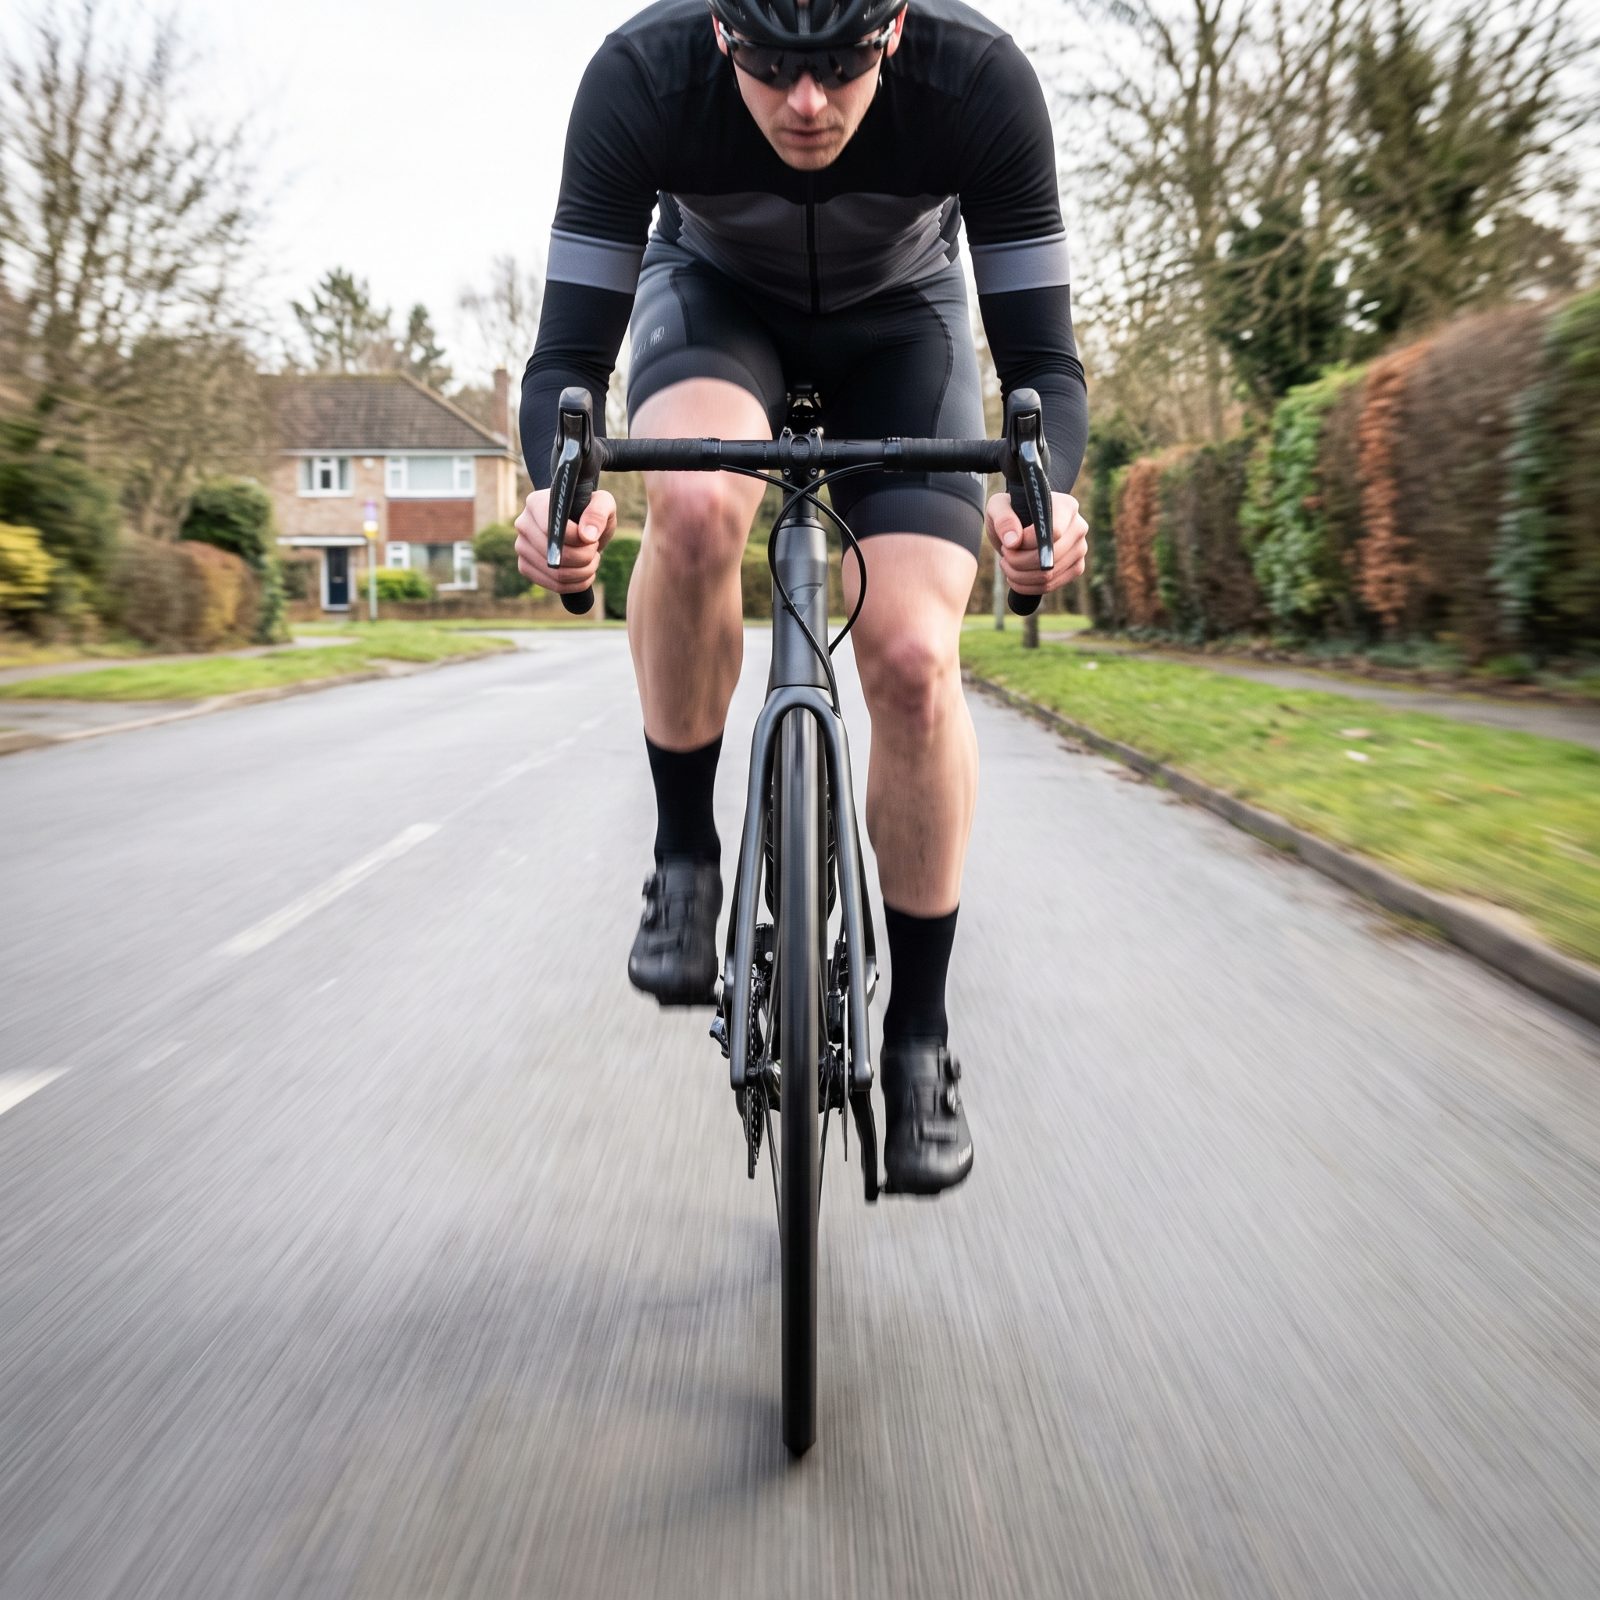
Watch a tired rider from the front and the knees start to splay out, flapping wide like a pair of saloon doors. Each one is a small air brake and a small leak of power sideways instead of down into the pedals.
Keep the knees narrow, tracking close to the top tube, and two things happen at once. The leg path stays efficient, pushing straight down where it counts, and the body presents a slimmer shape to the wind. Free speed, no extra fitness required — it just takes a little attention when the legs start to get lazy.
10. Level the Pedals and Drop the Heels During a Descent Tuck
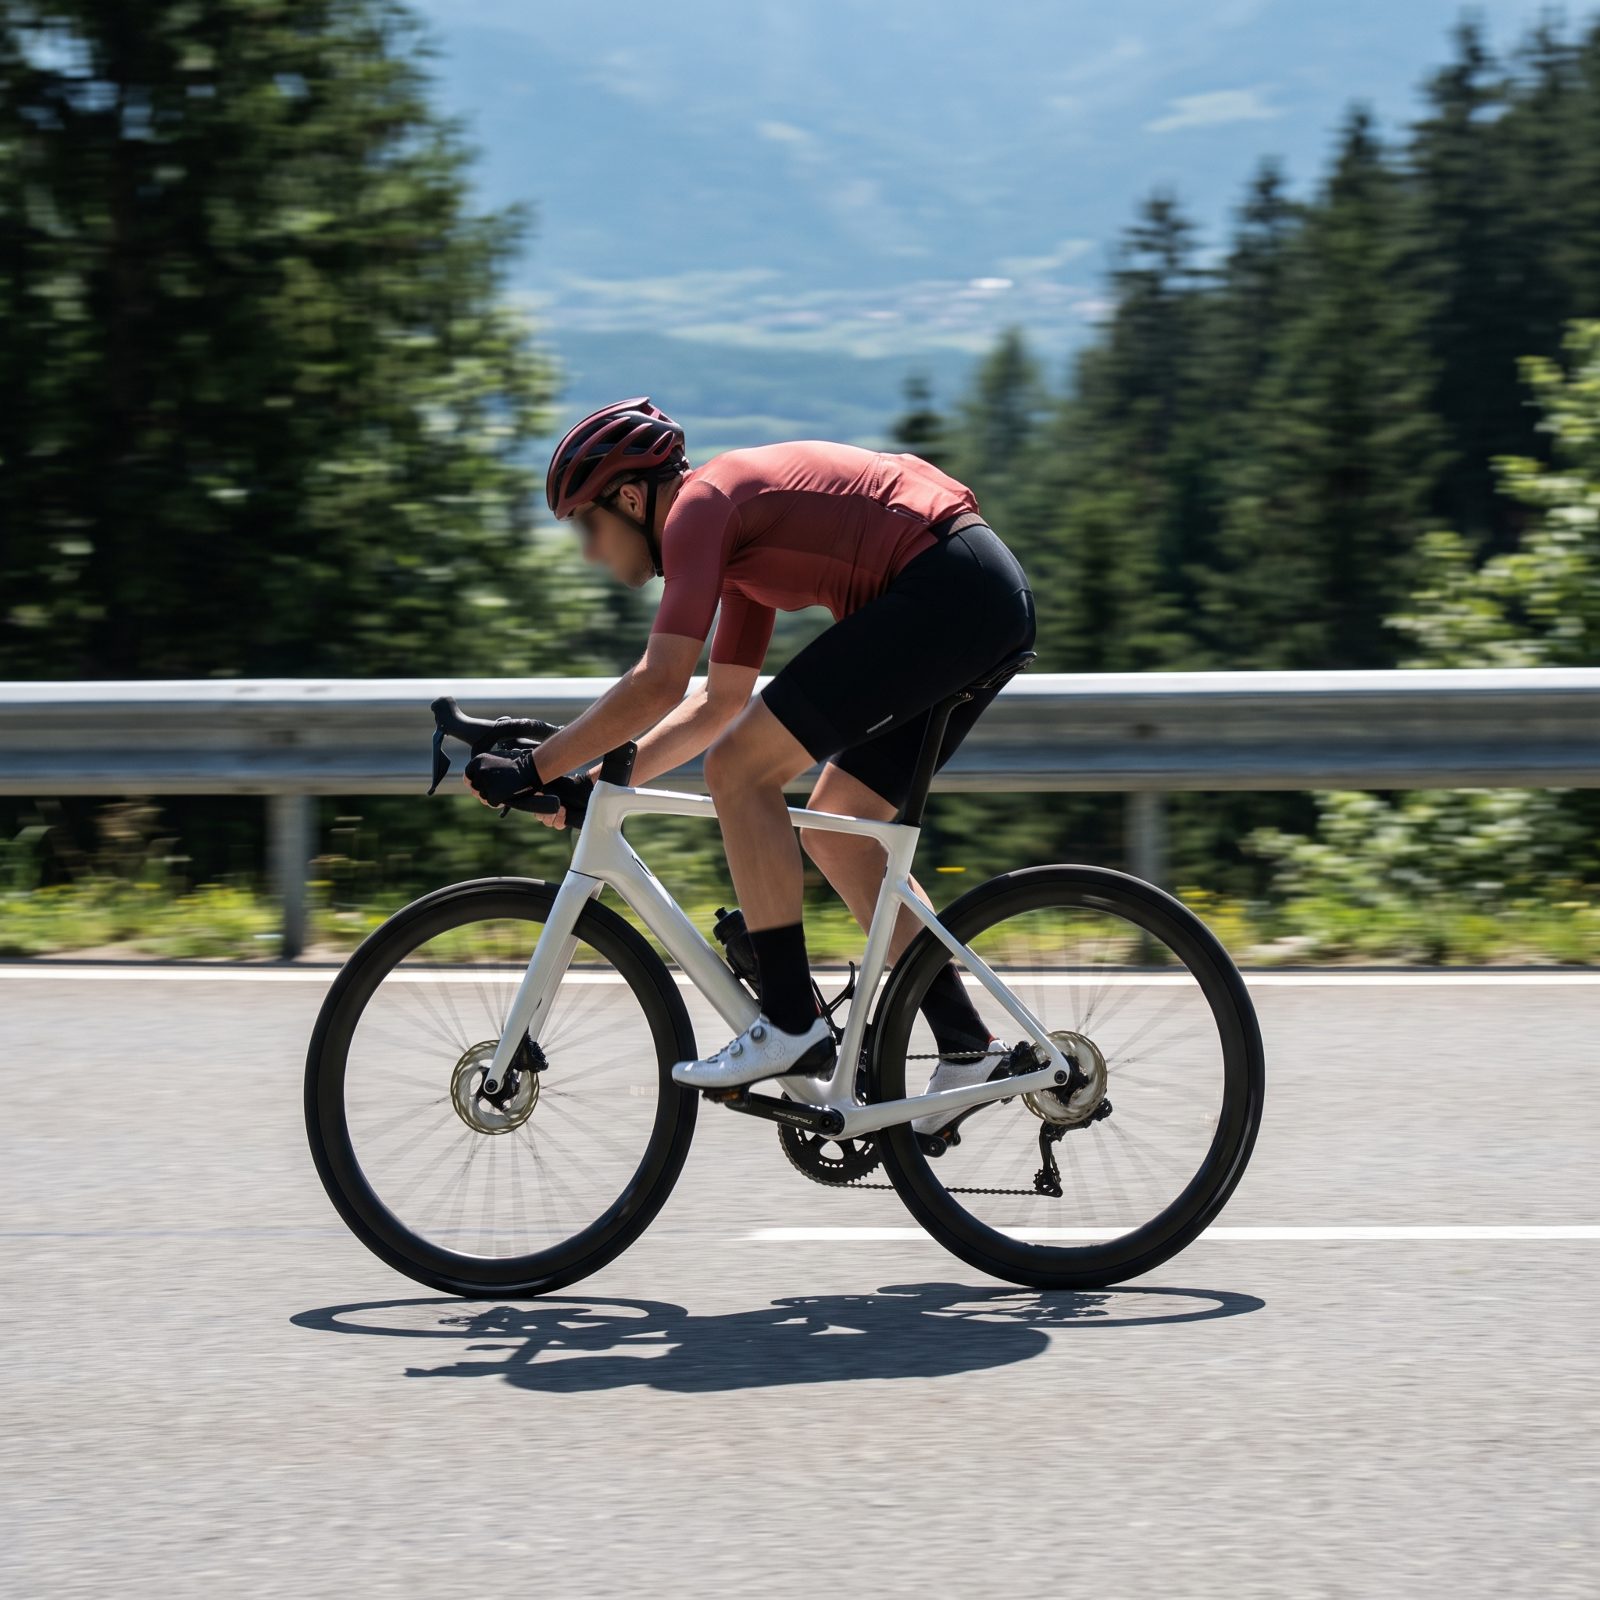
Pointing a downhill with one pedal at six o’clock is a quiet mistake. The low foot catches air, your weight is lopsided, and the bike feels twitchy at exactly the moment you want it planted.
Level the cranks instead, so both feet sit at roughly three and nine. Drop the heels slightly, let your weight settle through the bottom bracket, and the bike pulls into a stable platform — center of gravity sinks, and the whole machine feels glued to the road. One of the fastest free gains in descending, and almost nobody mentions it.
9. Use the Drops for Better Control on Rough Descents
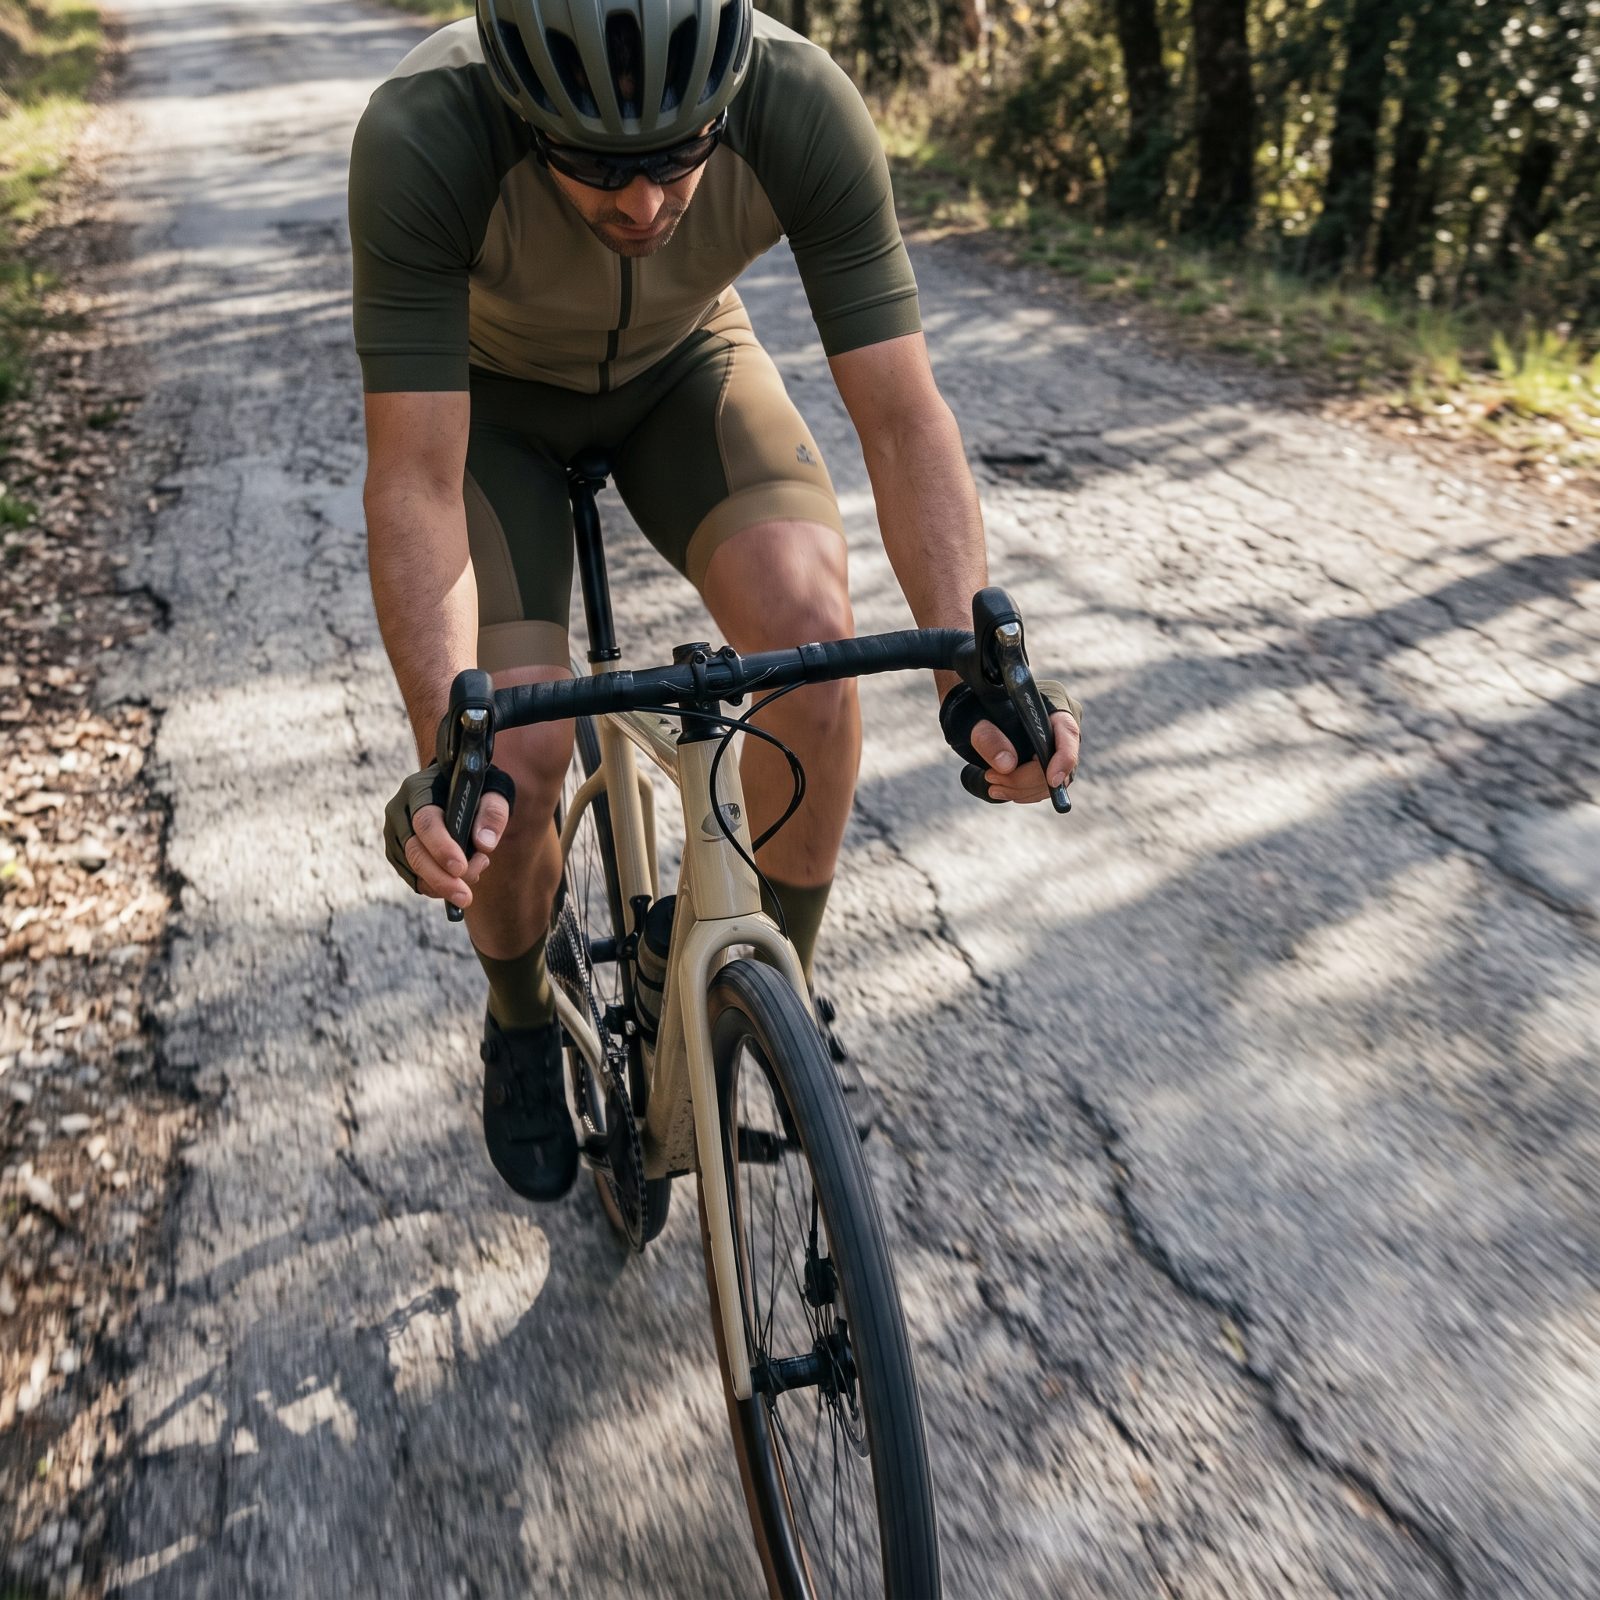
The hoods feel natural, so most riders stay there even when the road turns ugly. On a rough, fast descent that’s backwards — the hoods put your hands high, your weight tall, and the brakes a finger-stretch away.
Drop into the drops and everything improves. Your center of gravity falls, the bike feels calmer under braking, and your fingers wrap the levers with real leverage. More control means you can carry speed through the rough stuff instead of feathering the brakes in fear. Faster and safer at once, which doesn’t happen often.
8. Lower the Torso Behind the Hoods Into a Headwind
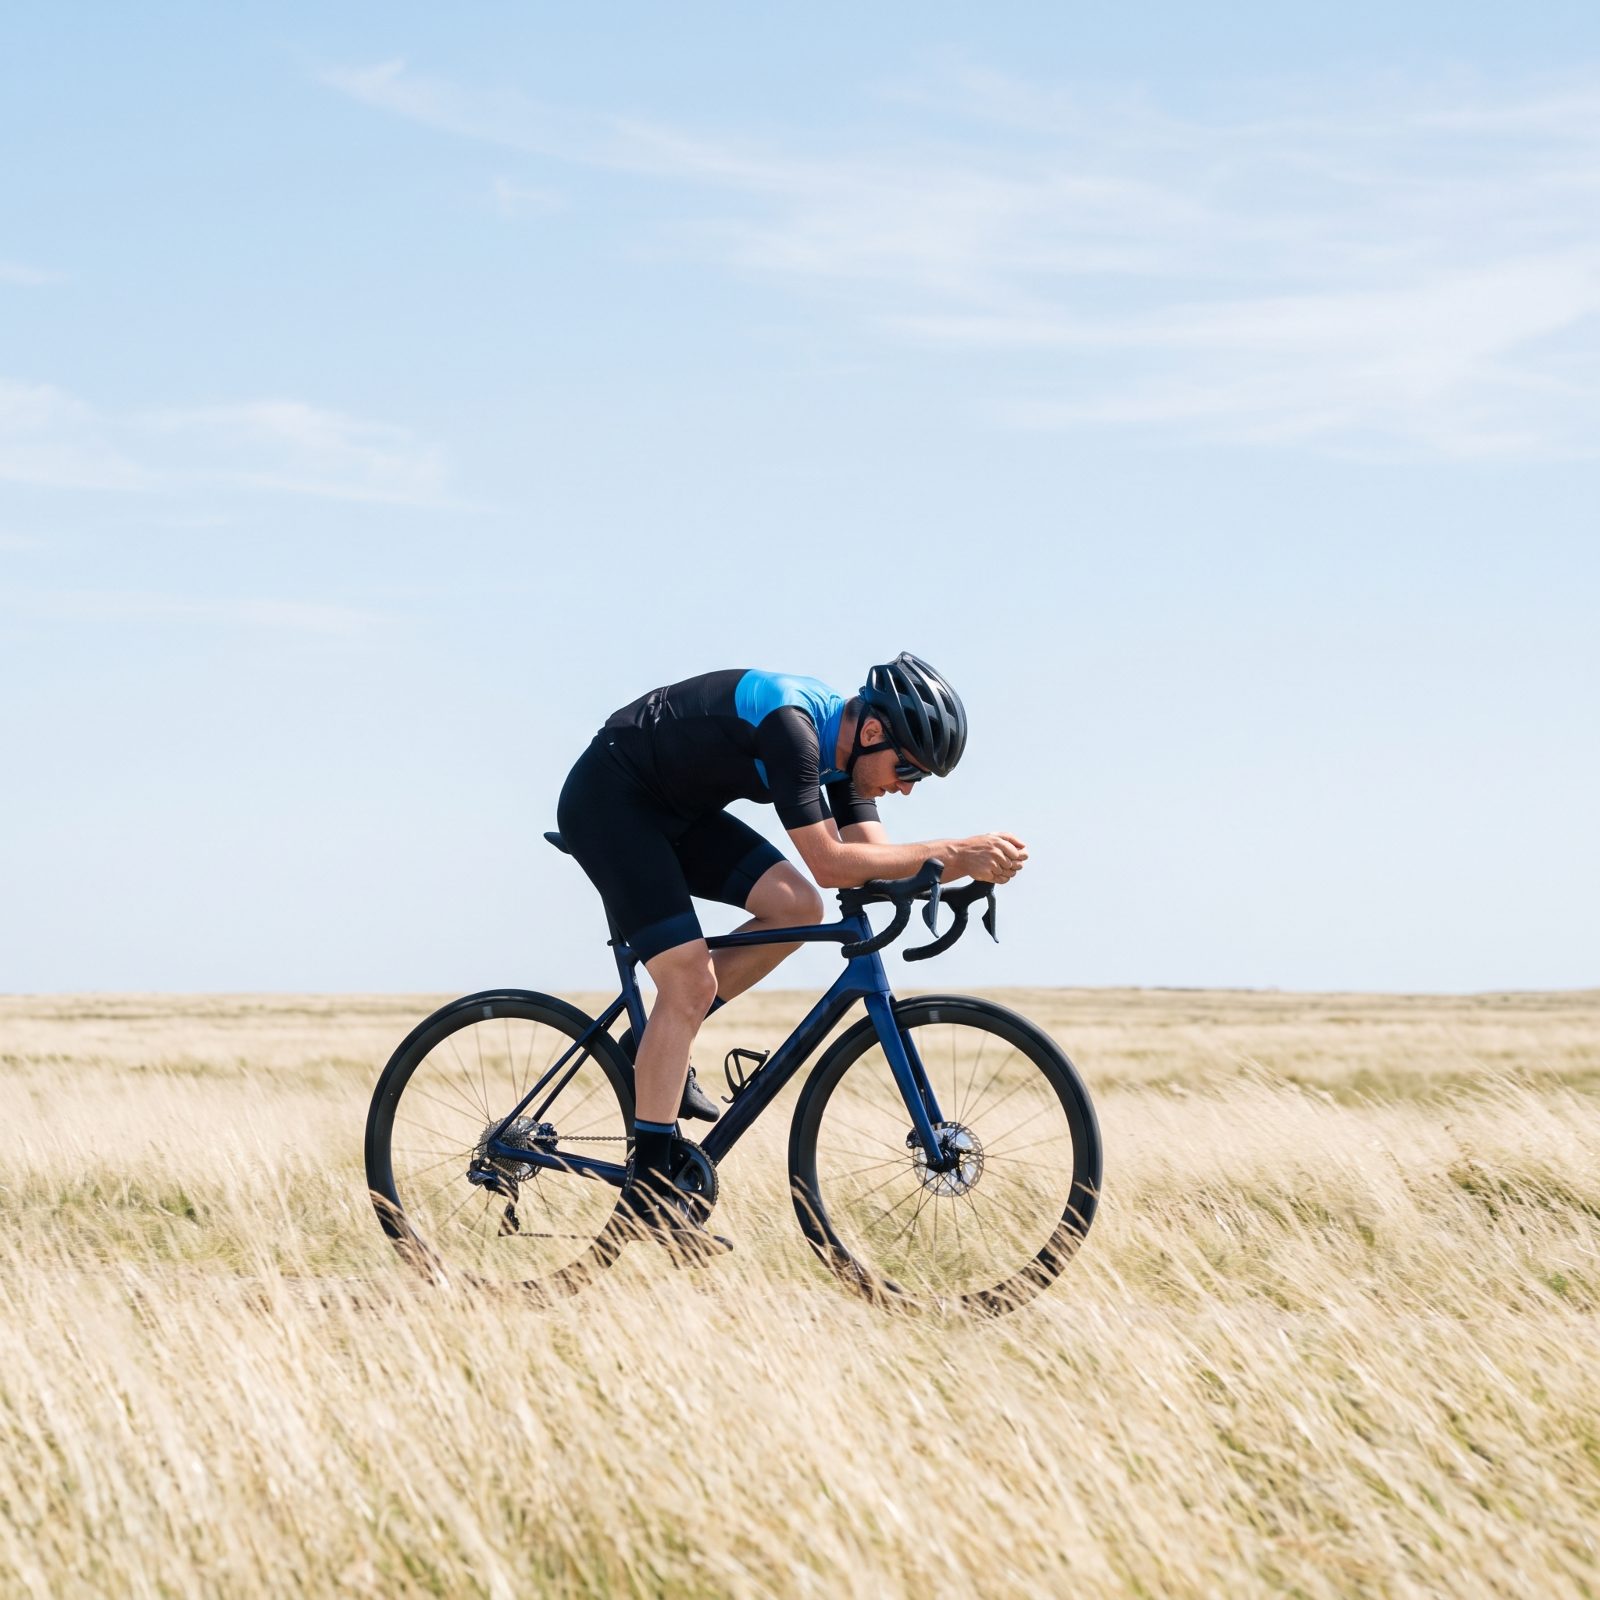
A headwind taxes everyone. It taxes a tall rider hardest of all, because sitting upright into a stiff breeze is like holding a sail you don’t want.
Bend the elbows and lower the chest closer to the bars, hands relaxed on the hoods. The body shrinks its frontal area in a compact shape you can actually hold. On an exposed road the difference is real — the same legs push the same bike noticeably faster through the same wind.
7. Set Tire Pressure With a Gauge, Not a Thumb Squeeze
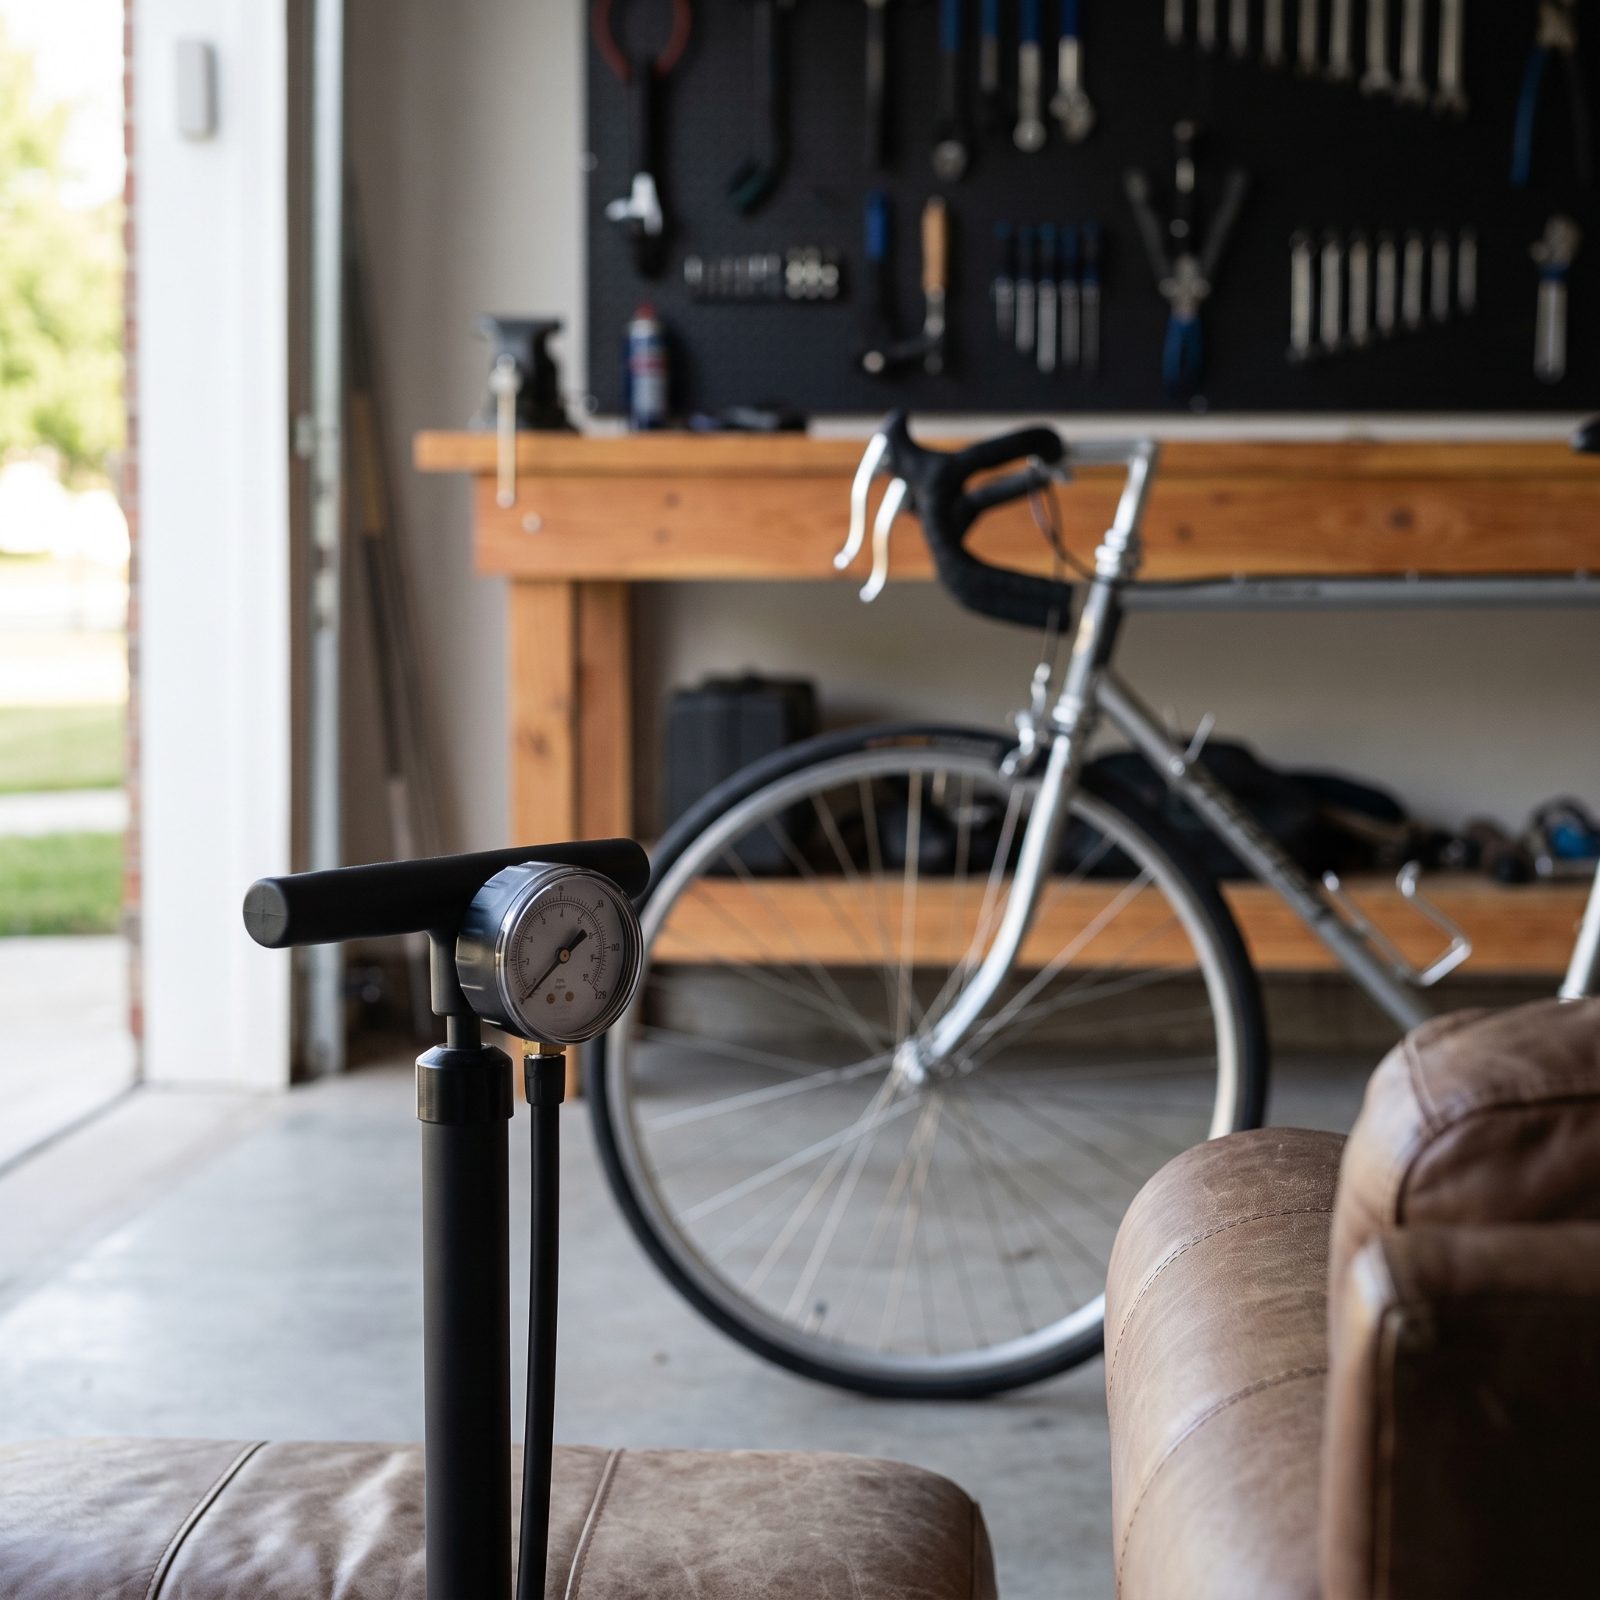
The thumb test is a comfortable lie. A tire can feel firm to a squeeze and still be running way too soft, or pumped past its best. Both cost speed.
Too low and the tire squirms, rolls slowly, and risks pinch flats. Too high and it skitters over rough tarmac, bouncing instead of gripping, which is slower than it feels. A gauge takes the guessing out. Dial in a sensible pressure for your tire width and body weight, and the bike rolls faster and corners with more confidence on the same legs.
6. Run Supple Tires Instead of Thick, Stiff Training Rubber
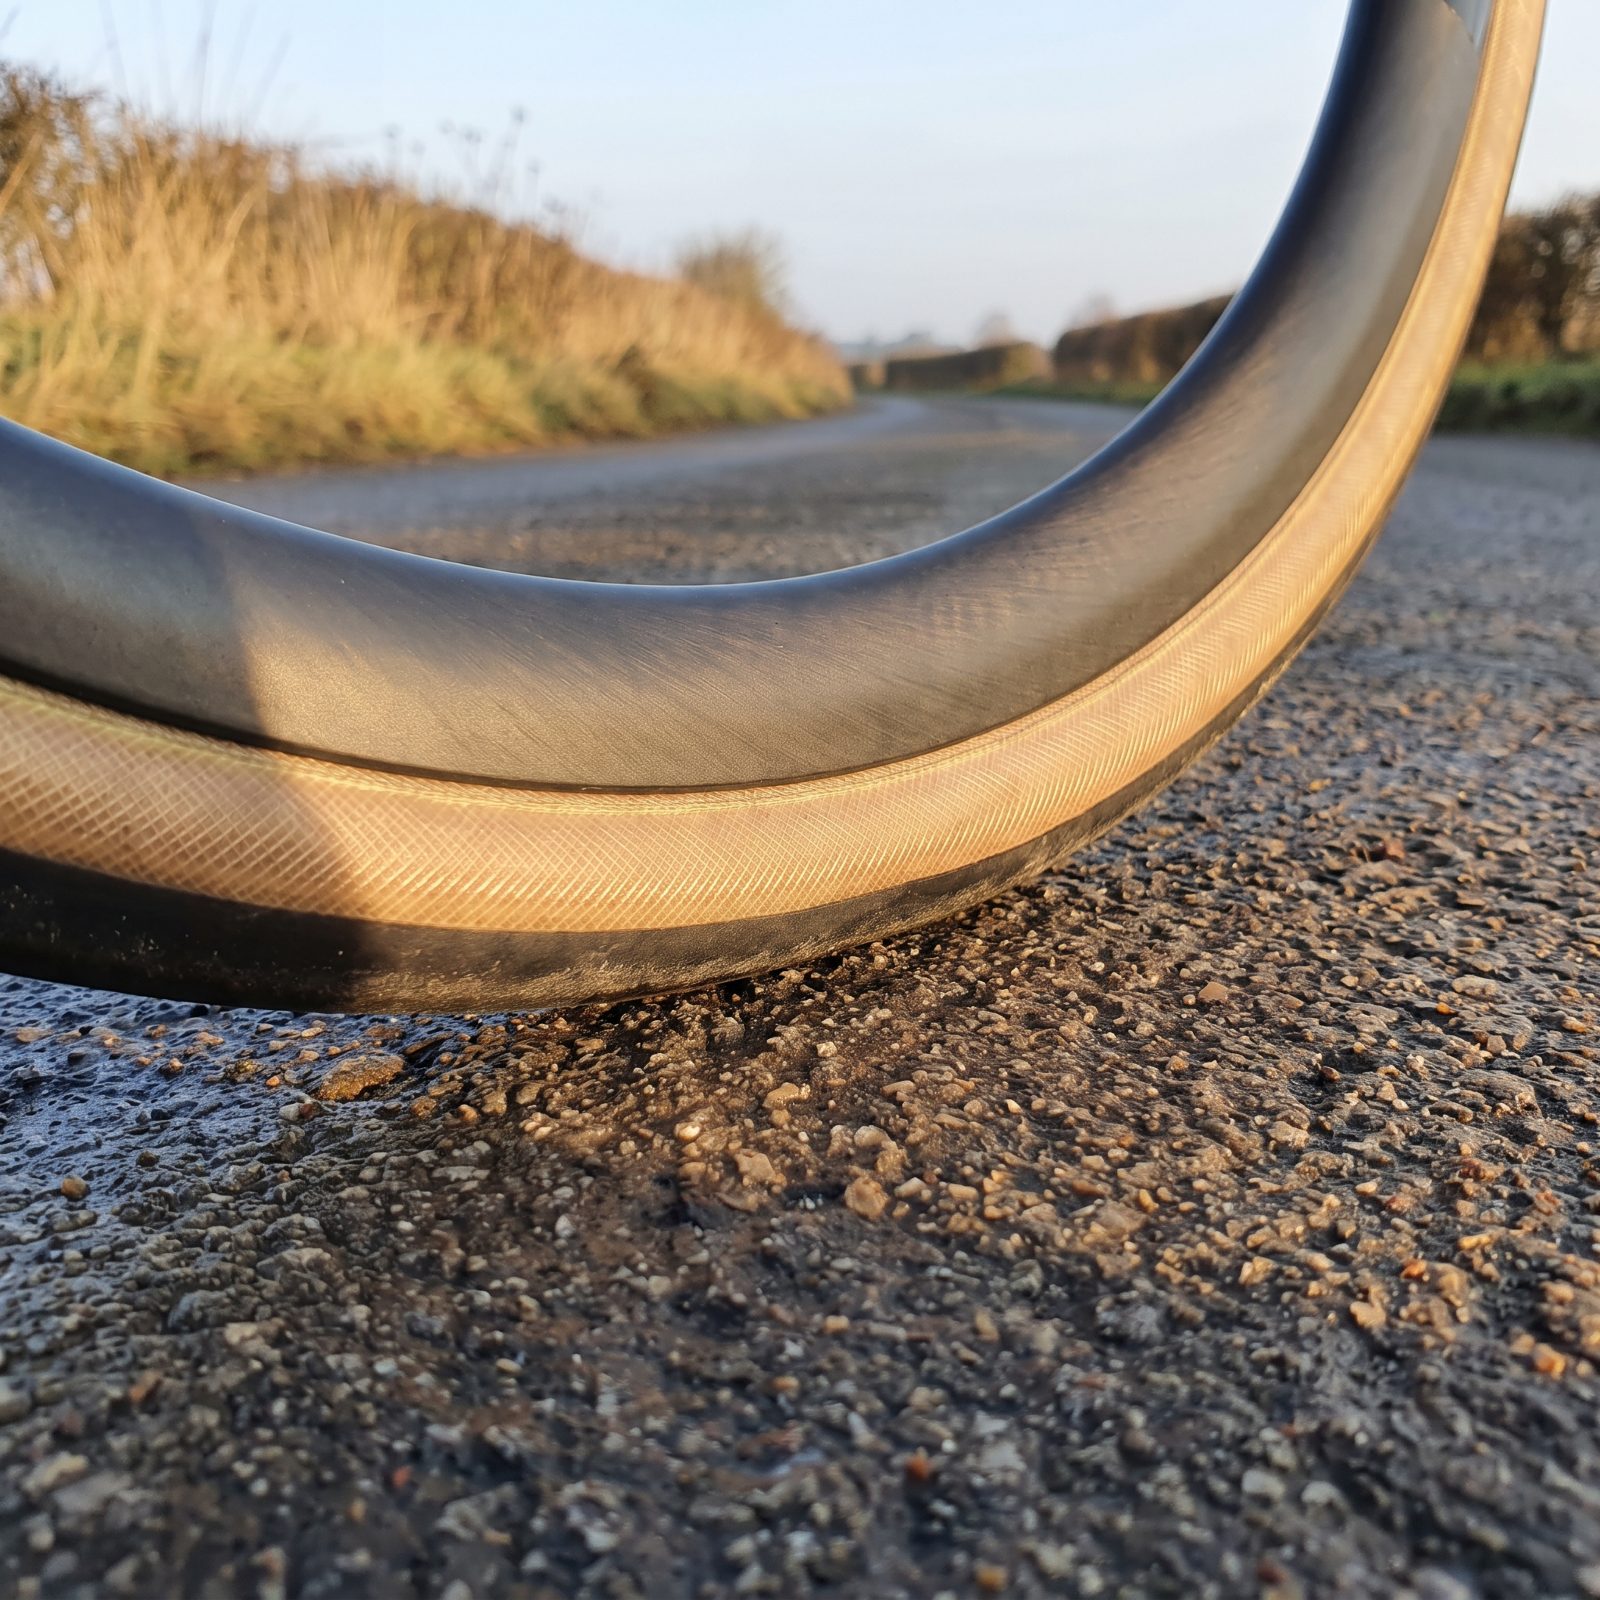
Most riders buy tires that feel bombproof because flat anxiety runs deep, and we get it — nobody wants to walk home. But thick, armored training rubber fights the road the whole way. A stiff casing wastes your energy flexing instead of rolling, and you pay for it on every mile without ever seeing it show up on a computer screen.
A supple, high-thread-count tire deforms over bumps instead of bouncing off them, so less energy disappears into vibration and more of it pushes you forward. The speed is real. It costs nothing in fitness.
5. Match Tire Width to Your Rim’s External Width
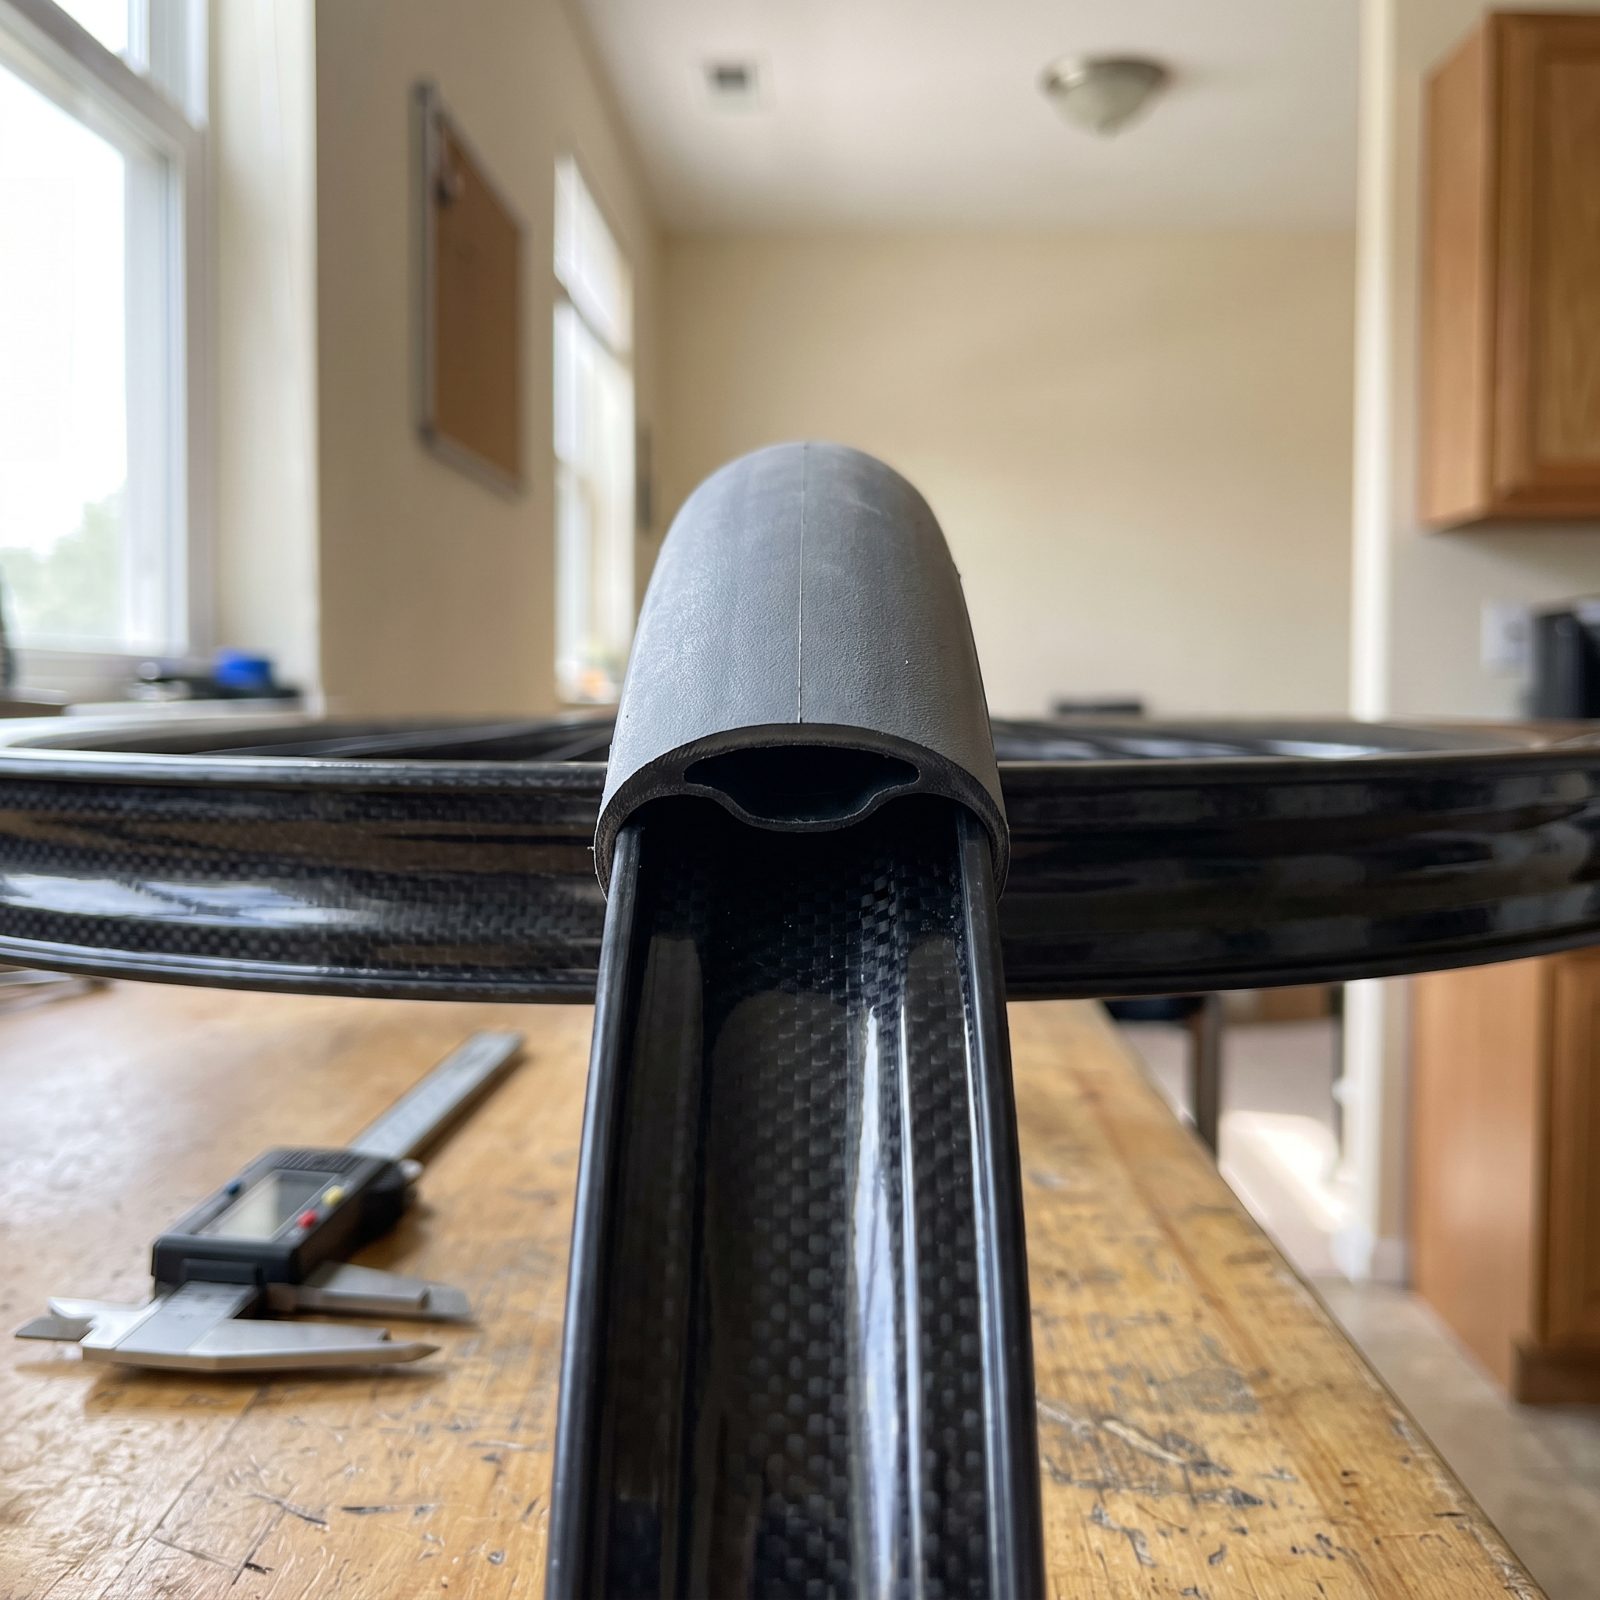
Pump a wide tire onto a narrow rim and you get the lightbulb shape — the tire bulges out past the rim edge like a balloon on a stick. Air hits that bulge and stalls. Free drag, every pedal stroke, and you’ll never see it coming.
Size the tire so it sits flush or a touch narrower than the rim’s outer edge, and the air flows off the rim and across the tire in one clean line. On today’s wide rims that often means a 28mm tire measures closer to 30mm once inflated, which is exactly what you want. Grab a caliper, measure the rim’s external width, and pick accordingly.
4. Swap Heavy Butyl Tubes for TPU or Latex
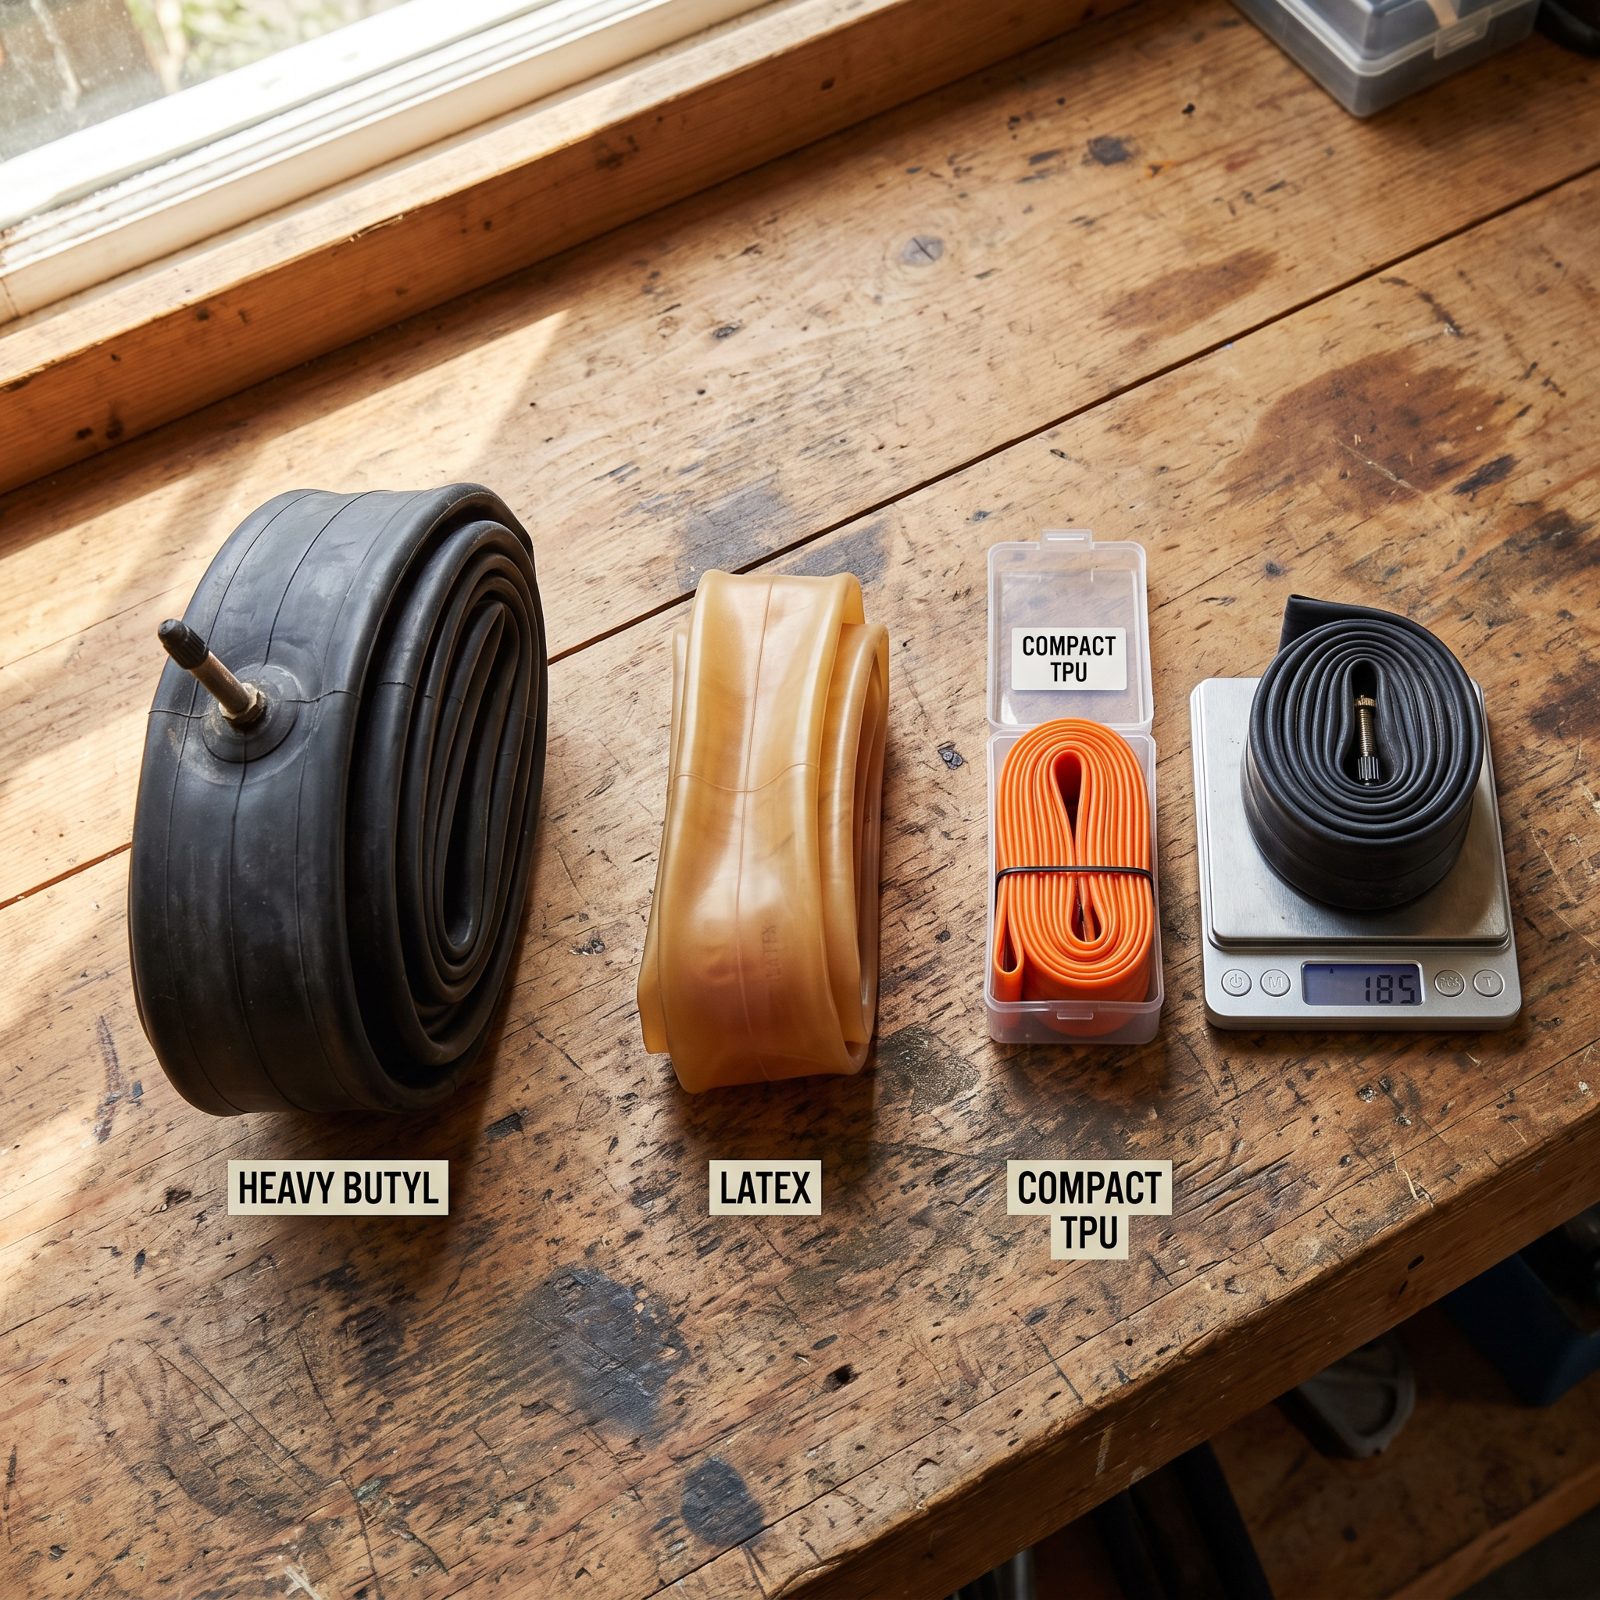
The inner tube is the cheapest upgrade nobody thinks about. A standard butyl tube is thick and stiff, and that stiffness fights the supple tire wrapped around it. Latex and TPU are thinner and springier, so they flex with the casing instead of against it.
Latex rolls beautifully and feels alive on rough roads, though it bleeds air and needs topping up before every ride. TPU is lighter, packs down to the size of a candy bar, and holds pressure for ages. Pick based on one question: would you rather pump daily or carry a tiny spare?
3. Refresh Tubeless Sealant Before It Dries Into Lumps
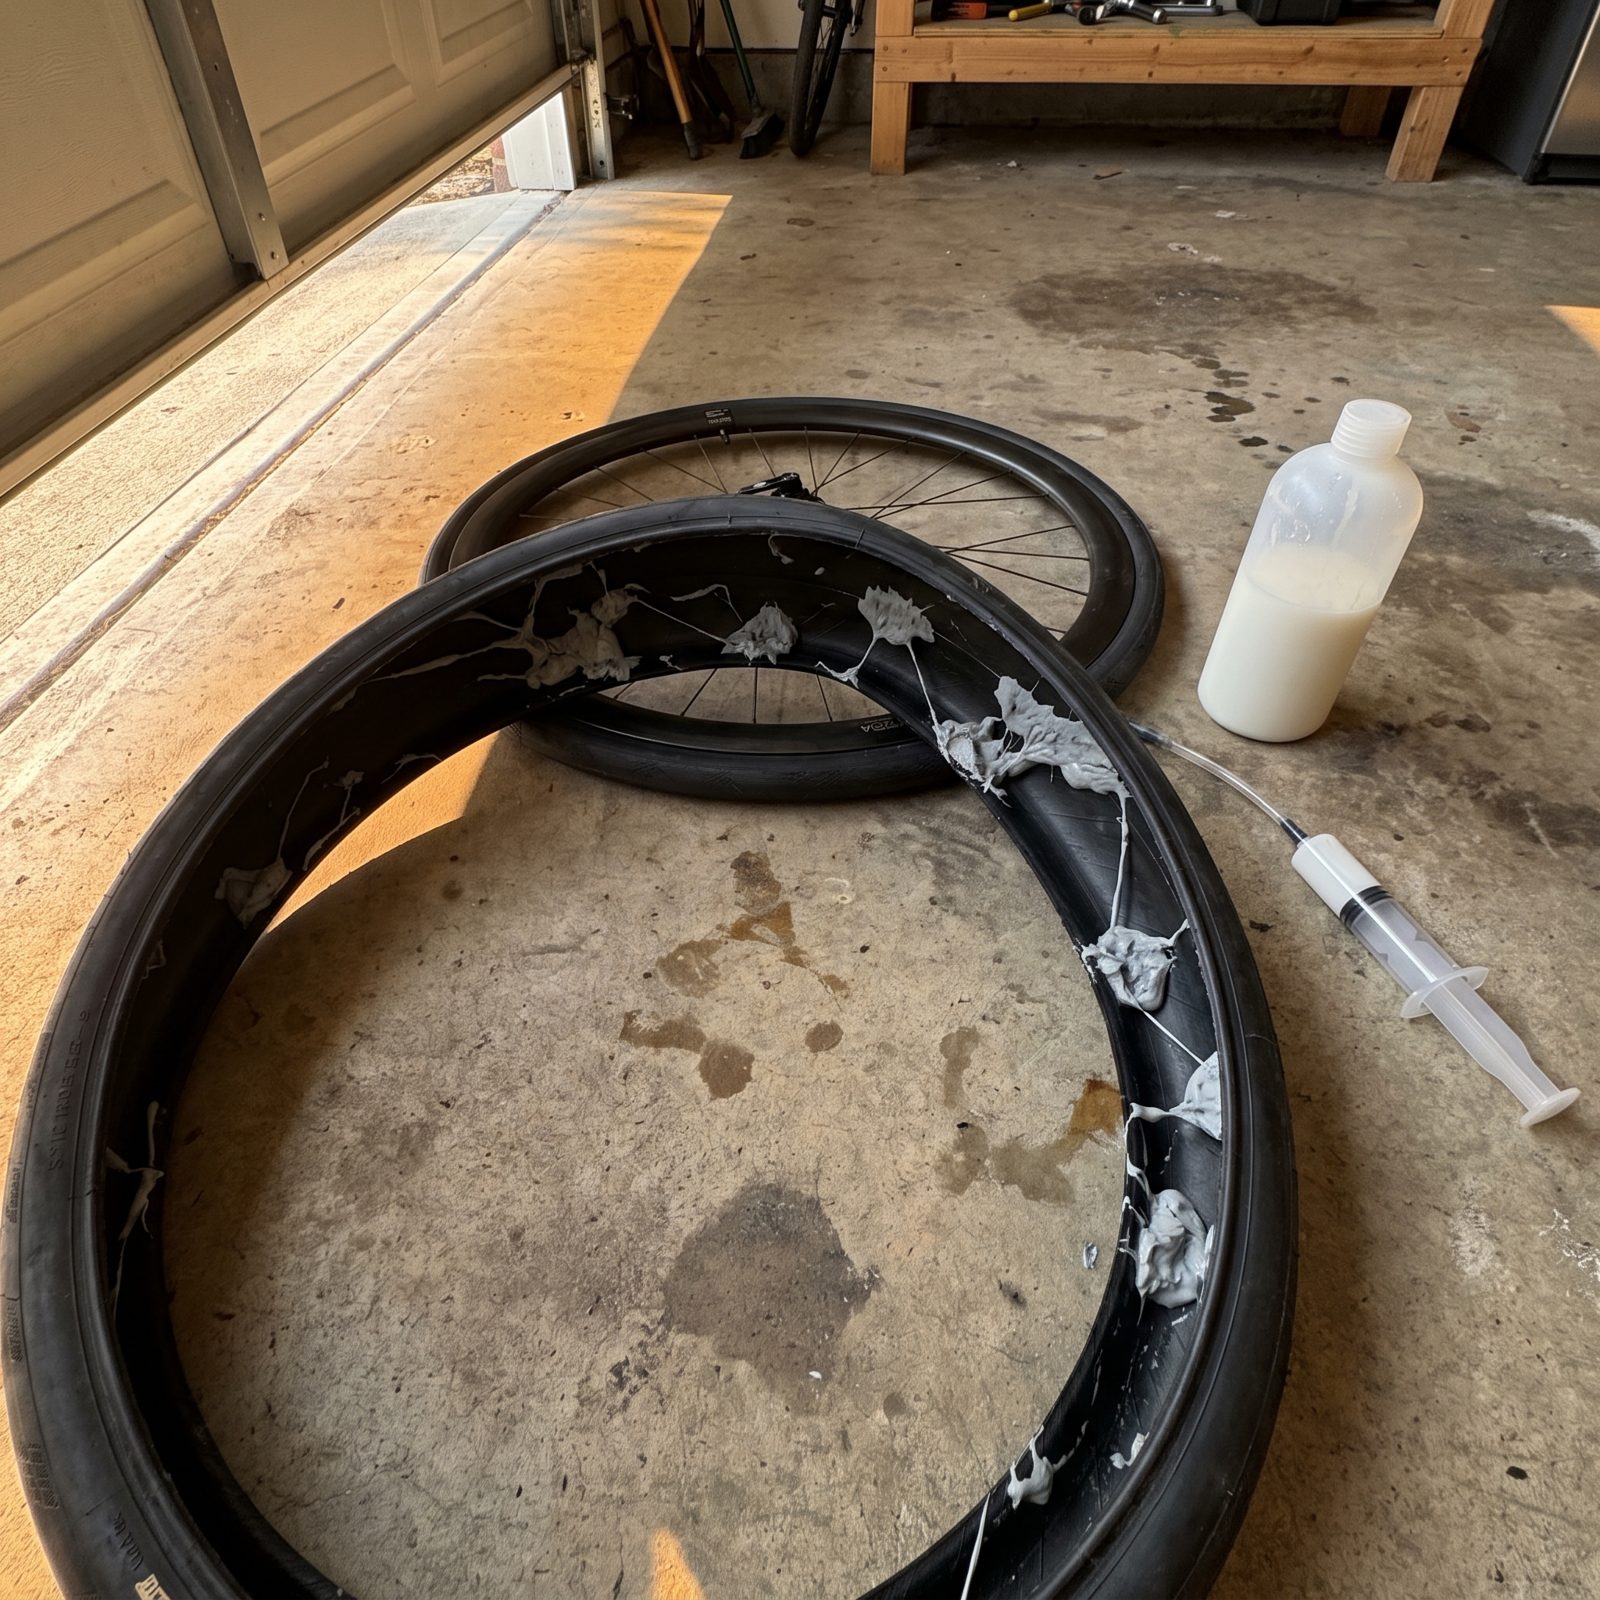
Sealant doesn’t last forever, and the dried stuff does worse than nothing. It balls up into rubbery lumps that rattle around inside the tire, throw the wheel off balance, and pile on dead weight exactly where you don’t want it — spinning out at the rim.
A balanced wheel spins truer and holds speed better. Peel a tire off, scrape out the clumps, and add fresh liquid a few times a season. Climate matters here. Dry air kills sealant faster, so desert riders check far more often than the folks slogging through the Pacific Northwest.
2. Spin Both Wheels Before Every Ride to Catch Brake Rub
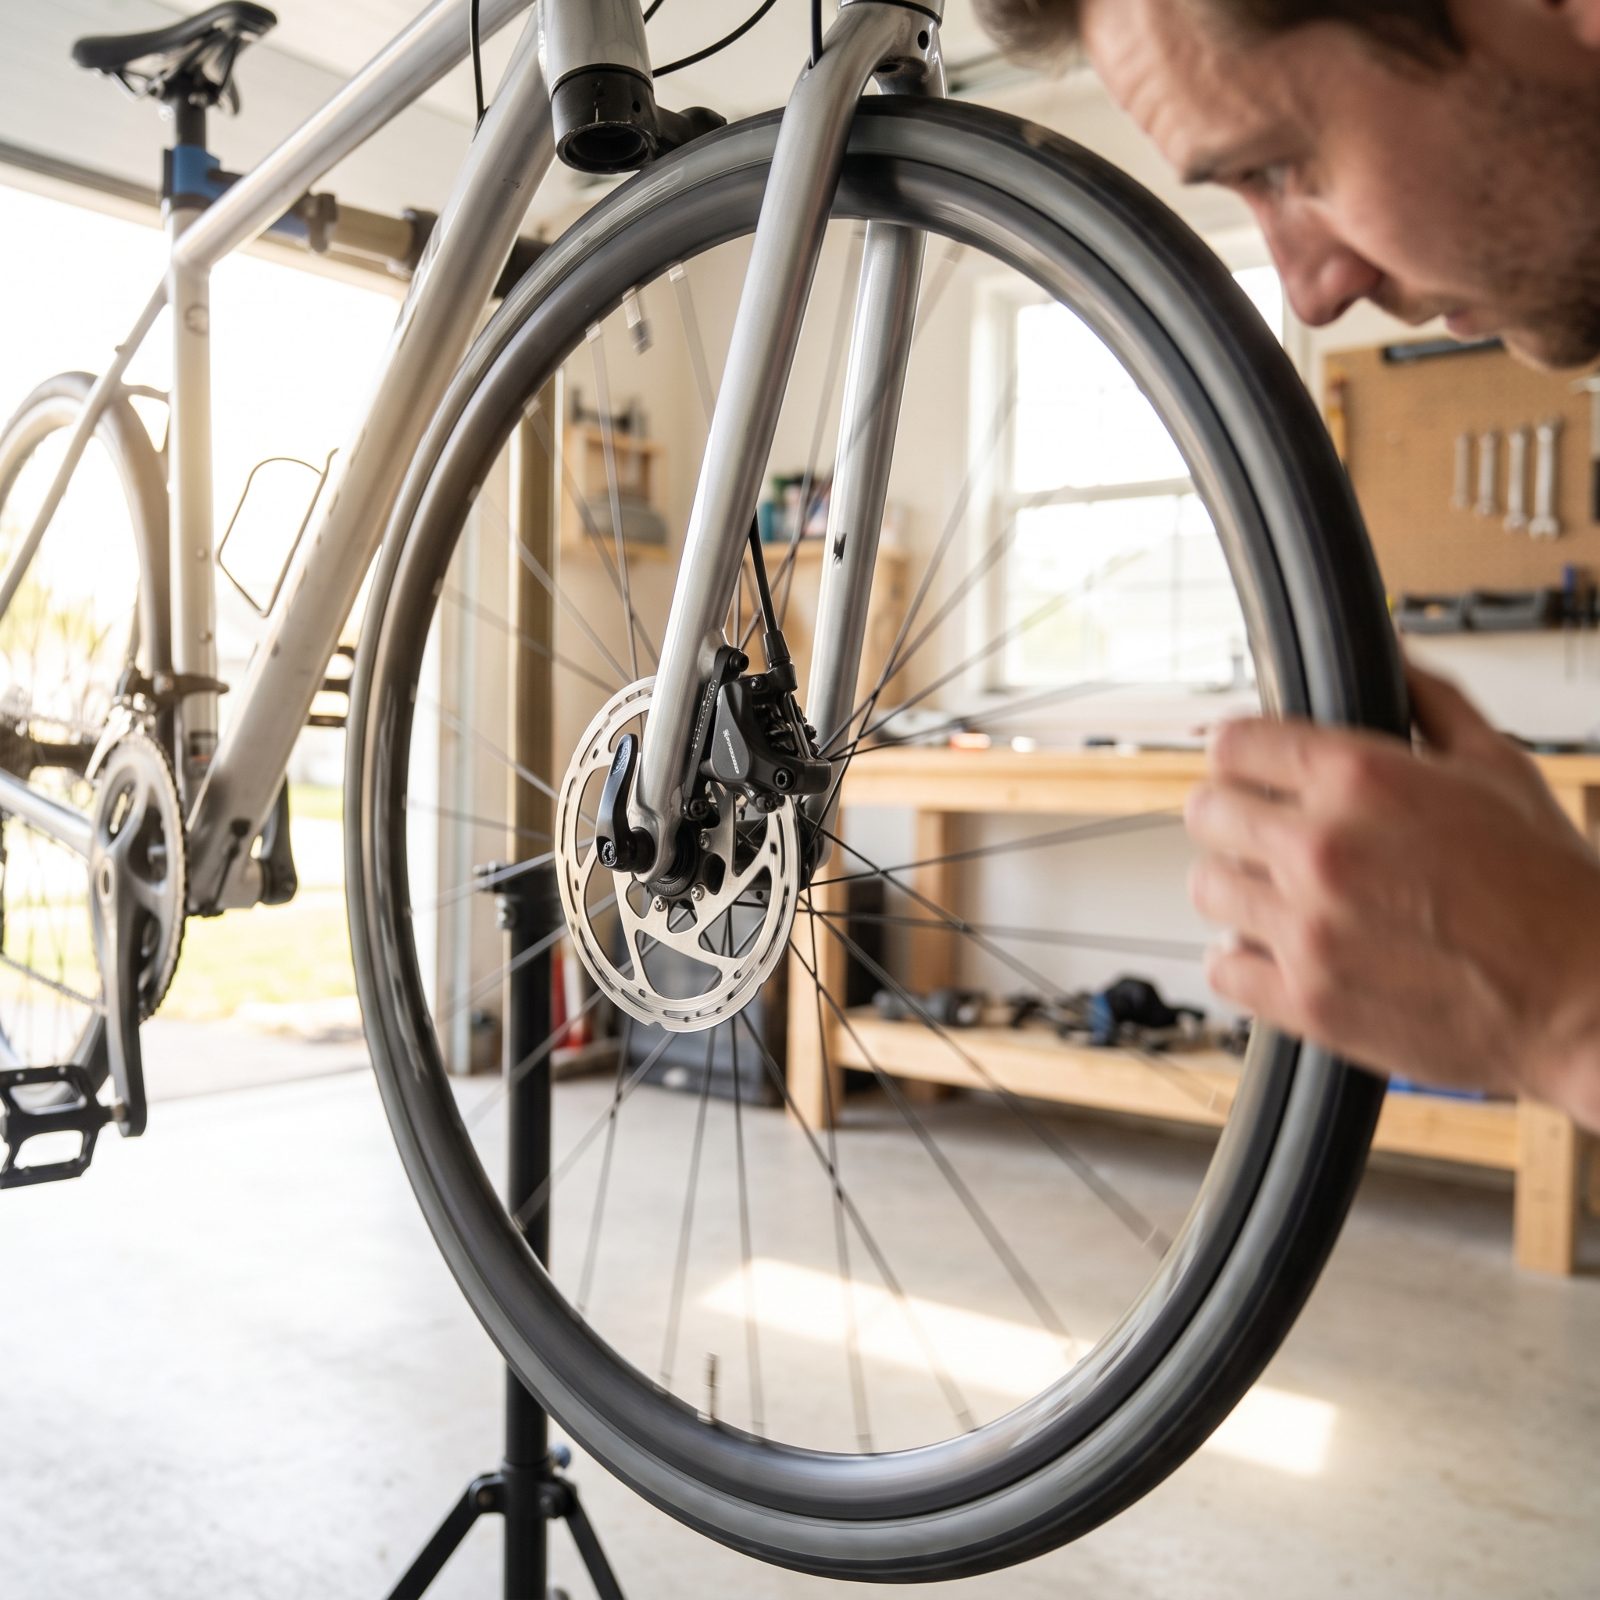
A rubbing brake is the thief you can’t feel until you go looking. A pad dragging on a disc rotor or rim steals watts constantly, and most riders never catch it because the drag is steady instead of sudden. You just figure you’re having an off day.
Lift each wheel, give it a spin, and watch it coast. A free wheel rotates for a long, smooth stretch and glides to a stop. A rubbing one slows quickly, or you’ll pick up a faint tick-tick-tick. Half a minute of checking before you roll out can save you a whole ride spent fighting resistance that isn’t in your legs.
1. Run a Properly Waxed Chain Instead of Dripping Lube
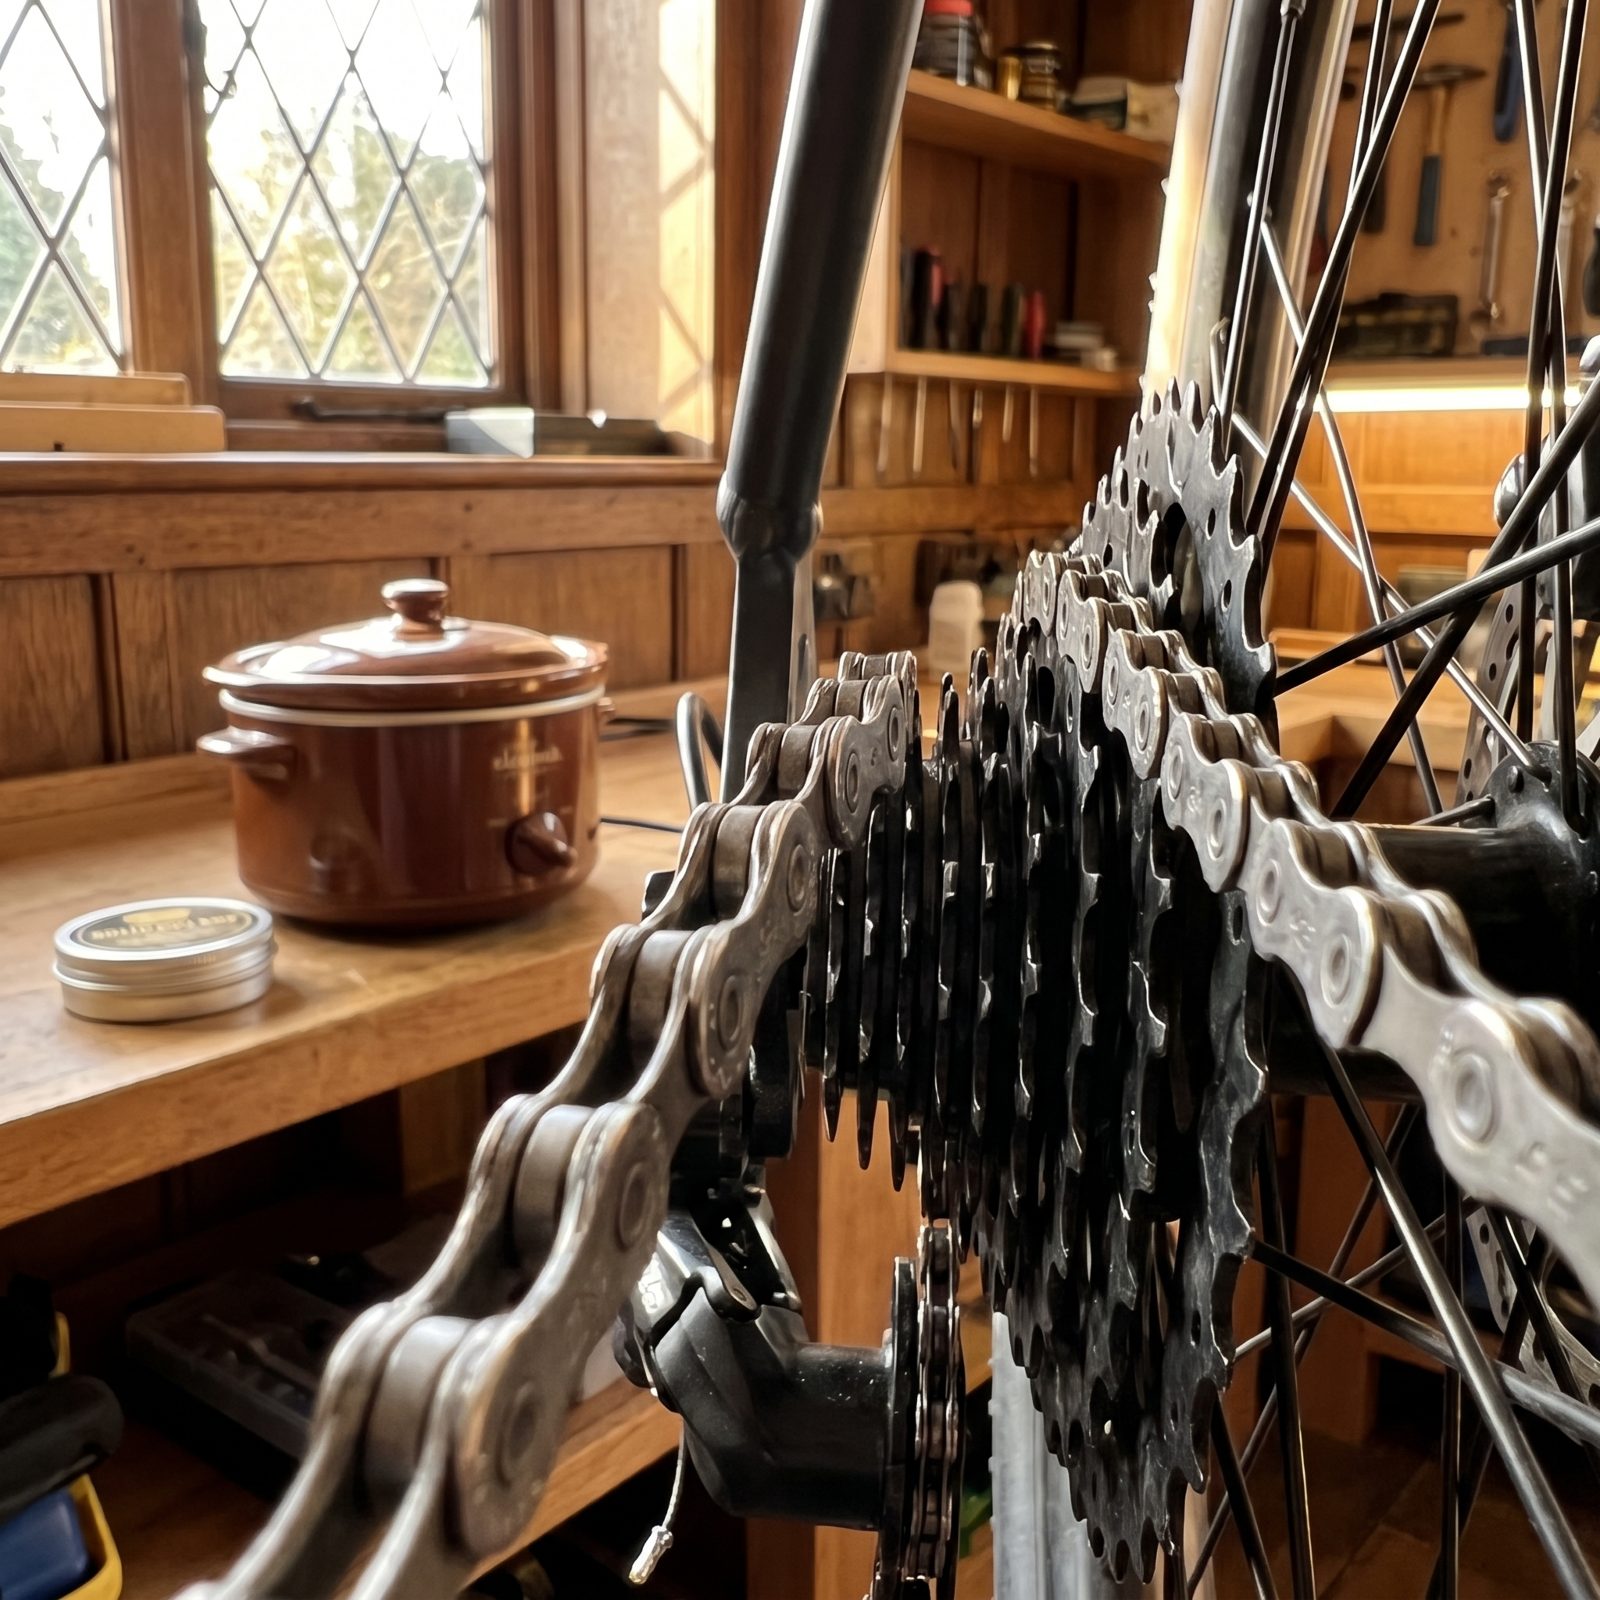
A dirty, oily chain feels fast because it looks wet. It isn’t. Drip lube grabs grit, and that grit grinds away your watts link by link. A chain prepped in melted wax runs cleaner, glides with far less friction, and stays that way for hundreds of miles.
The catch is the setup, and it’s fussier than it sounds. The chain has to be stripped completely clean first, then dunked in hot wax, because wax won’t bond over leftover factory grease. Skip that step and you get the worst of both worlds — grimy and slow. Do it right and your drivetrain stays dry to the touch, your calves stay clean, and the chain lasts a good deal longer.