A sore knee after a long ride feels like a betrayal. You did the miles, you stretched, you hydrated, and your body still filed a complaint. Most of the time the body isn’t the problem — the setup is. A bolt that didn’t fully seat, an insole that sank a few millimeters, a wheel riser that’s the wrong height. Small errors that stack up over hundreds of pedal strokes until something aches. Good news, though: every one of these has a fix that takes minutes and a basic set of tools.
Please note that some of the images in this article were created with the assistance of AI.
39. Using Cleat Bolts That Bottom Out Before Clamping Firmly
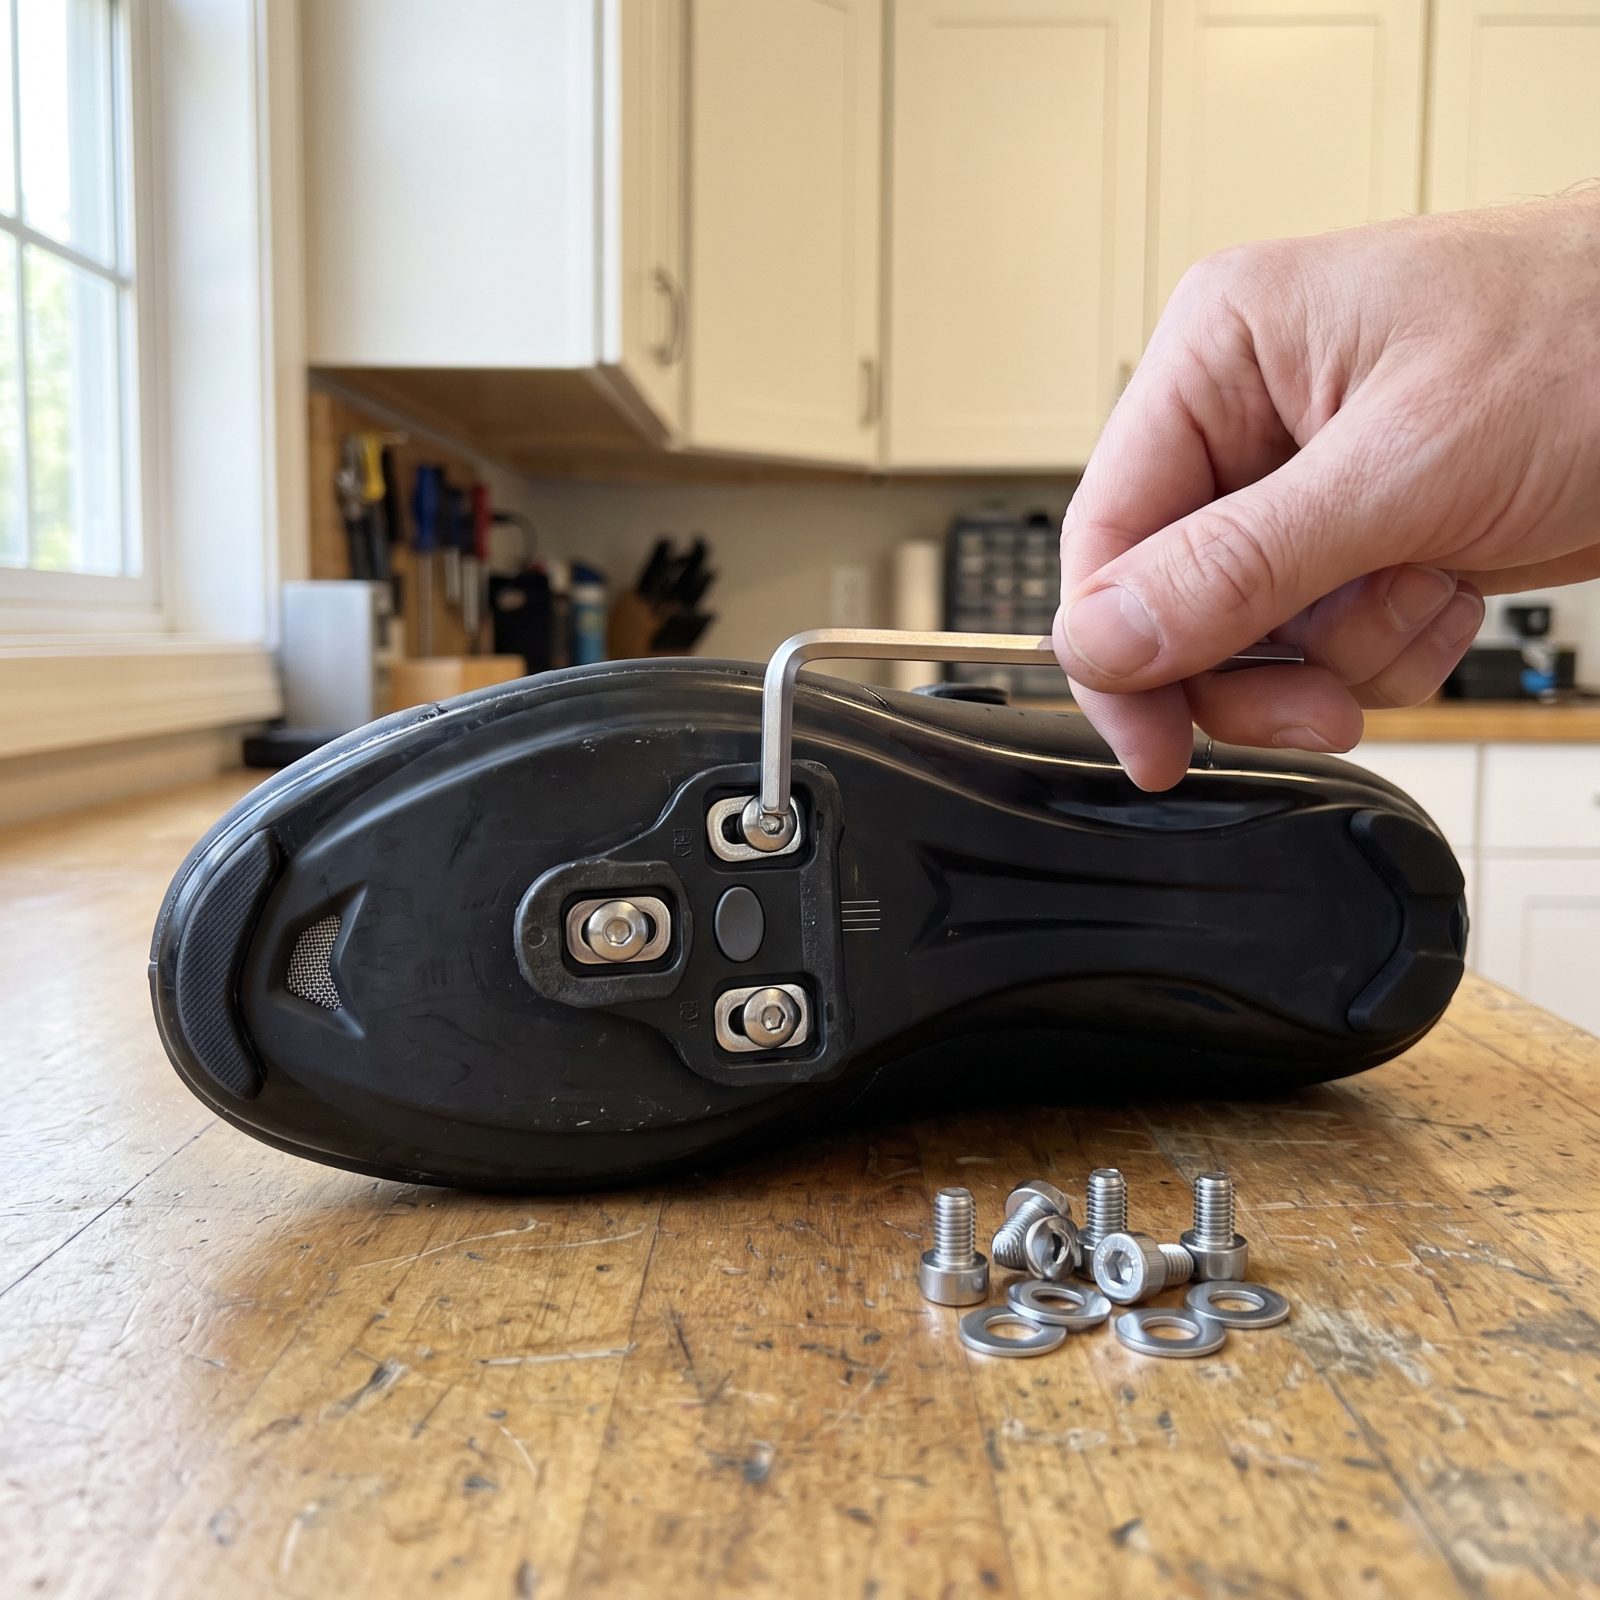
A cleat that spins under load is almost always a bolt that ran out of thread before it ran out of clamping force. It happens when you reuse long bolts on a thinner cleat, or swap shoes and forget the sole depth changed. The bolt bottoms out in the shoe’s threaded plate, feels tight, and holds nothing. Your foot shifts a millimeter or two every hard pedal stroke, and your knee tracks a slightly different path each time.
That tiny wander is what grinds. Over a two-hour ride it adds up to real soreness on the inside or outside of the joint.
Fix it by matching bolt length to cleat and sole thickness, adding a washer only if the manufacturer calls for it, and torquing to spec. Cleat still rocks after tightening? The bolt is too long. Shorten the stack, not your patience.
38. Allowing Shoe Tread to Block a Cleat’s Intended Float
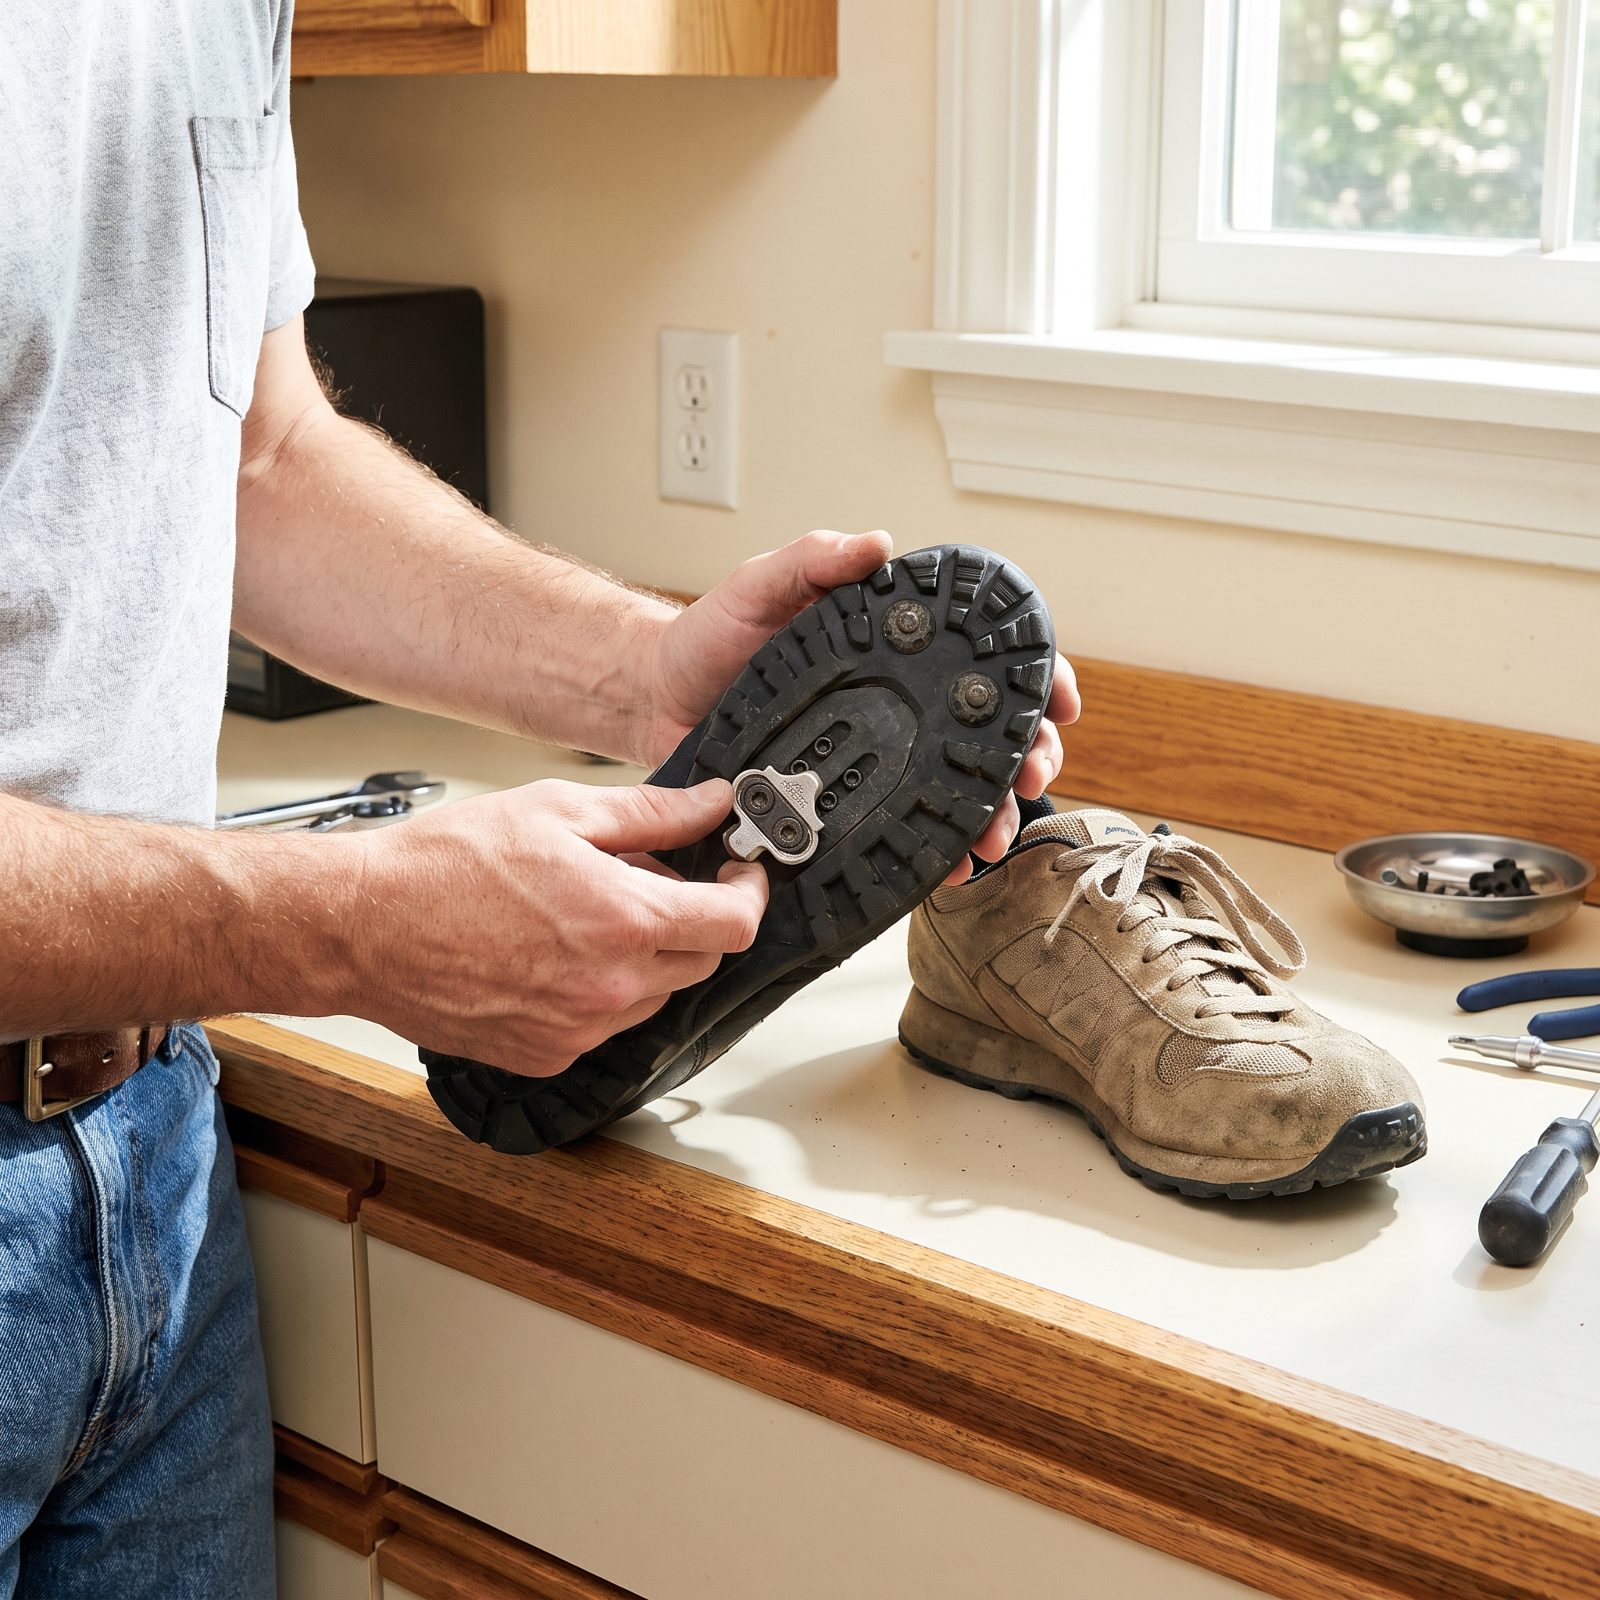
Float is the small rotation your foot gets before the pedal releases, and it lets your knee find its natural line instead of locking into one fixed angle. On recessed mountain and gravel shoes, aggressive tread blocks can creep into that swing and jam it short.
When the tread fights the float, your knee has nowhere to give. The result is a dull ache on the outer joint that shows up a few days into a new shoe or a fresh set of cleats.
37. Setting Suspension Sag So Deep It Changes Saddle Height
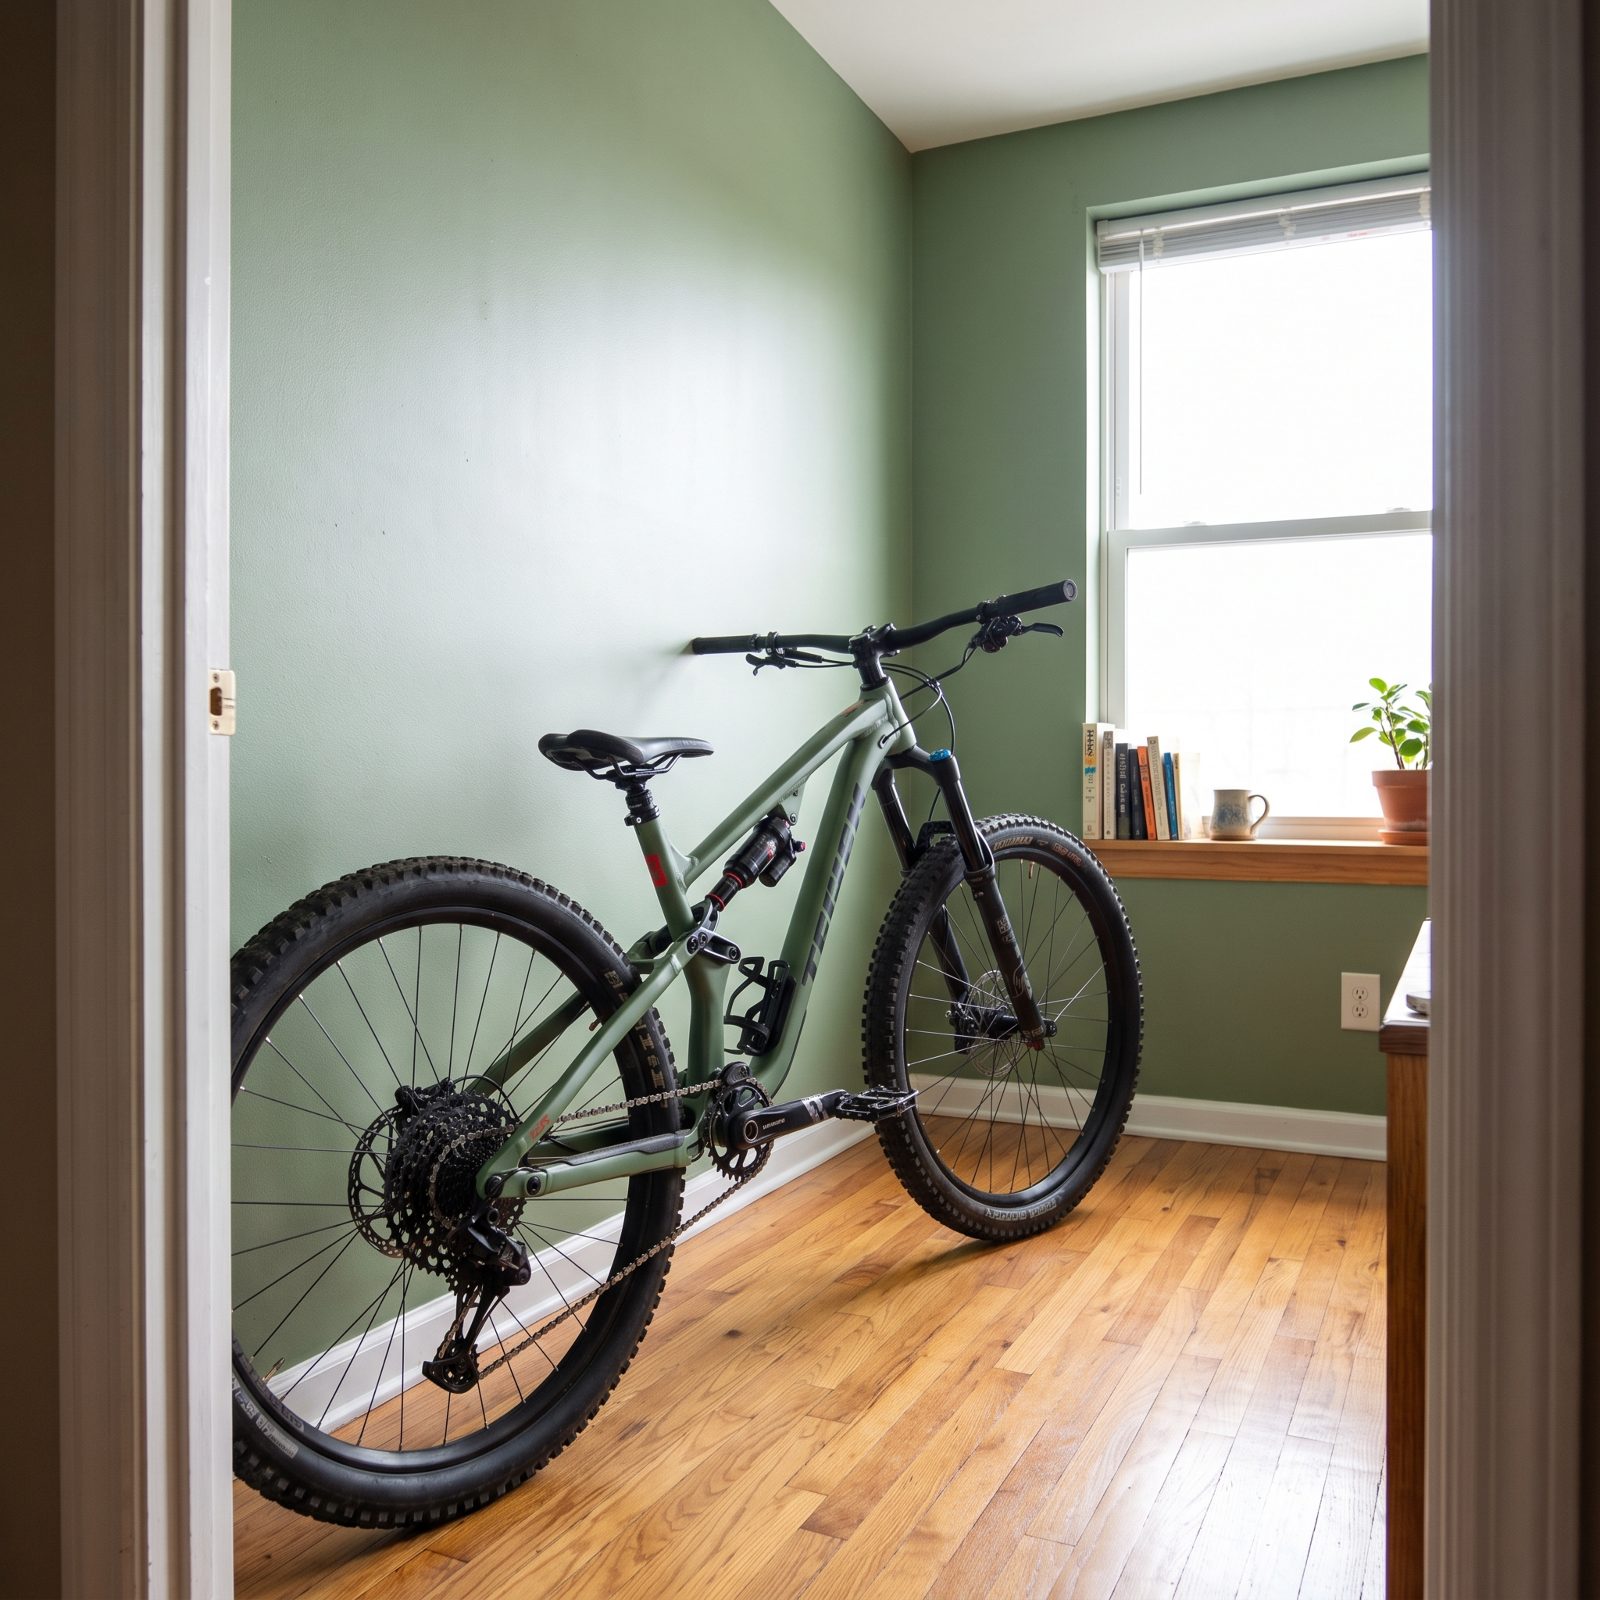
Run too much sag and the bike sits lower than you fitted it for. Every time you settle into the saddle, your effective leg extension shrinks by the amount the rear end drops. You dialed your post to spec in the parking lot, then rode the whole trail two centimeters short.
Short extension means over-bent knees at the bottom of each stroke, and that’s a fast route to front-of-knee pain on long climbs.
Set sag first, then set saddle height while sitting in the sagged position. Most trail bikes want somewhere in the 25-to-30-percent range. Nail that, measure your extension with weight on the bike, and your knees will stop complaining after every climb.
36. Using the Wrong Front-Wheel Riser on an Indoor Trainer
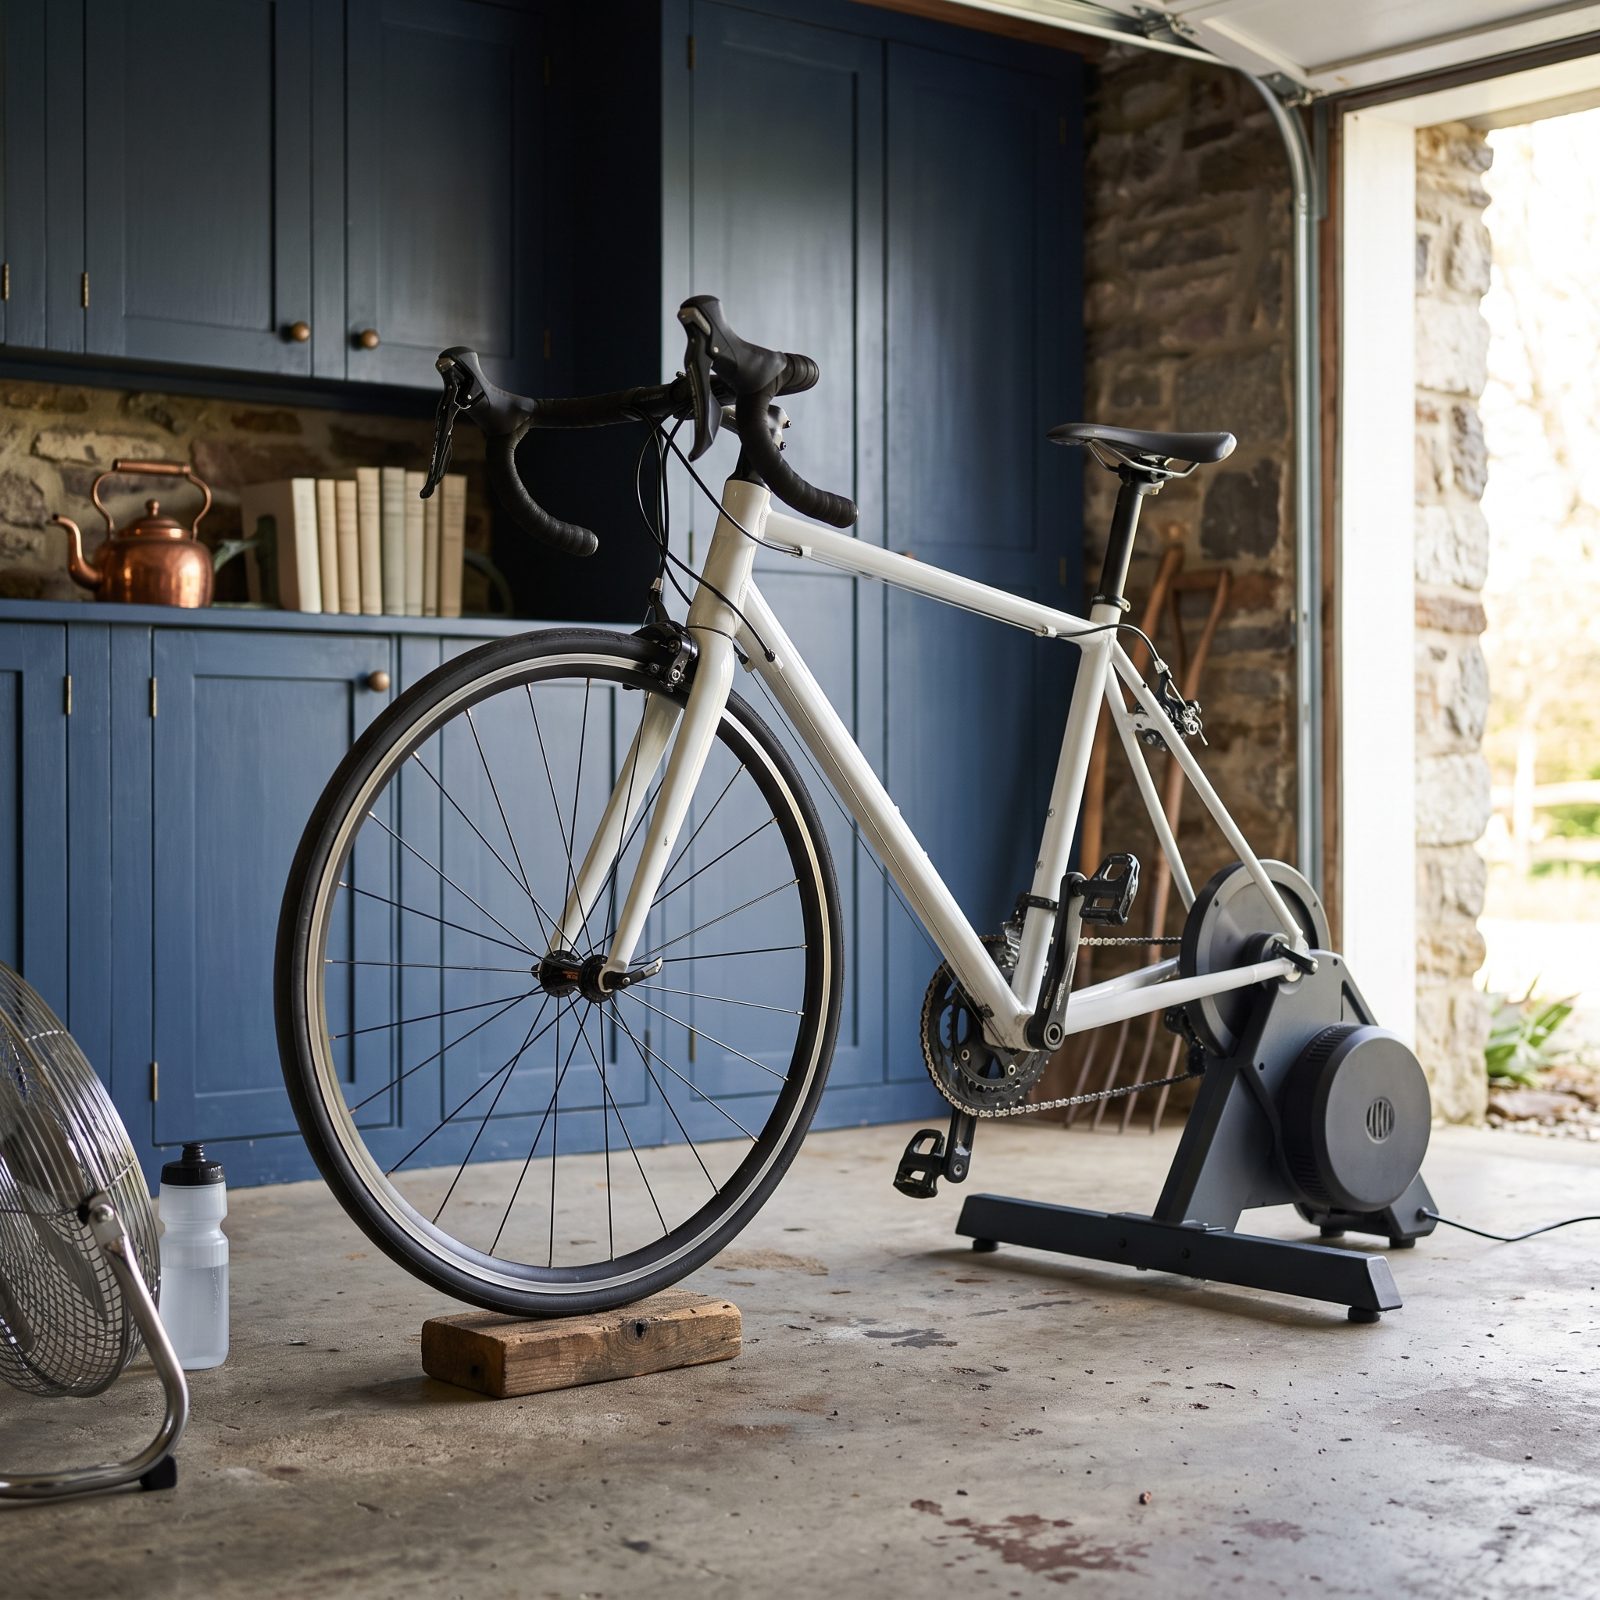
Most trainers hold your rear axle at a fixed height, often a bit high. If the front wheel isn’t propped to match, the bike slopes nose-down and shifts your weight forward onto your hands and lower back. A phone book or some random block guesses the height, and guessing wrong tilts your whole position.
A bike that points downhill for an hour loads the lumbar spine in a way the road never does. Outside, the grade keeps changing and your body gets little breaks. Indoors it never does.
35. Training With the Bike Tilted Across an Uneven Floor
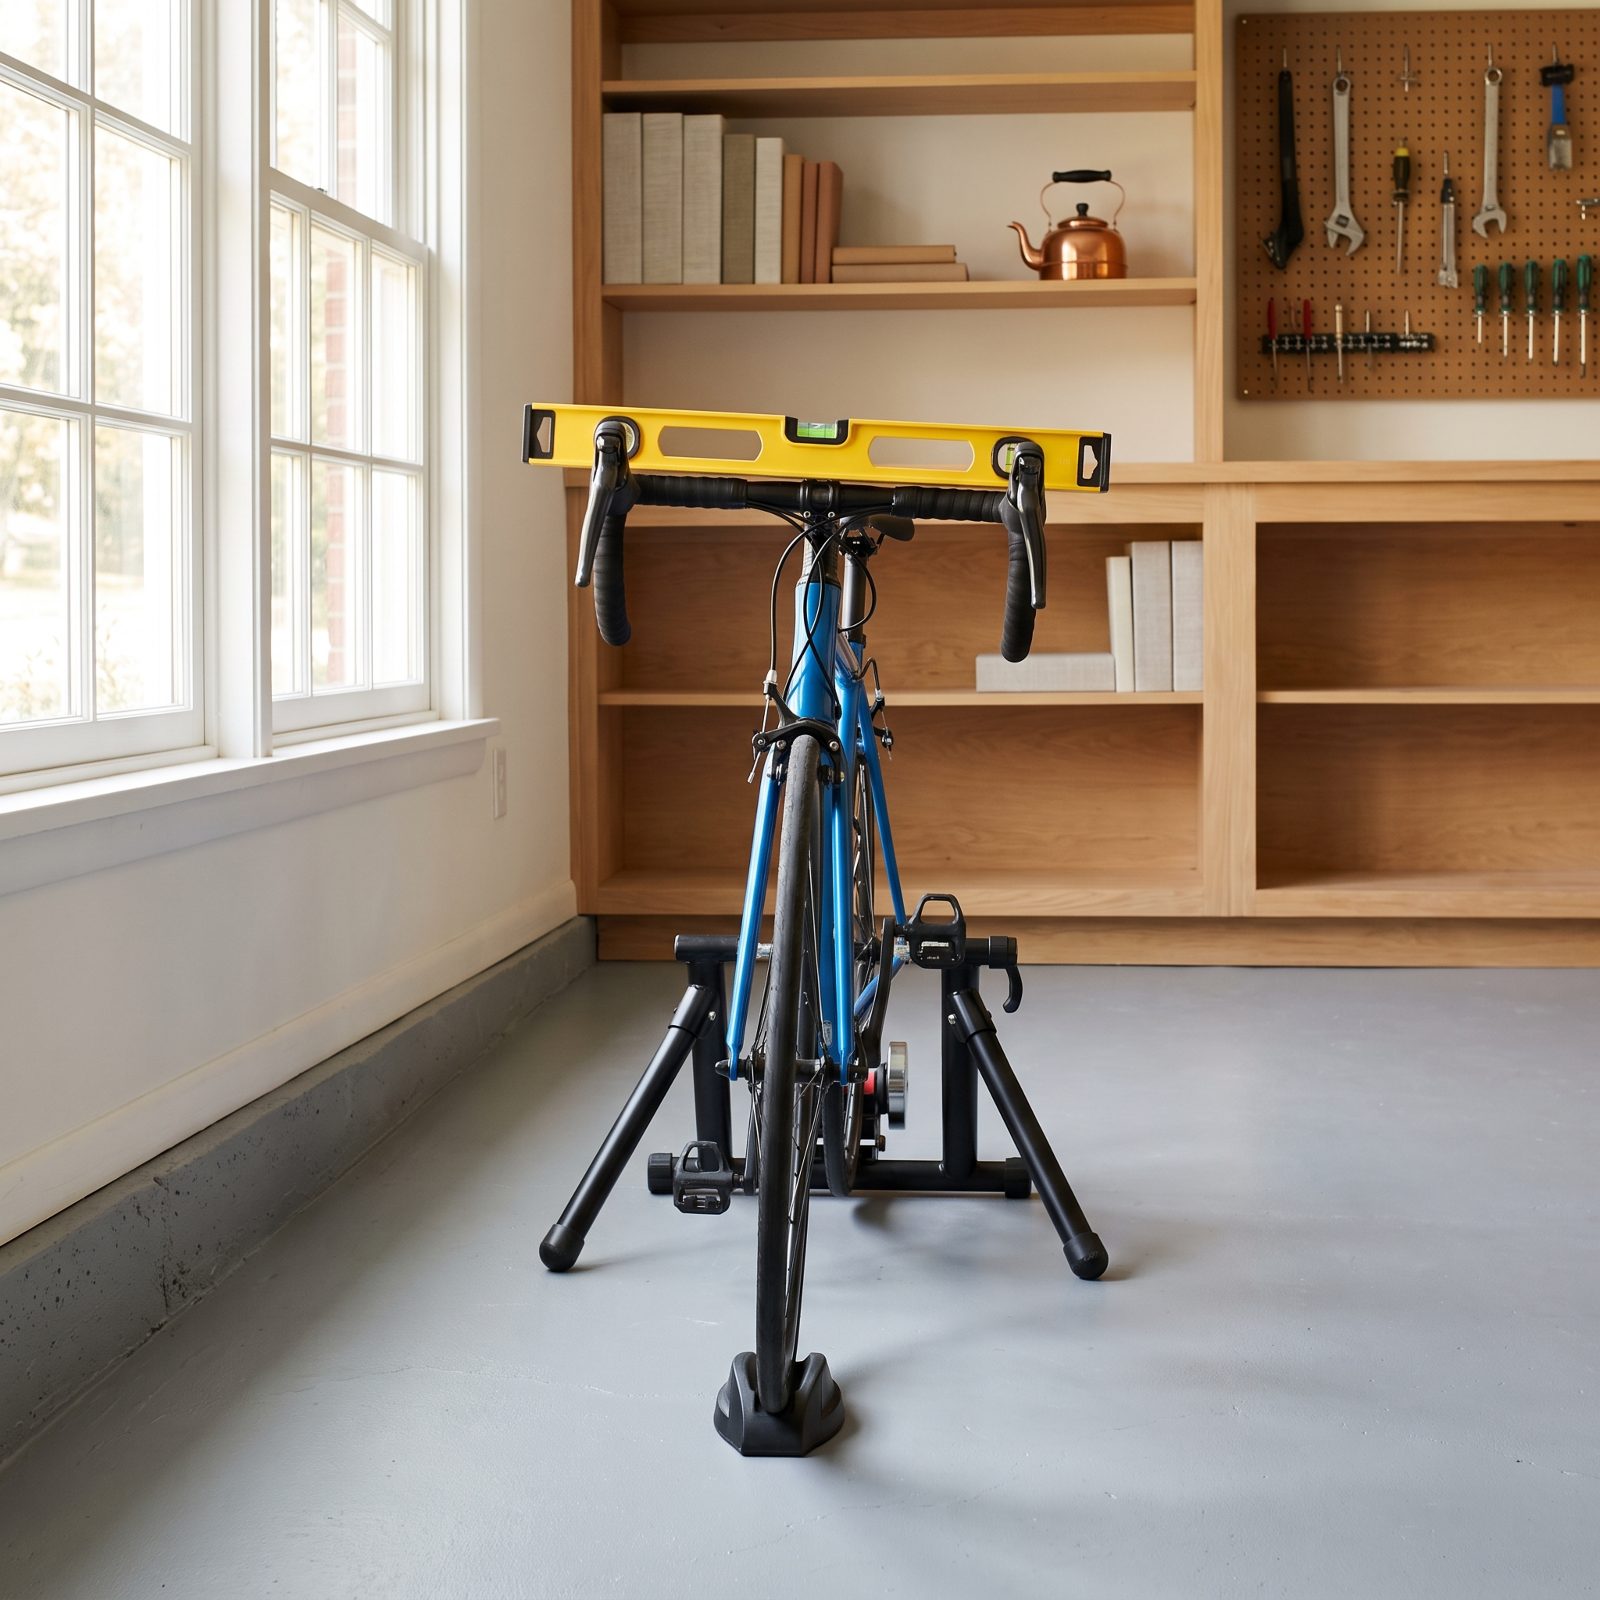
Garage floors slope. They’re built to drain water, which means your trainer can sit a few degrees off true without you noticing. Ride it tilted and one leg reaches farther than the other on every stroke, hundreds of times an hour.
That side-to-side lean shows up as back soreness and one cranky knee, usually the one on the low side. You’ll blame your hamstrings. It’s the floor.
Drop a spirit level across your bars and across your saddle before a session. Shim the low feet of the trainer with a folded mat or a thin board until both read level. Five minutes of fuss beats a week of asymmetric ache.
34. Riding With Mismatched Crank Lengths After a Repair
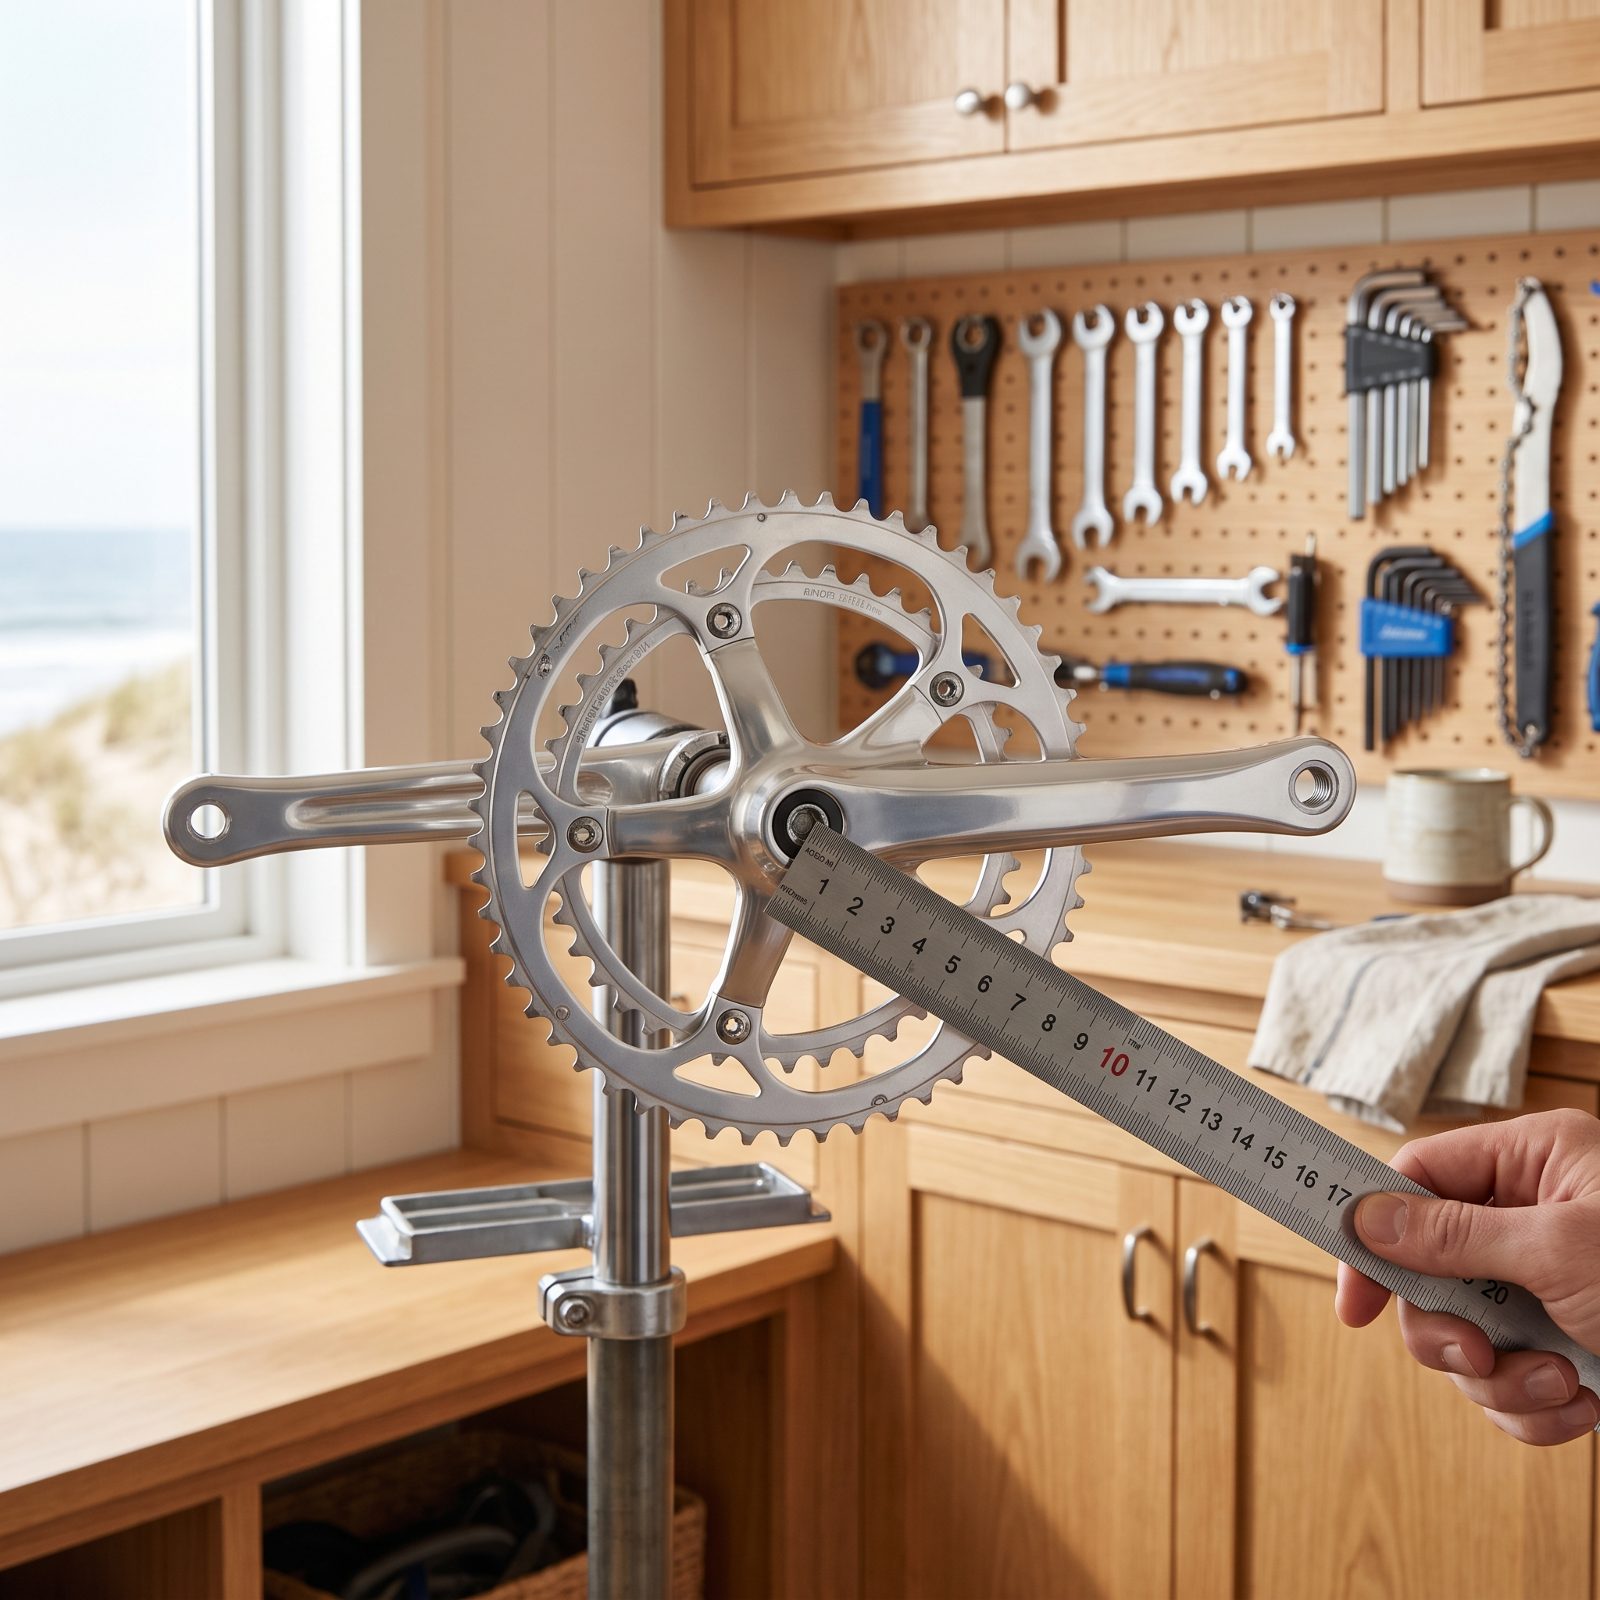
Shops swap crank arms. Sometimes a replacement arm comes off a different groupset, and nobody checks the length stamped on the inside. You end up with a 172.5 on one side and a 175 on the other. Two and a half millimeters sounds like nothing.
It isn’t nothing to a knee. One leg sweeps a larger circle than the other, so one knee bends deeper at the top of every stroke. The deeper-bending side starts aching first.
33. Changing Pedal Models Without Accounting for Stack Height
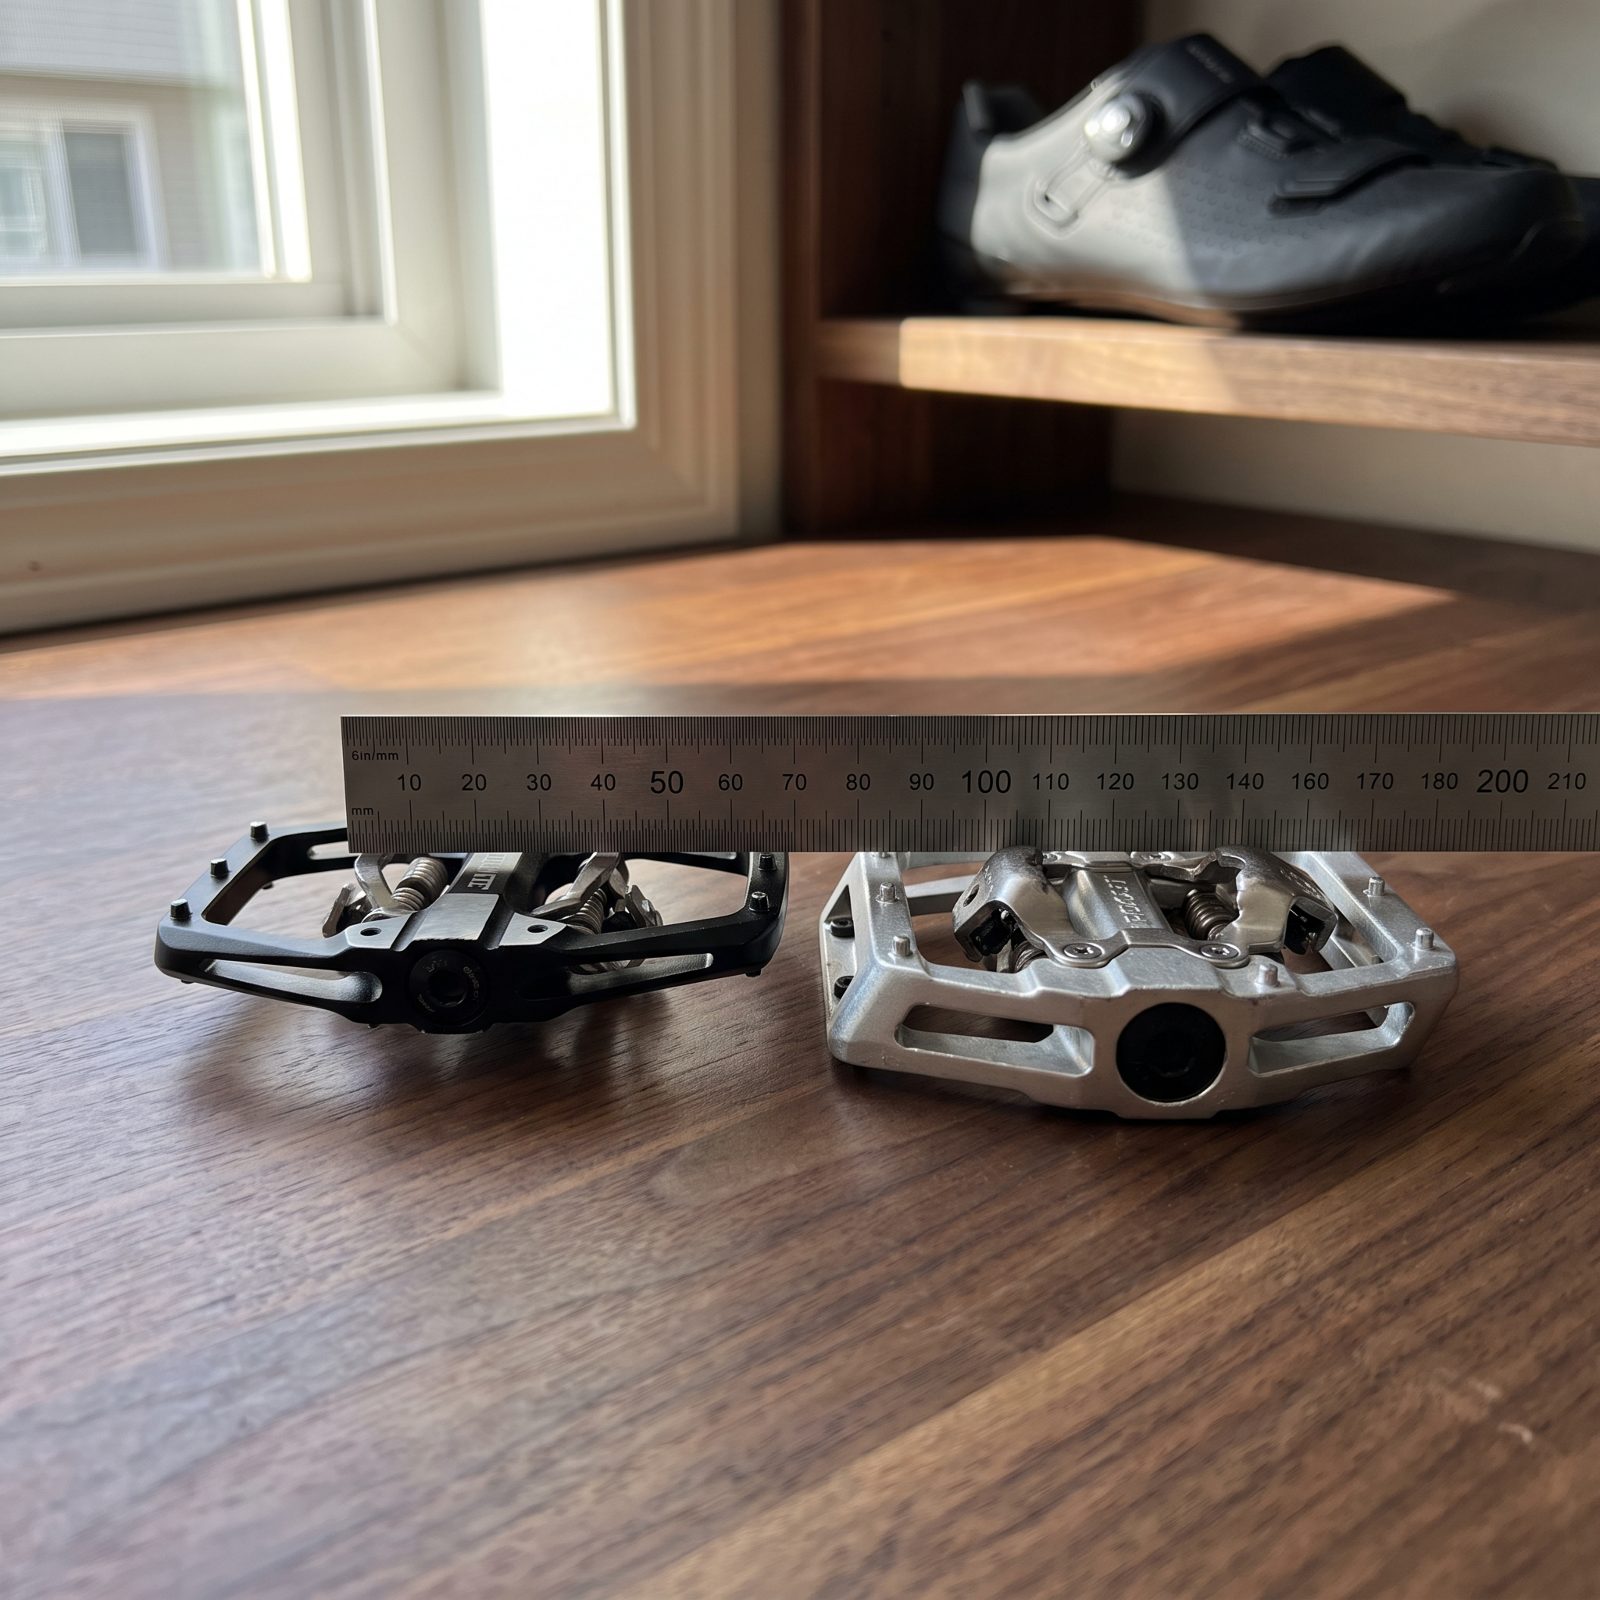
Stack height is the distance from the pedal axle to the bottom of your shoe. Switch from a thick pedal to a thin one and your foot drops closer to the axle, which quietly raises your effective saddle height. The post didn’t move. Your foot did.
A higher effective height means an over-extended knee, and that’s where the soreness lives.
When you change pedal models, note the stack height of each and adjust your saddle up or down by the difference — go thinner on the pedal, lower the saddle by that amount. Most riders never think to compensate for it, and that small fix saves a confusing week of wondering why a new pedal made your knee angry.
32. Adding Thick Insoles Without Readjusting Saddle Height
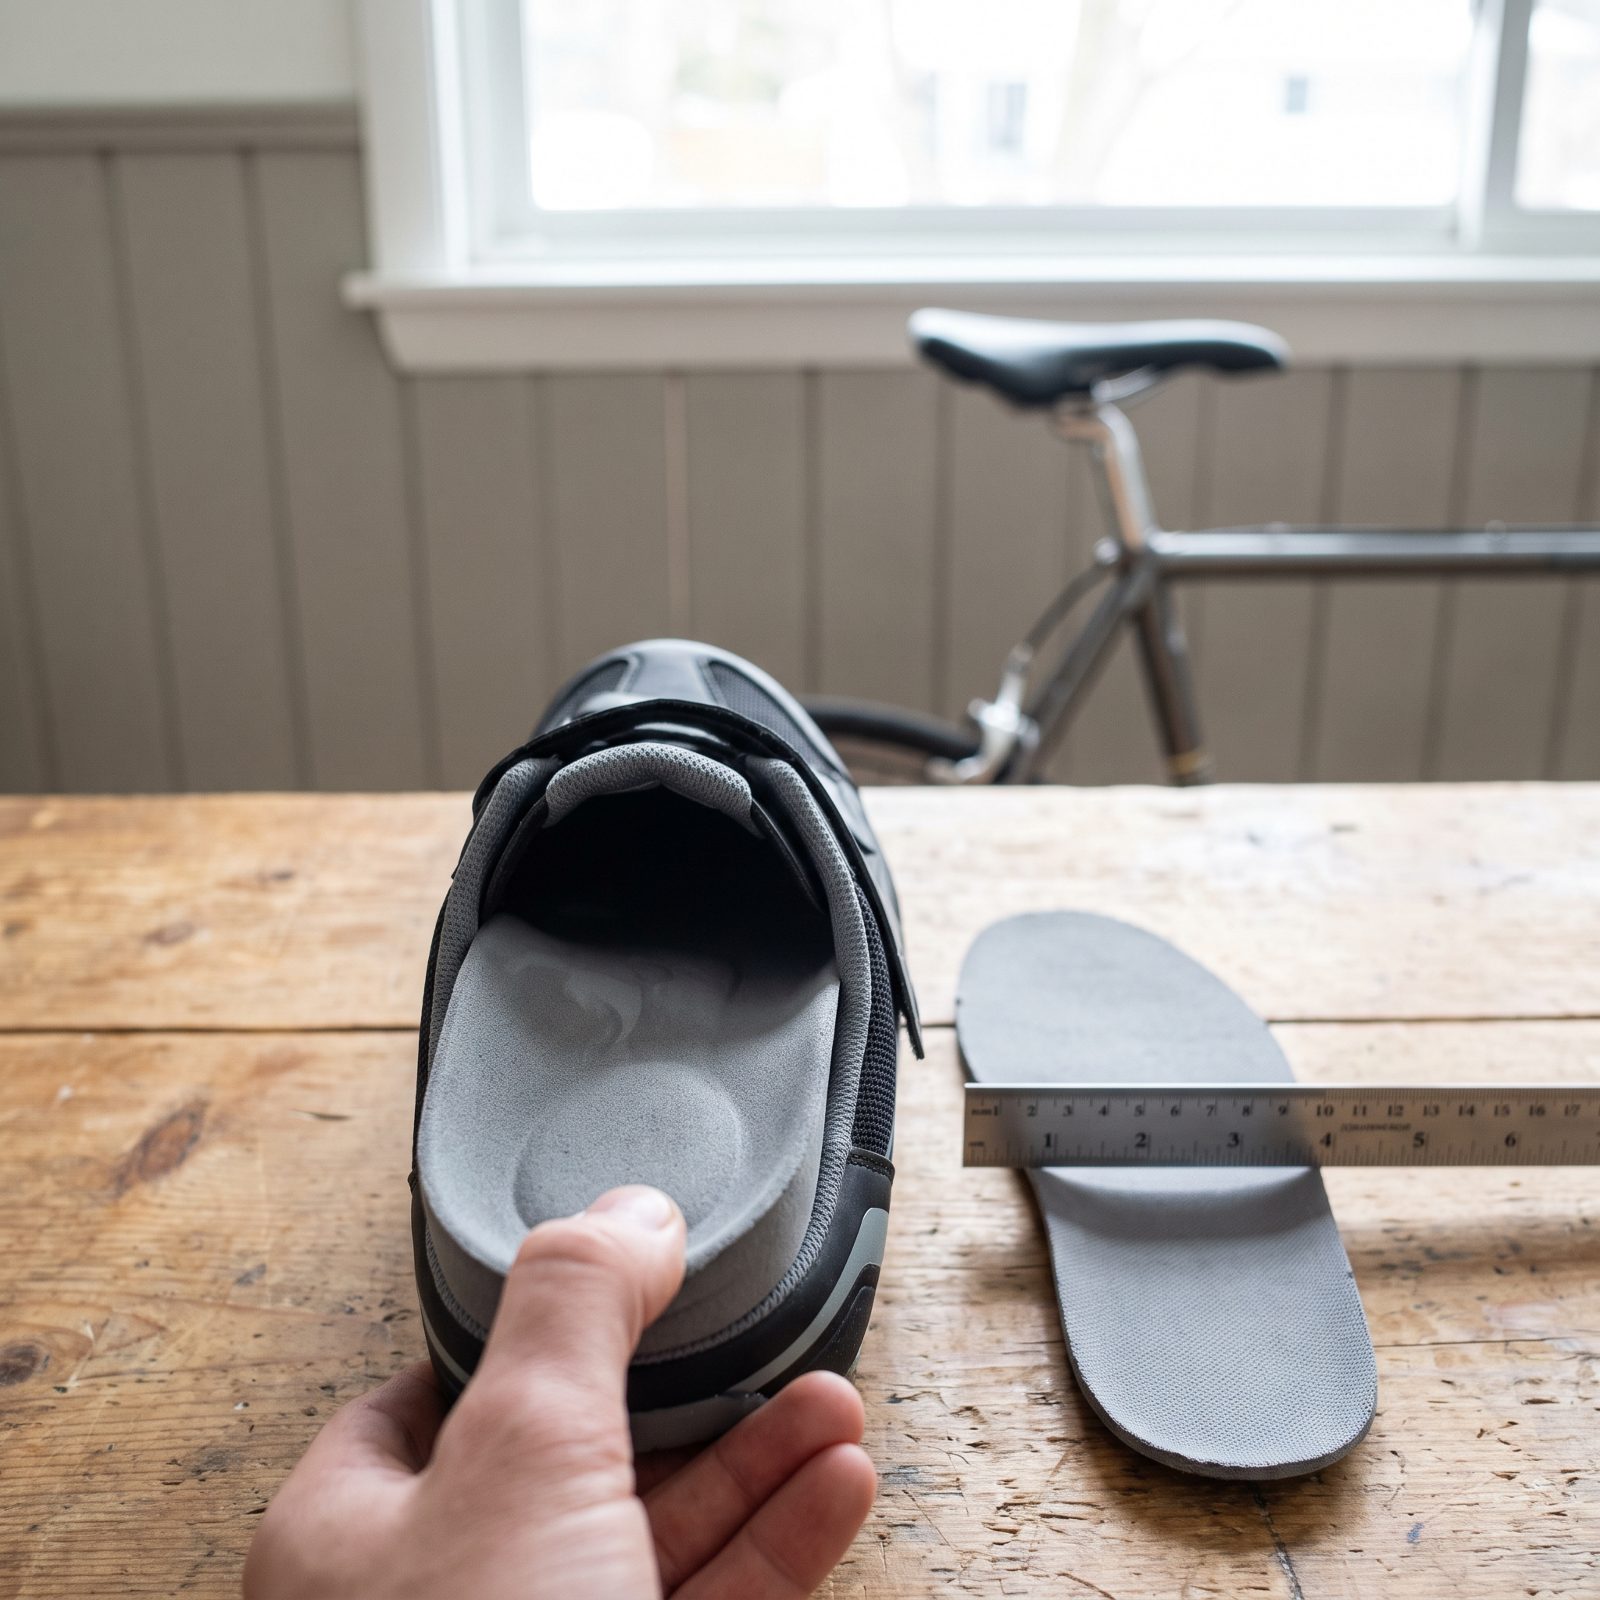
You buy supportive insoles for comfort, which is sensible. Then you forget they lift your foot a few millimeters inside the shoe. Thicker footbed, higher foot, shorter reach to the pedal. Now your knee stays too bent at the bottom of each stroke.
That extra bend loads the front of the knee and cramps your pedal stroke, which the lower back feels by the end of a ride.
31. Using Insoles Compressed to Different Heights
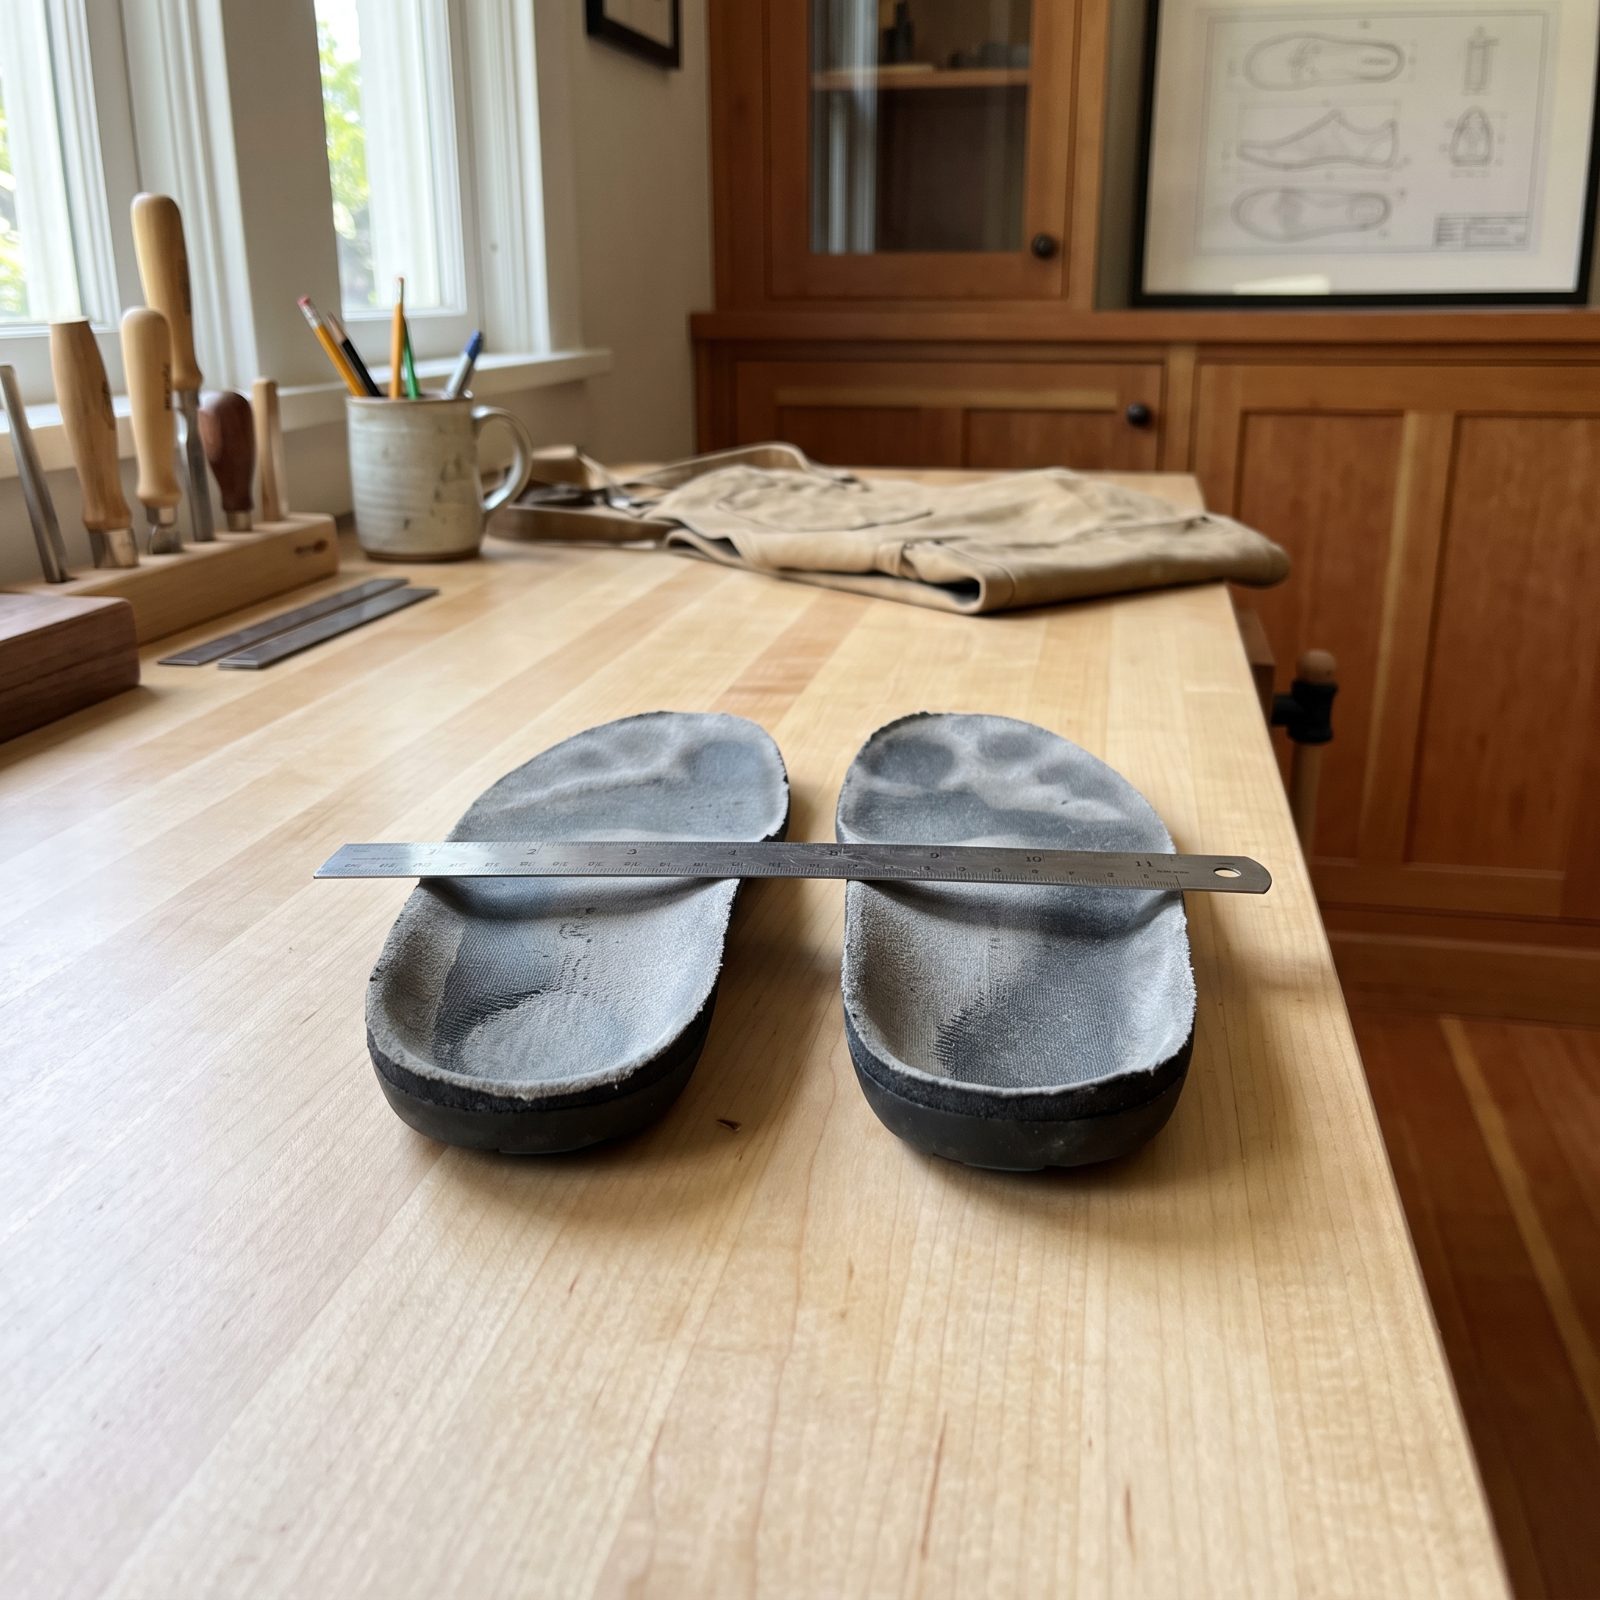
Now the subtle cousin of the insole problem. You keep the same insoles for years, and they don’t wear evenly. Favor one foot, or let one shoe soak up more sweat and heat, and that insole packs down faster. One foot ends up sitting lower than the other.
You’ve essentially built yourself mismatched crank lengths out of foam. One knee bends deeper, one hip drops, and your back twists a fraction every stroke to compensate.
Pull both insoles, stand them on a flat surface, and compare the heel height. If one is noticeably flatter, replace the pair, not just the dead one. Insoles are cheap. A compressed footbed quietly rewriting your fit is not.
30. Letting a Dropper Post Stop Just Short of Full Extension
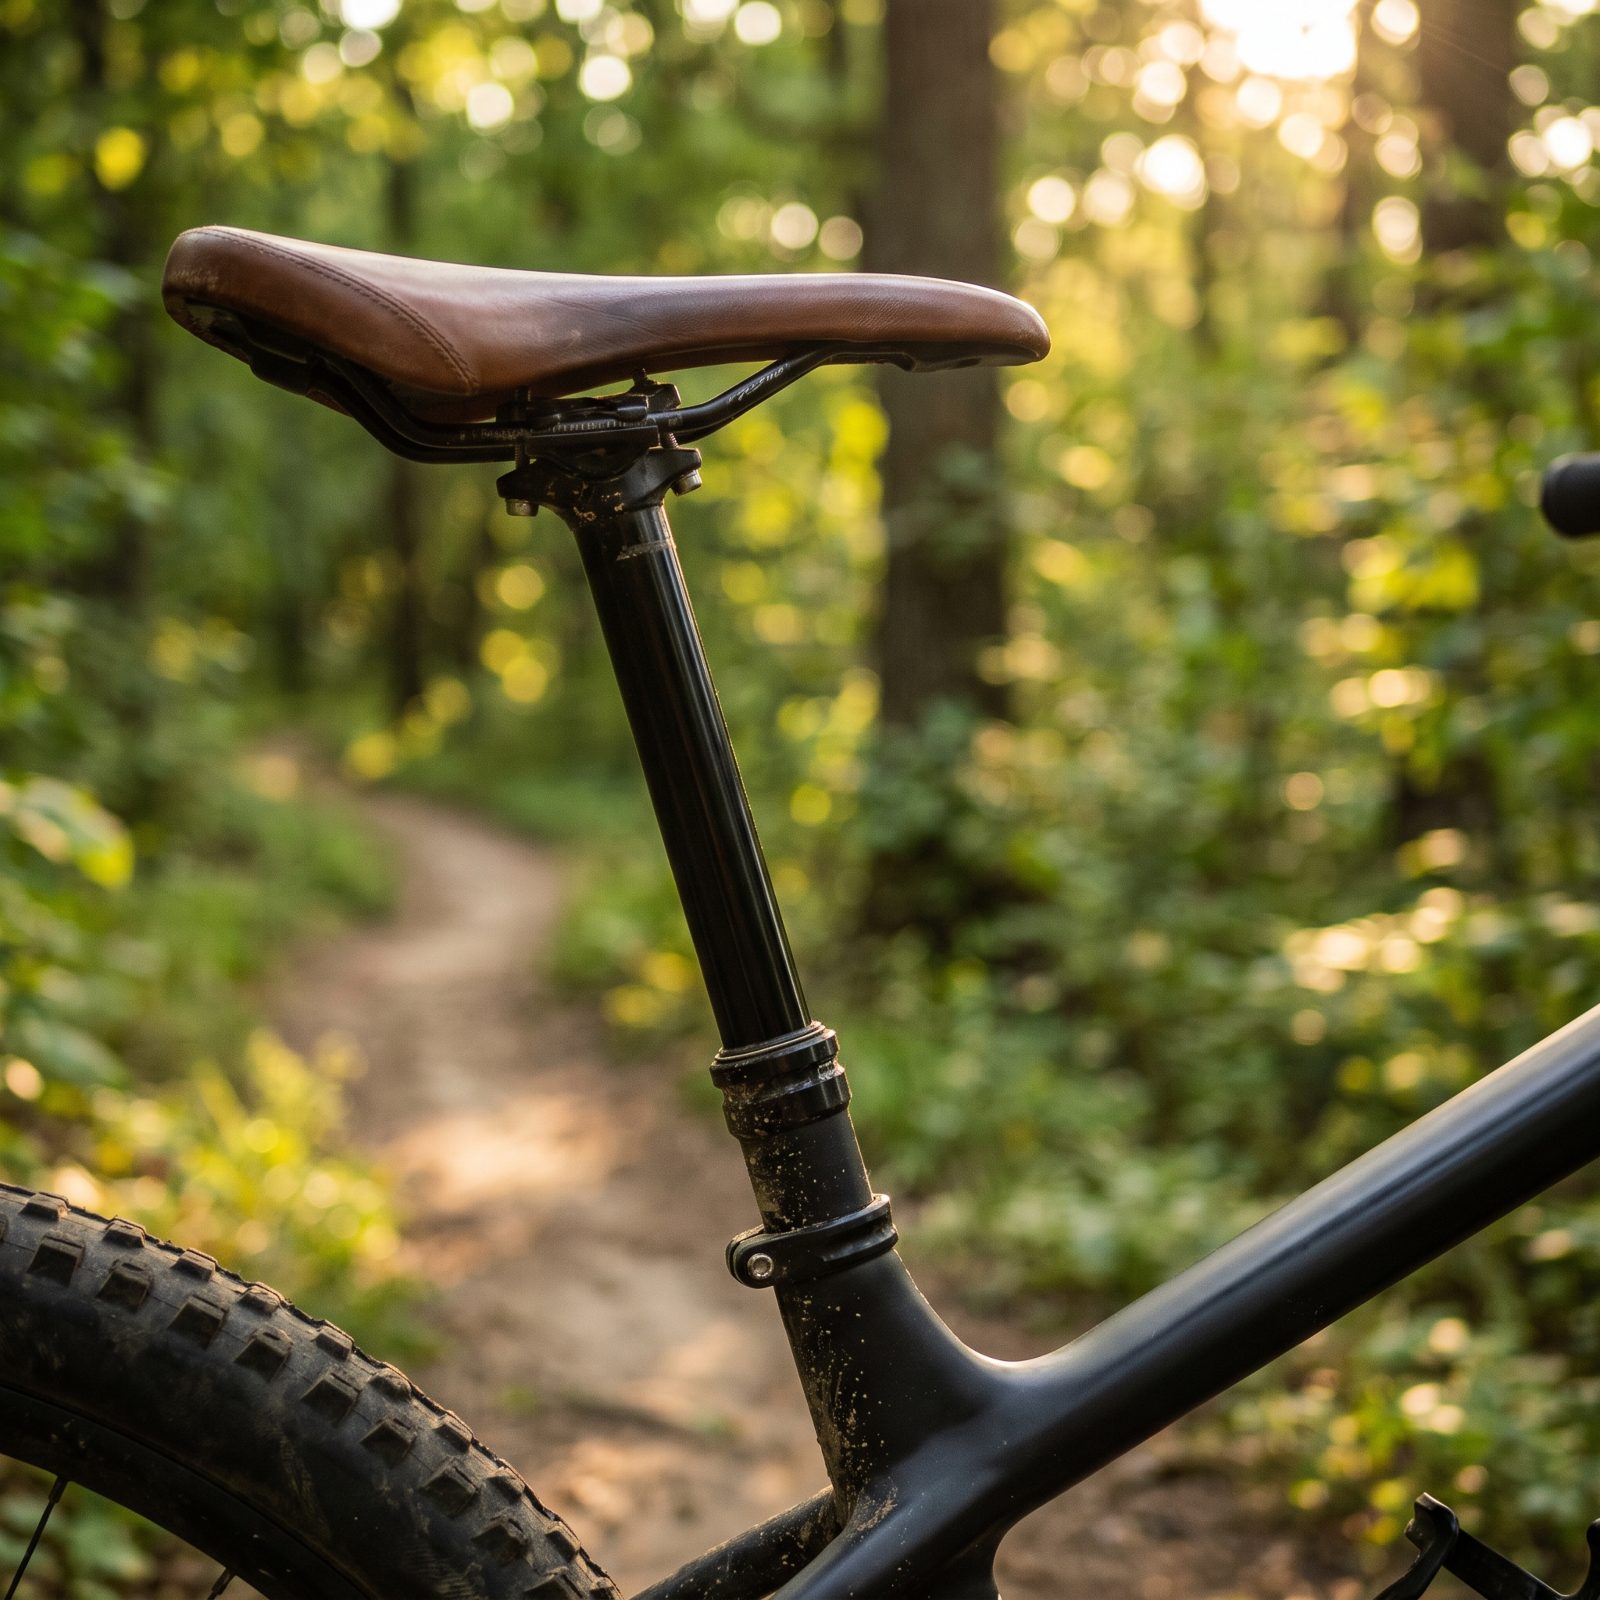
Dropper posts are brilliant right up until the mechanism gets sticky or the cable tension drifts. Then the post rises to almost full extension but stops a centimeter short, and you don’t notice because it looks close enough. Close enough is not your fit height.
Climb seated on a post that’s shy of full travel and every stroke runs with your knee a touch too bent. On a long fire-road grind that adds up to front-of-knee pain by the summit.
Before a big climb, tug the saddle upward and confirm it’s locked at full height, not resting short. Won’t reach the top? Service the post or adjust the cable. Your climbing legs will thank you well before the descent gives the dropper its reward.
29. Riding With the Saddle Pointed Slightly Off-Center
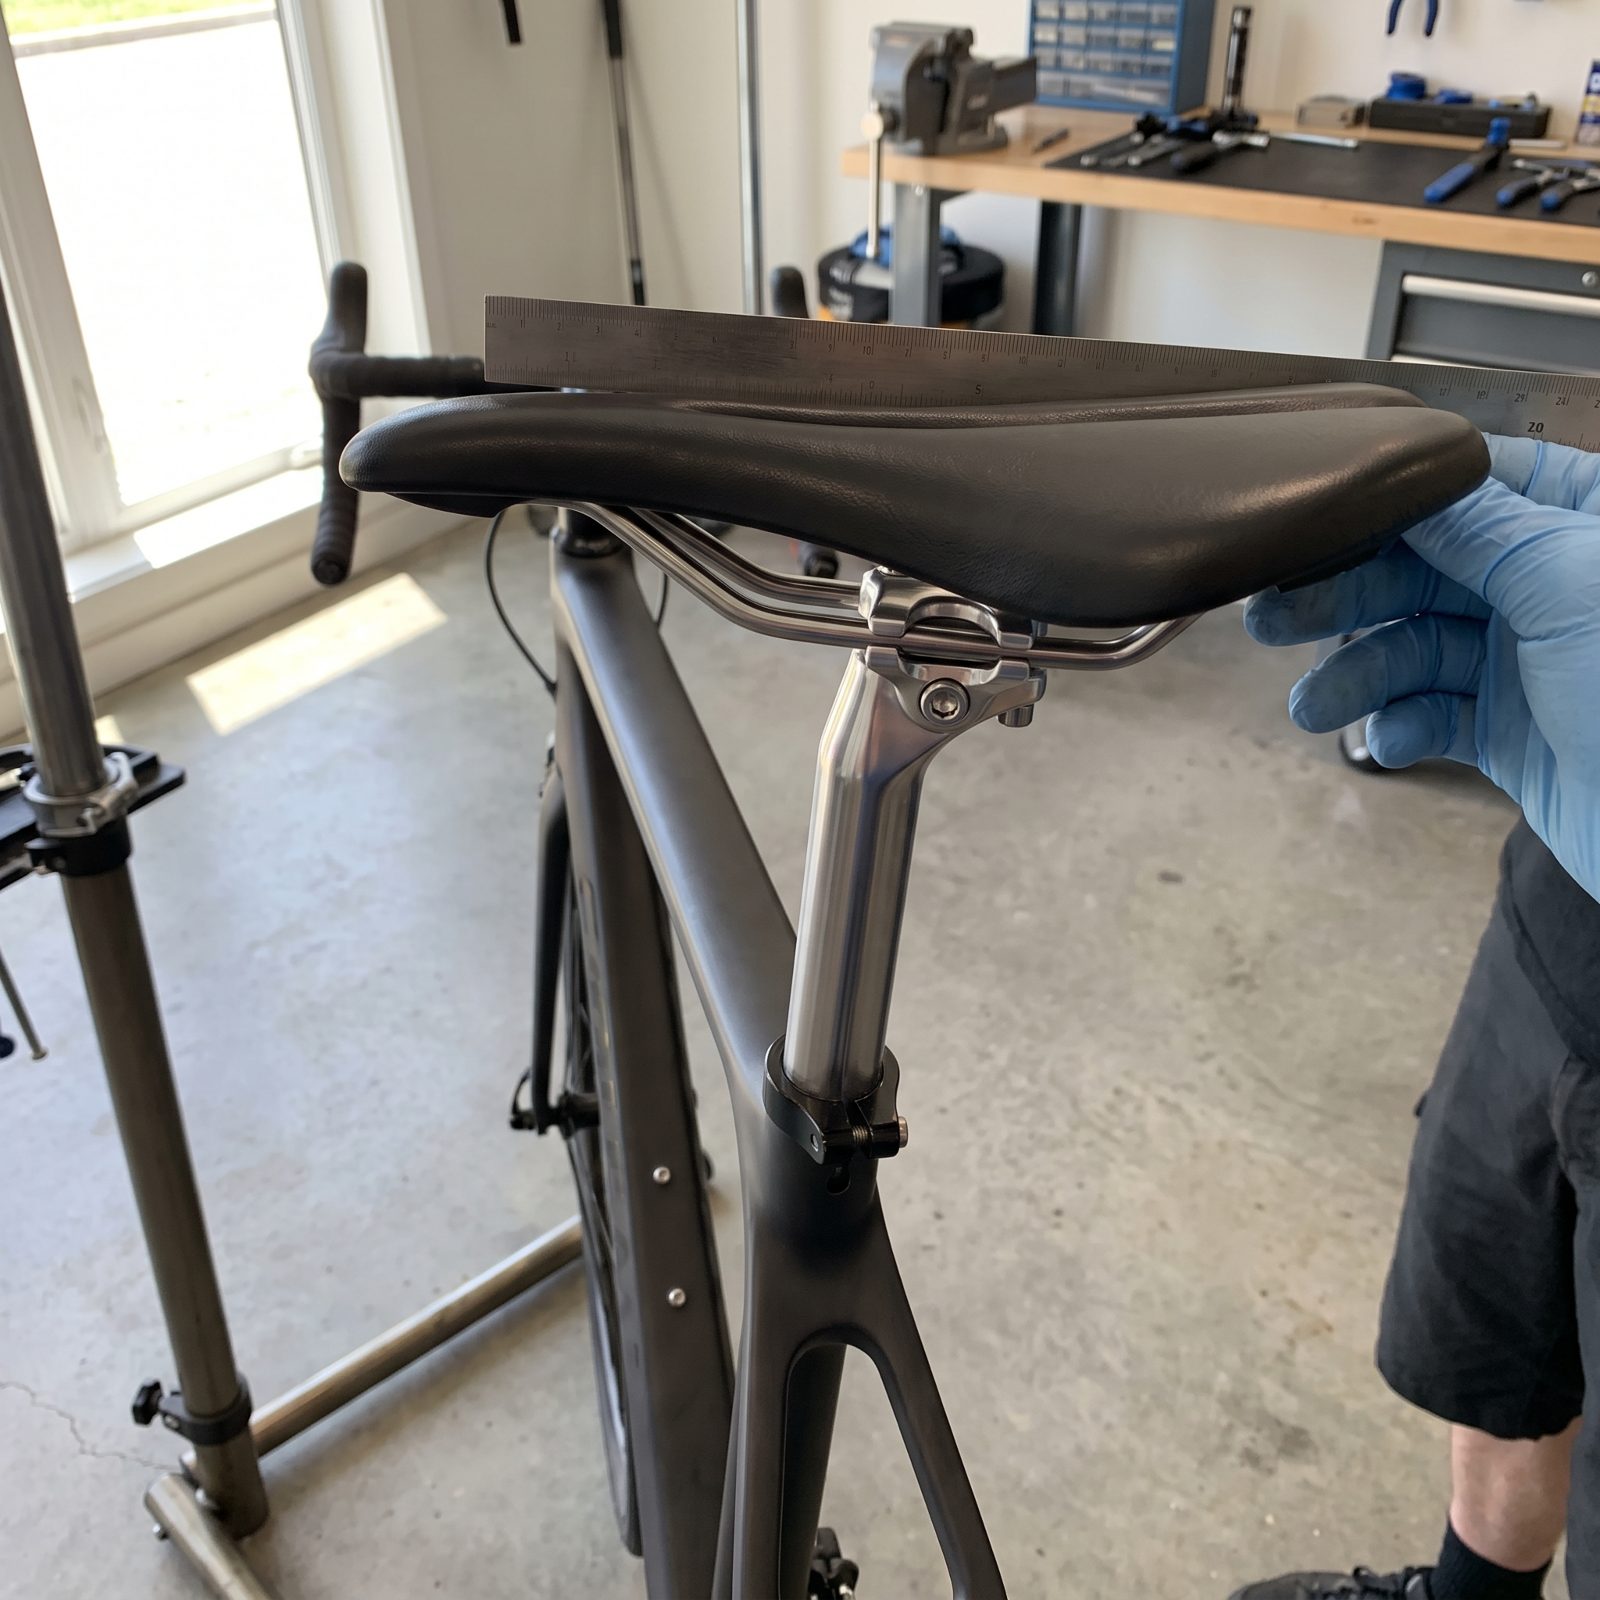
A saddle that sits a hair off-straight feels like nothing for the first ten miles. Then your lower back starts arguing. When the nose points left or right your pelvis quietly twists to follow it, and every pedal stroke after that loads one side of your spine more than the other.
The fix takes two minutes. Loosen the seatpost clamp, lay a straightedge along the top of the saddle, and line the saddle nose dead center with the top tube before you torque it back. Mark the rails with a paint pen once it’s right, because a bump on a curb can knock it loose and you want something to check against.
28. Ignoring Saddle Foam That Has Collapsed on One Side
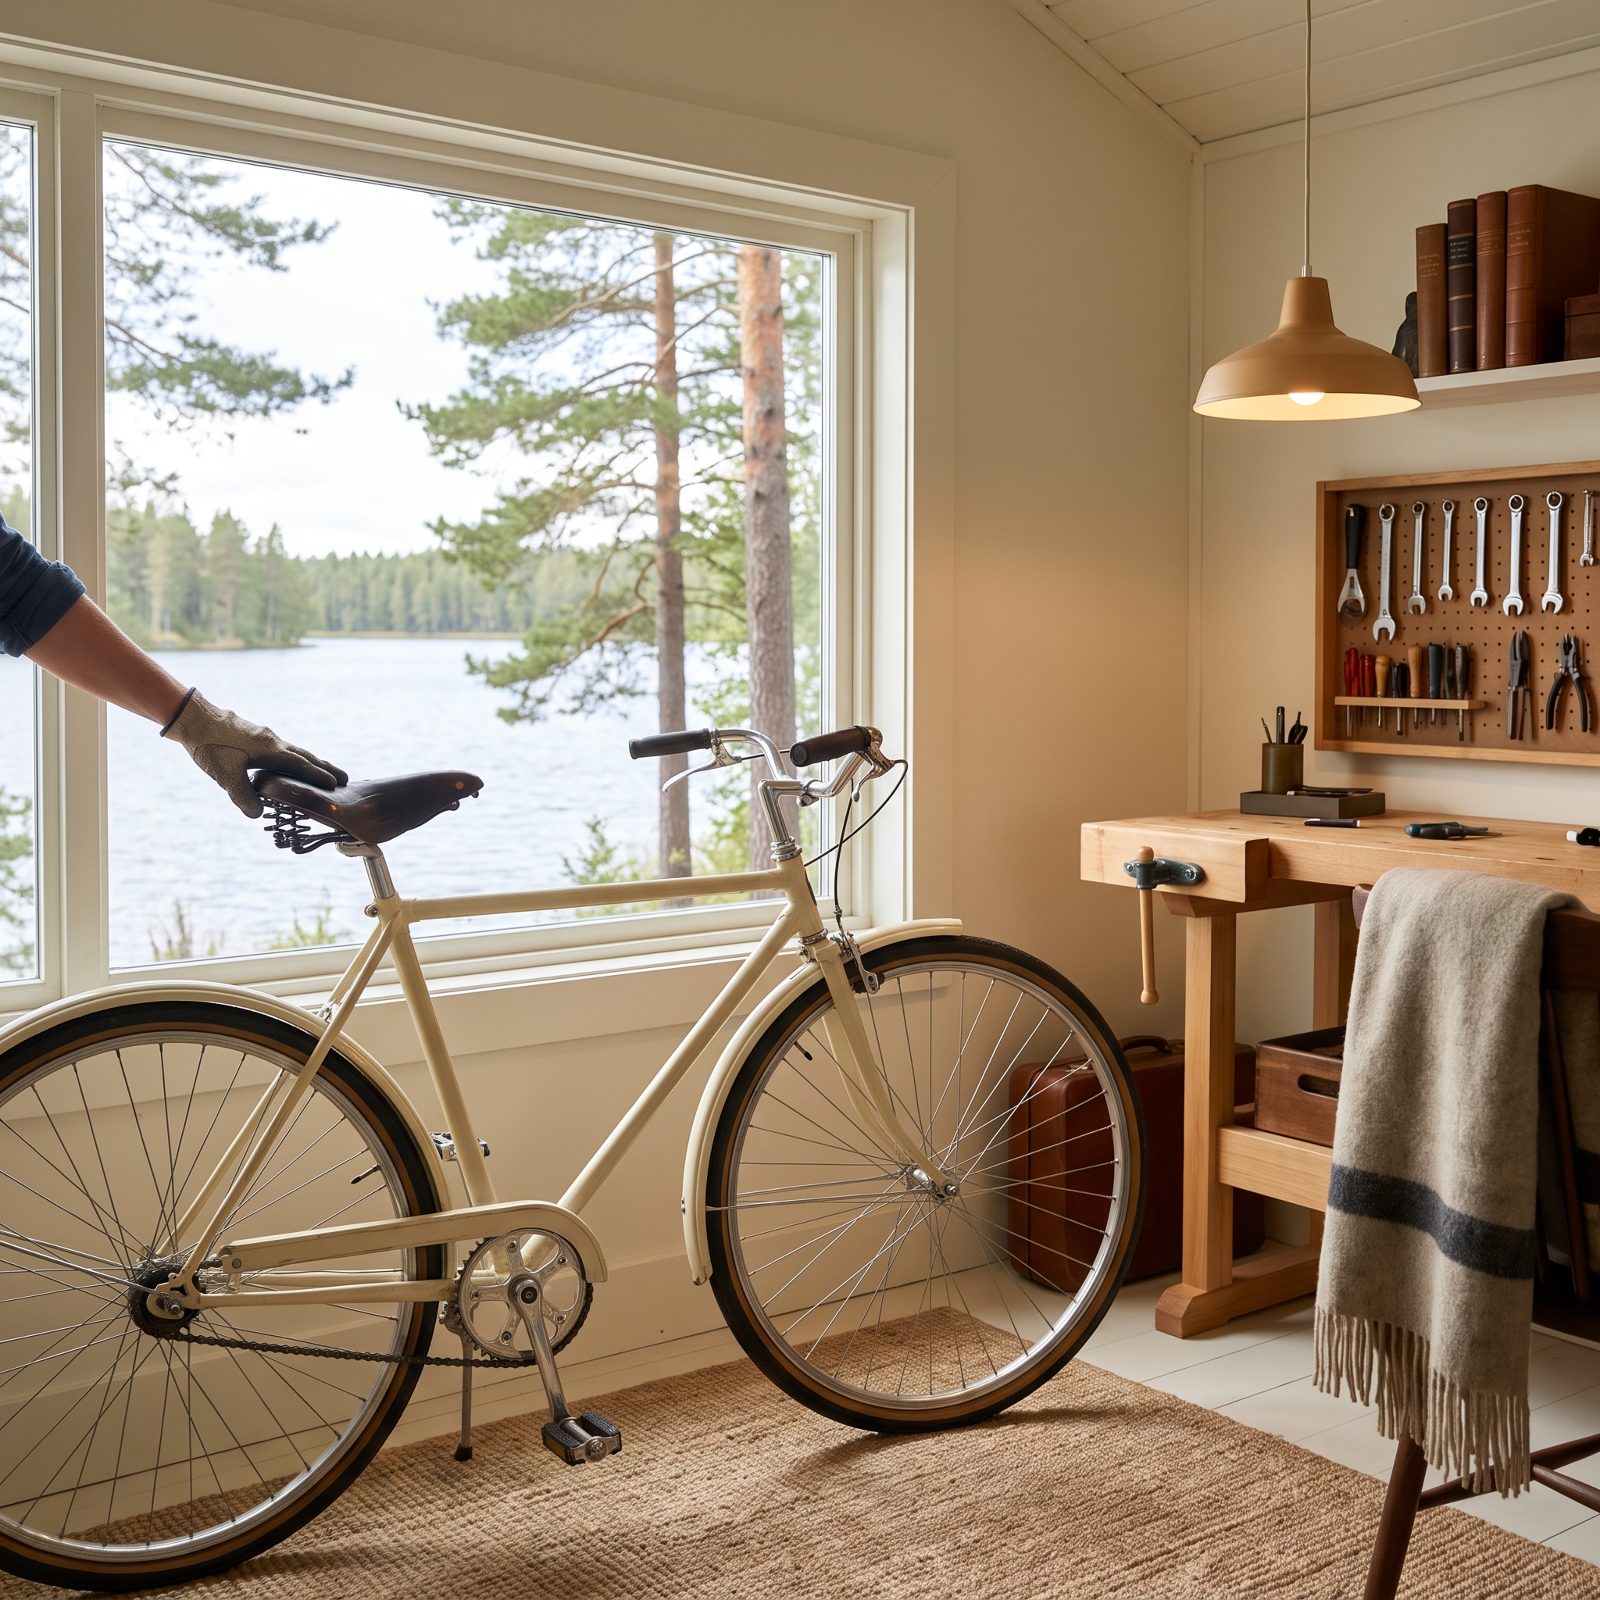
Saddle foam packs down where you sit hardest, and most riders favor one side without ever knowing it. Give it a few thousand miles and that side sags lower than the other. Now you’re perched on a tilted base that quietly drops one hip, and the soreness turns up in a knee that never bothered you before.
Press the sit-bone zones with your thumb. One side noticeably softer or lower than the other? The saddle’s done. Replace it rather than nursing it along — a worn saddle costs you far more in body than it saves in dollars.
27. Letting a Seatpost Slip a Few Millimeters Per Ride
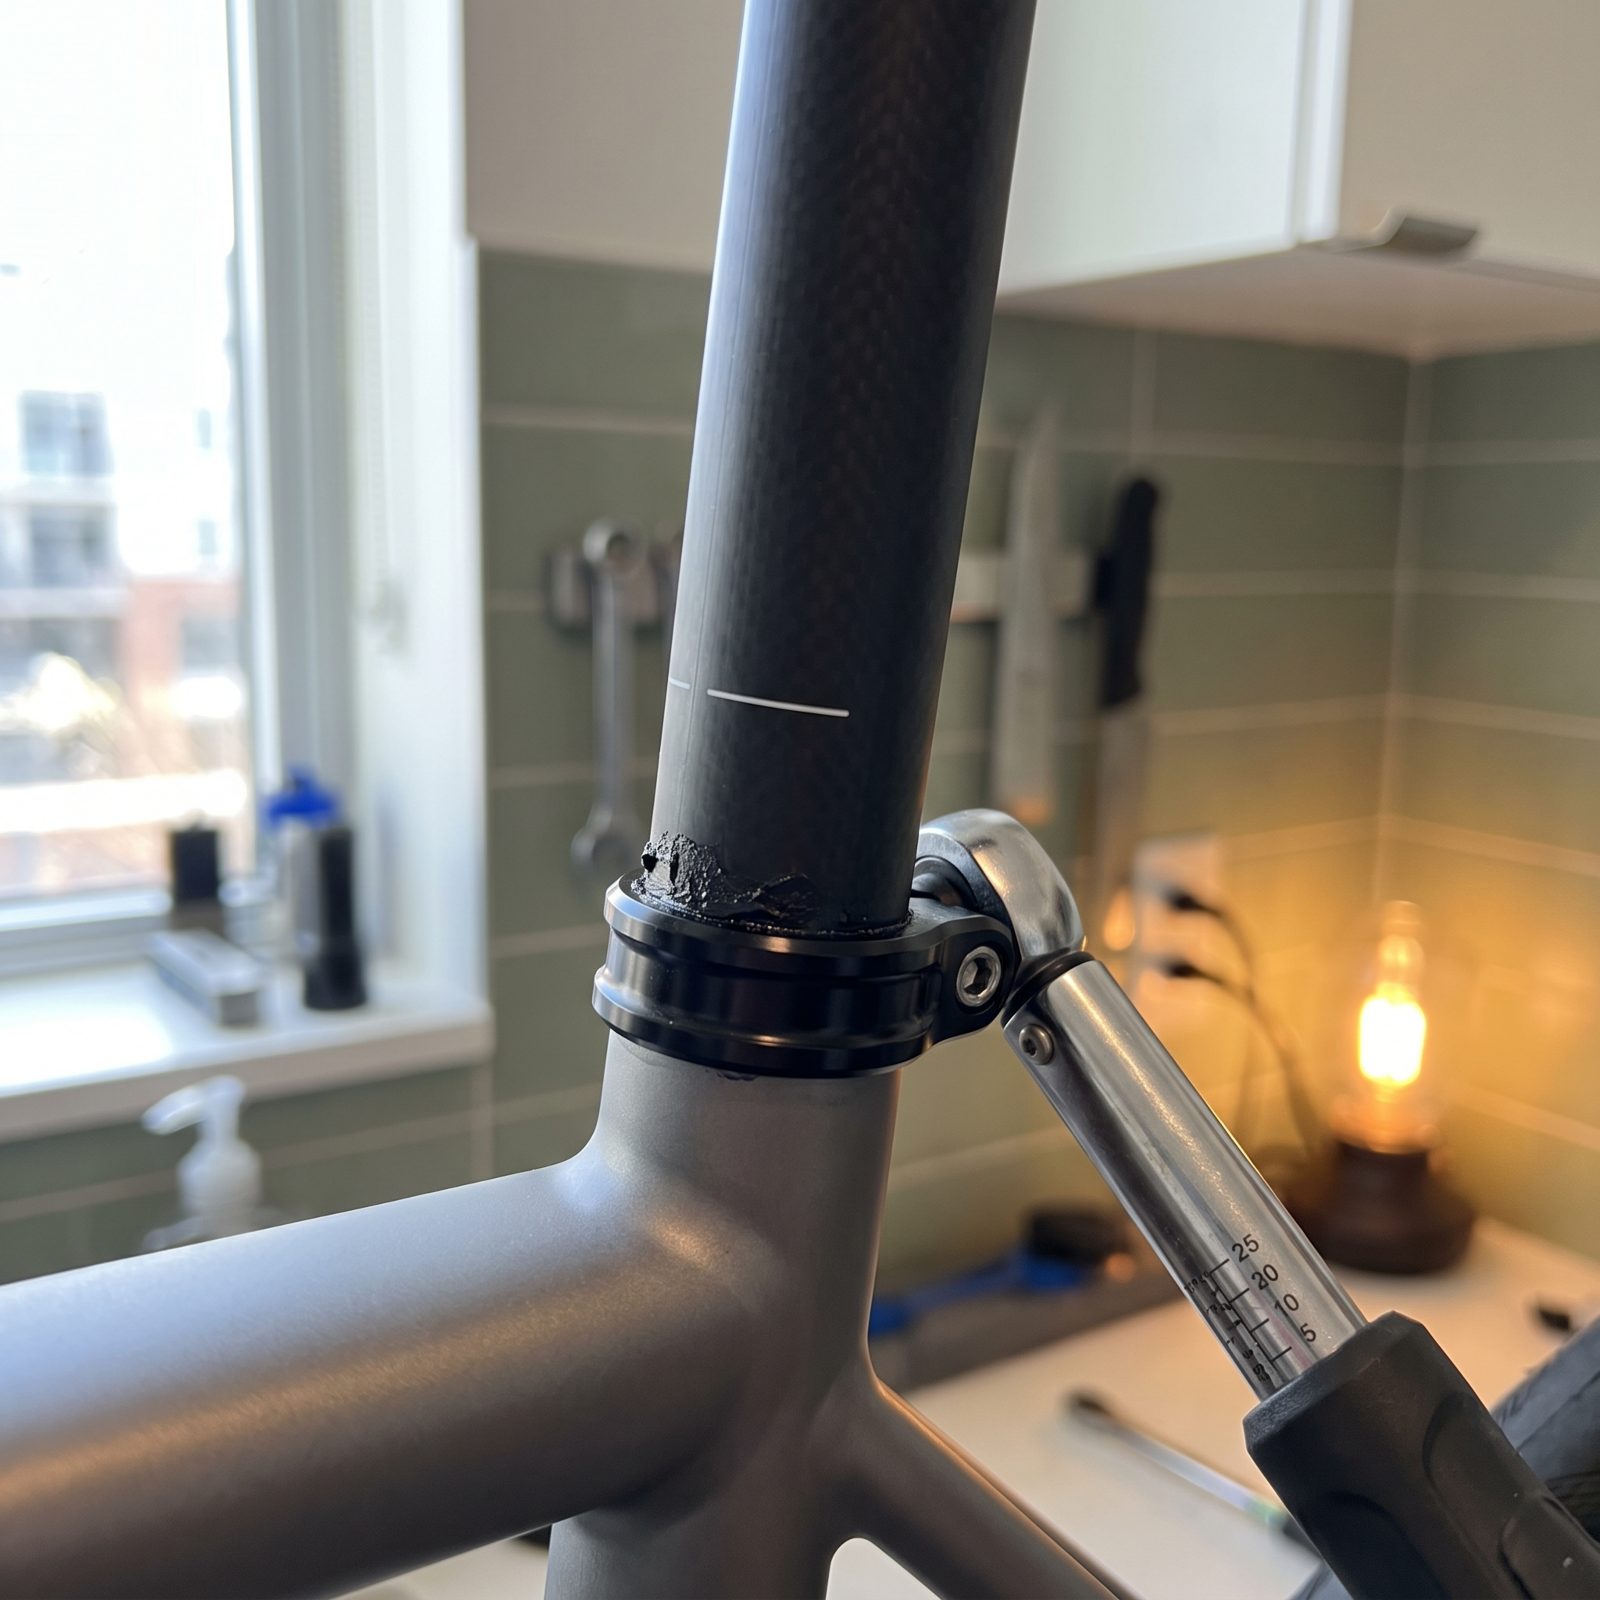
A seatpost that creeps down a millimeter or two a ride is the sneakiest fit killer there is. You never notice the single ride. You notice three weeks later, when your knees ache on every climb and you can’t figure out why — because your saddle is now a full centimeter too low.
Low saddles force your knees into a cramped bend at the top of the stroke, which is exactly where cyclists pick up front-of-knee pain.
So mark your correct height on the post with a strip of electrical tape or a scribe line. Clean the post and collar, add carbon paste or a touch of grease depending on your materials, and torque the clamp to spec. A slipping post usually means a dry or over-loose clamp, not a post that’s too thin.
26. Choosing a Deeply Padded Saddle That Sinks Under Load
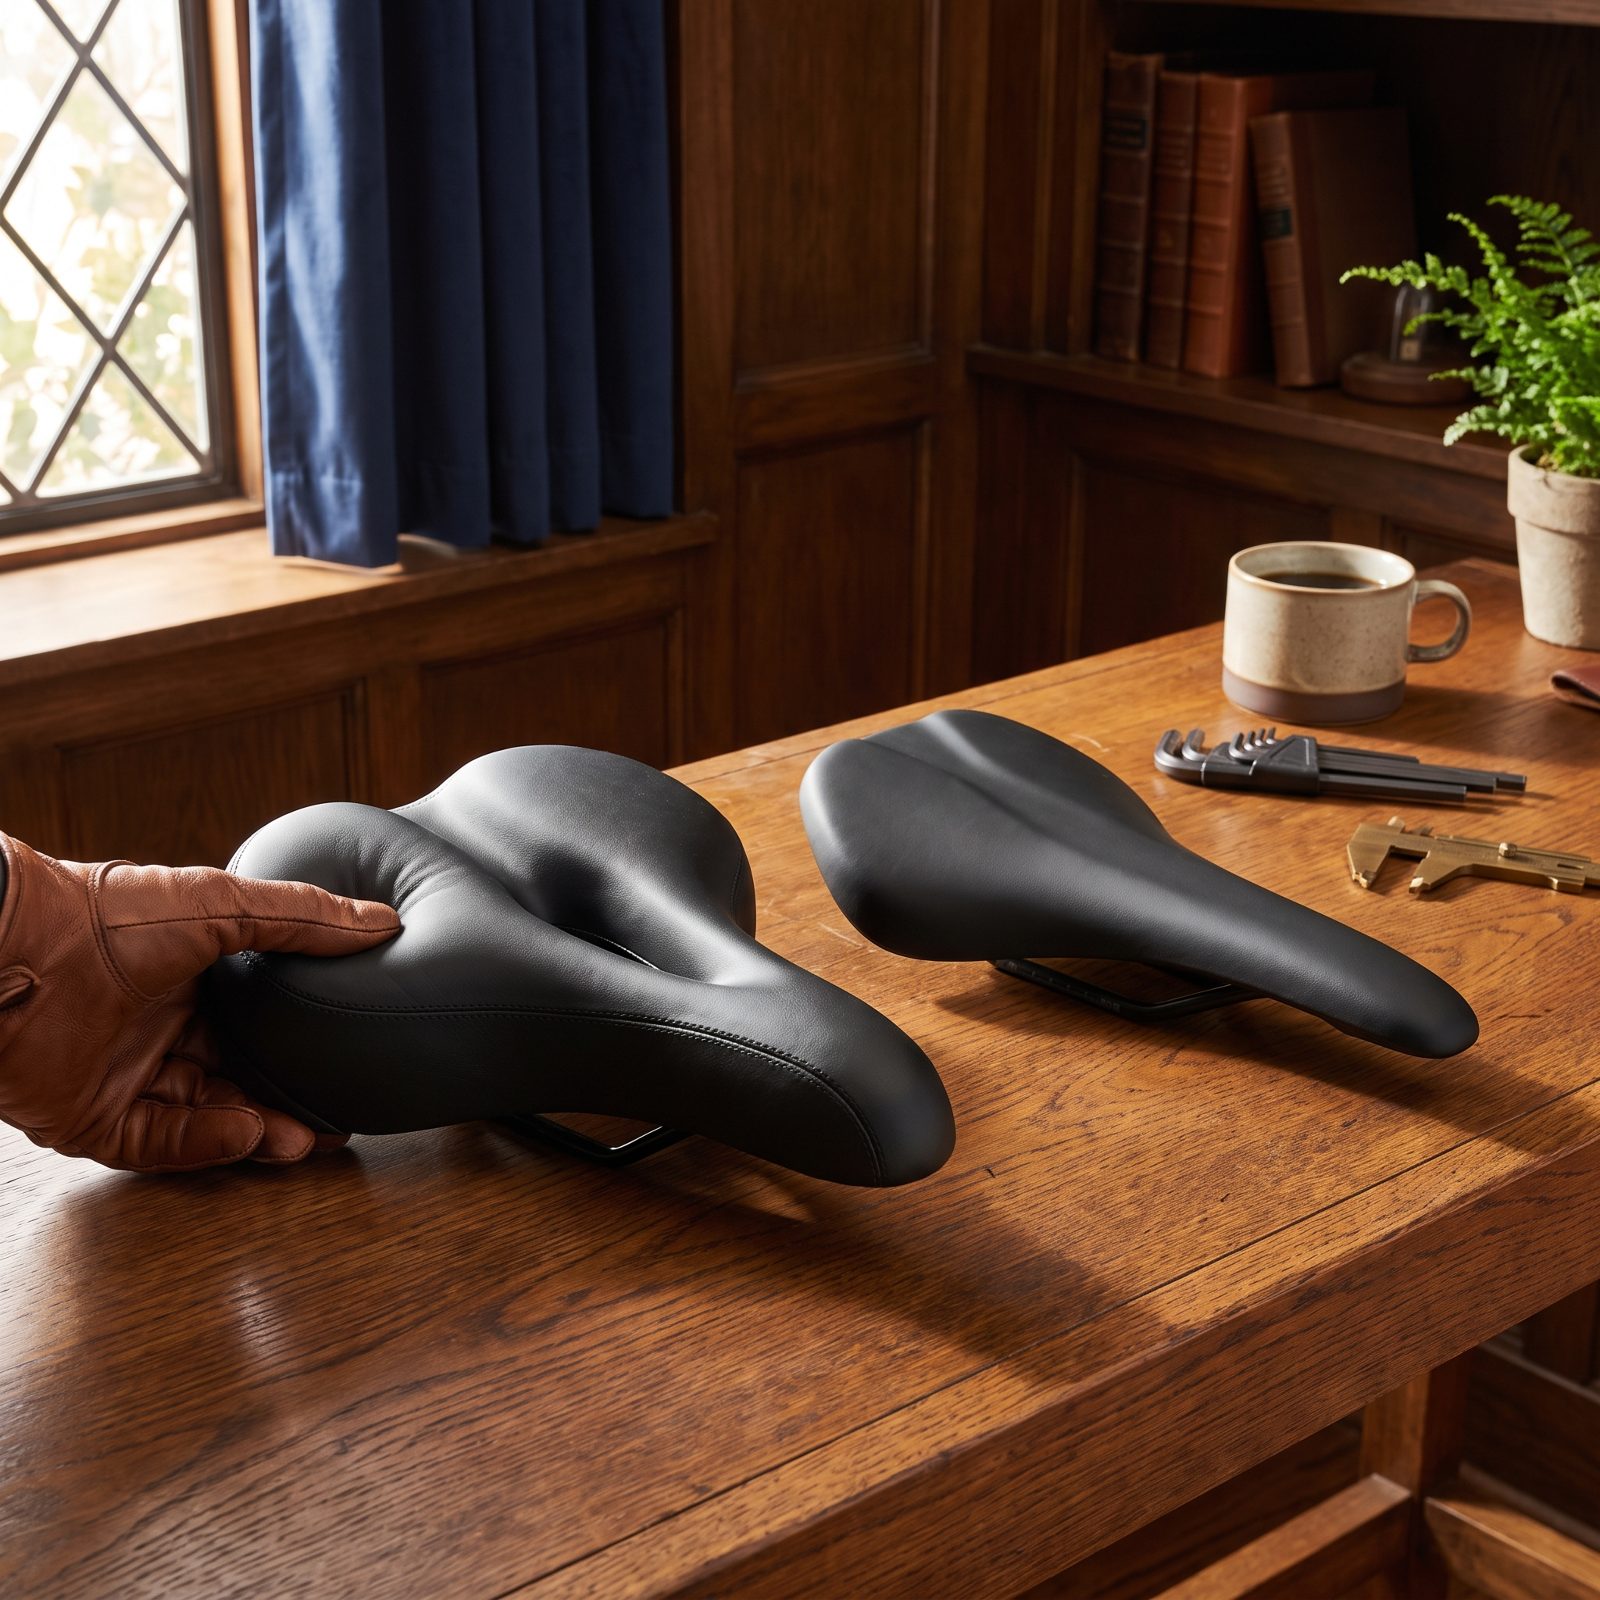
The plush gel saddle feels like a cloud in the shop. On the road your sit bones punch straight through the foam, and you wind up perched on the hard shell while the padding bulges up against your soft tissue. Exactly backwards from what you want.
Deep padding also sinks unevenly under your weight, dropping your effective saddle height and quietly rotating your pelvis. Both feed knee and back soreness on long days.
Go firmer than instinct tells you, and get the width matched to your actual sit-bone spacing. A firm saddle that holds your bones up beats a soft one that swallows them, every single time.
25. Setting Aerobar Pads at Different Heights
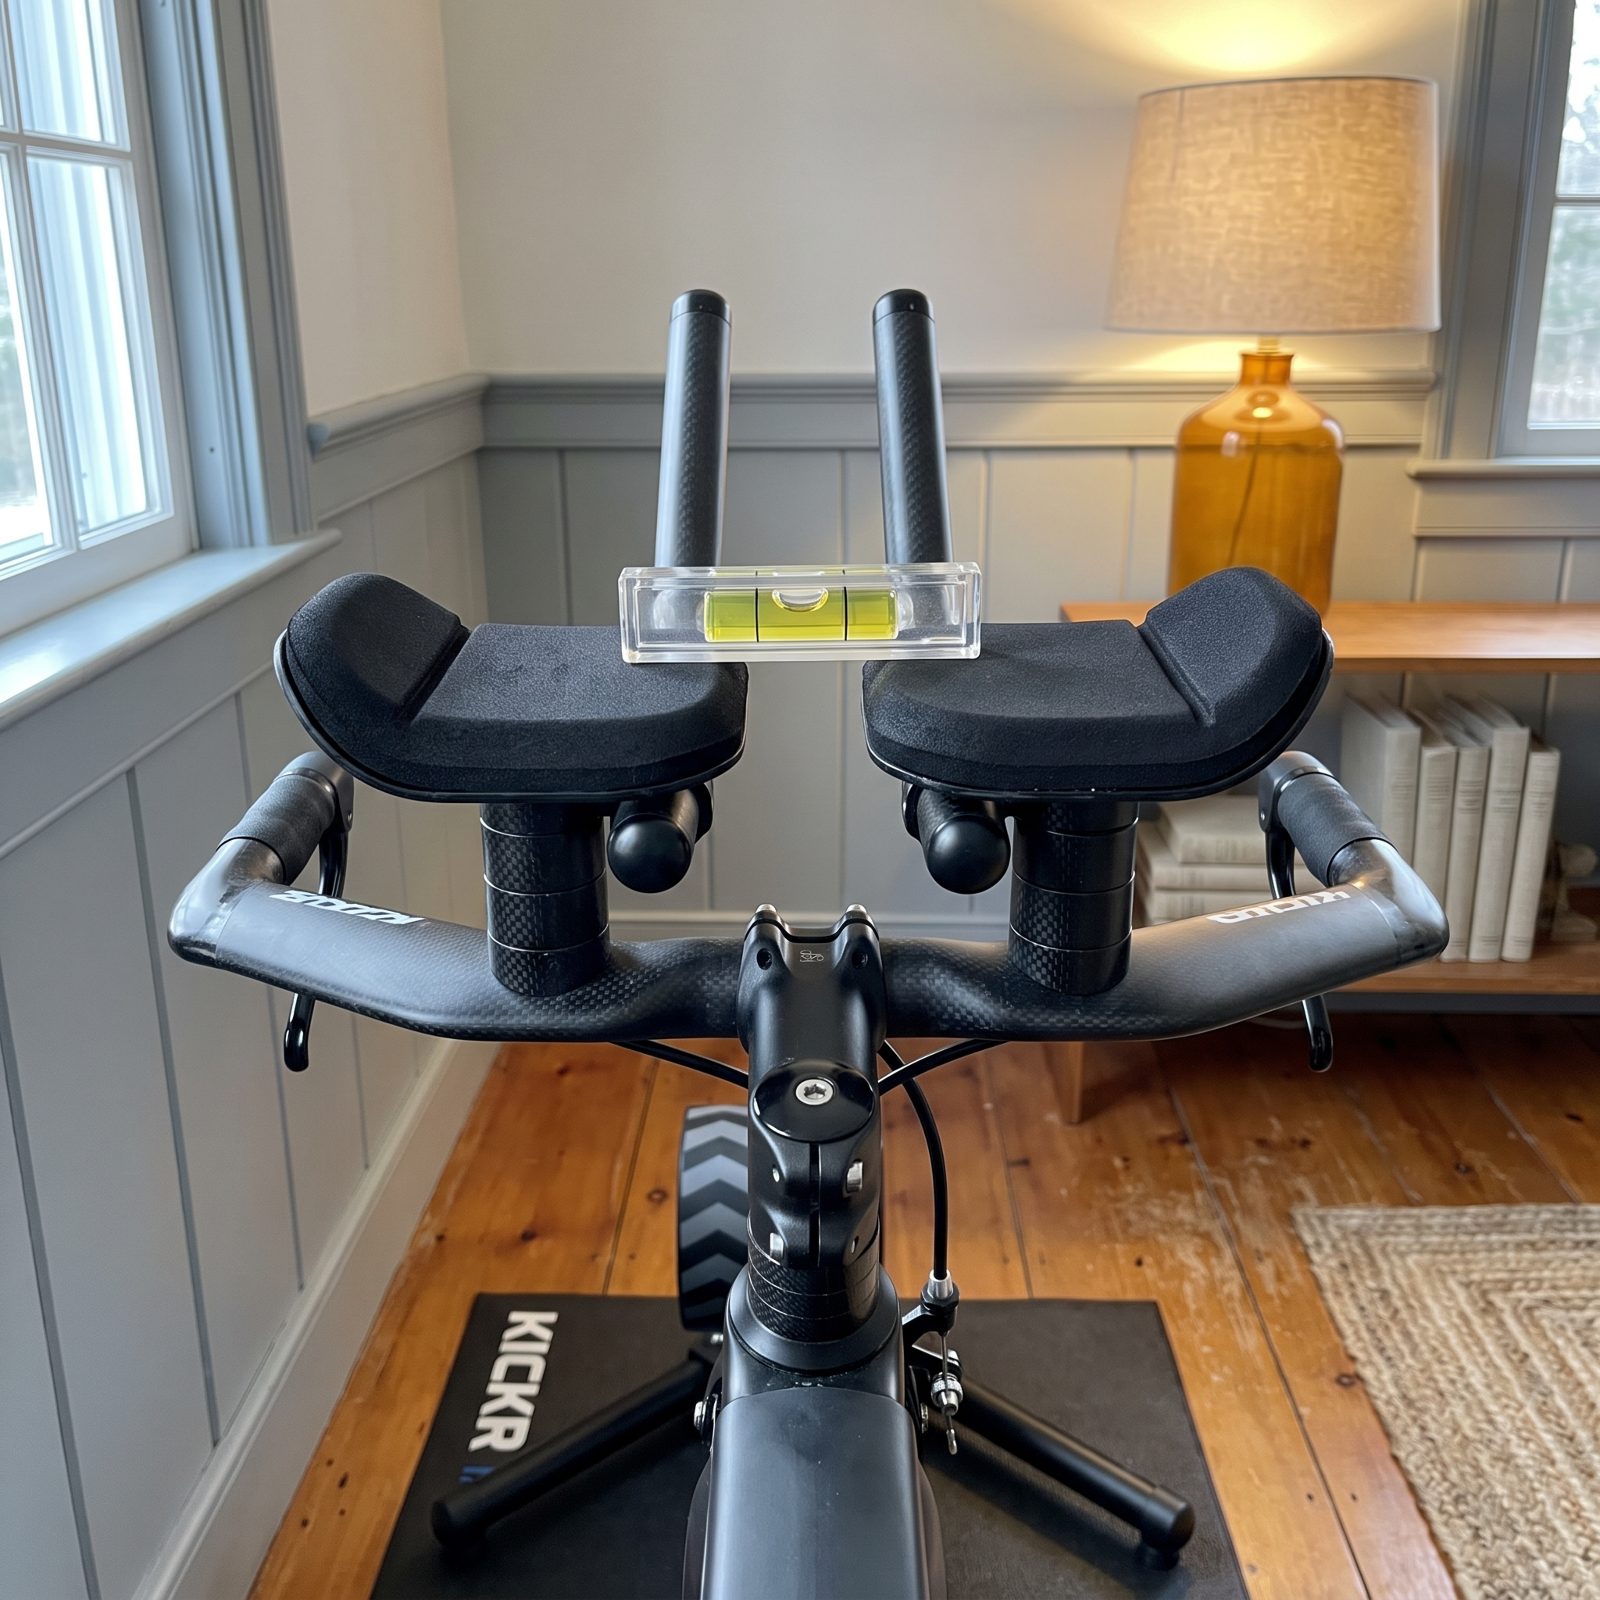
Uneven aerobar pads are a spacer-stack mistake that hides in plain sight. One side gets built up a few millimeters more than the other during a setup, and you lean on it for hours without ever clocking that your whole torso is cocked to one side.
Hold a short bubble level across both pads. A centered bubble, like the one here, means the spacer stacks under each side match. If it drifts off-center, count the spacers under each side and match them, then check that the extensions sit at the same angle too. In the aero tuck, your lower back has nowhere to hide from a lopsided lean.
24. Letting a Wide Top-Tube Bag Push the Knees Outward
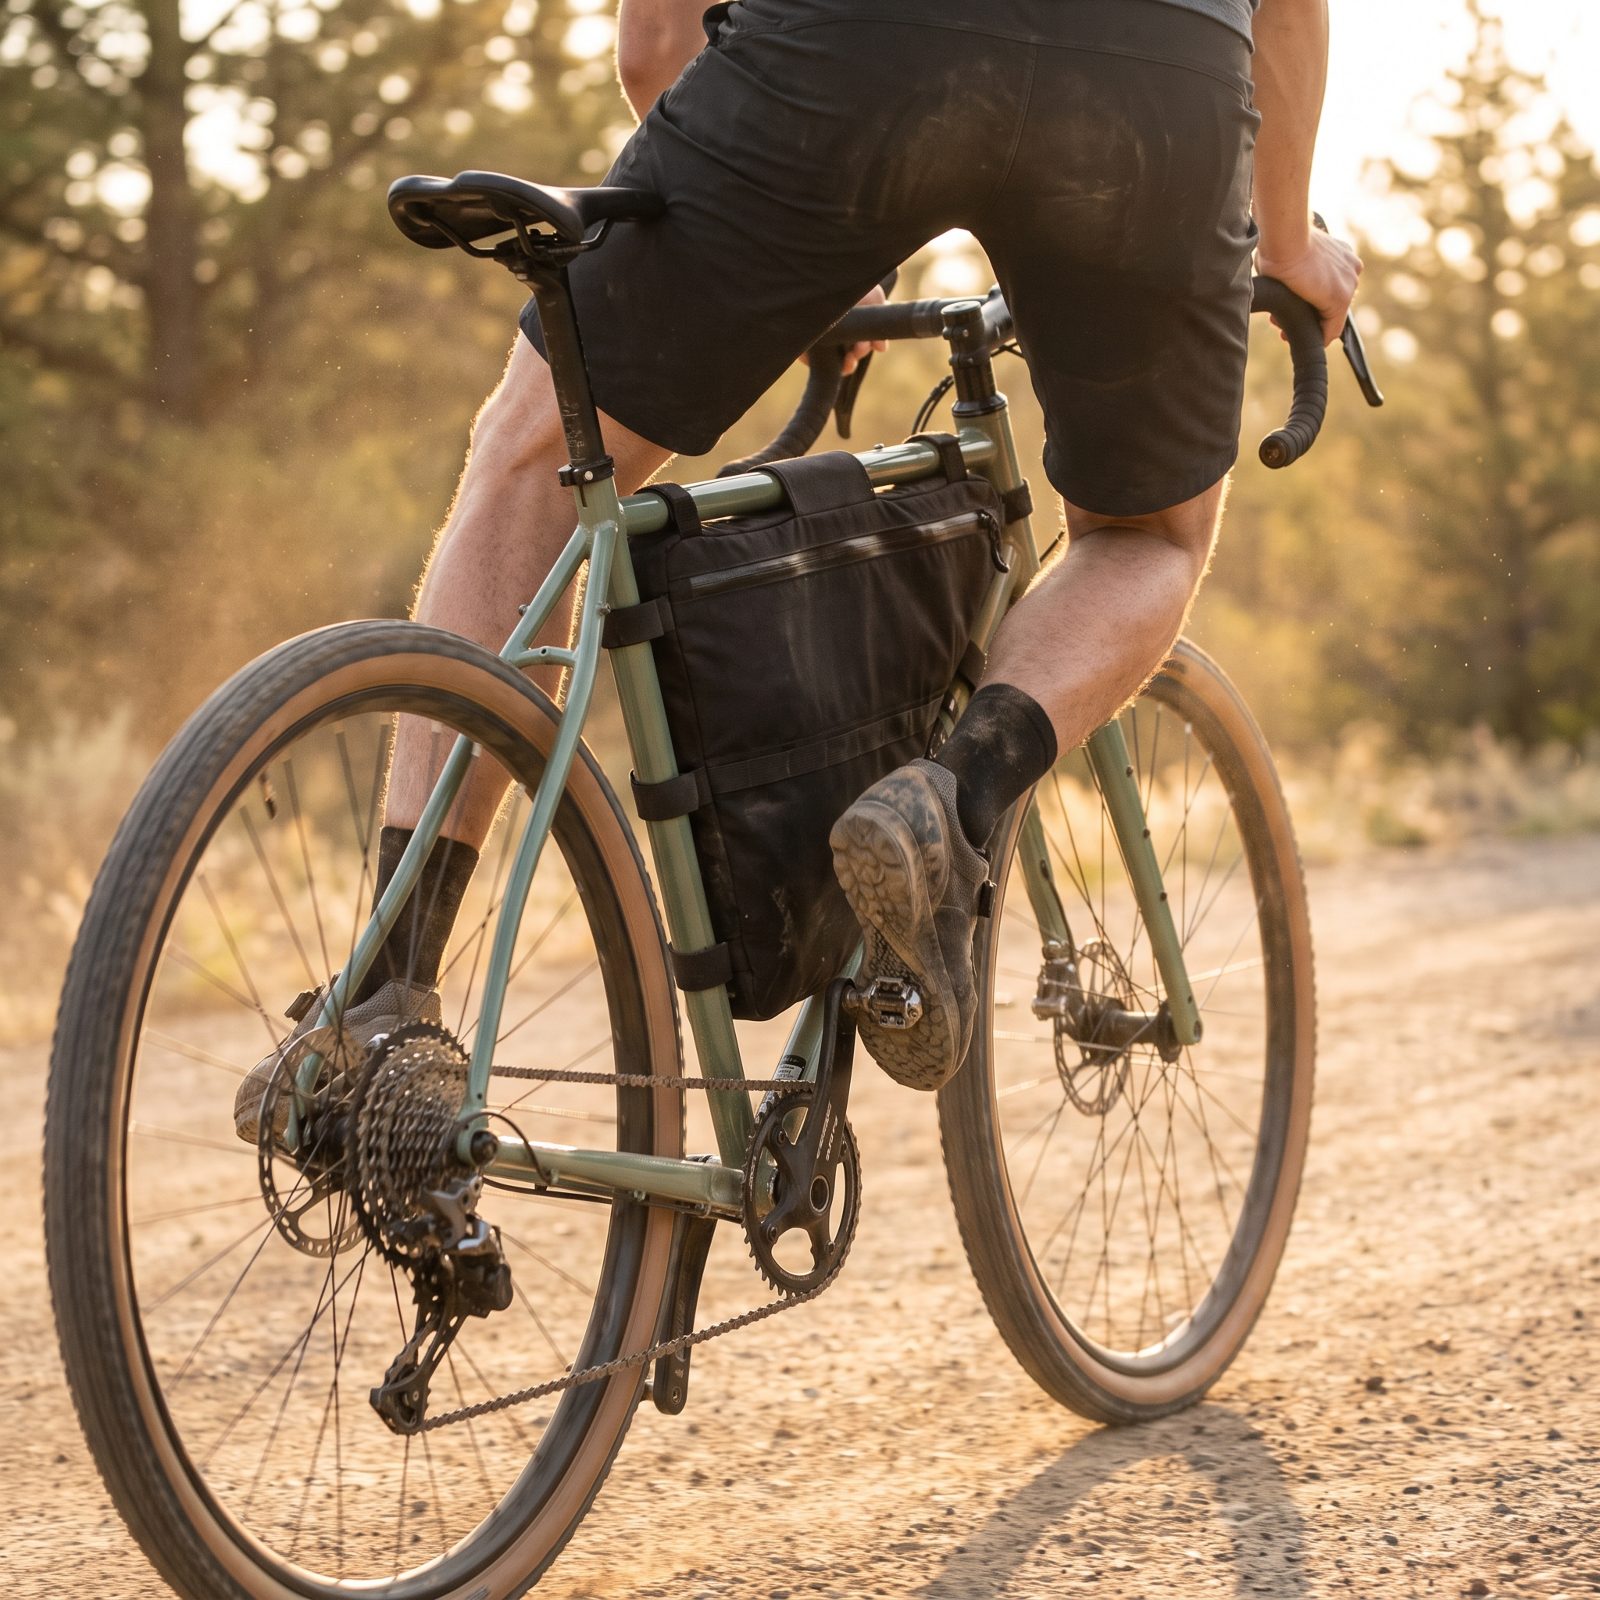
A fat top-tube bag parked right behind the stem seems harmless until your knees start brushing it. To clear the bulge you let your legs bow out, and that outward knee track runs a direct line to pain along the outside of the joint.
Watch your knees from the front for a minute on an indoor trainer. If they flare around the bag, there’s your culprit. Slim the bag down, slide it rearward along the top tube, or shift the load to a seat pack. Your knees want to drive straight up and down past the bag, as this rider’s do here, not detour around luggage.
23. Carrying a Heavy Pannier on Only One Side
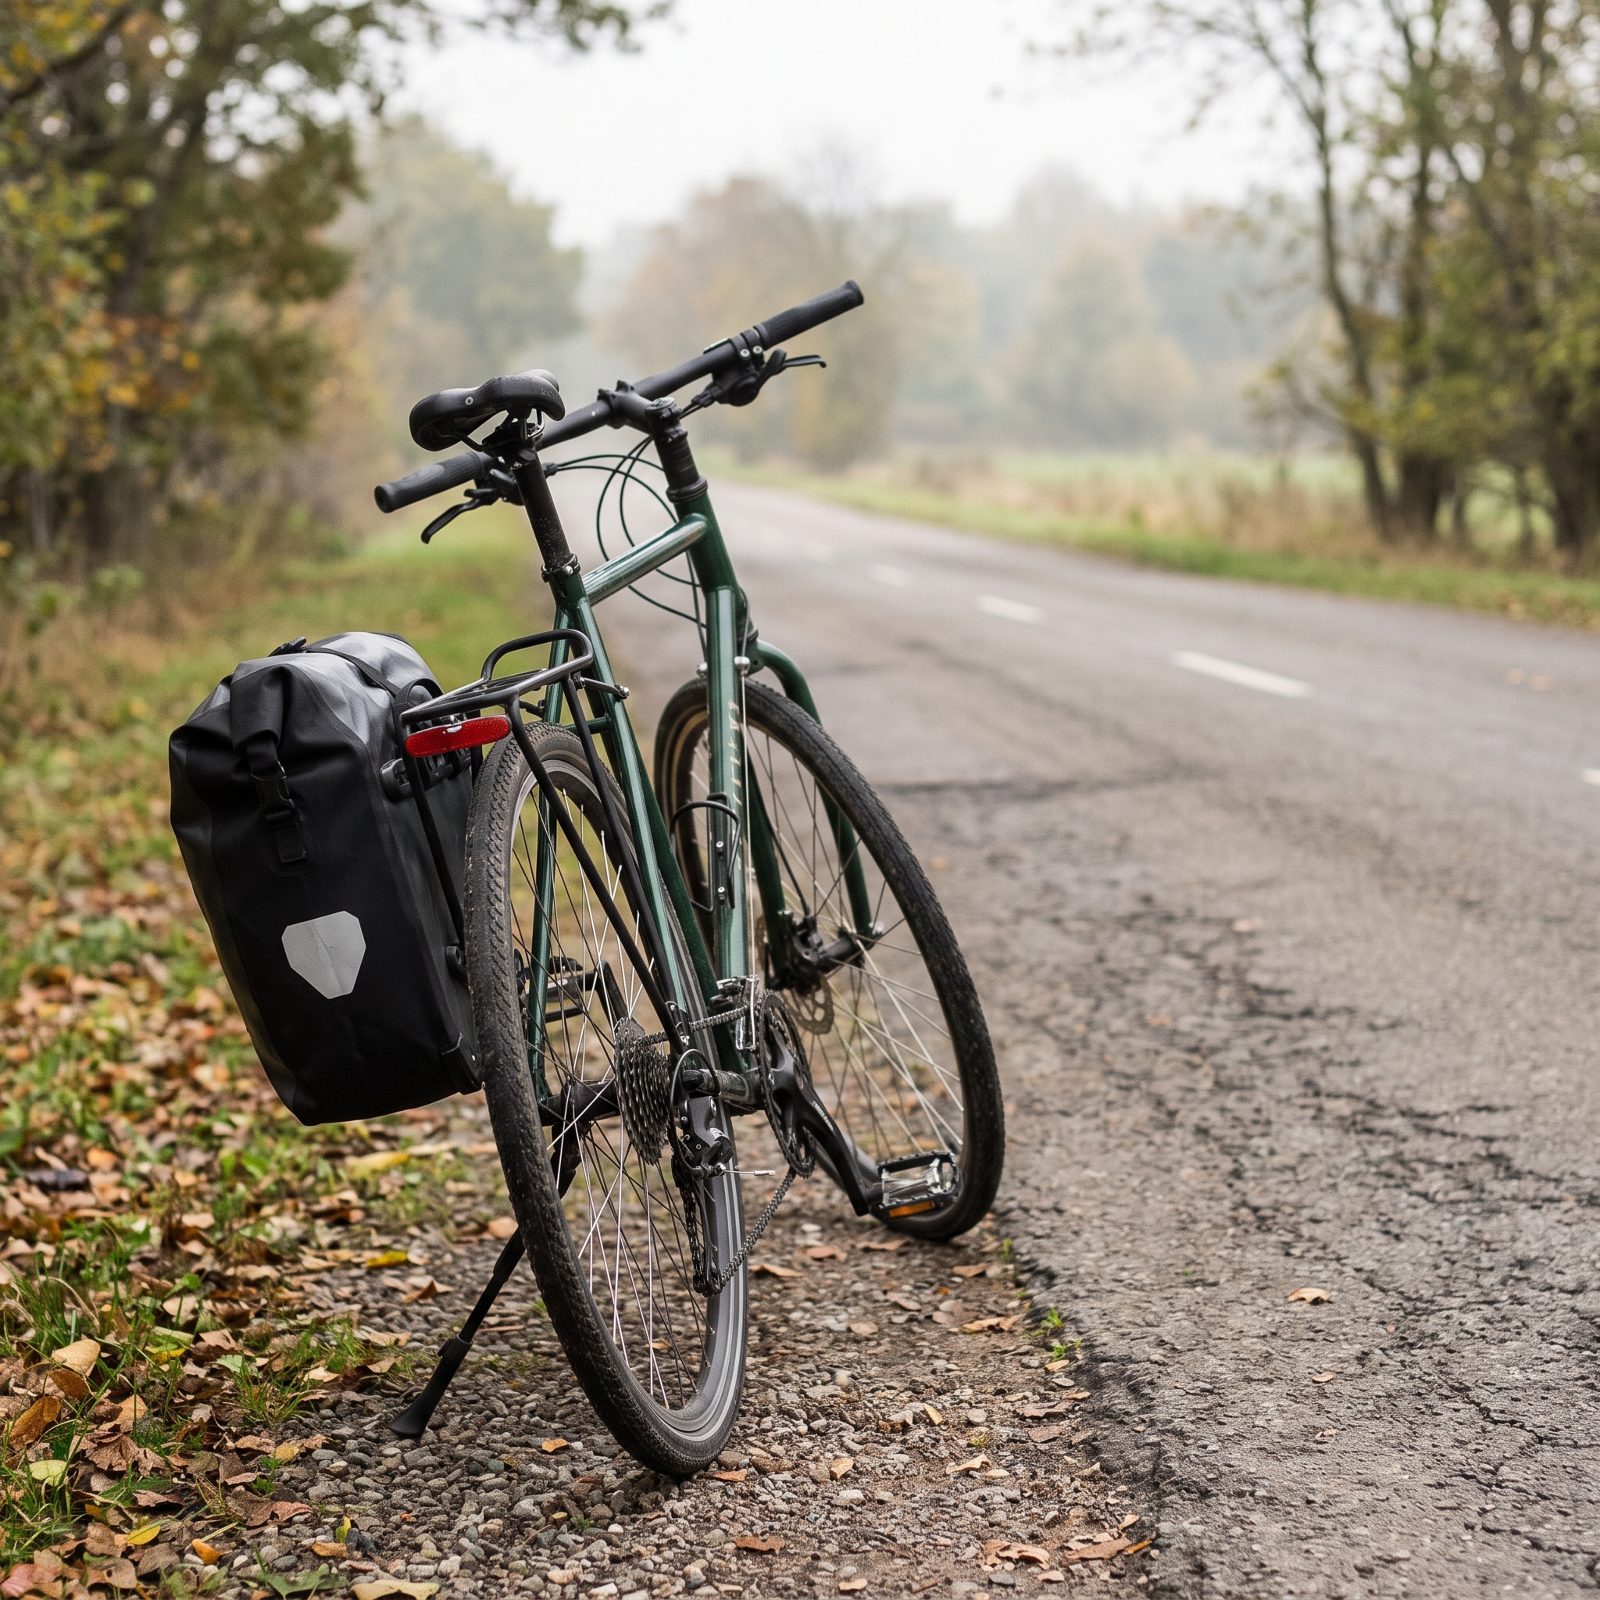
One loaded pannier and one empty rail — the commuter’s classic shortcut. The bike leans, you compensate by holding your torso off-center, and your lower back works overtime the whole ride to keep you upright against that pull.
Split the load across both sides even when you don’t need the second bag’s capacity. Put heavy items low and toward the front of the panniers to keep the handling calm. And if you only own one pannier, a centered saddlebag or a front basket beats hanging everything off one hip.
22. Coasting With One Hip Dropped for Long Descents
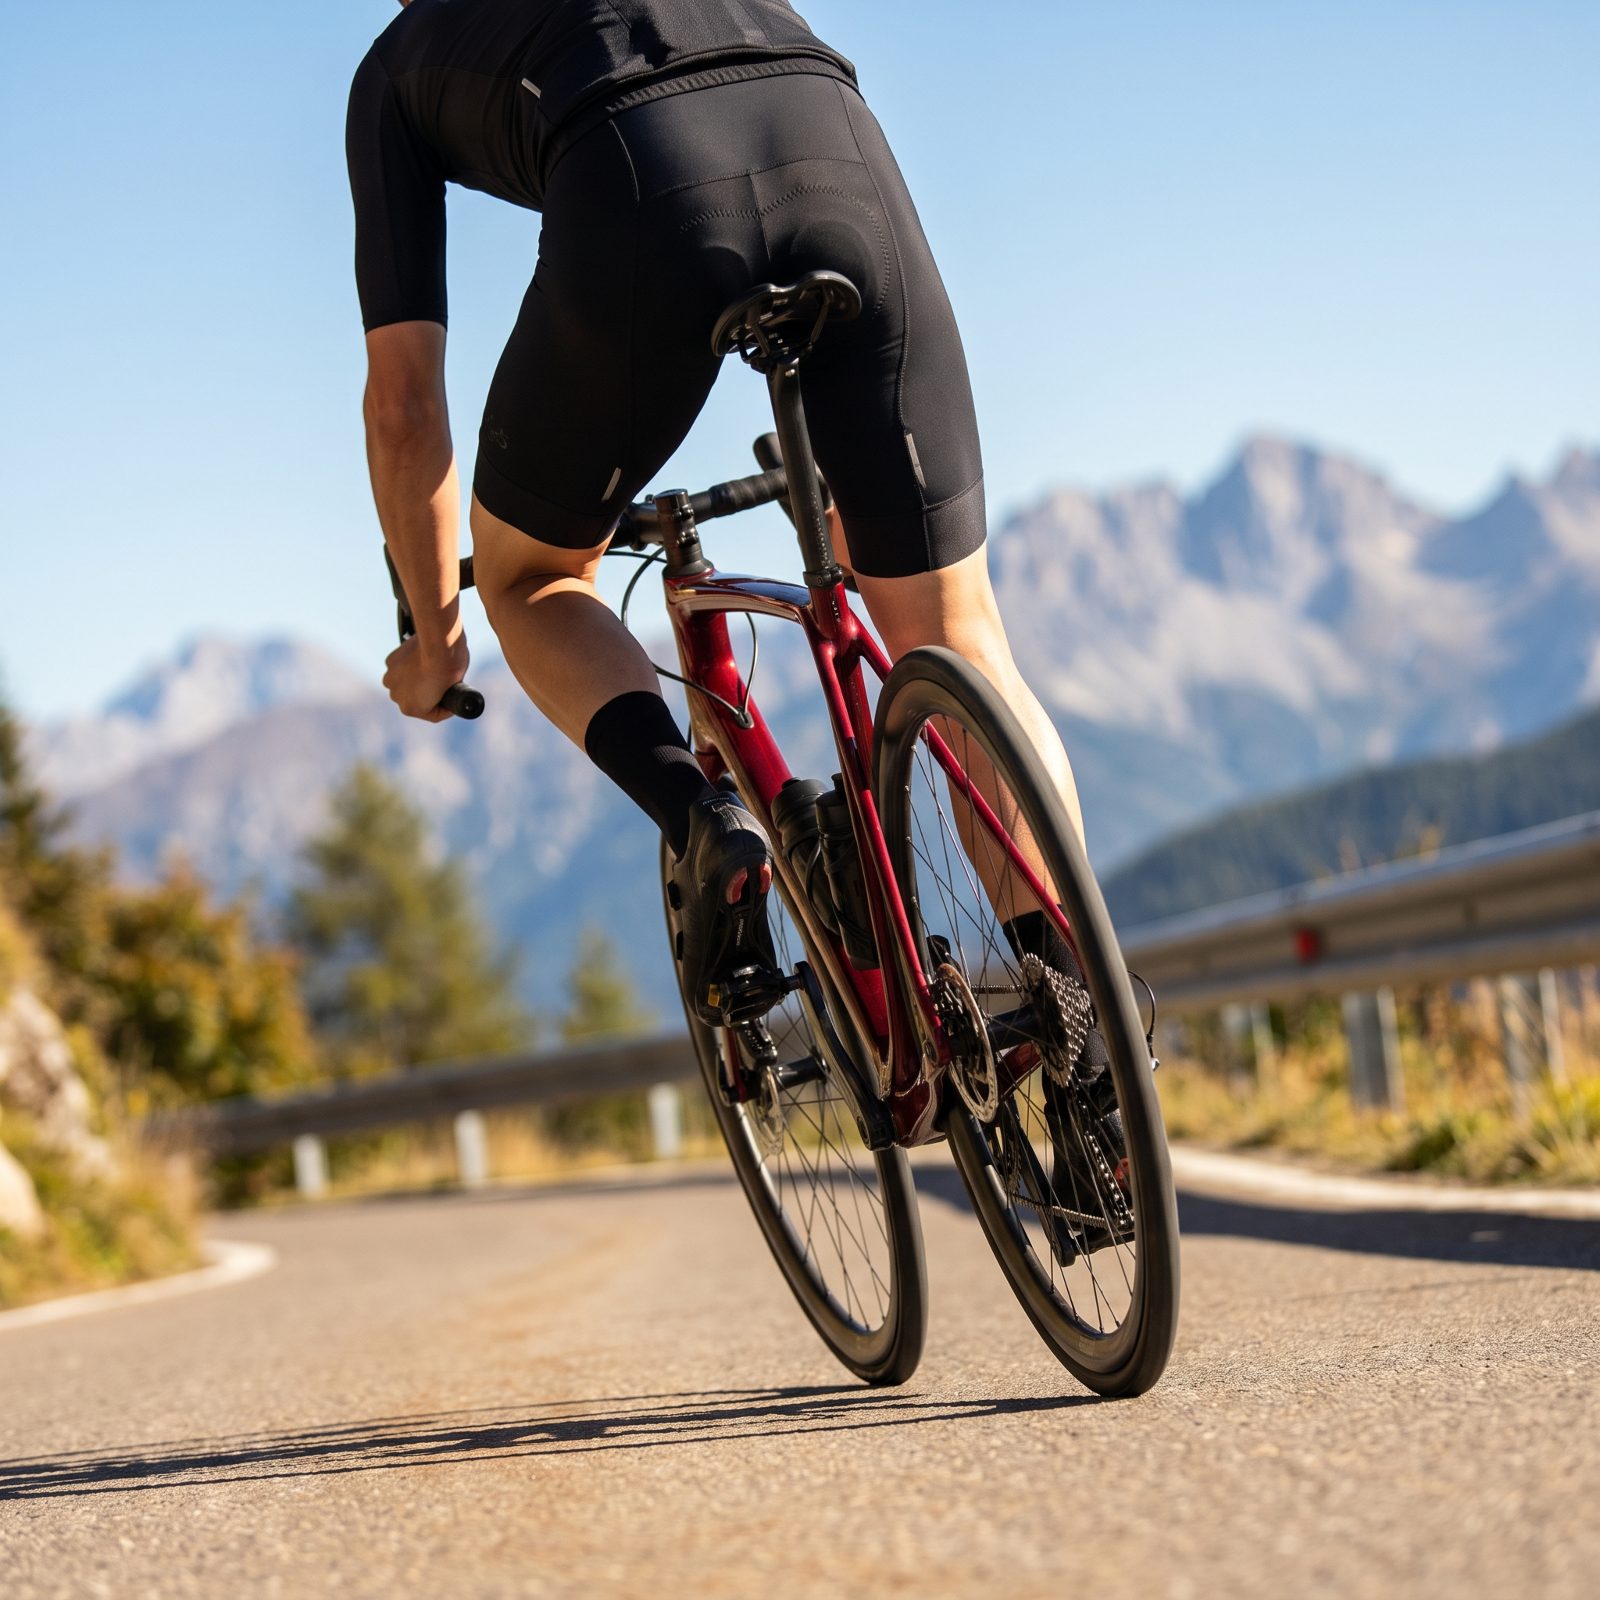
Everybody has a lazy-coast habit. You stop pedaling, drop a hip into the saddle, and ride out a five-minute descent slumped to one side. One descent is nothing. String together a whole trip of long downhills held in that collapsed posture, though, and your back will have words with you at camp.
Keep your cranks level and your weight centered when you coast. Put slight, even pressure into both pedals, soften your elbows, and let your core carry you instead of letting you hang off the saddle. Ride a long descent like you’re still working — just without the pedaling.
21. Ignoring a Functional Leg-Length Difference During Bike Fit
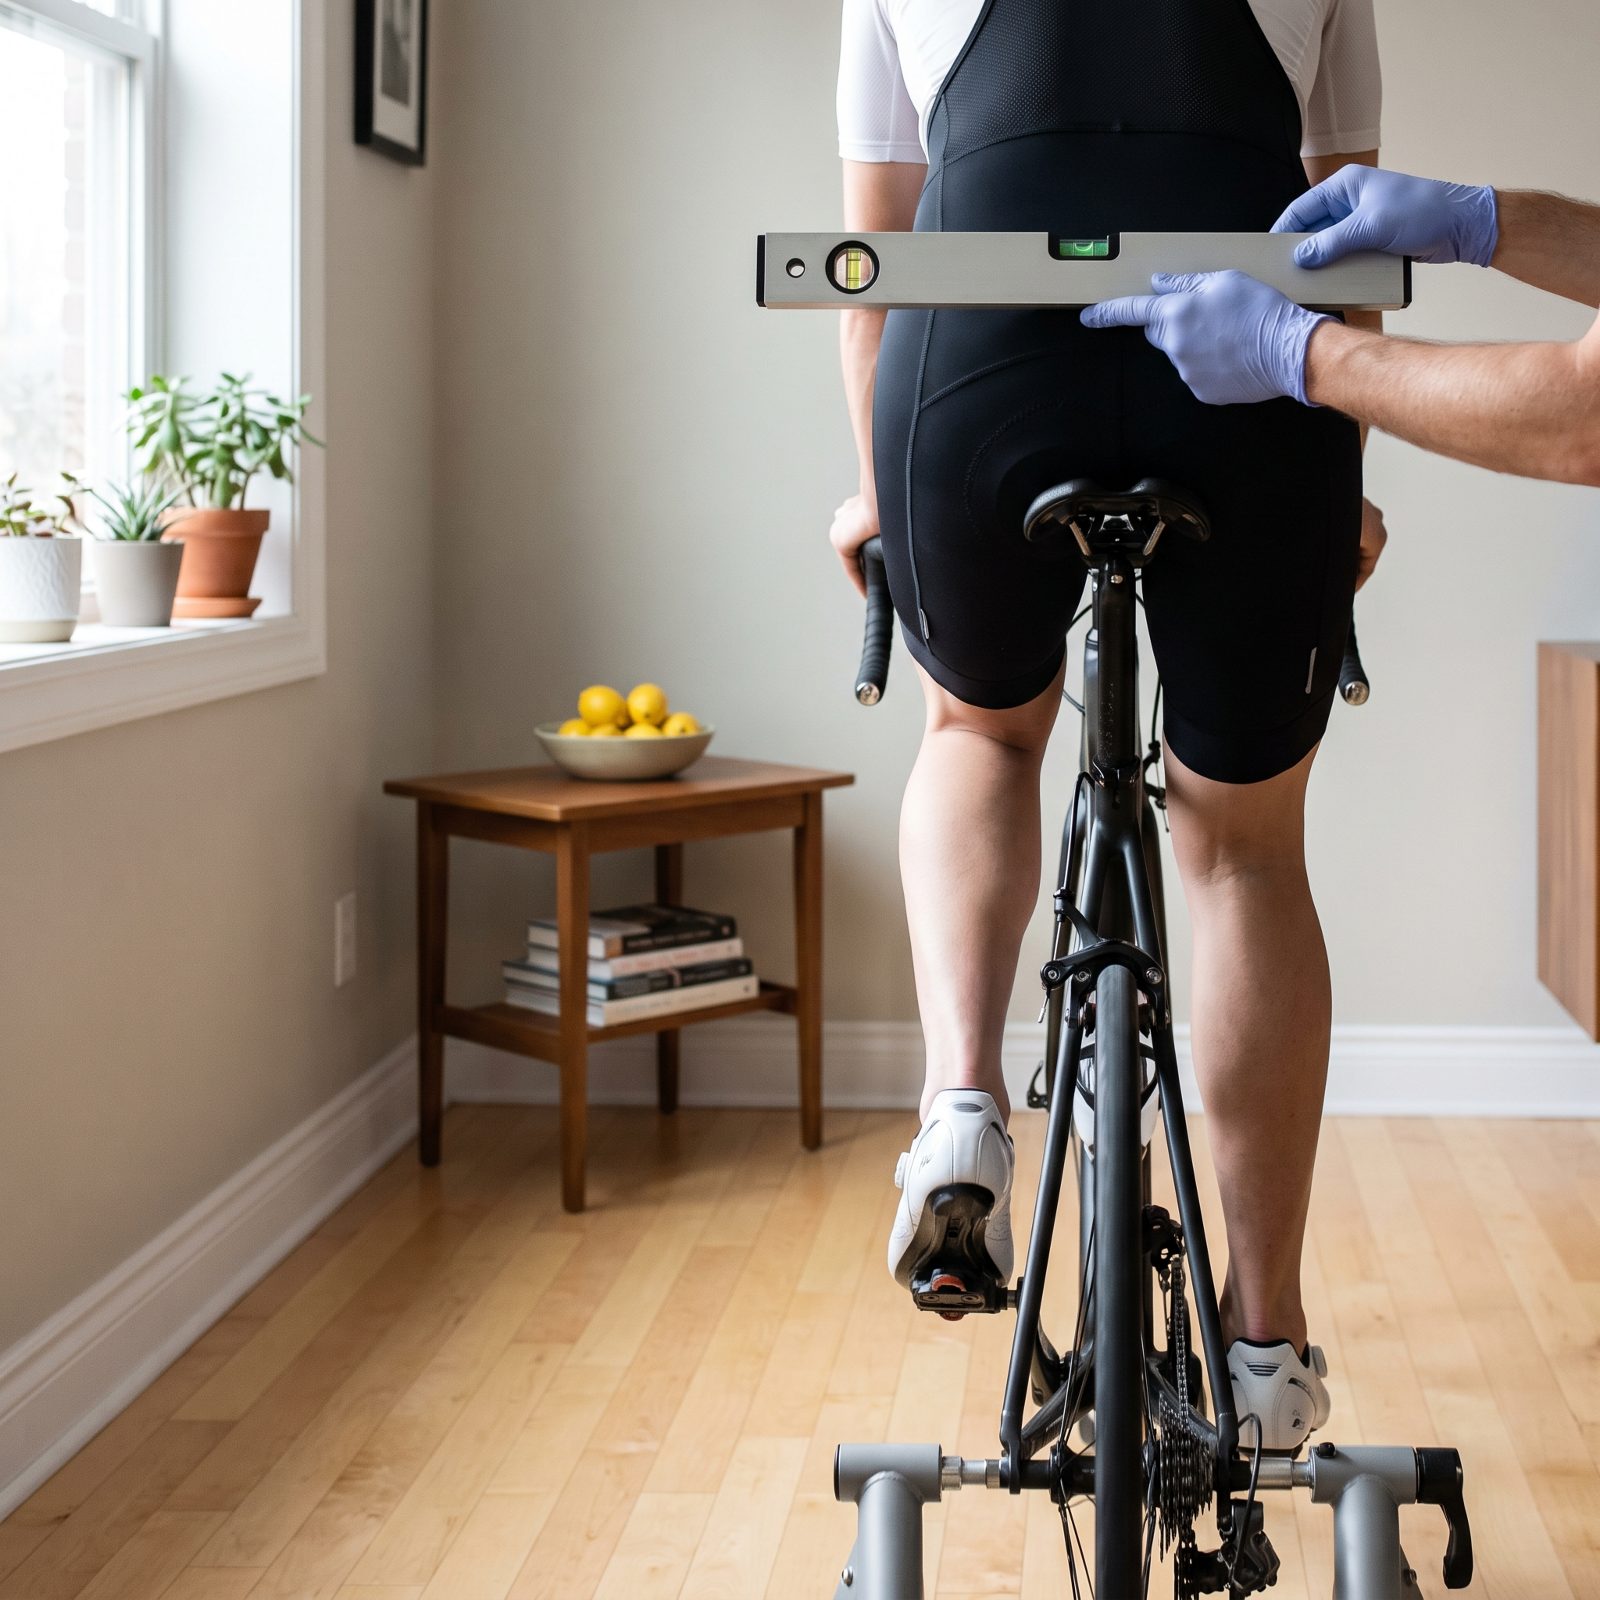
Most people have one leg slightly longer than the other, and plenty of bike fits never bother to check. The telltale sign is a hip that rocks at the bottom of each stroke, your pelvis see-sawing to reach the pedal with the short leg. That rocking grinds away at your back and at the knee of your longer leg.
Film yourself pedaling from behind, or have someone watch. A rocking hip jumps out once you look. The corrections are real and simple: a cleat shim under the short-leg shoe, a slightly different cleat fore-aft, sometimes a small saddle tweak.
Get a proper fitter involved for this one. Shim the wrong side and you make it worse, and a trained eye separates functional from structural differences fast.
20. Using a Helmet Visor That Forces the Head Upward
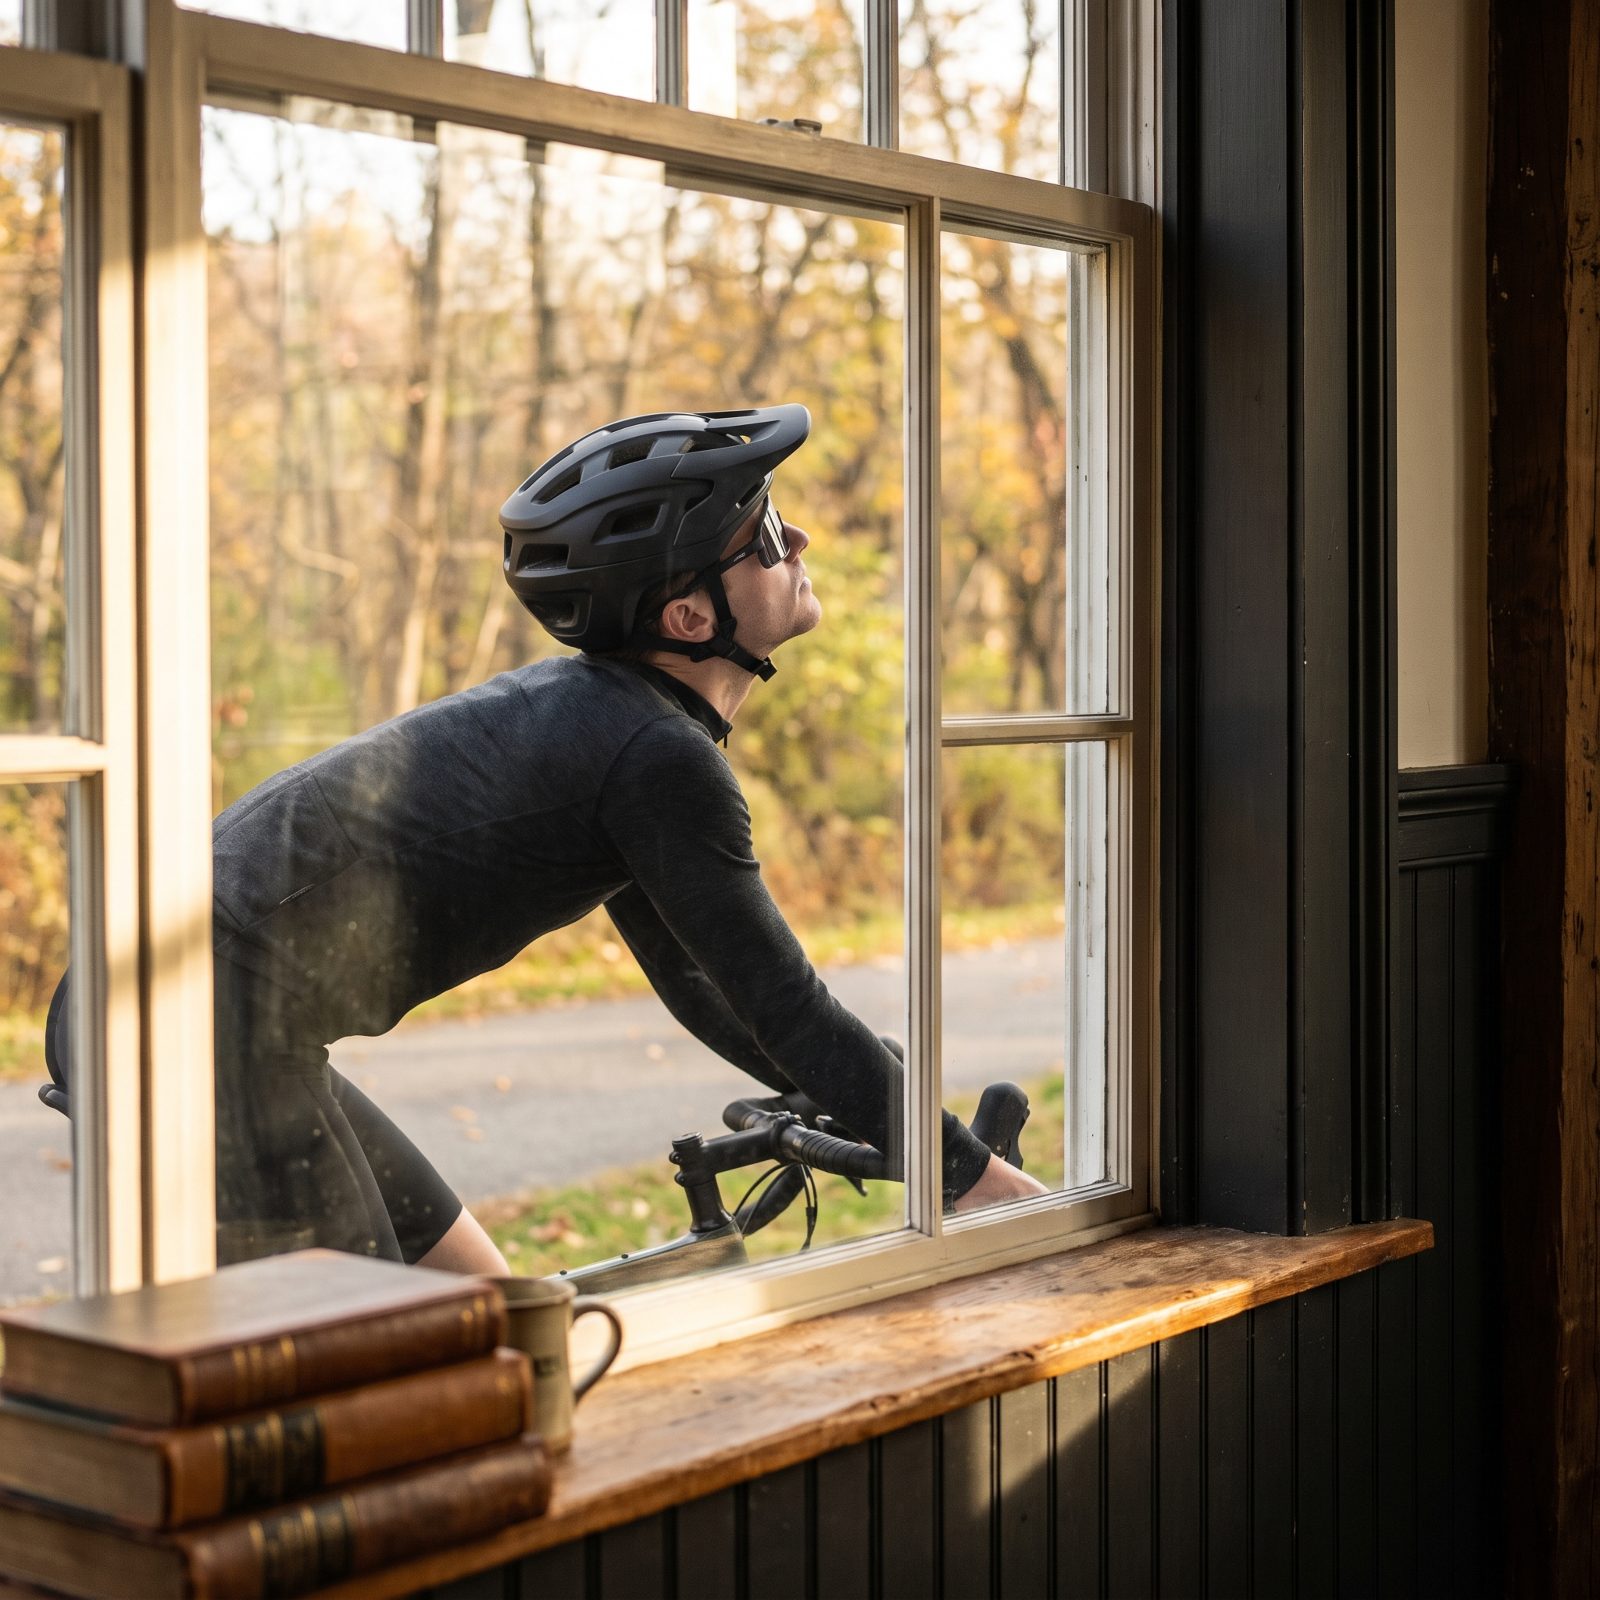
A long visor looks sharp and earns its keep on steep trails. Bolt that same deep-brimmed lid onto a road or endurance bike where you ride lower, though, and the brim drops right into your sightline. To see where you’re going you crane your head back, and your neck and upper back hold that strained angle for hours.
Match the visor to your riding position, not the look. Lower, head-down riding wants a short visor or none at all. A tipped-back head on a long ride is a sore neck waiting to happen, and no amount of stretching fixes a helmet that’s fighting you.
19. Mounting Navigation So Low It Requires Constant Neck Bending
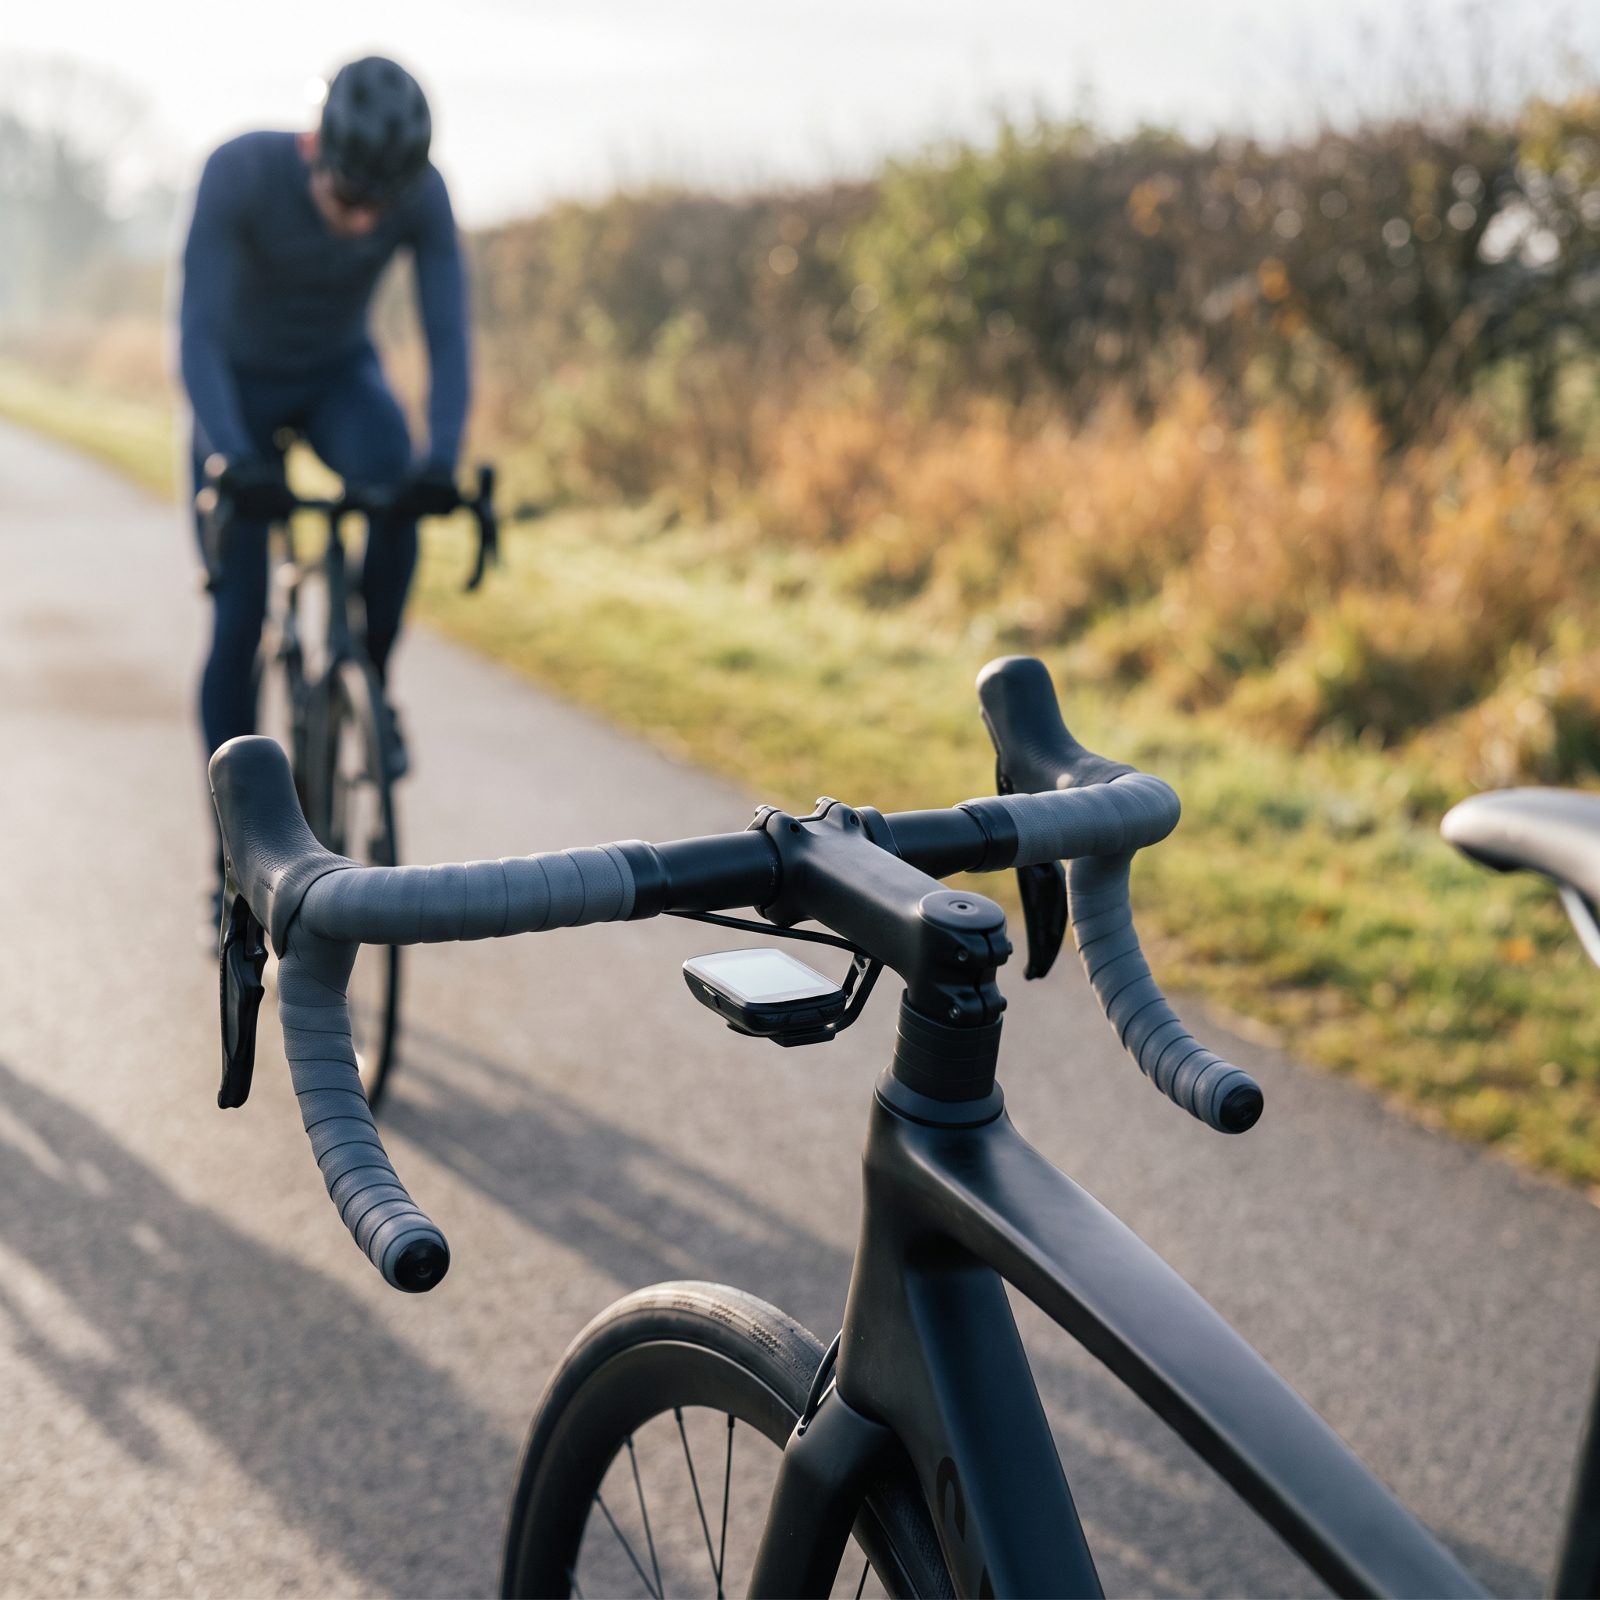
You bolt the computer flat against the stem, down near the head tube, so it sits almost between the fork legs, which means every glance at your speed or the next turn forces your chin to your chest. Over an hour that’s a thousand small nods, each one loading the base of your neck and the muscles between your shoulder blades.
The soreness shows up the next morning as a stiff band across the top of your spine. Raise the unit. An out-front mount that puts the screen level with the bars lets your eyes do the work your neck has been doing.
18. Checking Behind by Twisting Only Through the Lower Back
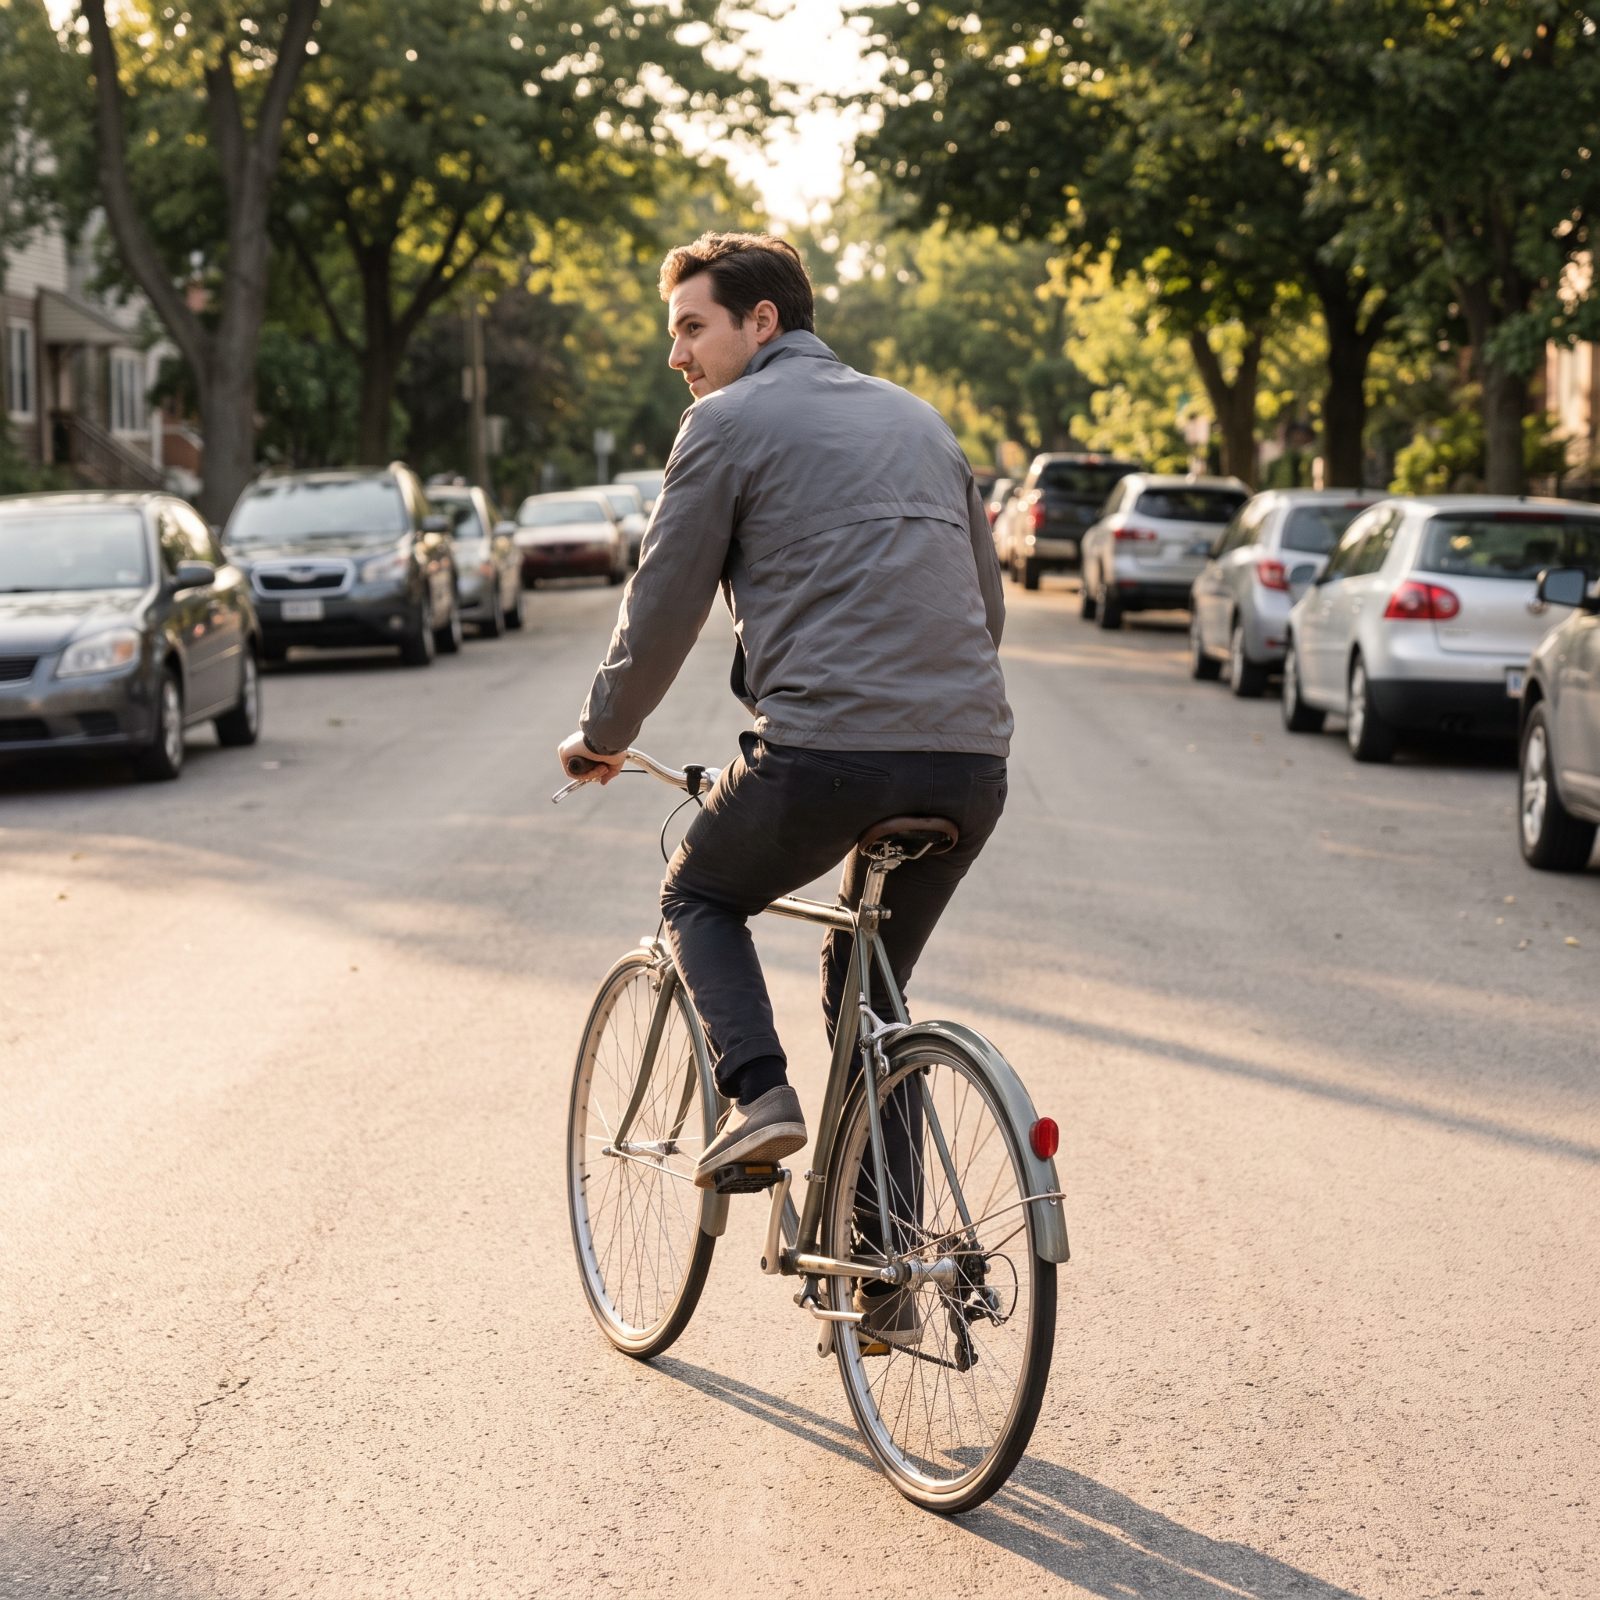
Most people check behind them for traffic by wrenching the whole lower spine around, hips locked to the saddle, lumbar doing all the rotation. Do that a few hundred times on a ride down the street and the lower back files a complaint.
The rotation belongs to the thoracic spine, the stretch of back behind your ribs that’s actually built for turning. Keep your hips planted, let your chest and shoulders do the twist, tip your chin toward your shoulder. Can’t see enough that way? A handlebar or helmet mirror spares your spine the trouble entirely.
17. Leaving One Brake Hood Higher Than the Other
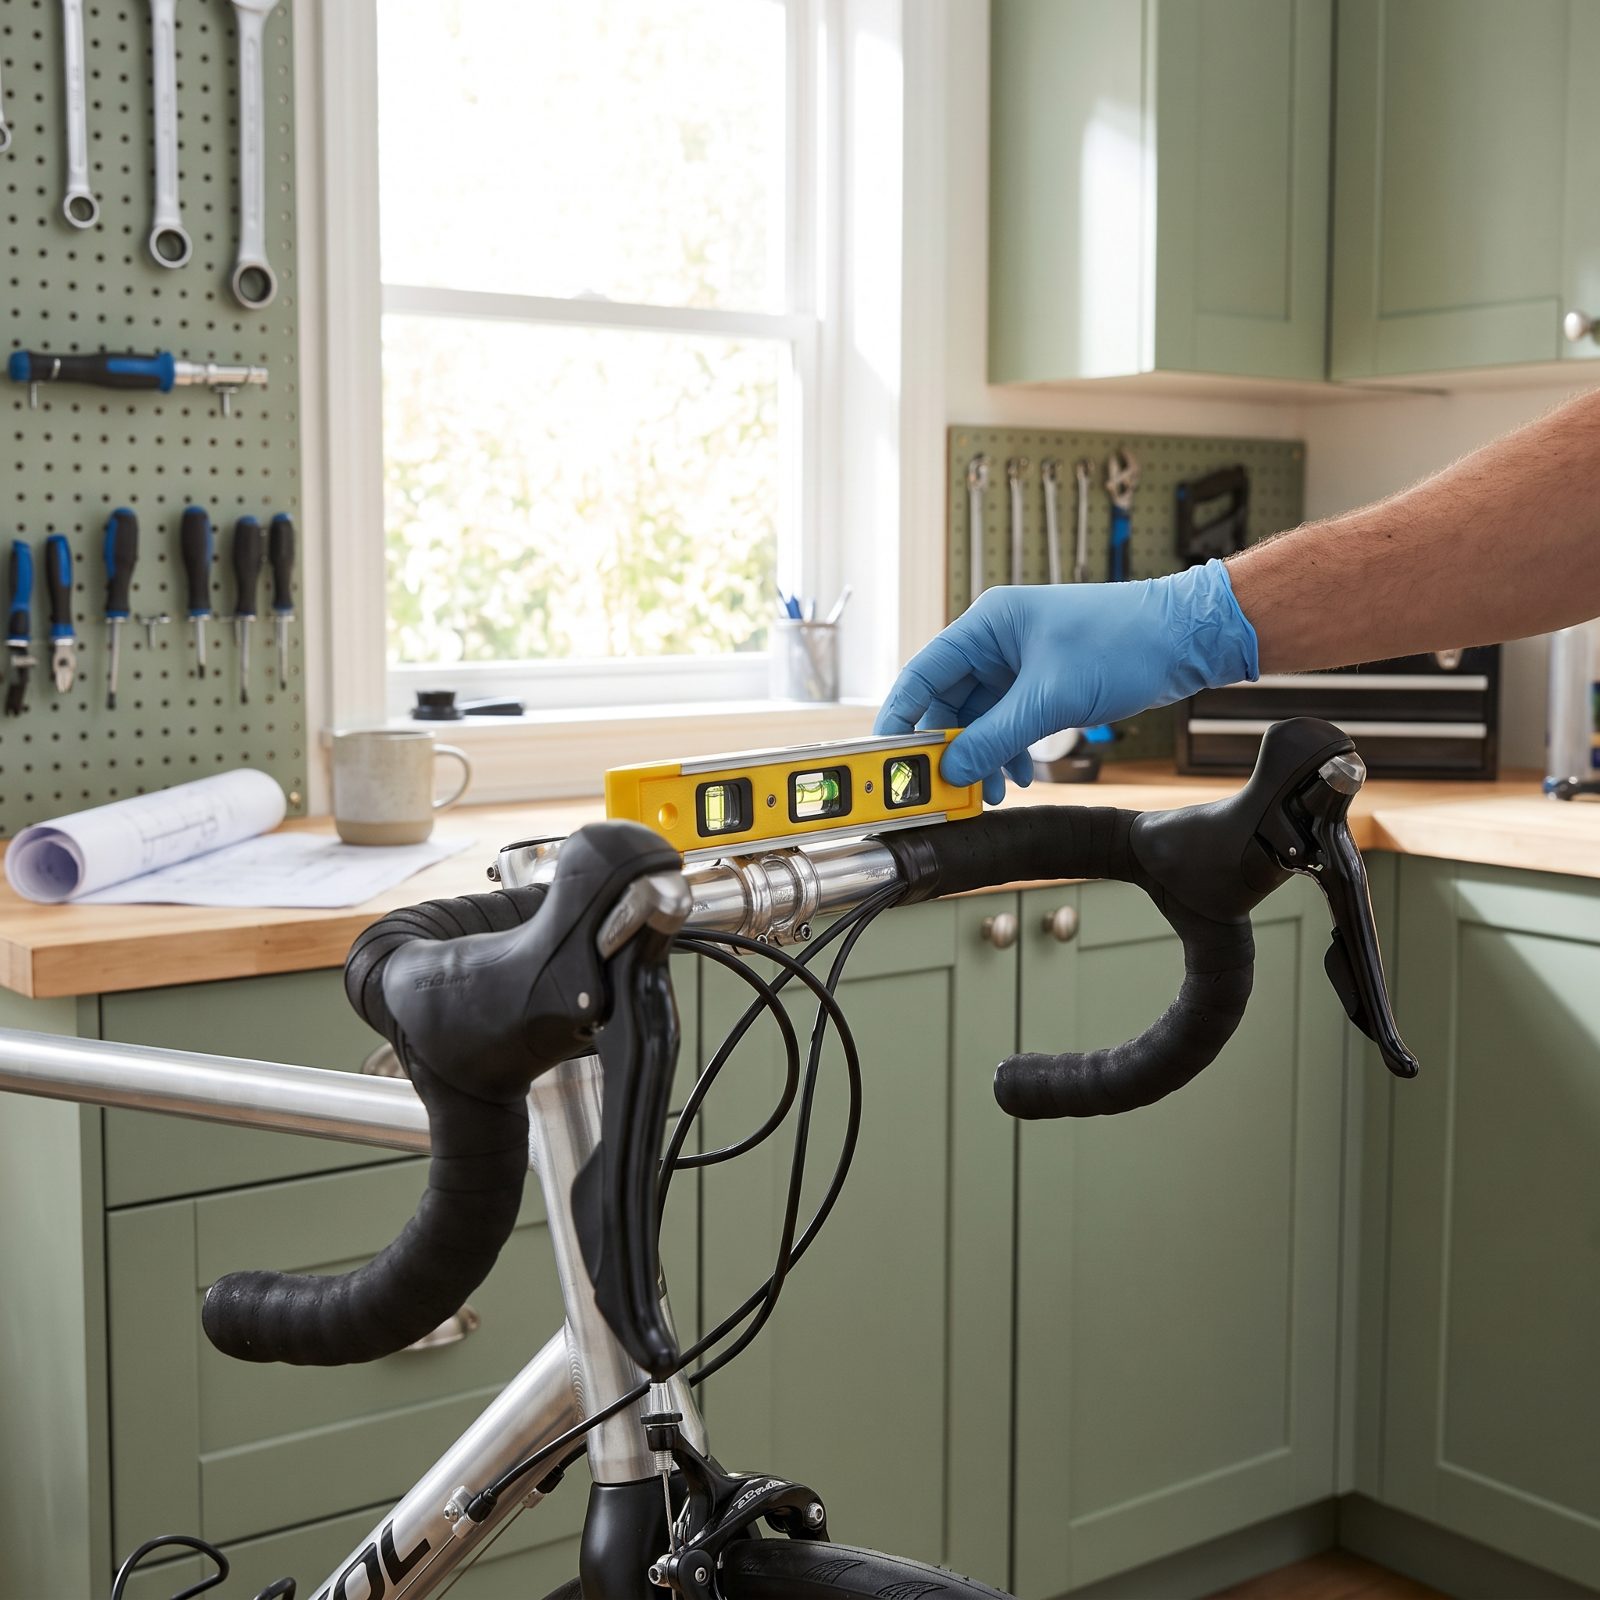
One hood crept up the bar during a cable swap, or it never matched to begin with. You don’t notice looking down. Your body does. A hood even a few millimeters higher on one side tips your shoulders, loads one wrist more than the other, and quietly twists your pelvis on the saddle.
Give it enough miles and you get one-sided soreness that no amount of stretching fixes, because the problem was never your muscles. It’s the bar.
Lay a level across both hoods and match the angle and the height. Check your saddle sits dead center while you’re down there. Symmetry is boring. It’s also the whole game.
16. Setting the Saddle Just a Little Too Low
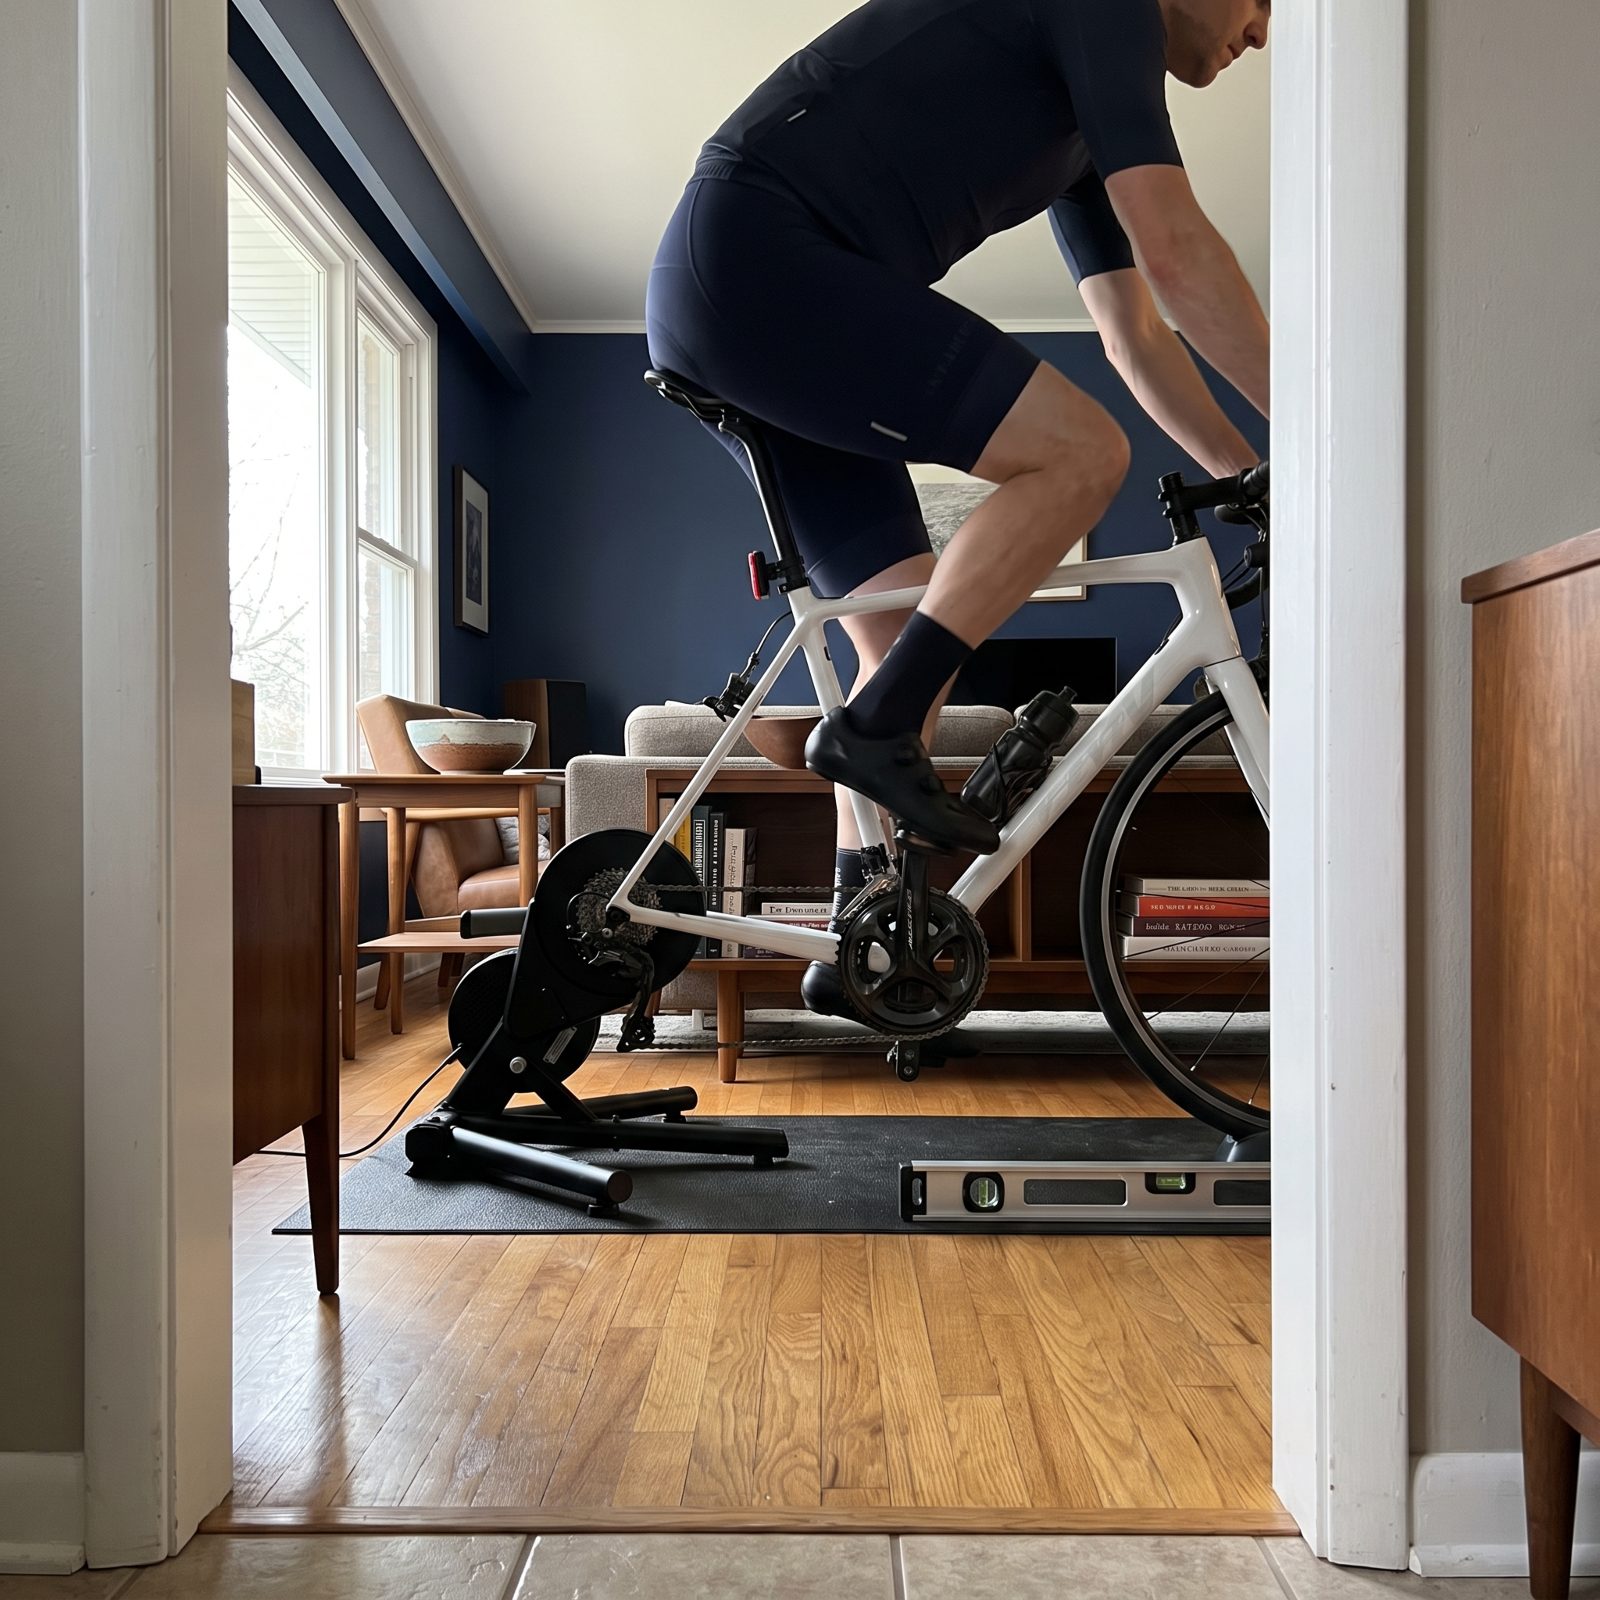
A low saddle feels safe. Toes touch the ground, mounting is easy, nothing about it feels wrong at first. But with the saddle sitting too low, your knee never straightens at the bottom of the stroke, staying bent through every rotation while the front of the knee grinds against the back of the kneecap over and over, all ride long. The feeling that there’s nothing wrong is exactly the trap.
Front-of-knee pain is the signature of a saddle too low. Raise it a few millimeters at a time until your knee has a slight bend at the bottom and your hips stay level without rocking. Ride each change for a few days before you touch it again.
15. Riding With the Saddle High Enough to Rock the Hips
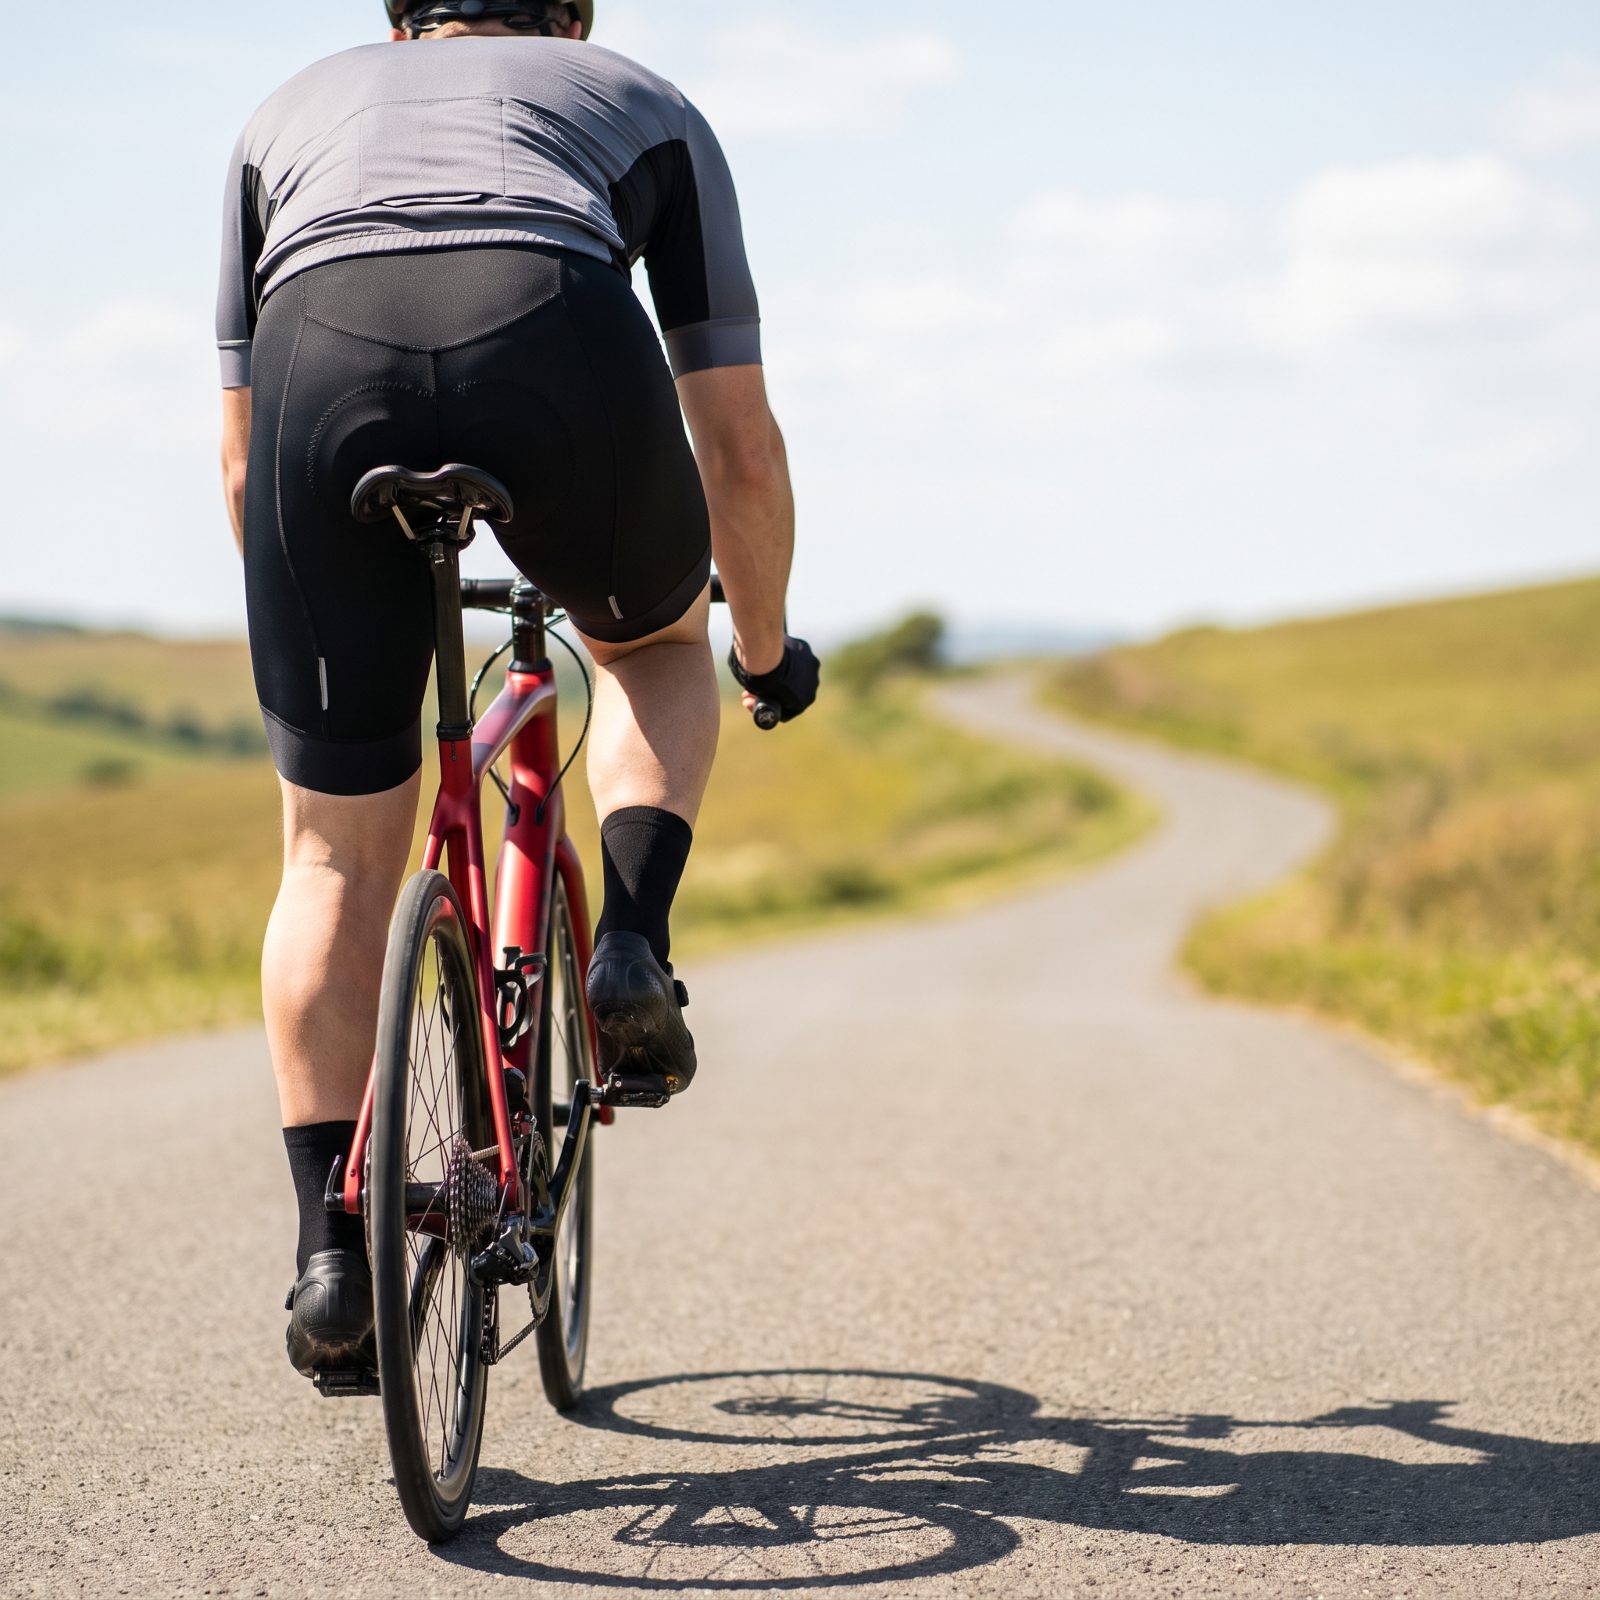
Push the saddle too high and your legs stop reaching cleanly. To keep contact with the pedals your hips start rocking, tipping left then right with every stroke like a boat in chop. From behind it’s obvious. From the saddle it just feels like you’re working hard.
That rock saws at the back of your knees and grinds your sit bones into the saddle, and the lower back lights up right along with them. Drop the saddle until your pelvis stays steady and your knee keeps a slight bend at full extension. Have someone film you from behind while you pedal. If the hips wobble, come down a few millimeters.
14. Placing the Saddle Too Far Behind the Bottom Bracket
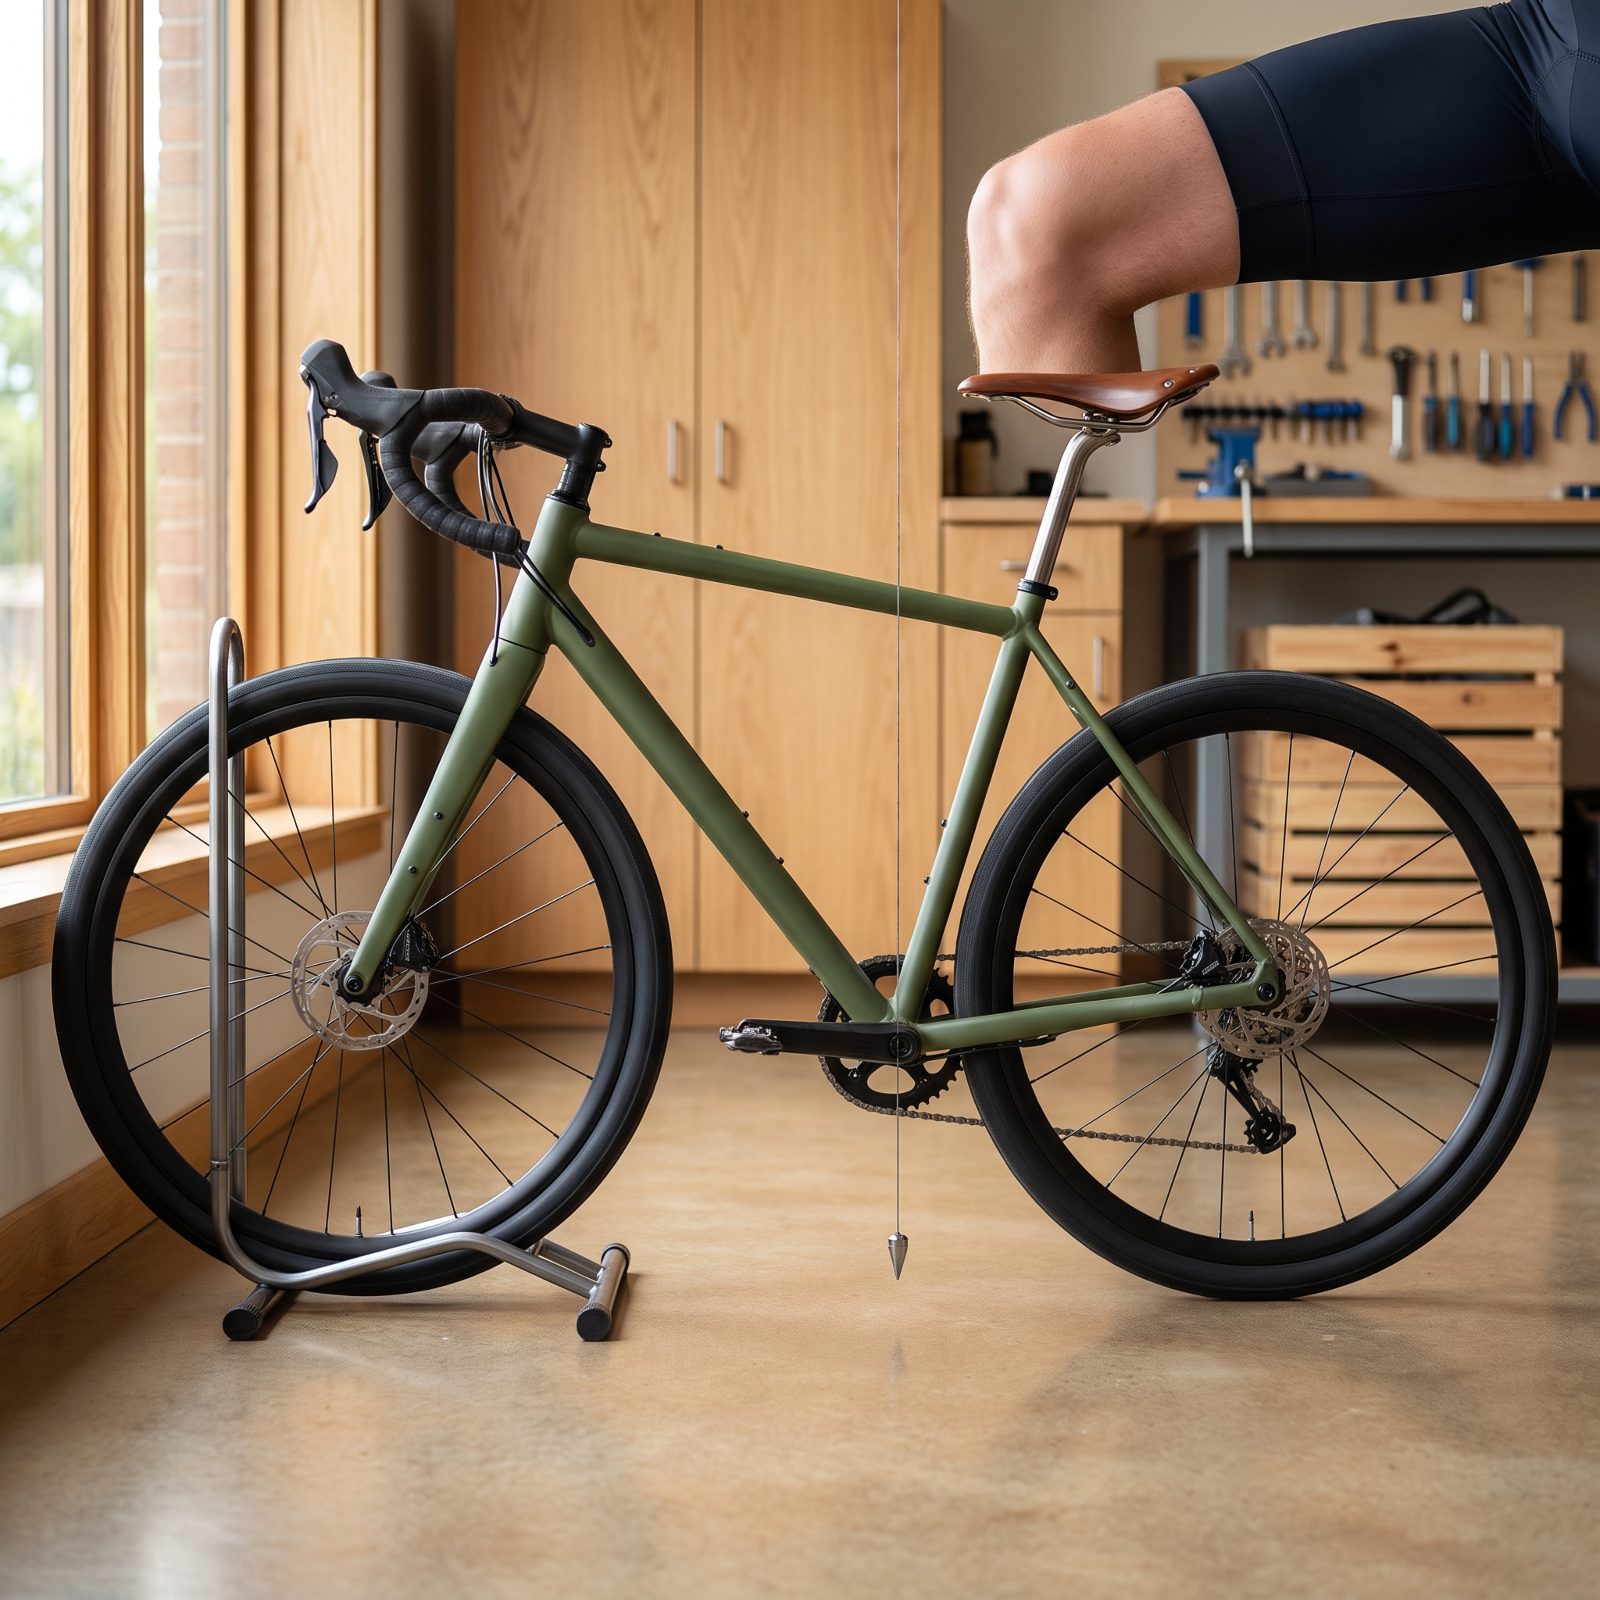
Slide the saddle all the way back on its rails chasing more power and you drag your knee behind the pedal. Now every stroke pulls at the back of the knee and the hamstring, and your lower back arches harder just to keep you reaching the bars.
The classic check is the plumb line. With the crank arm level, hang a weight from overhead so the line falls through the centre of the bottom bracket, then see how far back the saddle sits from it. Sit too far behind that line and you’re loading the wrong tissues all day. Nudge the saddle forward, closer to the line. Small moves. This one interacts with saddle height, so expect to re-check both.
13. Stretching to Handlebars That Are Too Far Away
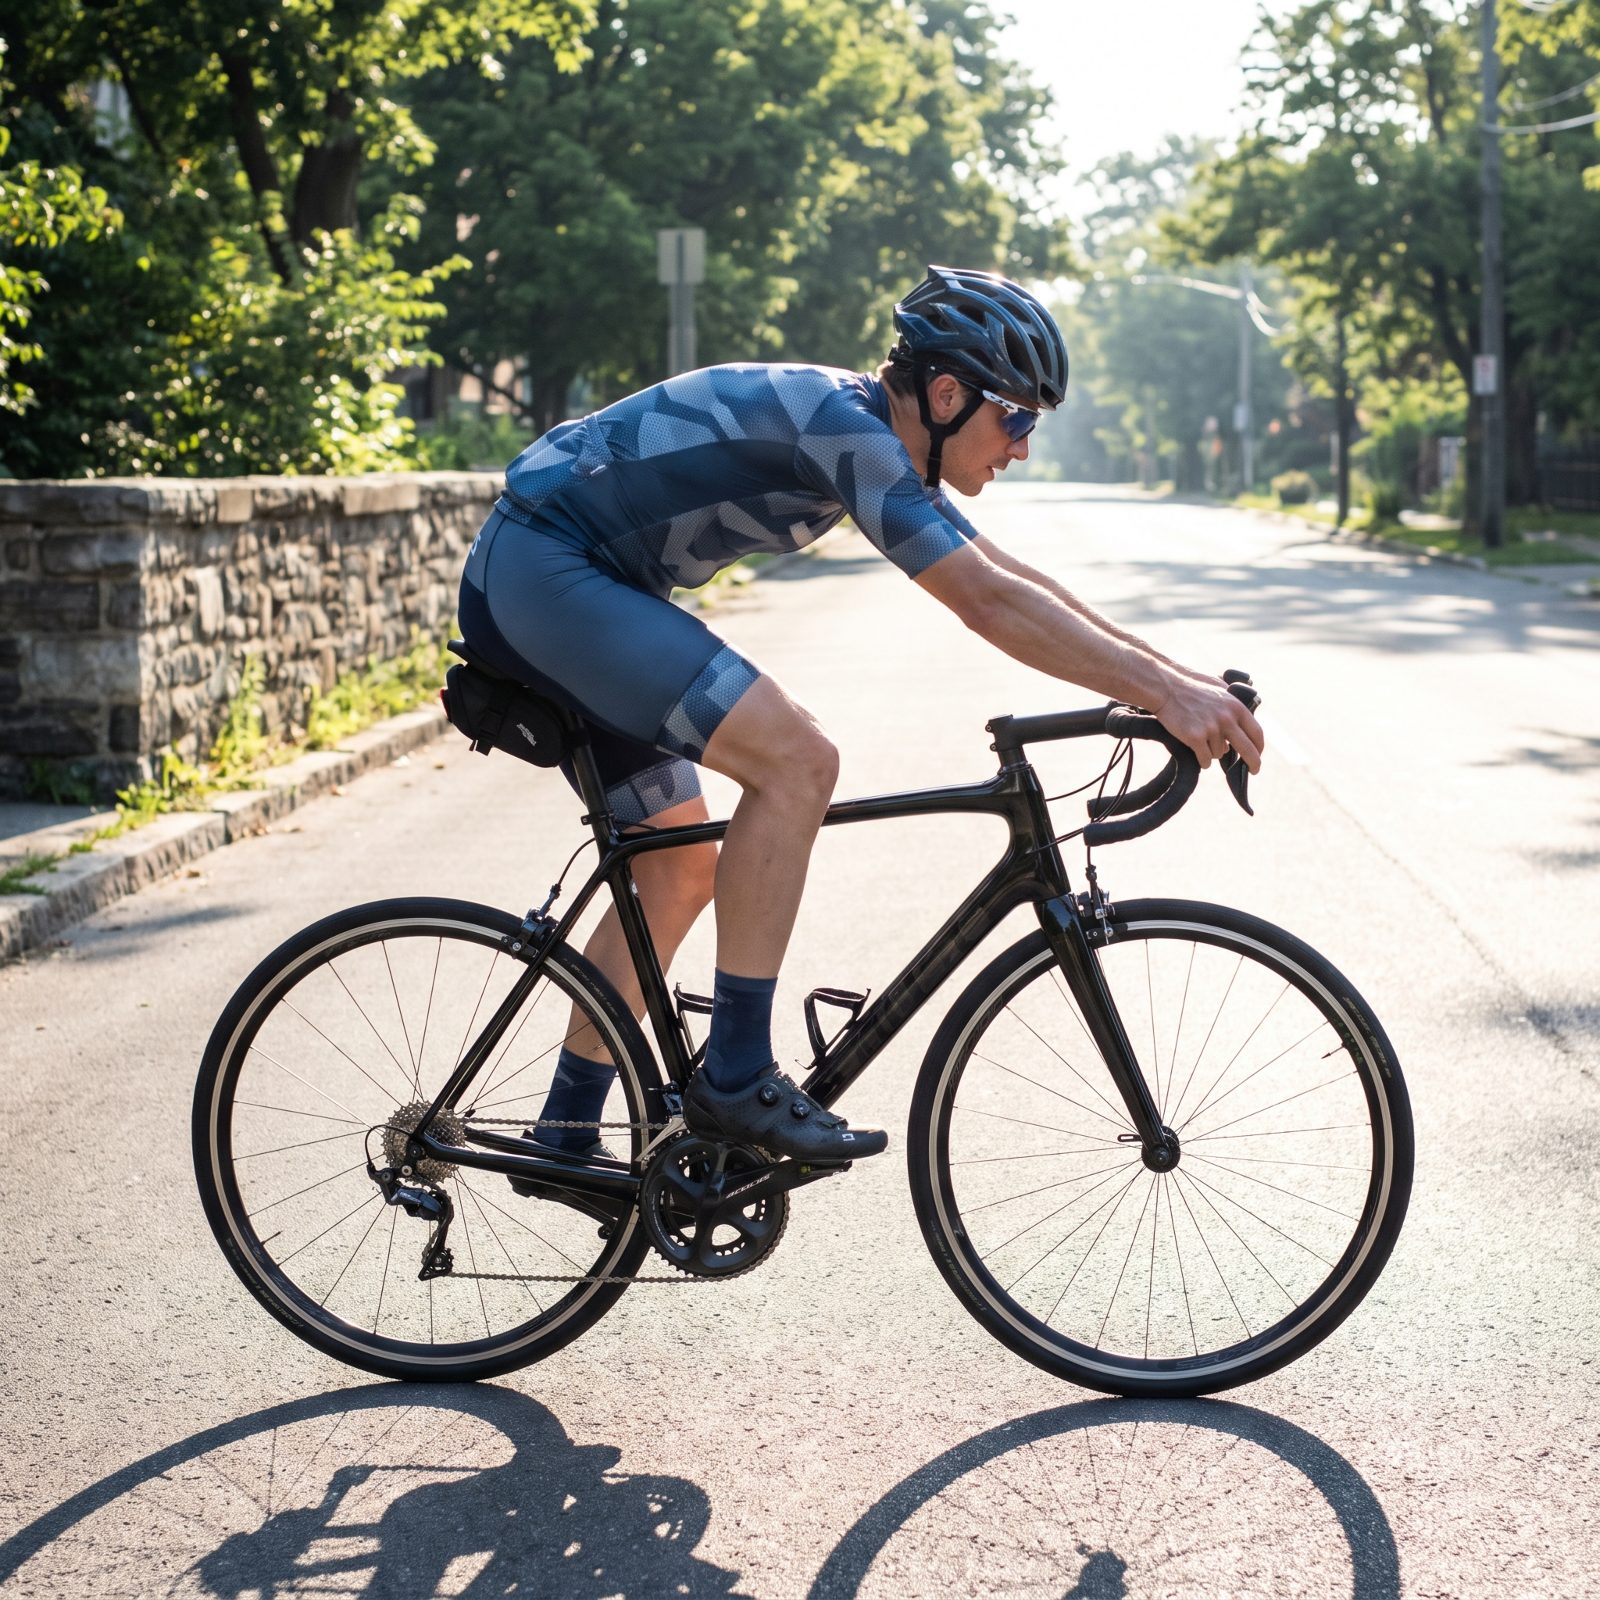
You end up reaching, arms nearly locked, shoulders dragged forward, because the stem is too long or the frame too big. Every mile you’re hanging off the bars instead of being held up by your core.
That reach rounds and overstretches the lower back and jams the neck up to keep your eyes level. The soreness lands between the shoulder blades and across the lumbar.
What you want is a slight bend in the elbows and a back that feels long, not strained. A shorter stem is cheap and fixes most of it. Sometimes it’s as simple as sliding the saddle to its correct fore-aft spot first, which shifts the reach more than people expect.
If your arms are locked straight on the hoods, the bars are too far away. A reach you have to earn is a reach that costs you.
12. Dropping the Handlebars Beyond Available Hip Mobility
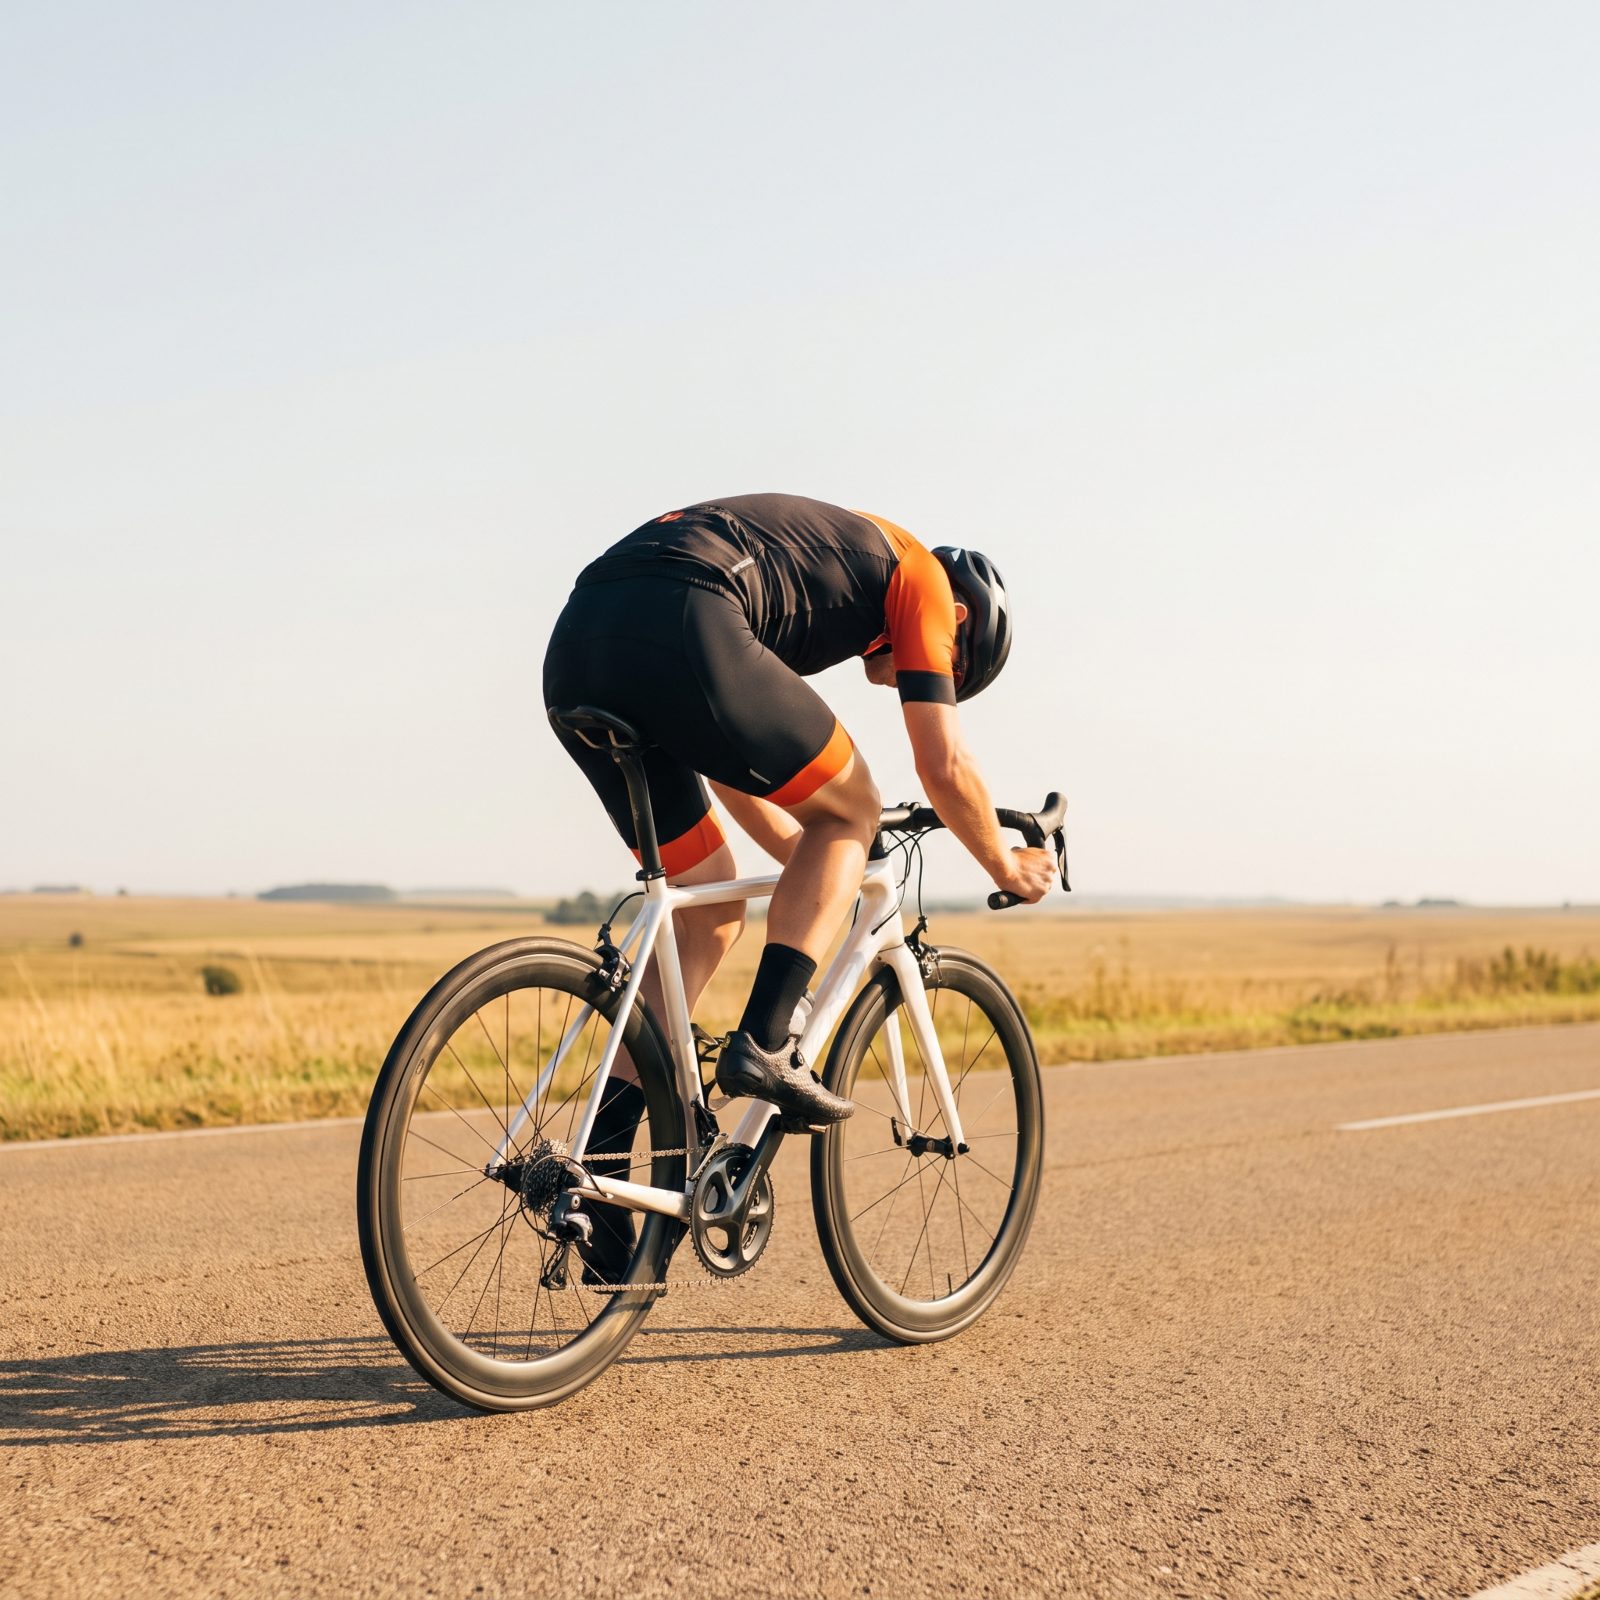
Slammed stem, bars way below the saddle, pro-grade and photogenic, and plenty of weekend riders copy it straight off social media. The trouble is a deep drop demands your pelvis rotate forward from the hips, and if your hips won’t go that far, your lower back rounds to make up the difference.
That rounding is where the ache comes from, every single pedal stroke tugging on a spine stuck in the wrong shape. Raise the bars with spacers until your pelvis can tip without your back caving. You can earn a lower position over months of hip and hamstring work. Force it now and all you buy is a sore back and a shorter ride.
11. Locking the Elbows Over Rough Pavement
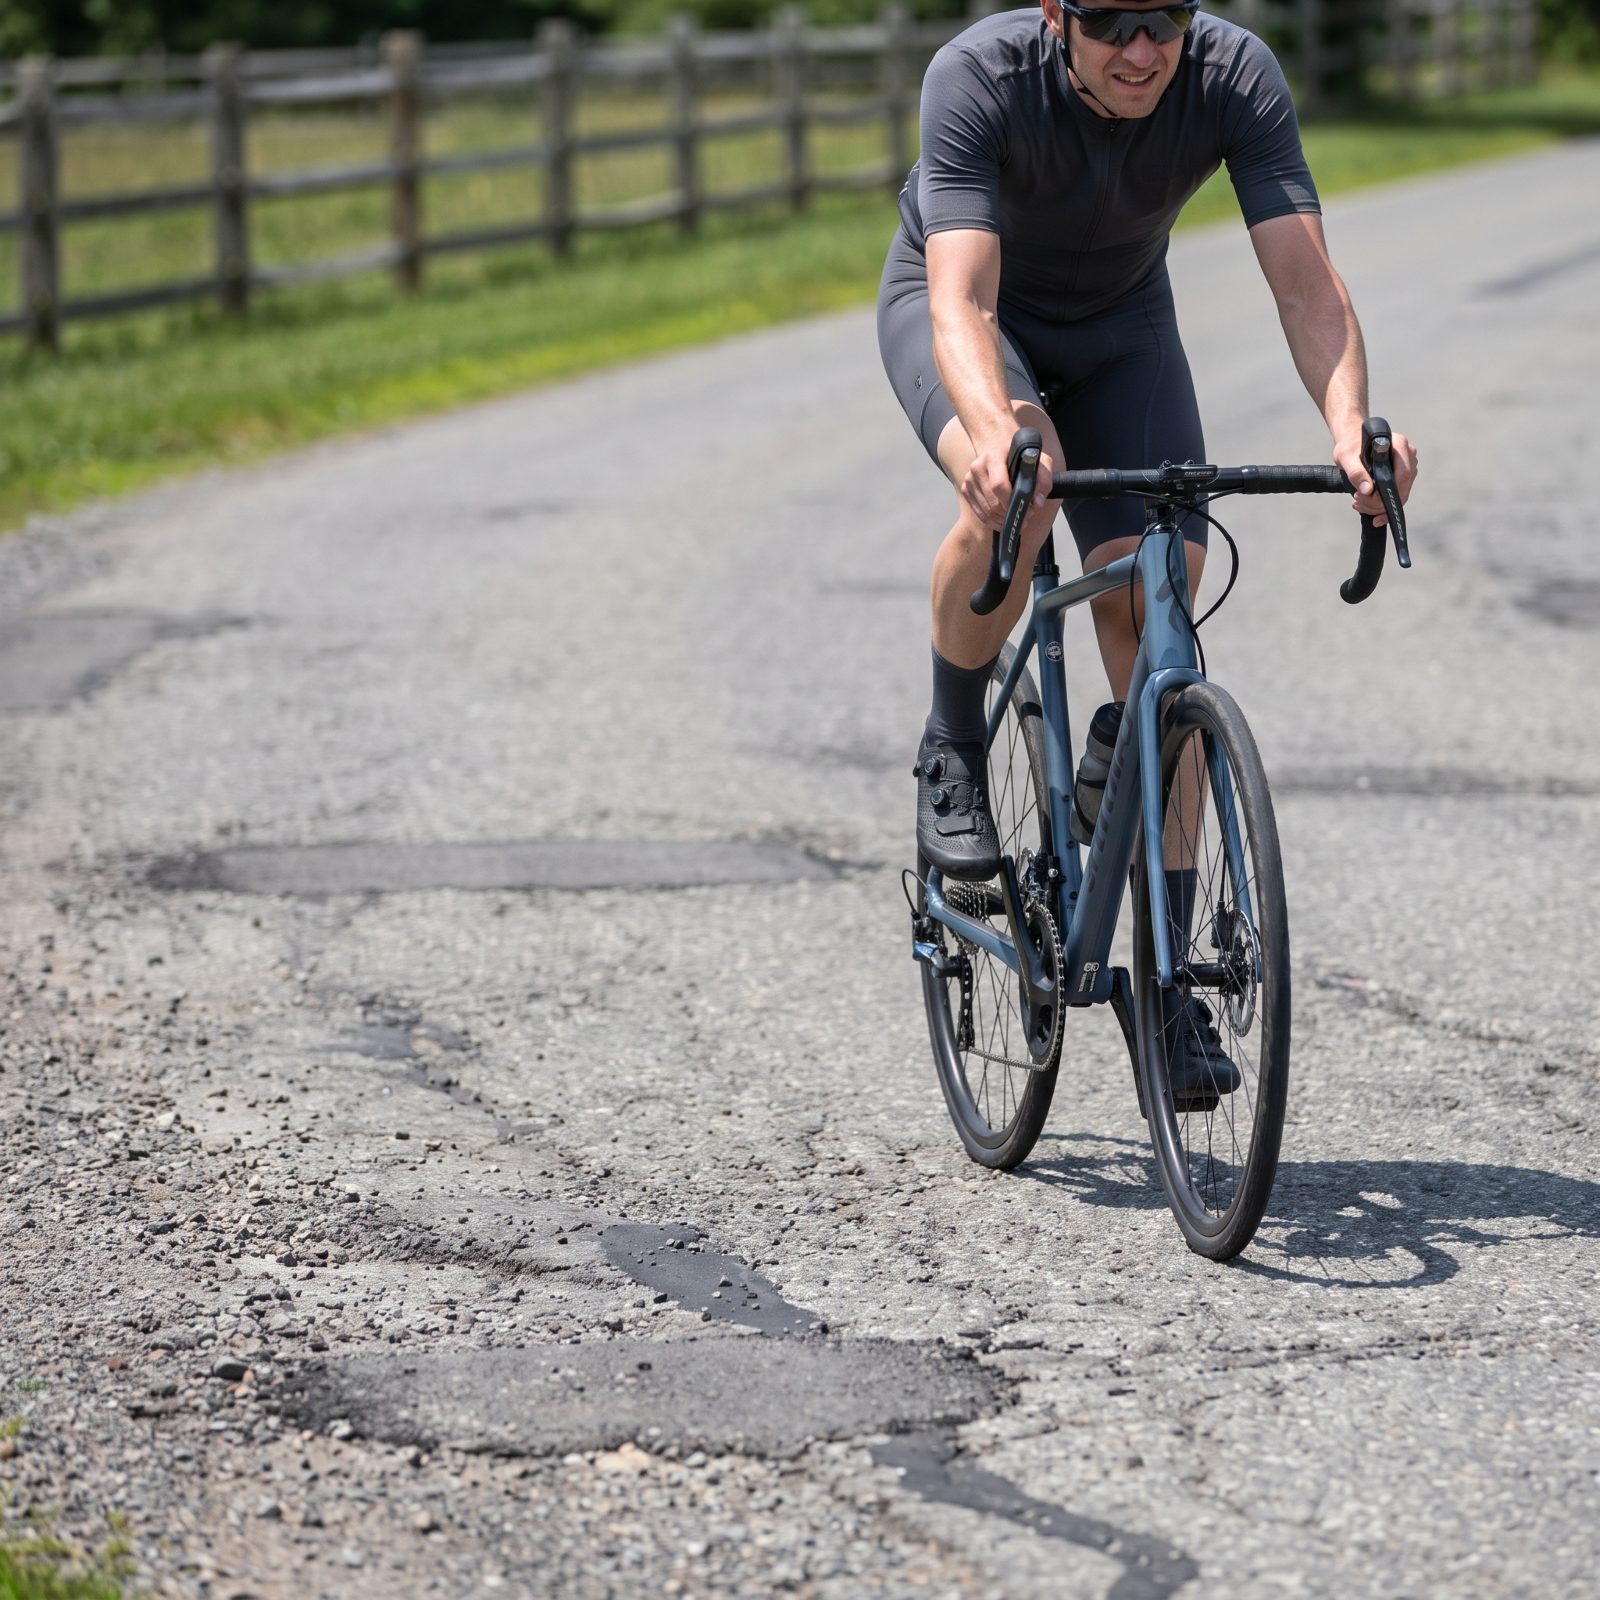
You hit a stretch of broken road and instinct says stiffen up, lock the elbows, brace against the bars. Straight arms turn your whole upper body into a tuning fork, and every crack and pothole fires right up through your wrists, into your shoulders, down into your neck and back.
Keep a soft bend in the elbows so your arms work as suspension, soaking up the hits instead of passing them along. Loosen your grip too. White knuckles tense the forearms and the whole chain above them. On rough roads, relaxed and bent beats rigid and straight every time.
10. Letting the Knees Collapse Toward the Top Tube
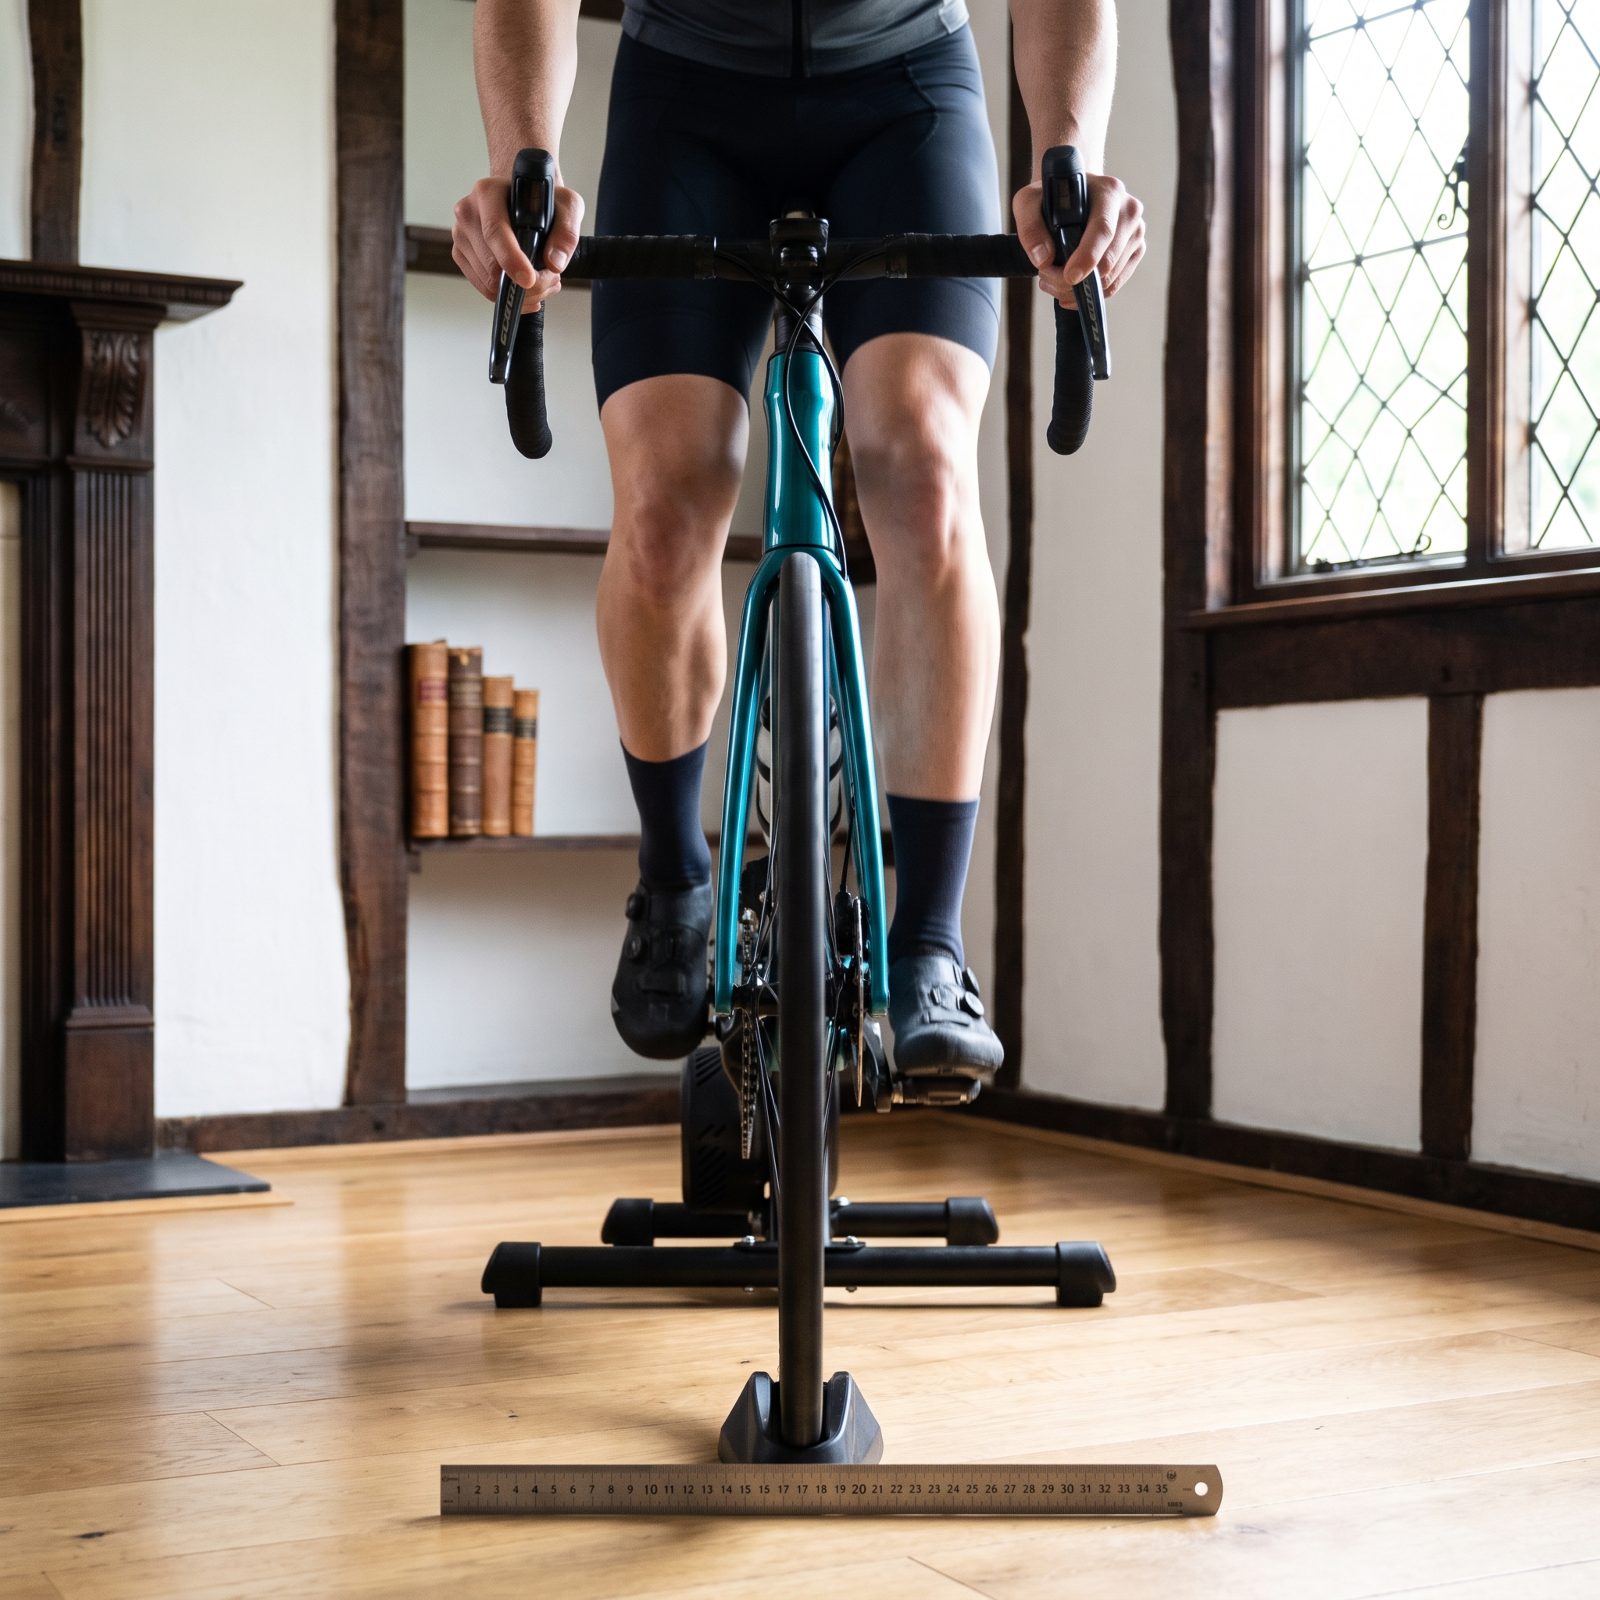
Watch your knees from the front while you pedal. If they drift inward toward the top tube on each downstroke instead of driving straight up and down, you’ve found a slow leak for knee pain. The joint is taking a sideways load it was never built to carry.
Causes vary: cleats rotated wrong, a saddle too high, tired stabilizing muscles late in a ride. Start with the cleats. Set them so your foot sits at its natural angle, not forced in or out. Then think about pushing your knees out over the pedals as you ride.
Fix the knee track and a whole pile of mystery soreness simply stops showing up. Good trade.
9. Pointing the Toes Down Through the Whole Pedal Stroke
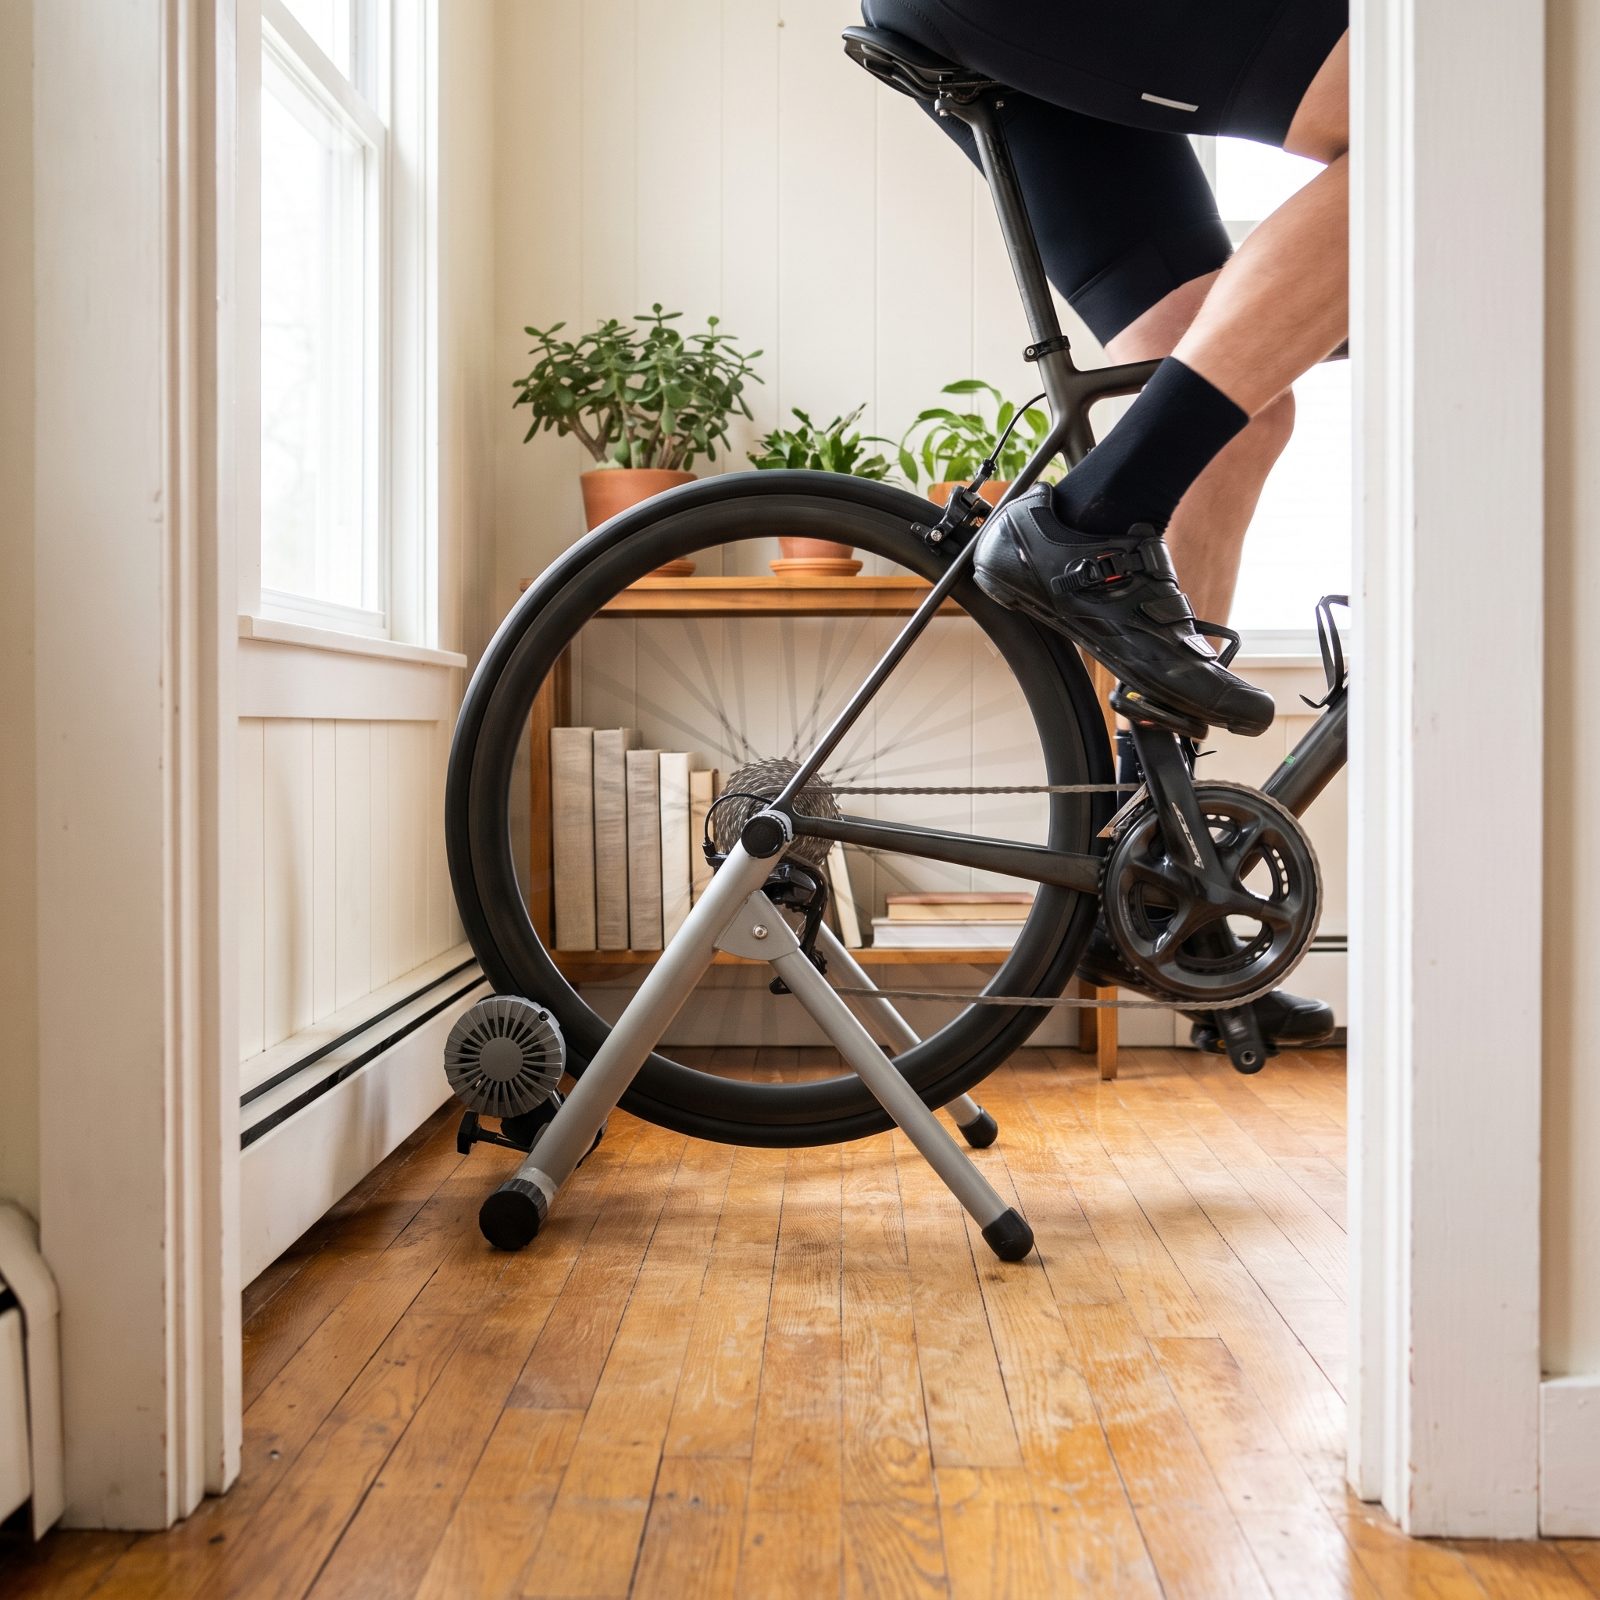
Riders who pedal on their tiptoes, heels lifted, toes stabbing down for the entire revolution, usually think they’re generating extra power. They’re mostly generating strain.
Toe-down pedaling keeps the calf firing nonstop and shoves load onto the front of the knee, which is why the ache turns up right under the kneecap after a long ride. The ankle never gets to work as a spring.
So let the heel drop a little as the pedal passes the bottom. Aim for a near-level foot through most of the stroke, with only a small natural ankle roll. It feels lazy at first. Give it a few rides and the soreness fades.
8. Positioning Cleats Too Far Toward the Toes
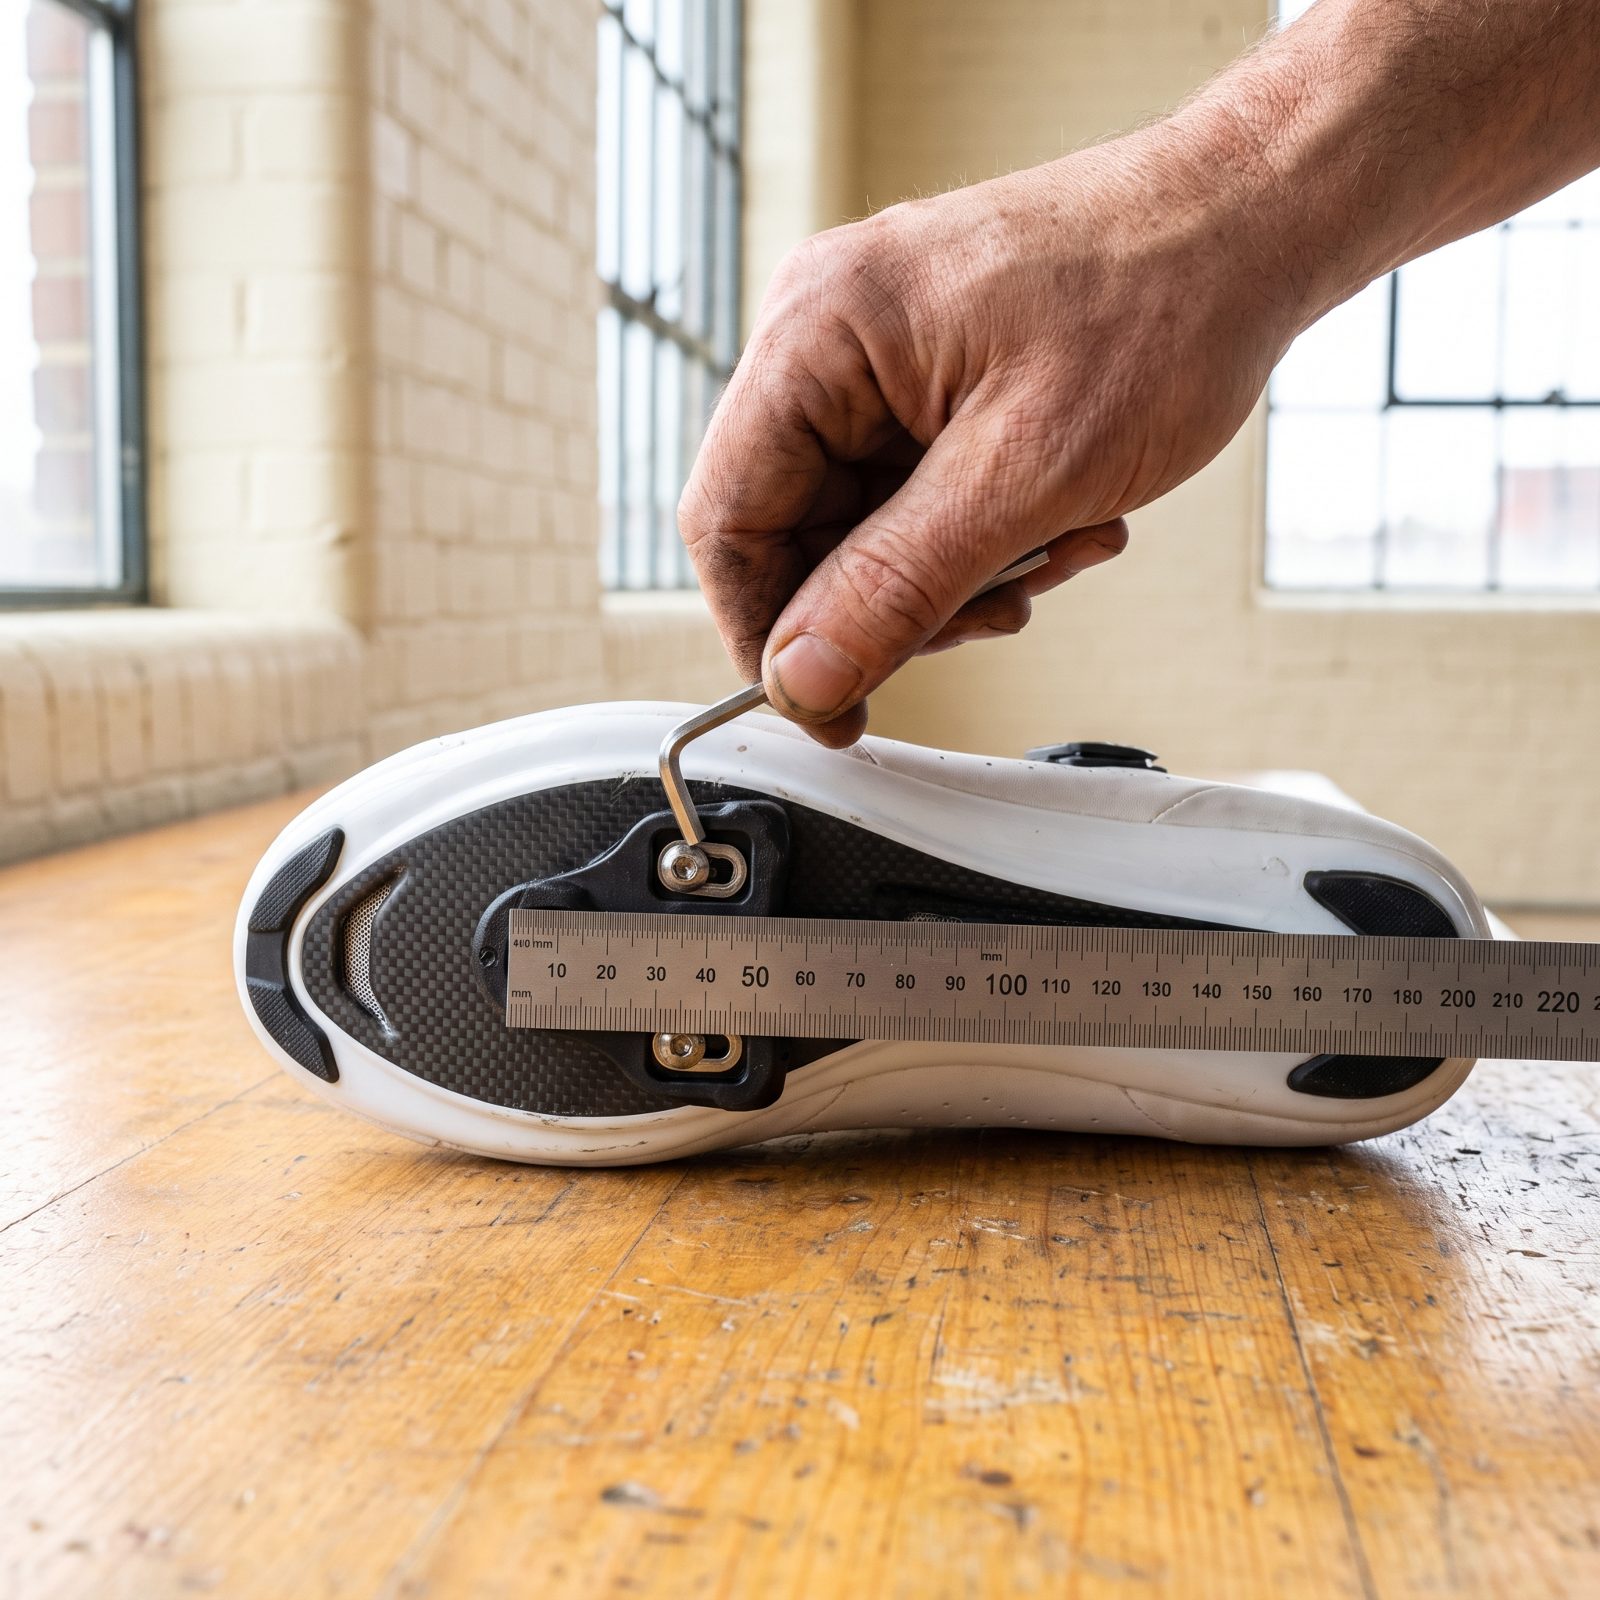
A cleat slammed forward under the toes feels fast. It also turns every pedal stroke into a tiny calf raise.
When the cleat sits too far forward, the foot levers over the pedal spindle and the calf and Achilles do extra work they were never built for across a four-hour ride. You get calf fatigue that creeps up into the back of the knee.
Move the cleat rearward so the pedal axle sits roughly under the ball of the foot — or even a touch behind it for endurance miles. Mark the old position with tape first, then shift it a few millimeters at a time over a couple of rides.
7. Setting the Cleats So the Stance Is Too Narrow
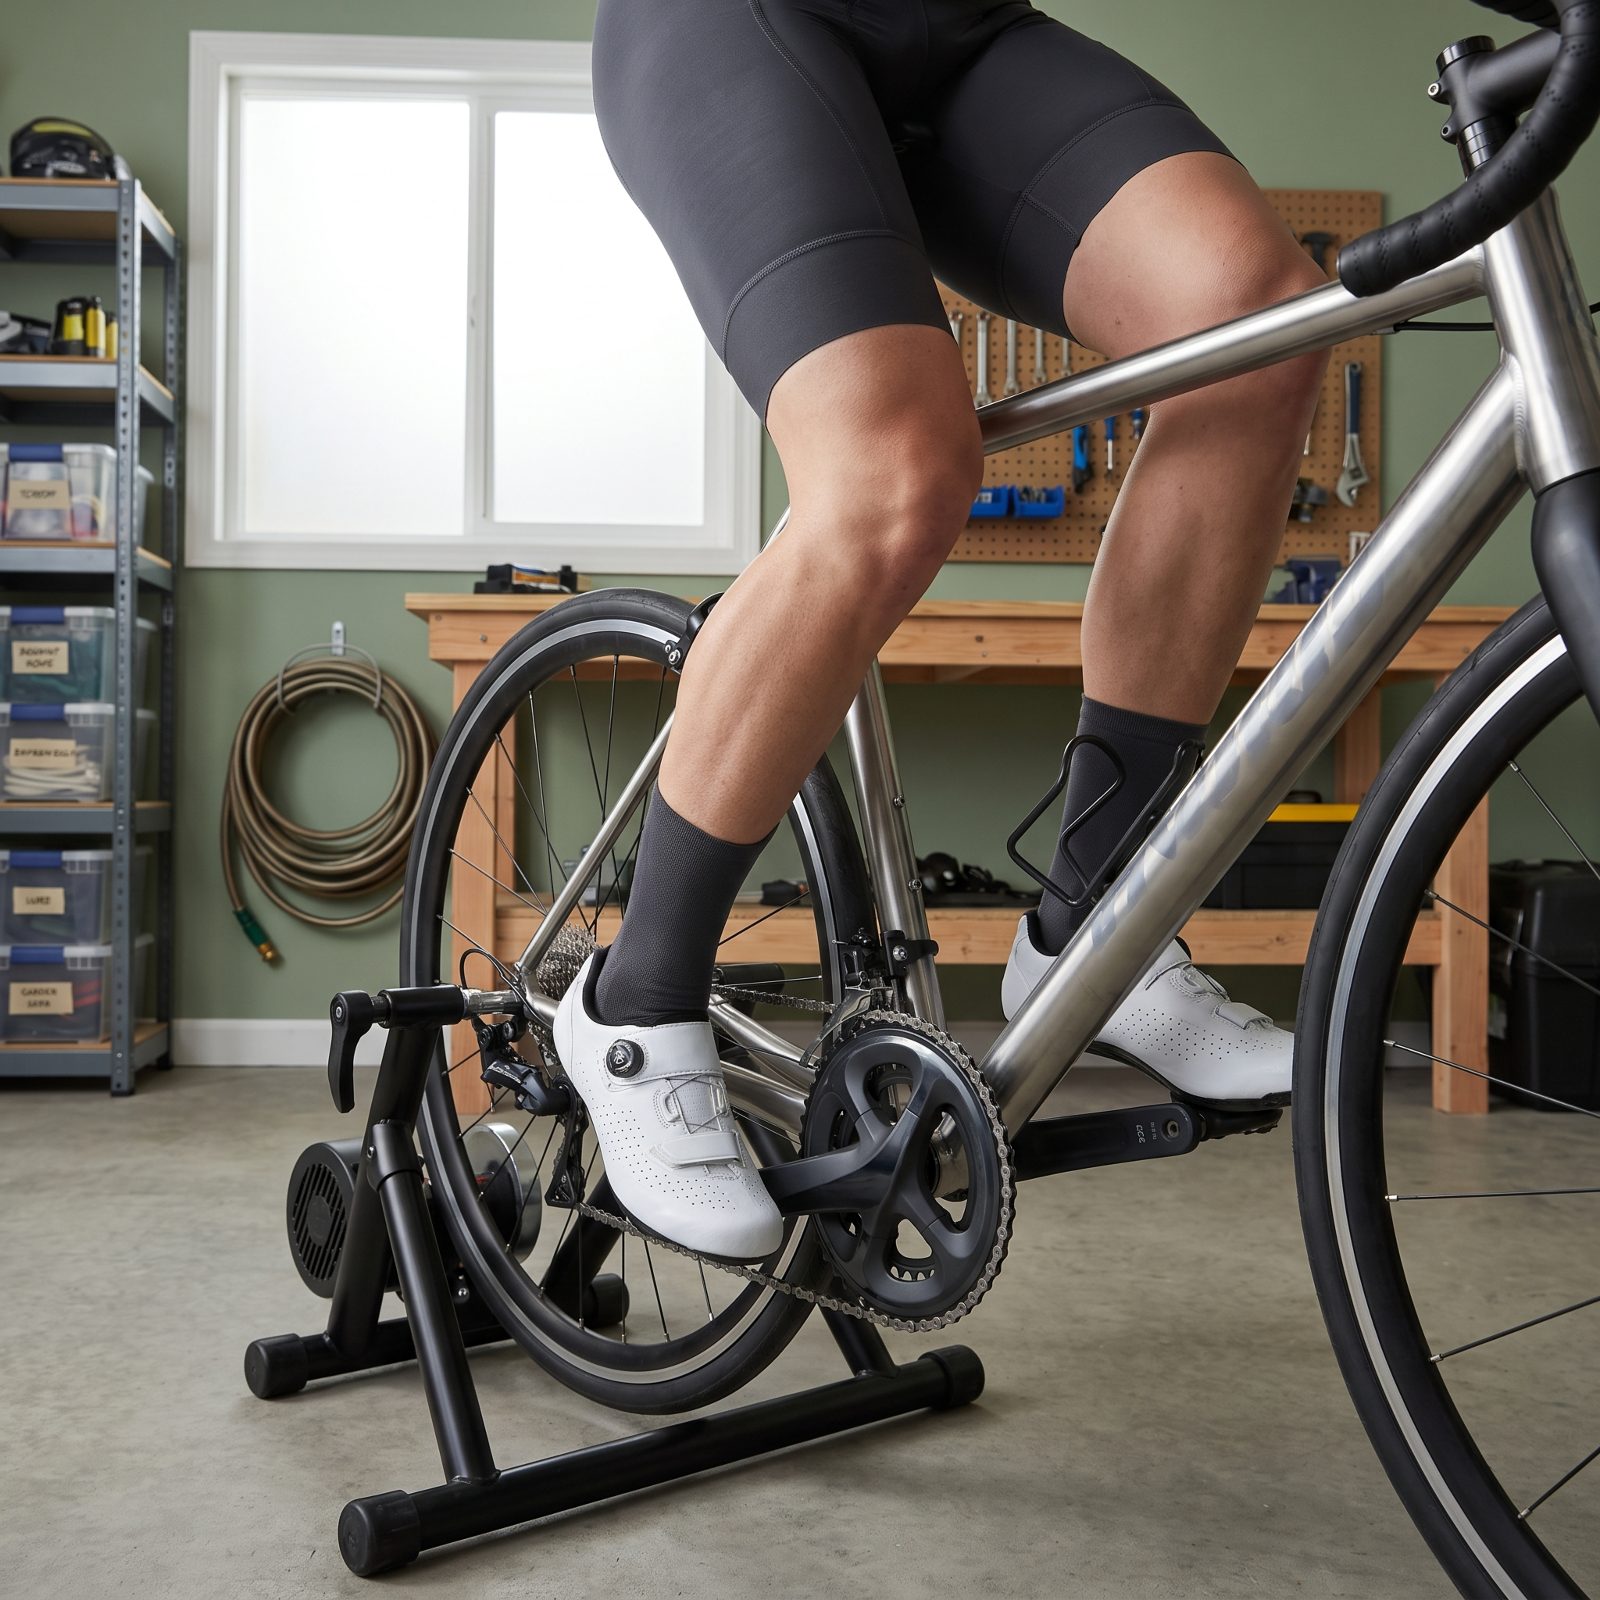
Push the cleats all the way to the outside edge and your feet sit too close together, which forces the knees to bow outward or cave inward just to find a line.
That sideways wobble grinds the knee through its most vulnerable angle. It shows up as soreness on the inner or outer edge rather than dead center.
Nudge the cleats inboard on the shoe to widen your stance and give the knees room to track cleanly over the feet. Some riders also need pedal washers or spacers. A side-on view like this one can’t reveal stance width or knee tracking, so watch yourself from the front on a trainer: knees should move like pistons, not windshield wipers.
6. Ignoring Unsupported Arches That Collapse Under Pressure
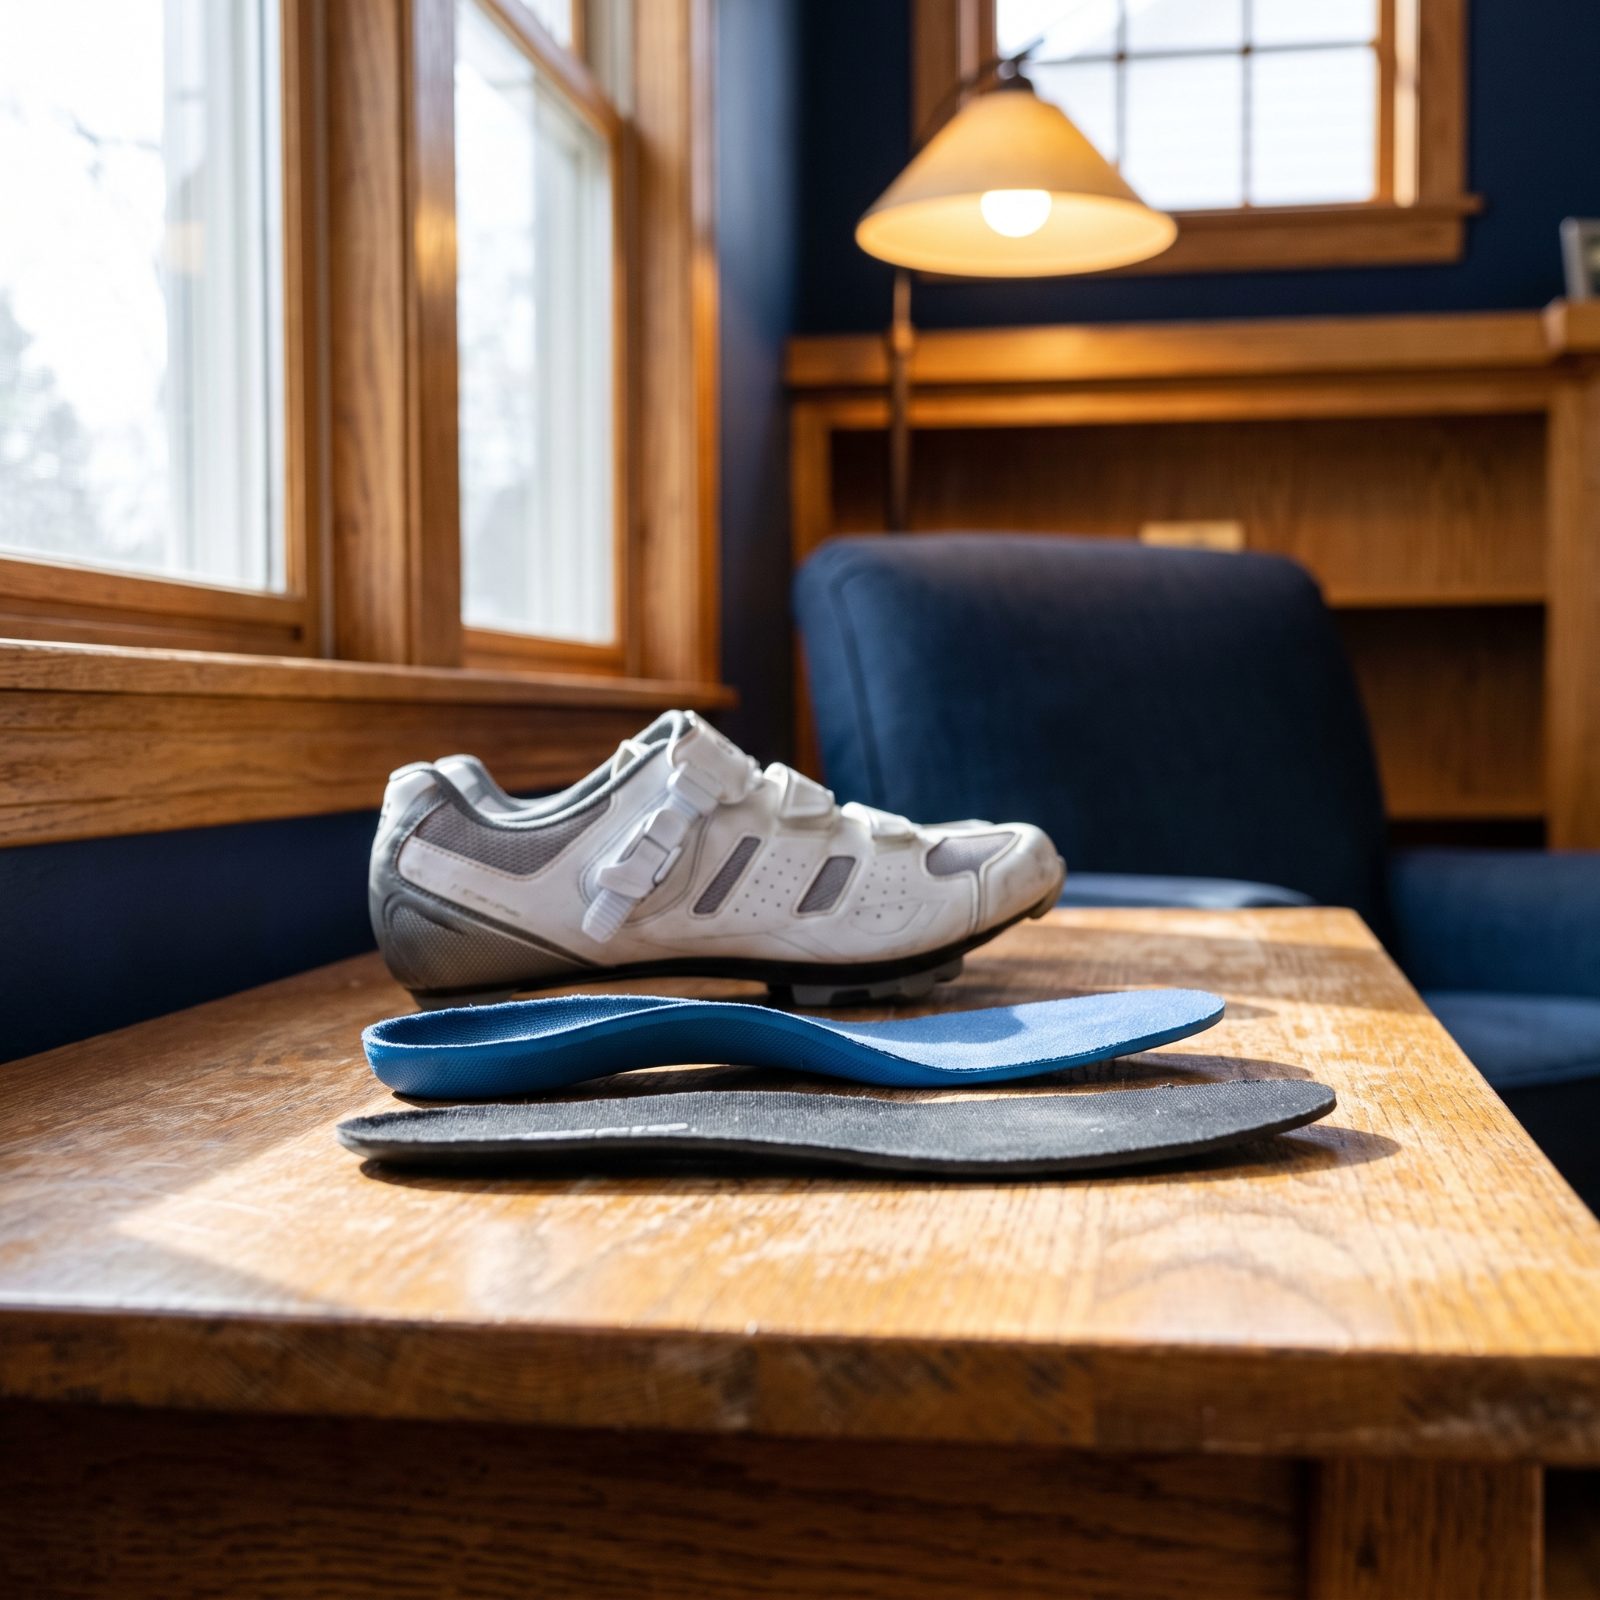
Almost nobody checks this one until the knees start complaining. The flimsy, cardboard-thin insole that came in the shoe lets the arch flatten under load, and a collapsing arch rolls the whole foot and knee inward.
Over a long climb, that inward roll stacks thousands of reps of slightly crooked tracking onto the inner knee. The pain feels like a knee problem when the real culprit is two feet below it.
Swap the flat factory insole for a footbed with real arch support. Off-the-shelf supportive insoles sort it out for plenty of riders. If your arches are stubborn, a bike fitter can build custom ones. Cheap fix, outsized payoff.
5. Grinding a Large Gear at Low Cadence
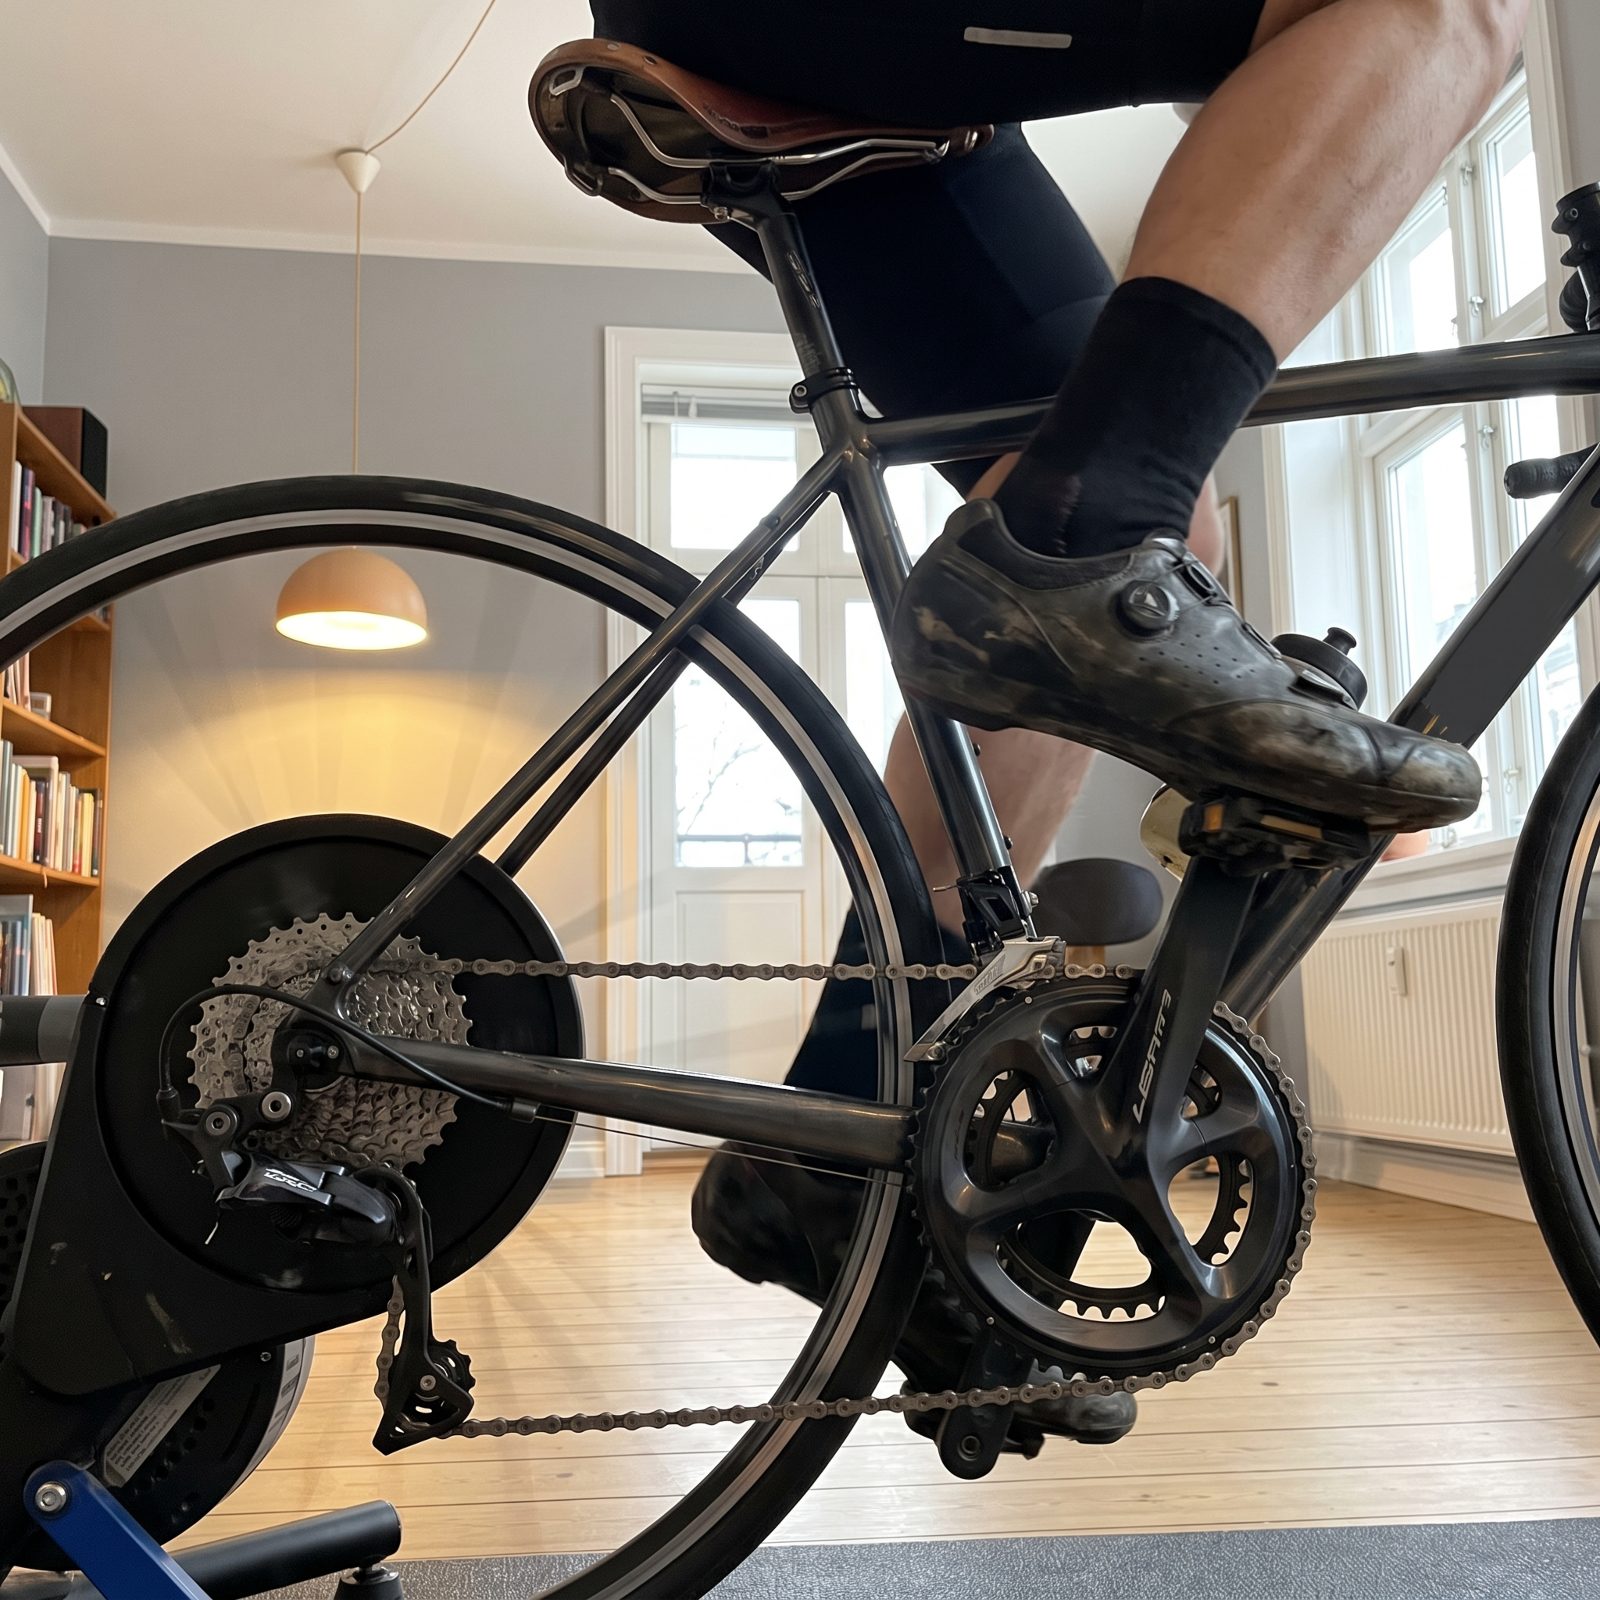
The low-cadence grinder loves a big gear. Fewer pedal strokes, more torque, feels manly. The knees send the bill later.
Mashing a huge gear at fifty or sixty revolutions a minute loads each stroke like a leg press, and that peak force per rep is exactly what inflames the knee’s tendons and cartilage.
Shift down and spin faster. Aim for something in the 85 to 95 range on flat ground, easing off a bit on climbs. The legs will feel like they’re working harder at first, because the lungs are now picking up slack the knees used to carry.
Cadence is the cheapest knee insurance on the bike, and it costs nothing but a thumb on the shifter.
4. Increasing Weekly Distance Too Abruptly
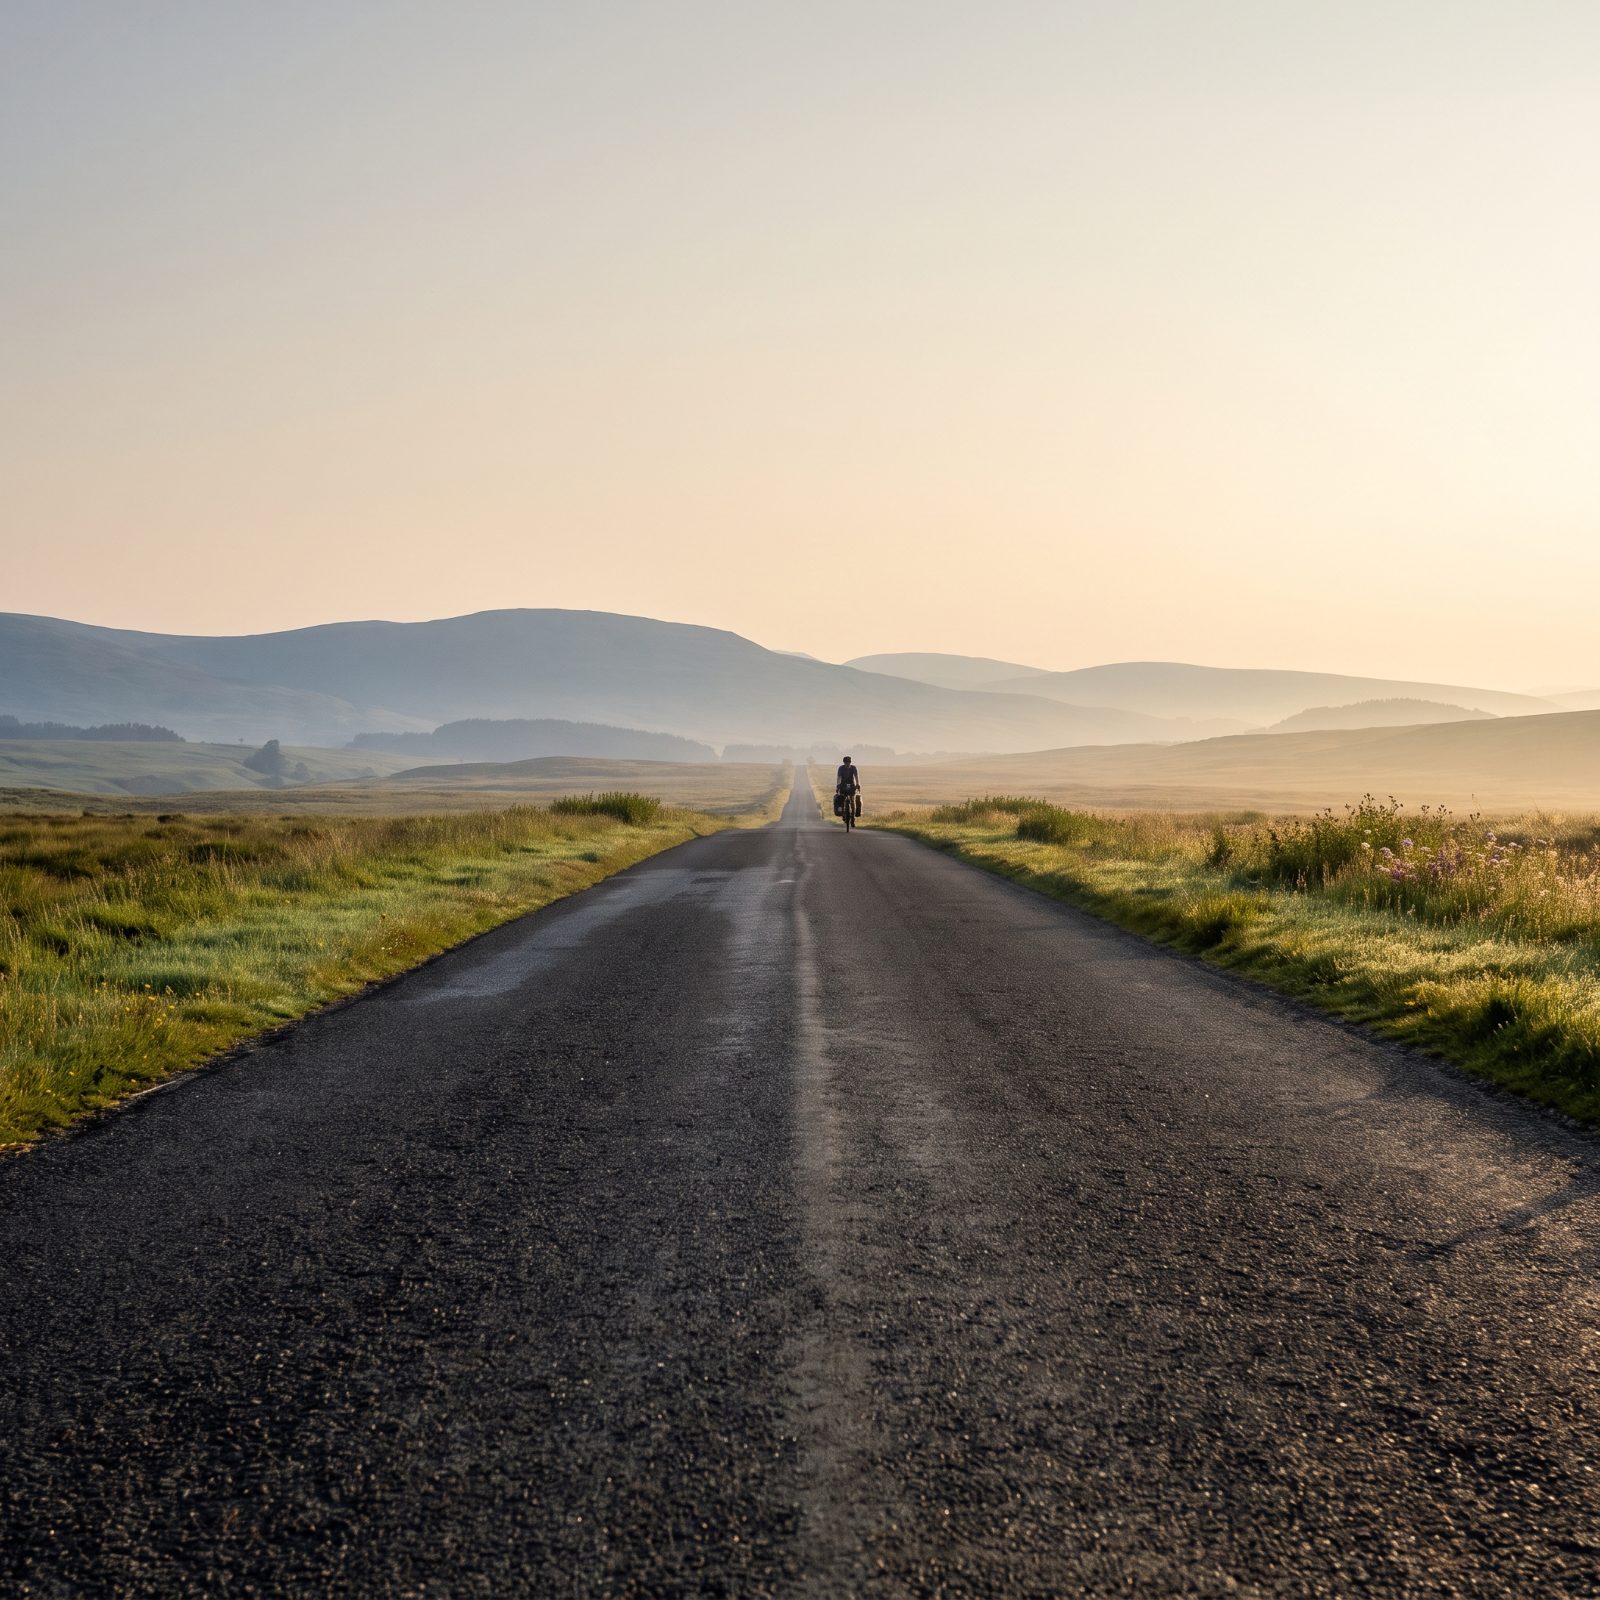
Jumping from thirty-mile weeks to a sudden century because the weather turned nice is how a lot of knees and lower backs get wrecked in spring.
Tissue adapts slowly. Tendons, ligaments and the lumbar muscles need weeks to catch up to a new load, and when the mileage spikes faster than they can strengthen, the soreness is your body waving a flag.
Build volume gradually and slip in an easier week every month or so to let everything consolidate. Boring advice, sure. It’s also the advice that keeps you riding in July instead of icing your knee on the couch.
3. Letting Fatigue Turn Pedaling Into Side-to-Side Rocking
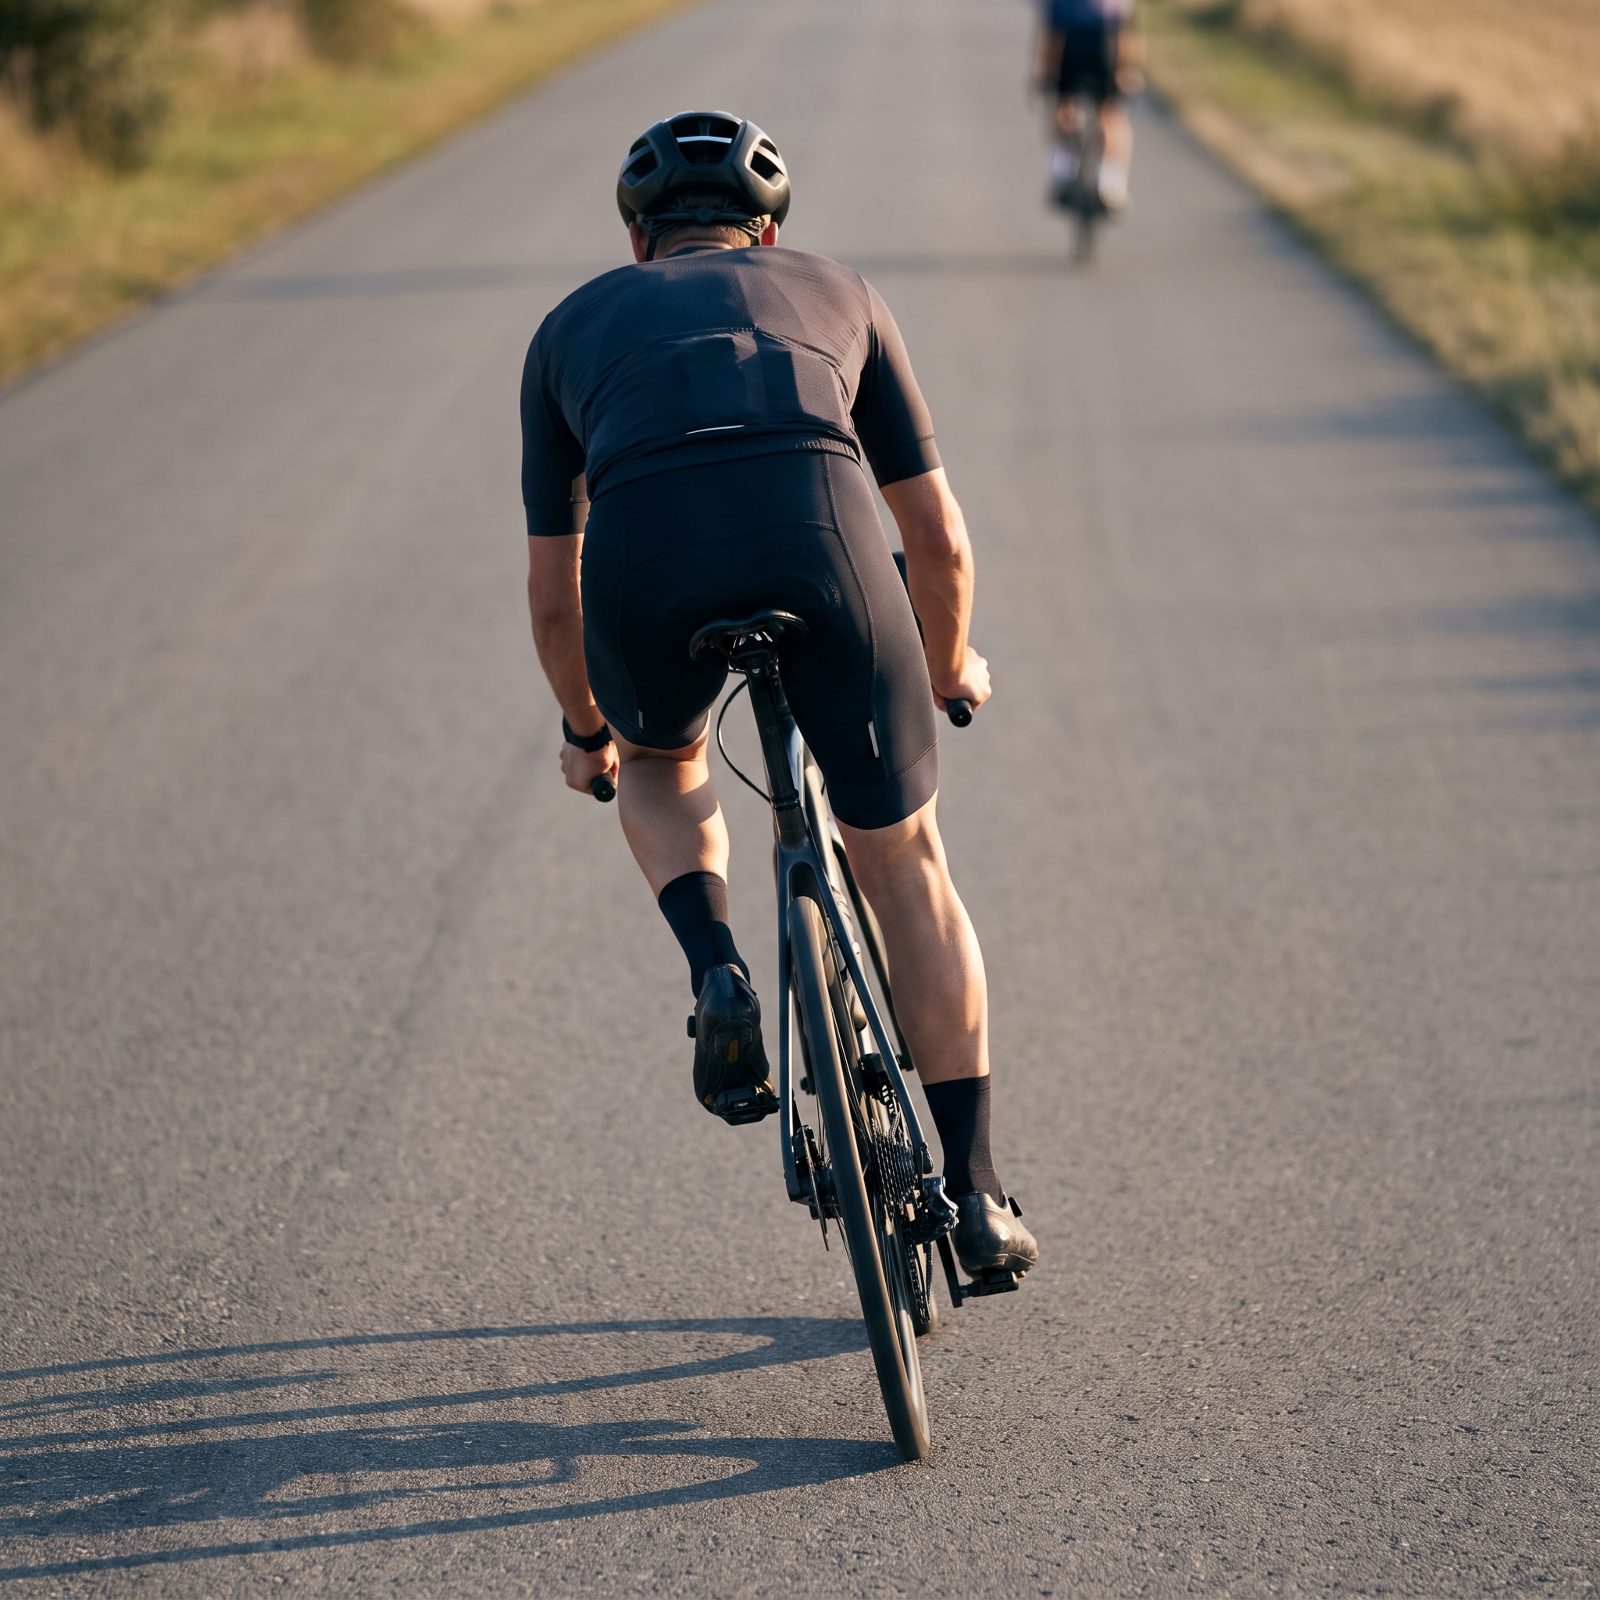
Watch a rider deep into a ride they weren’t ready for. The hips start rocking, the shoulders sway, the whole body lurches side to side chasing each stroke.
That rocking twists the lower back on every revolution and drags the knees off their vertical line, which is why back soreness and knee ache so often show up together near the end of a long day.
When the rocking starts, that’s your cue to back off, not push harder. Drop to an easier gear, sit tall, and let the legs turn instead of heave. If it happens early every ride, your saddle may be too high — check that before you go blaming your fitness.
2. Running Excessive Tire Pressure on Rough Roads
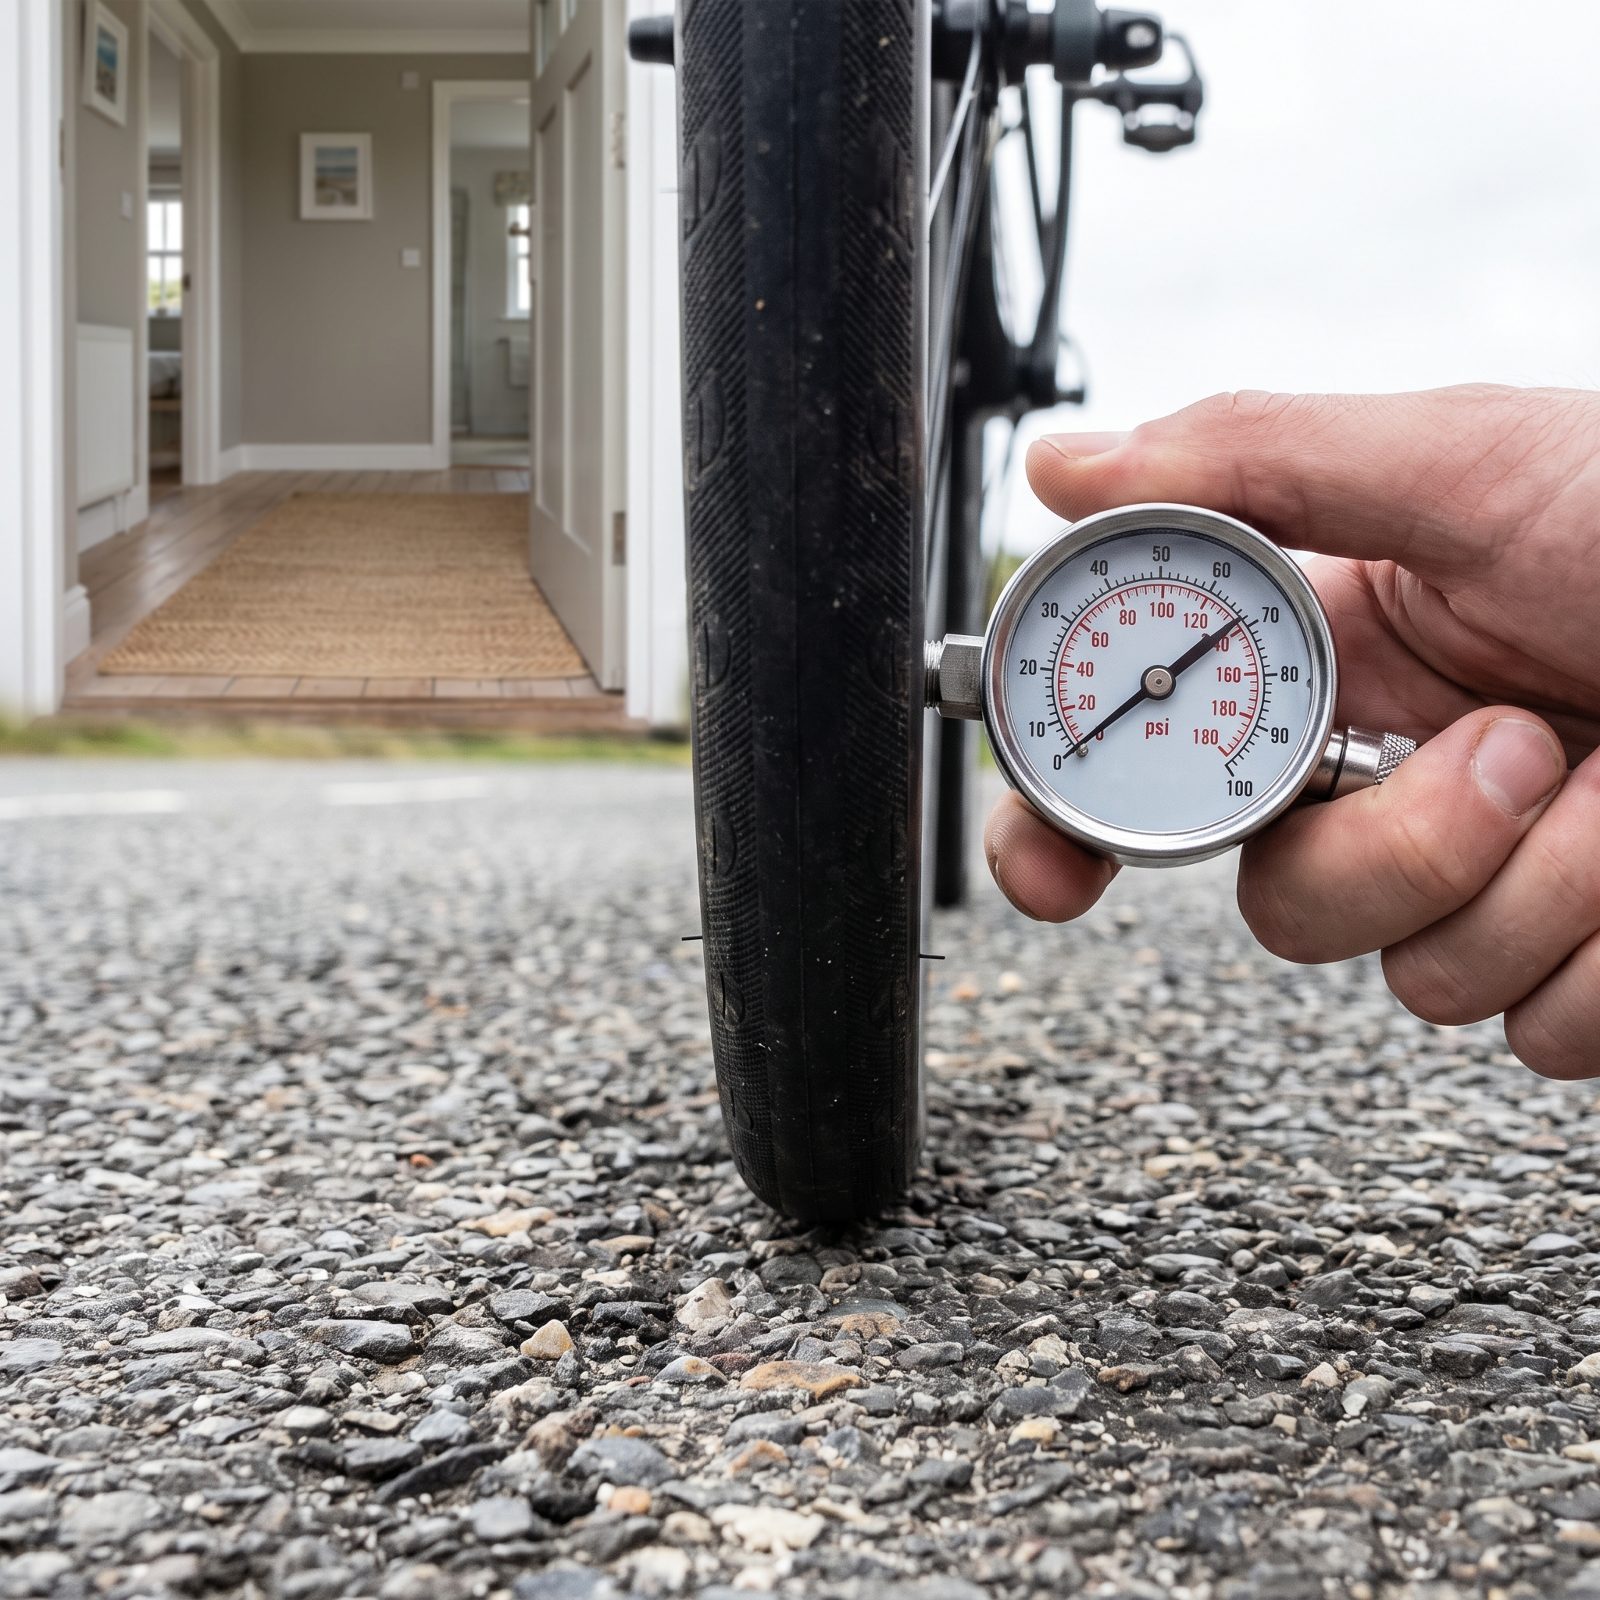
Plenty of riders pump to the number printed on the sidewall and call it done, never realizing that max pressure on a rough road turns the bike into a jackhammer.
Every seam, pebble and crack sends a sharp jolt straight up through the contact points into your wrists, lower back and knees. On chip-seal and broken tarmac, that constant buzz piles up into real joint fatigue over a few hours.
Drop the pressure. Modern wider tires are happiest well below the sidewall maximum, and a slightly softer tire actually rolls over rough surfaces faster while soaking up the hits. Experiment a few psi at a time until the road quits punching you.
1. Staying Heavy in the Saddle When Crossing Sharp Impacts
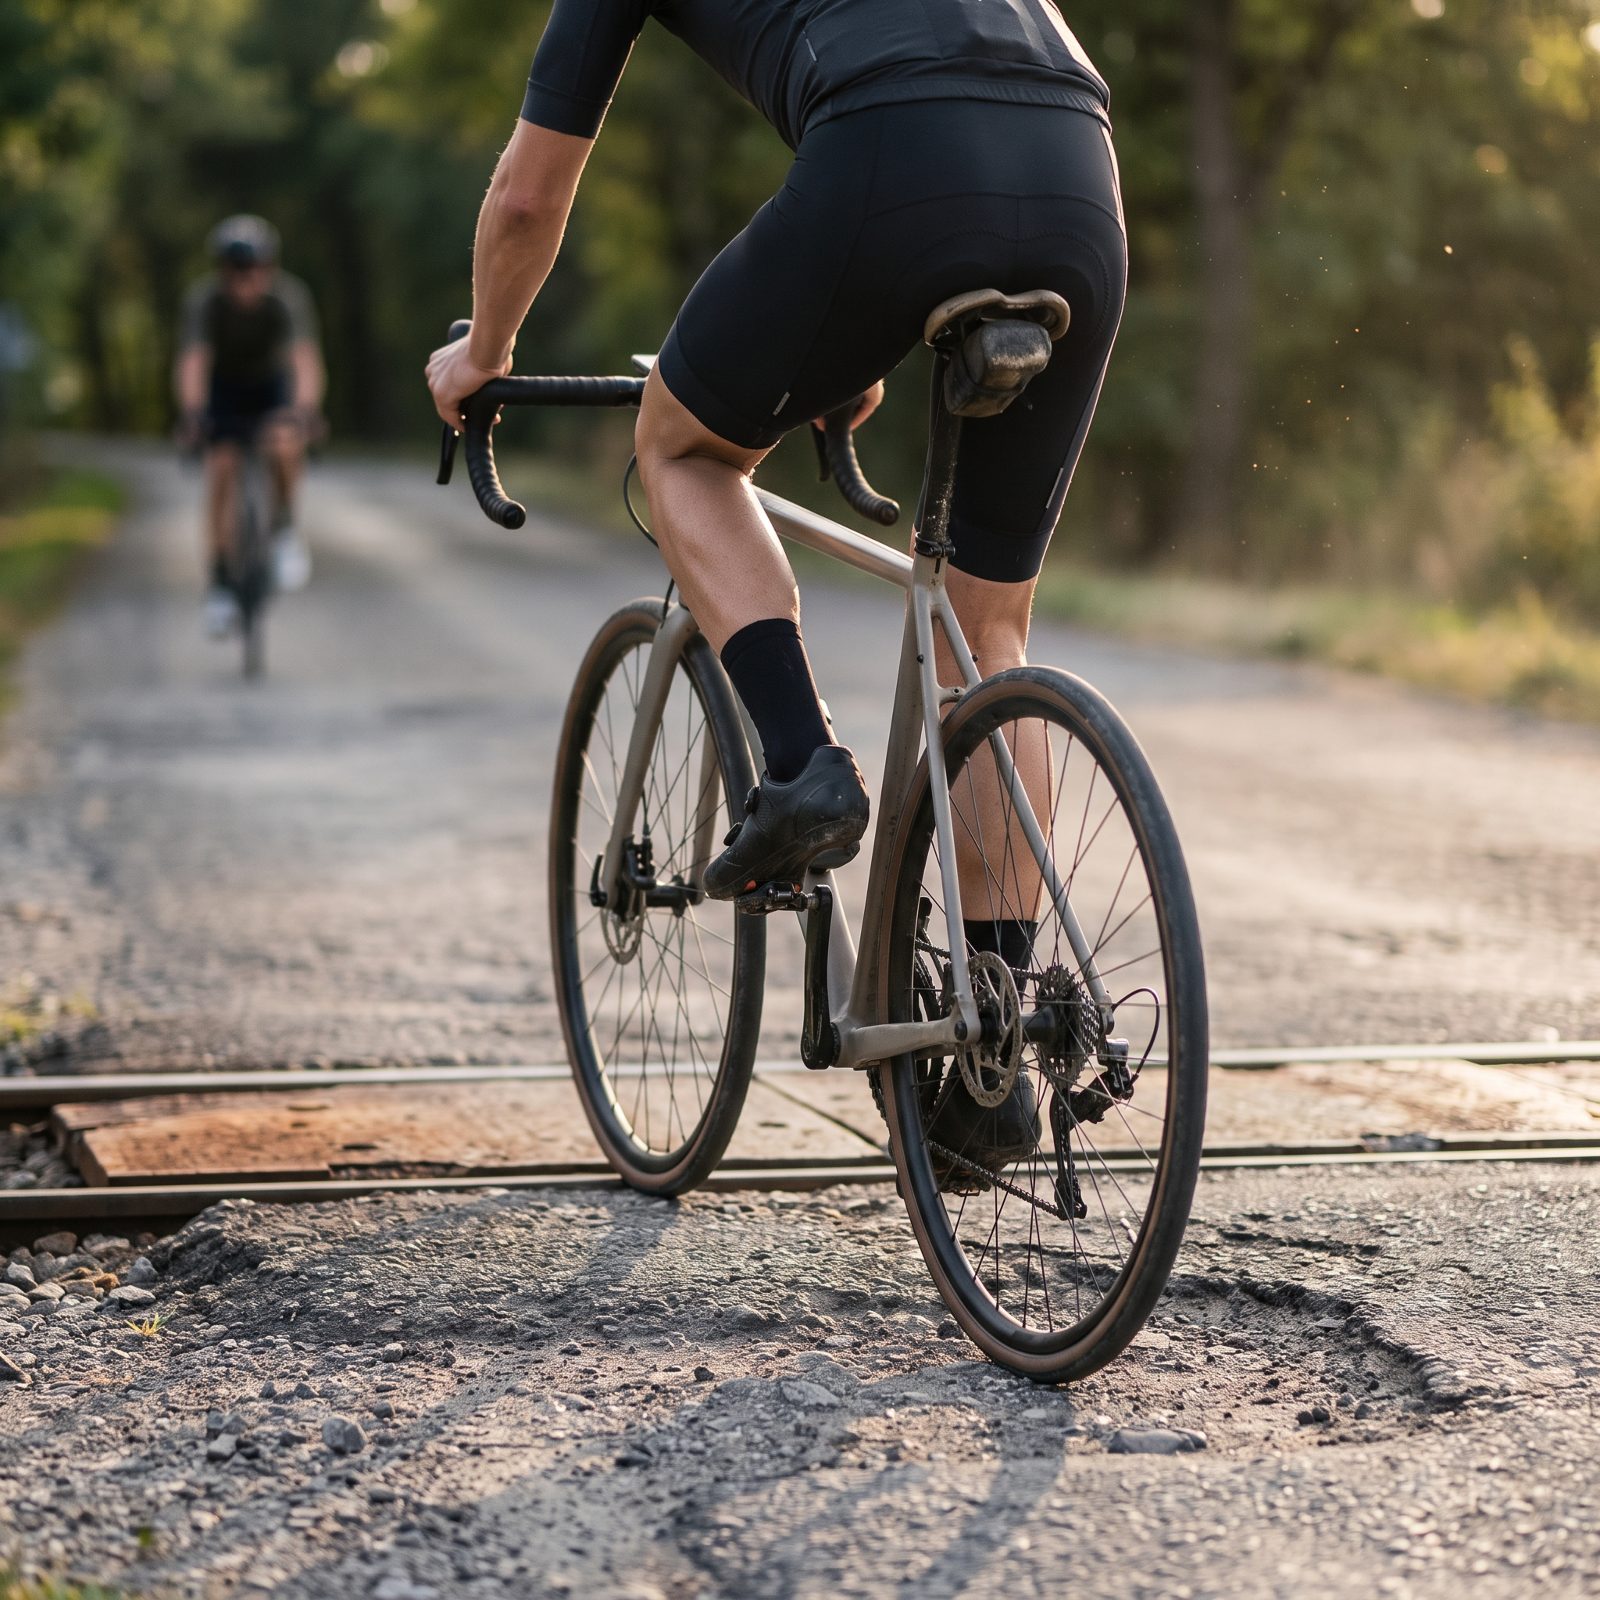
Barreling over a pothole, a cattle grid or a railroad crossing while sitting flat on the saddle hands the full jolt straight to the base of your spine.
The saddle has no give for a hit like that. The impact travels up the lower back in one hard spike, and a day of those spikes leaves the lumbar region aching by evening.
See the rough stuff coming and unweight. Rise slightly off the saddle, bend the knees and elbows, and let your limbs swallow the hit the way suspension would. No dramatic stand required — just enough to turn your legs into shock absorbers for a second or two.