
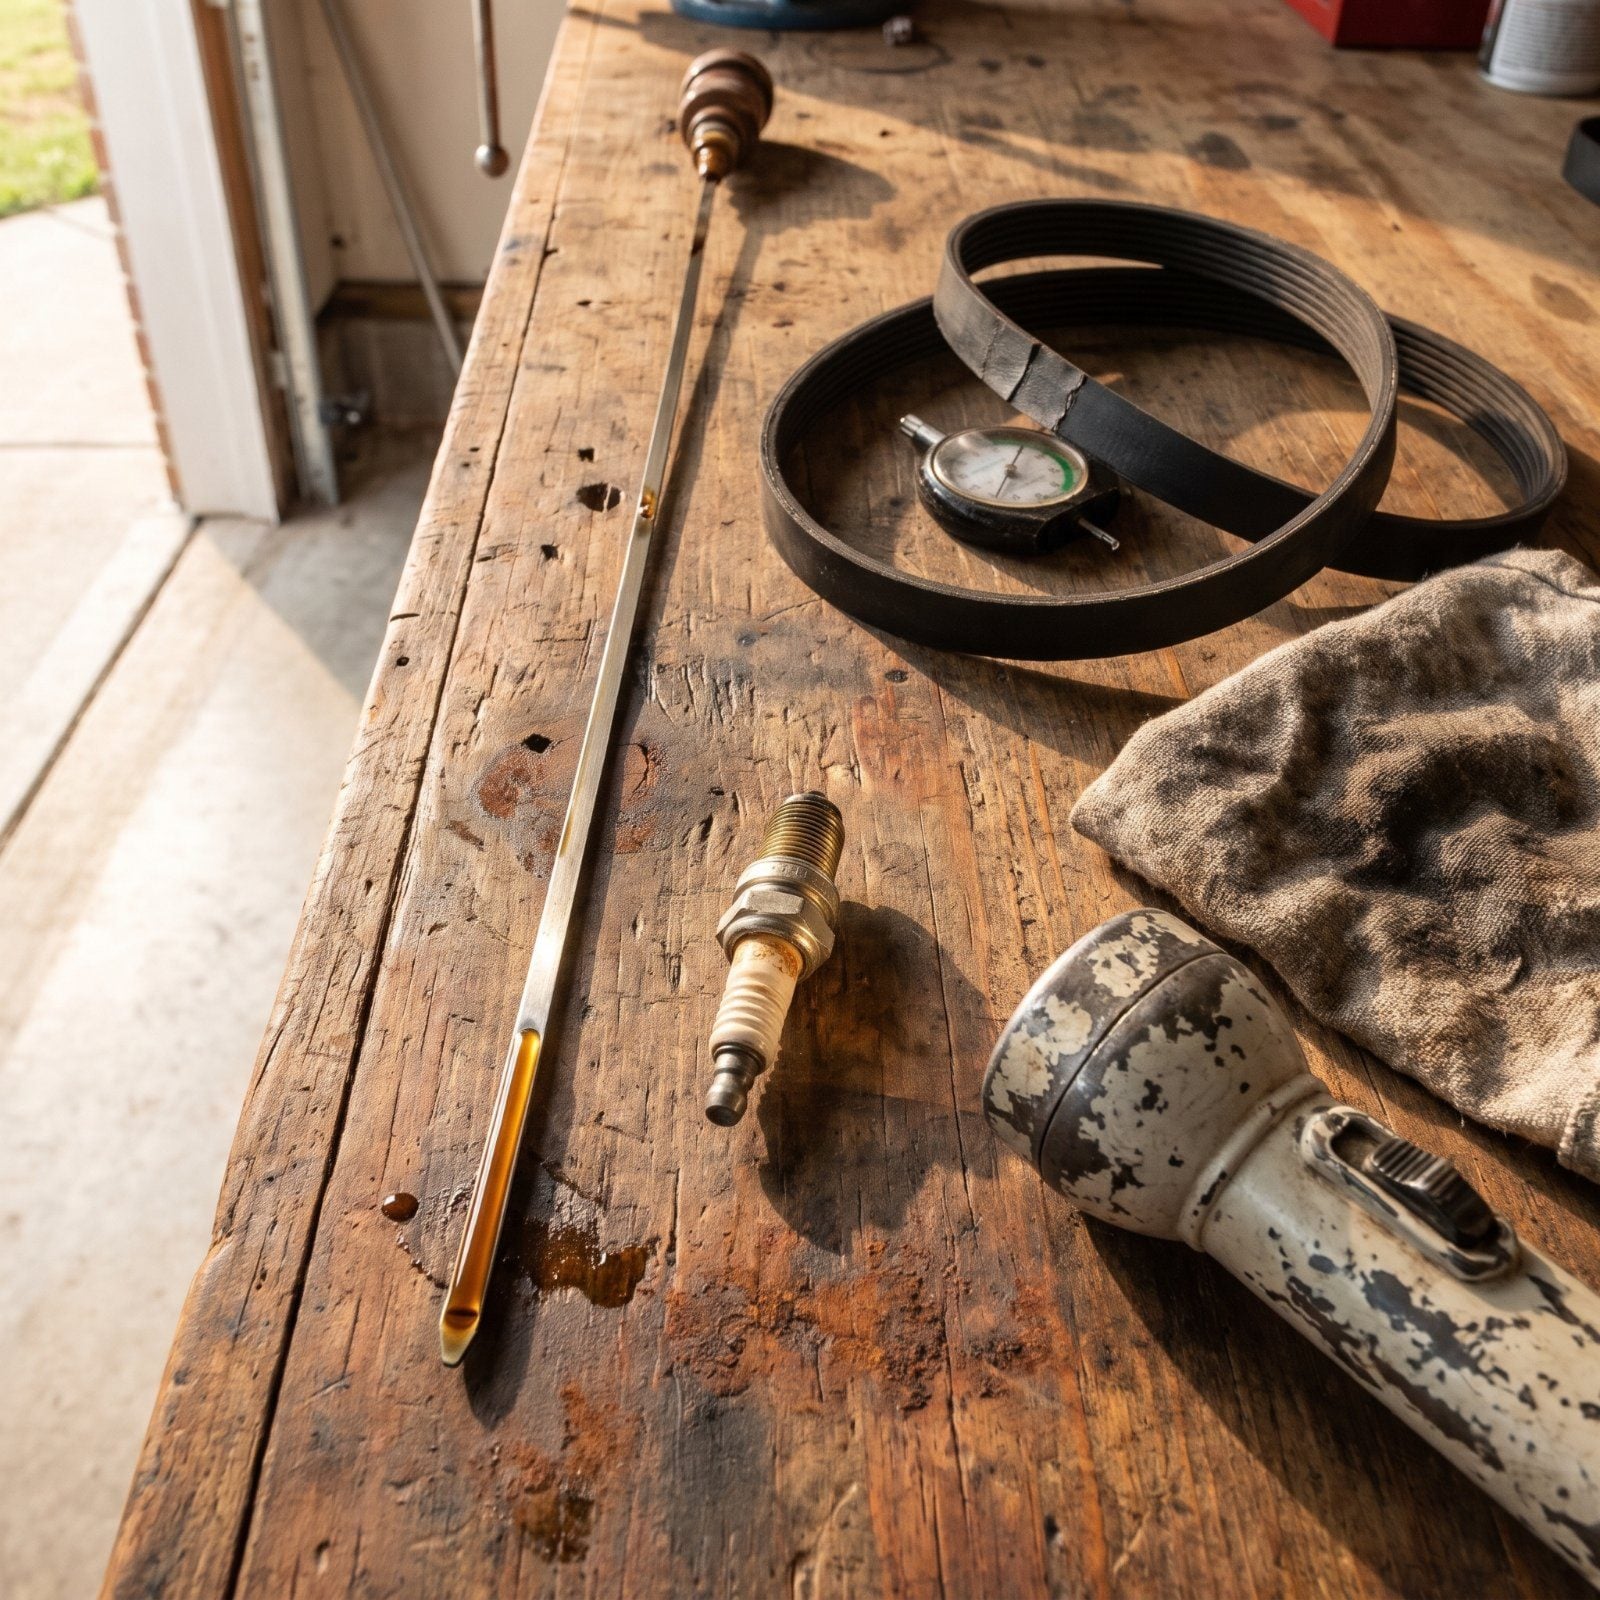
Most people drive to the shop when something feels off. You hear it first. A faint tick on a cold morning, a smell that wasn’t there yesterday, a vibration in the wheel at 55 that fades at 60 — those are the tells, and they come free. Anyone who grew up with a creeper under the family sedan picked up a set of senses no scan tool replaces. Your ears, your nose, the flat of your hand on a tire. These habits catch trouble while it’s cheap and quiet, before it strands you somewhere with no cell signal and a cooling engine.
Please note that some of the images in this article were created with the assistance of AI.
43. Listen Closely to Every Cold Start
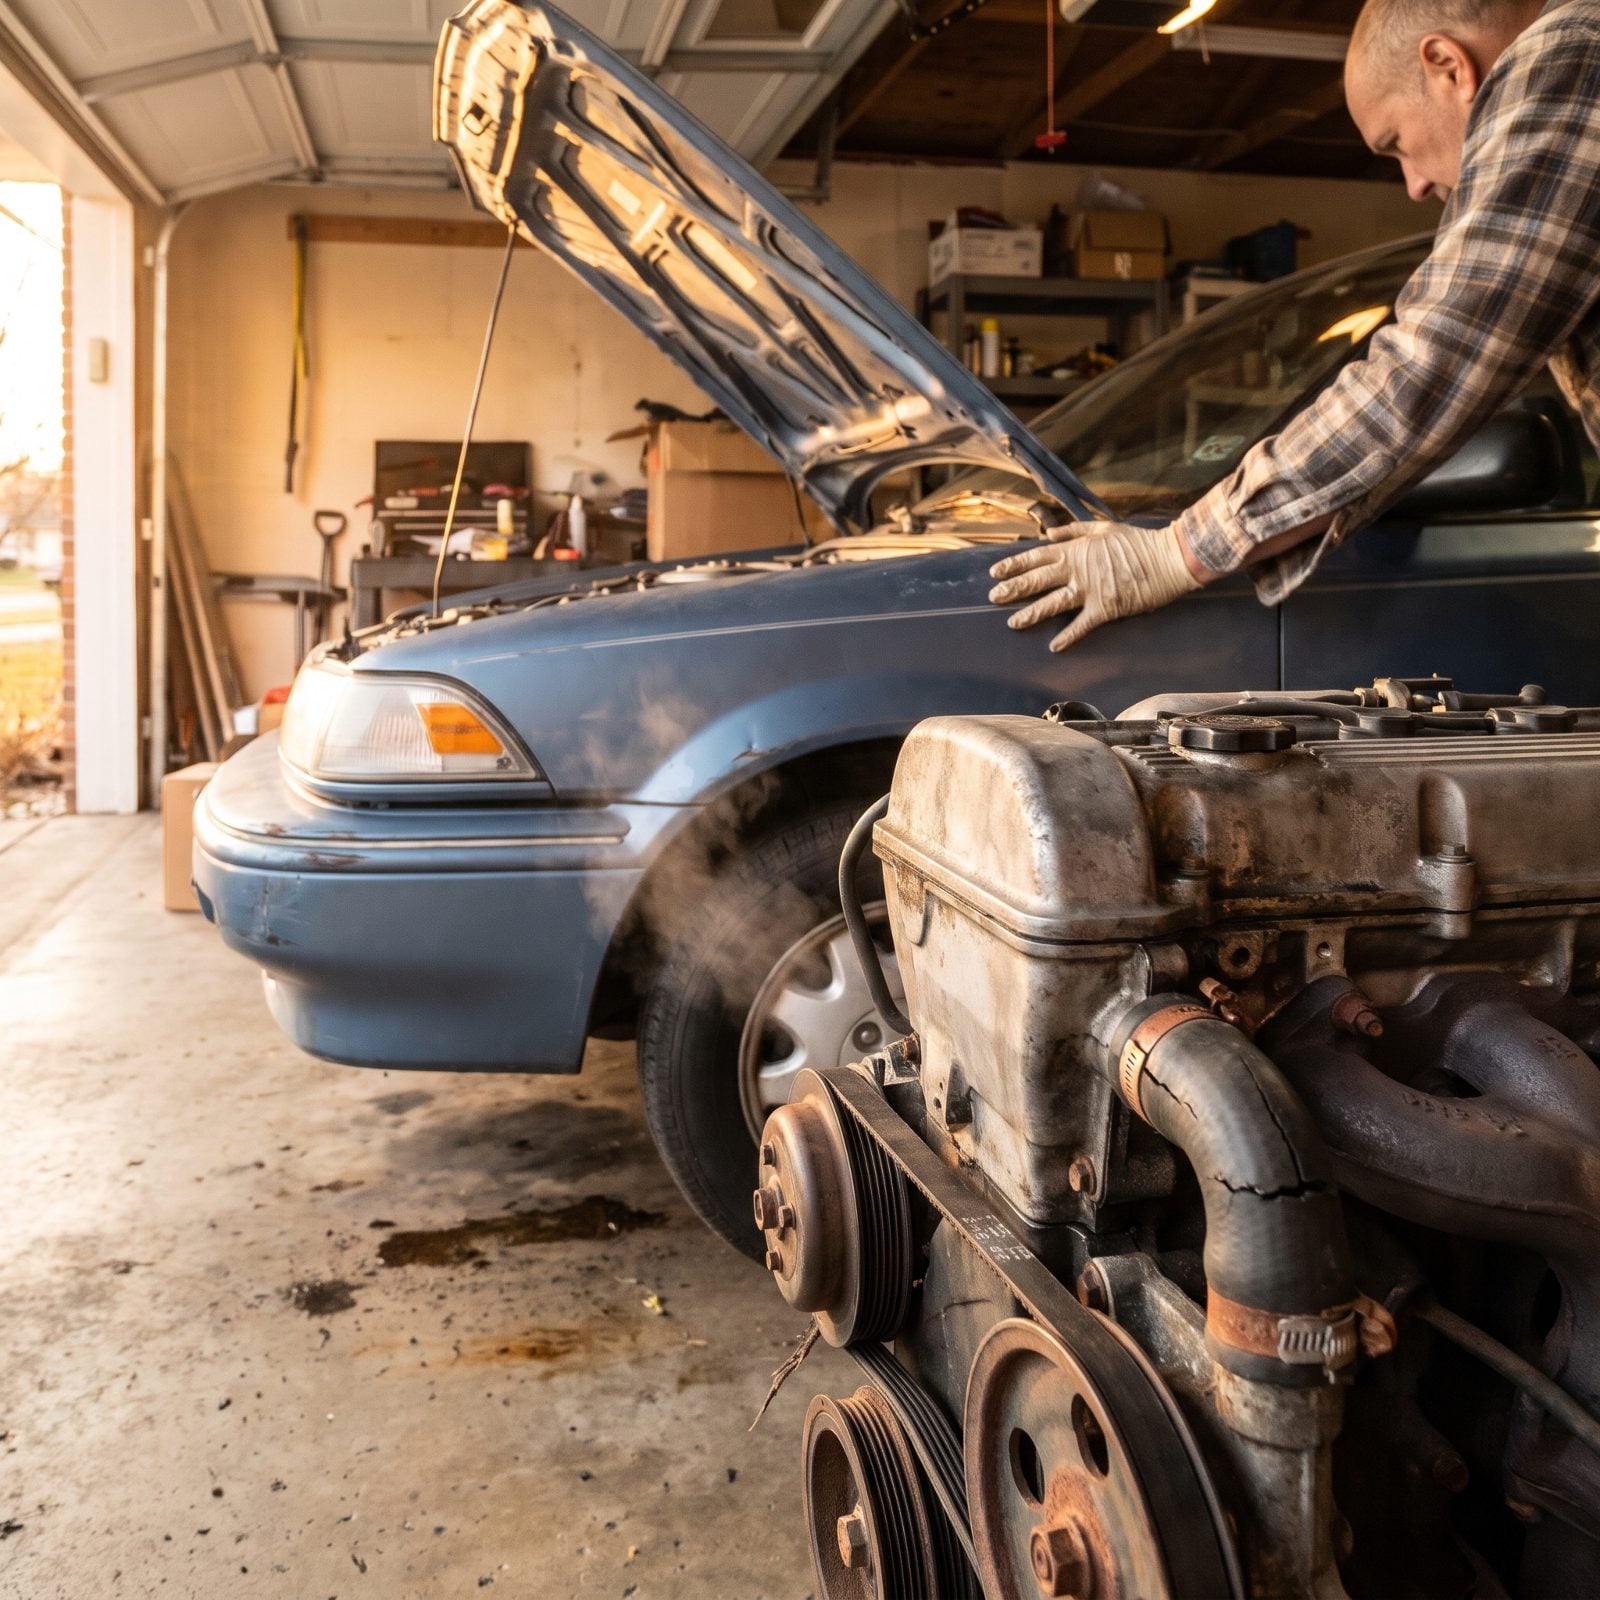
A cold engine tells you more in its first ten seconds than it will all day. The oil is thick, the clearances sit at their widest, and anything worn announces itself before the parts warm up and swell quiet again.
Listen for a lifter tick that fades after a few seconds, a brief squeal from a glazed belt, or a knock that scares you until it disappears. The sounds that go away as it warms are telling you something. A tick that stays? That conversation can end with the motor pulled out of the car and sitting on the garage floor, cracked hoses, rusty pulleys and all.
42. Turn Down the Radio When the Car Sounds Different

You’ve done it without thinking. New rattle, new hum, and the first reflex is to kill the music so you can hear the car itself. There’s real logic in it, because your brain can’t isolate a faint drone buried under a chorus, and the earliest warning sounds are faint by design.
A dry wheel bearing starts as a whisper that rises with speed. A failing CV joint clicks on turns. Catch those while they’re quiet and you choose when to fix them. Miss them and the car chooses for you, usually on a Sunday a hundred miles from home.
41. Drive Beside a Wall to Hear Reflected Noises
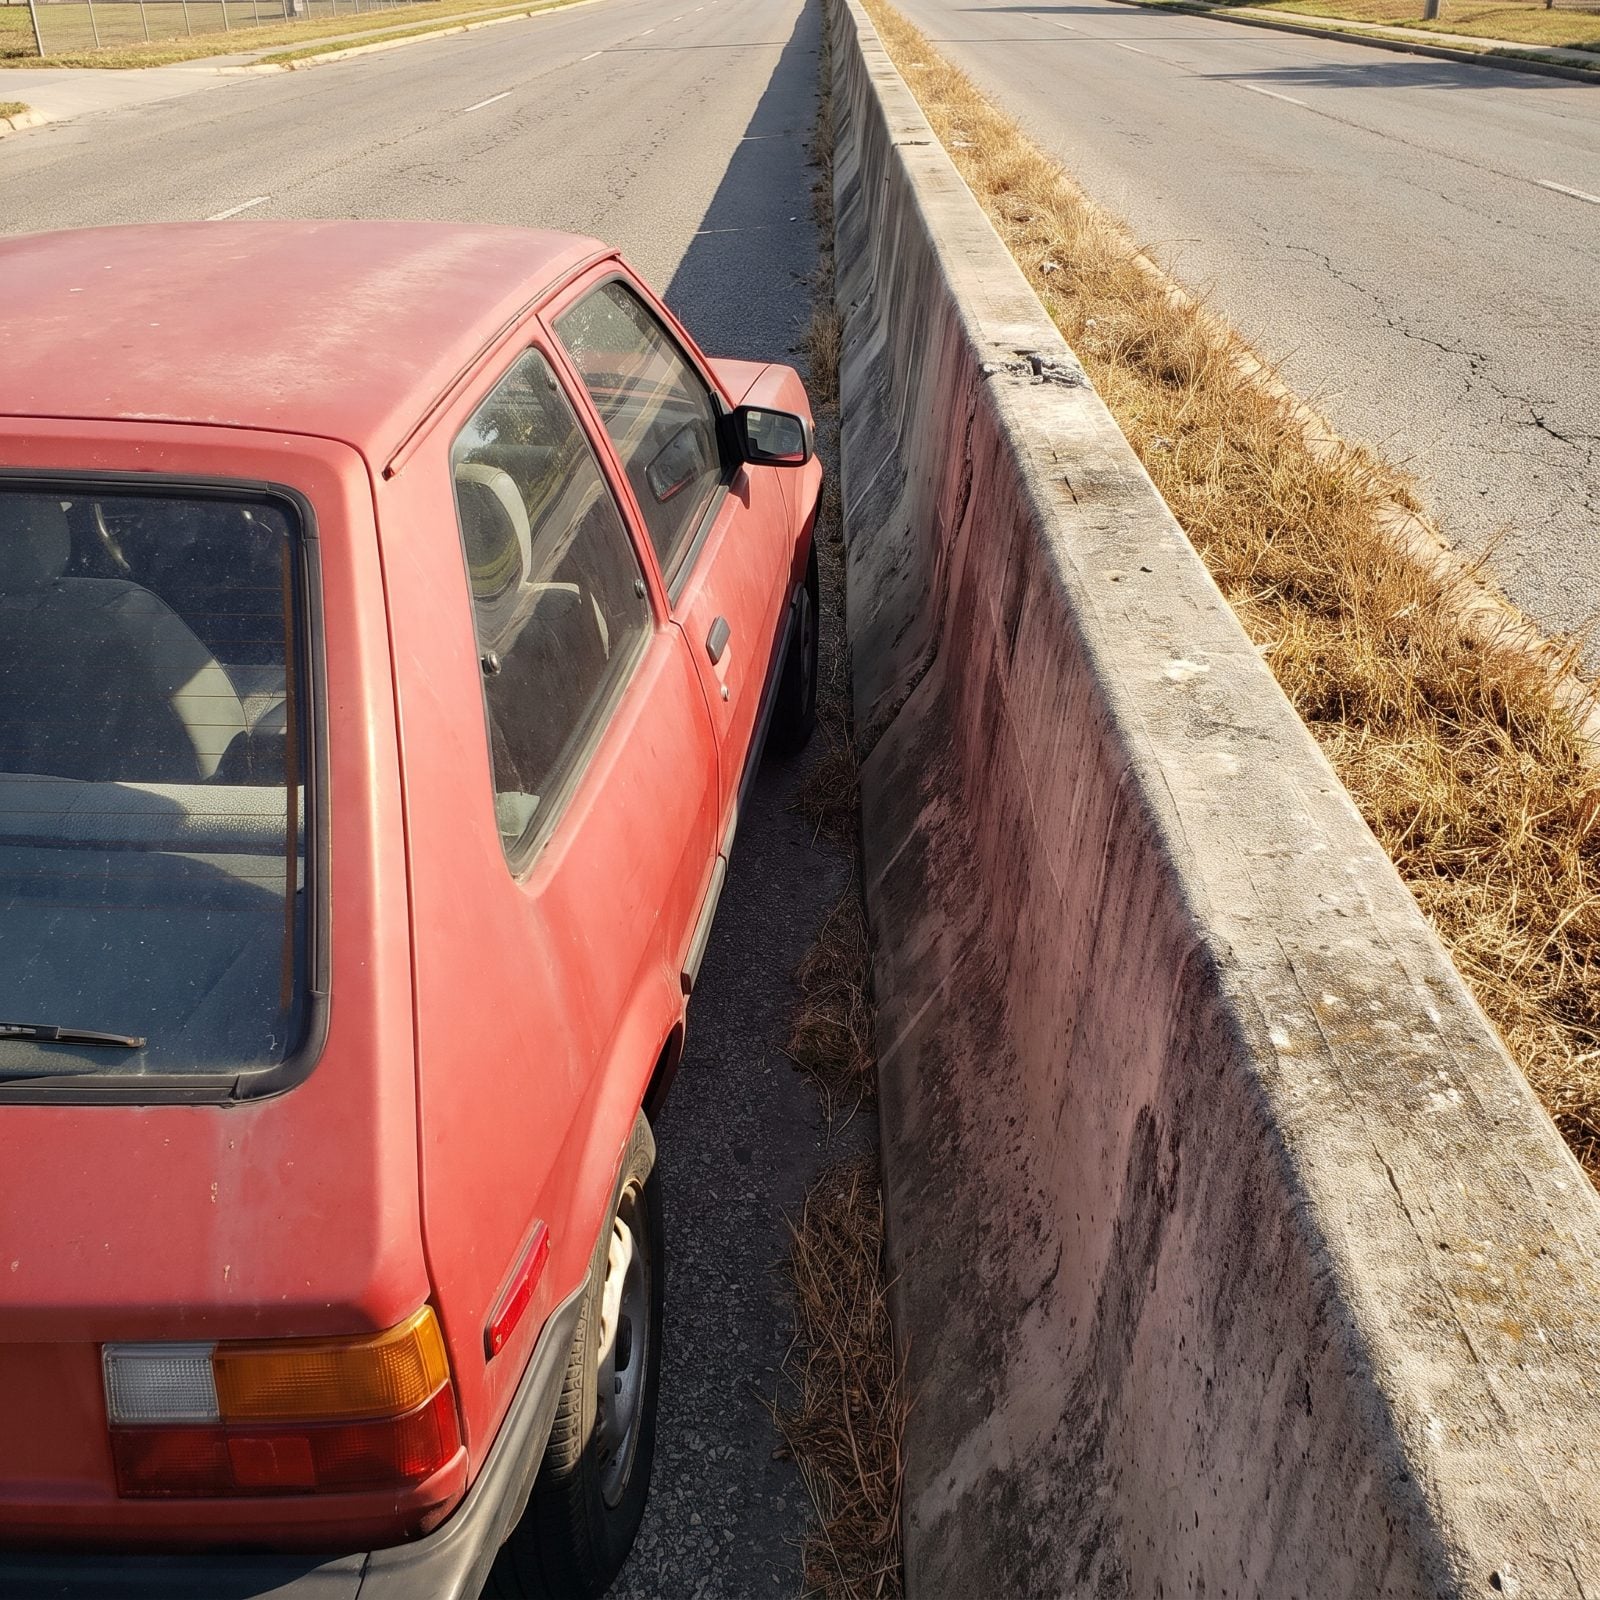
This one looks odd until someone shows you why. Roll the window down and drive slow beside a solid wall or a line of parked cars, and the surface bounces your own engine and tire noise right back at you, doubling anything that’s off.
A ticking exhaust leak, a scraping brake shield, a tire with a nail starting to thrum — all of it gets louder against a wall than it ever does in open air. Parking garages work too. So does a tight canyon road. You’re borrowing the surroundings as a free amplifier.
40. Check the Pavement for Fresh Drips
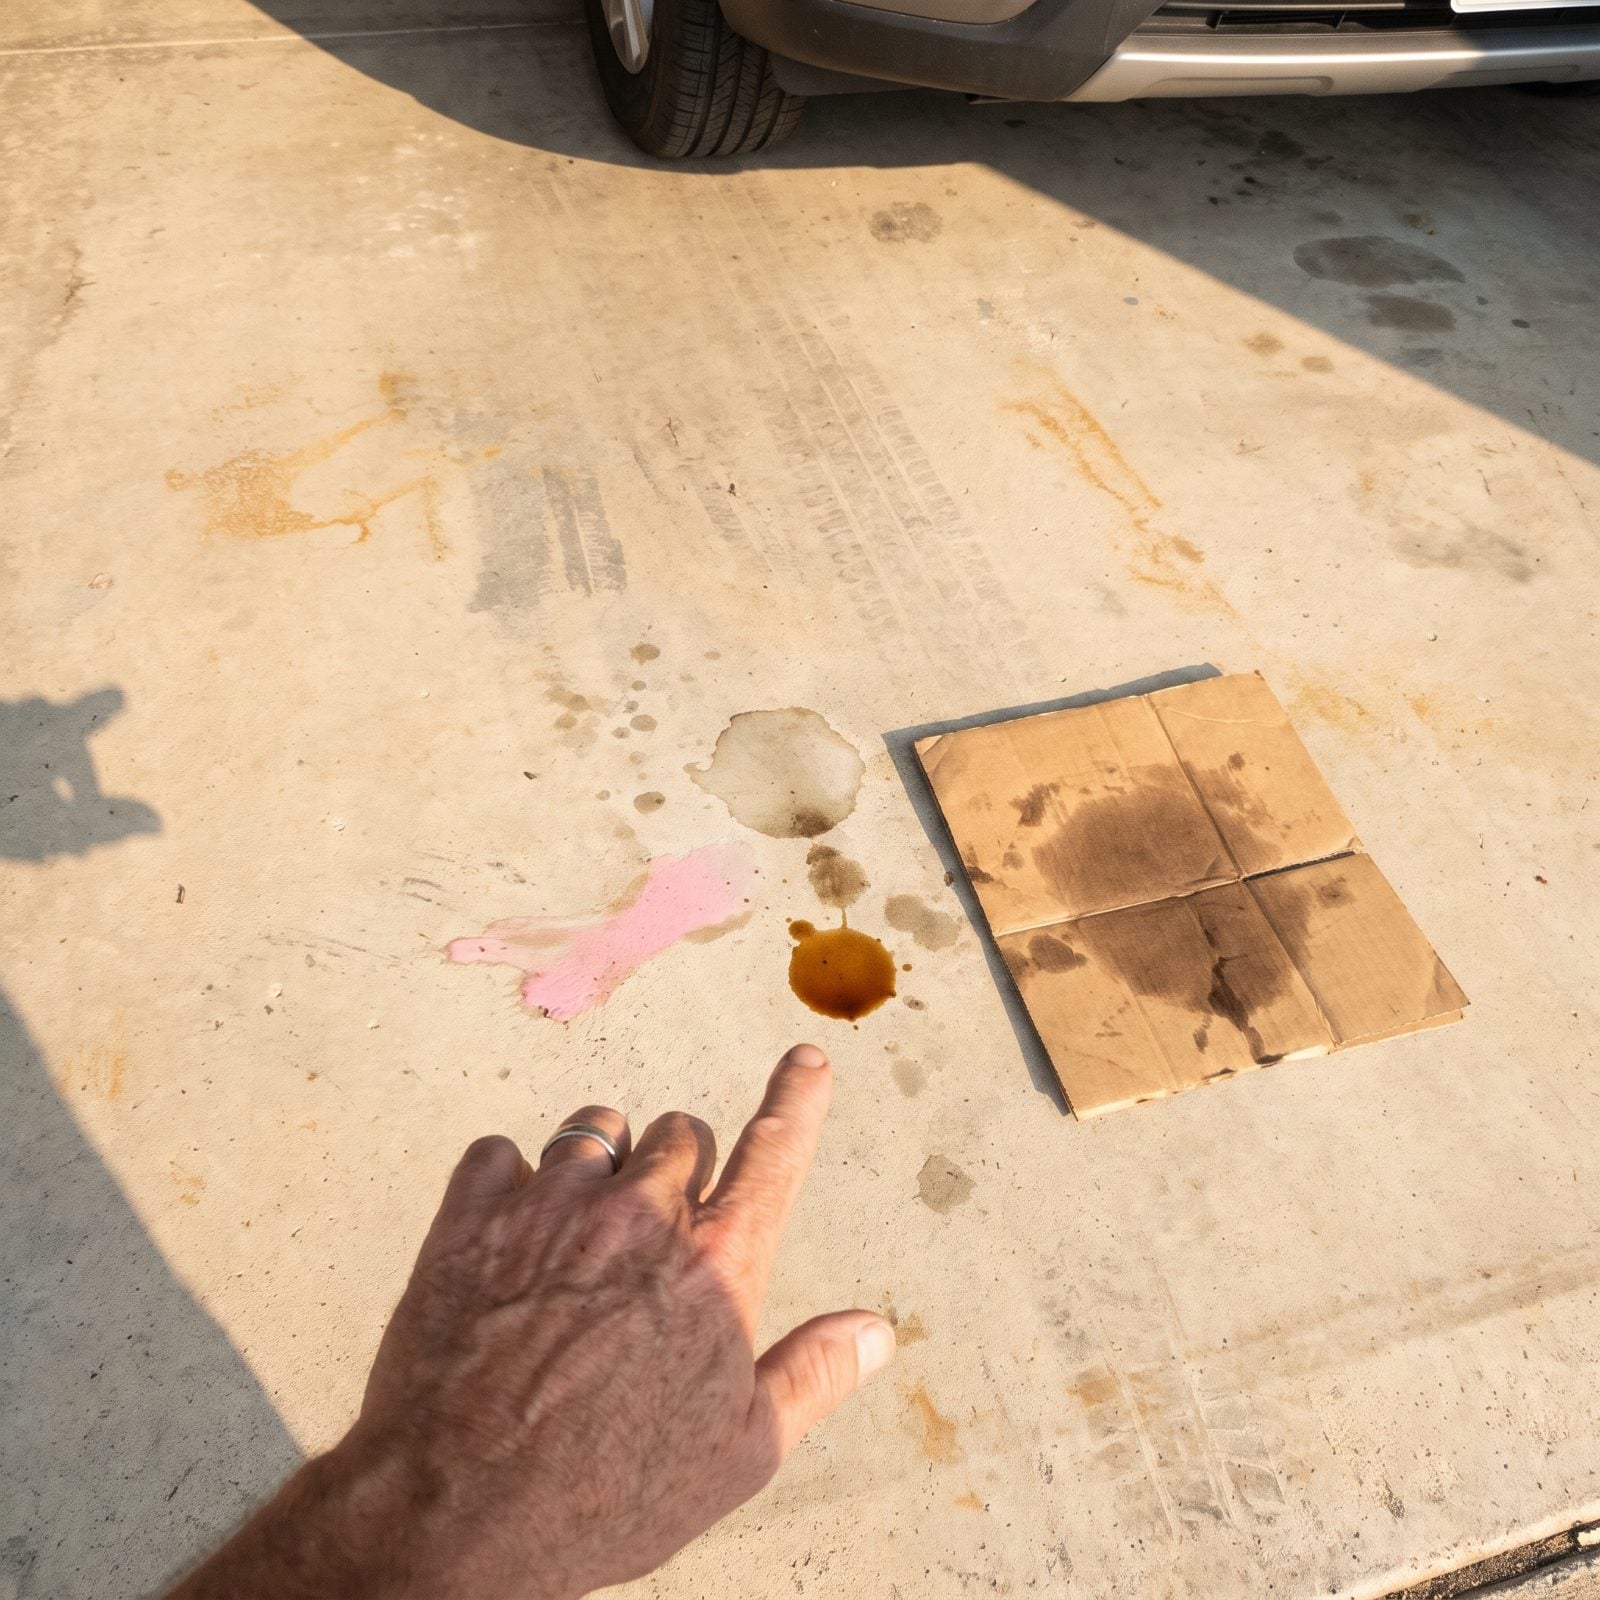
Color and location tell the whole story. Amber or brown under the engine is oil. Bright green, orange, or pink near the front is coolant. Clear and odorless under the dash side on a hot day? Just your AC condensate. Leave it be.
So slide a flattened cardboard box under the car overnight. Fresh fluid on clean cardboard shows you exactly where it’s falling, and a drip that wasn’t there last week is what you’re hunting. Dry pavement is a passing grade.
39. Sniff the Air for Fuel, Oil, or Coolant

Your nose catches failures before any gauge does. A sweet, syrupy smell drifting through the vents is coolant hitting something hot. Raw gasoline means a seep or a flooded start. Hot, acrid, electrical-plastic is a wire cooking itself, and that one gets your full attention right now — not after you finish the drive.
Burning oil has its own scorched signature, usually a leak dripping onto the exhaust. Learn these three or four smells and you’ll diagnose half the problem before you even pop the hood.
38. Pull the Dipstick Instead of Trusting the Dashboard
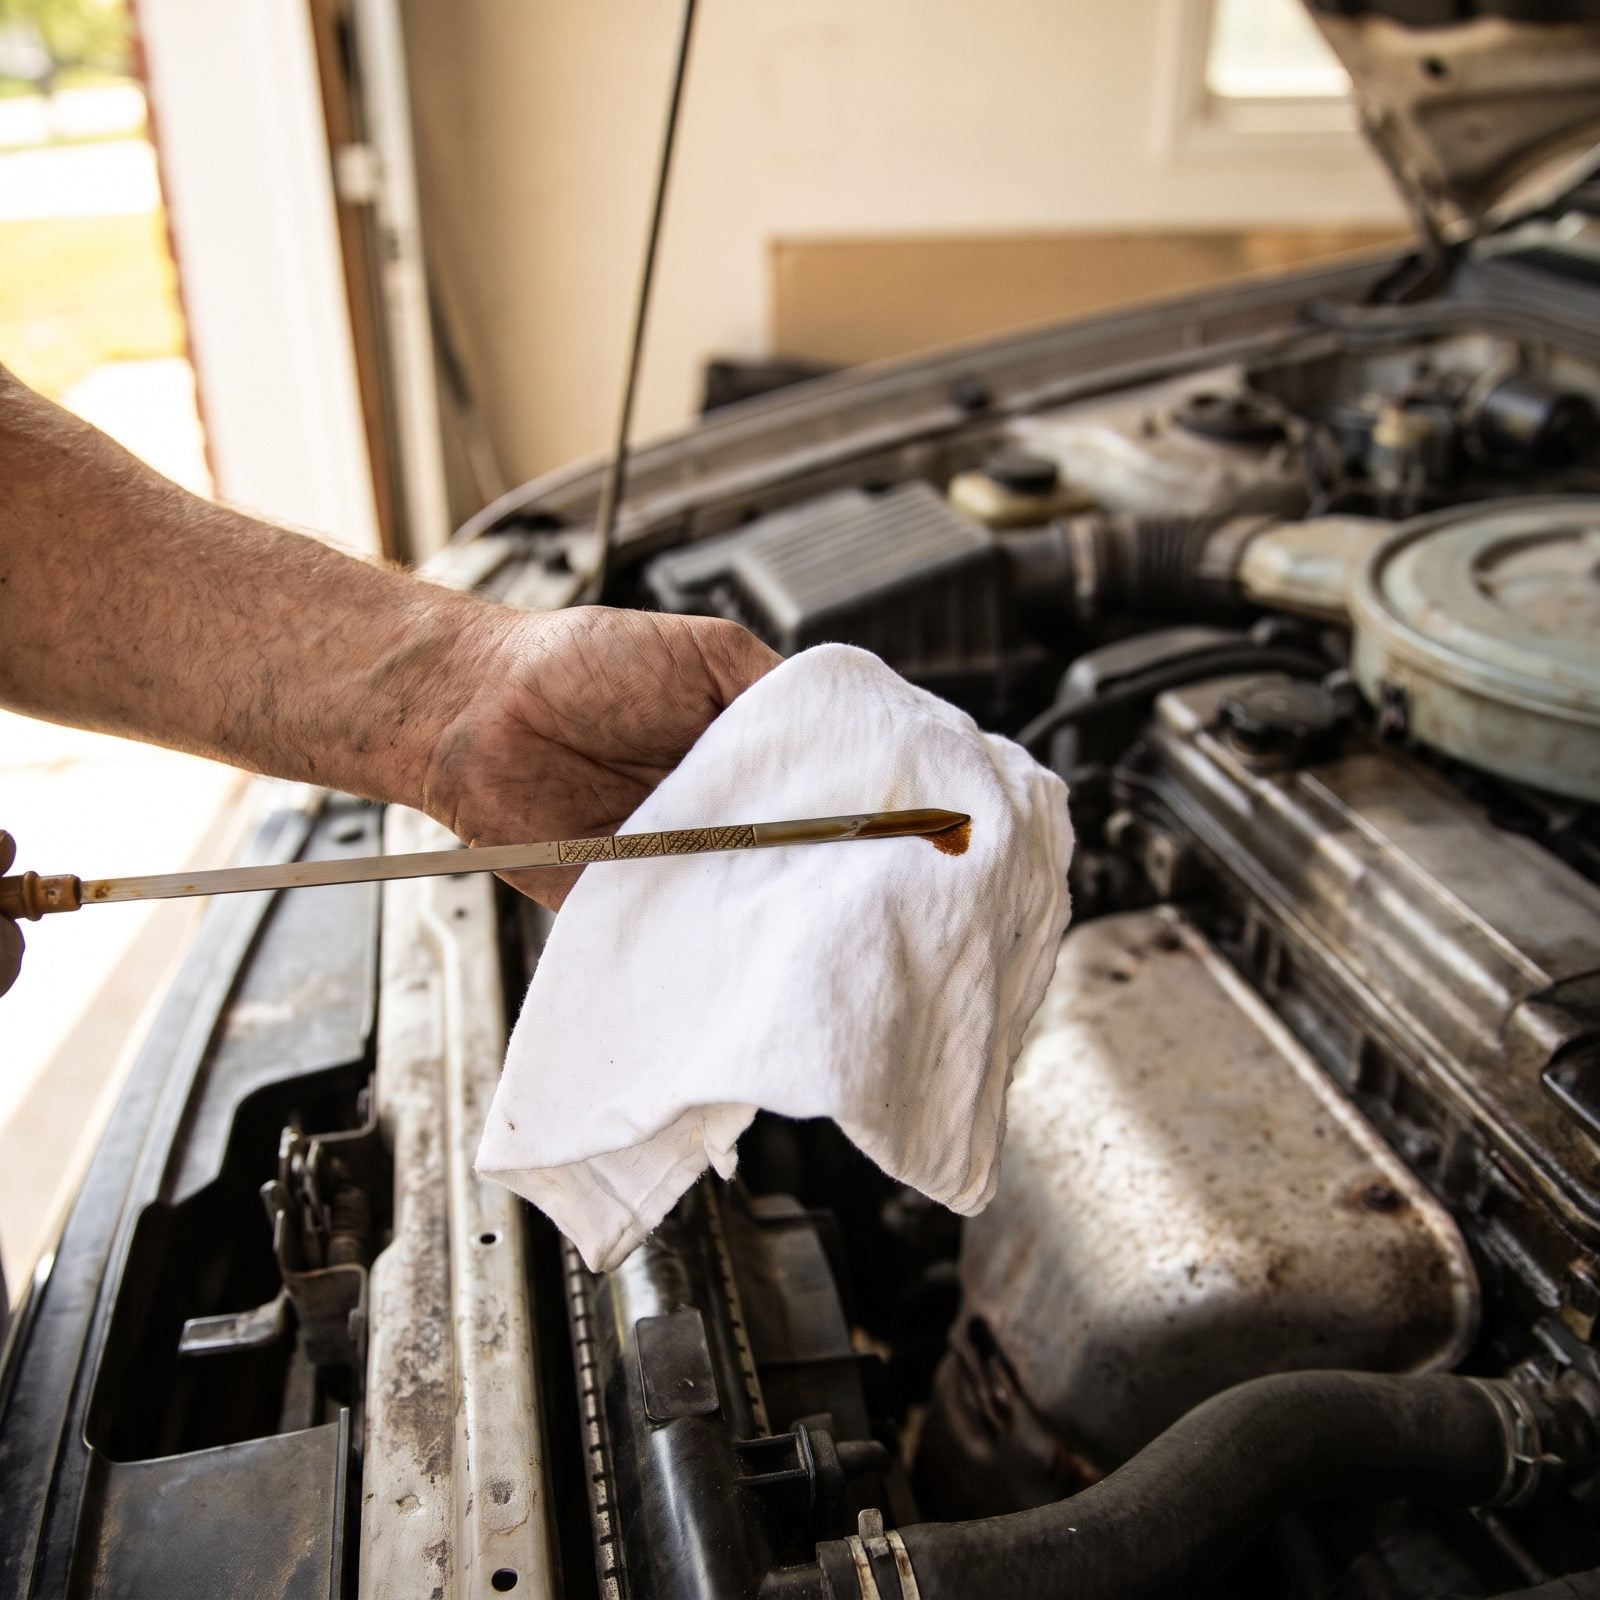
Modern dashboards love to tell you the oil is fine. Trouble is, the dashboard can’t actually see the oil. It’s running a counter based on mileage and estimated conditions — a guess dressed up as a fact.
Wipe the stick, reinsert it fully, pull it again, and actually look. Honey-colored and at the full mark is good. Gritty black past its interval, low, or milky and foamy tells you things no sensor will. Thirty seconds, no tools, and you’ve verified the one fluid the whole engine depends on.
37. Run a Hand Over the Tread for Uneven Wear
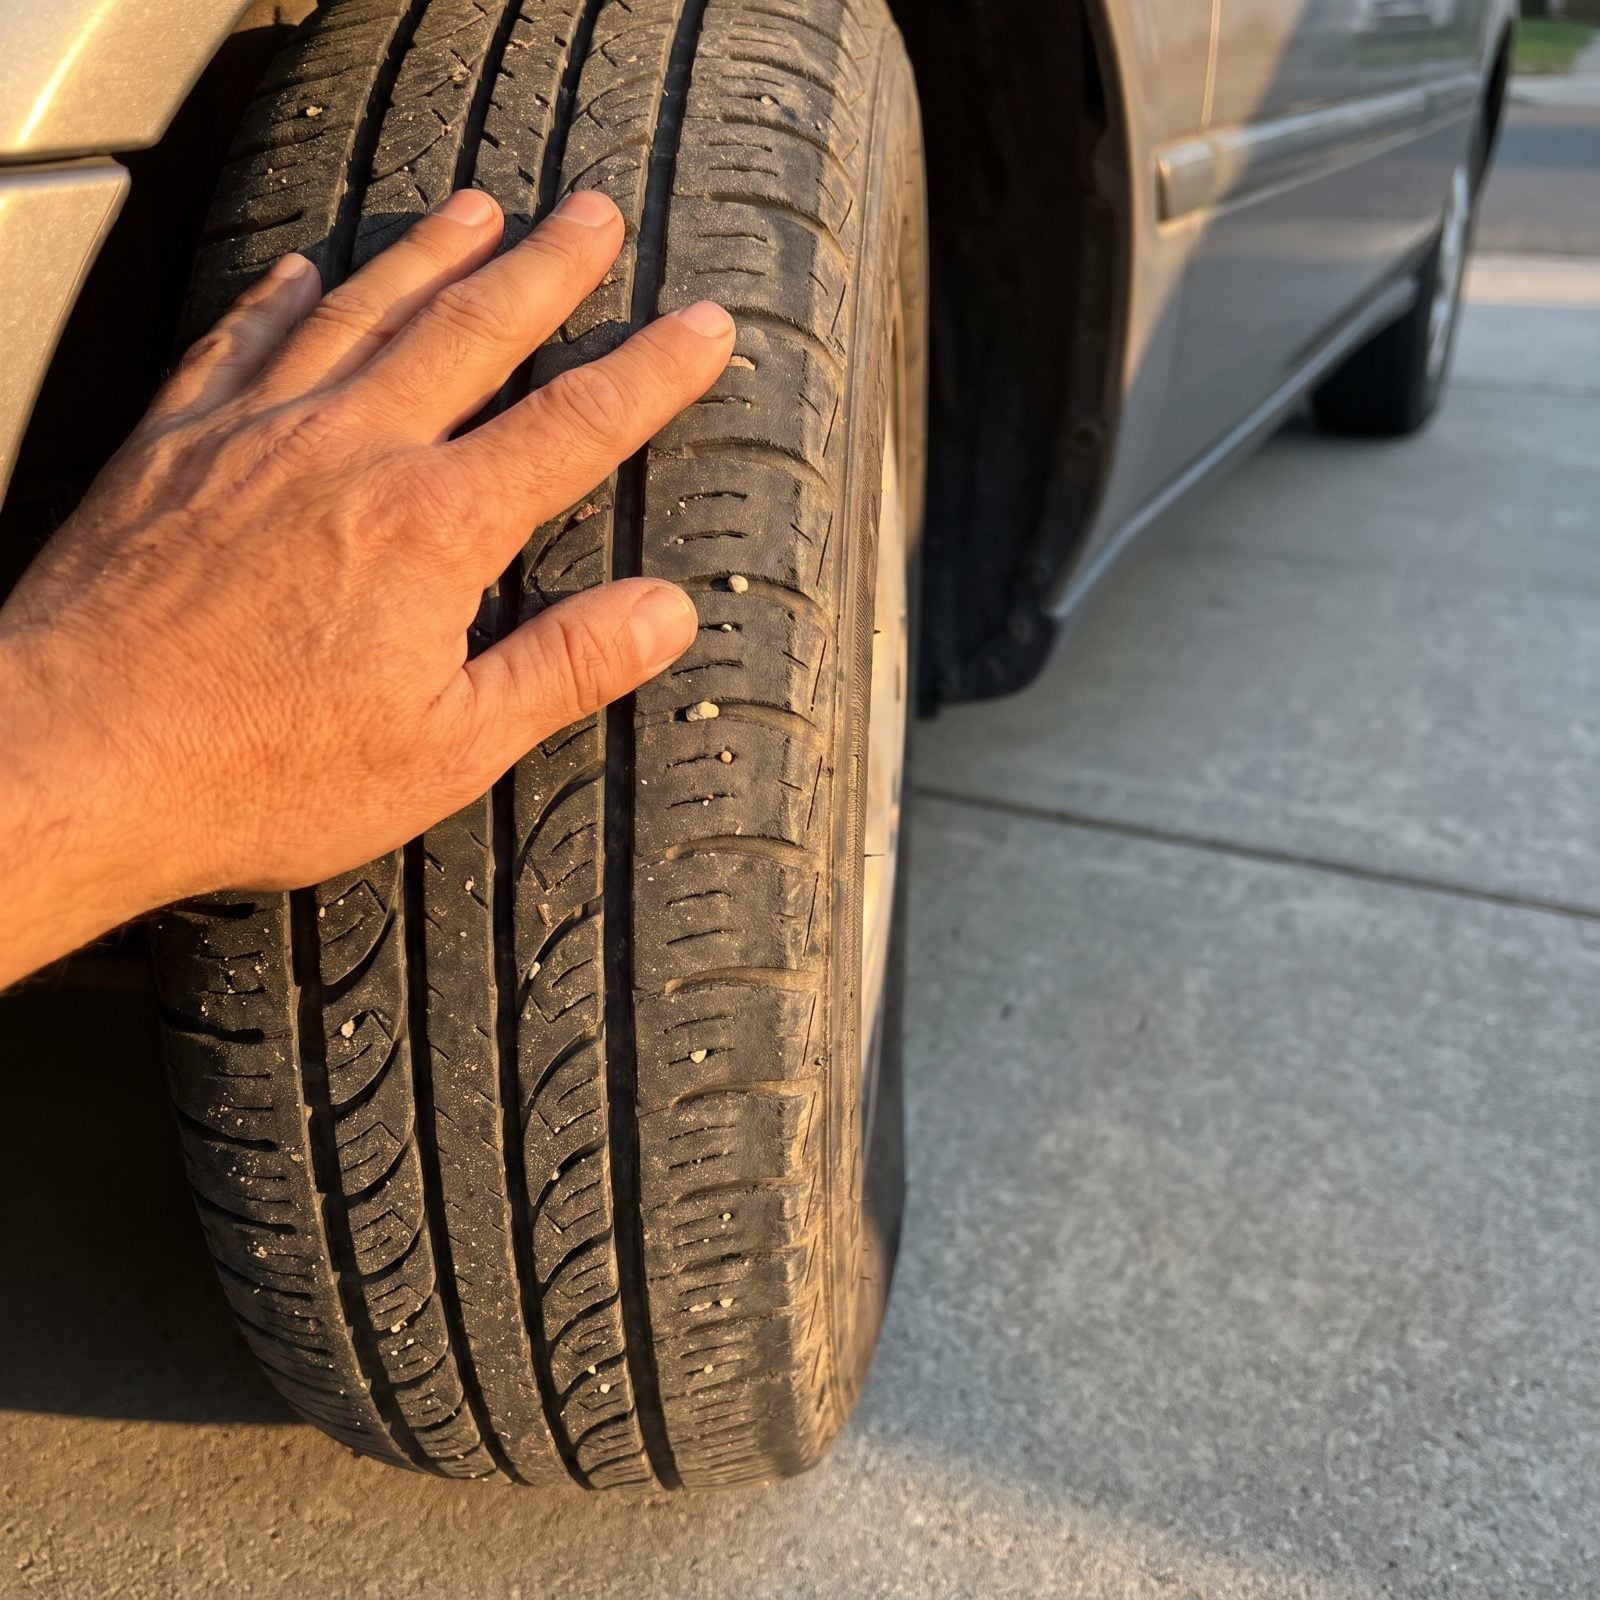
Your eyes catch the obvious bald spot, but your palm catches the problem months earlier. Run your hand lightly across the tread, inside to outside, both directions.
Here’s what the feel tells you:
- Feathering, where the tread edges ramp up like tiny stair steps, points to an alignment or toe problem.
- Worn only on the inner or outer edge means camber is off; worn on both edges means you’ve been low on pressure.
- Cupping, a scalloped wave you feel more than see, usually means a worn shock or bad balance.
Catch any of these and an alignment saves you a whole set of tires.
36. Flex Old Belts to Expose Hidden Cracks
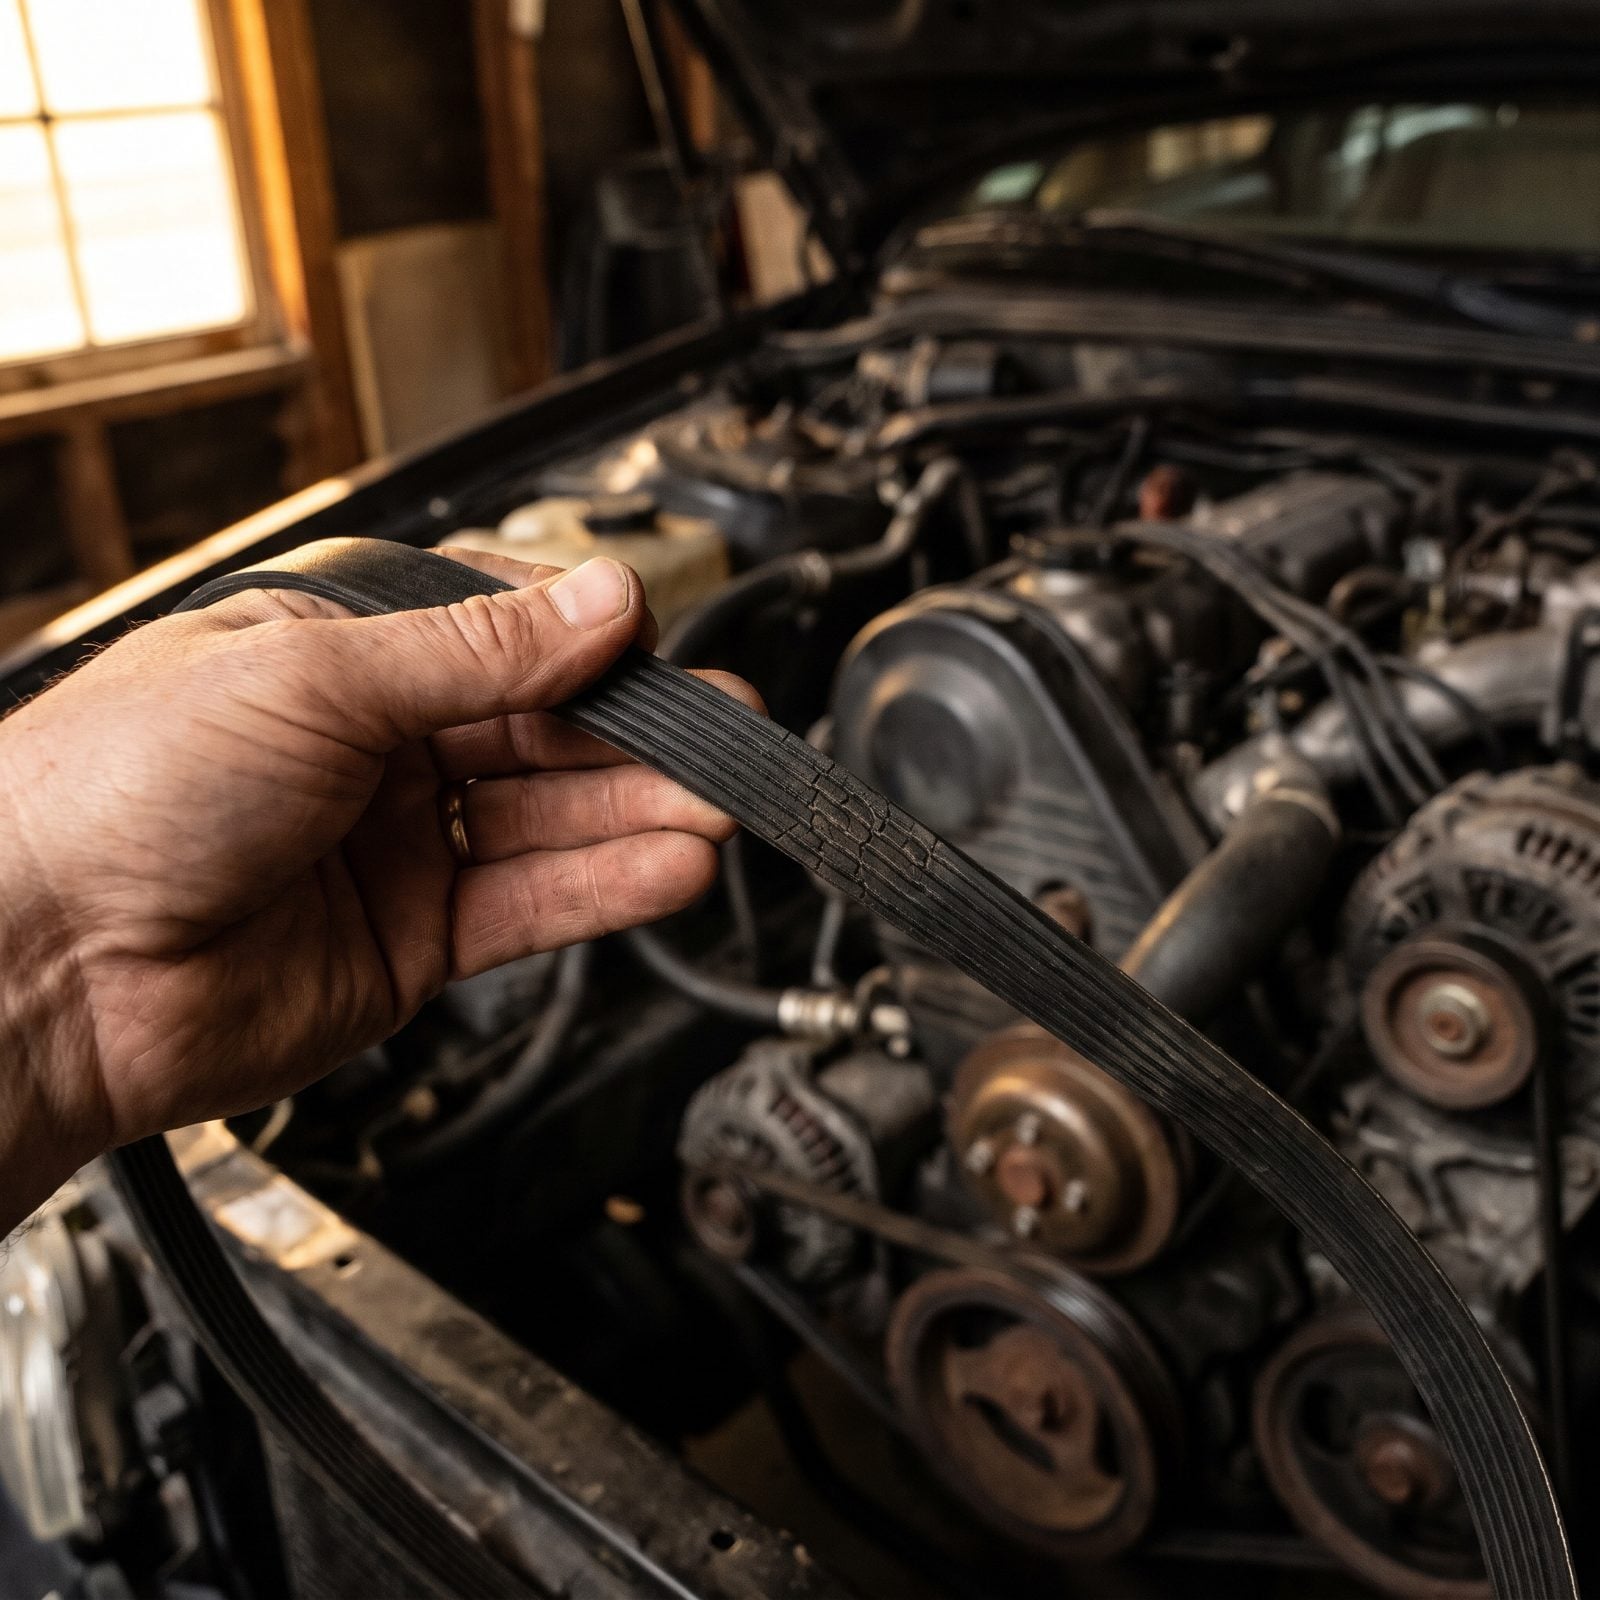
A serpentine belt looks fine from the top right up until it doesn’t. The cracks hide on the grooved underside, and they only show when you bend the belt back on itself.
With the engine off and cold, twist a section and look at the ribs. A few fine cracks are normal wear. Deep cracks, missing chunks, a shiny glazed surface, or fraying edges mean its number is close. A belt that snaps on the highway takes your charging, cooling, and power steering with it in one go. Flexing it takes ten seconds and tells you everything.
35. Read Used Spark Plugs Like Diagnostic Clues
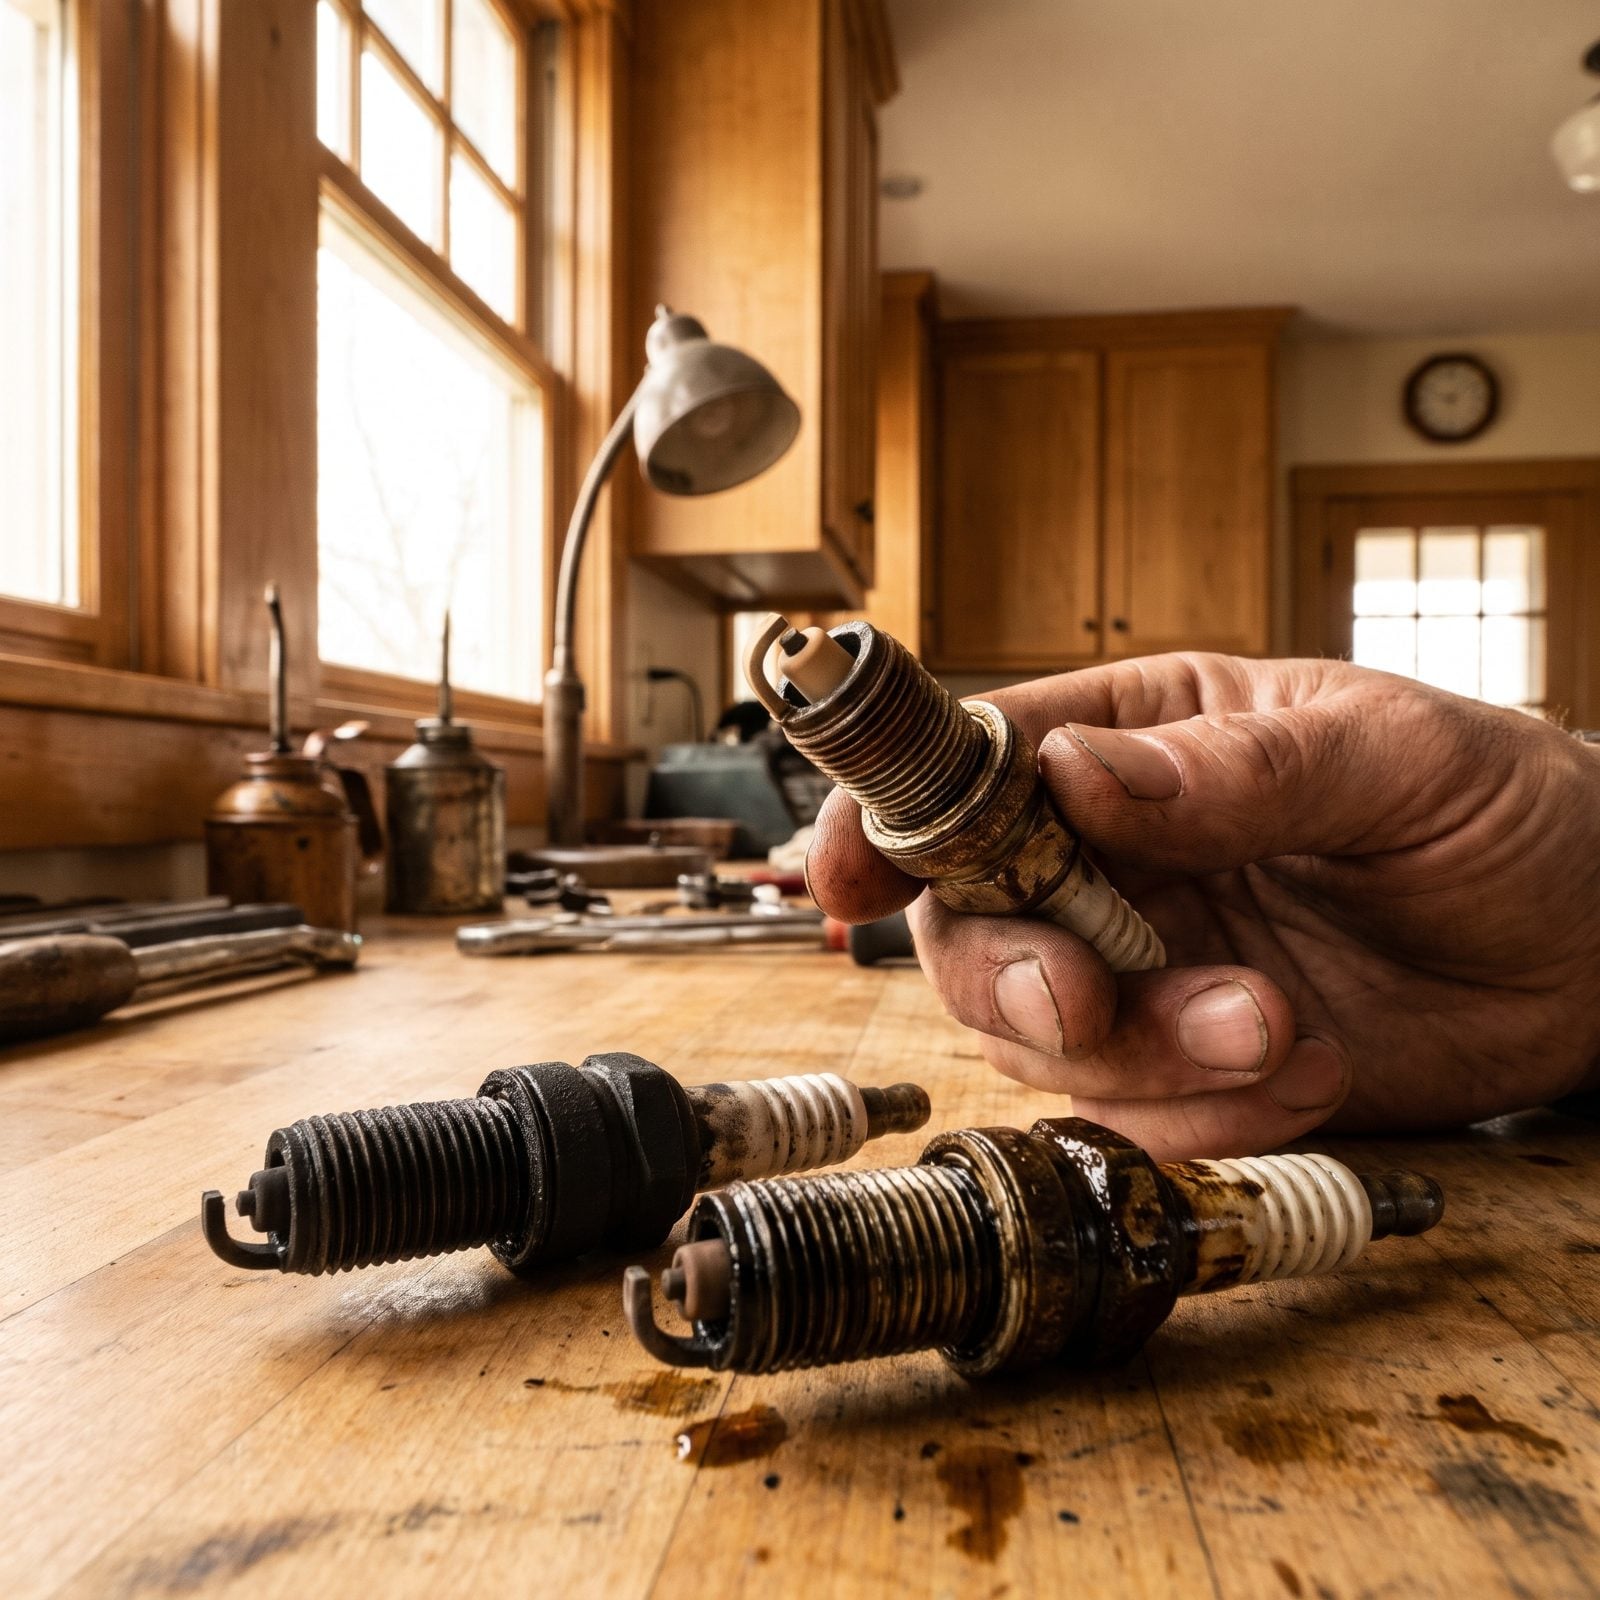
Pull a used plug and you’re reading the engine’s diary, cylinder by cylinder.
Light tan or grayish is a healthy burn. Dry black soot means a rich mixture or a lazy sensor. Oily and wet black points to oil slipping past rings or valve seals. White and blistered says it’s running too hot. And one plug that looks nothing like the others? That flags the exact cylinder, which beats guessing across the whole engine.
34. Feel the Steering Wheel for New Vibrations

Your hands are a tachometer for trouble. A buzz that shows up at a specific speed and smooths out above or below it is almost always a wheel balance issue or a tire that threw a weight.
A shimmy that only hits under braking points at warped rotors. A low vibration that grows with speed and never quits can be a driveline or bearing starting to go. The habit is simple: notice when a vibration is new. The one that’s always been there is a known quantity. The one that showed up Tuesday is the one to chase.
Pay attention early and you fix a wheel weight instead of a cracked wheel and a tow bill.
33. Take Off Rings and Watches Before You Pick Up a Wrench
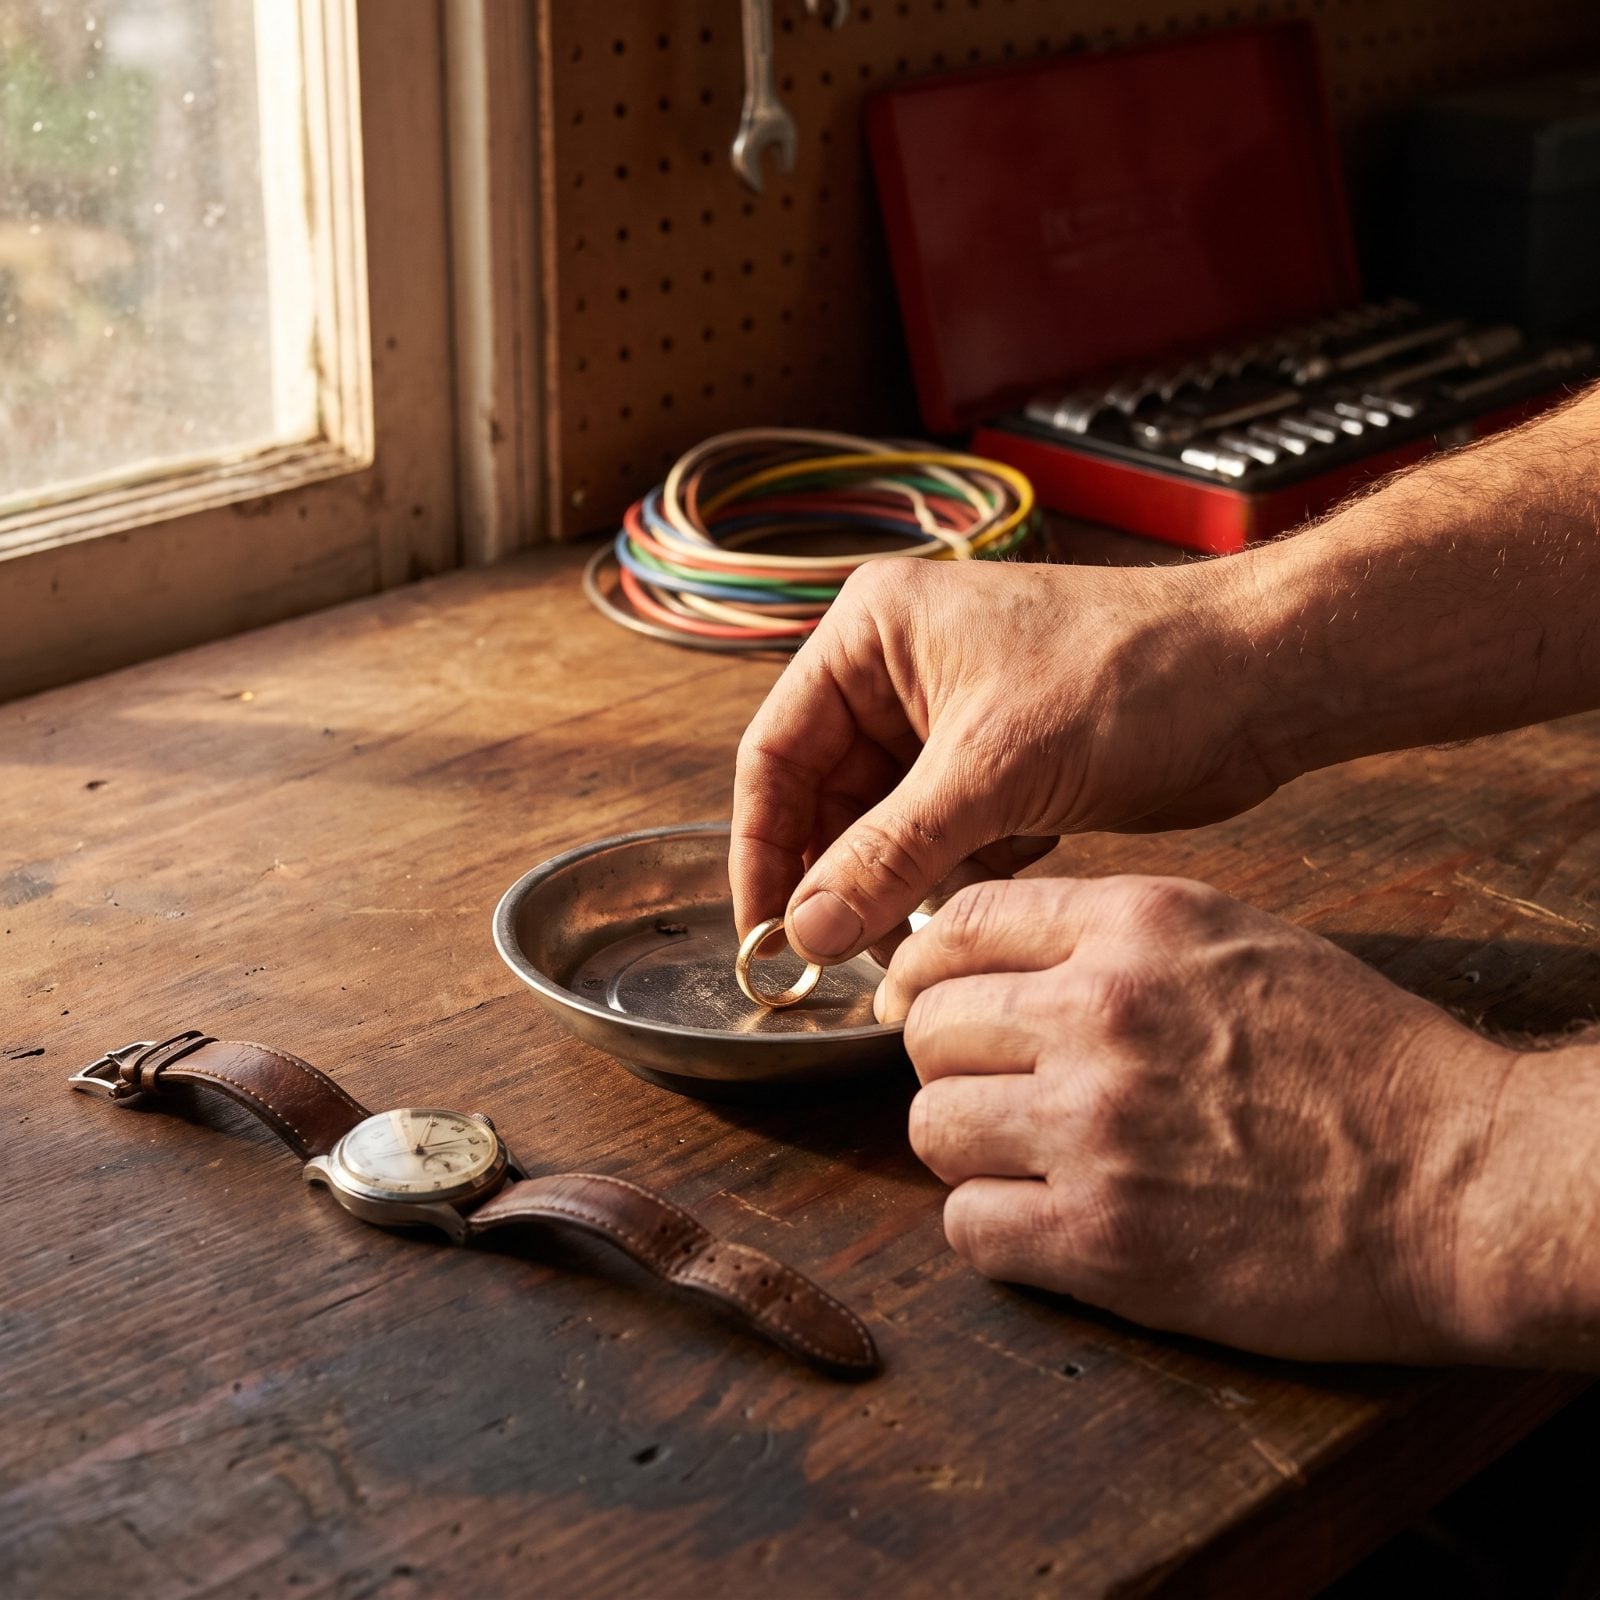
A ring and a car battery do not mix. Metal jewelry conducts, so if it bridges a live terminal and ground, that ring heats red-hot in seconds while it’s still on your finger. People have lost fingers this way. Not many, but enough to scare anyone who’s read the stories.
Watches catch on fan blades and pulley belts too. The habit costs you five seconds and a small tray by the bench. Build it into the ritual, the same way you’d kick off muddy boots at the door. Ring off, watch off, then you start.
32. Pull the Negative Battery Cable First, Every Time
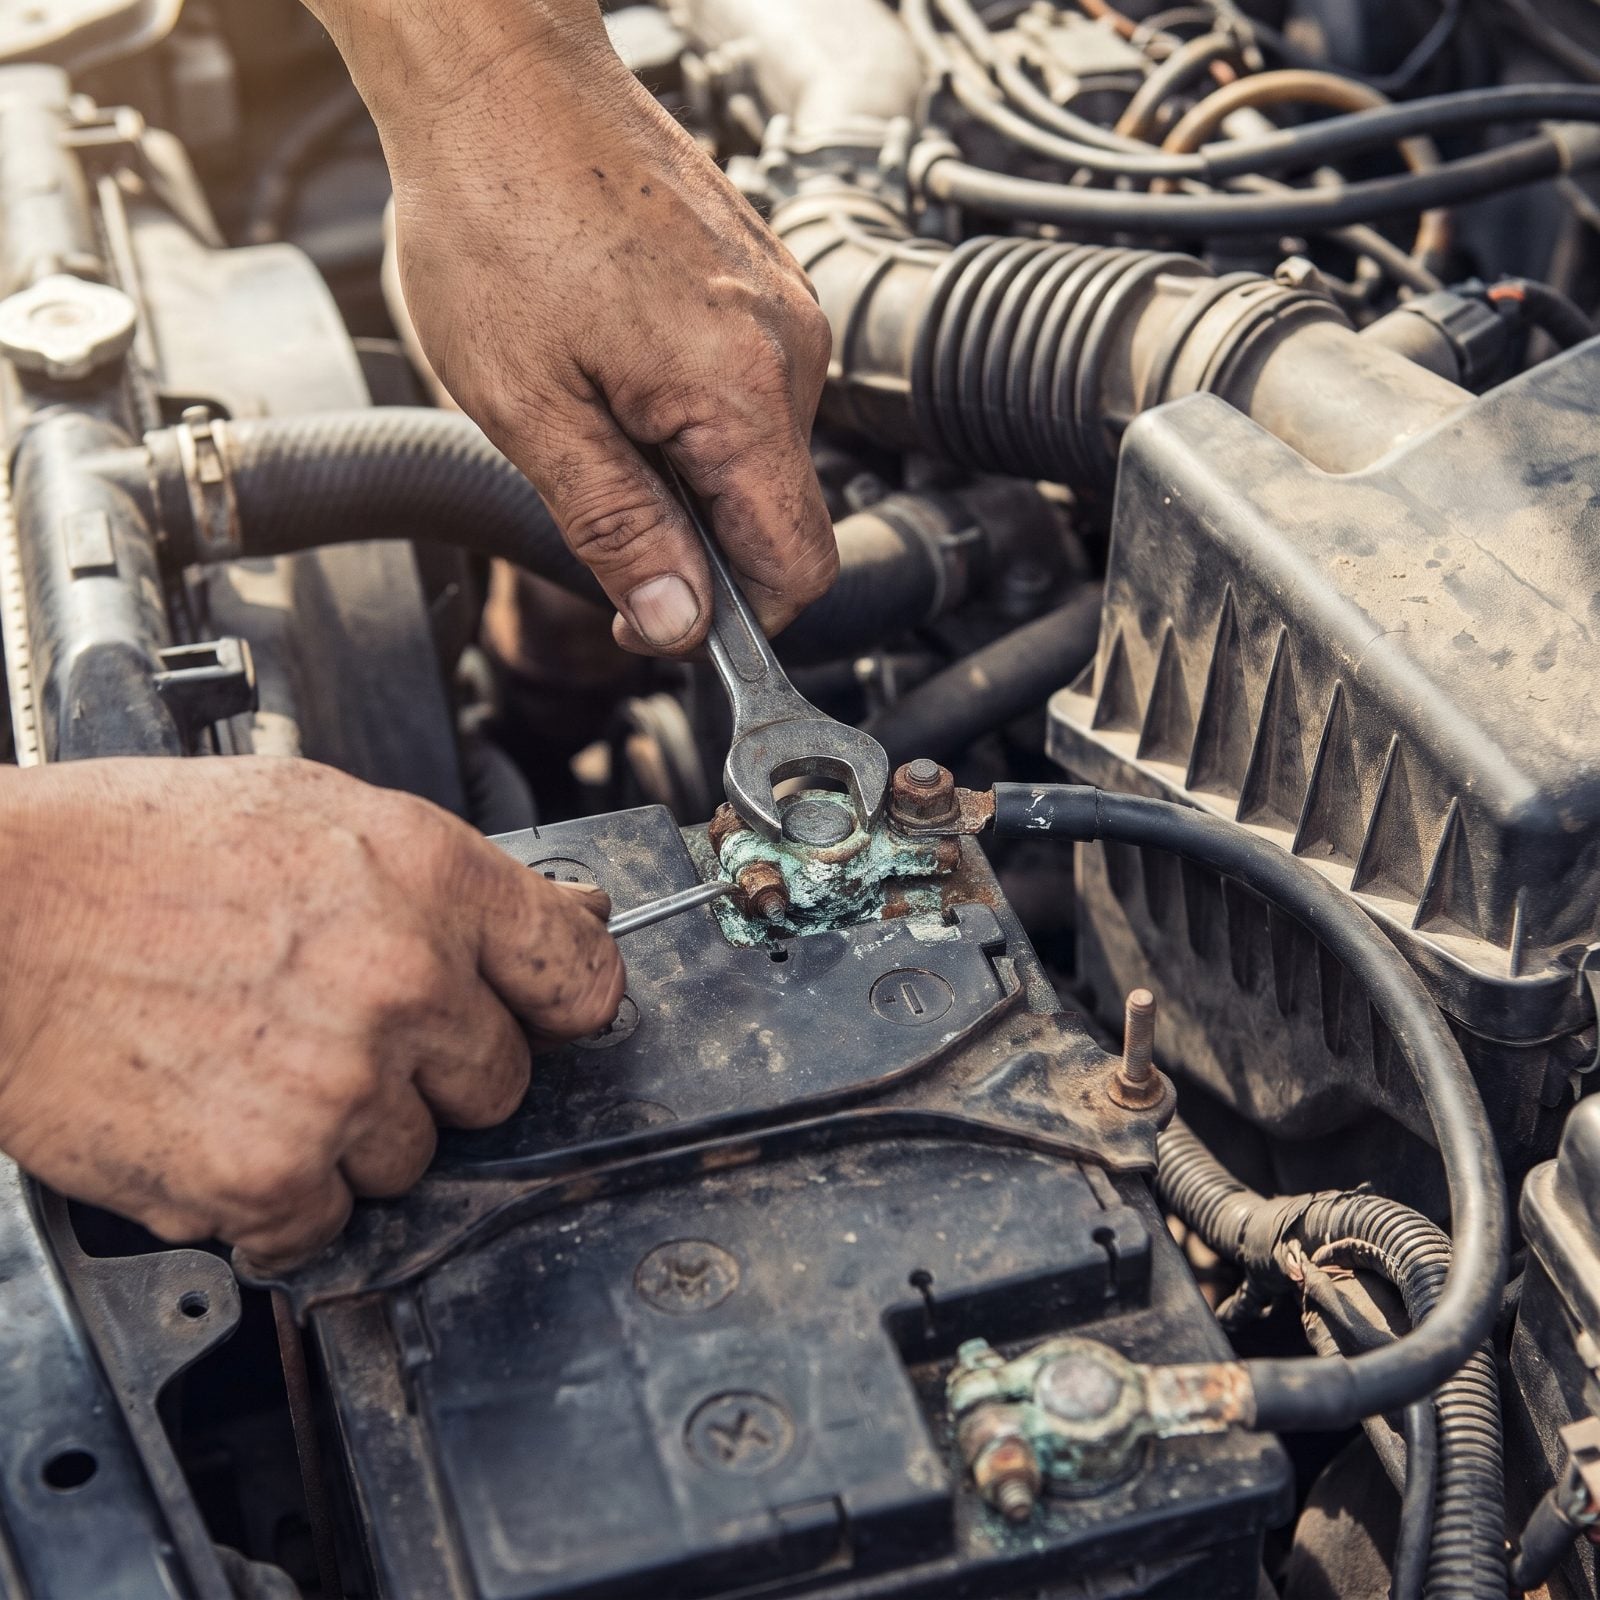
Order matters here, and it’s easy to get backward. You disconnect negative first because the negative post is grounded to the whole car body, so if your wrench touches anything metal while you’re loosening it, nothing happens. Loosen the positive first and that same slip sends a shower of sparks, or welds your wrench to the frame.
When you reconnect, you flip it: positive first, negative last. Same logic, reversed. It becomes muscle memory fast, and it saves you a ruined tool and a racing heart.
31. Chock the Wheels Even When the Ground Looks Dead Flat
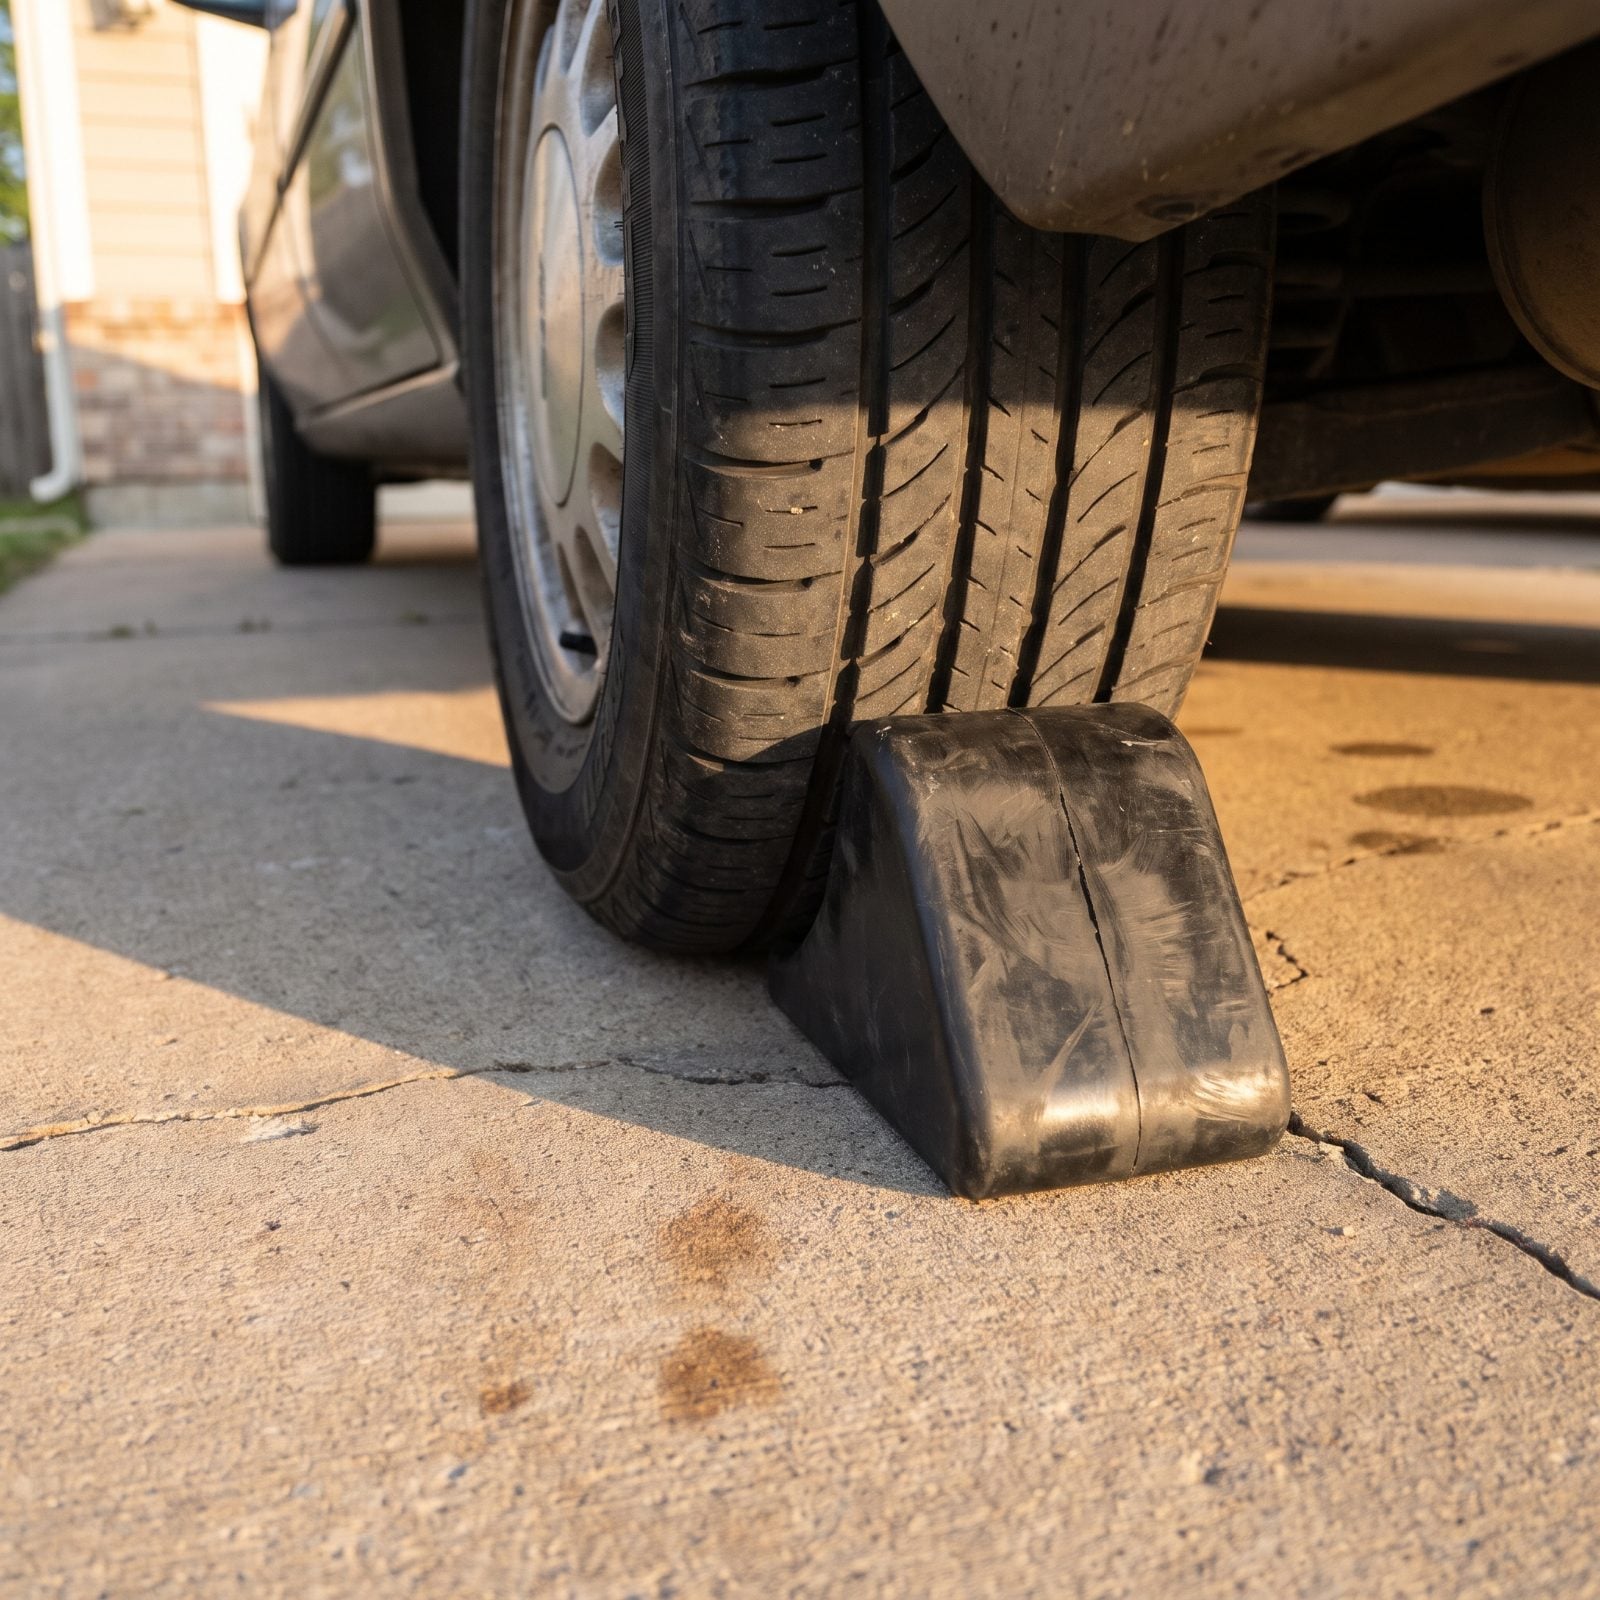
Your eyes are terrible at reading grade. A driveway that feels level to your feet often hides a slope you’d never notice until a car starts rolling, and by then it’s too late to do anything but jump.
Chock the wheels that stay on the ground, downhill side, before you touch the jack. Two blocks of rubber, ten seconds. A rolling car can drop the whole weight off a jack stand in an instant, and there’s no undoing that.
30. Set the Jack Stands Before Any Part of You Goes Under
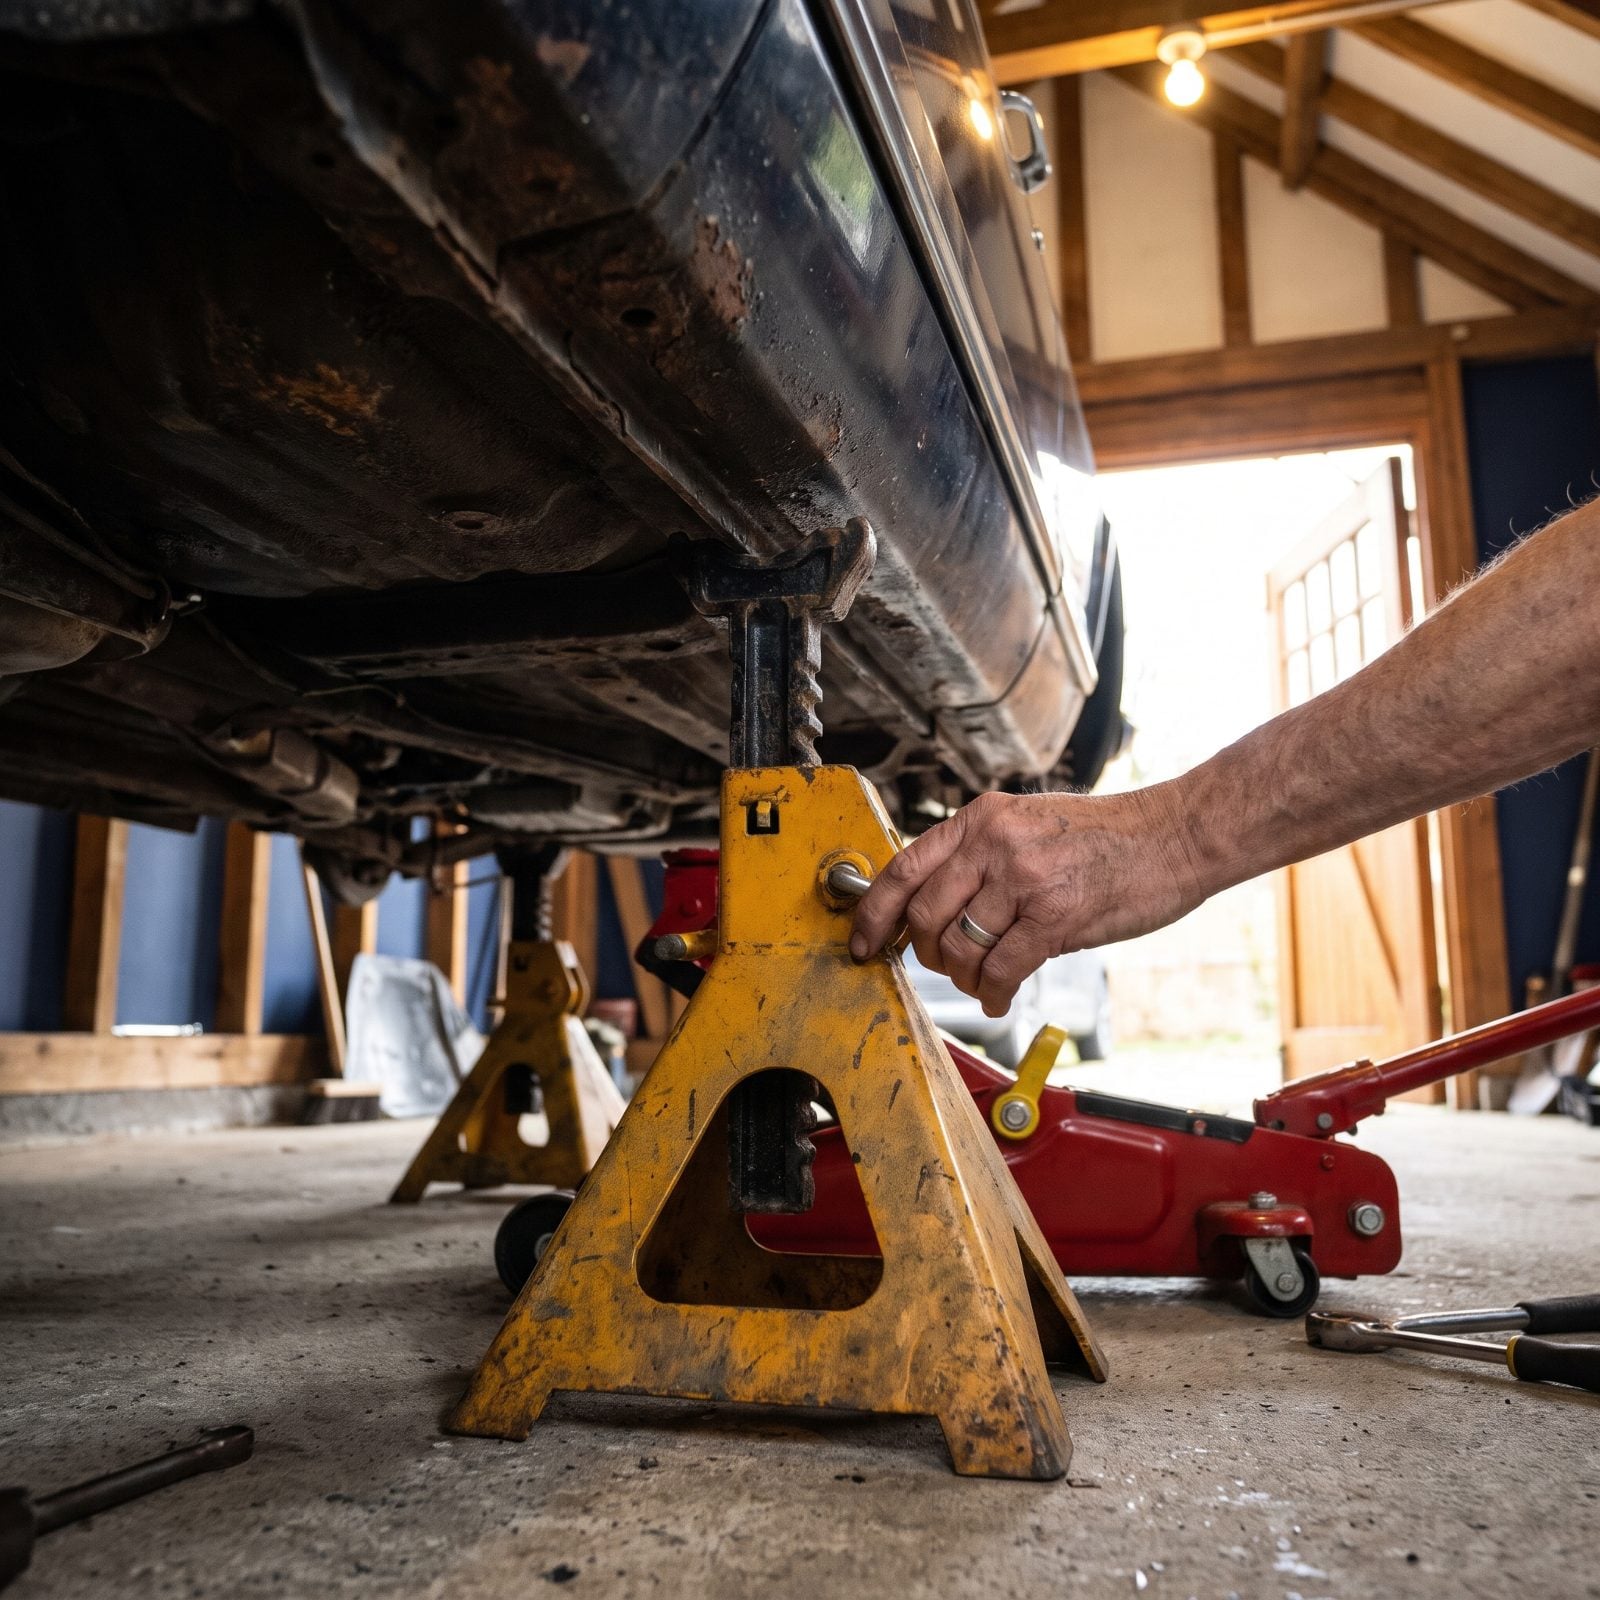
A hydraulic jack is a lifting tool, not a holding tool. Seals fail. Fluid bleeds down slow enough that you never catch it moving until the car settles onto you. This is the one that actually kills people, and it kills them in their own garages on quiet Saturdays.
Lift with the jack, set rated stands under the frame rail, pull each ratchet bar up by hand until its saddle meets the steel, then lower the car onto the stands until the jack goes slack. Only then do you slide under. The jack stays in place as a second line, but your weight rides on steel that does not leak.
29. Slide the Removed Wheel Under the Car as a Last-Ditch Catch
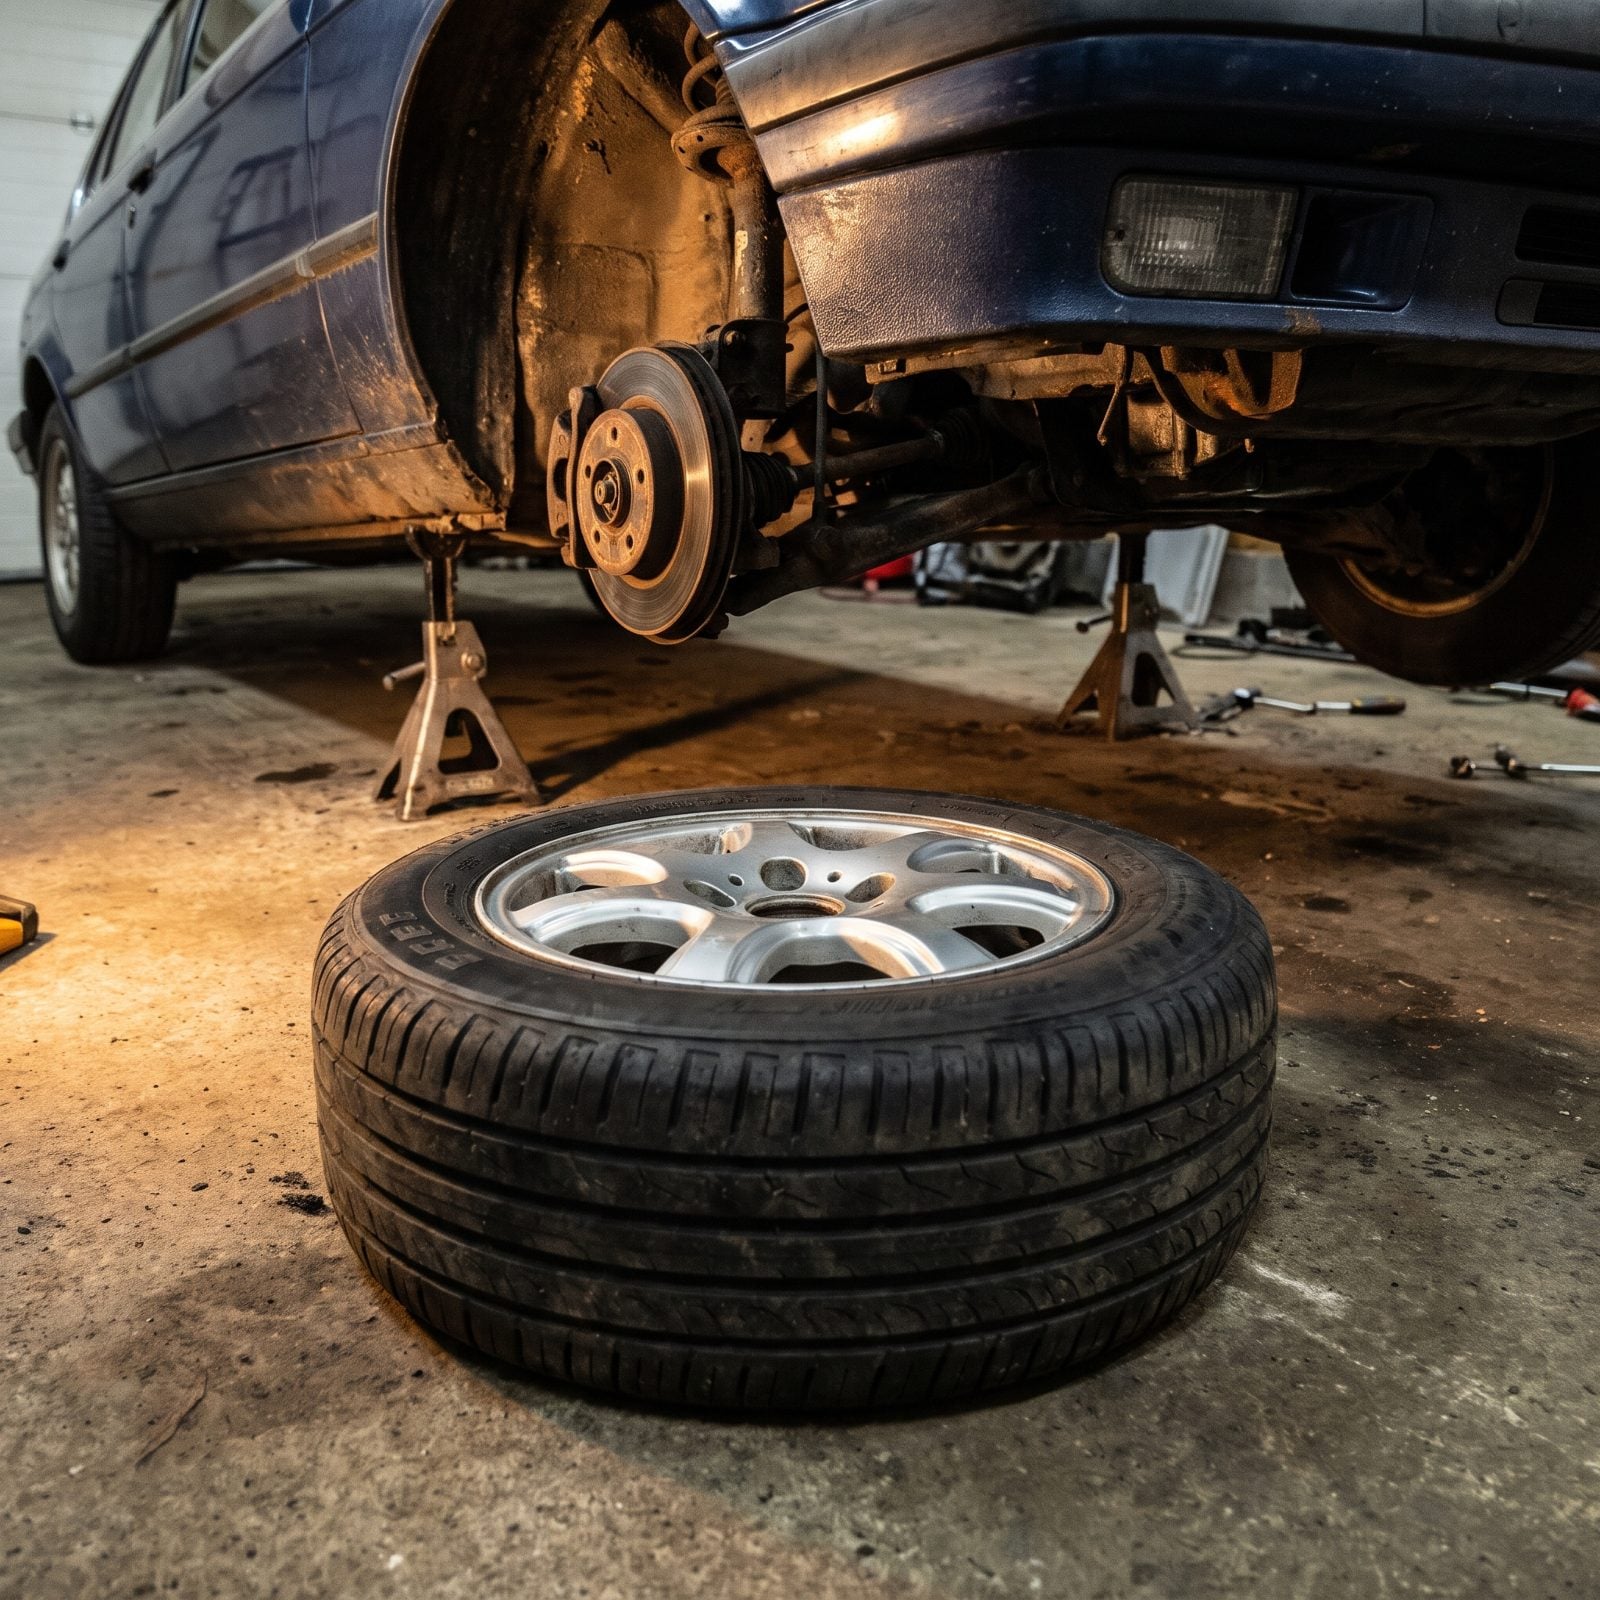
This old-timer move costs you nothing. When you pull a wheel for brakes or suspension work, don’t leave it lying flat out on the open floor in front of the car. Slide it under the rocker or the frame, just below the lowest part of the car.
If everything else fails, the jack, the stands, all of it, the car drops a few inches onto a rubber tire instead of flattening you. It’s a backup to your backup. You hope you never need it, and that’s exactly why it’s smart.
The whole point of garage safety is stacking cheap insurance you’ll probably never collect on.
28. Break the Lug Nuts Loose While the Tire Still Touches the Ground
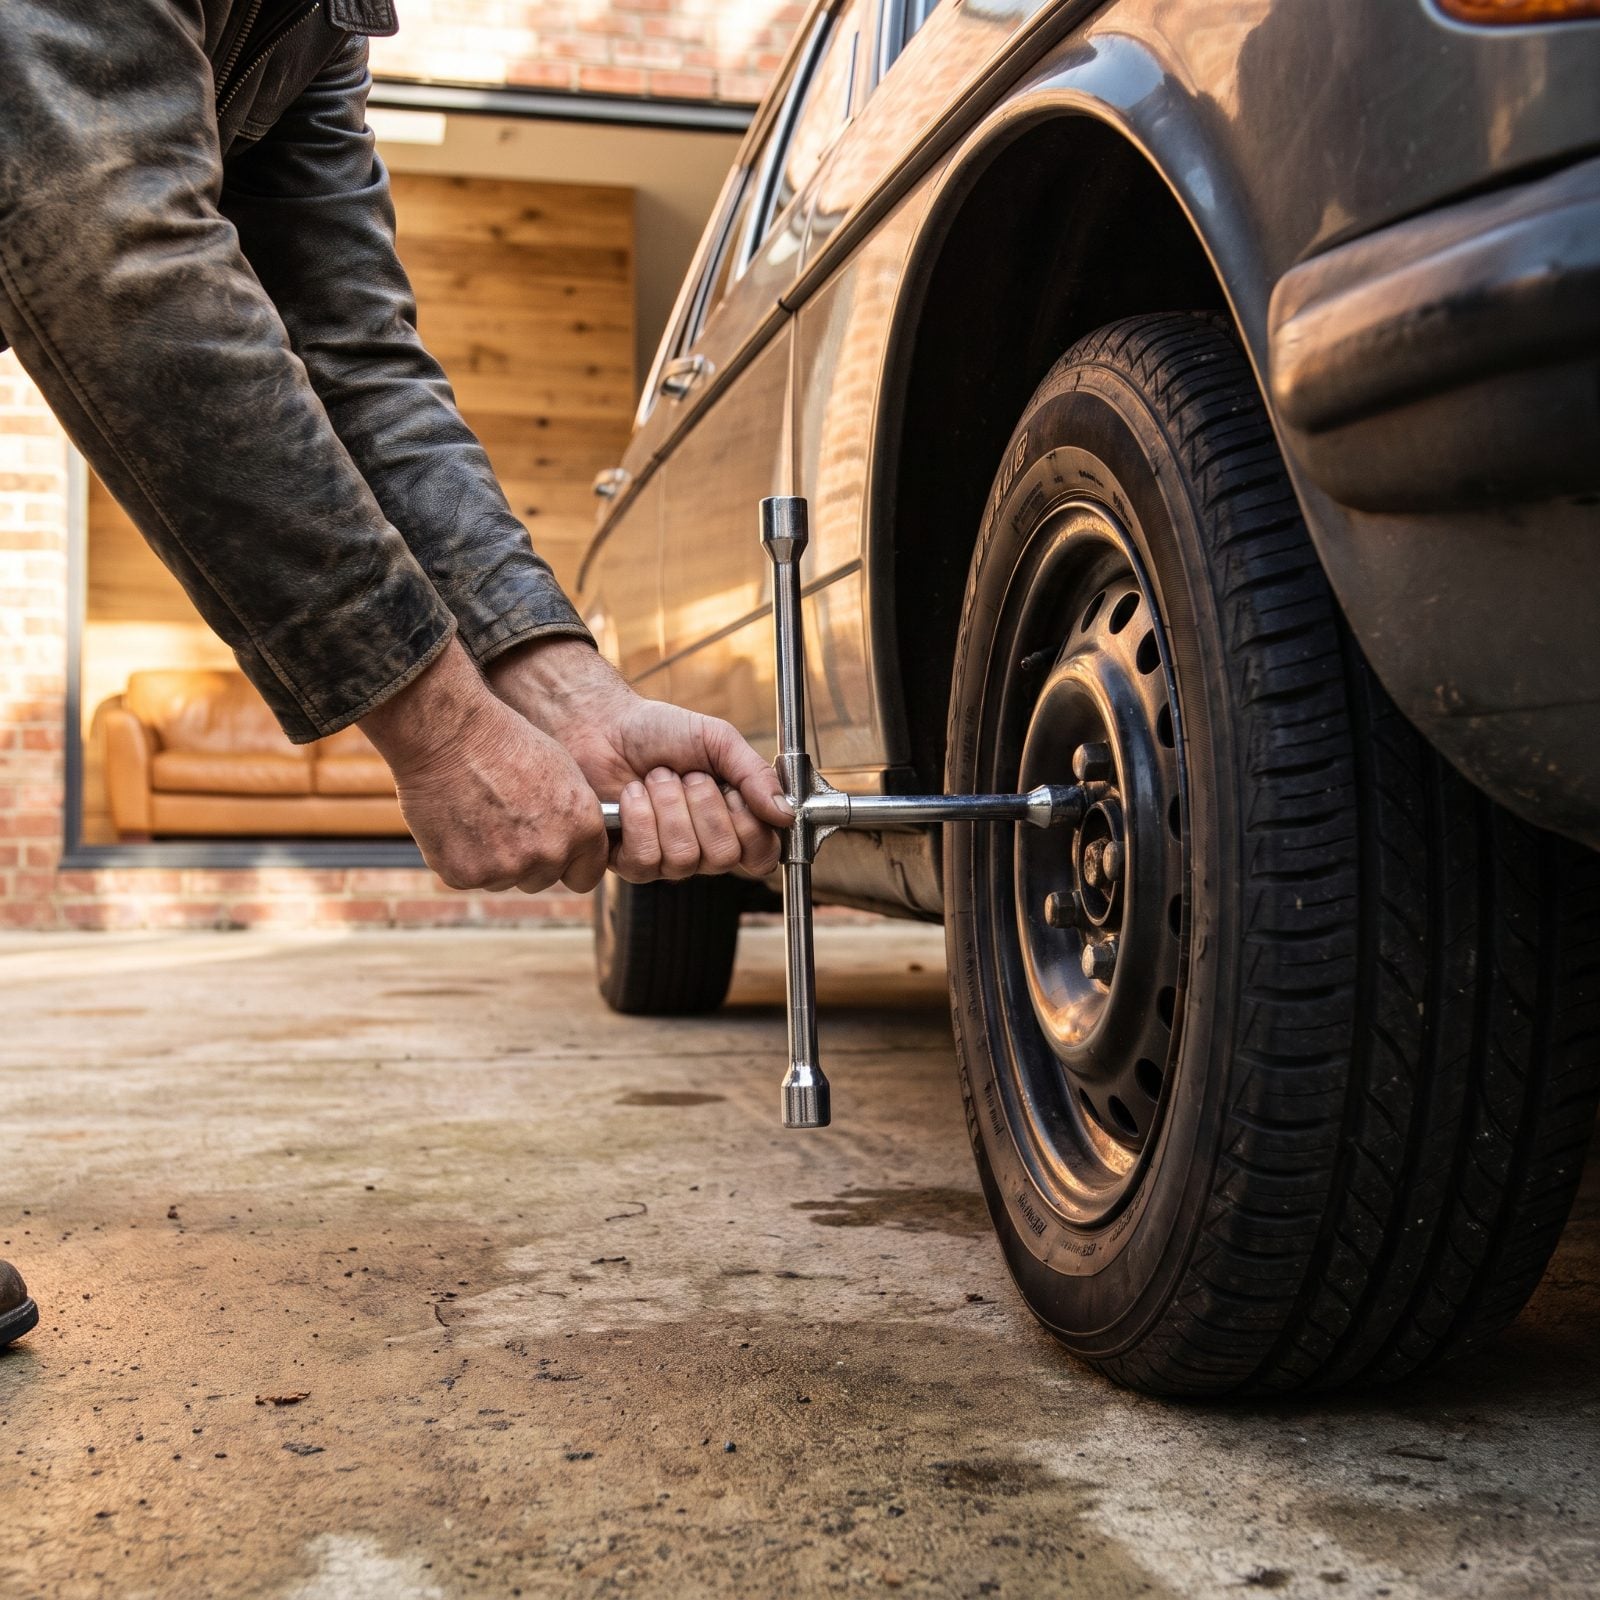
Lug nuts come on tighter than most people expect, often seized by rust or an overzealous tire shop impact gun. Try to crack them loose after you’ve lifted the car and the wheel just spins, or worse, your shoving rocks the car right off the jack.
Loosen them a quarter turn while the tire is planted and the ground does the holding for you. Then lift and spin them off by hand. Reverse the sequence when you’re done: snug by hand up top, final tightening after the wheel is back on the ground.
27. Tighten Wheels in a Star Pattern, Not Around the Circle
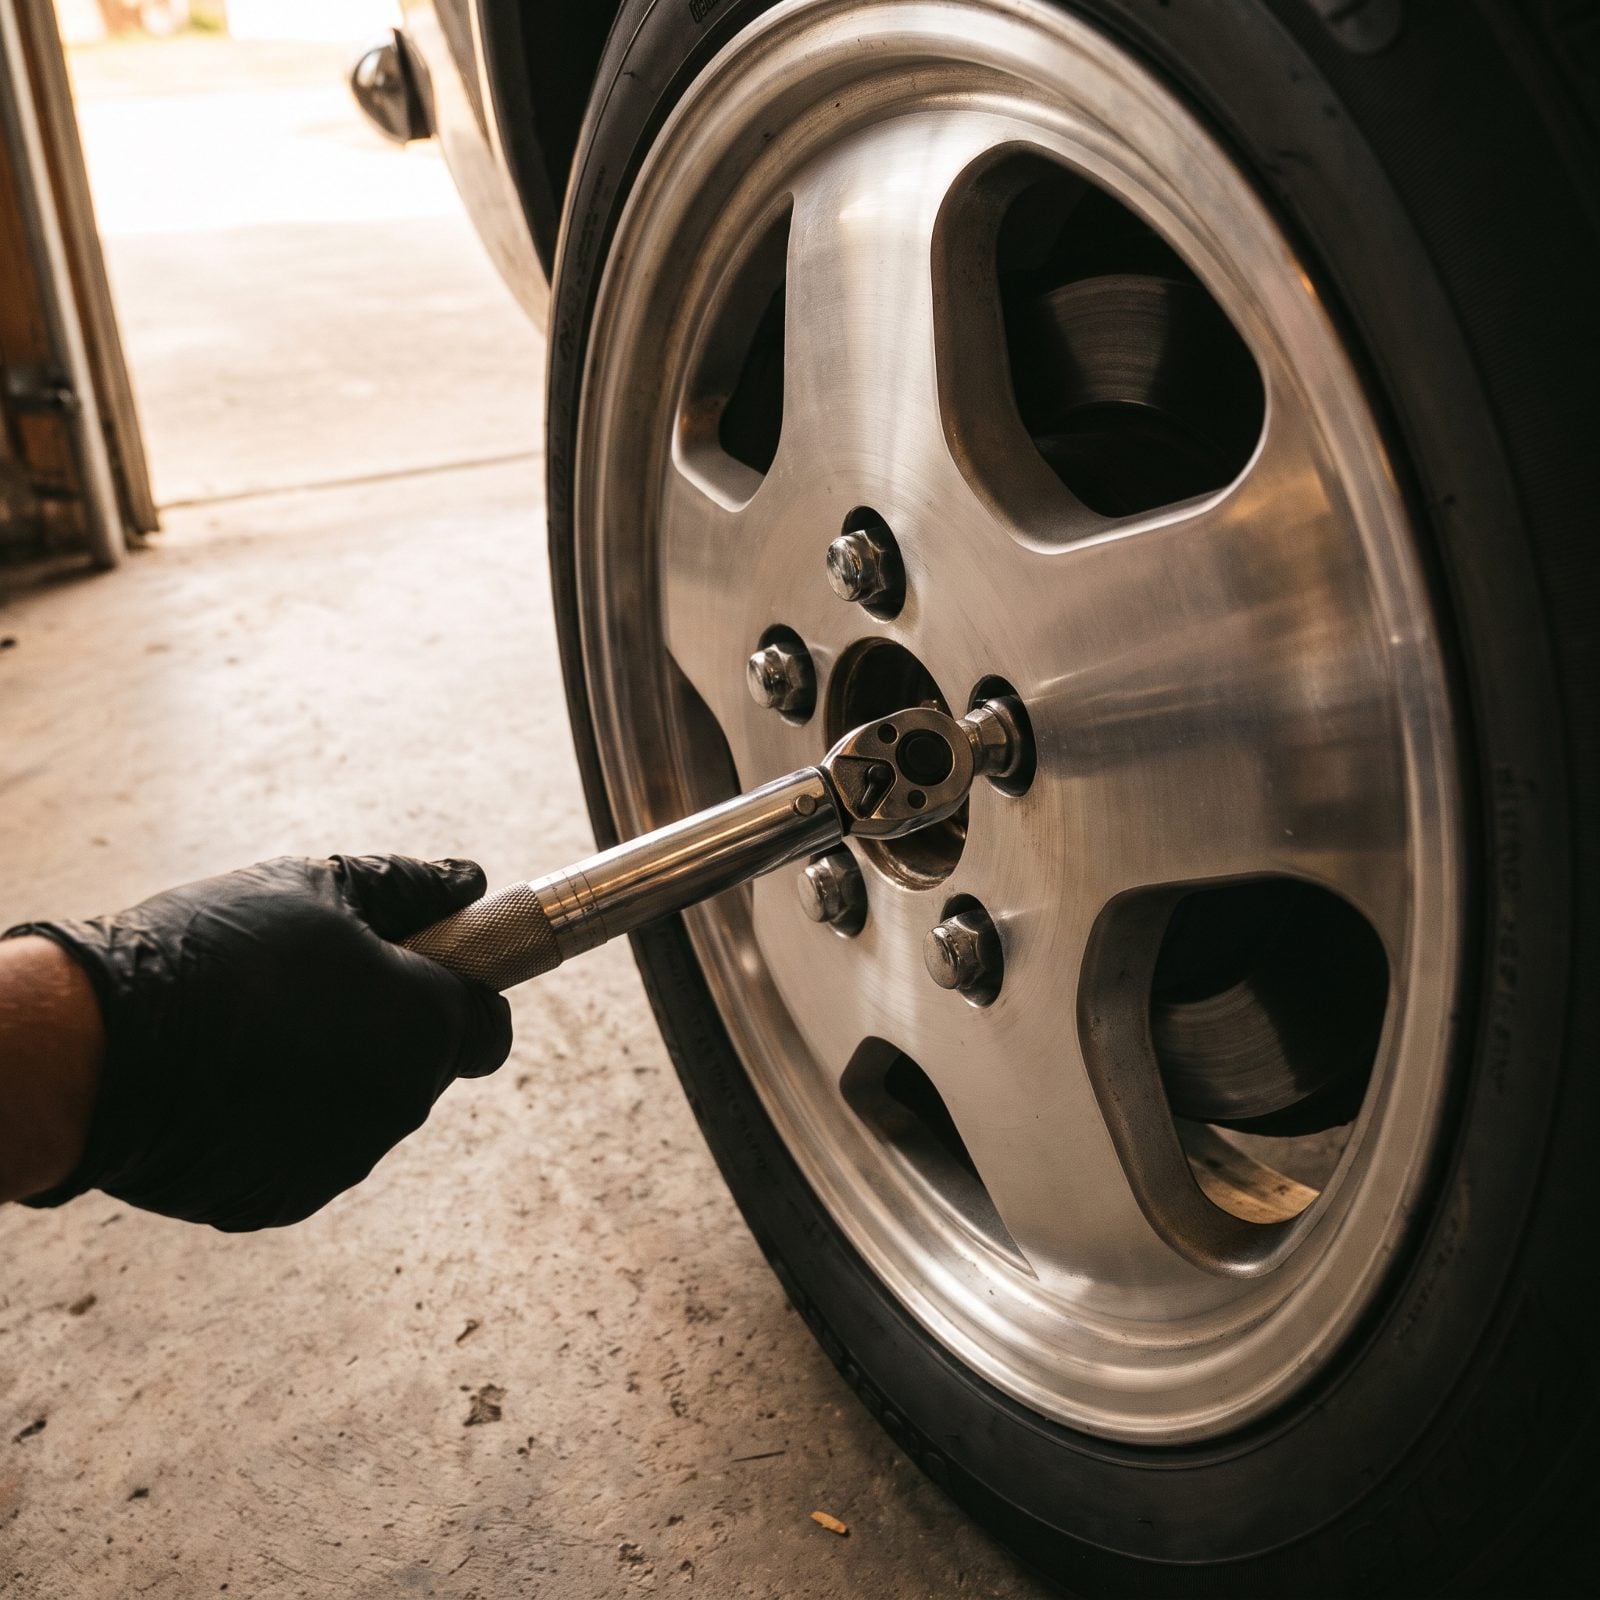
Going around the wheel in order pulls it on crooked. The hub never seats flat, and you feel it as a shimmy at highway speed or warped rotors down the road.
Crisscross instead. On a five-lug wheel, you skip across to the opposite side each time, drawing the wheel down evenly against the hub. Two passes: snug them all first, then torque to spec. And please use a torque wrench, not a four-foot breaker bar and your whole body weight.
26. Thread Every Bolt by Hand Before the Wrench Touches It
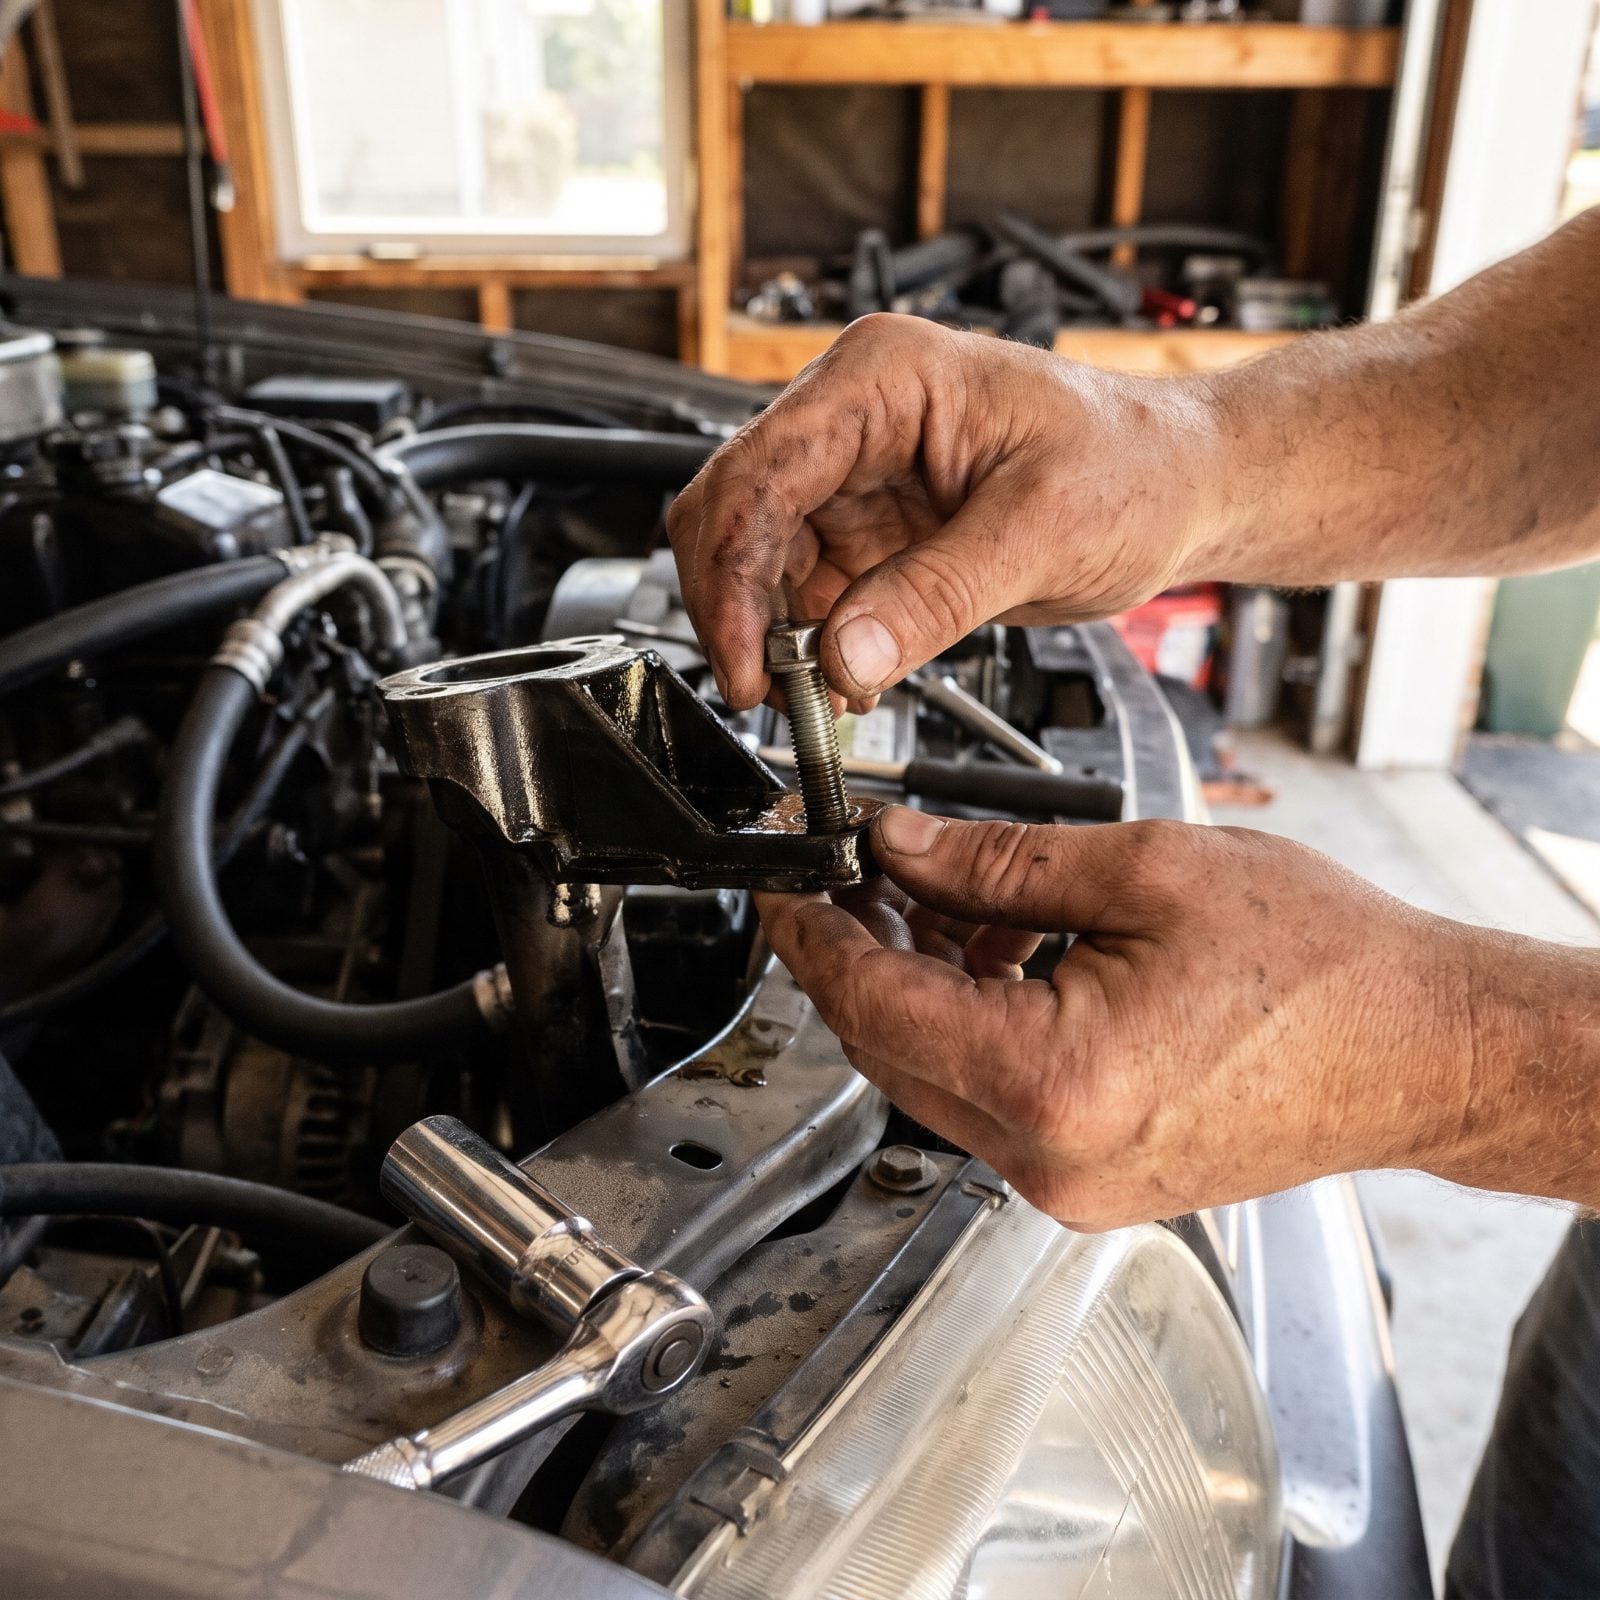
Cross-threading is a self-inflicted wound. Lead with a power tool and you’ll force a bolt in at the wrong angle before you feel anything wrong. Now you’ve chewed up the threads in an aluminum head, and that repair can cost more than the whole job you started with.
Start every fastener with your fingers. Pass the bolt through the bracket hole by hand and make sure it sits square and slides through clean, then start it into the nut or threaded hole with your fingers so it turns easy. The moment it resists for no reason, back it out and start over. Your fingers feel a cross-thread instantly. A ratchet never does until the damage is done.
25. Soak Rusty Bolts in Penetrating Oil the Night Before
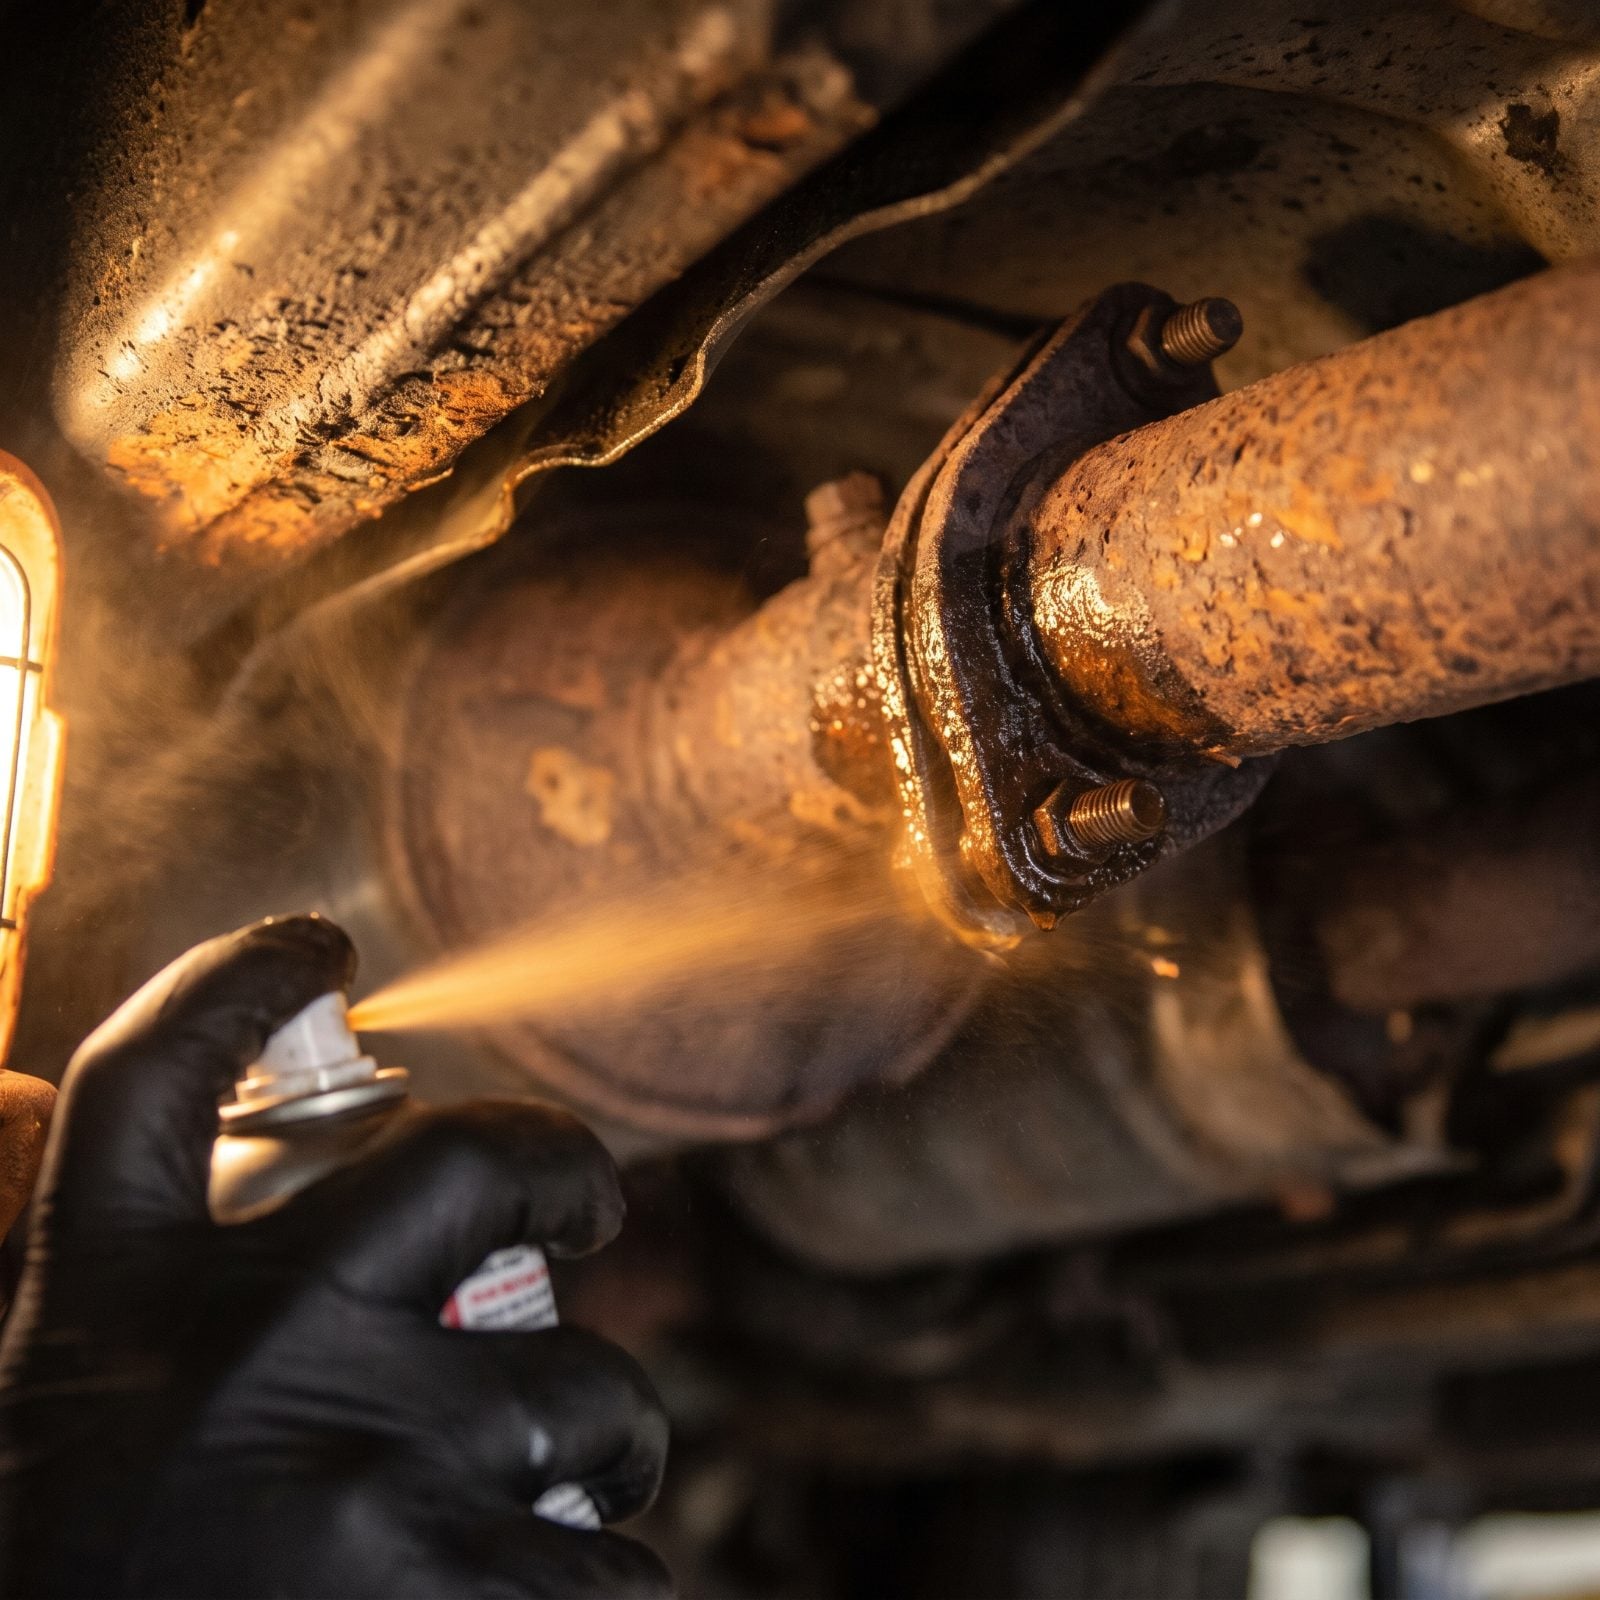
Rust welds a bolt to its threads over years. Penetrating oil undoes that, but it needs time to creep in and do its work, and a quick spray right before you pull the wrench barely wets the surface.
Hit the rusty fasteners the evening before. Let it soak overnight, maybe hit them again in the morning. A bolt that would’ve snapped clean off comes loose with an easy pull instead. And a snapped exhaust stud buried in a manifold turns a two-hour job into a weekend of regret.
24. Tap a Stuck Part Loose Before You Reach for More Muscle
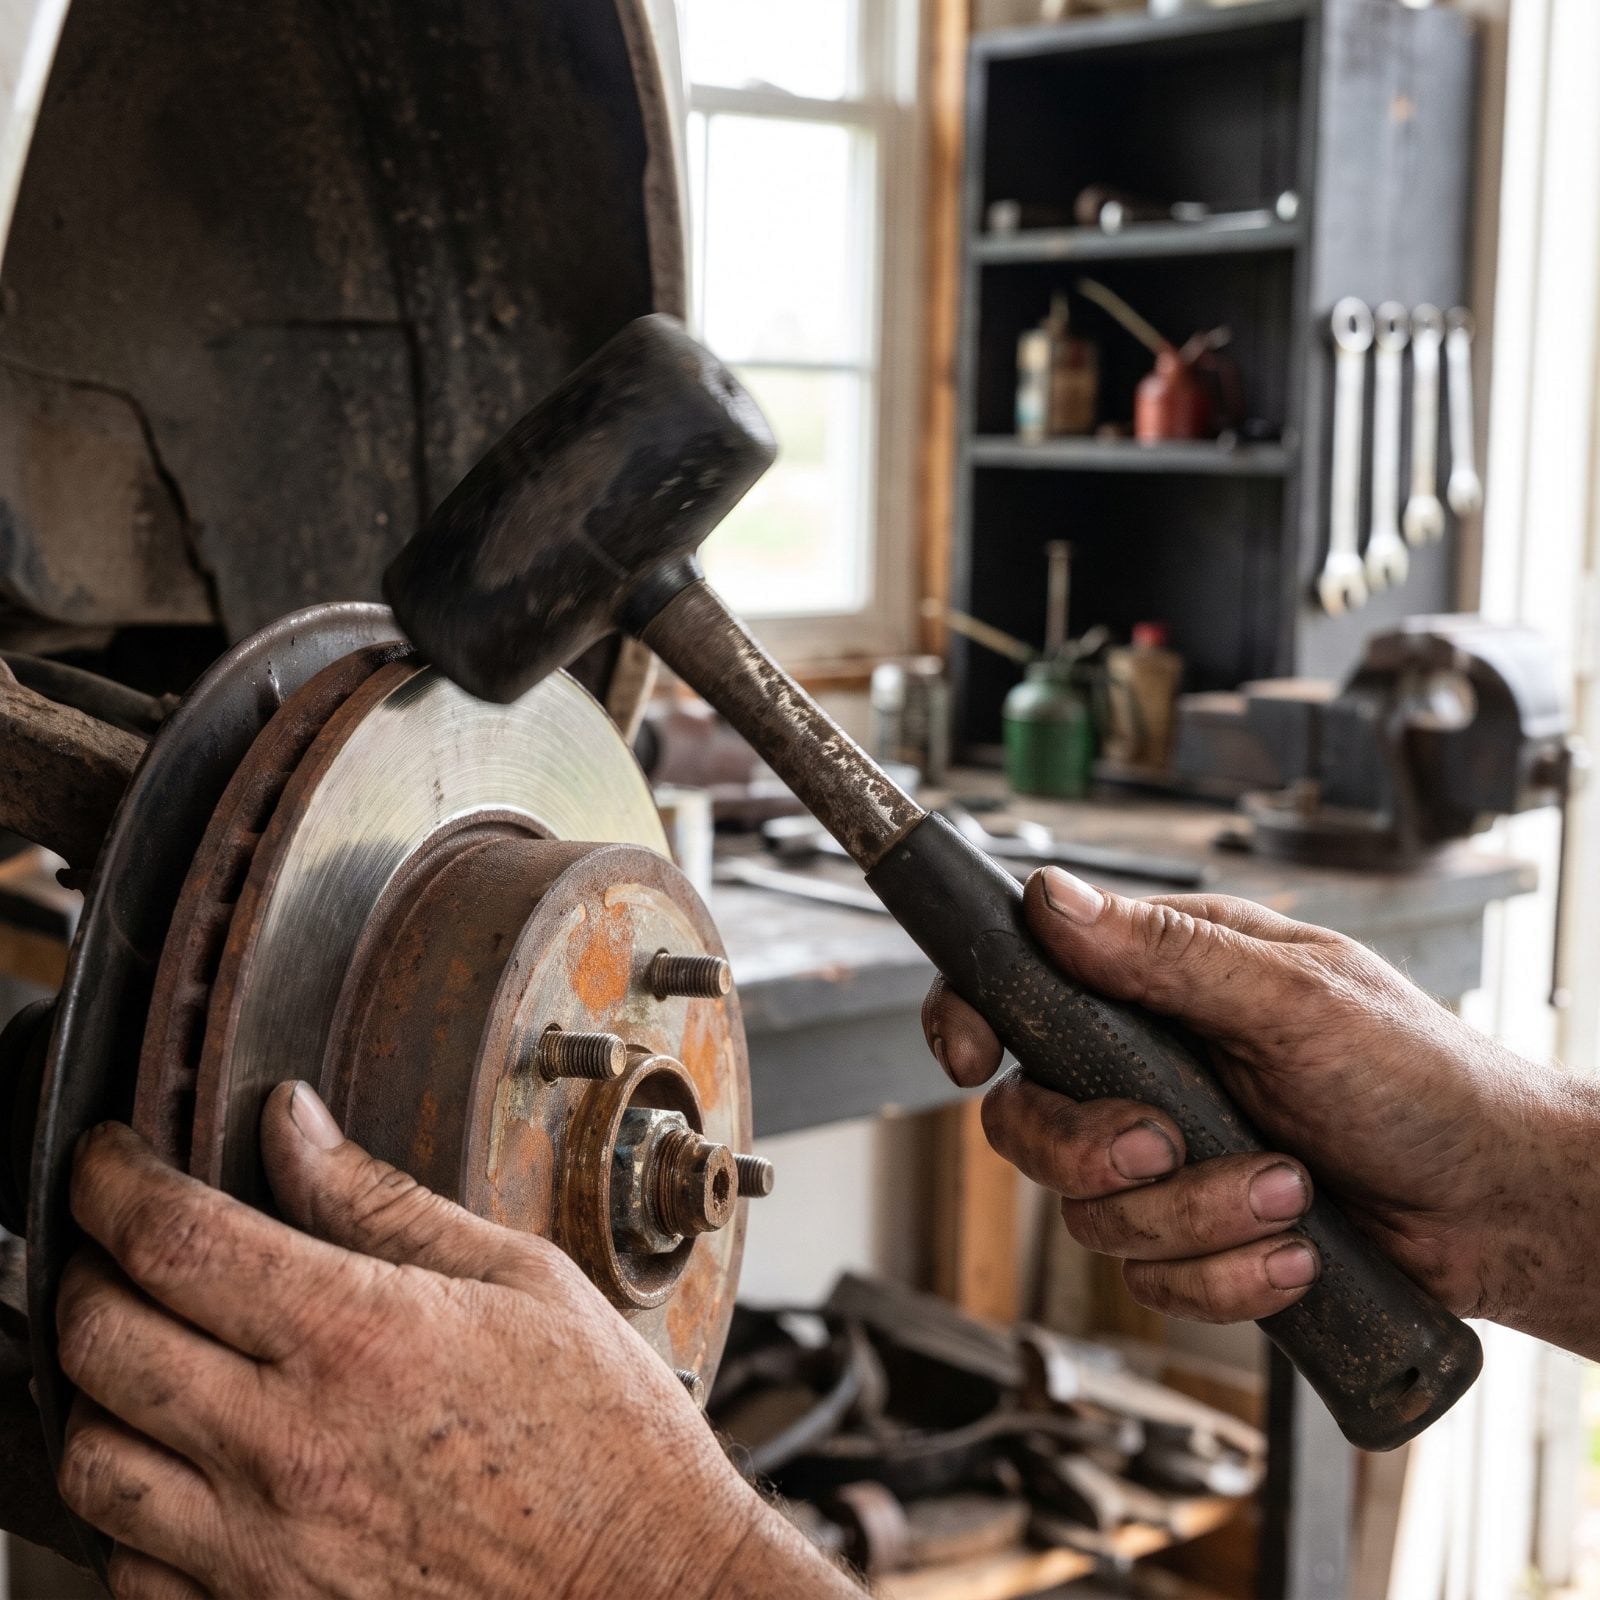
When a part won’t budge, the instinct is to pull harder. That’s how you snap bolts and crack castings. Vibration beats brute force almost every time.
A few firm taps with a dead-blow hammer break the bond of rust and corrosion holding the part in place. Rotors, pulleys, seized calipers, they all give up after some persuasion from the side. Tap, then test. Tap, then test. You’d be amazed how often a part that felt welded on just falls into your hand once you’ve rattled it loose. Save the big lever for when it’s actually earned.
23. Reach for a Breaker Bar Instead of Abusing a Ratchet
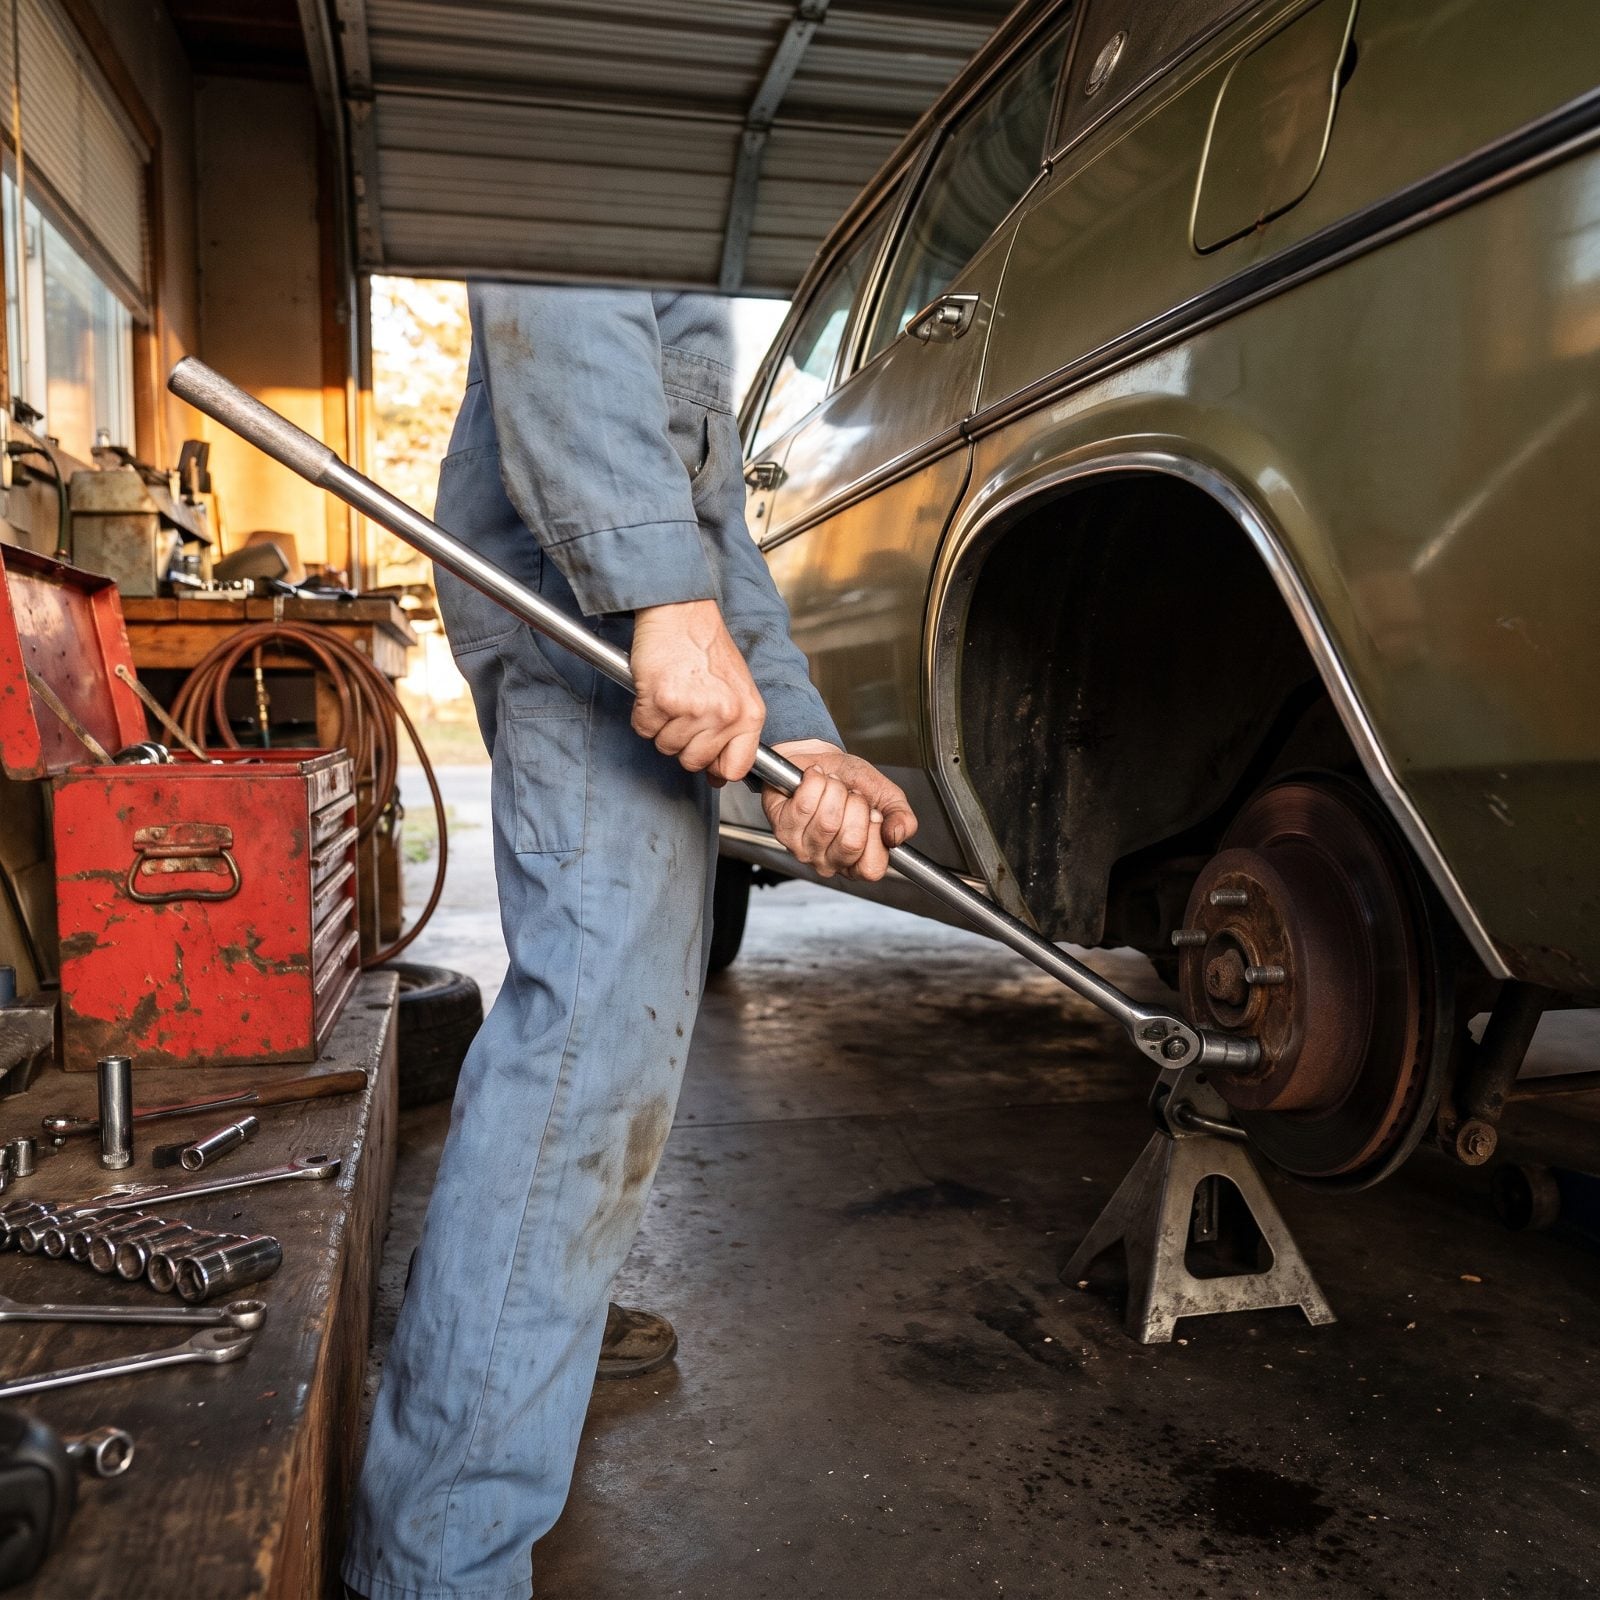
A ratchet is a convenience tool pretending to be a muscle. Keep cranking on one to free a rusted bolt and you’ll round the head, strip the internals, or snap the handle at the worst possible moment.
The breaker bar exists for exactly this. Long handle, no ratcheting gears to blow apart, just leverage you can lean into with slow steady pressure. Old-timers who grew up under their own cars learned the sound a bolt makes right before it lets go, and they learned it without wrecking a $90 ratchet in the bargain.
22. Look Up Torque Specifications and Finish With a Torque Wrench
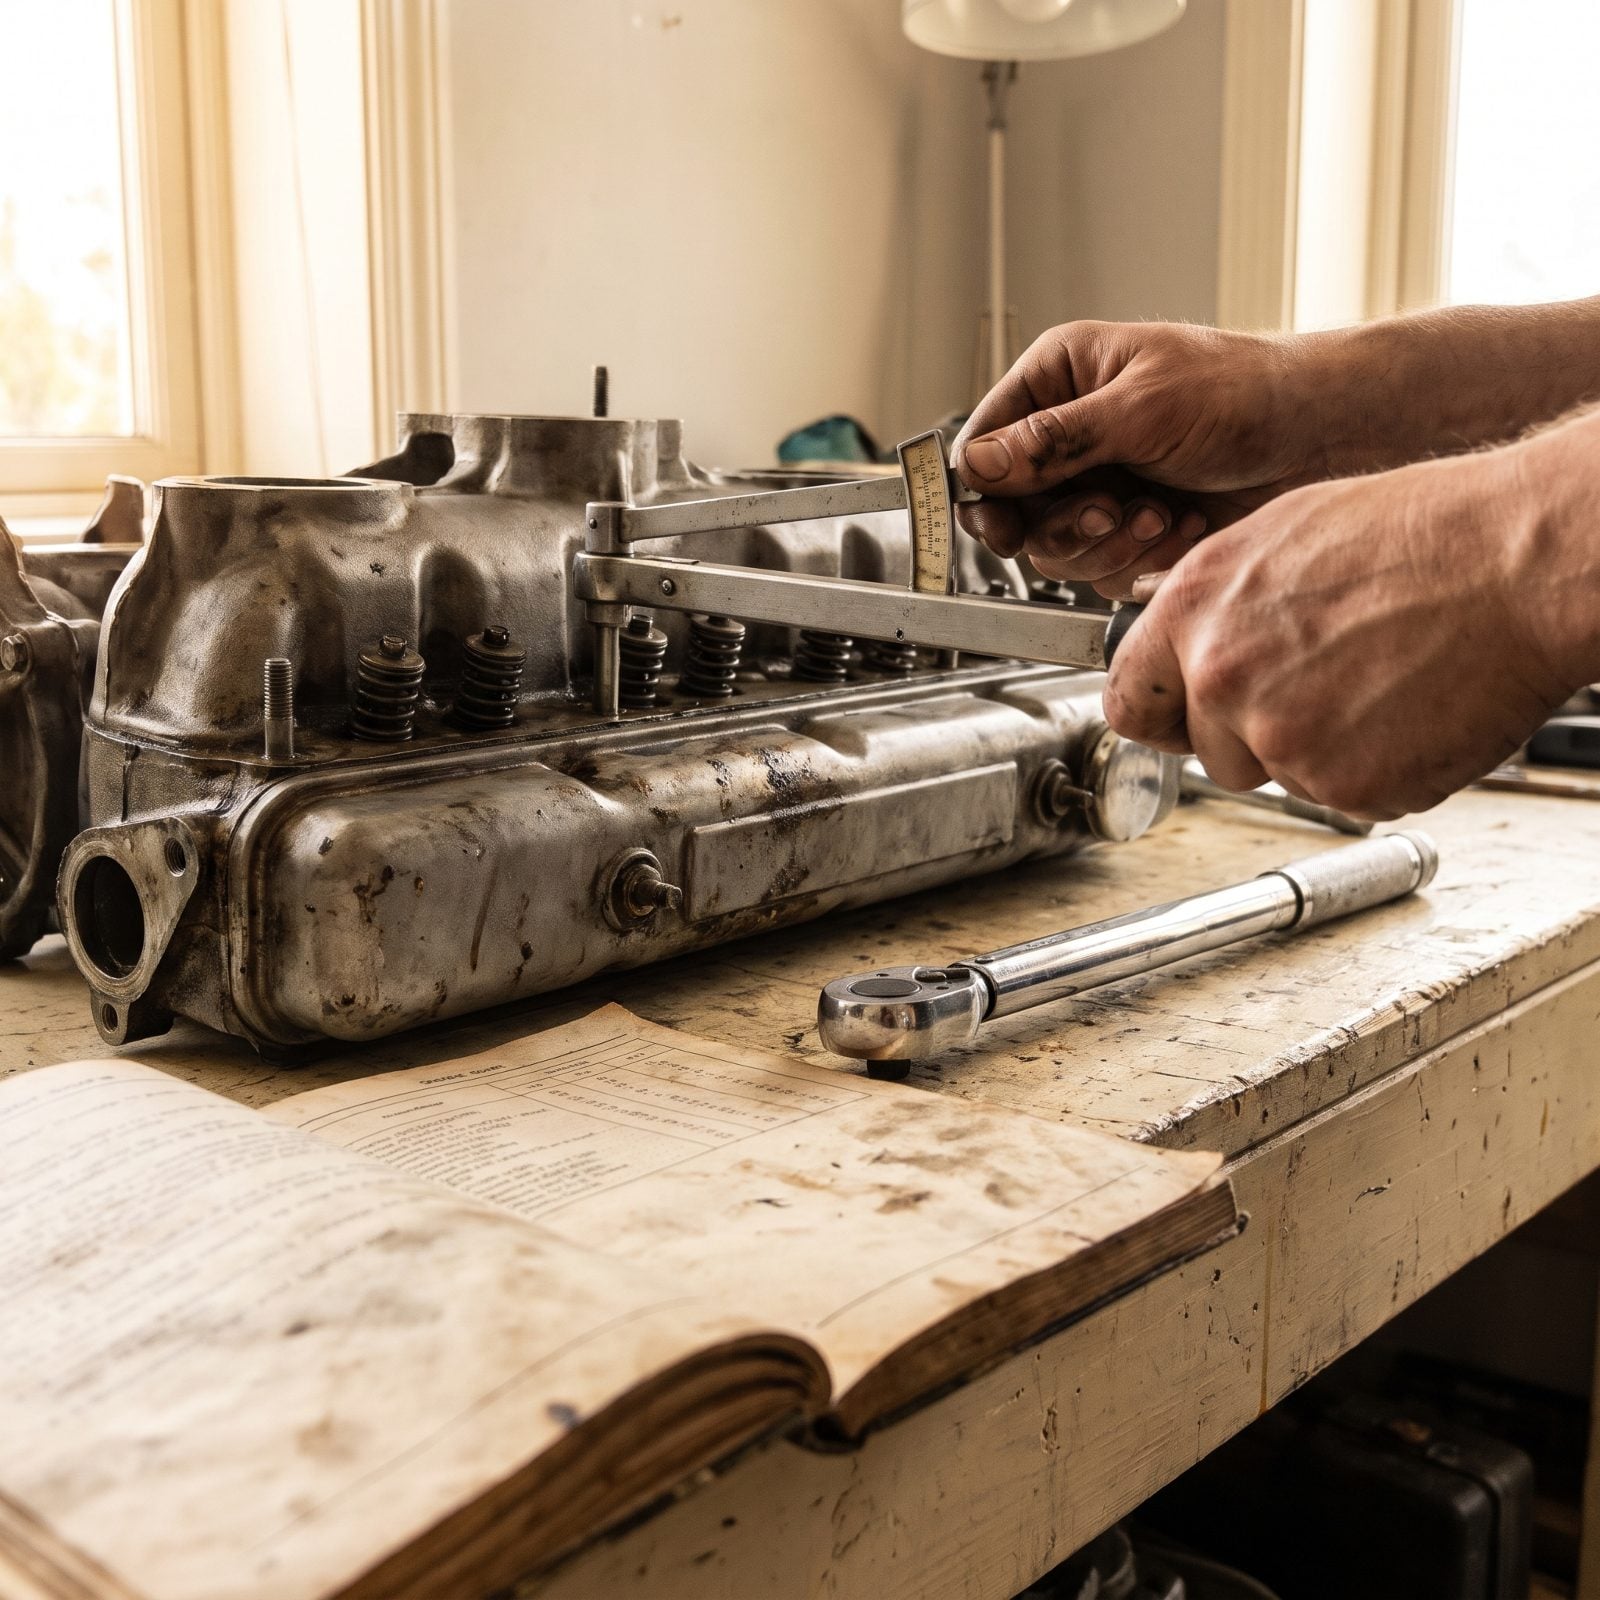
Tight is not a number. “Good and snug” has cracked more aluminum covers and snapped more head bolts than any other phrase in the garage.
People who wrenched on their own engines young got burned once — warped a manifold, stripped a drain plug — and never went back to guessing. They look the spec up and finish the pull with a torque wrench, watching the gauge until it reads the number.
Spark plugs, caliper brackets, oil pan bolts, wheel lugs: all of it has a published figure for a reason. The wrench does not care how strong you feel that day.
21. Crack the Filler Plug Before Draining a Gearbox
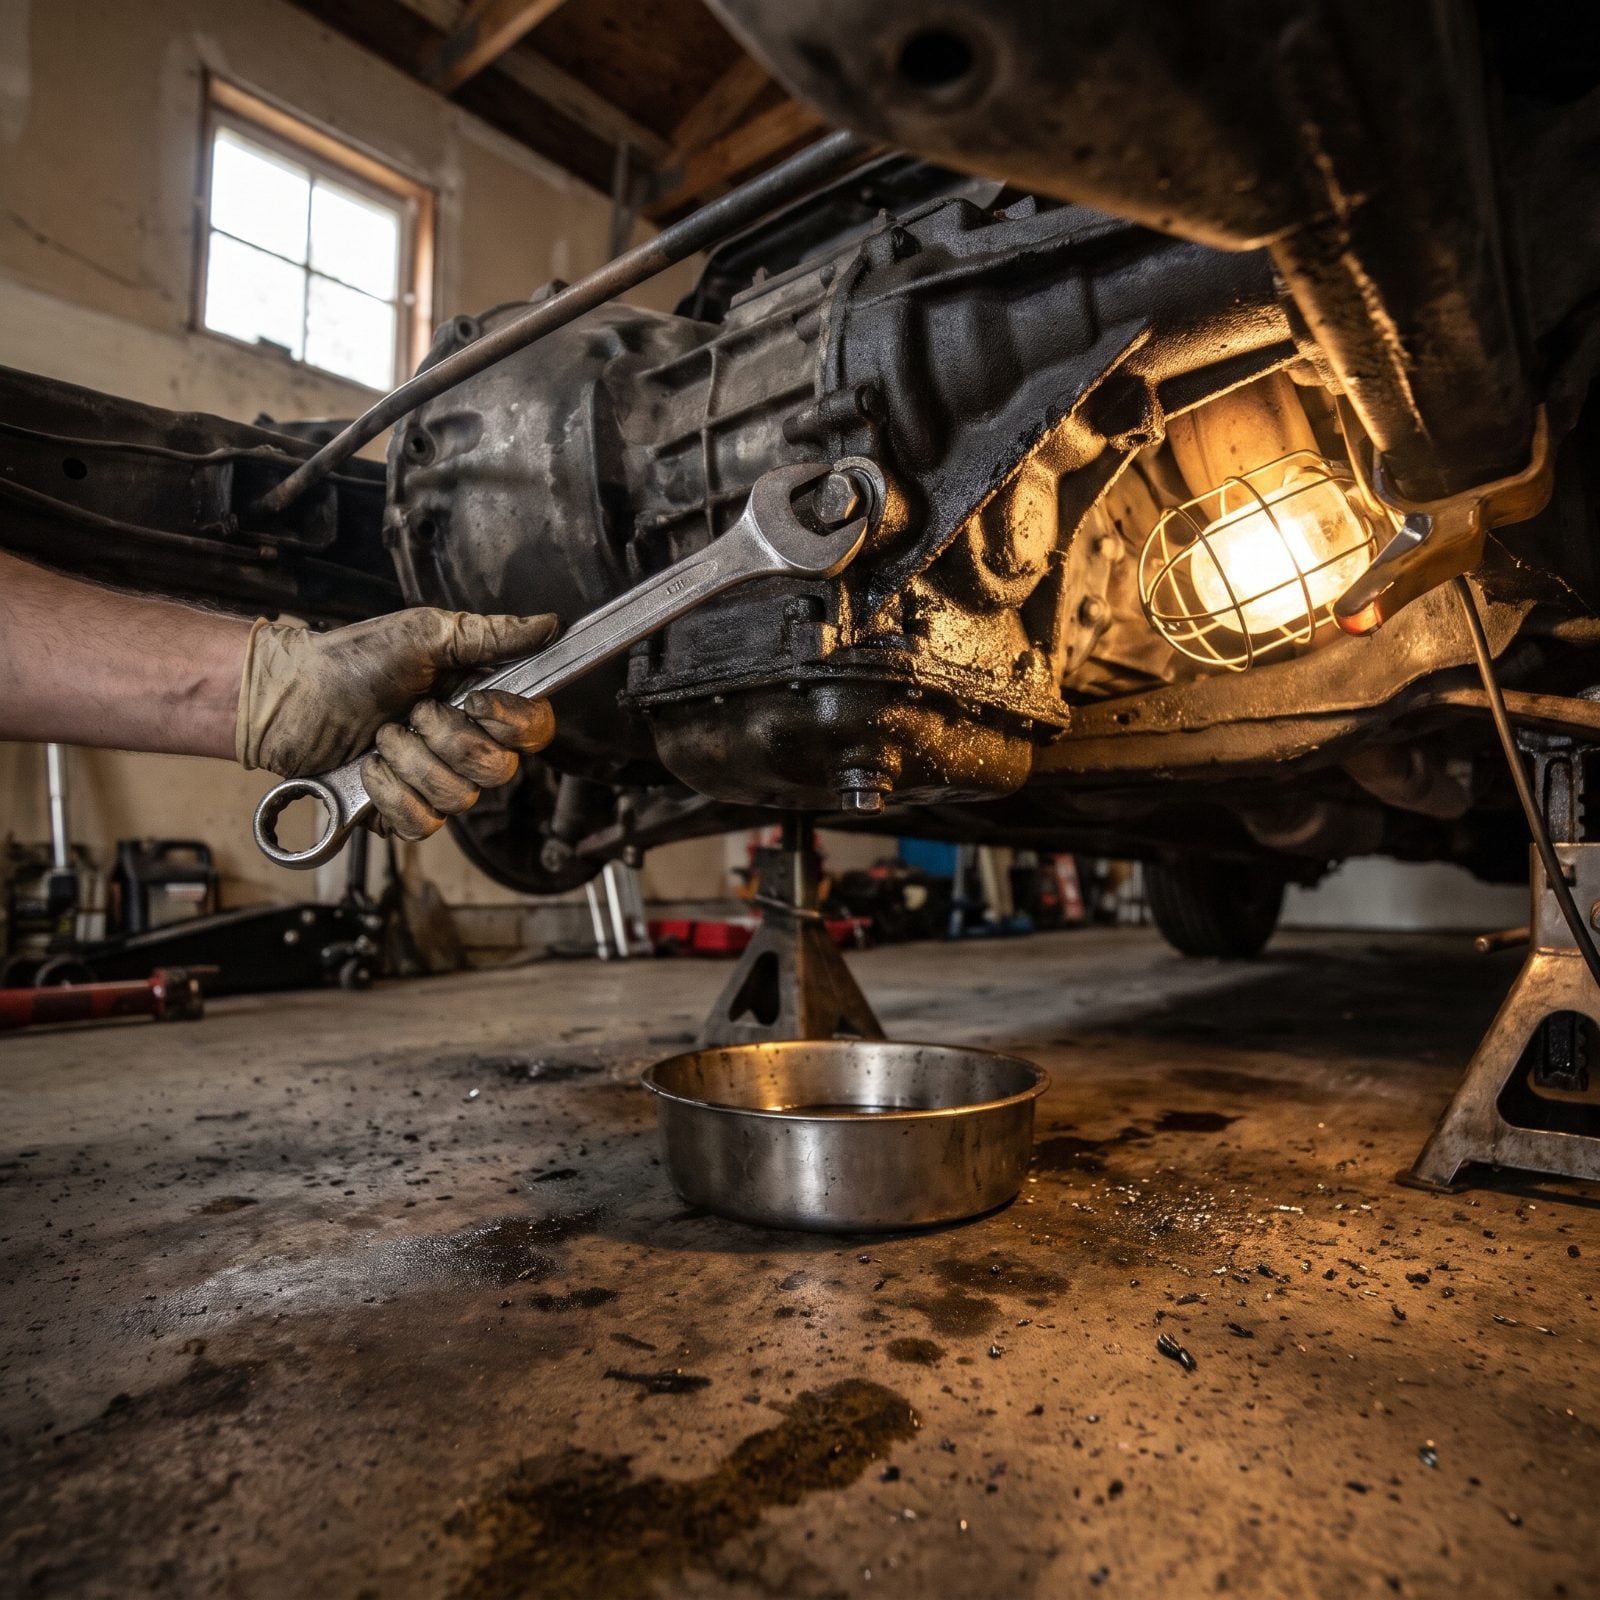
Here’s the mistake that teaches this lesson, usually once. You drain the gearbox clean, feel accomplished, then discover the fill plug is seized solid and there’s no way to put oil back in. Now you own an undriveable car and a cold sinking feeling.
The fix is pure sequence. Loosen the fill plug first. If it moves, you’re safe to drain. If it doesn’t, you walk away with a full transmission and a problem you can solve on your own schedule.
20. Put a Drain Pan Down Before Opening Any Fluid System
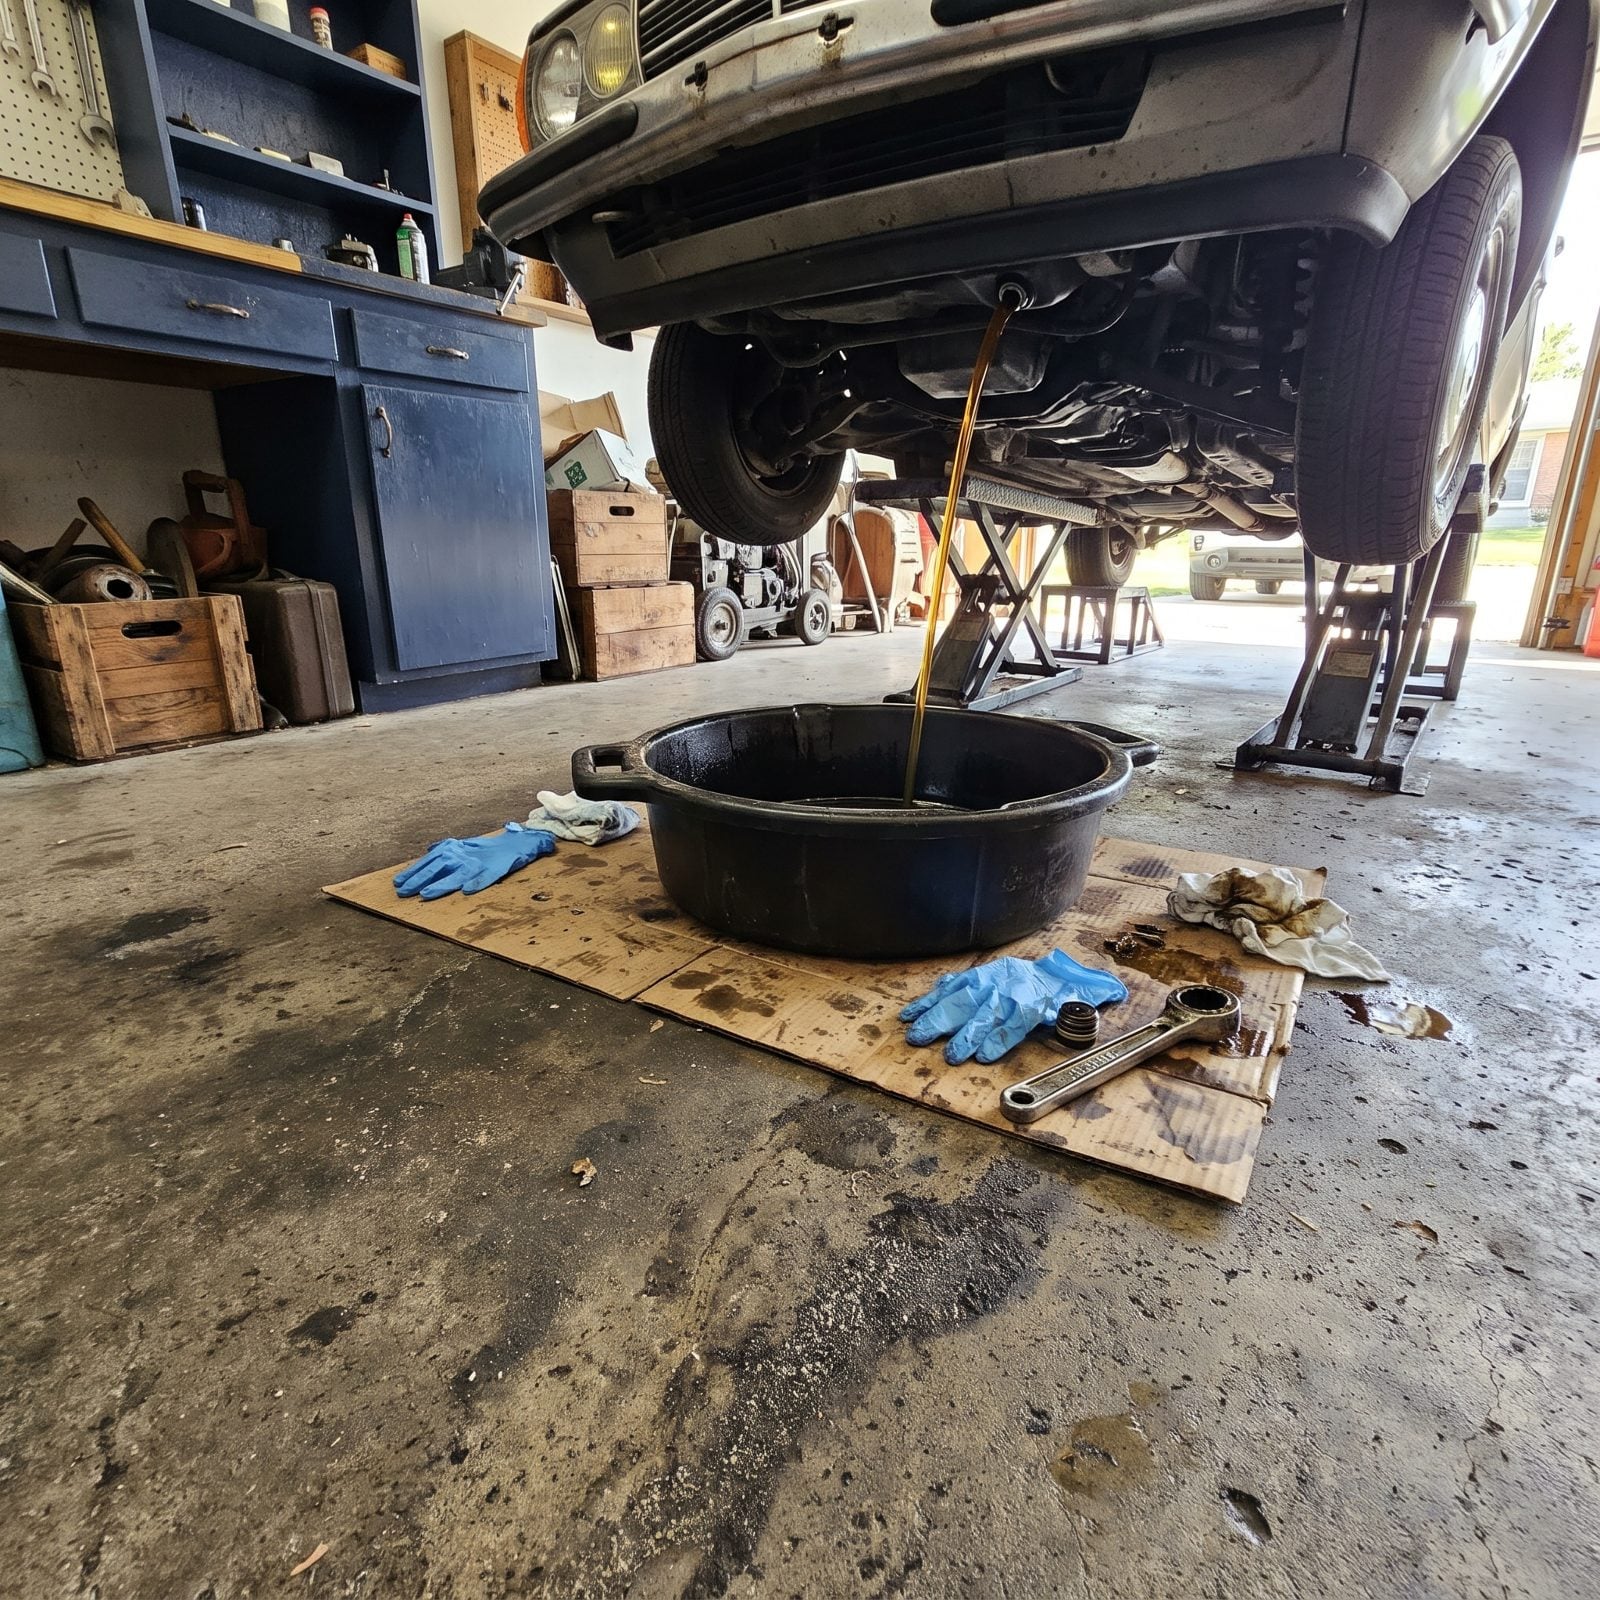
The pan goes down before the wrench comes up. Gravity has a sense of humor, and fluid always runs where you least want it.
Coolant, brake fluid, power steering, a fuel line that still holds pressure — open any of them without a catch pan and the cleanup is yours. Brake fluid eats paint. Coolant poisons the dog or cat that wanders out to keep you company. Oil on concrete never fully leaves.
Put the pan a little further out than you think you need. The first gush shoots sideways off the plug threads, not straight down.
19. Label Every Wire and Vacuum Line
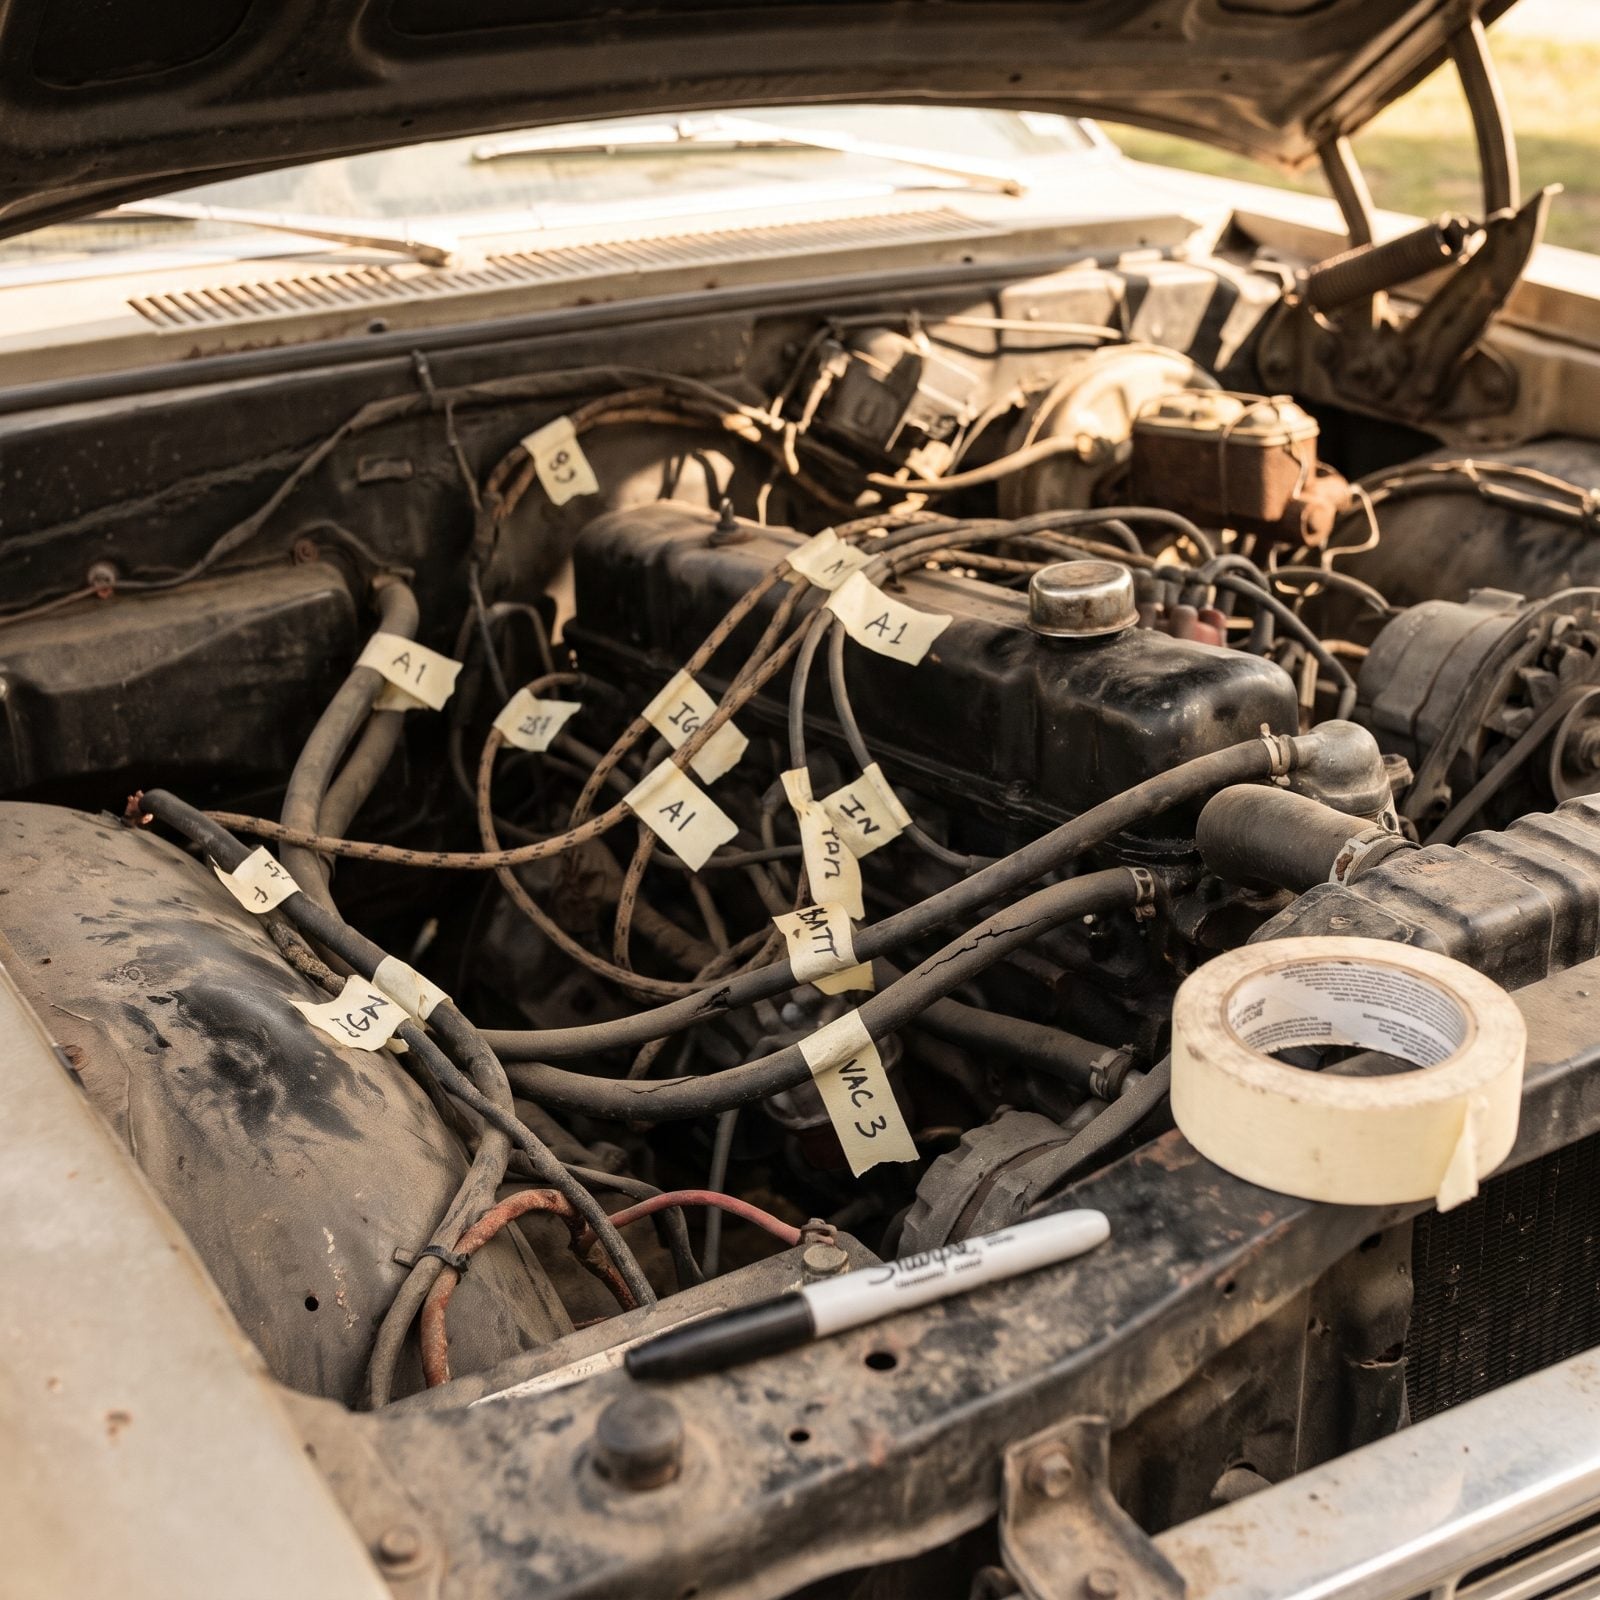
You will not remember. That’s the whole truth of it.
The job that takes two hours feels obvious while you’re in it. Then life interrupts, a part lands on backorder, and you come back three weeks later staring at a bundle of identical black lines with no idea what went where. Vacuum hoses are the worst offenders. They all look the same, and one wrong connection sets a check-engine light dancing.
A roll of masking tape and a marker cost almost nothing. Tag both ends. Write where it goes, legibly — not a hurried scrawl that only past-you could ever decode.
18. Arrange Removed Bolts in Their Original Pattern
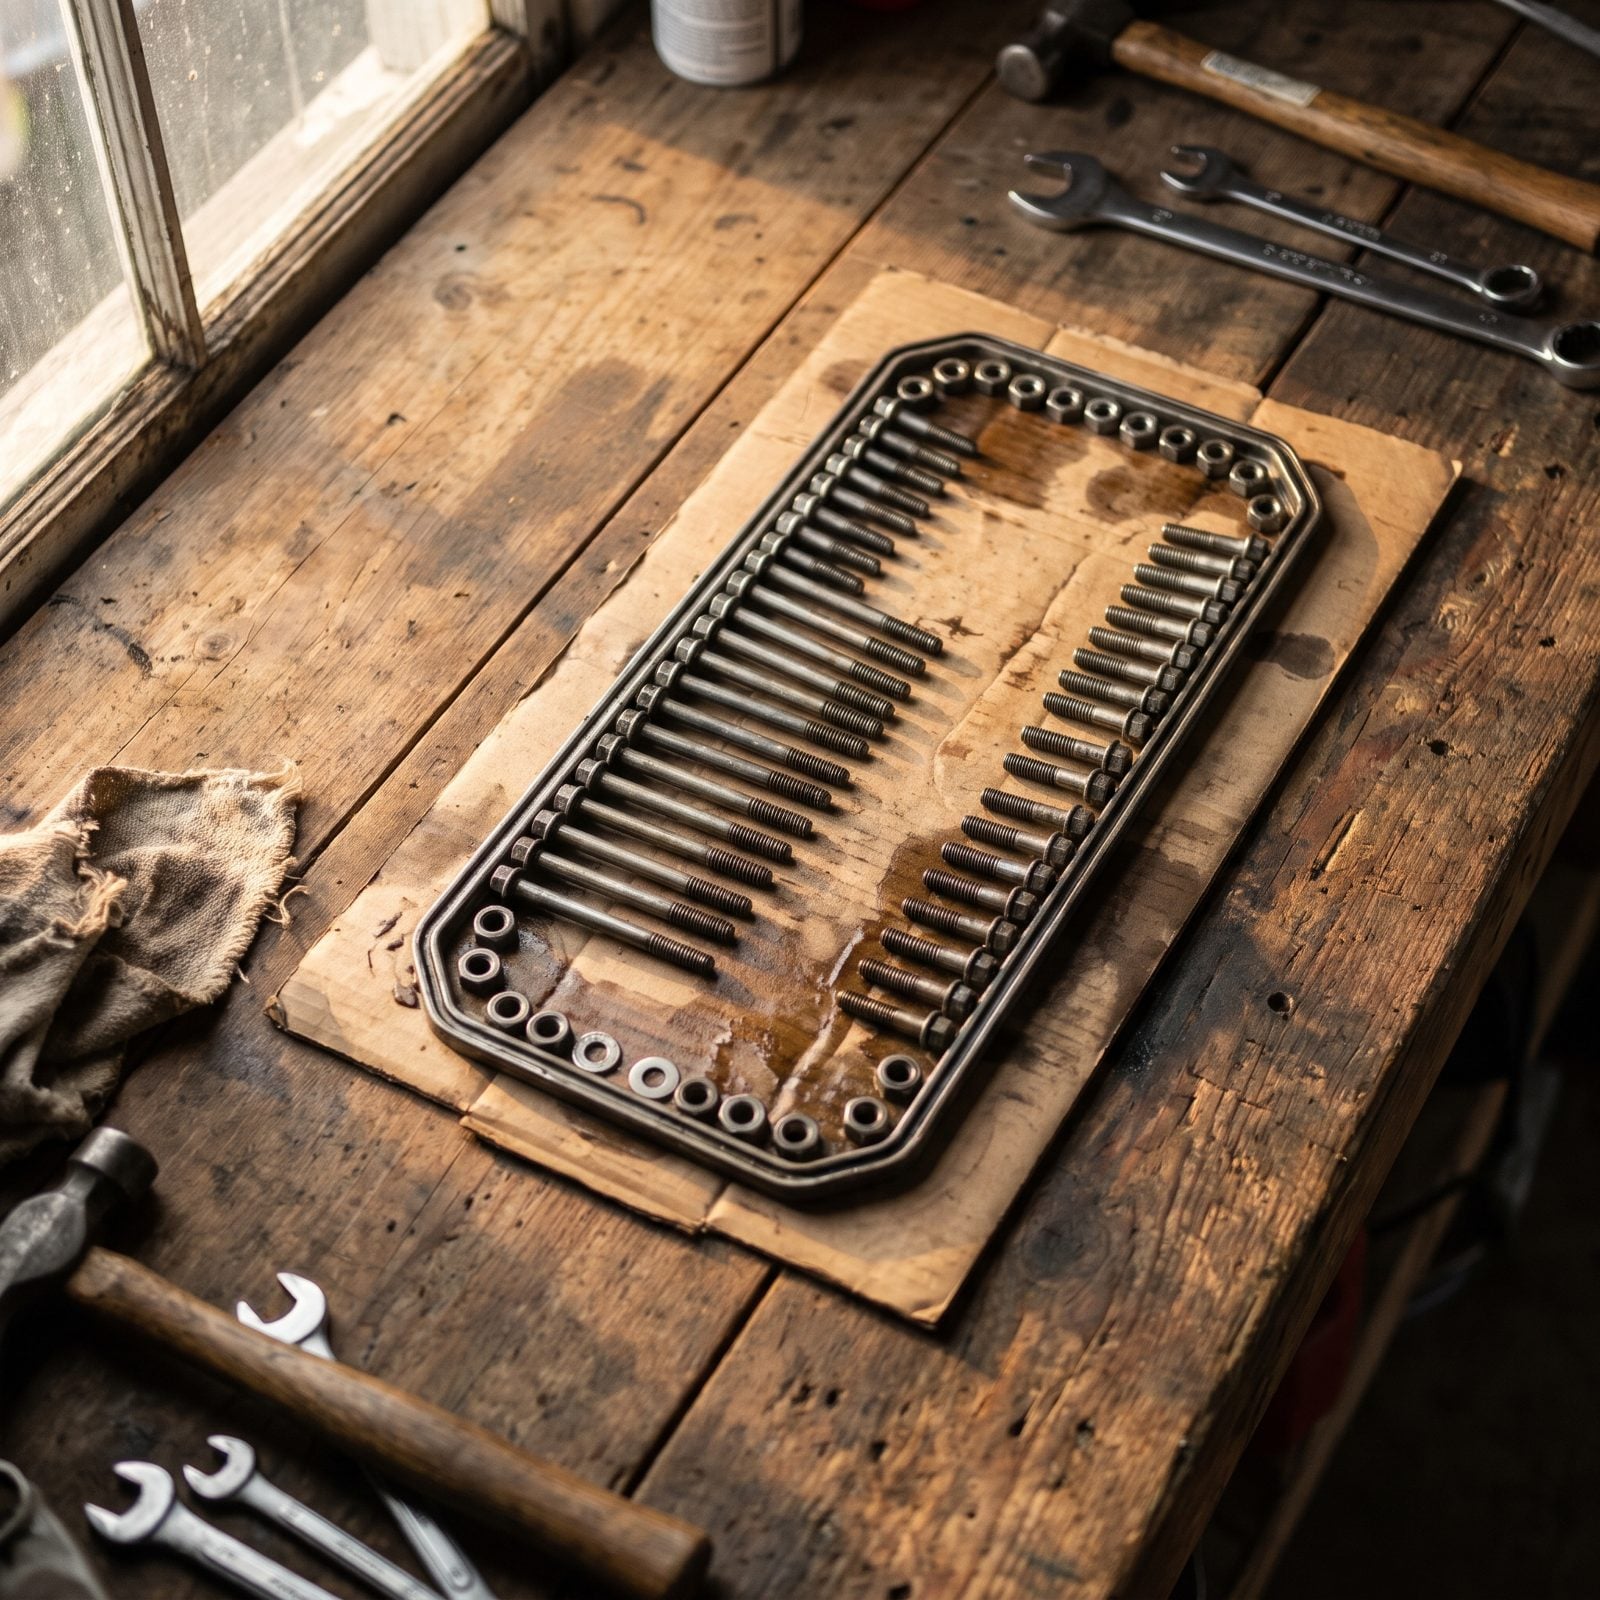
Bolts are rarely all the same length, and that difference matters. Thread a long bolt into a short hole and you bottom it out before the part is clamped. Thread a short one where a long bolt belongs and the threads barely catch.
Lay them out on the bench in the pattern they came from, a loose map of the part itself. Top-left stays top-left. Long ones sit where the long holes were.
Come reassembly time, the layout tells you the story without a single guess.
17. Save Useful Fasteners in Old Coffee Cans
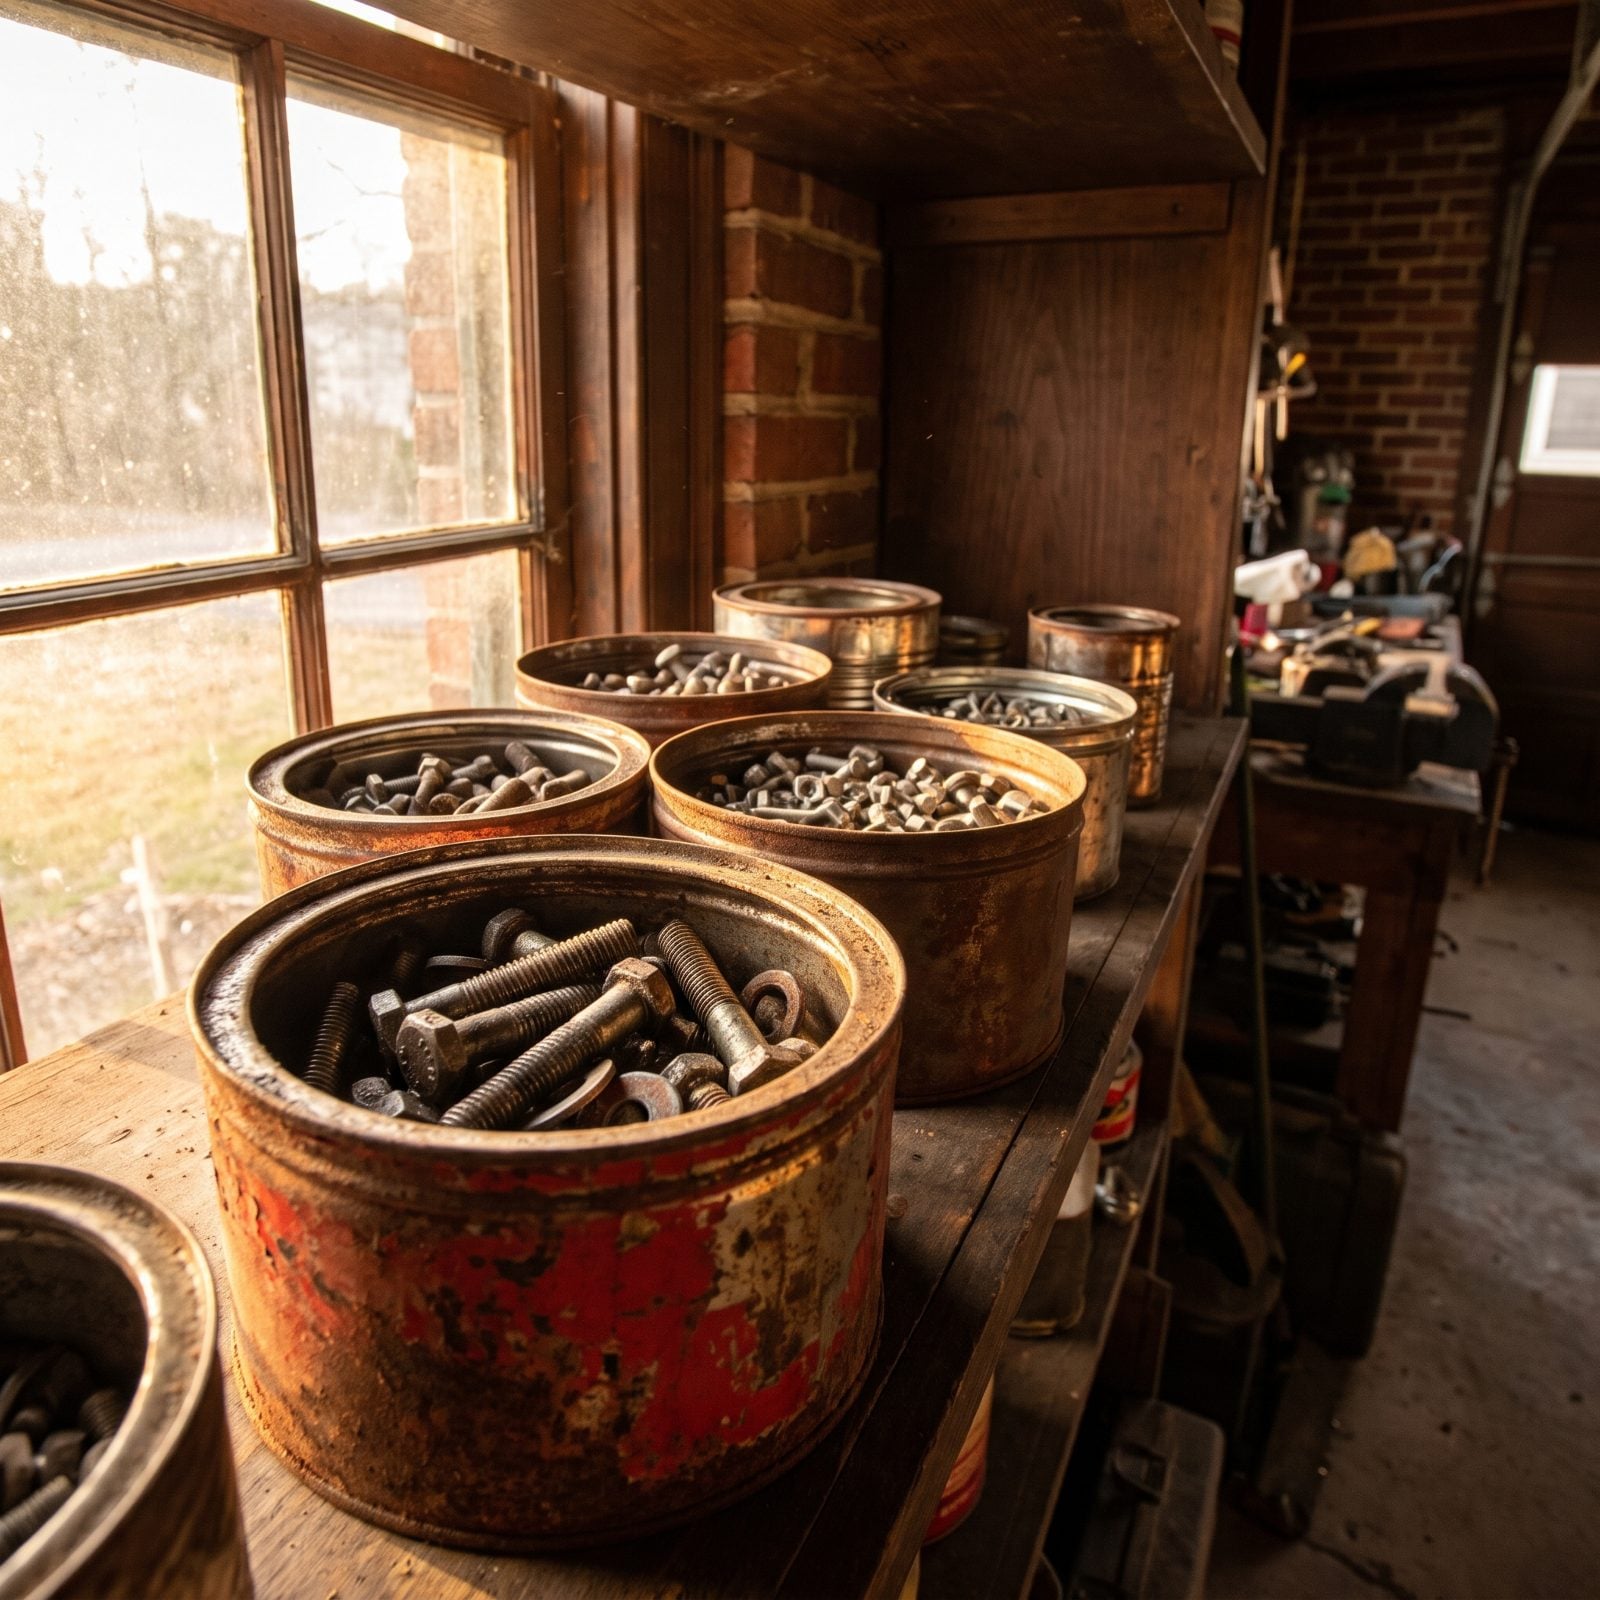
Every garage worth its salt has them. The coffee cans, the baby food jars, the old peanut tins full of hardware that cost nothing and saves a Sunday.
The parts store closes at five. That one bolt you need is a buck-fifty and a thirty-minute round trip you don’t have. Reach into the right can and there it is, pulled off something scrapped years ago.
Sort loosely by size as you toss things in. A can of mixed everything is just a puzzle you built for yourself.
16. Slide Cardboard Under a Messy Repair
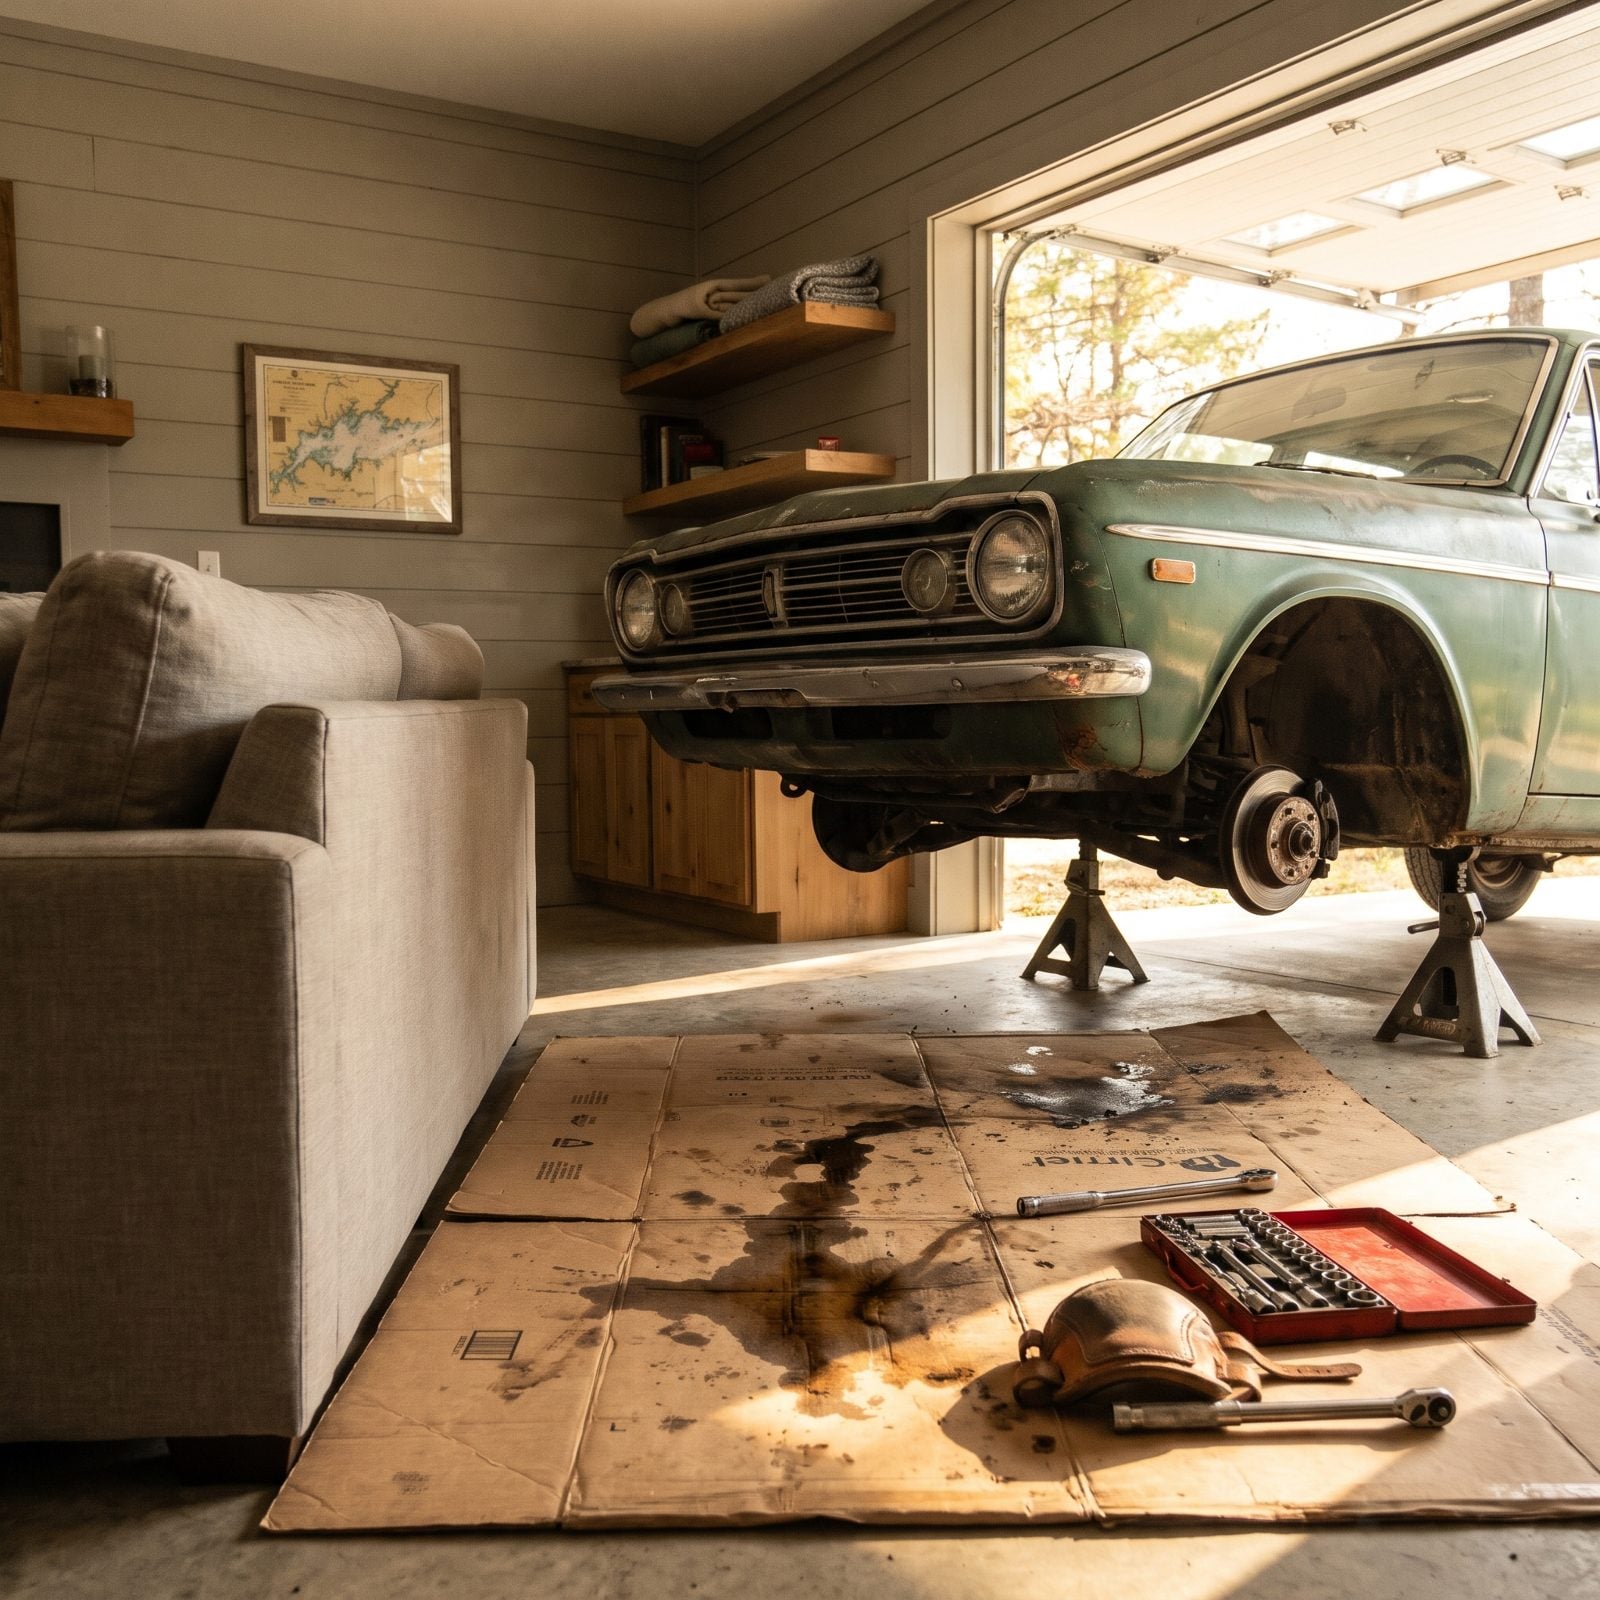
A flattened box is the cheapest shop floor upgrade there is. It catches the drips concrete would hold forever, it gives your knees something better than cold stone, and it slides with you as you shift along the job.
Appliance boxes are gold — big, thick, double-wall corrugated that soaks up a surprising amount before it quits.
When it’s soaked and torn, it folds up and goes in the trash. Try getting that out of a poured floor.
15. Cover the Fender Before Leaning Into the Engine Bay
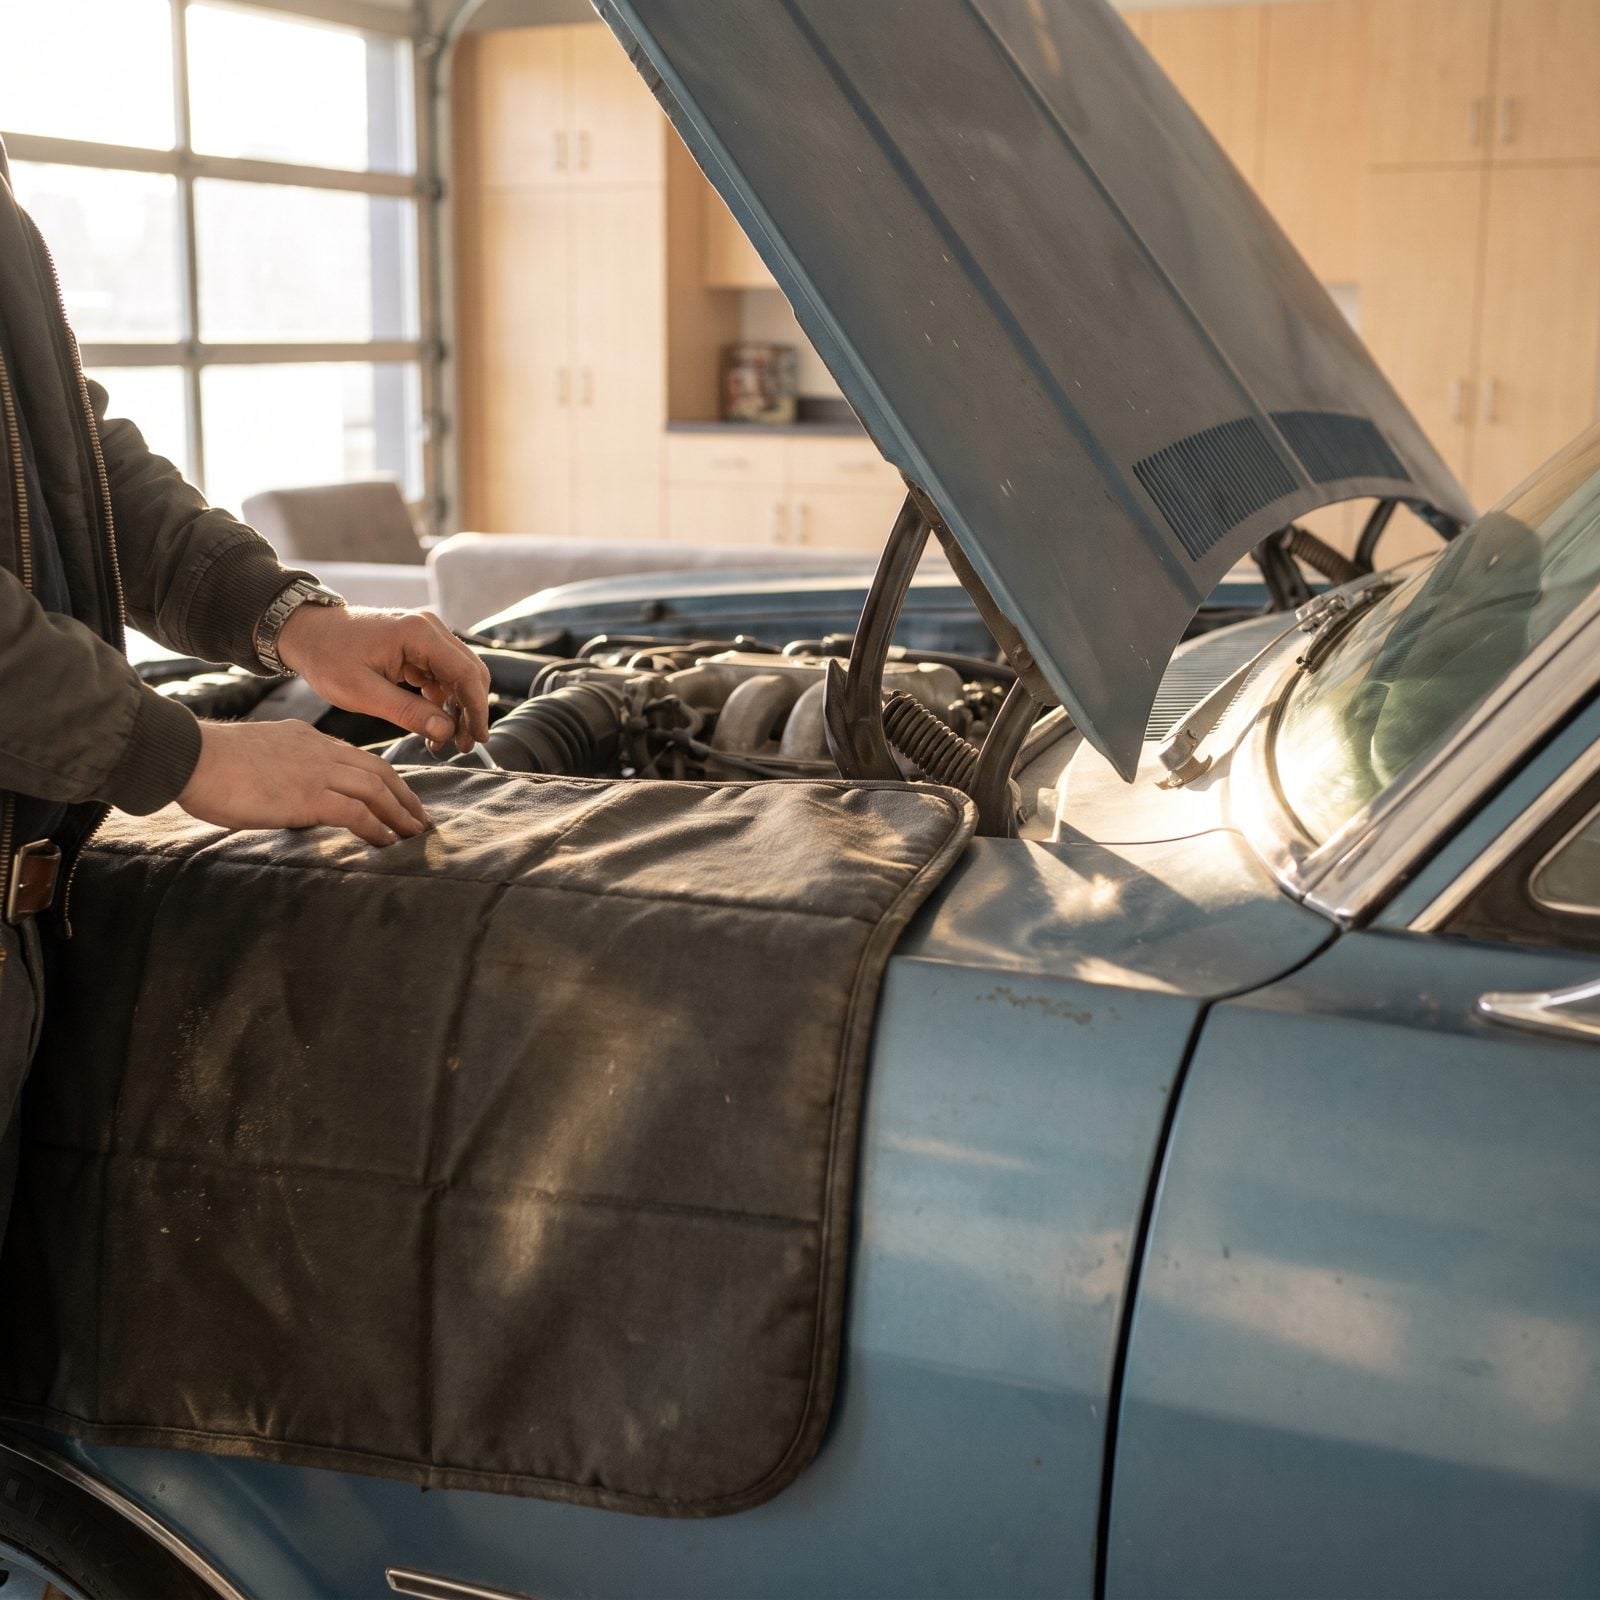
The paint remembers everything. A belt buckle dragged across a fender, a jacket zipper, a dropped ratchet, and now there’s a scratch you see every single time you walk past the car.
An old blanket, a moving pad, a proper fender cover — it doesn’t matter which. Just get something soft over the paint before you lean your weight into the bay.
This is the gap between a shop that respects the car and one that only gets it running. Both fix the problem. Only one hands it back unmarked.
14. Take the Old Part to the Counter for Comparison
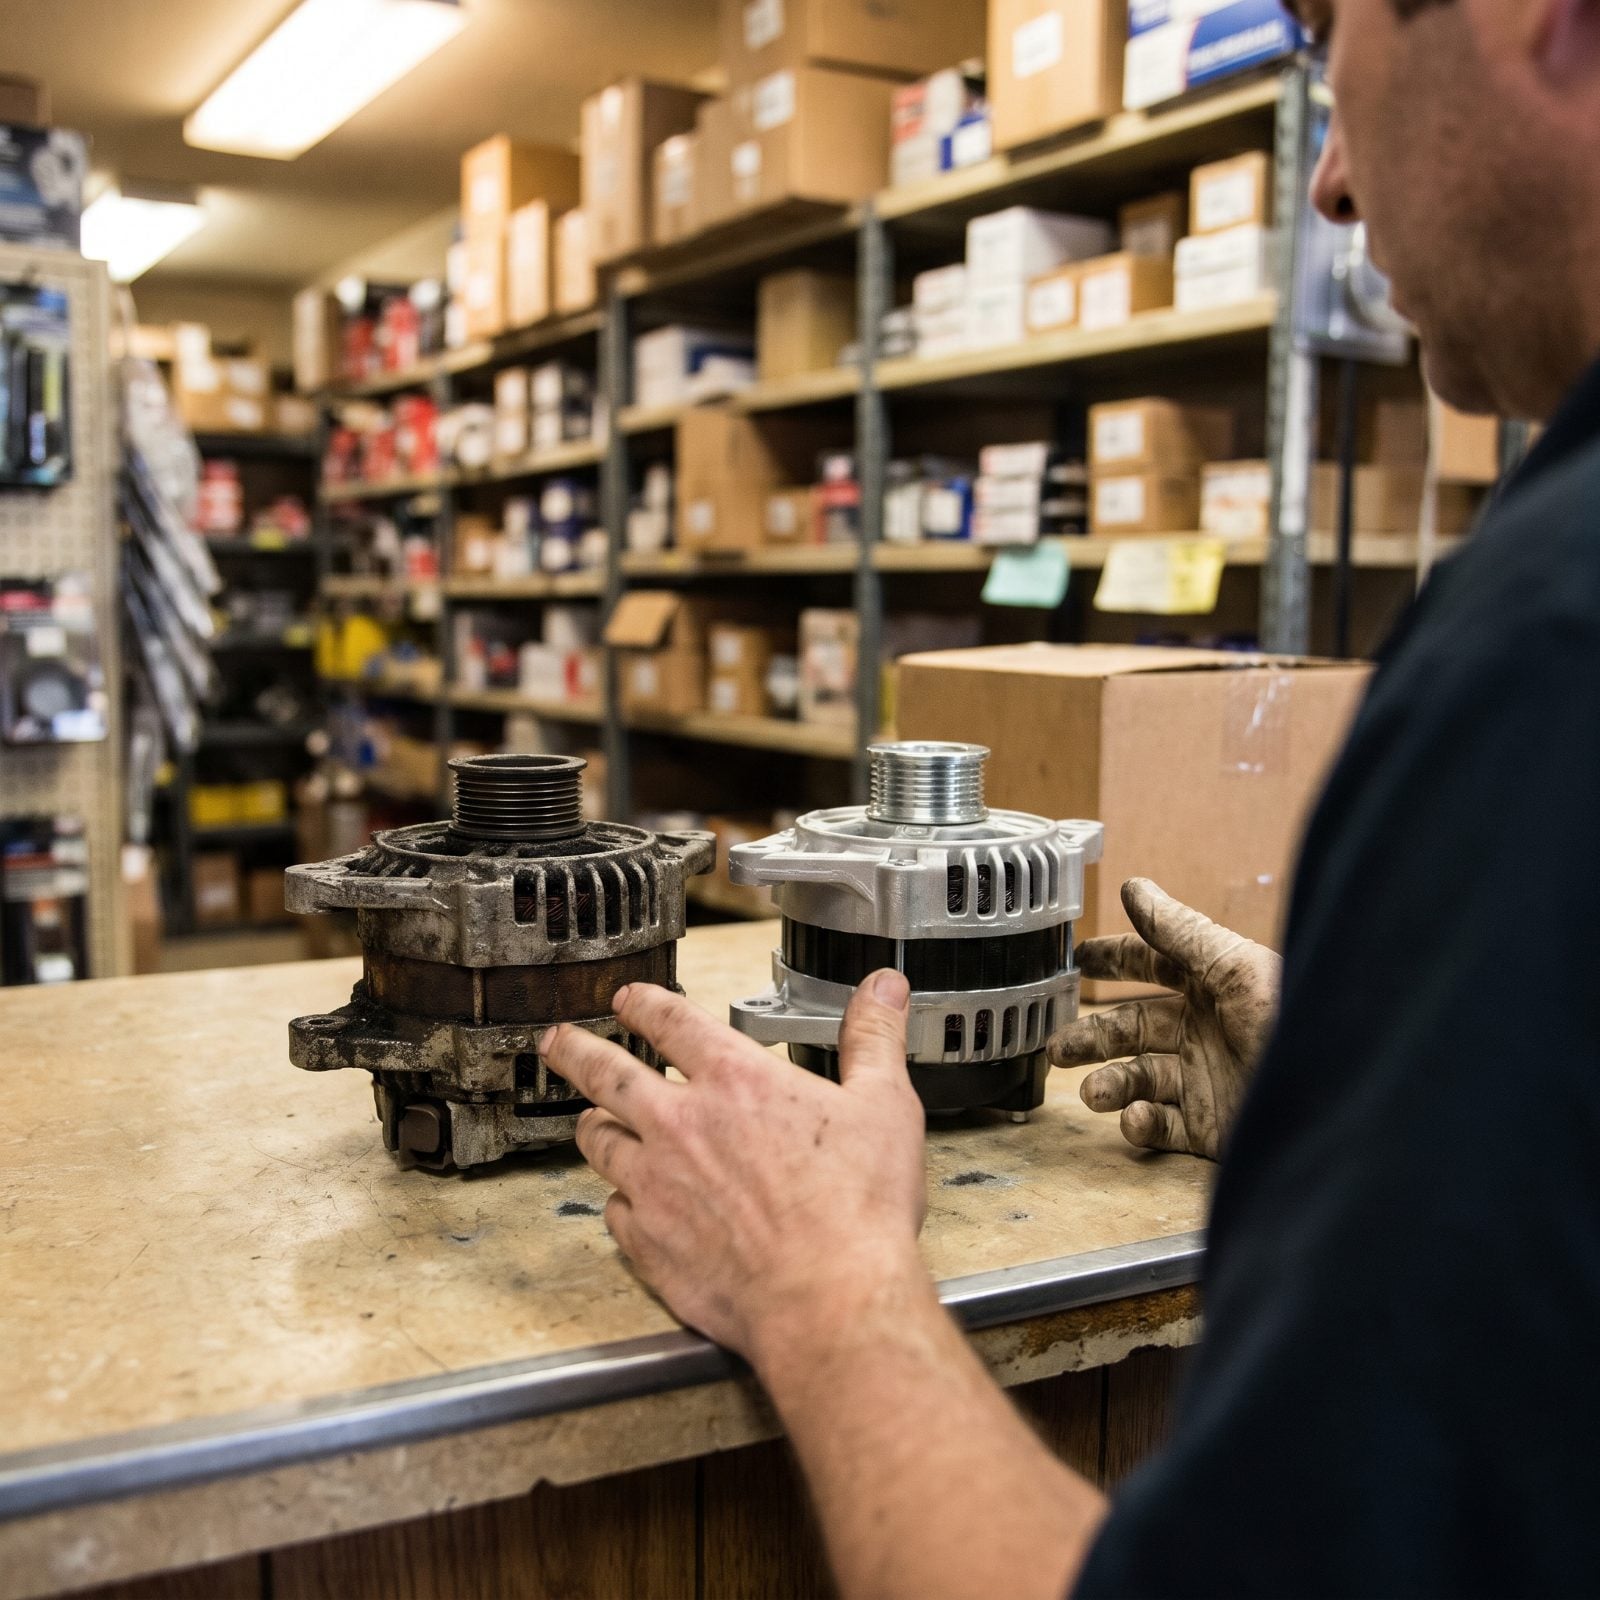
Catalogs lie, or at least they fib. The same engine shipped with three alternator variants and a bracket change halfway through the model year, and the computer only knows one of them.
Bring the old part in. Set it on the counter next to the new one. Match the bolt pattern, the pulley, the connector, the length of the fittings with your own eyes before any money changes hands.
A ten-minute look at the counter beats a second trip across town with the wrong box. The person behind the register has watched this save a thousand headaches.
13. Return Rebuildable Cores Instead of Throwing Them Away
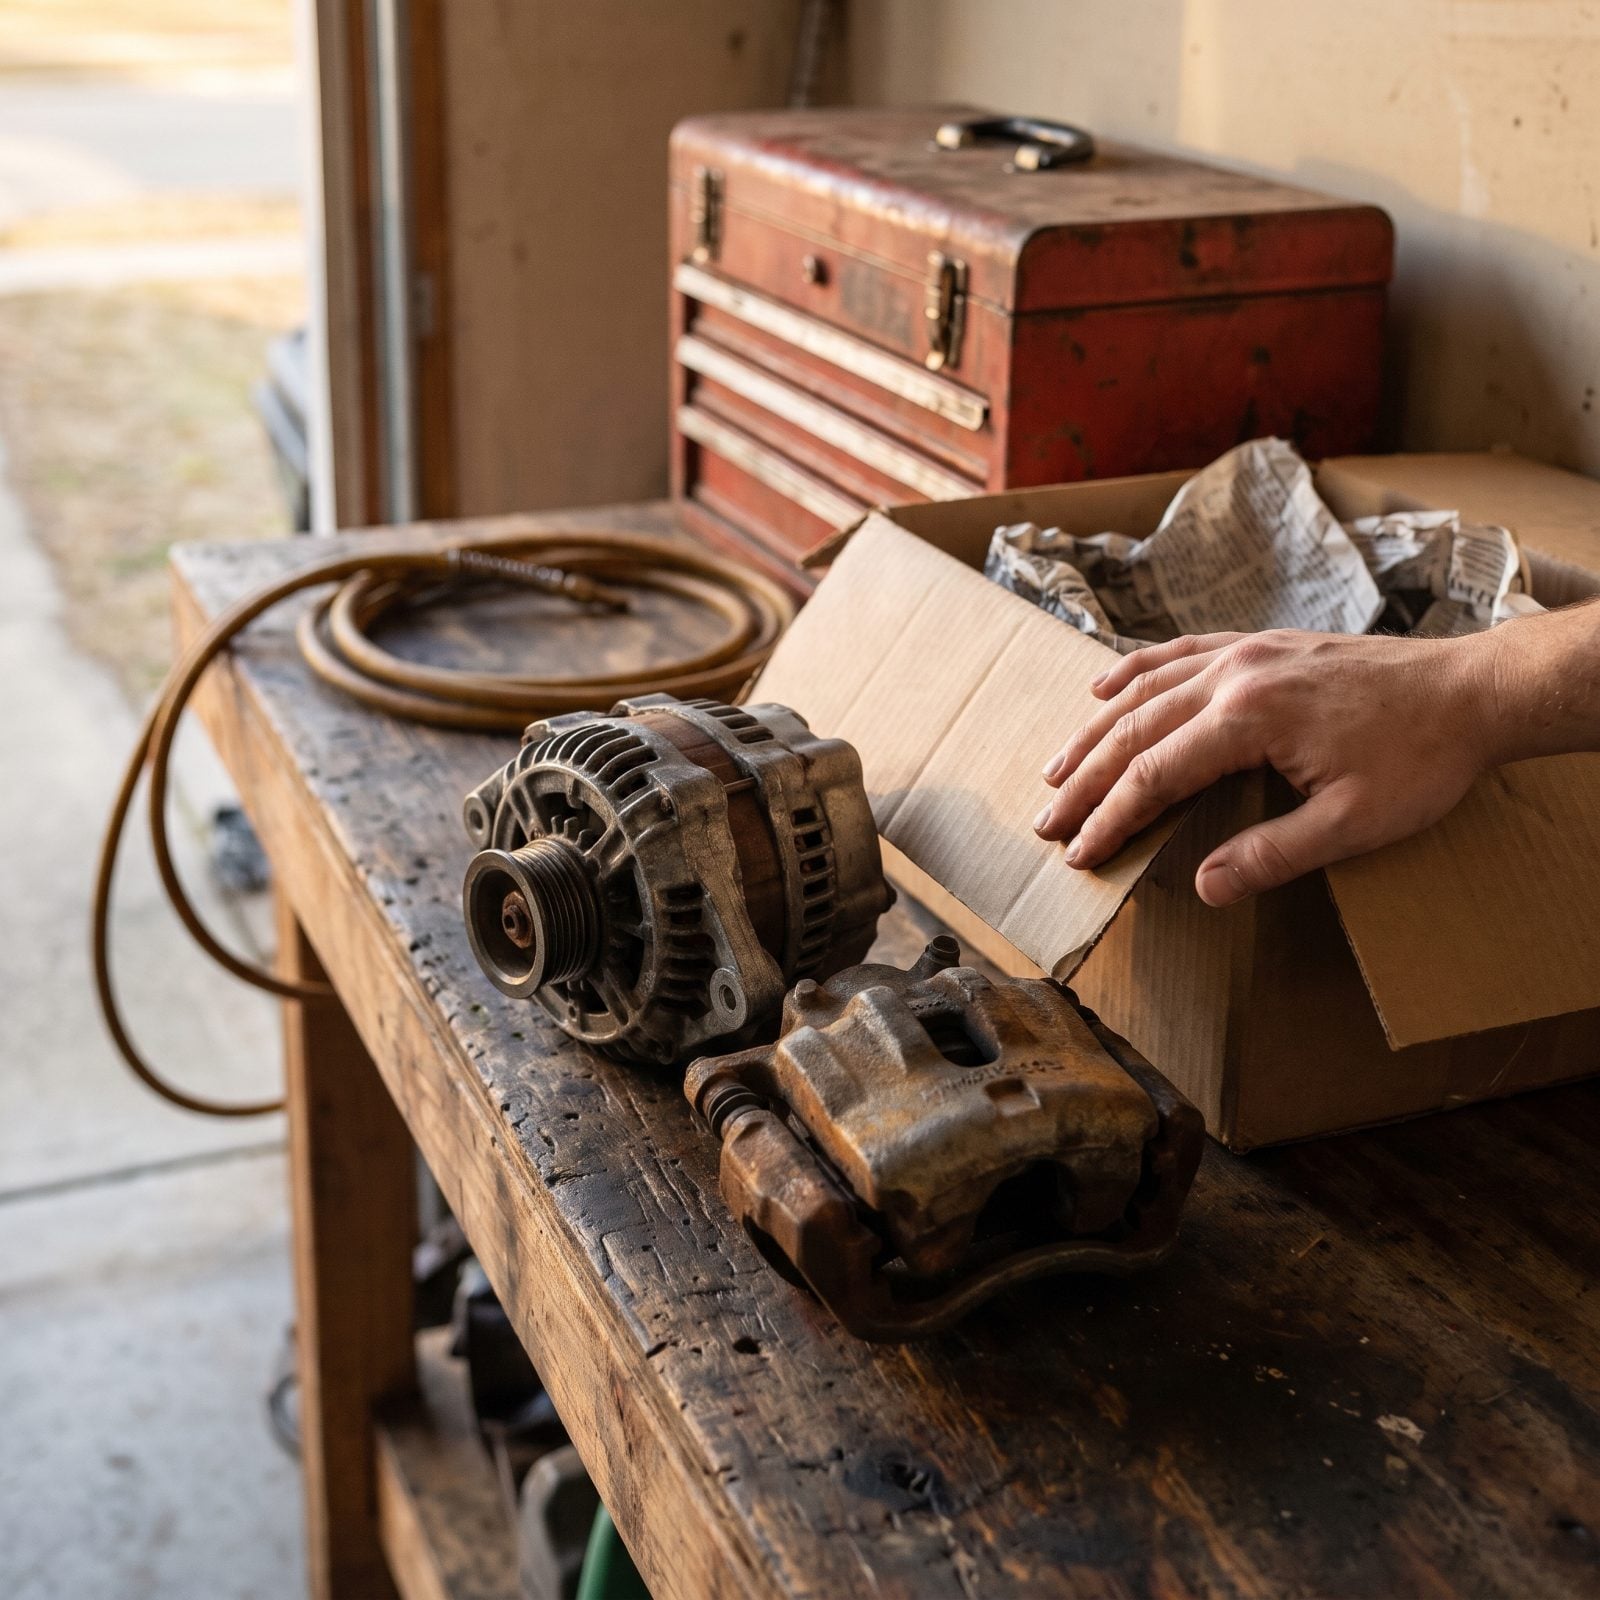
That old alternator isn’t scrap. It’s money you already spent. Most rebuildable parts (starters, alternators, calipers, master cylinders, steering racks) carry a core charge, and the counter refunds it when you hand the dead one back.
People who learned on their own cars treat the box the new part came in as a shipping container for the old one, so the core goes straight back in that same day. Skip the step and you’ve just donated real money to the parts store for nothing.
12. Rebuild a Serviceable Component Before Replacing It
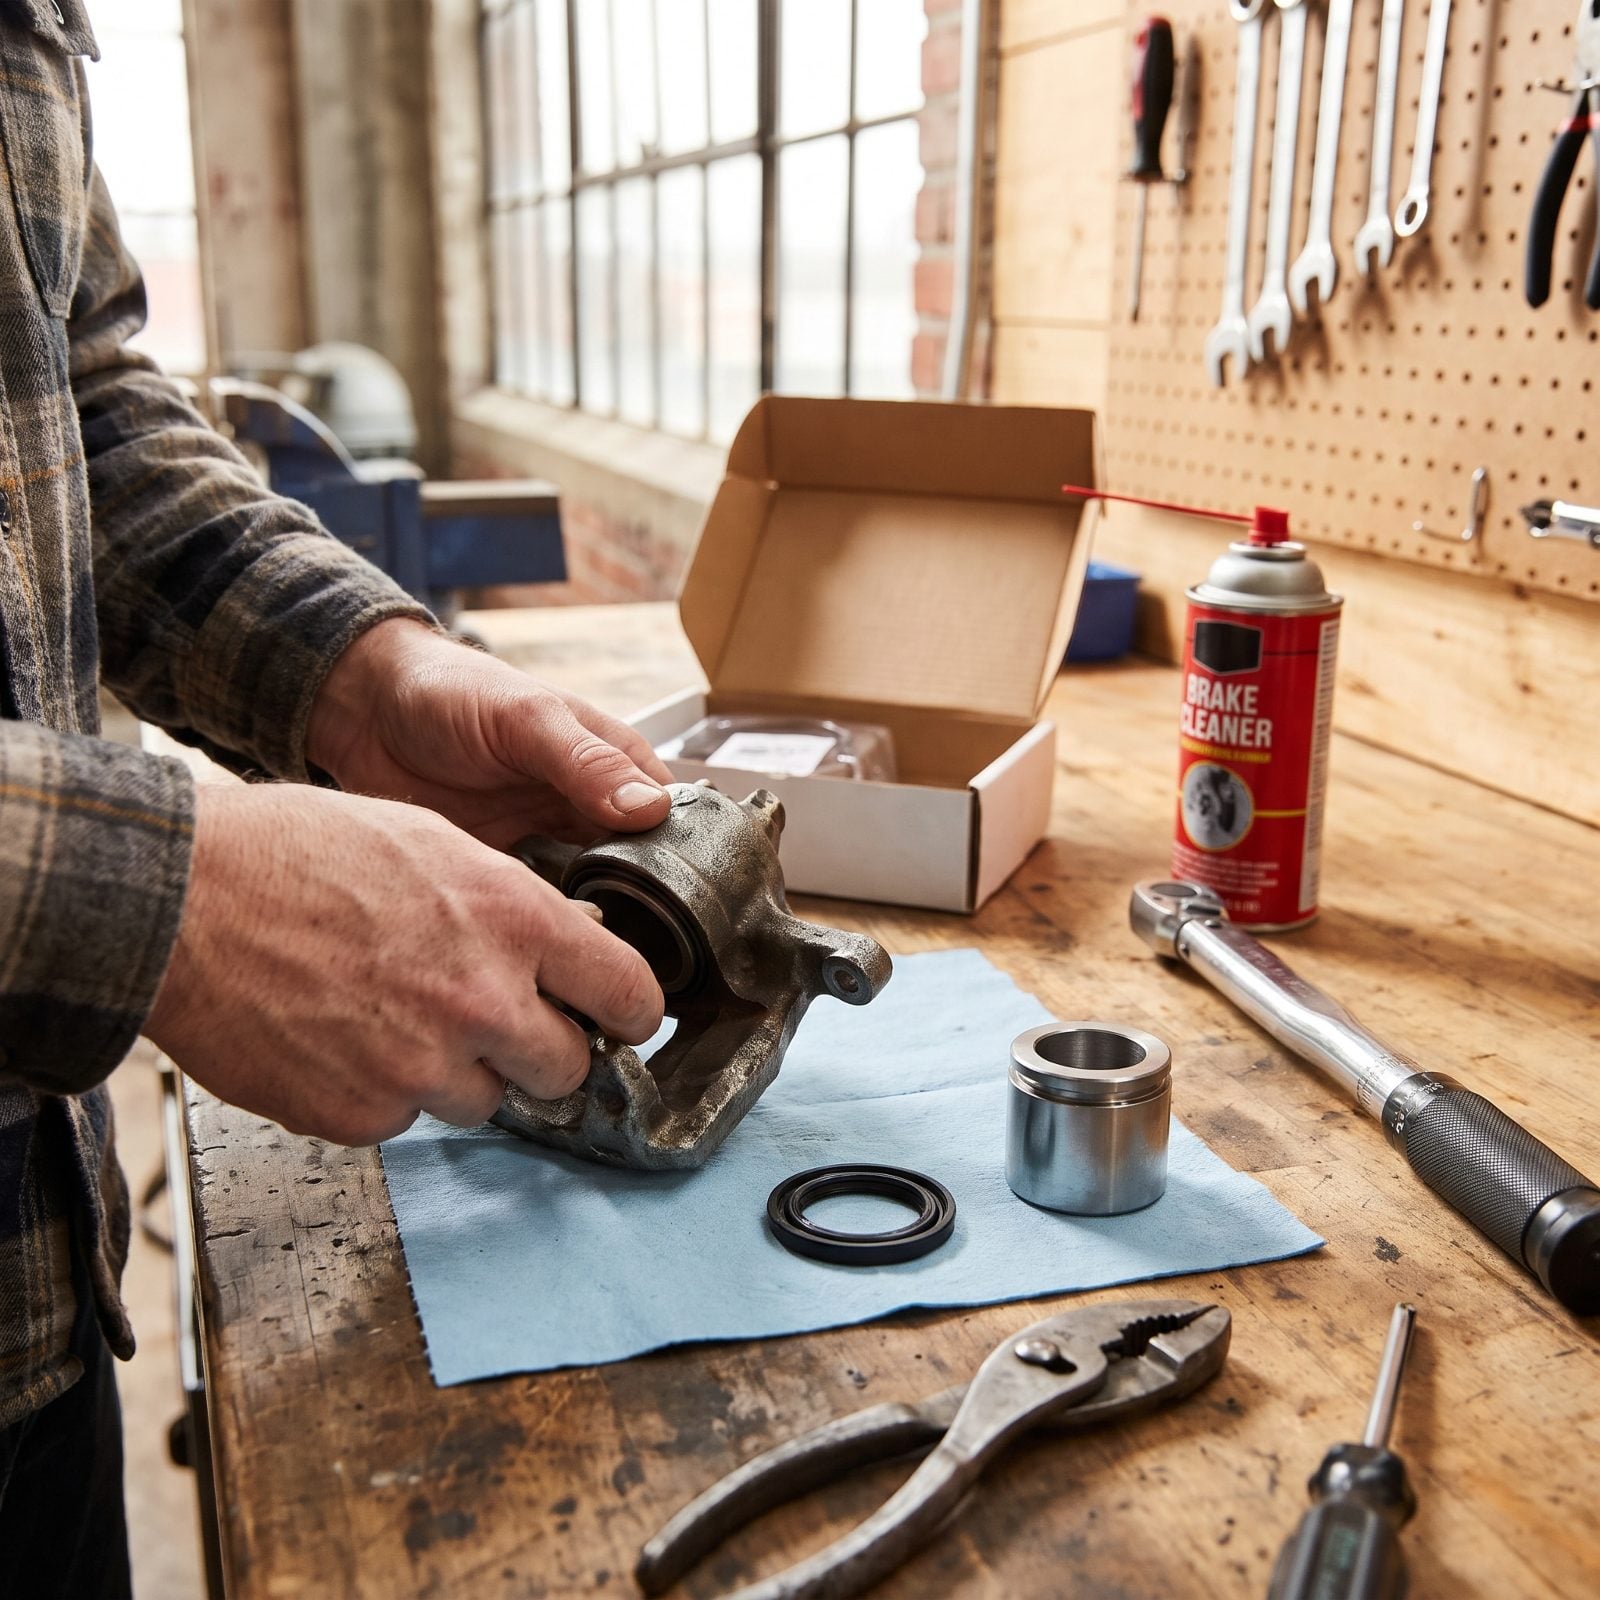
A cheap seal kit does the same job as a pricey remanufactured unit. On calipers, water pumps, some carburetors and older master cylinders, the failure is usually a worn seal or a scored bore, not the whole casting.
Grow up turning wrenches and you learn to open the thing up before condemning it. Half the time the fix is a rubber kit and twenty quiet minutes at the bench. The other half you find real damage and buy the replacement anyway — but now you know why it died, and that beats guessing twice.
11. Record Repairs in a Stained Notebook
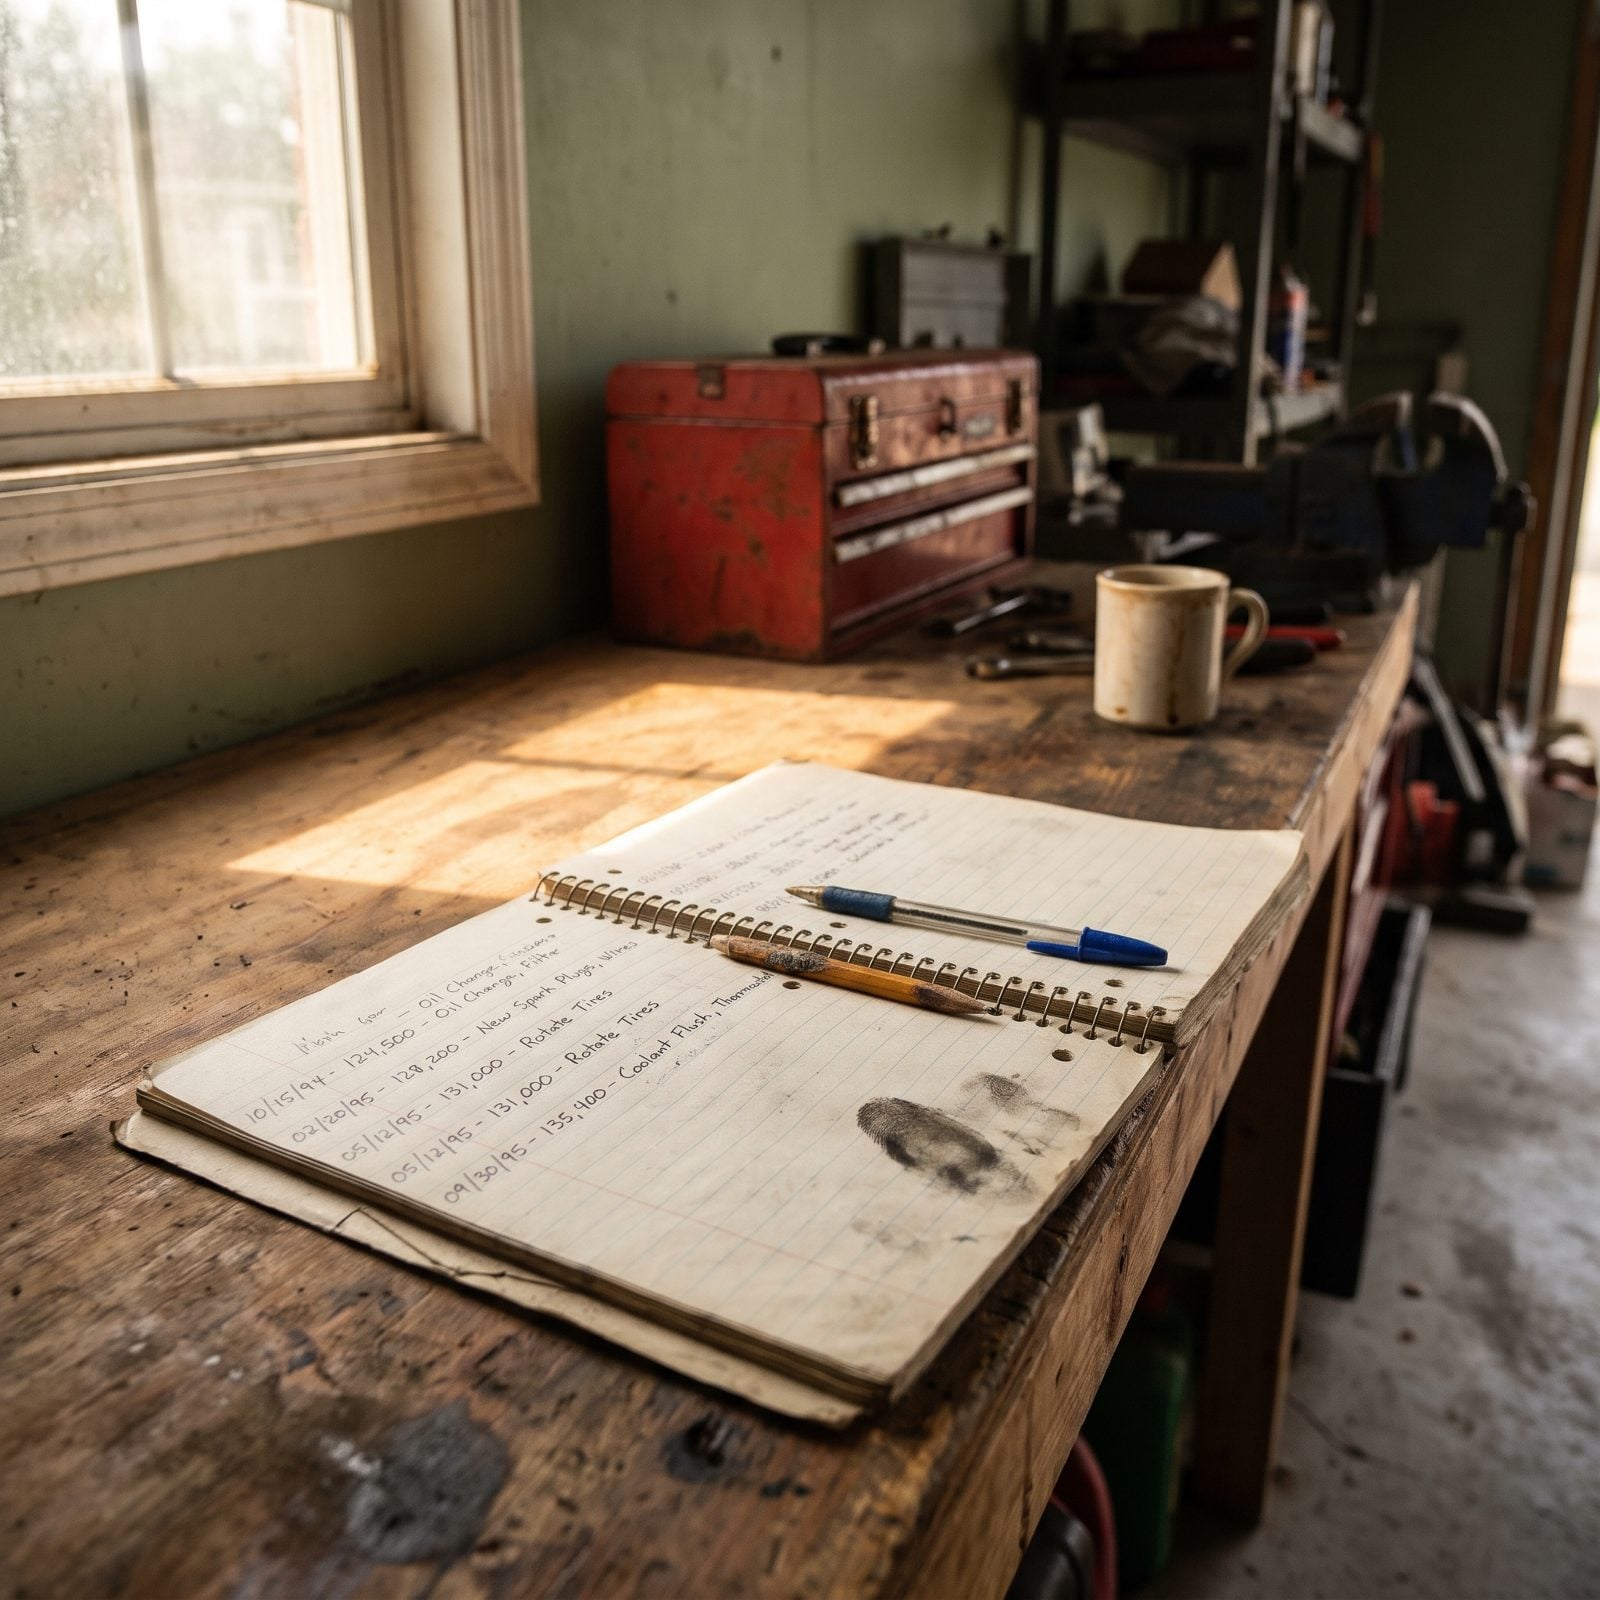
Memory is a liar. You will not remember when you last did the timing belt, and you’ll either skip it or do it twice.
The notebook fixes that. Date, mileage, what you did, what it cost — nothing fancy. People who grew up fixing cars kept a grease-smudged spiral book in the garage long before anybody had an app, and the habit still beats the app because the book never needs a password at 11pm with oil on your hands.
It also raises resale value. A buyer who sees a decade of honest entries trusts the car more than any dealer’s clean carpet ever earned.
10. Reset the Trip Odometer and Calculate Fuel Economy by Hand

Fill the tank. Zero the trip. Next fill-up, divide the miles by the gallons. That’s your real MPG, and it’s the cheapest diagnostic tool you own.
The dash readout averages everything out and flatters you. Hand math doesn’t. A sudden drop in fuel economy is often the first warning of a dragging brake, a tired oxygen sensor, a clogged filter or soft tires — weeks before a warning light bothers to mention it.
9. Store a Basic Tool Roll in the Trunk
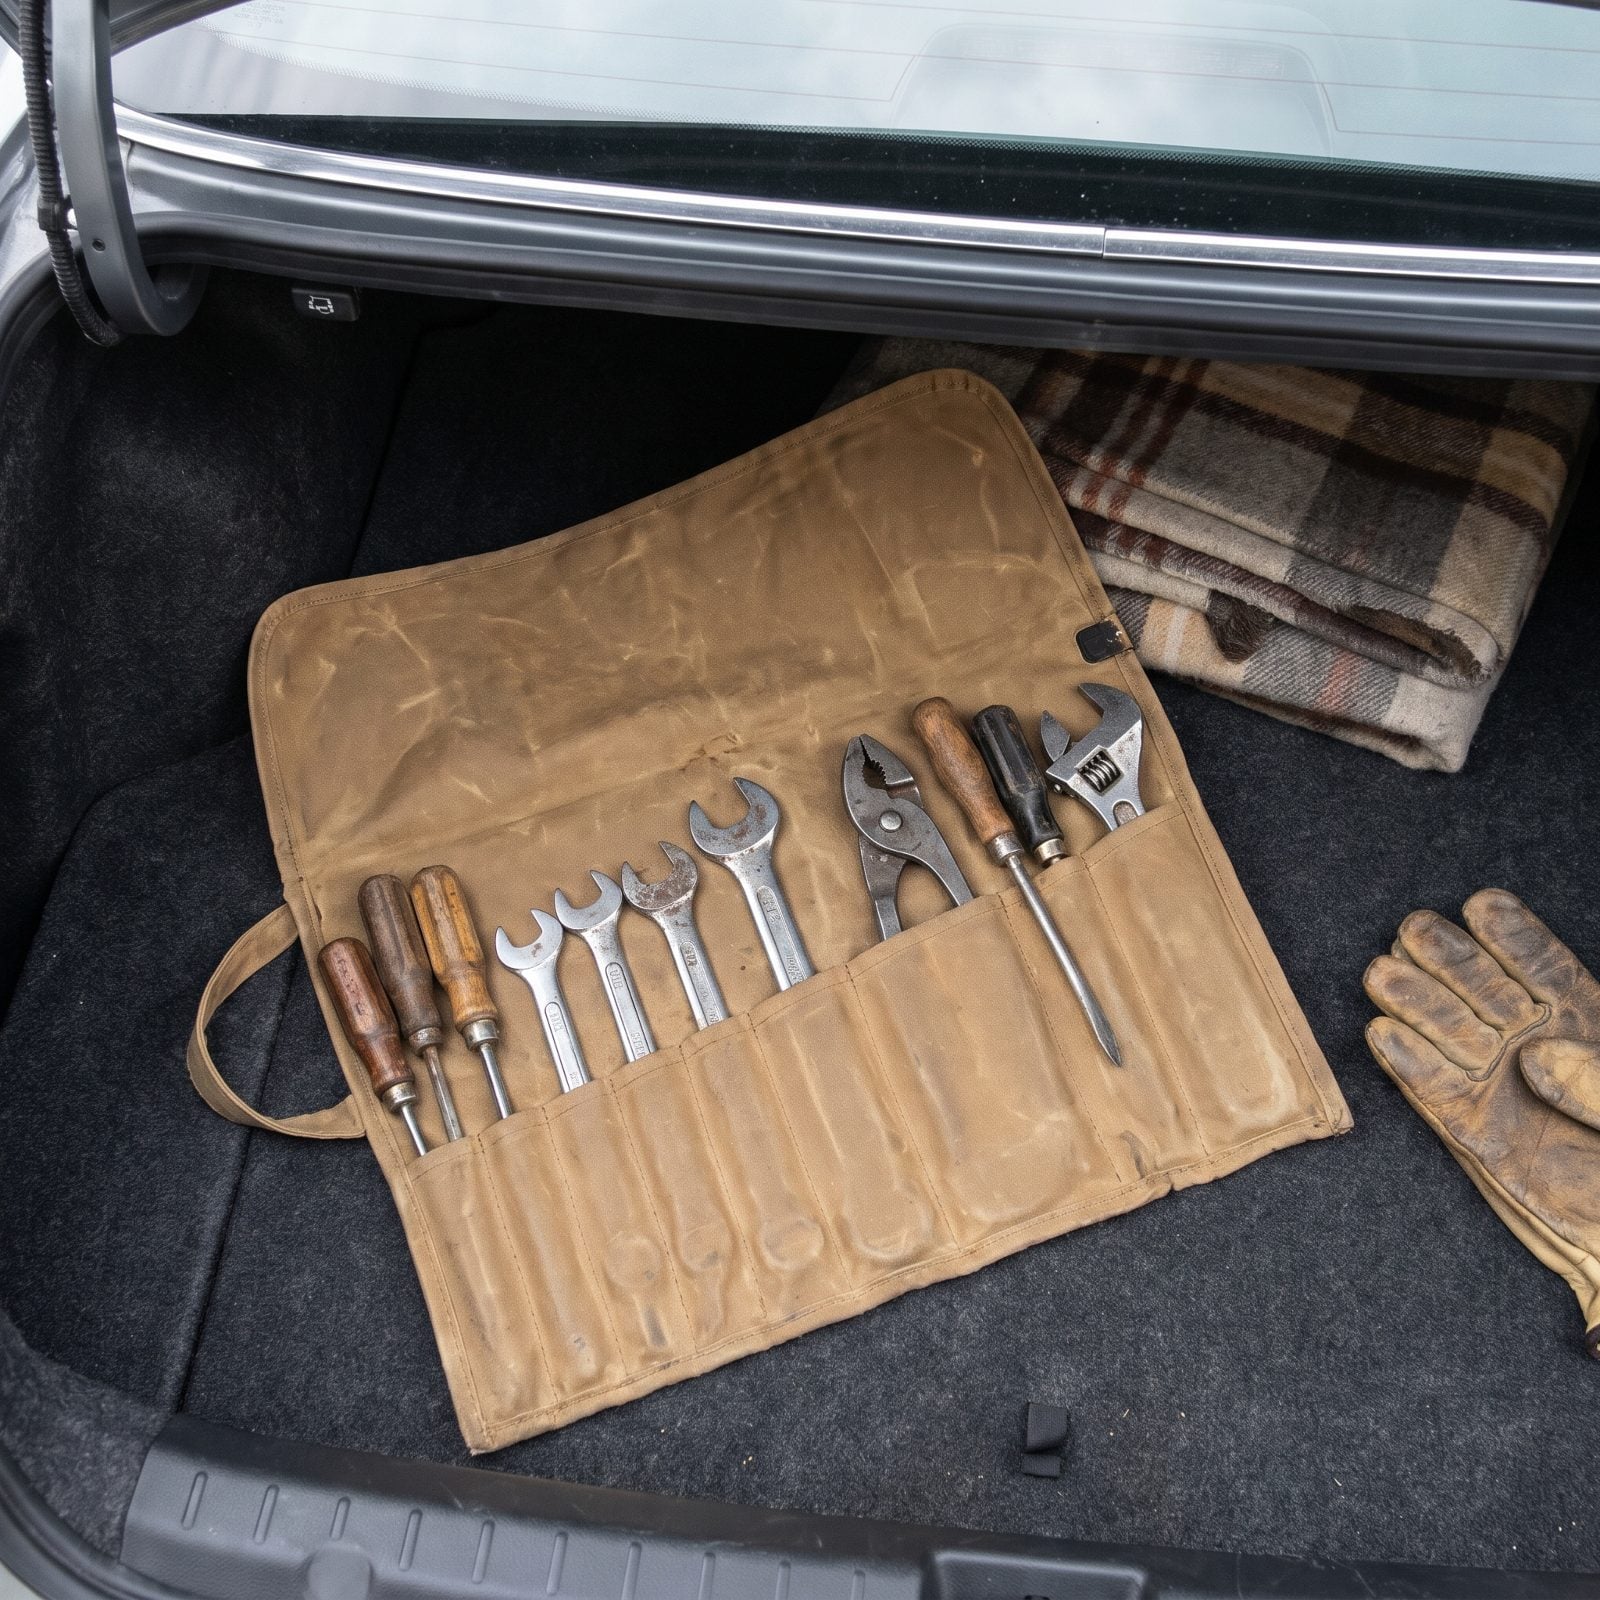
You don’t need a rolling cabinet in the trunk. You need the eight or ten tools that fix roadside nonsense: a set of combination wrenches, a couple of screwdrivers, pliers, an adjustable wrench, a quarter-inch ratchet with common sockets.
A canvas roll keeps them quiet and organized, no rattling tray sliding around every corner. Folks who grew up wrenching know most breakdowns aren’t catastrophic — a loose battery terminal, a flopping heat shield, a clamp that walked off its hose. Ten minutes with your own tools beats three hours waiting for a flatbed on the shoulder.
8. Carry a Tire Plug Kit and Portable Compressor
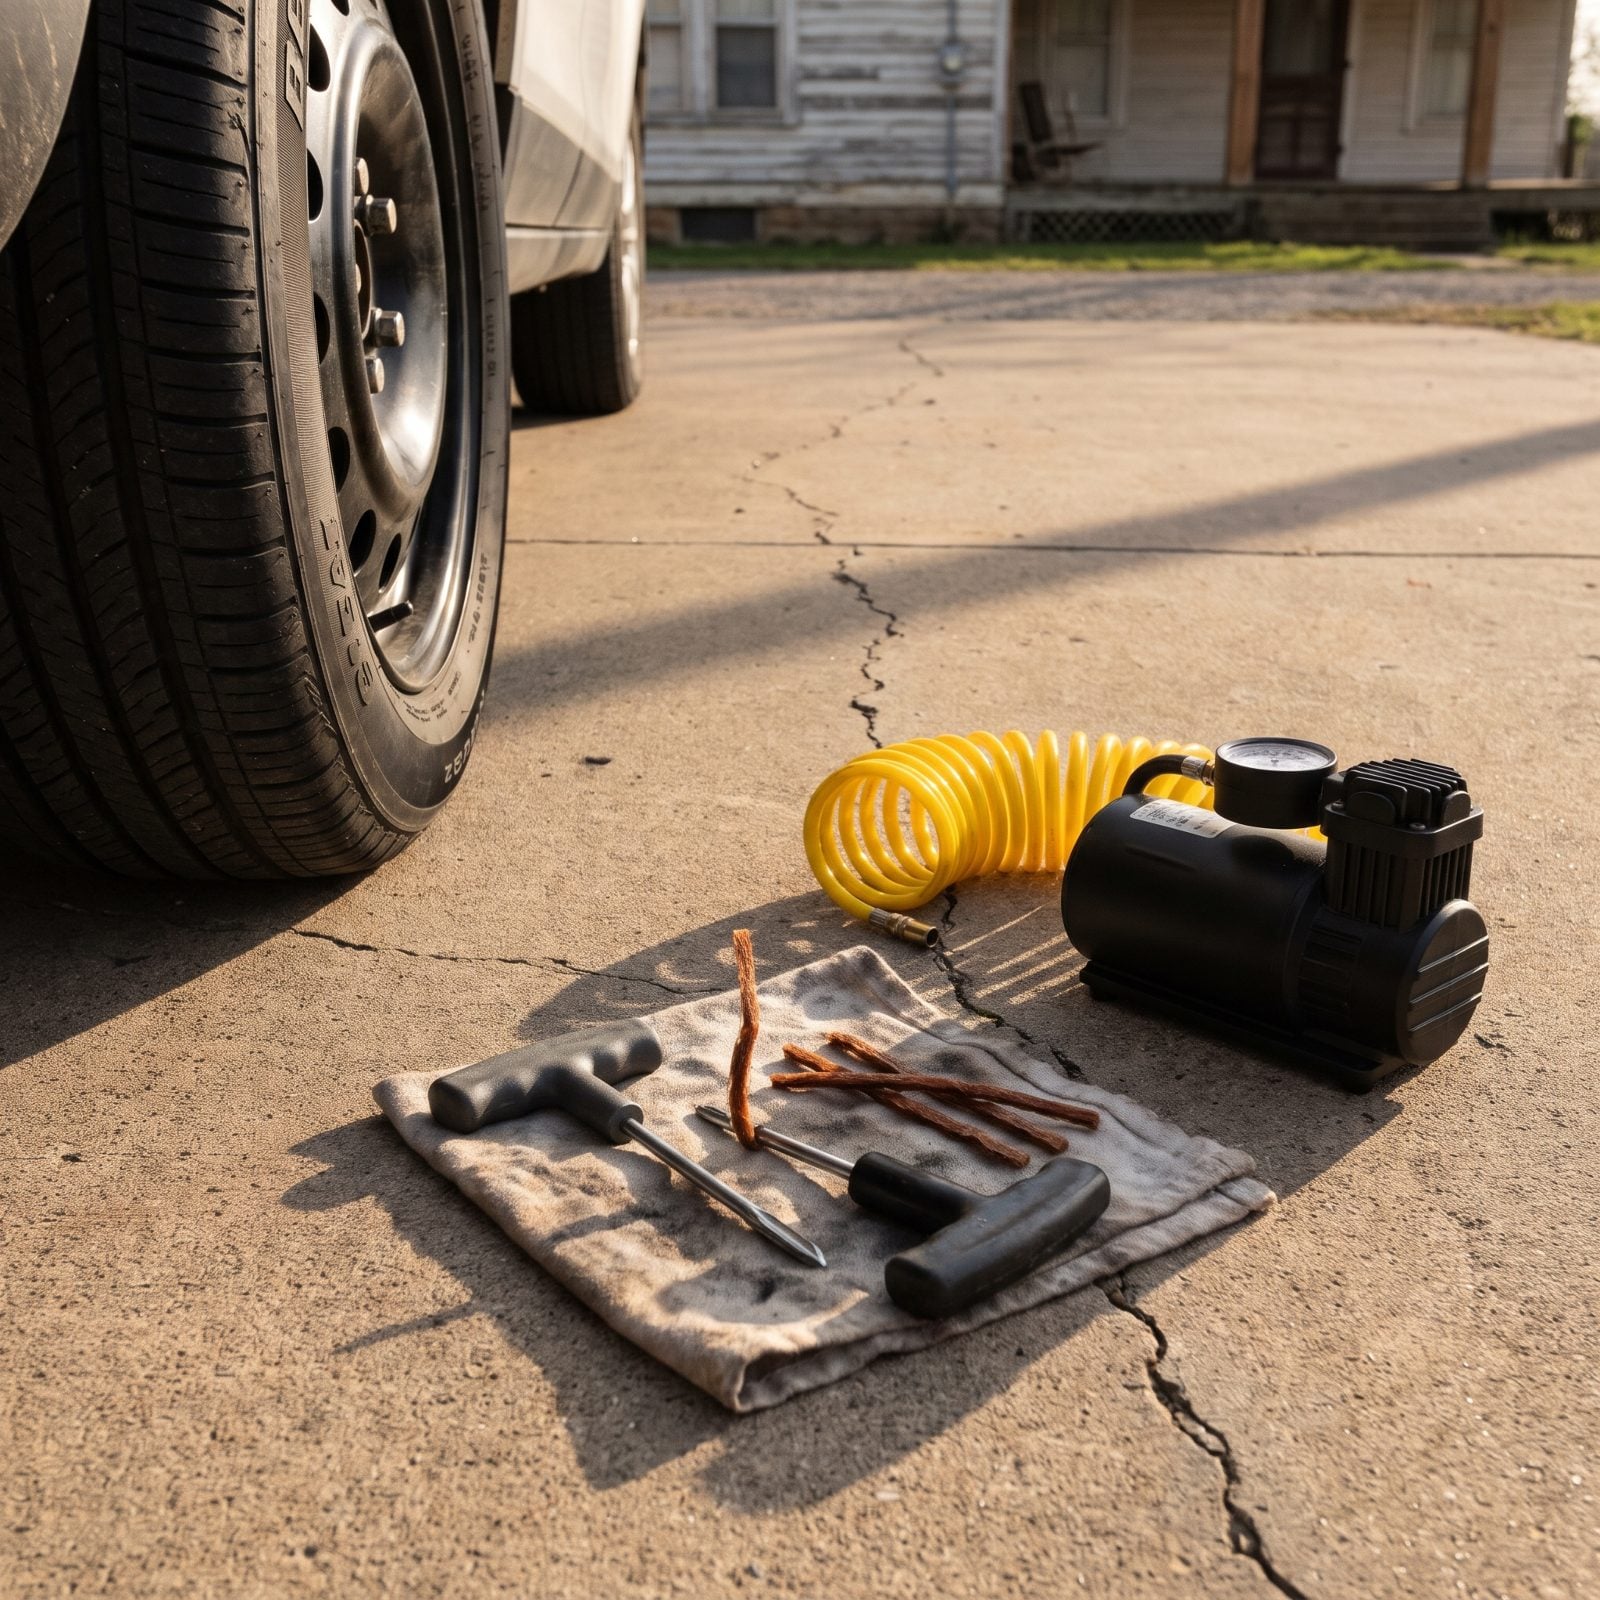
A nail in the tread used to mean a tow. Now it means fifteen minutes in a parking lot.
A string plug kit and a cheap twelve-volt compressor live in the trunk of anybody who’s dealt with a flat on a dark on-ramp. Ream the hole, push a sticky plug through, trim it, air the tire back up, and drive to a shop at your own pace instead of the tow truck’s.
This is for tread punctures only. A sidewall tear or a chewed-up tire gets replaced, no debate. But a clean nail hole in the middle of the tread? Roadside fix, not an emergency.
7. Check the Spare Tire’s Pressure Before a Trip
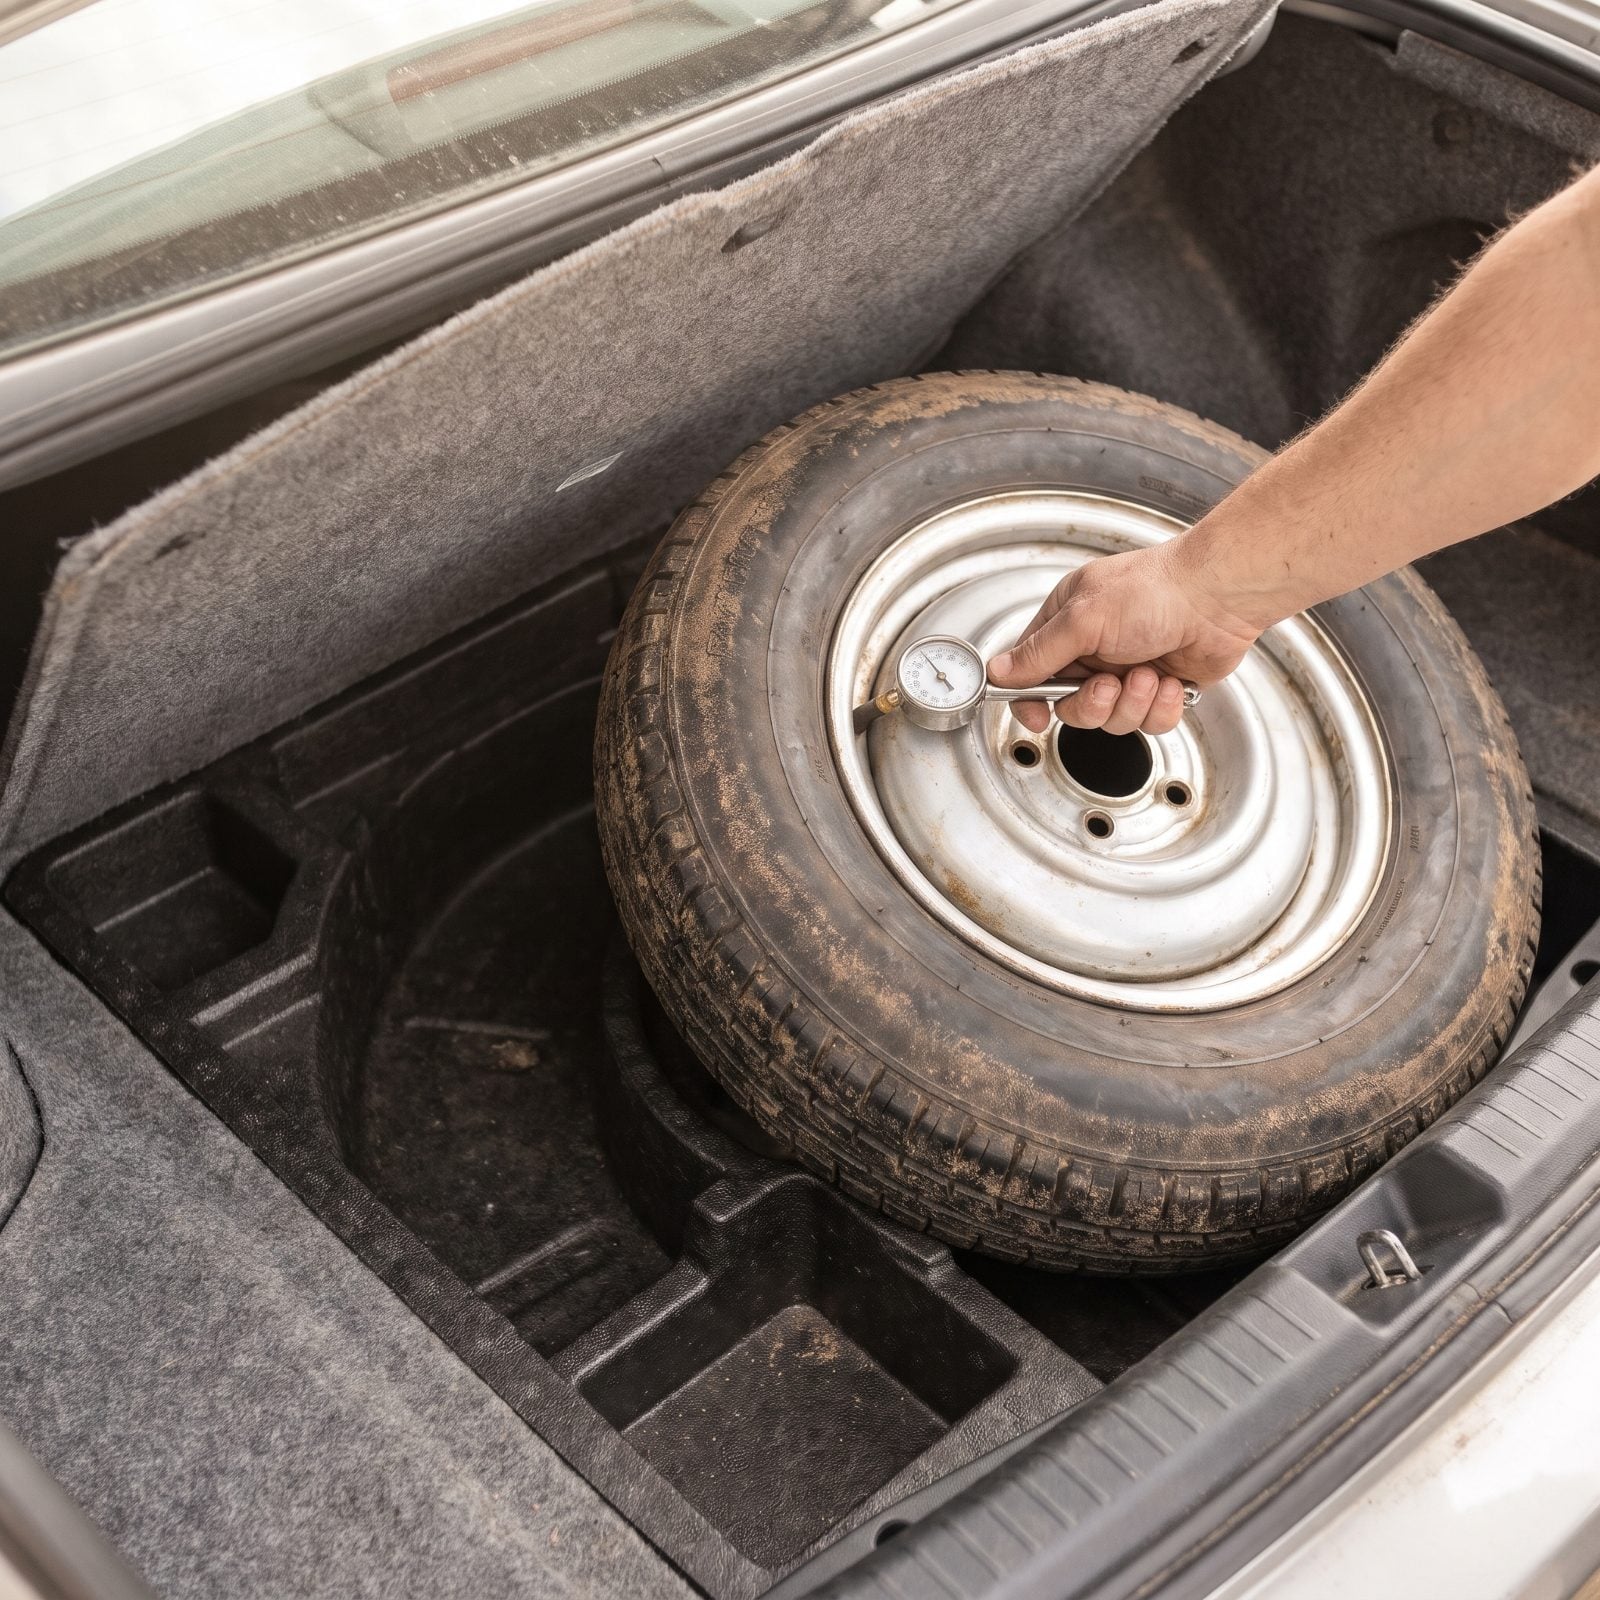
Here’s the cruel joke nobody tells you: the spare that’s supposed to save your bad day has been quietly losing air for years in the dark.
A flat spare is no spare. Get stranded once and you never make that mistake again. Before a long trip, pull the trunk floor, put a gauge on the full-size spare, and bring it up to spec — the same pressure listed on the door-jamb sticker, which people forget to check every single time.
Takes two minutes. Beats discovering the problem on the shoulder with a real flat already on the ground.
6. Search Body Panels for Overspray
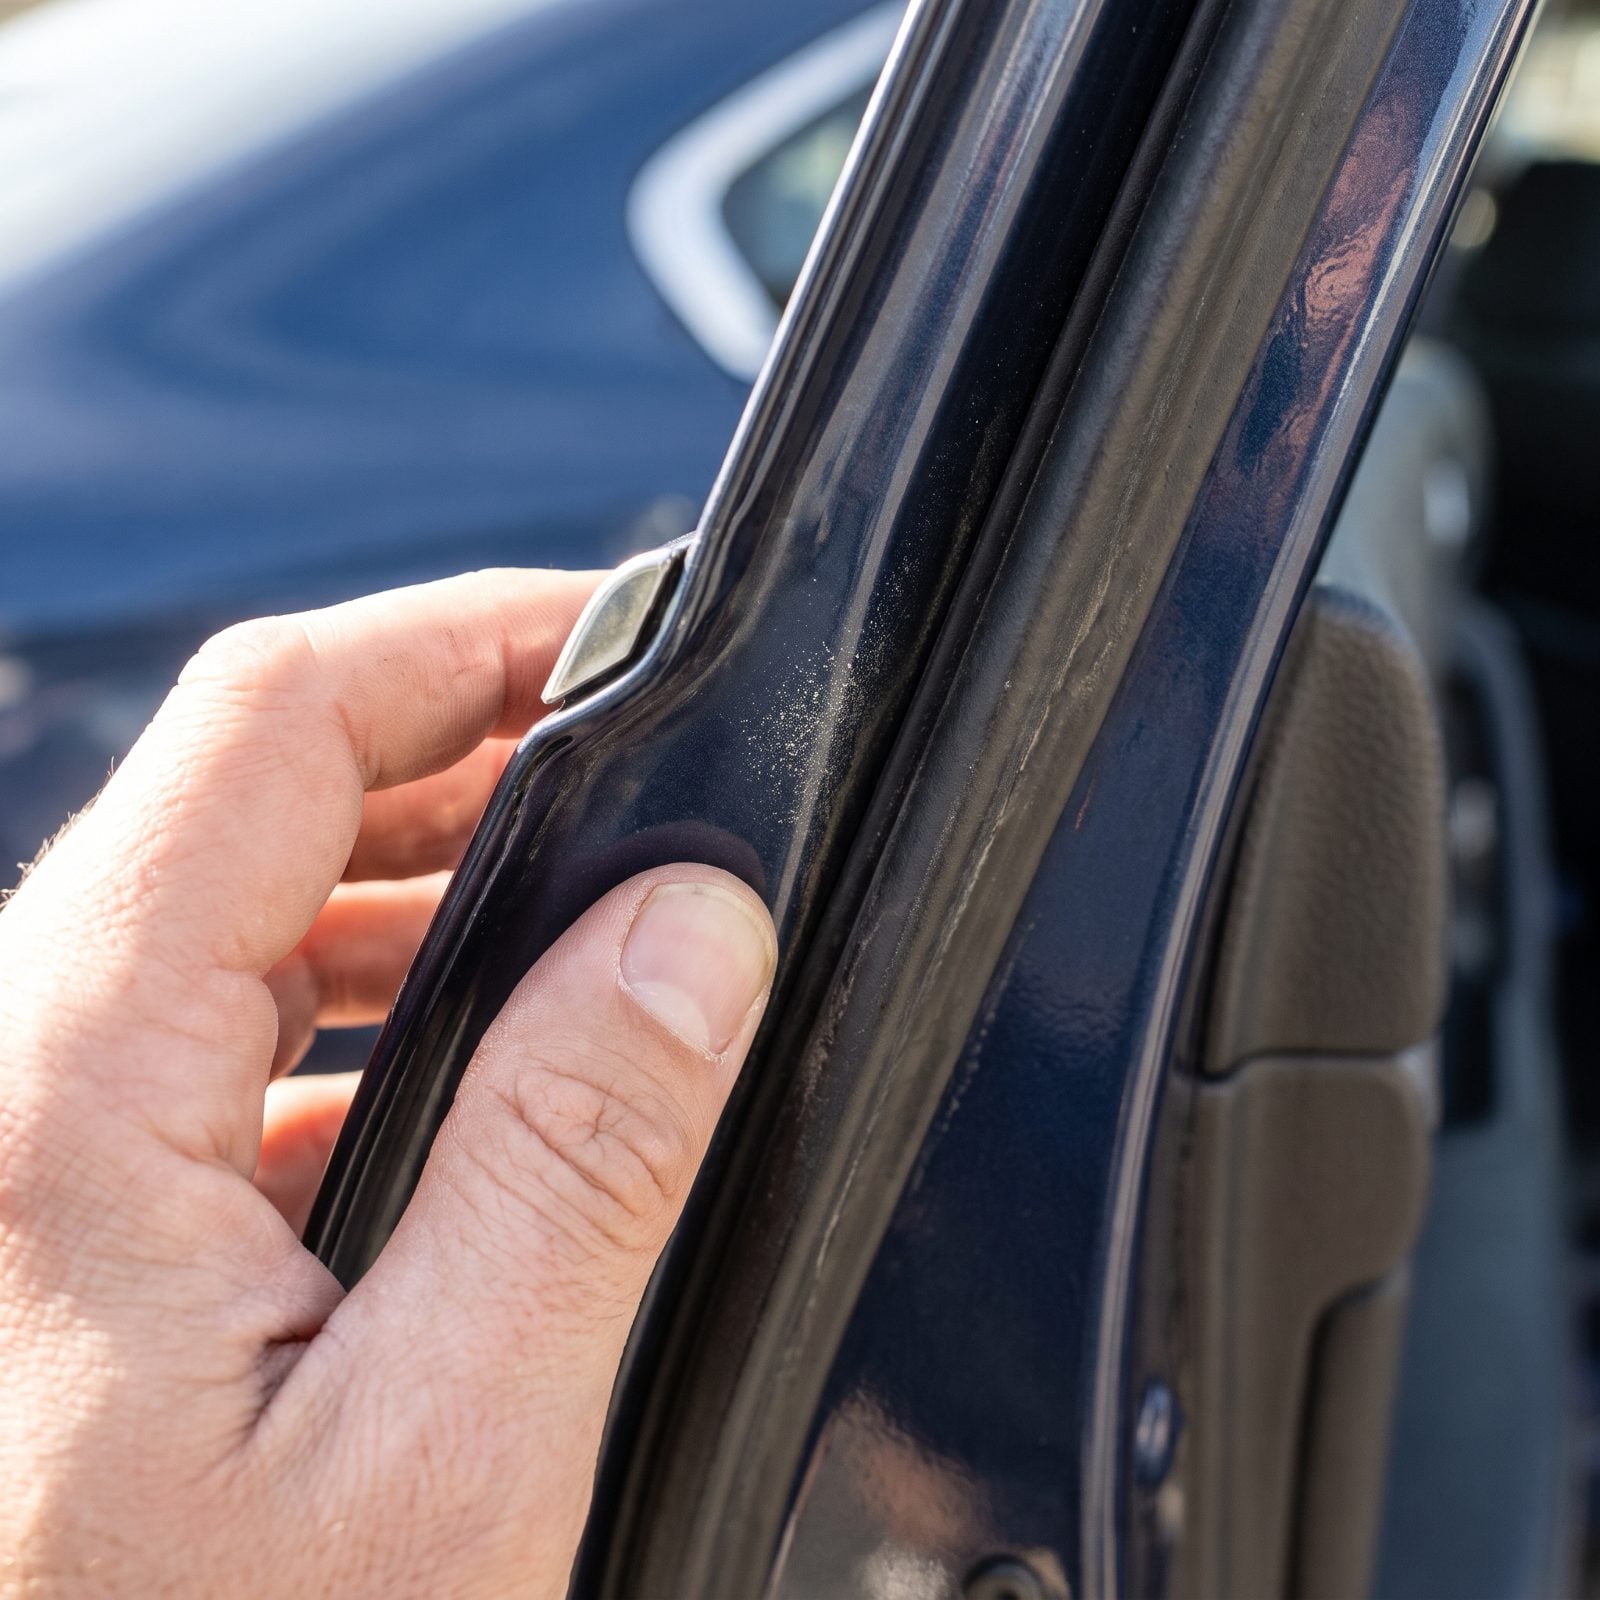
Clean paint lies on the big flat panels. The truth hides in the corners.
Run your eyes along the door jambs, the rubber weatherstripping, the inside edges of the trunk and hood, the plastic trim. Factory paint stops at clean lines. Bodywork leaves a fine dusting of overspray on rubber seals, a speckle on the glass edge, a slightly gritty texture where there should be smooth gloss.
Finding it doesn’t mean walk away. Plenty of good cars have had a fender resprayed after a parking-lot ding. It just means you now know something the seller hoped you wouldn’t, and that’s worth a conversation about price.
5. Kneel Down to Inspect the Frame for Rust
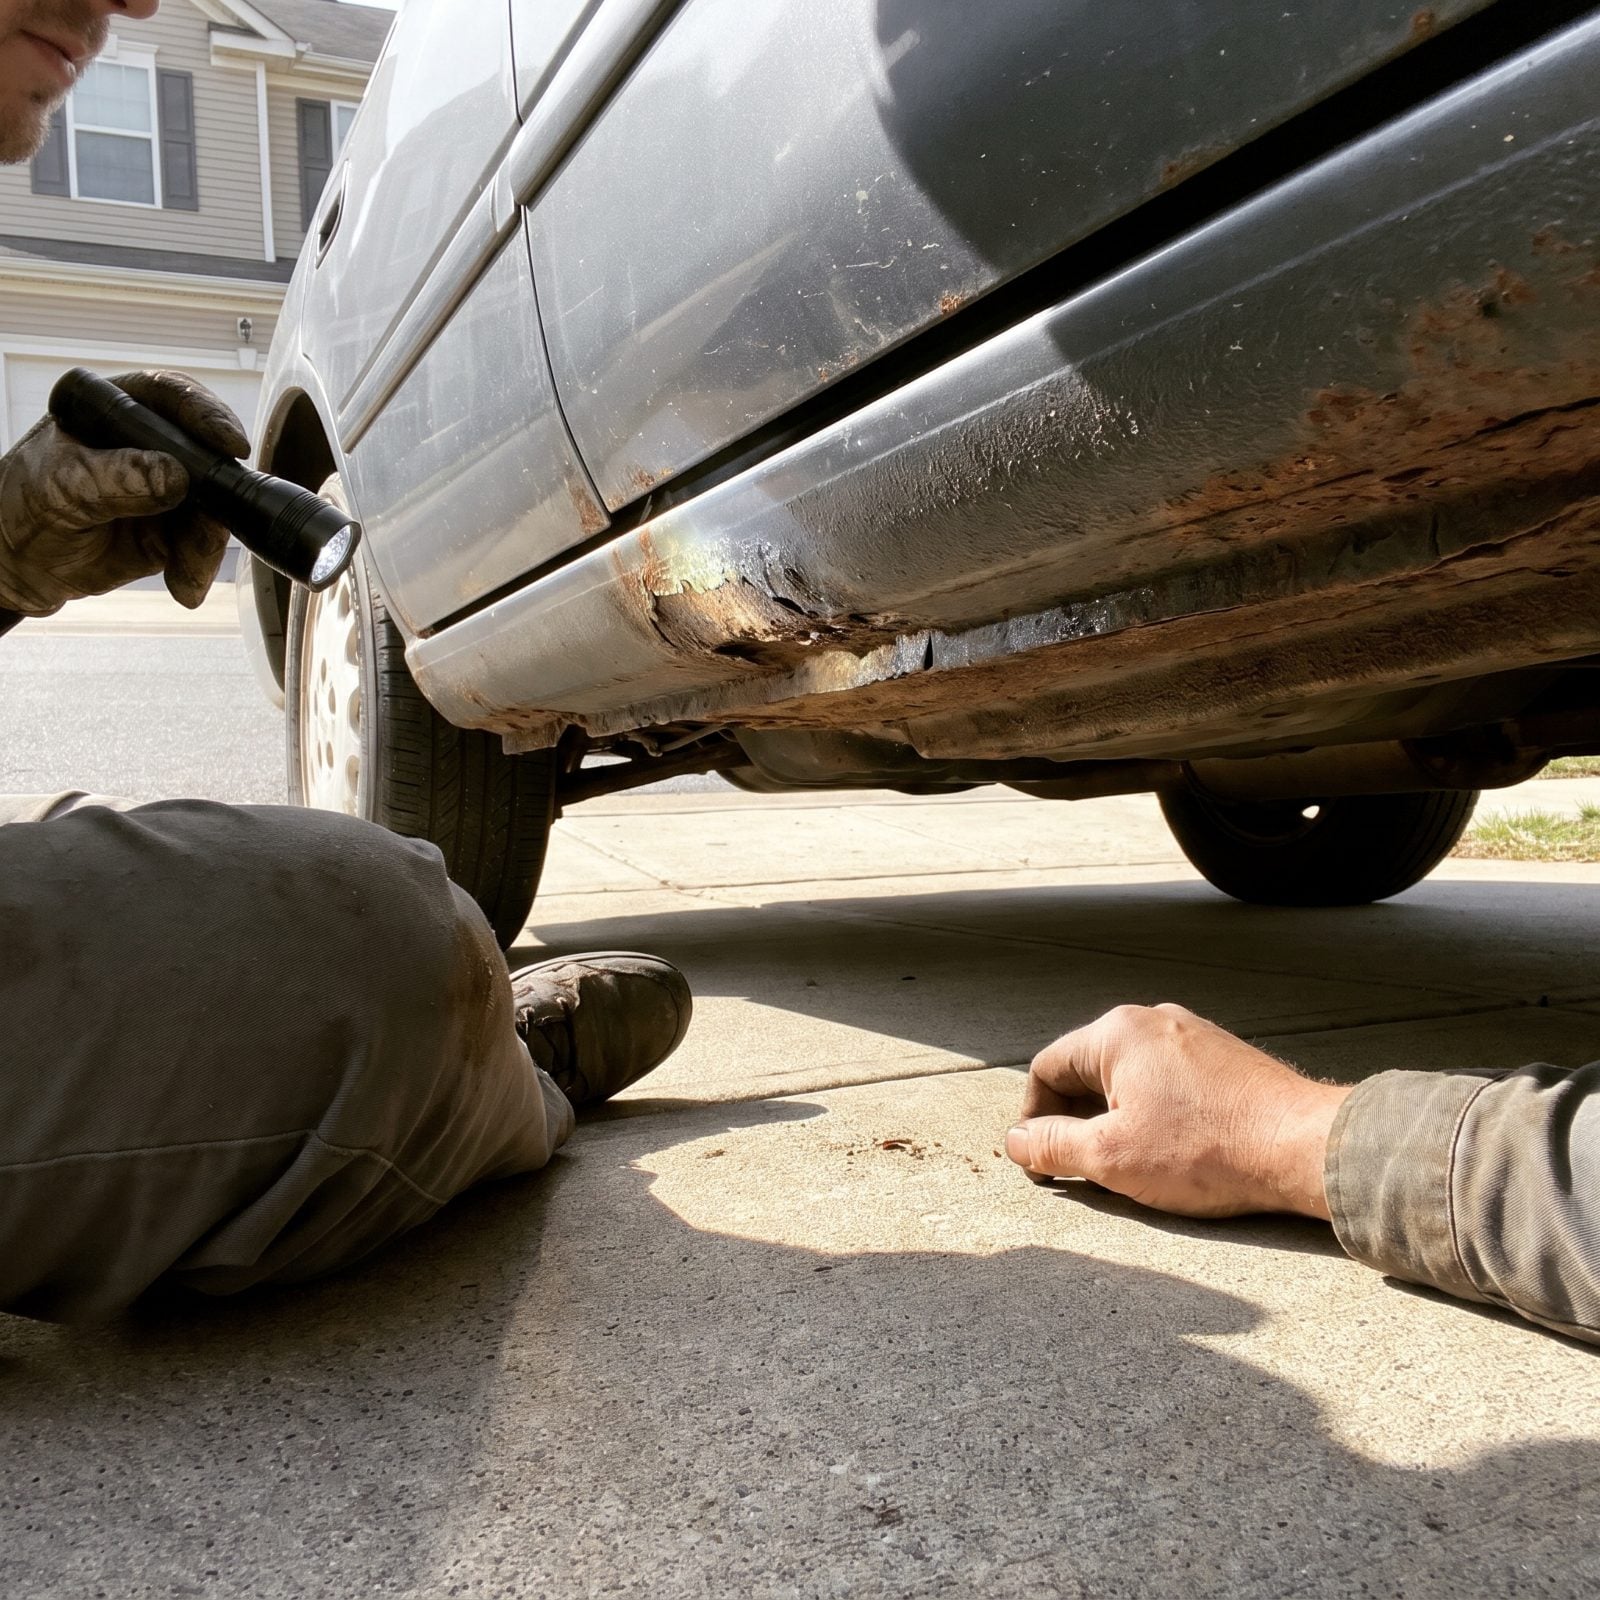
The paint can be spotless and the car still structurally shot. Rust works from the bottom up, where nobody polishes.
Anybody who grew up in a salt-belt winter learned to get down on the ground with a flashlight, checking the frame rails, the rocker panels, the suspension mounting points and brake lines. Surface rust is cosmetic and normal. Flaky, scaly, pokes-through-with-a-screwdriver rust on a structural rail is a dealbreaker on most cars, because the repair costs more than the car.
4. Compare Pedal Wear With the Claimed Mileage
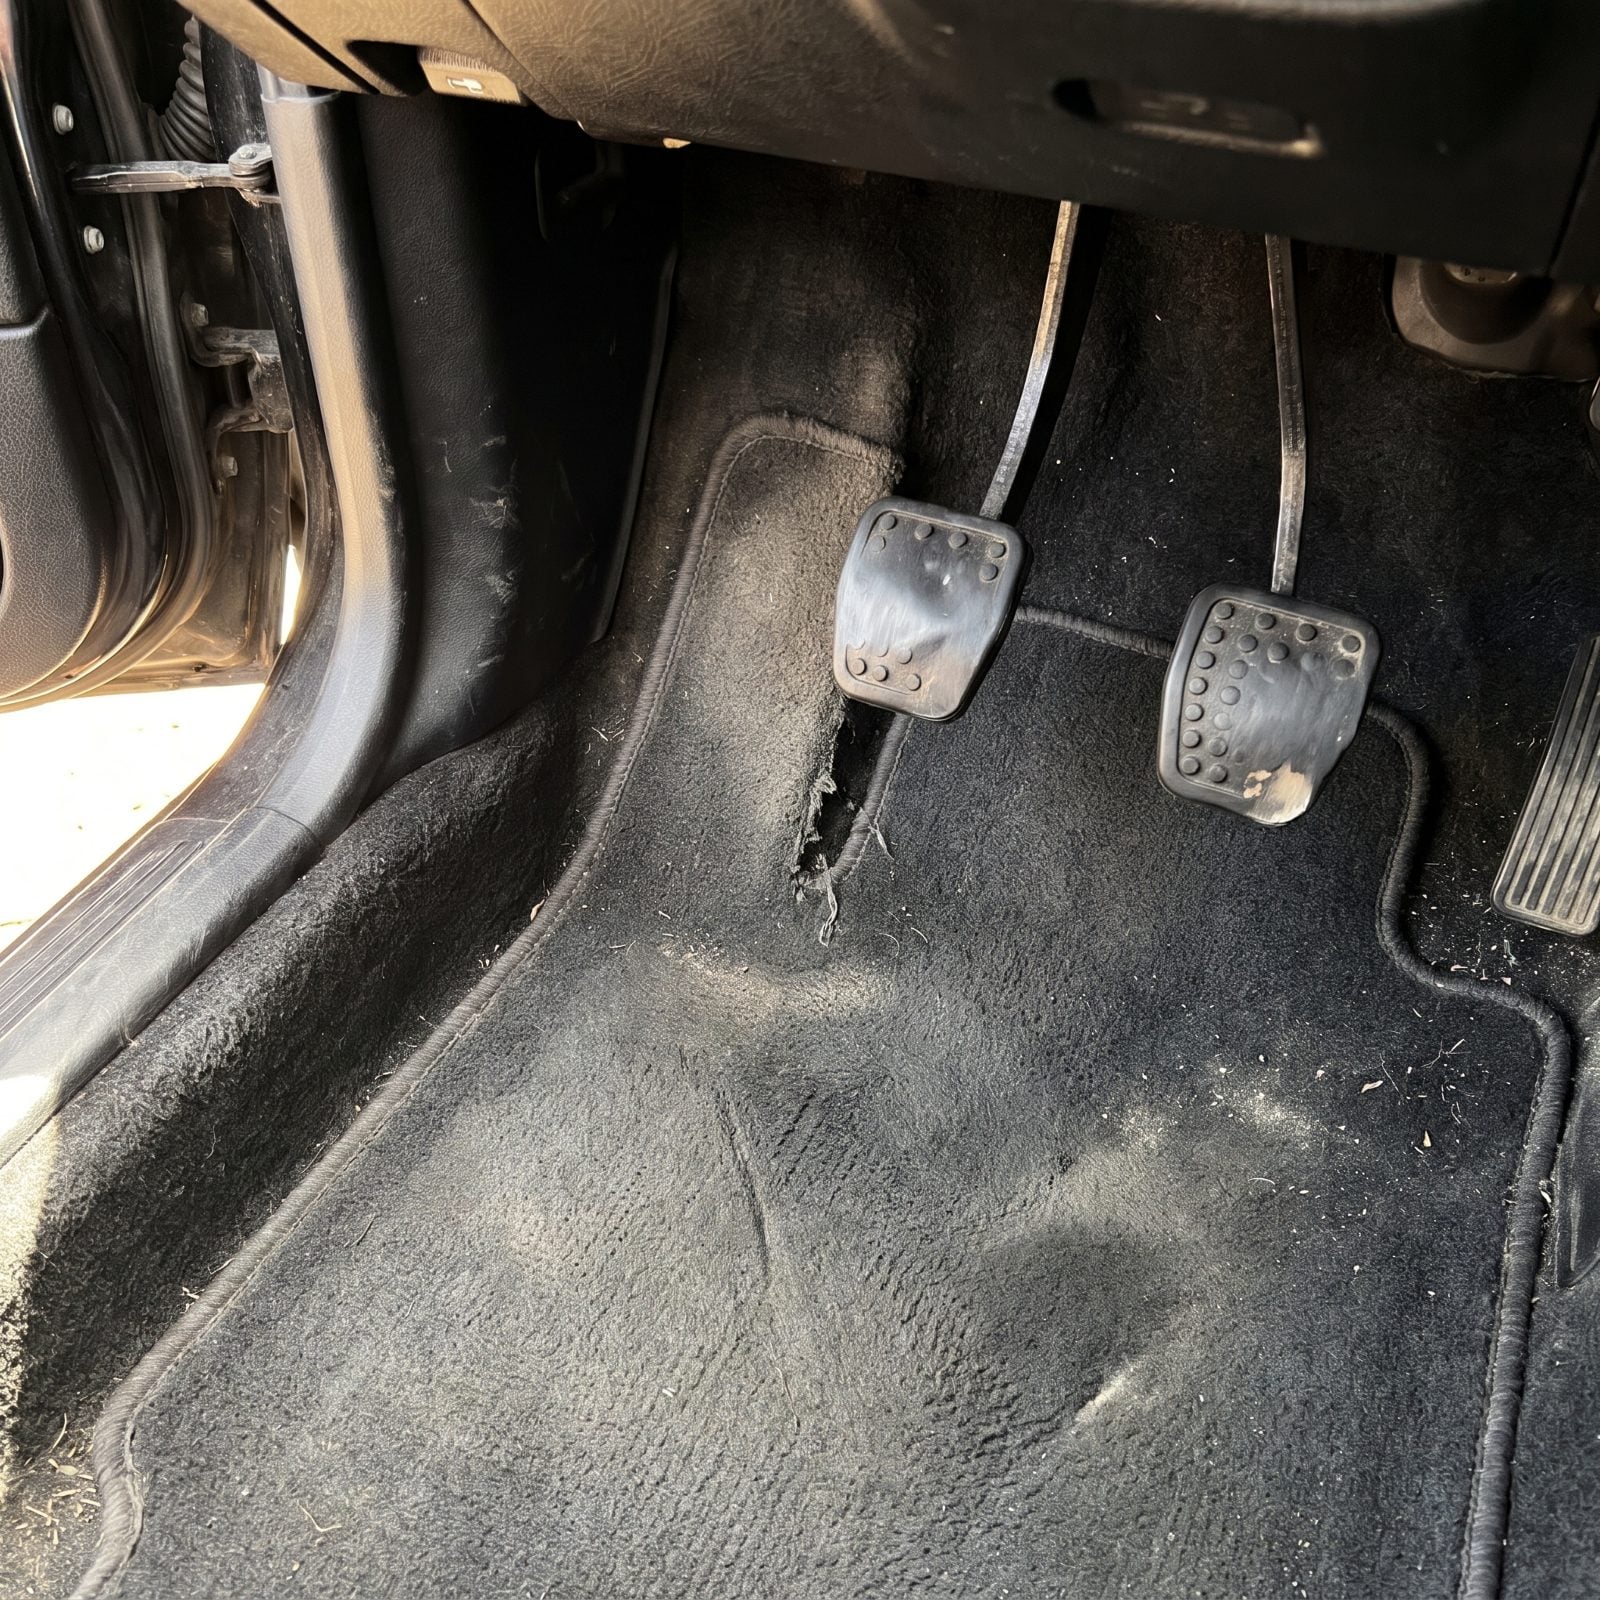
Odometers roll back. Pedals don’t.
A brake pedal and gas pedal wear with the miles, not with the number on the dash. See a car advertised at low mileage with pedal pads worn smooth to shiny metal, a slick steering wheel and a sagging driver’s seat bolster, and the story doesn’t add up.
The reverse matters too. Honest high miles on a freeway car can leave pedals that look barely touched, because highway miles are gentle. Read the whole cabin as one picture: pedals, wheel, seat, carpet, shifter. Wear should tell a single consistent story. When it doesn’t, somebody’s been editing the truth.
3. Ask for Service Records Before Discussing Price
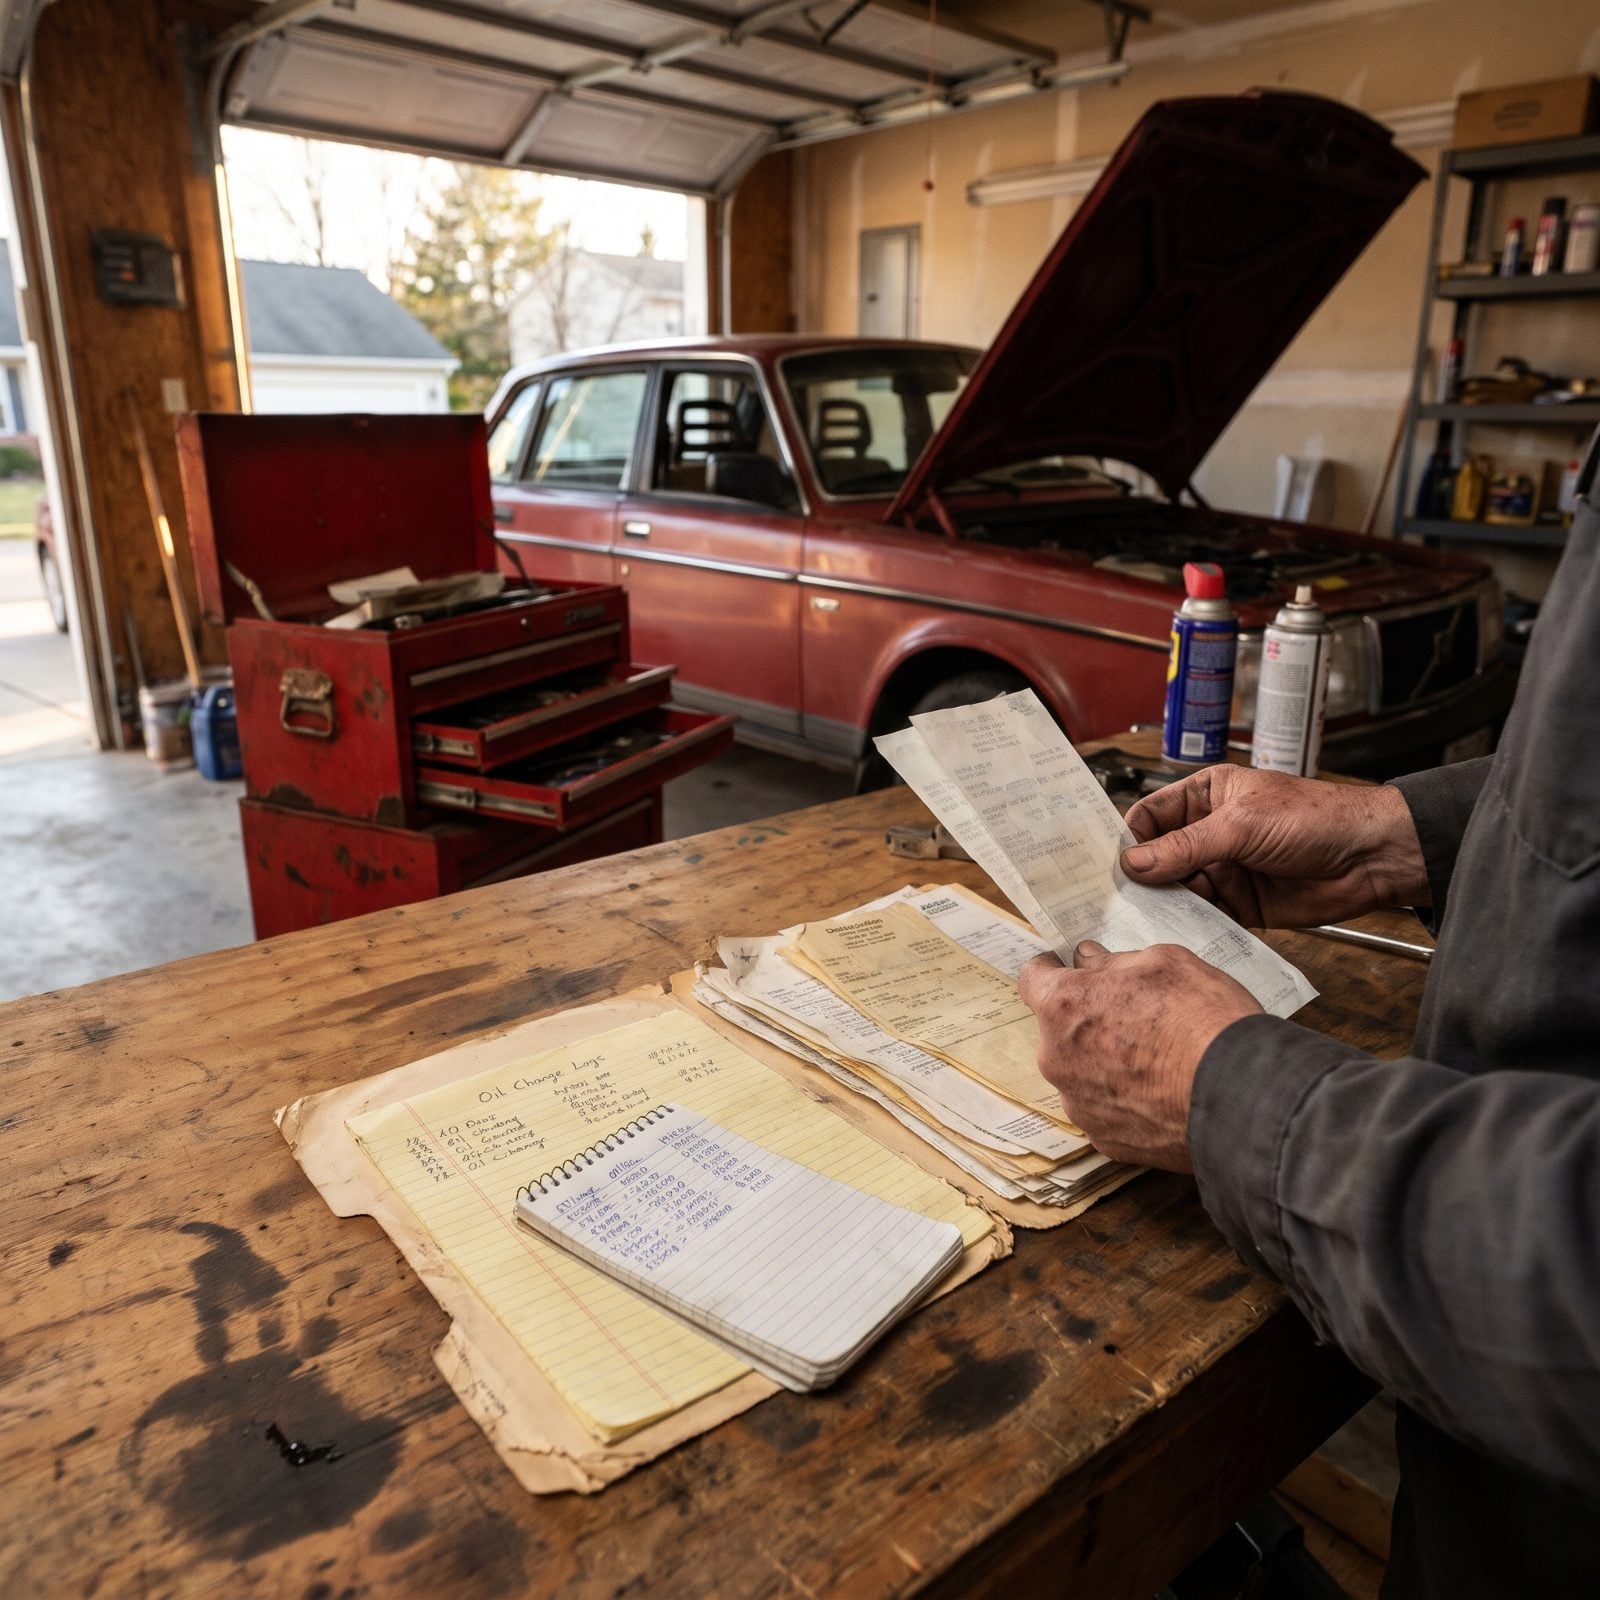
Price is the last question. Not the first.
Anybody who grew up under a car learned to read a maintenance history the way a doctor reads a chart. A thick folder of receipts, a handwritten oil change log kept alongside it — that tells you more than any walkaround ever will. And a three-year gap with no paper? That’s the story right there. Somebody drove it hard and kept quiet about it.
Ask to see the records before you ever talk money, because two things happen when you do. You learn whether the thing was loved or neglected, and the seller learns you’re not the buyer they can fast-talk.
2. Keep Factory Service Manuals Long After Selling the Car

You sold the truck six years ago. The manual’s still on the shelf.
Sounds like hoarding until the day you need it. A factory service manual holds the stuff the internet gets wrong — real torque values, the actual wiring color codes, the bolt-tightening sequence that keeps a head gasket alive. Forums are full of confident guesses. The manual doesn’t guess.
And here’s what nobody mentions: these books get rarer every year. A clean one for an older model can fetch real money, because the next owner down the line is going to need it too. We’ve kept binders for vehicles long gone, and more than once dug one out to help a neighbor finish a job at nine on a Sunday night.
The manual doesn’t guess. That’s the whole reason it’s still on the shelf.
1. Teach Younger Helpers the Proper Names for Tools
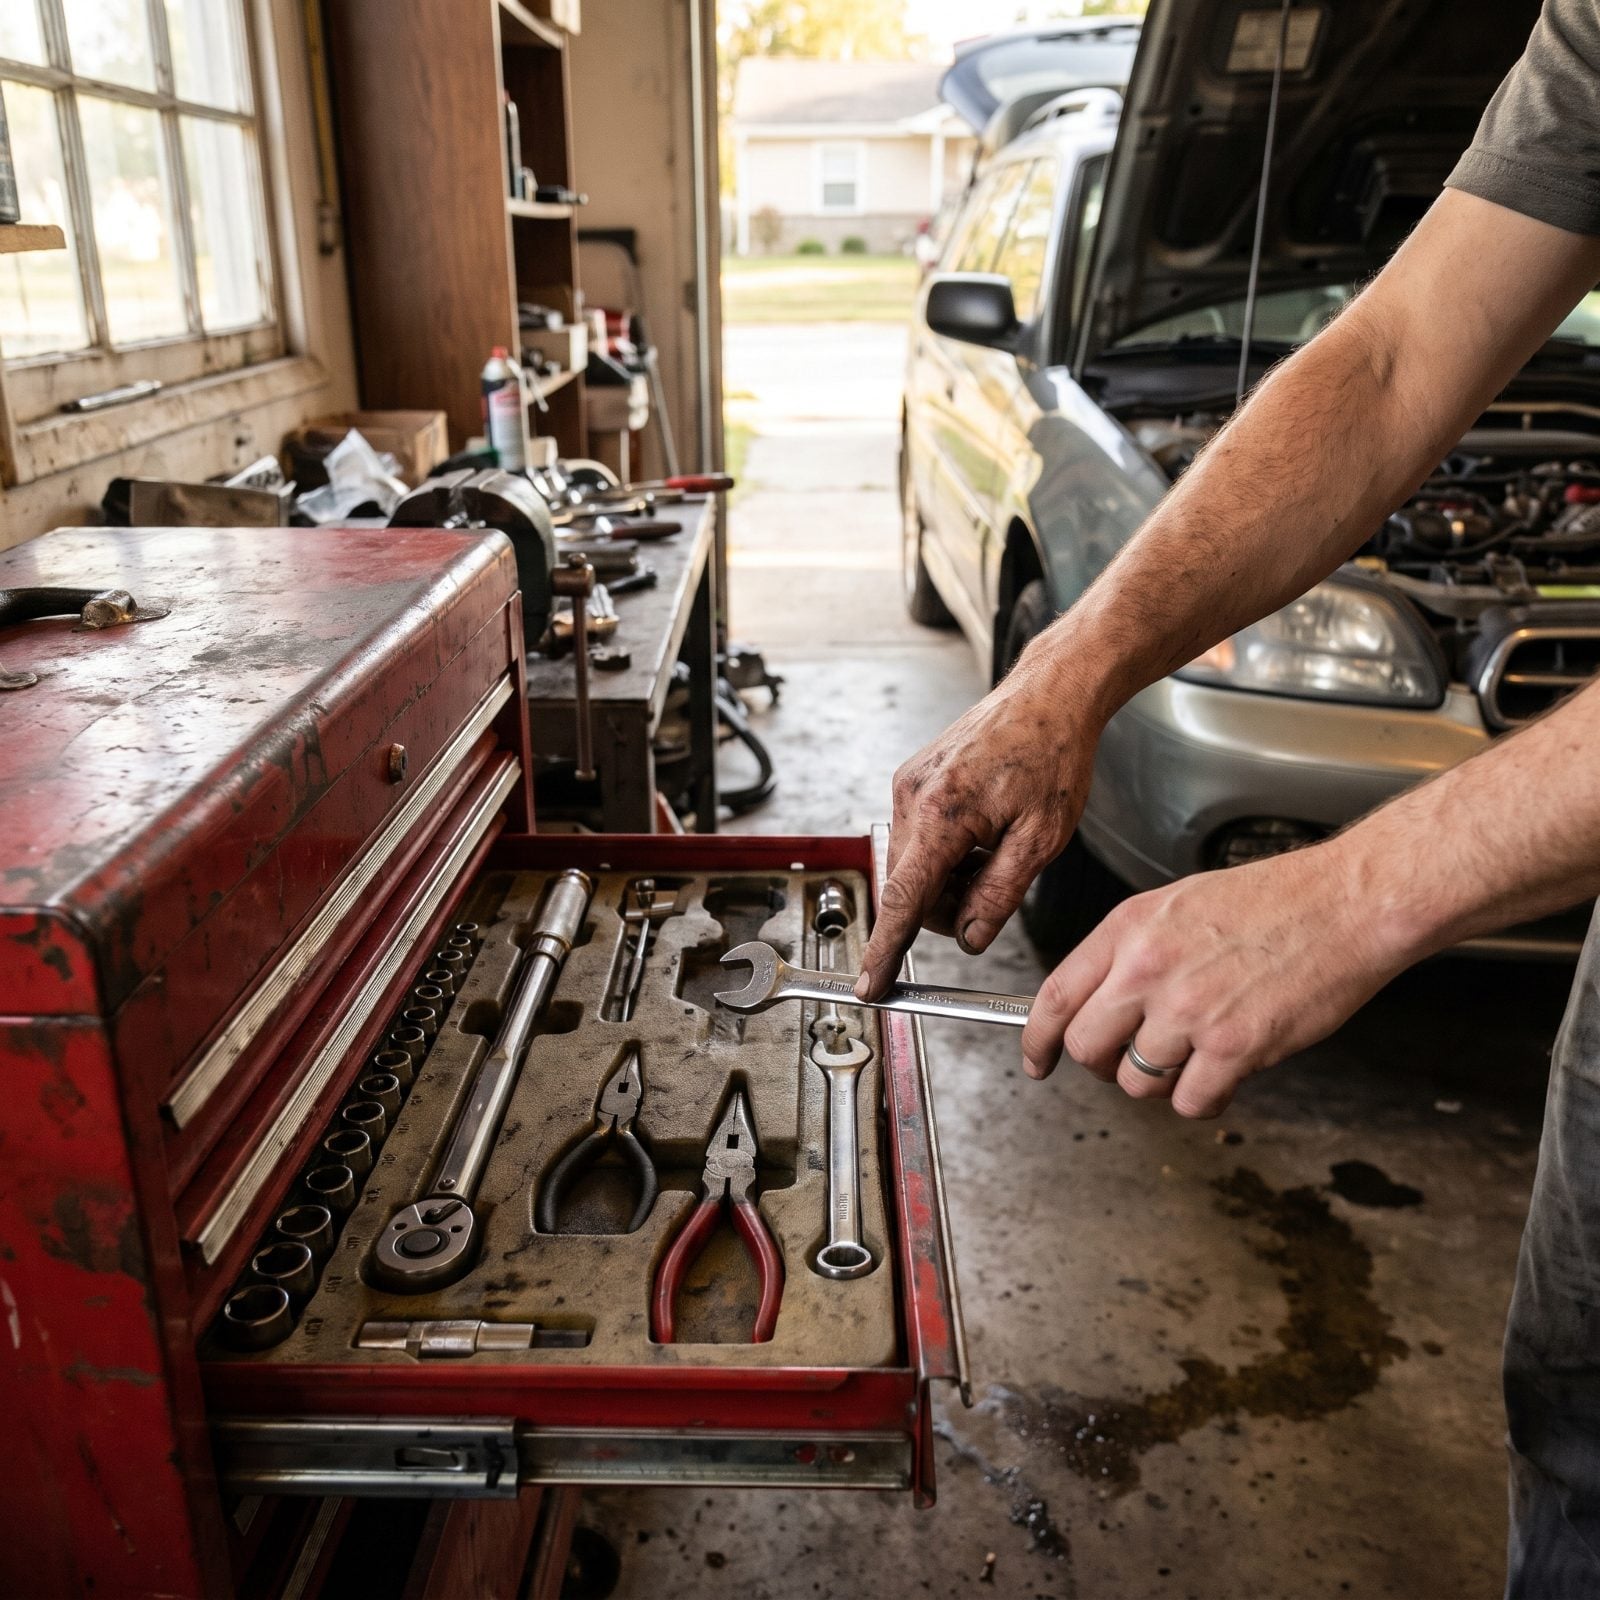
Hand me the thing. No.
A torque wrench is not a ratchet, and a crescent wrench is an adjustable — call it anything else and you get the wrong tool from the drawer at the worst moment. People who learned this trade young learned the names because a job under a car moves fast, and “the 10 mil, the deep socket, the breaker bar” has to mean exactly one thing to both sets of hands.
So you teach the kid the real names. Flare nut wrench. Feeler gauge. Snap ring pliers. Fussy for about a week, sure. Then one day they ask for a pry bar instead of jabbing a finger at it, and you realize they’re actually going to be able to do this without you standing there.