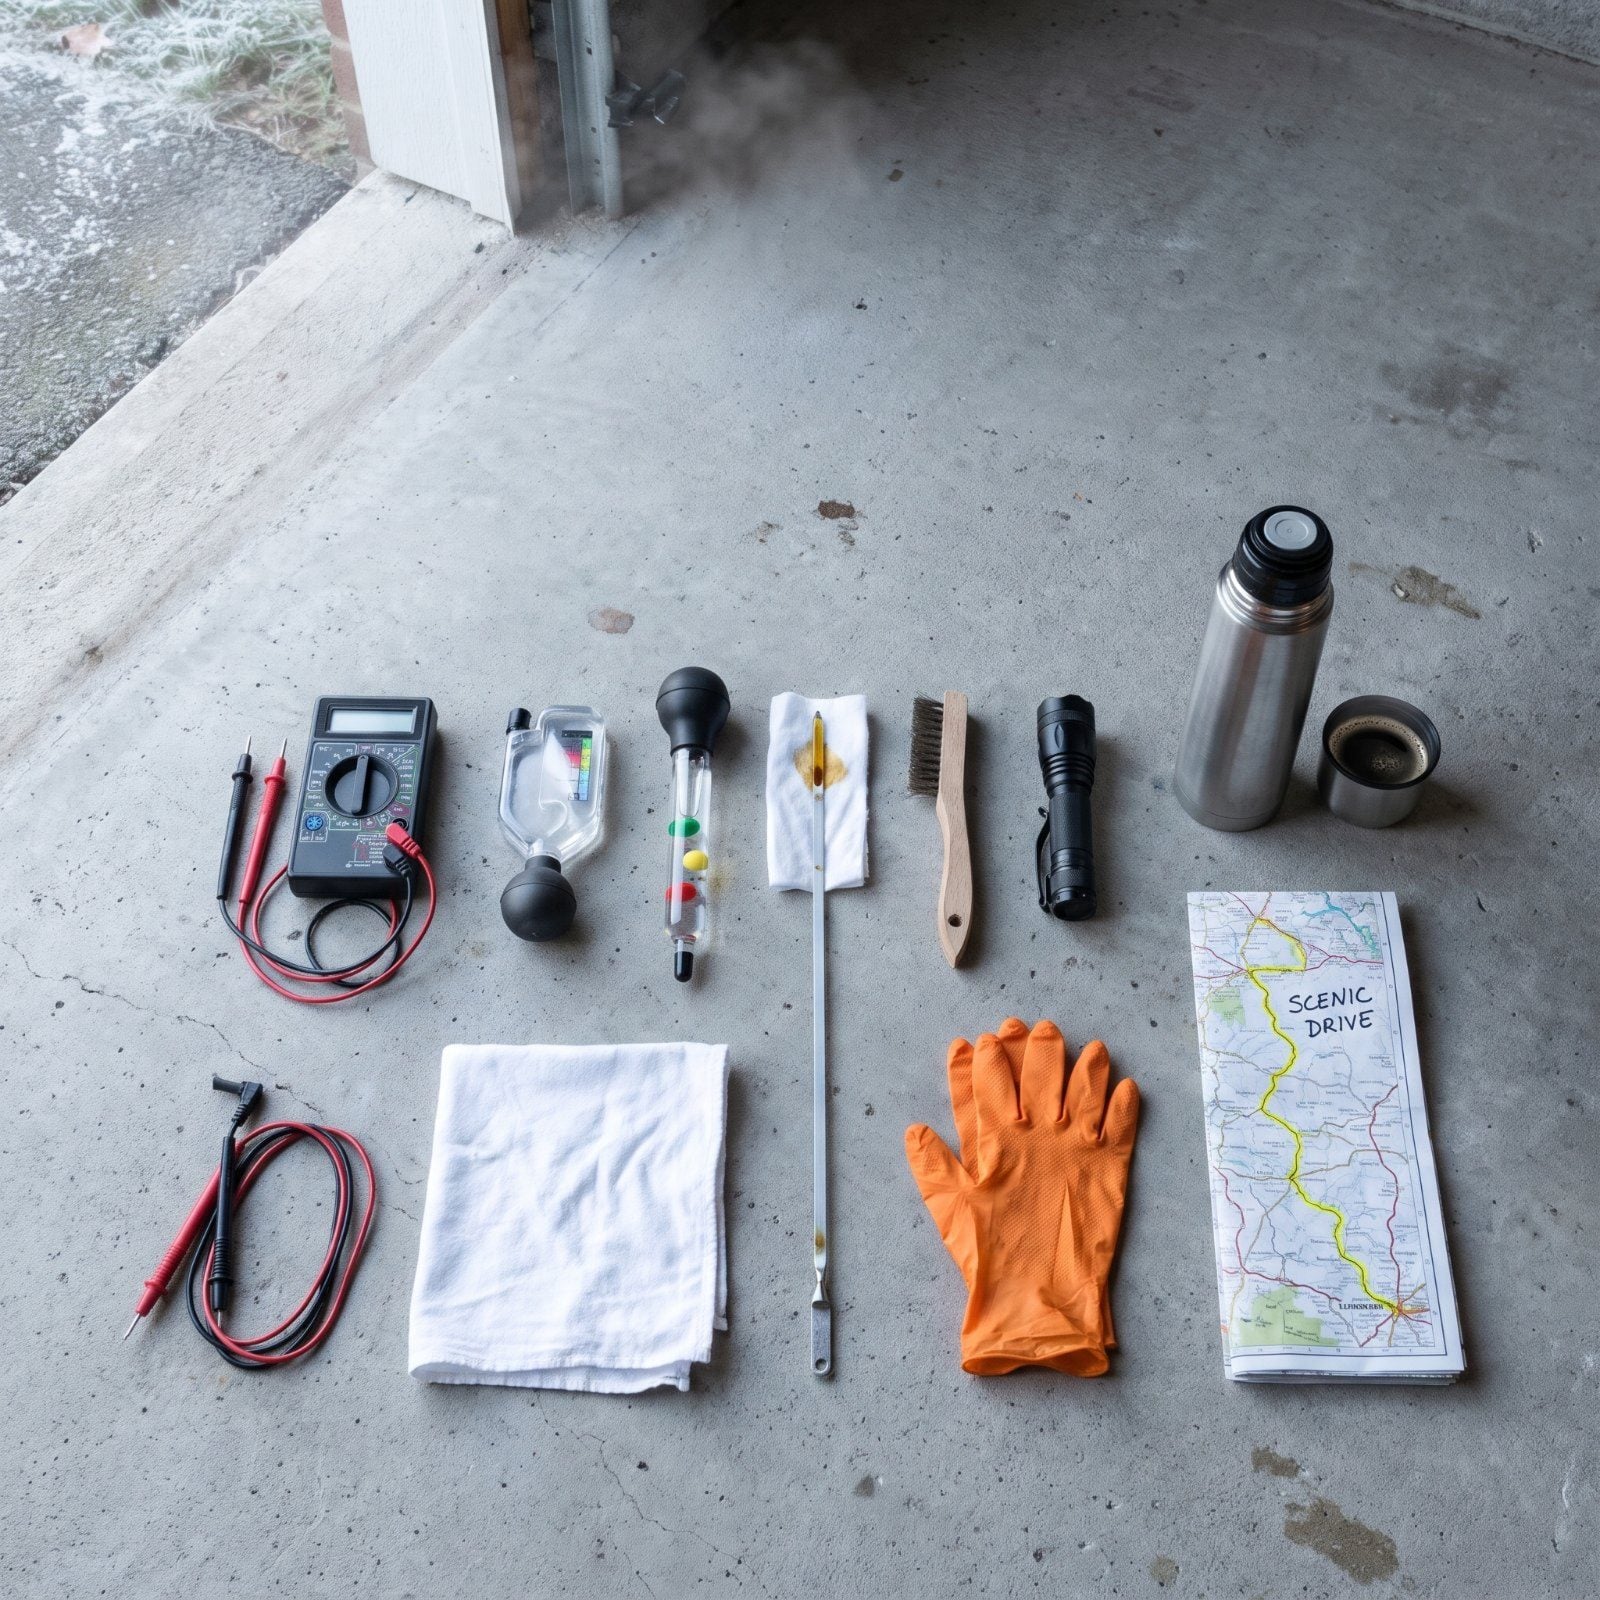
Nobody plans to spend Christmas Eve on a frozen shoulder, watching their breath while the tow truck crawls through traffic forty minutes out. But that’s how it goes when the battery that was “fine last spring” meets a 15-degree morning with the whole family loaded and the heater cranked. A long cold drive punishes whatever you skipped. These checks take an afternoon in the driveway and cost almost nothing next to one roadside rescue. Work through them before you pack a single bag.
Please note that some of the images in this article were created with the assistance of AI.
47. Test Battery Voltage and Cranking Strength
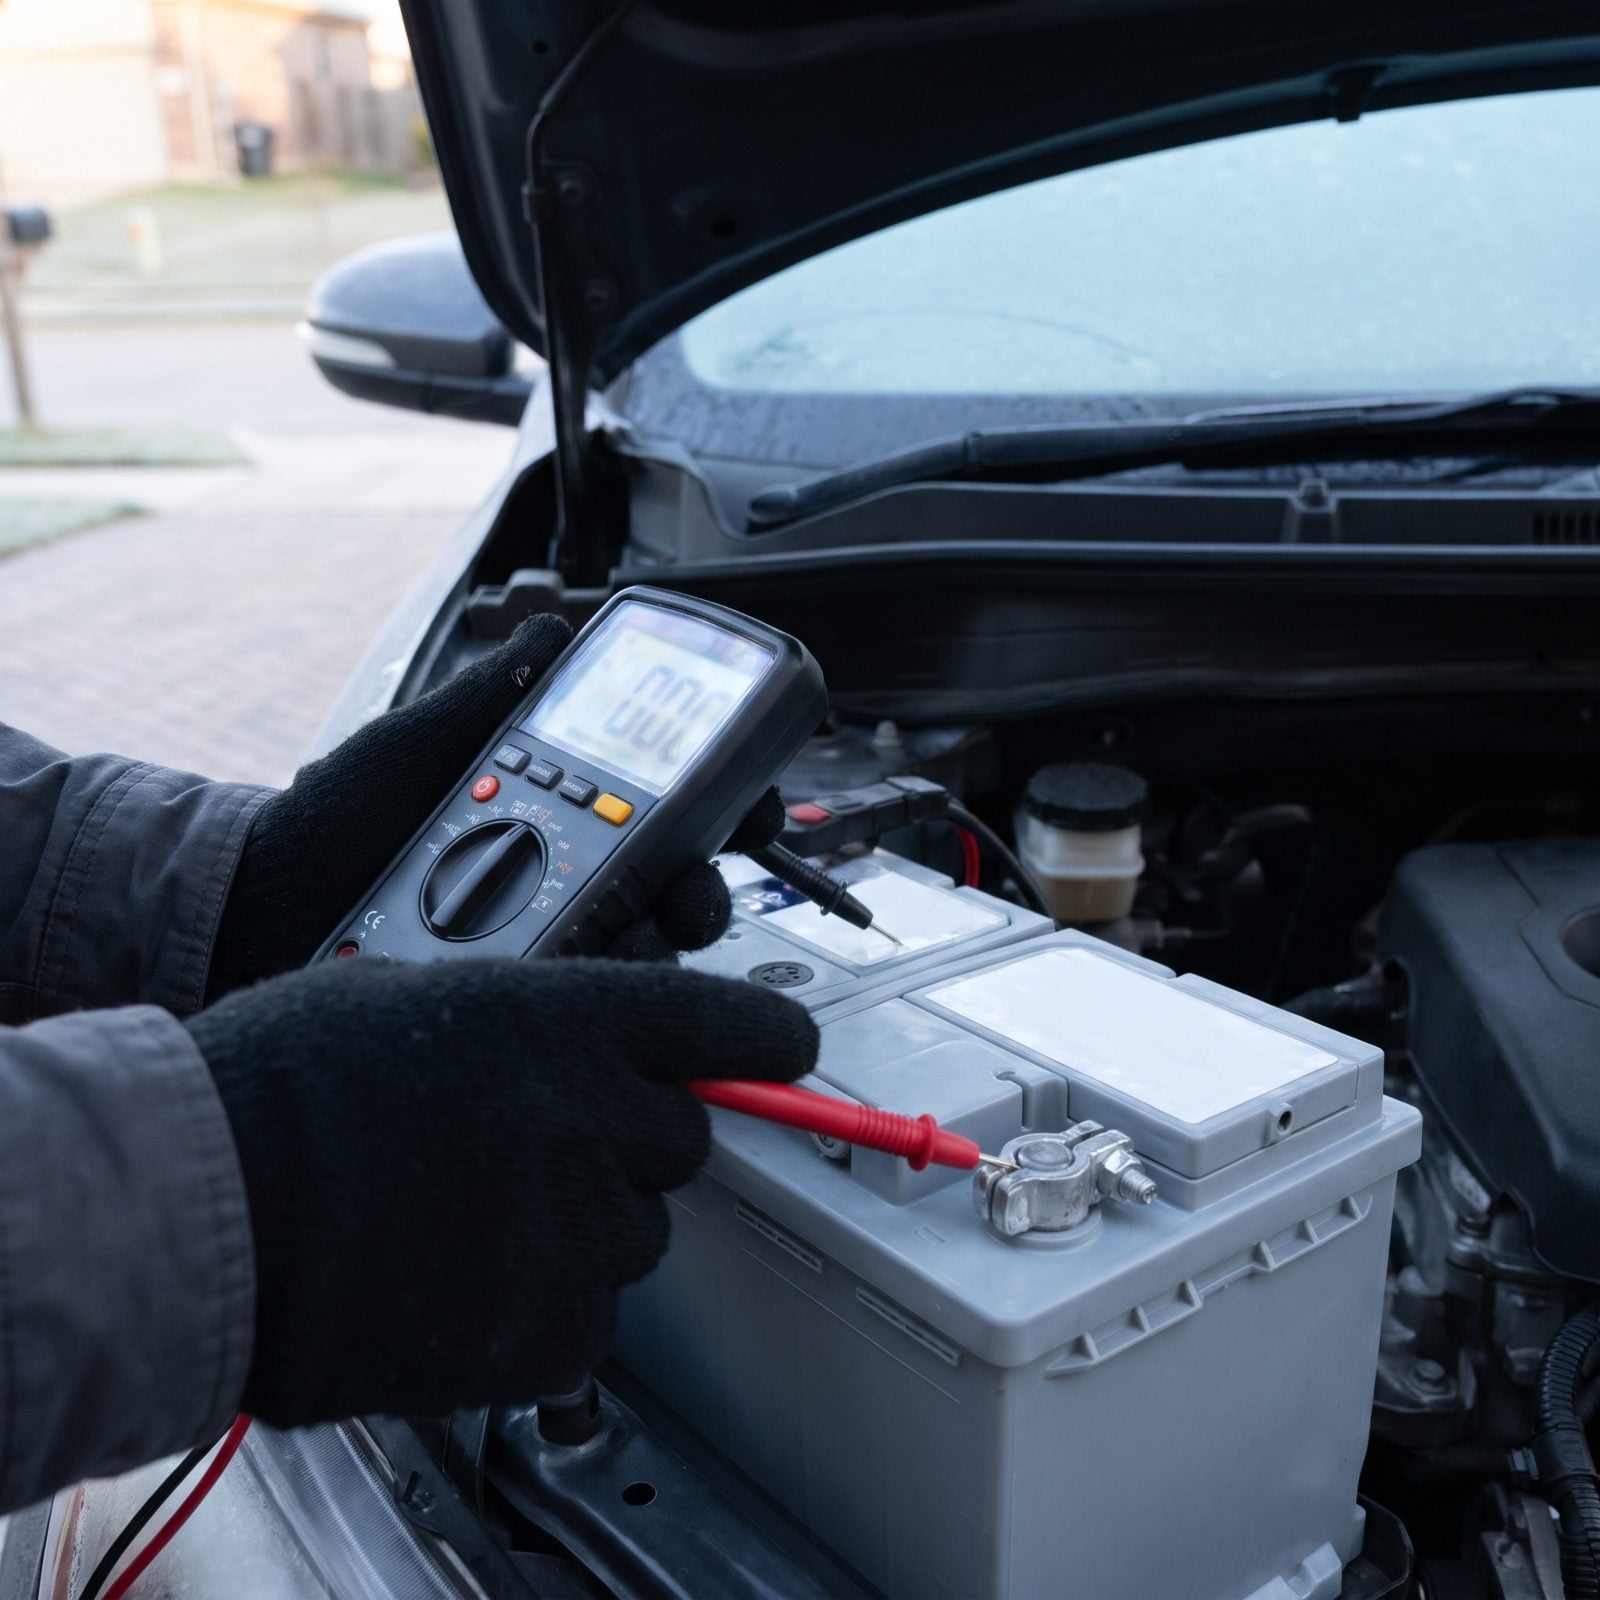
A battery that turns the key on a mild morning can fail flat at 15 degrees, because cold thickens the oil and cuts the chemical punch a battery delivers. A reading of 12.6 volts or higher at rest means a healthy charge. Anything under 12.4 and it’s already half spent before you’ve asked it to do a thing.
Hold the multimeter probes against the top of the battery with the engine off, then have someone crank it. A healthy battery holds above 9.6 volts during the crank. Dip lower and it’s living on borrowed time.
Most people check the resting voltage and stop there. The crank test is what catches a battery that reads fine but folds under load — and that’s the failure that leaves you stranded in a parking lot.
46. Inspect Battery Terminals for Corrosion and Looseness
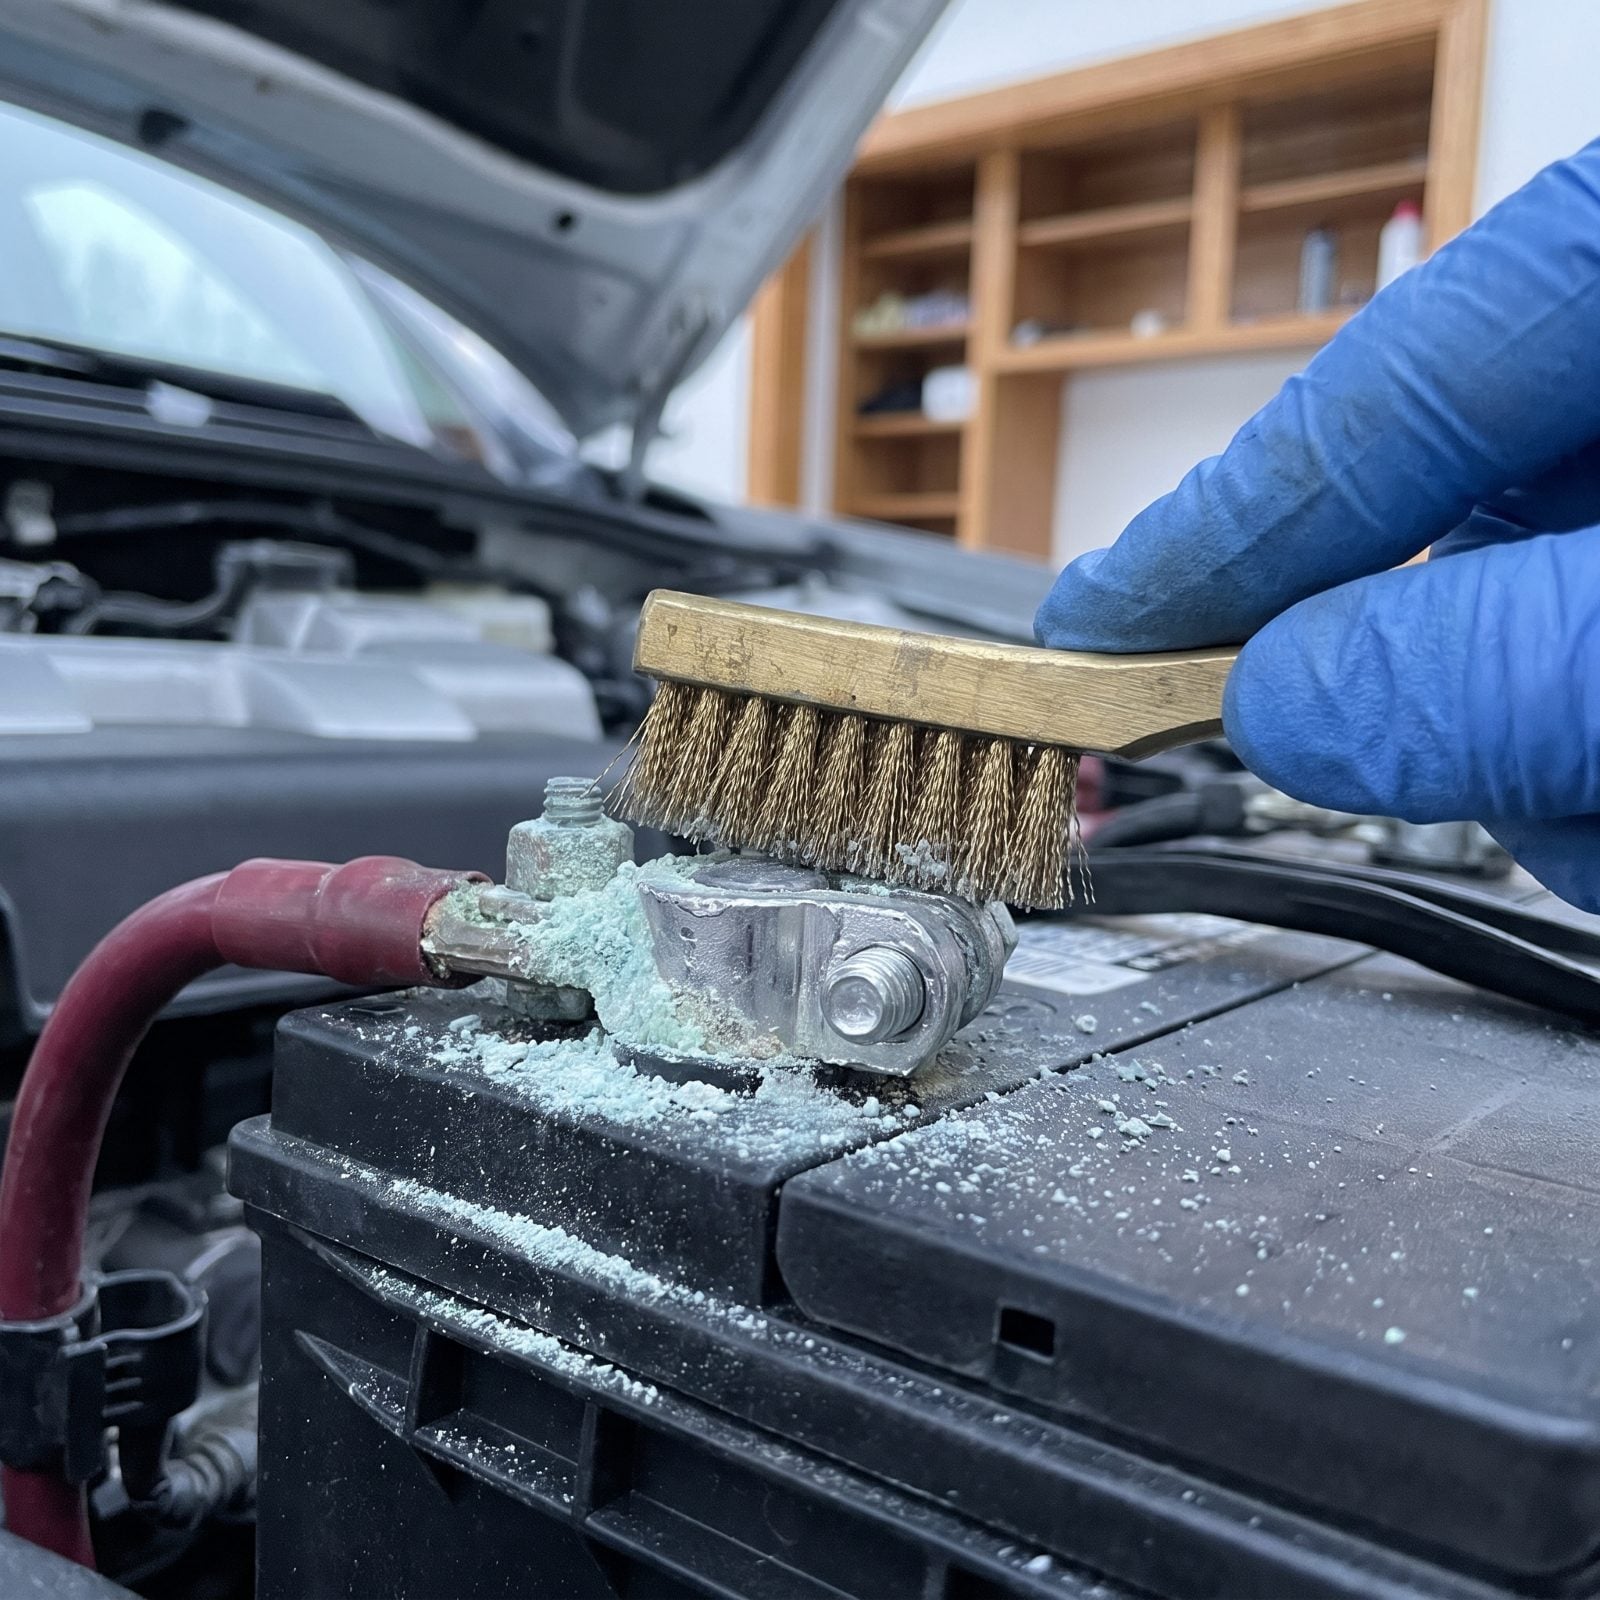
That white-blue crust around the posts isn’t just ugly. It’s resistance, and resistance means the current never fully reaches the starter. You’ll crank slower, charge poorer, and eventually earn the dreaded no-start even with a perfectly good battery.
Wiggle each clamp with your hand. A terminal should not move. If it shifts, it’s loose, and a loose connection arcs and heats and corrodes faster. Scrub posts and clamps with a wire brush until you see bright metal, then snug them down.
Here’s the part people skip: a thin smear of dielectric grease or terminal felt washers after cleaning keeps the crust from marching right back over the holidays. Clean metal exposed to winter air starts rebuilding its coating within weeks.
45. Check Alternator Charging Output
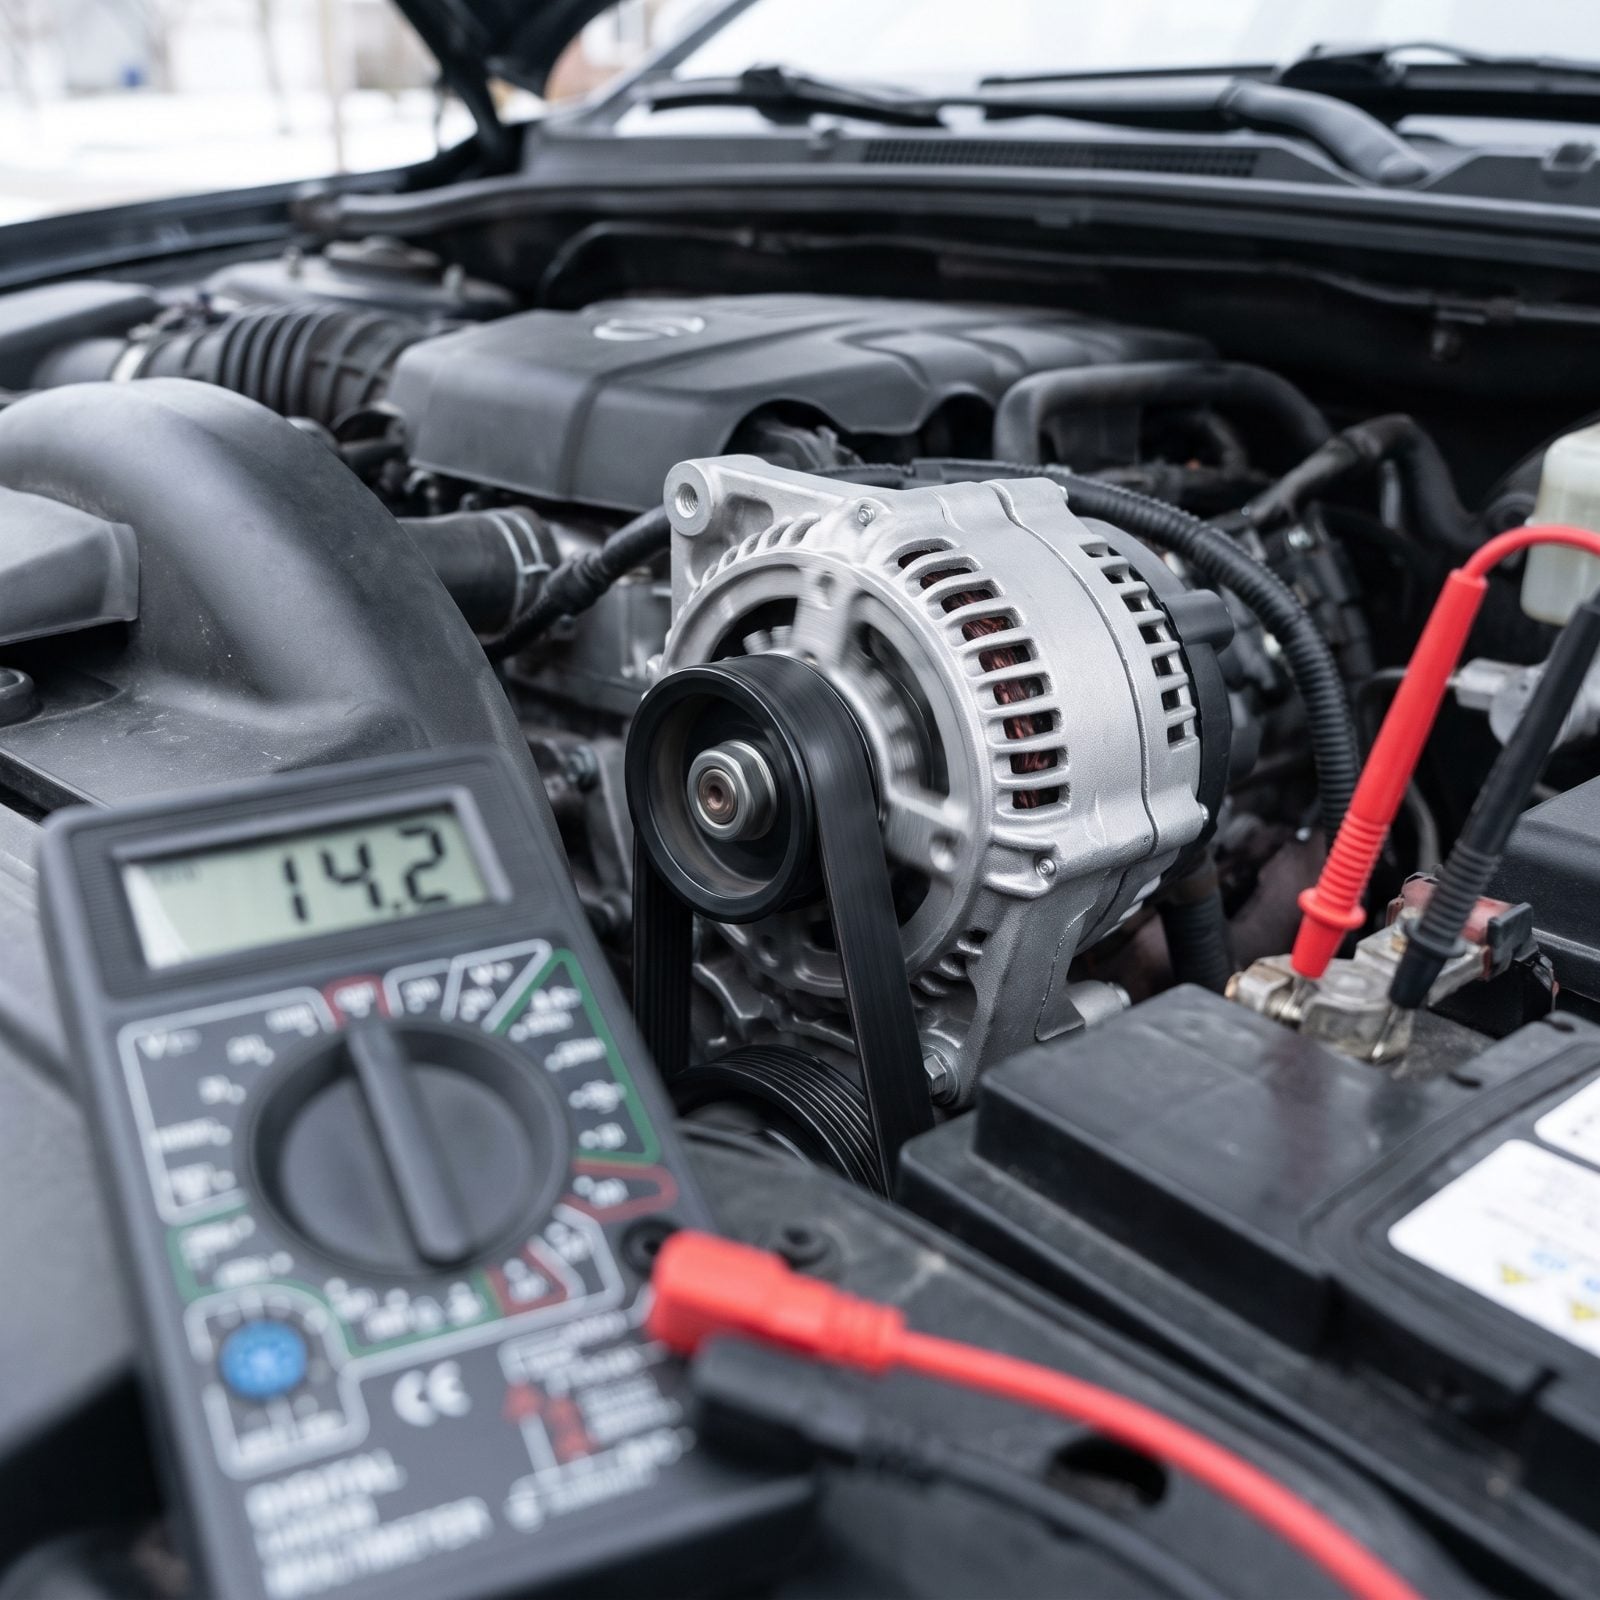
Run the engine and the voltage at the posts should climb into the 13.8 to 14.4 range. That’s the alternator doing its job, replacing everything the starter and heater and defroster pull back out. If it reads the same as it did with the engine off, your alternator isn’t charging and you’re running on reserve.
Switch on the headlights, blower, and rear defrost while you watch the meter. The voltage should hold steady under that load. Does it sag toward 13 or below with everything on? Then you’ve got a tired alternator that won’t keep up on a long night drive.
The missed detail: a glazed or slipping serpentine belt will fake an alternator problem. Check belt tension and look for shiny, cracked surfaces before you condemn the part.
44. Verify Engine Oil Level and Condition
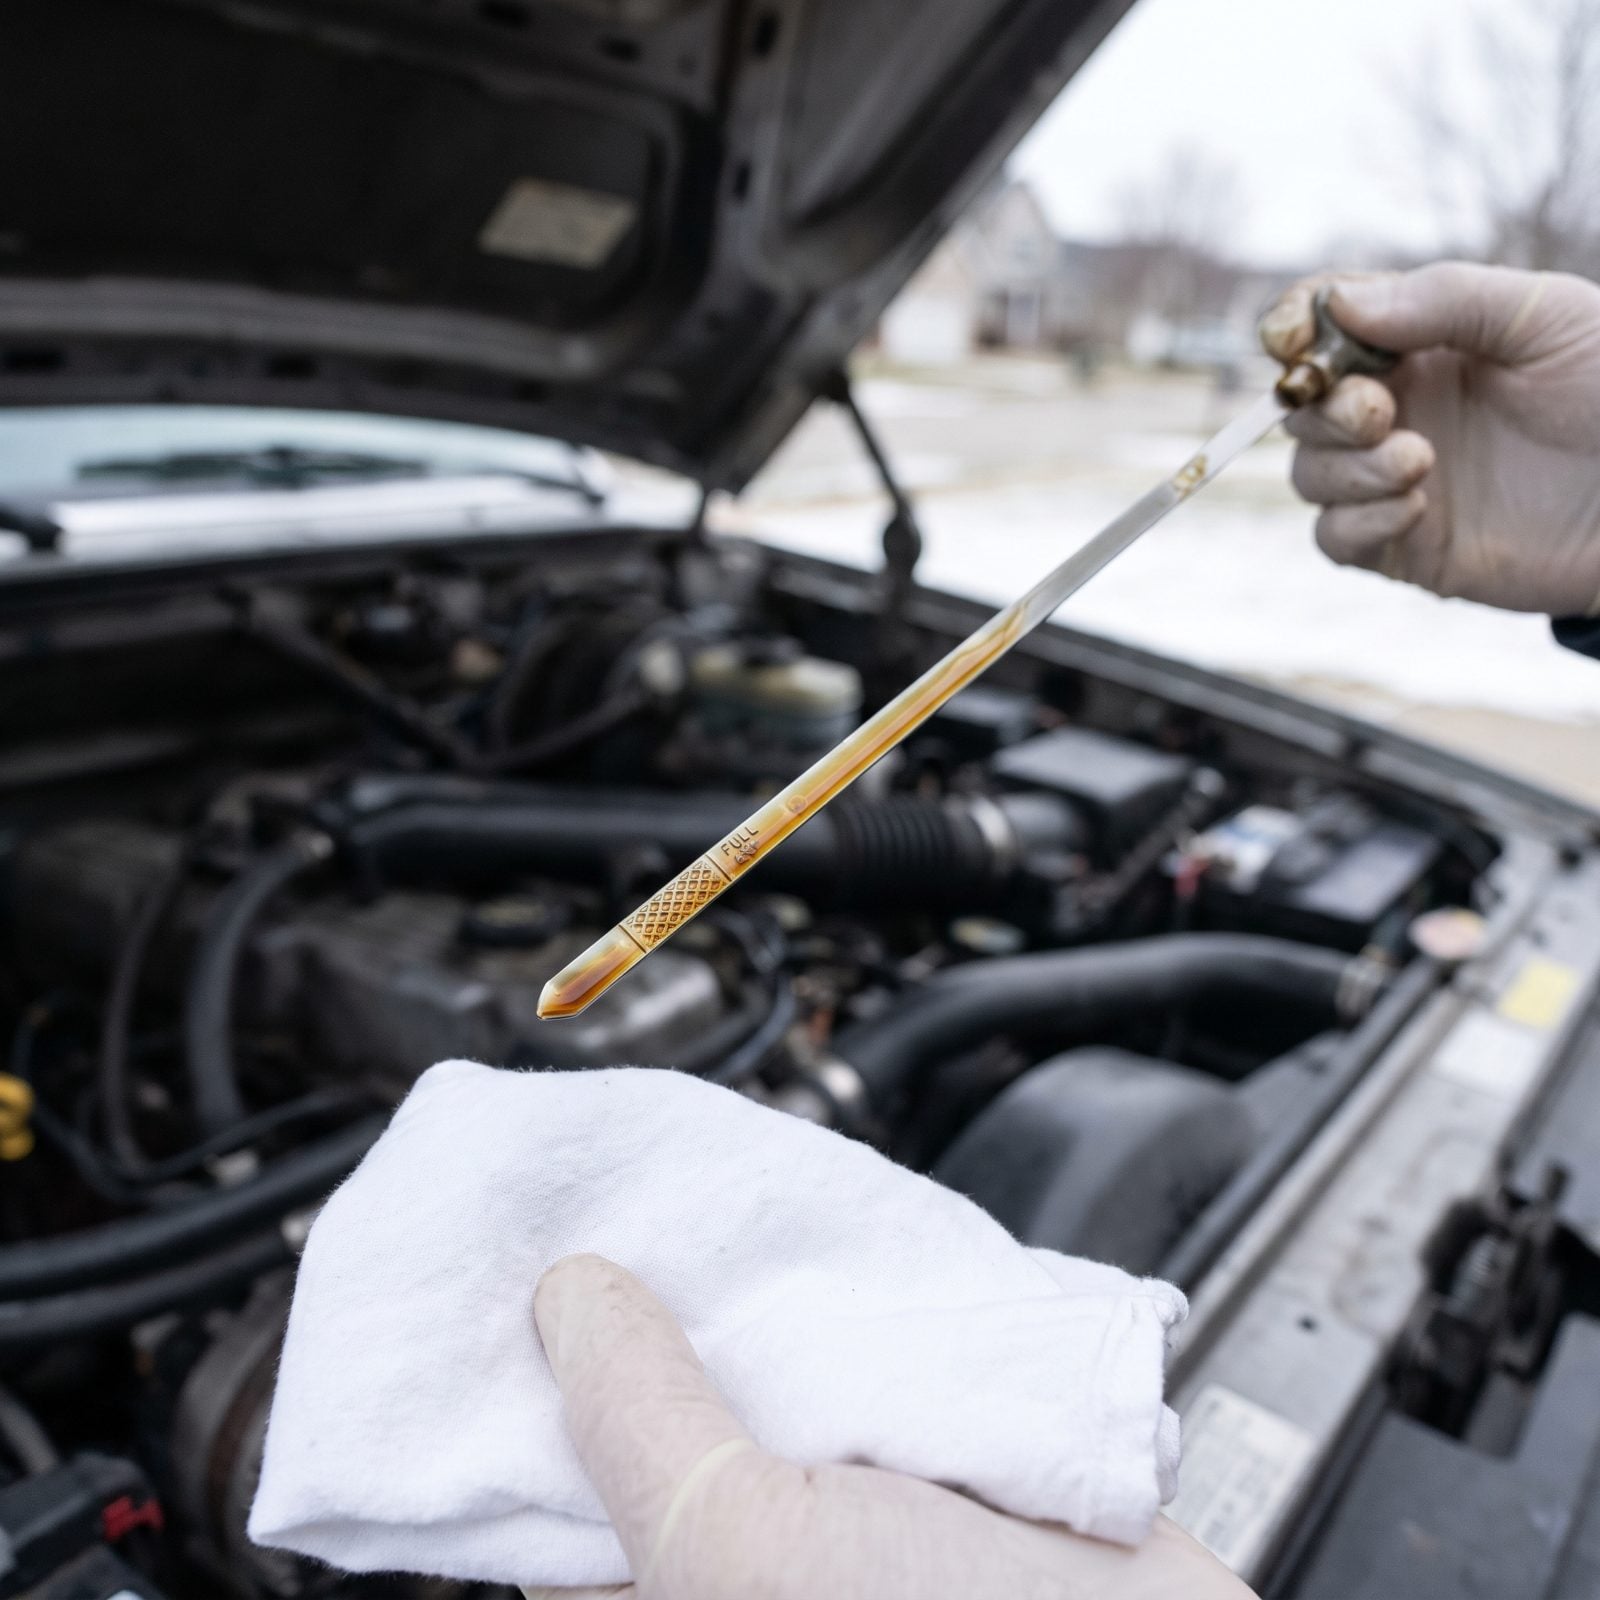
Pull the dipstick, wipe it, dip it again, and read it on a cold engine sitting level. The oil should sit between the two marks and look like honey or iced tea, not coffee. Dark, gritty, or thin oil can’t protect cold metal through hard highway hours.
Cold starts are the hardest thing you ask an engine to do, and most of the wear happens in the first seconds before oil reaches the top end. Fresh oil of the right winter weight flows faster at startup. If you’re anywhere near your interval, change it before the trip, not after.
What people miss: rub the oil between your fingers. Any fuel smell or milky, coffee-colored sludge points to a bigger problem — one you want to find in your driveway, not somewhere outside Nebraska.
43. Check Coolant Level Only When Cold
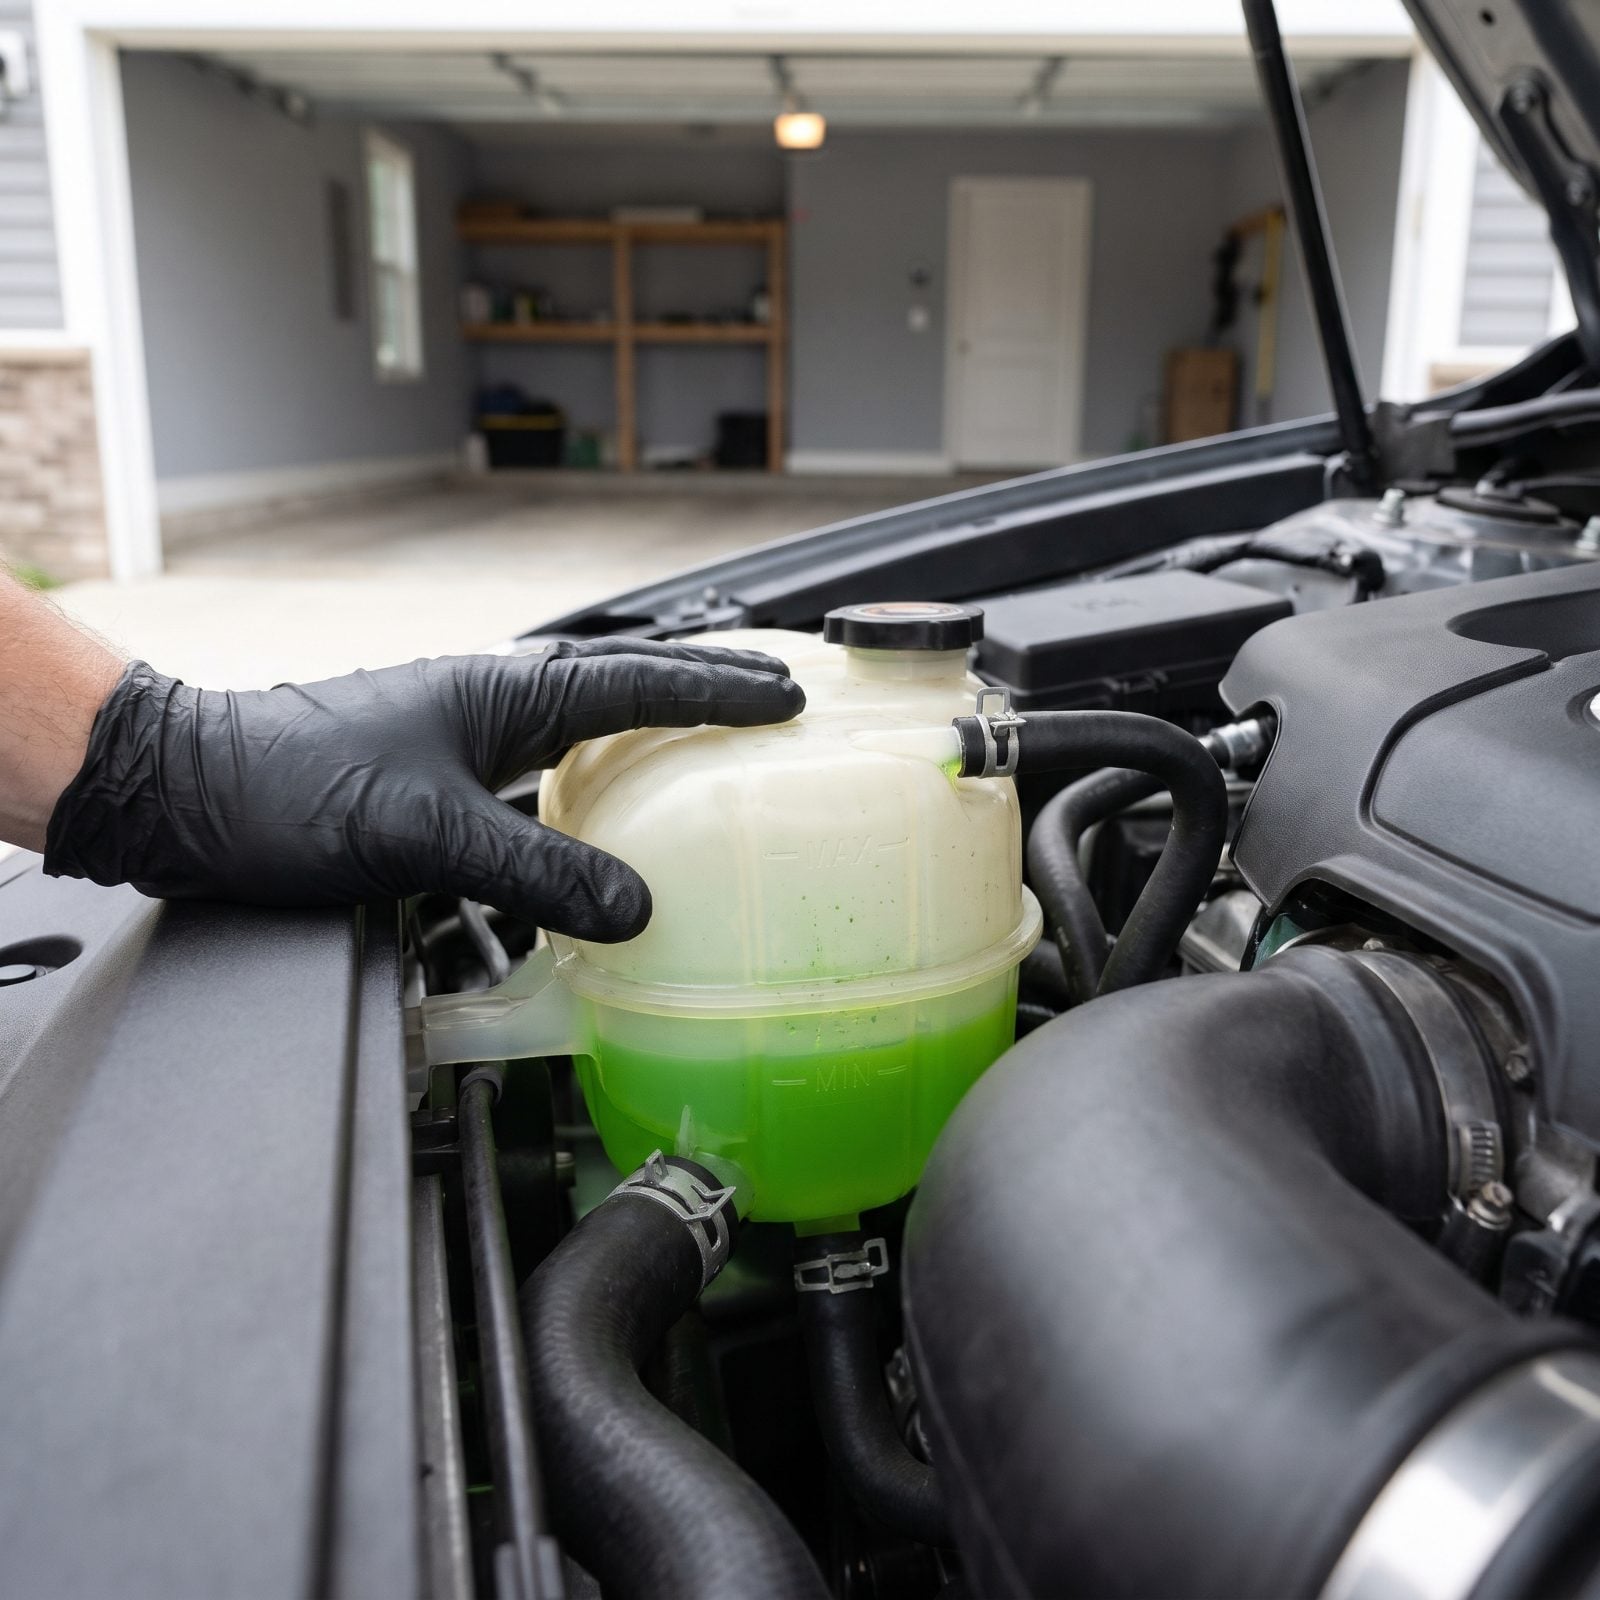
Never open a hot cooling system. A warm engine holds coolant under pressure, and cracking the cap sends scalding fluid straight up at your face. Let the engine sit until the reservoir is cool to the touch, then read the level against the molded min and max lines.
Top up a low reservoir with the correct coolant mix, not plain water — water drops your freeze protection and rusts the system from the inside. And if the level keeps dropping between checks, you’re losing coolant somewhere, which winter has a nasty habit of revealing mid-mountain-pass.
One thing most folks overlook: the color. Clean coolant is bright and translucent. Brown, muddy, or oily coolant means contamination and needs a flush, not a top-off.
42. Test Antifreeze Freeze Protection
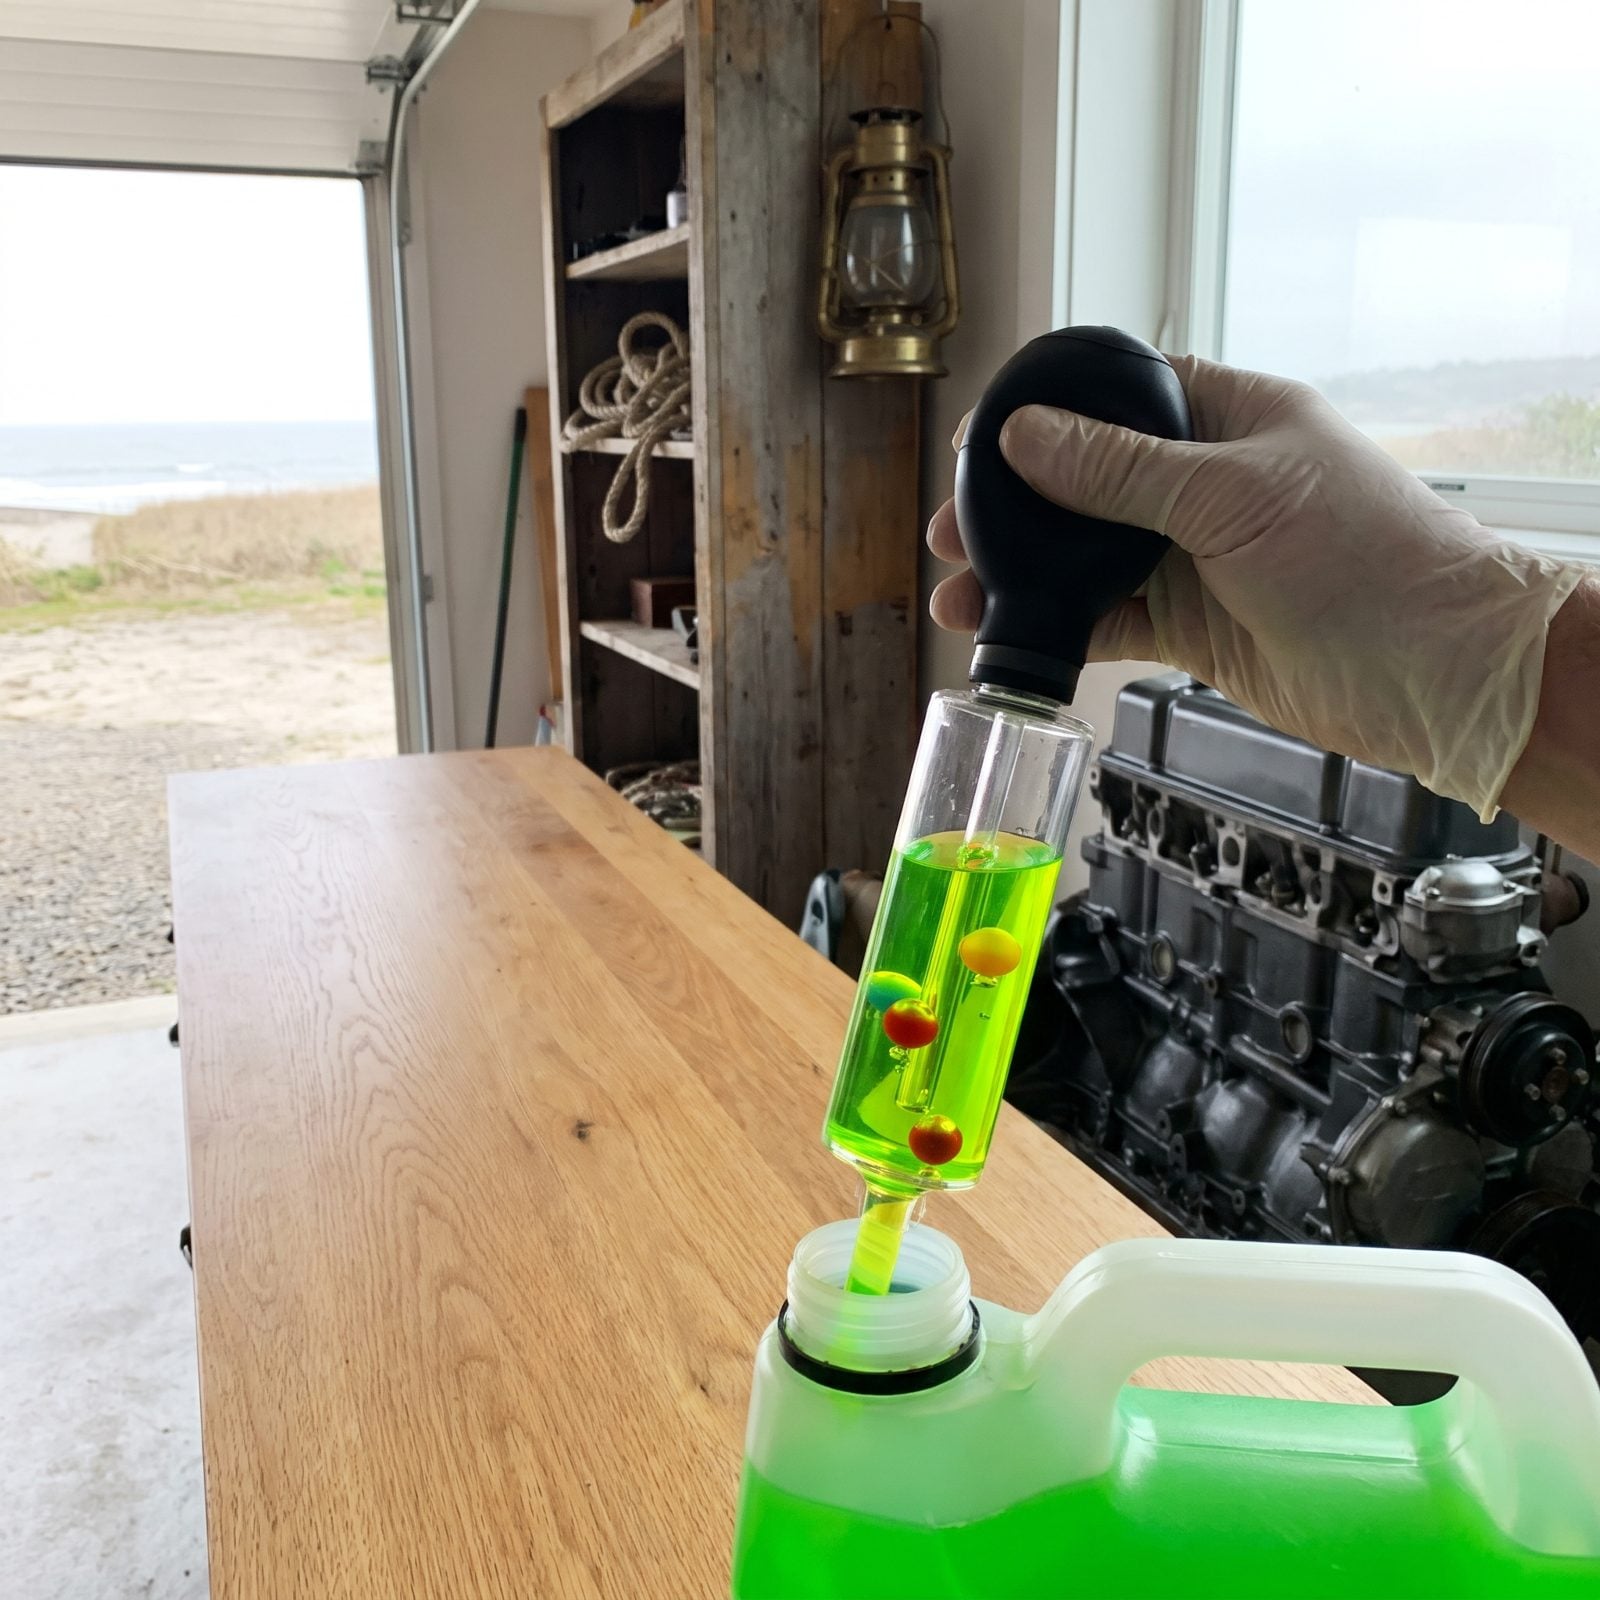
A full reservoir means nothing if the mix has gone weak. Old or over-diluted antifreeze can freeze into slush and crack a block or burst a radiator — a repair that costs more than the whole trip did.
A cheap hydrometer or refractometer tells you the freeze point in seconds. Draw up a sample and read it. You want protection down to at least minus 20 Fahrenheit, lower if your route crosses high ground or deep cold. The floating balls or the scale do the math for you.
Here’s the overlooked part: a 50/50 mix is the sweet spot, not stronger. Pure antifreeze actually freezes at a higher temperature than a proper blend, and it carries heat worse. More is not better.
41. Inspect Cooling Hoses for Cracks or Bulges
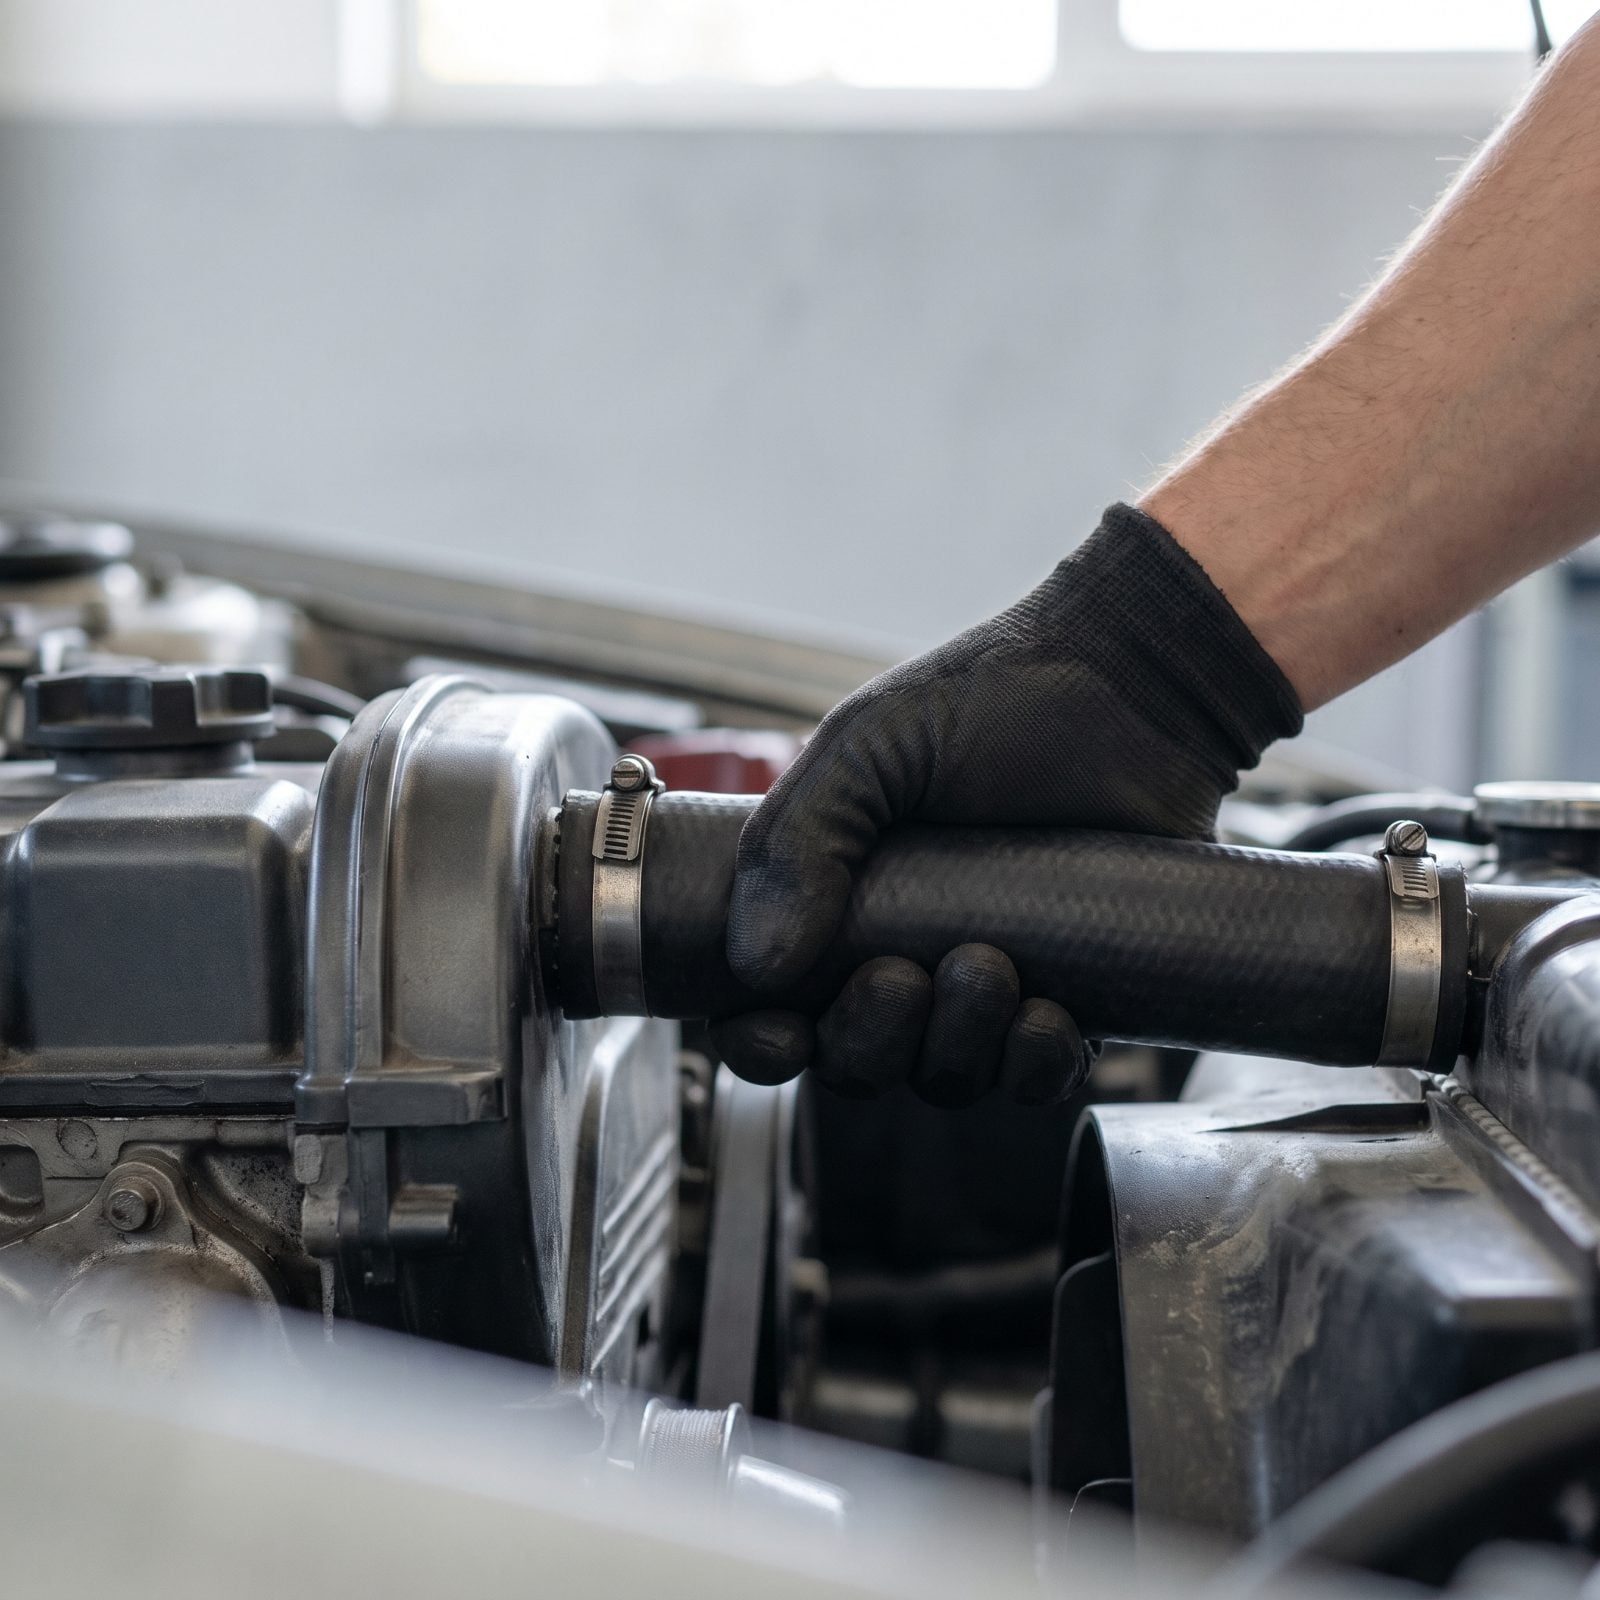
Cooling hoses age from the inside out, so a hose that looks fine can be rotten where you’ll never see it. You catch that with your hands, not your eyes.
With the engine cold, squeeze each hose along its length. A good one feels firm and springs back. A bad one feels soft and mushy, or hard and brittle, or you feel grit under the rubber where it’s breaking down. Then run your eye along the bends and clamp connections — the spots hoses fail first — looking for hairline cracks, bulges, and crusty dried coolant at the fittings.
The detail people miss: the lower radiator hose and the ones nearest the engine take the most heat and die youngest. Squeeze those twice. A hose that blows on the interstate dumps your coolant and cooks the engine in minutes.
40. Check Radiator Cap Seal Condition
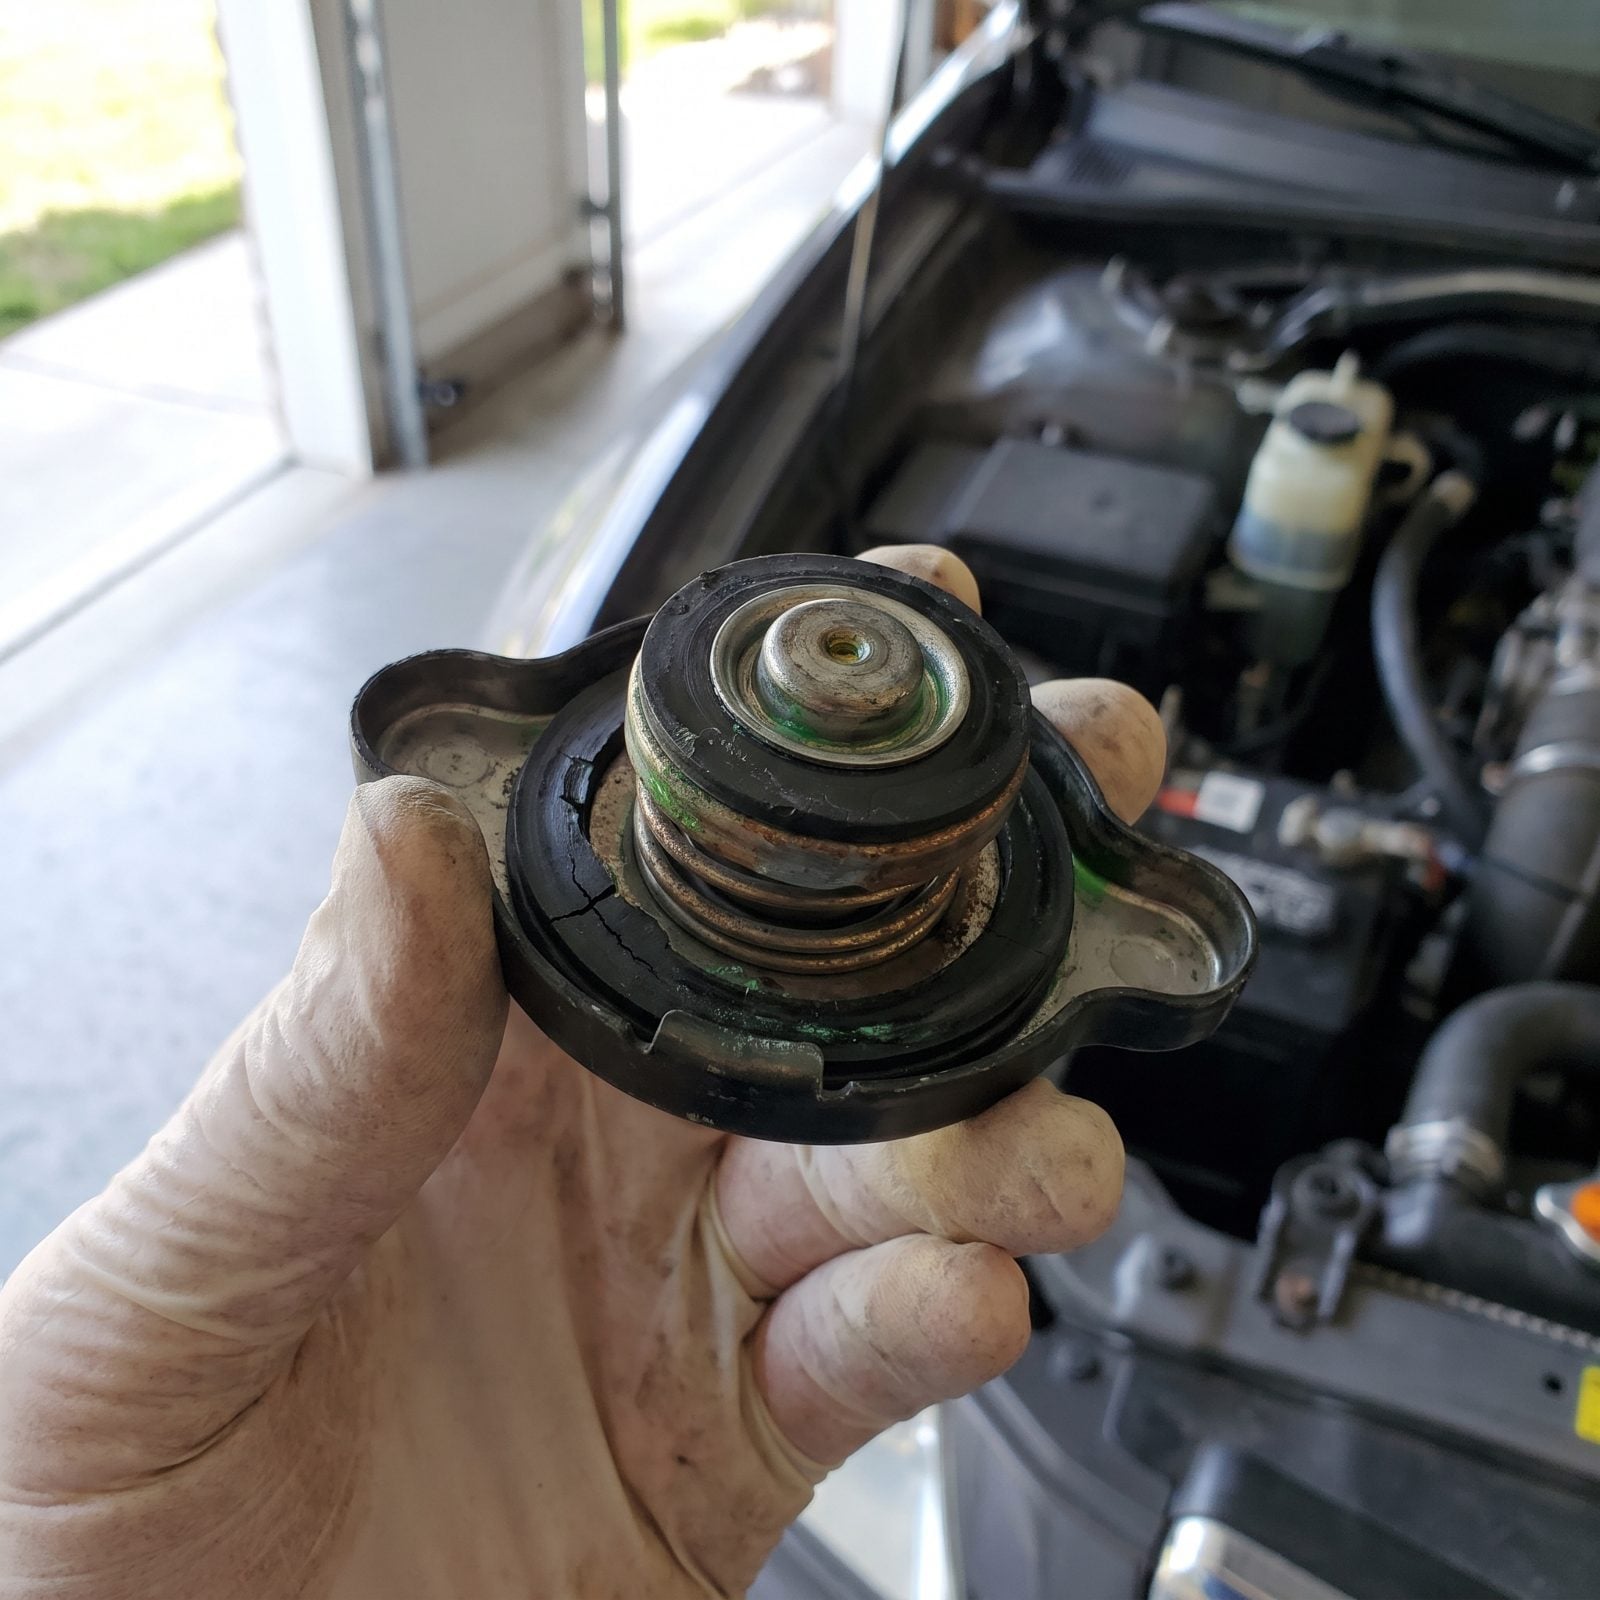
The radiator cap is a few dollars of pressure spring and rubber that almost nobody thinks about, and a worn one quietly bleeds off pressure. Lose the pressure and the coolant’s boiling point drops, so the system overheats long before the gauge should ever climb.
With the engine stone cold, take the cap off and look at the rubber seal underneath. It should be soft, intact, and springy — not cracked, flattened, or crusty. Press the spring-loaded disc. It should move and return. A seal gone hard or a spring that sticks won’t hold the rated pressure.
What gets skipped: these caps are cheap, routine wear items. Original cap on a car well past 60,000 miles? Just replace it before a long haul. Cheapest insurance on this whole list.
39. Look Beneath Car for Fresh Leaks
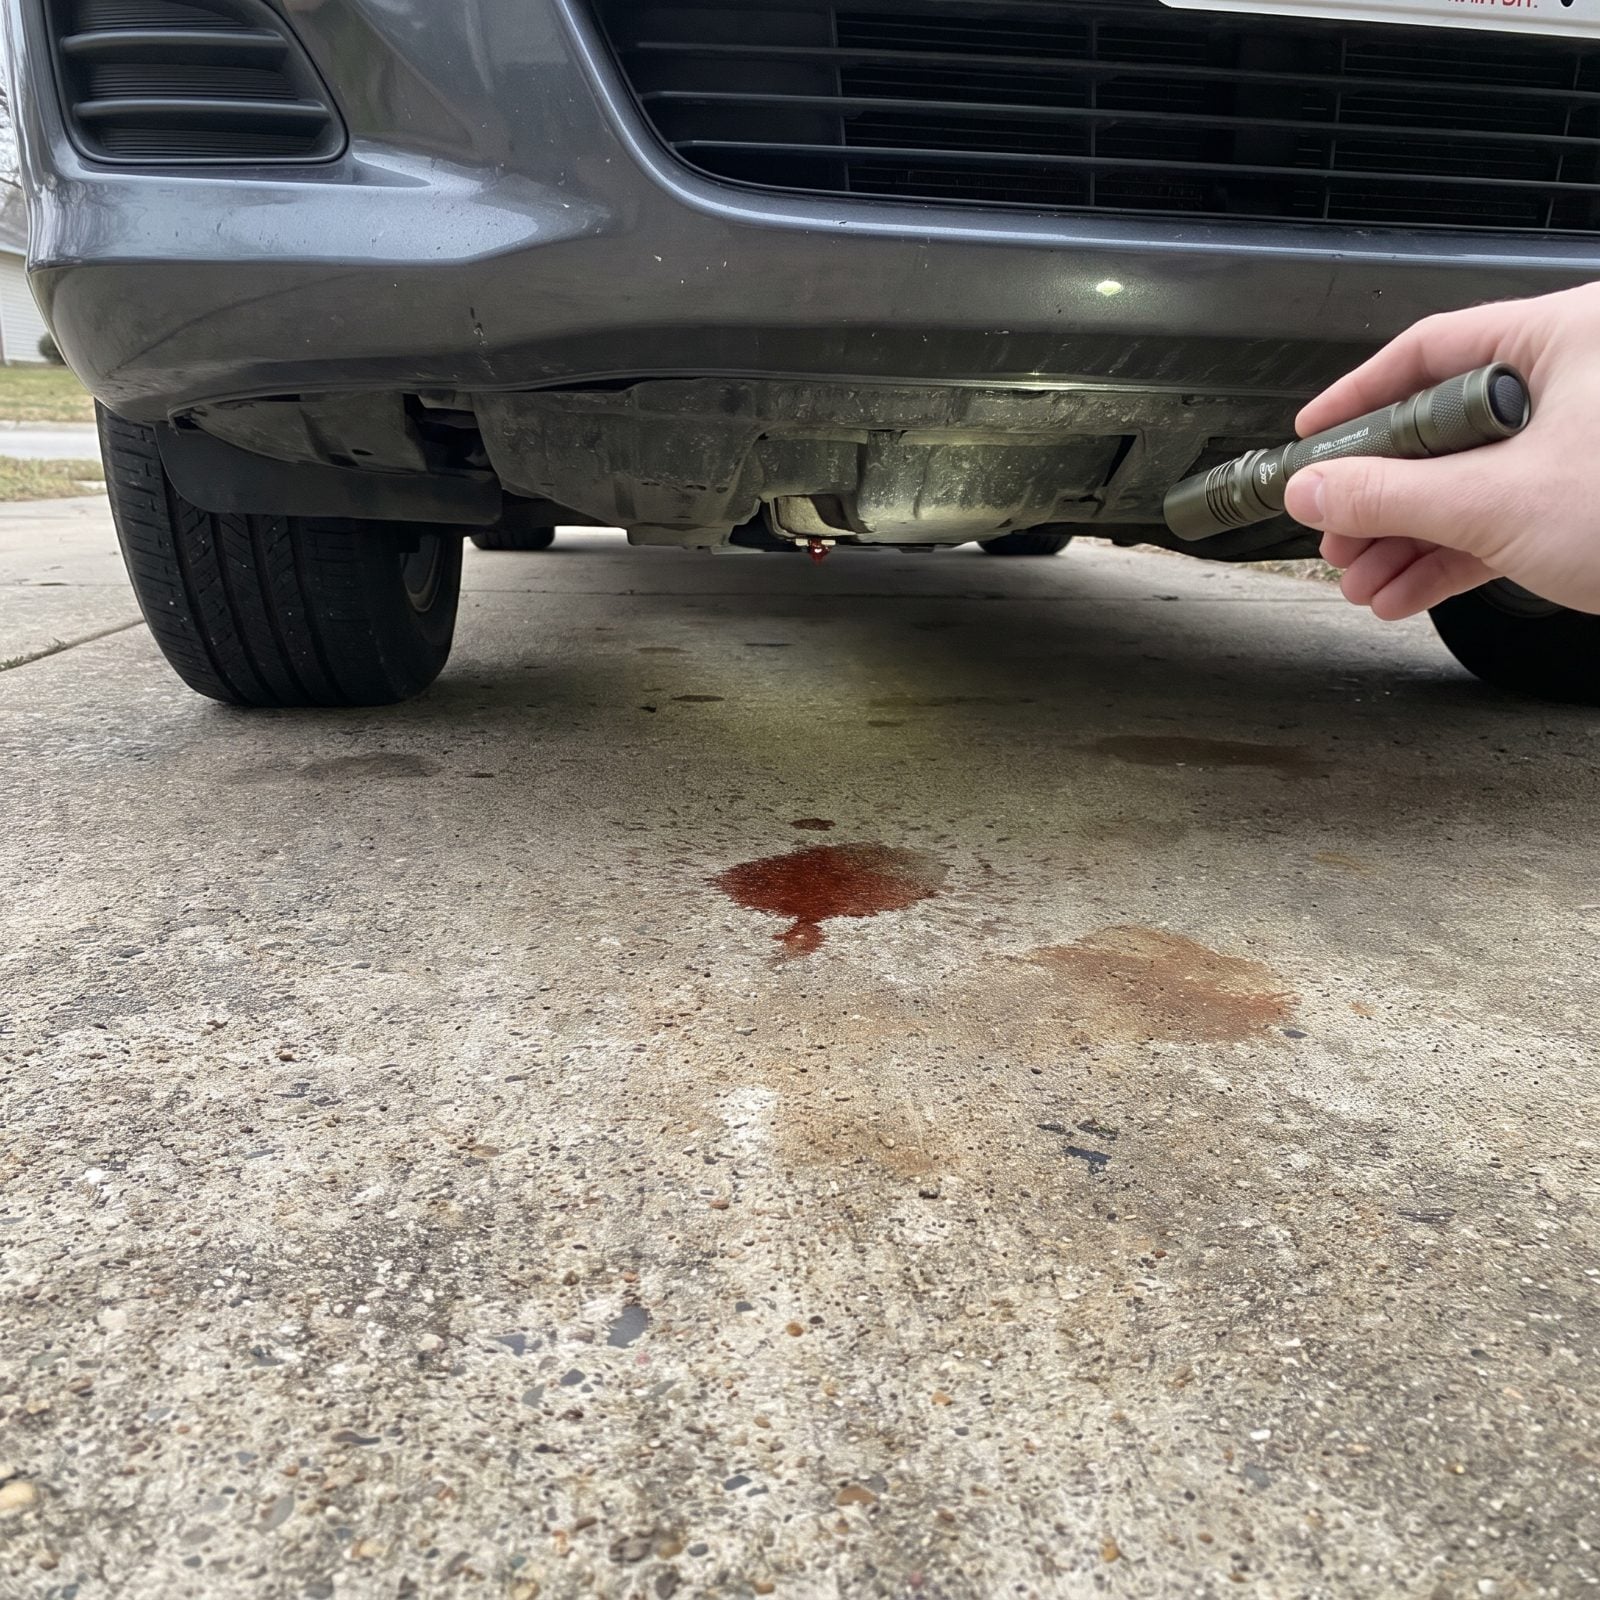
Pull the car forward after it’s sat overnight and look at the clean pavement where it was parked. Color tells you a lot. Reddish means transmission or power steering. Bright green or orange is coolant. Amber is oil. Clear and oily could be brake fluid — the one that scares me.
Shine a light up into the engine bay and along the undercarriage, hunting for wet, shiny trails or fresh drips. Dried crust is old history. Wet and glistening is happening right now.
What most people miss: water dripping off the AC is normal and clear, so don’t panic over a clear puddle under the passenger side on a humid day. Everything else wet under there earns a closer look before you load the trunk.
38. Confirm Brake Fluid Level and Color
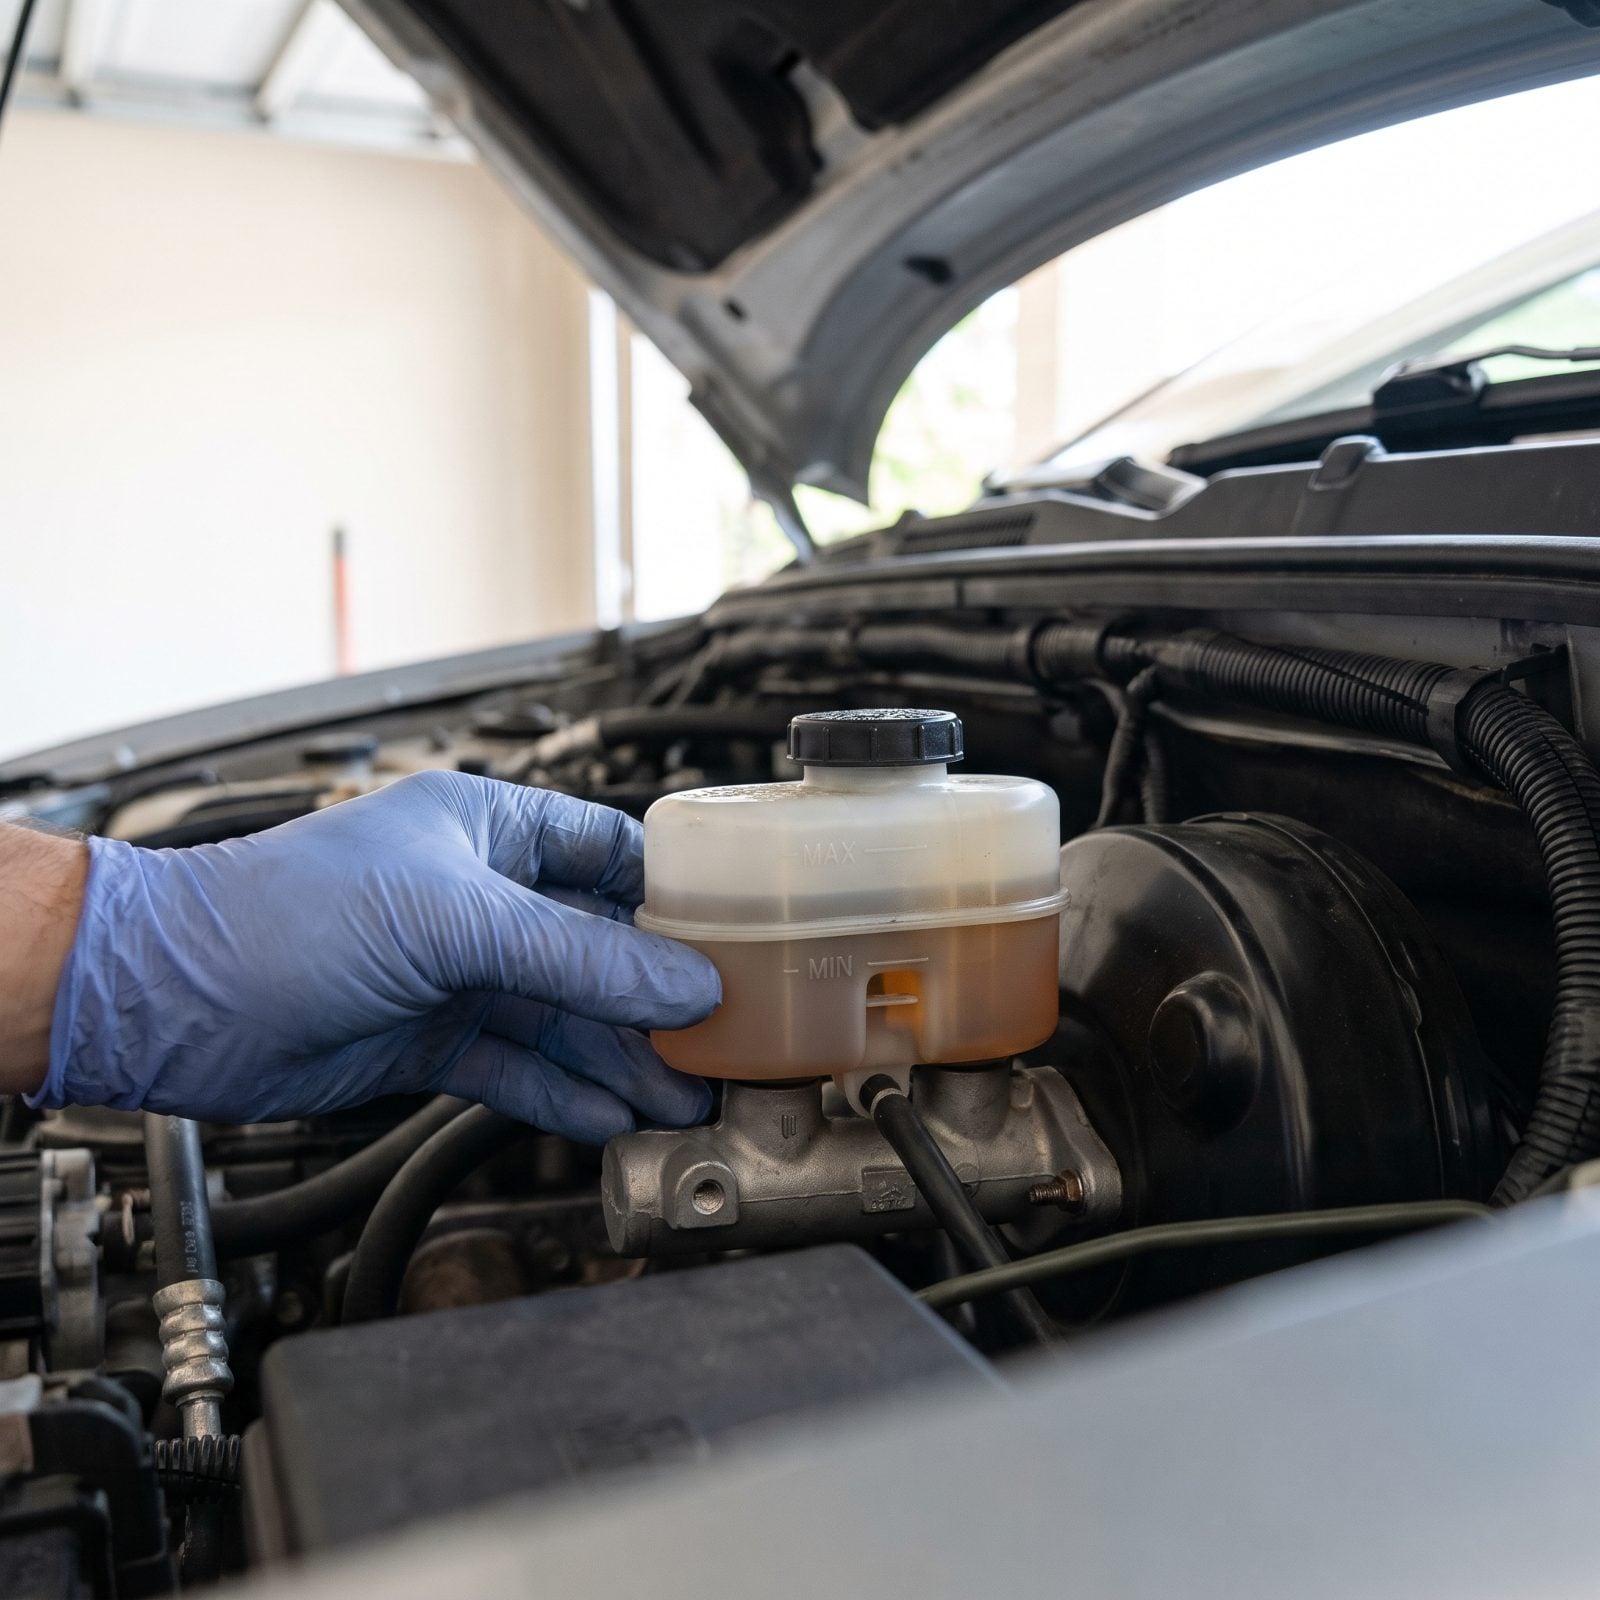
Brake fluid is the one fluid where color matters as much as level. Fresh fluid is light amber, almost clear. Dark brown or black fluid has absorbed water over the years, and water lowers the boiling point — which means long downhill braking in the mountains can turn the pedal soft right when you need it most.
Check the reservoir level against the molded lines without opening the cap any more than you must, since brake fluid pulls moisture straight from the air. A low level often points to worn pads rather than a leak, so read it as a two-part warning.
The overlooked step: if the fluid’s dark and you can’t remember the last flush, get it done before you leave. Nobody thinks about brakes until the pedal sinks on a grade with a loaded car behind it.
37. Inspect Brake Pads and Rotors
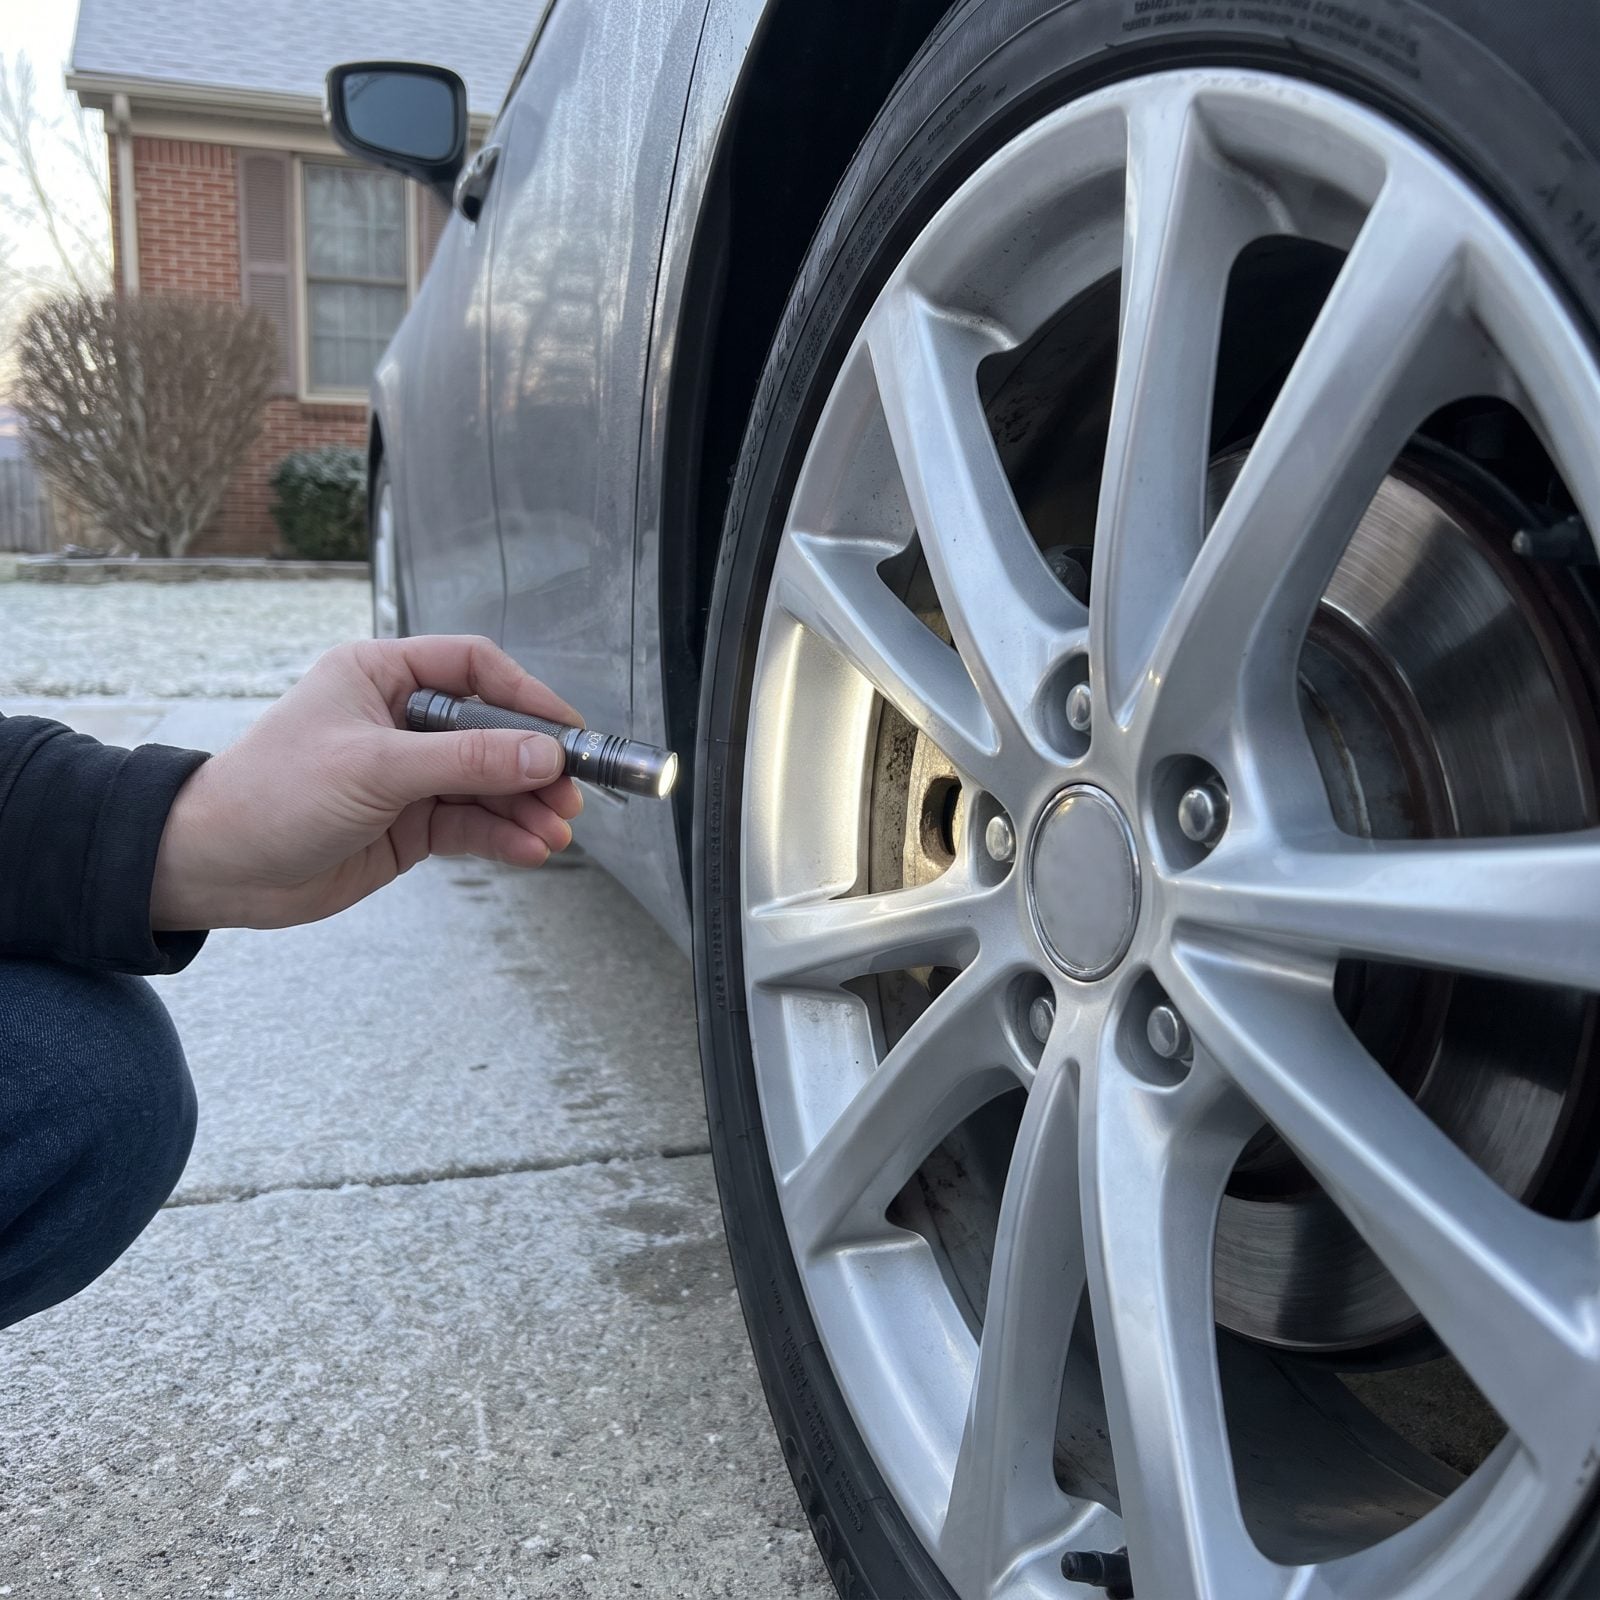
Brakes are the one system you never want to discover is worn halfway down a snowy grade with family in the back. Pads that looked fine in October can be past the wear line by the time you’re loaded with luggage and three passengers leaning on every stop.
Shine a flashlight through the wheel spokes and look at the friction material against the rotor. Less than about a quarter inch of pad left and you want new ones before you leave. Run a fingernail across the rotor face too — a light ridge is normal, but deep grooves or a blue tint mean the thing has cooked itself.
36. Test Parking Brake Engagement
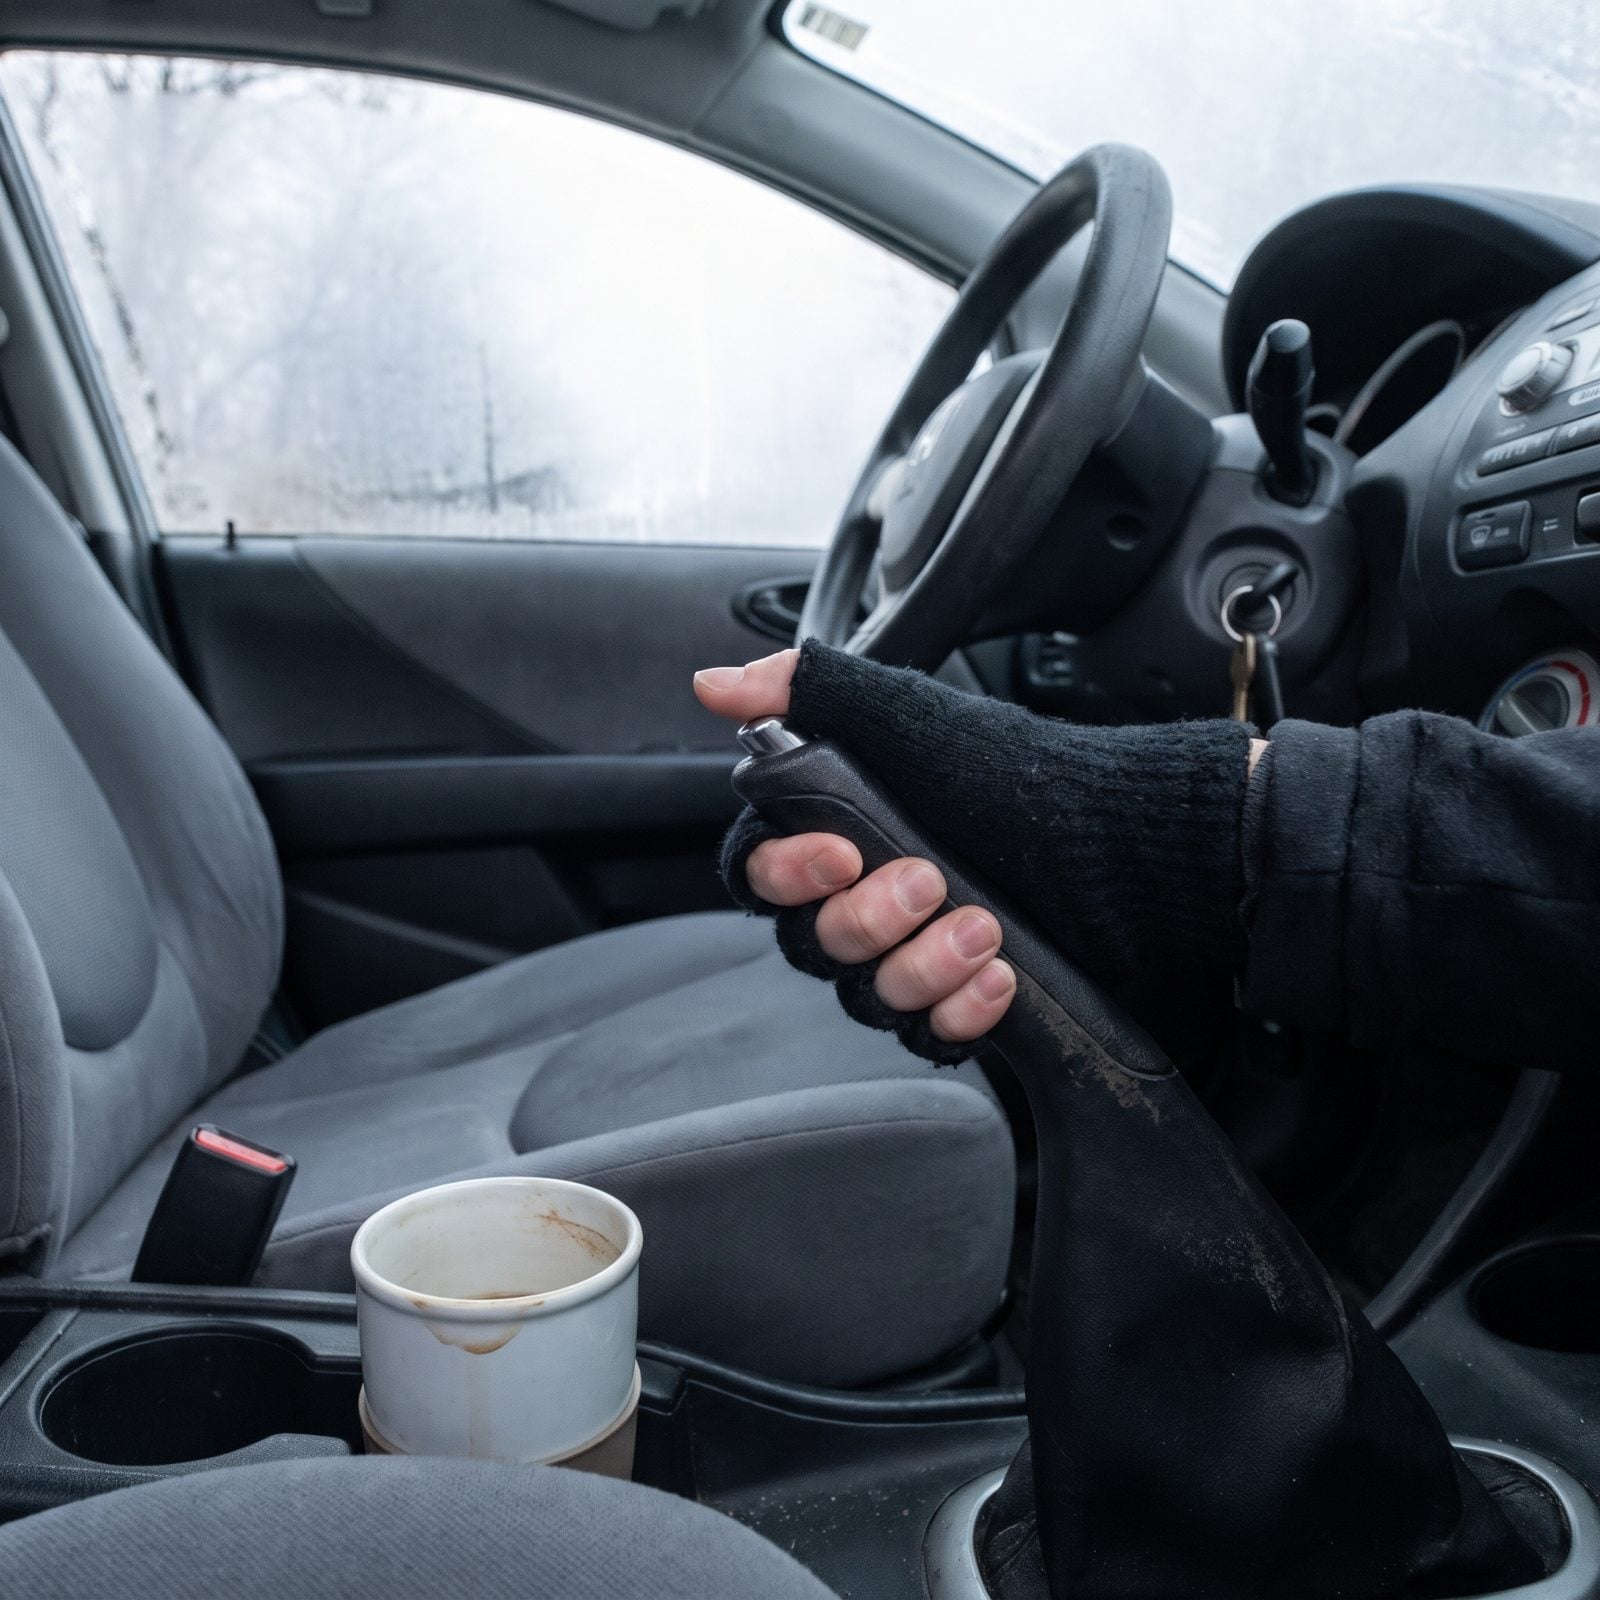
Most people yank the parking brake out of habit and never check whether it actually holds anything. On a flat garage floor it hardly matters. But on a sloped motel lot in January, it’s the difference between your car staying put and rolling into whatever’s parked next to it.
Find a gentle incline, set the brake firmly, shift to neutral, and ease off the foot brake. The car should not creep, not even an inch. Pull the handle to the top of its travel and feel no resistance? The cable has stretched and needs adjusting. Electronic parking brakes should grab just as solidly and release with a clean click, never a grind.
35. Check Tire Pressures While Cold
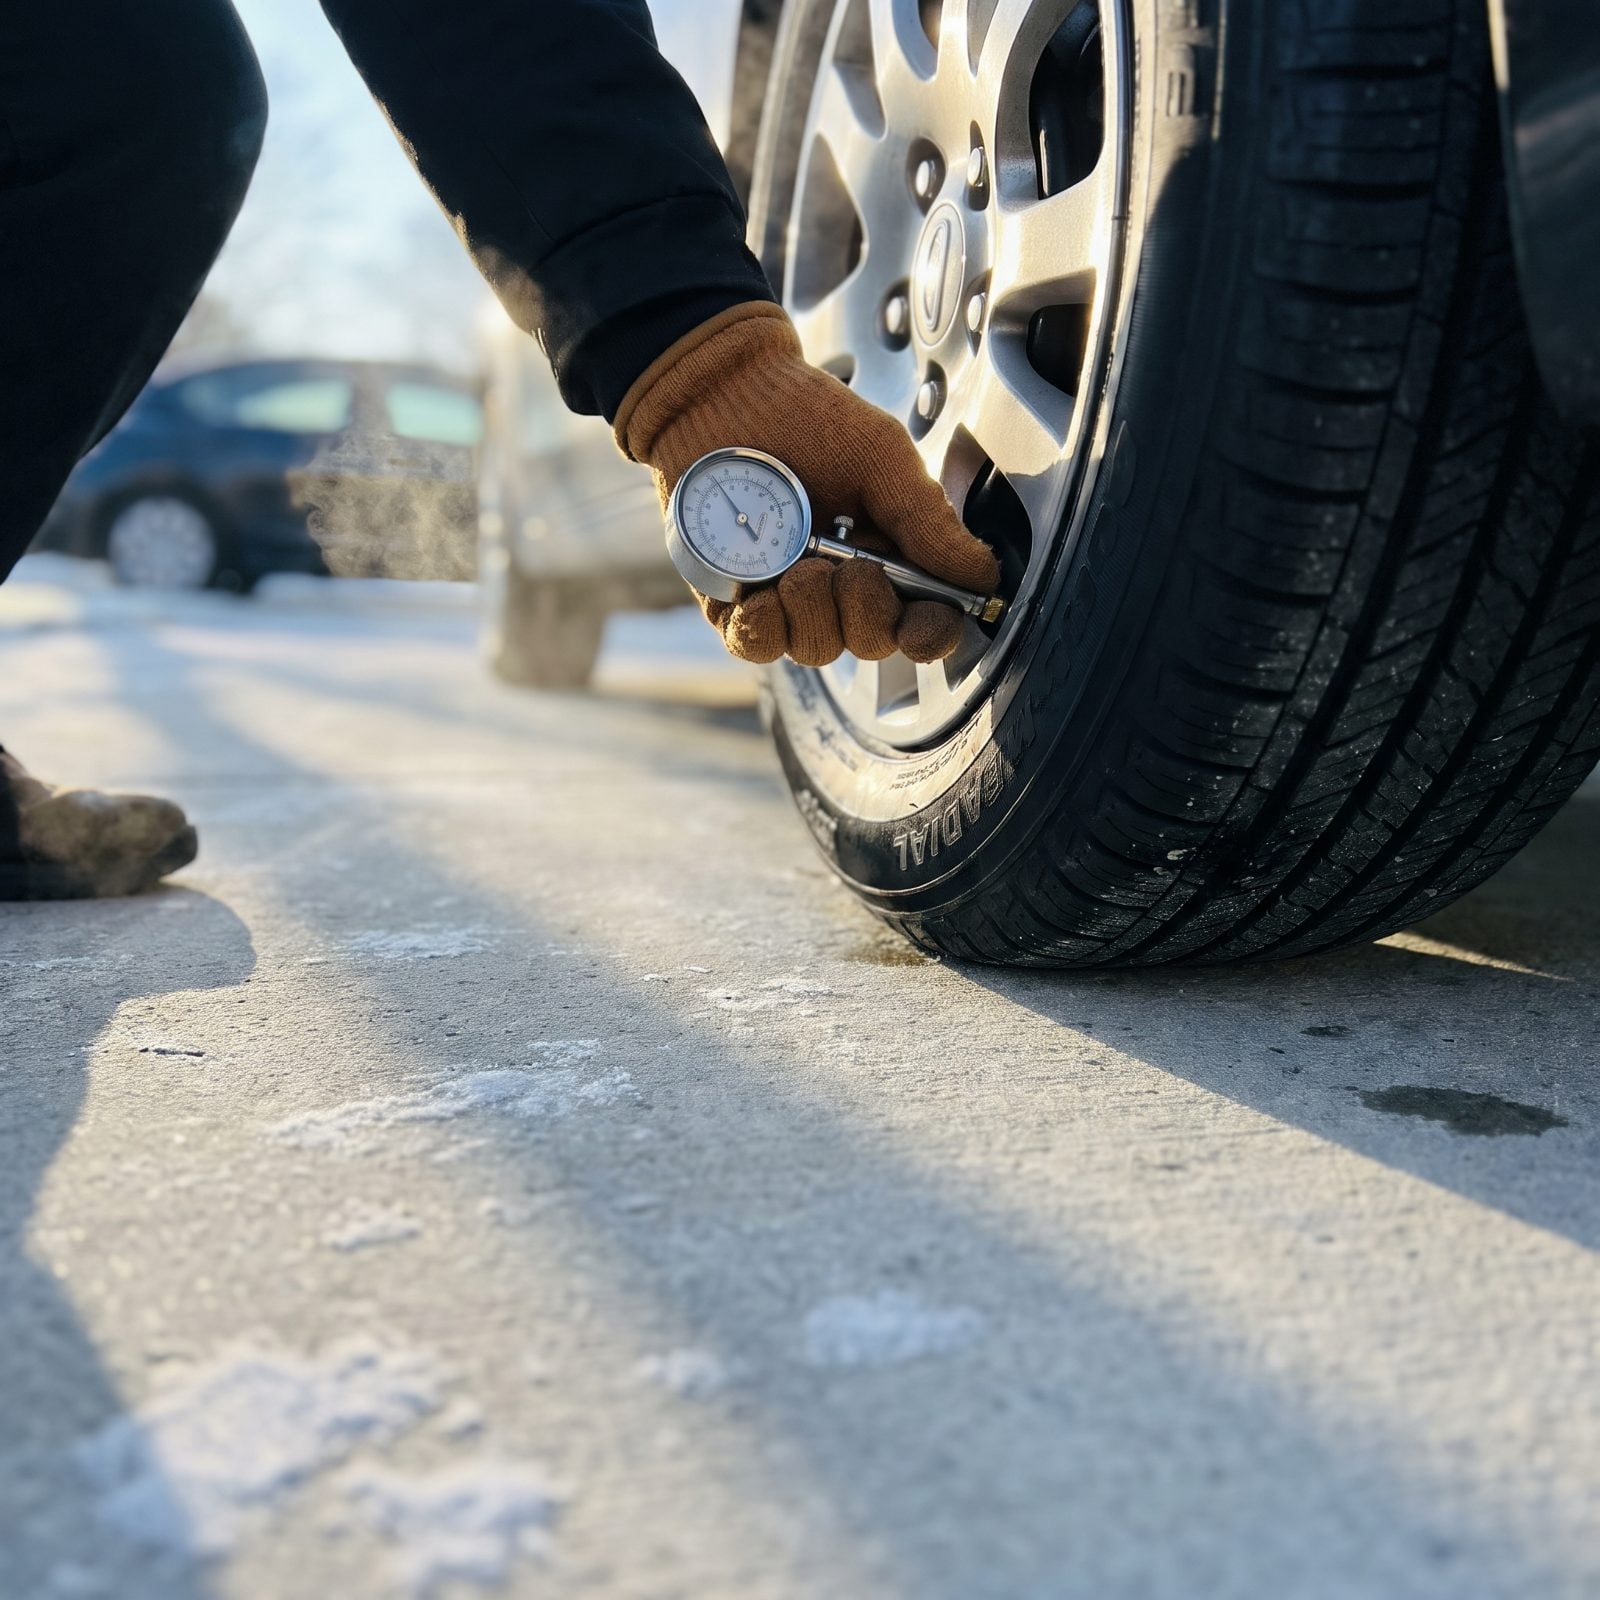
Cold matters more than you think. Pressure drops roughly one PSI for every ten degrees the temperature falls, so the tire you set to spec on a mild afternoon can be noticeably soft on the first hard freeze.
Check pressures first thing in the morning, before you’ve driven anywhere. Driving warms the air inside and hands you a false high reading. Match the number on the sticker inside the driver’s door jamb — not the max pressure molded into the sidewall. Those are two completely different numbers, and people mix them up constantly.
34. Measure Tread Depth Across Every Tire
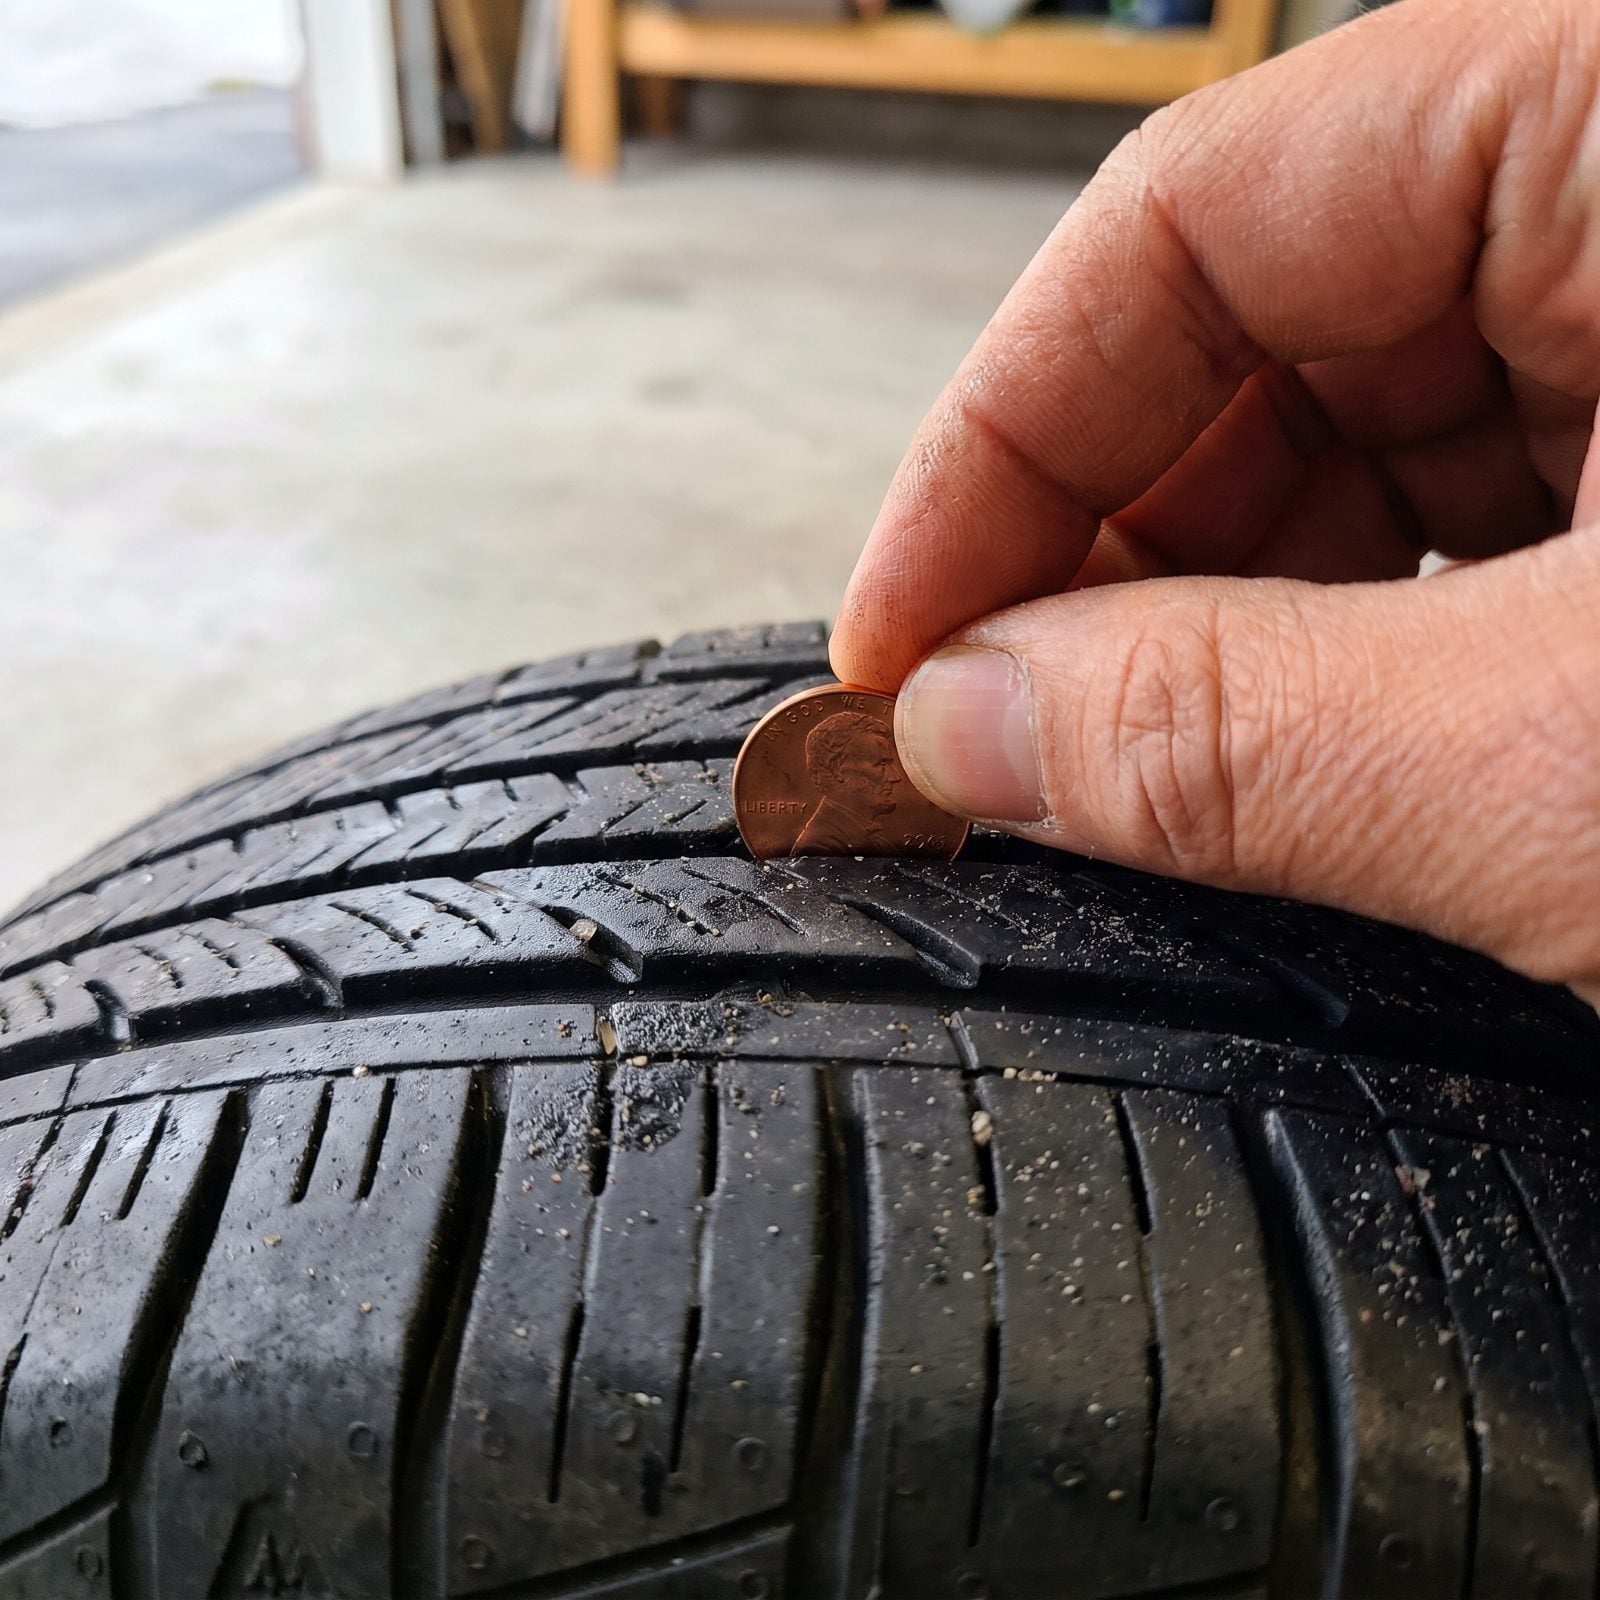
Tread does the quiet work of shoving slush and water out from under your tires. Worn tread means that water has nowhere to go, and all of a sudden you’re skating instead of driving.
The old penny trick still works as a quick first check. Slide a penny into the groove with Lincoln’s head pointing down. If you can see the top of his head, you’re down to roughly two thirty-seconds, which is well past where snow handling falls off a cliff. Better yet, grab a proper tread gauge for a few bucks and check the inner, center, and outer bands of each tire. Uneven wear tells its own story — more on the edges points to underinflation, a worn center points to overinflation.
33. Inspect Sidewalls for Cuts and Bulges
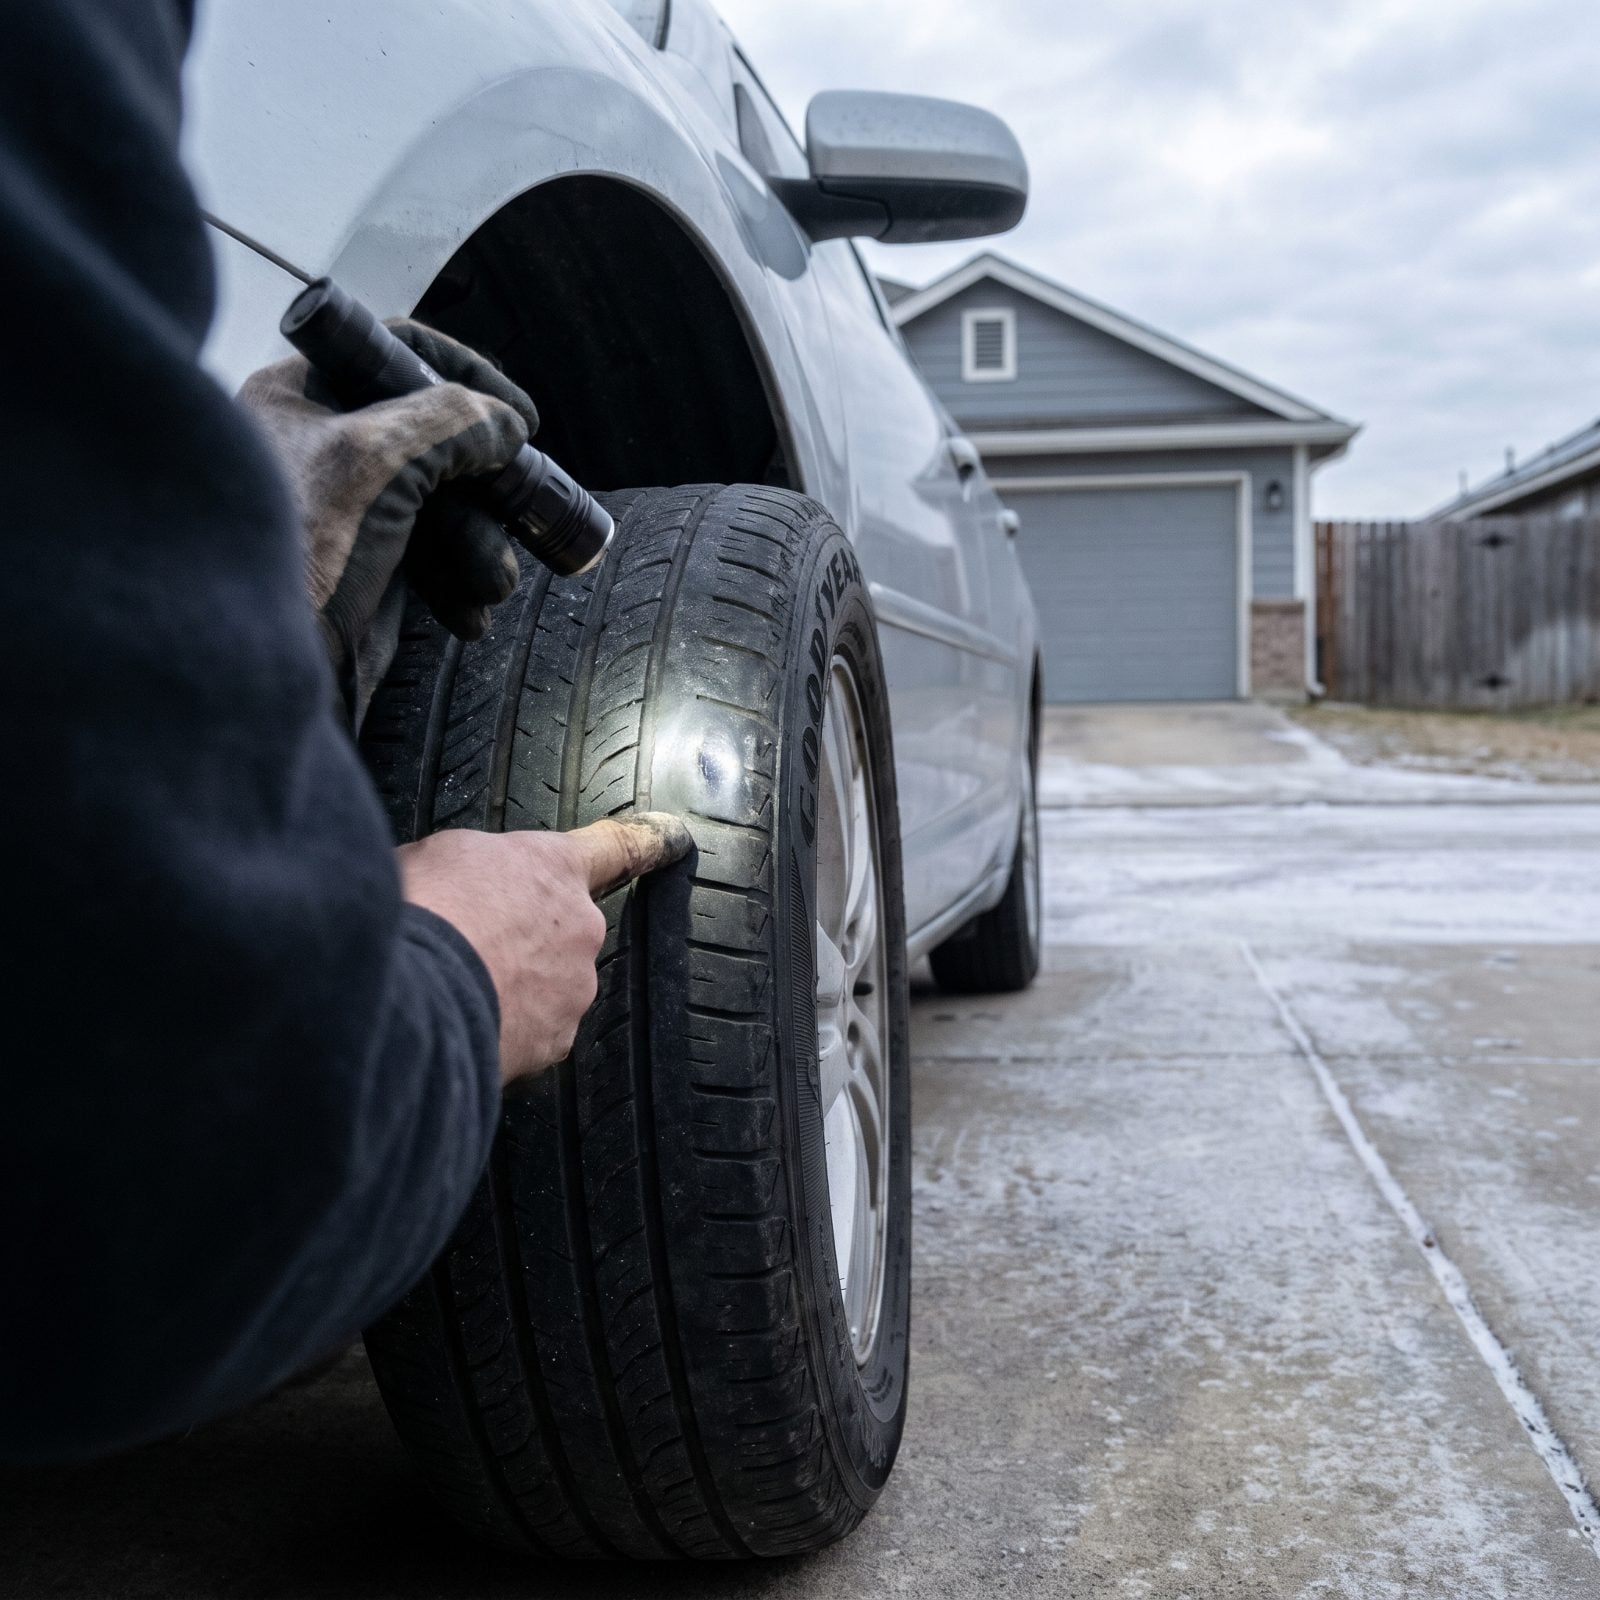
A bulge in a sidewall is a blister waiting to burst, and it almost always lets go at highway speed when you least want it to. The damage usually traces back to a hard pothole or a curb strike, sometimes months before it ever shows.
Turn the wheel full lock so you can see the inner sidewalls too, then run your palm slowly around both faces of each tire. You’re feeling for anything that rises or dips where the rubber ought to be dead smooth. Cuts deep enough to show the fabric cords, cracks running along the flex point, a visible bubble — any of those means that tire is finished. No plug or patch saves a sidewall. Replace it.
32. Check Tire Age From DOT Codes
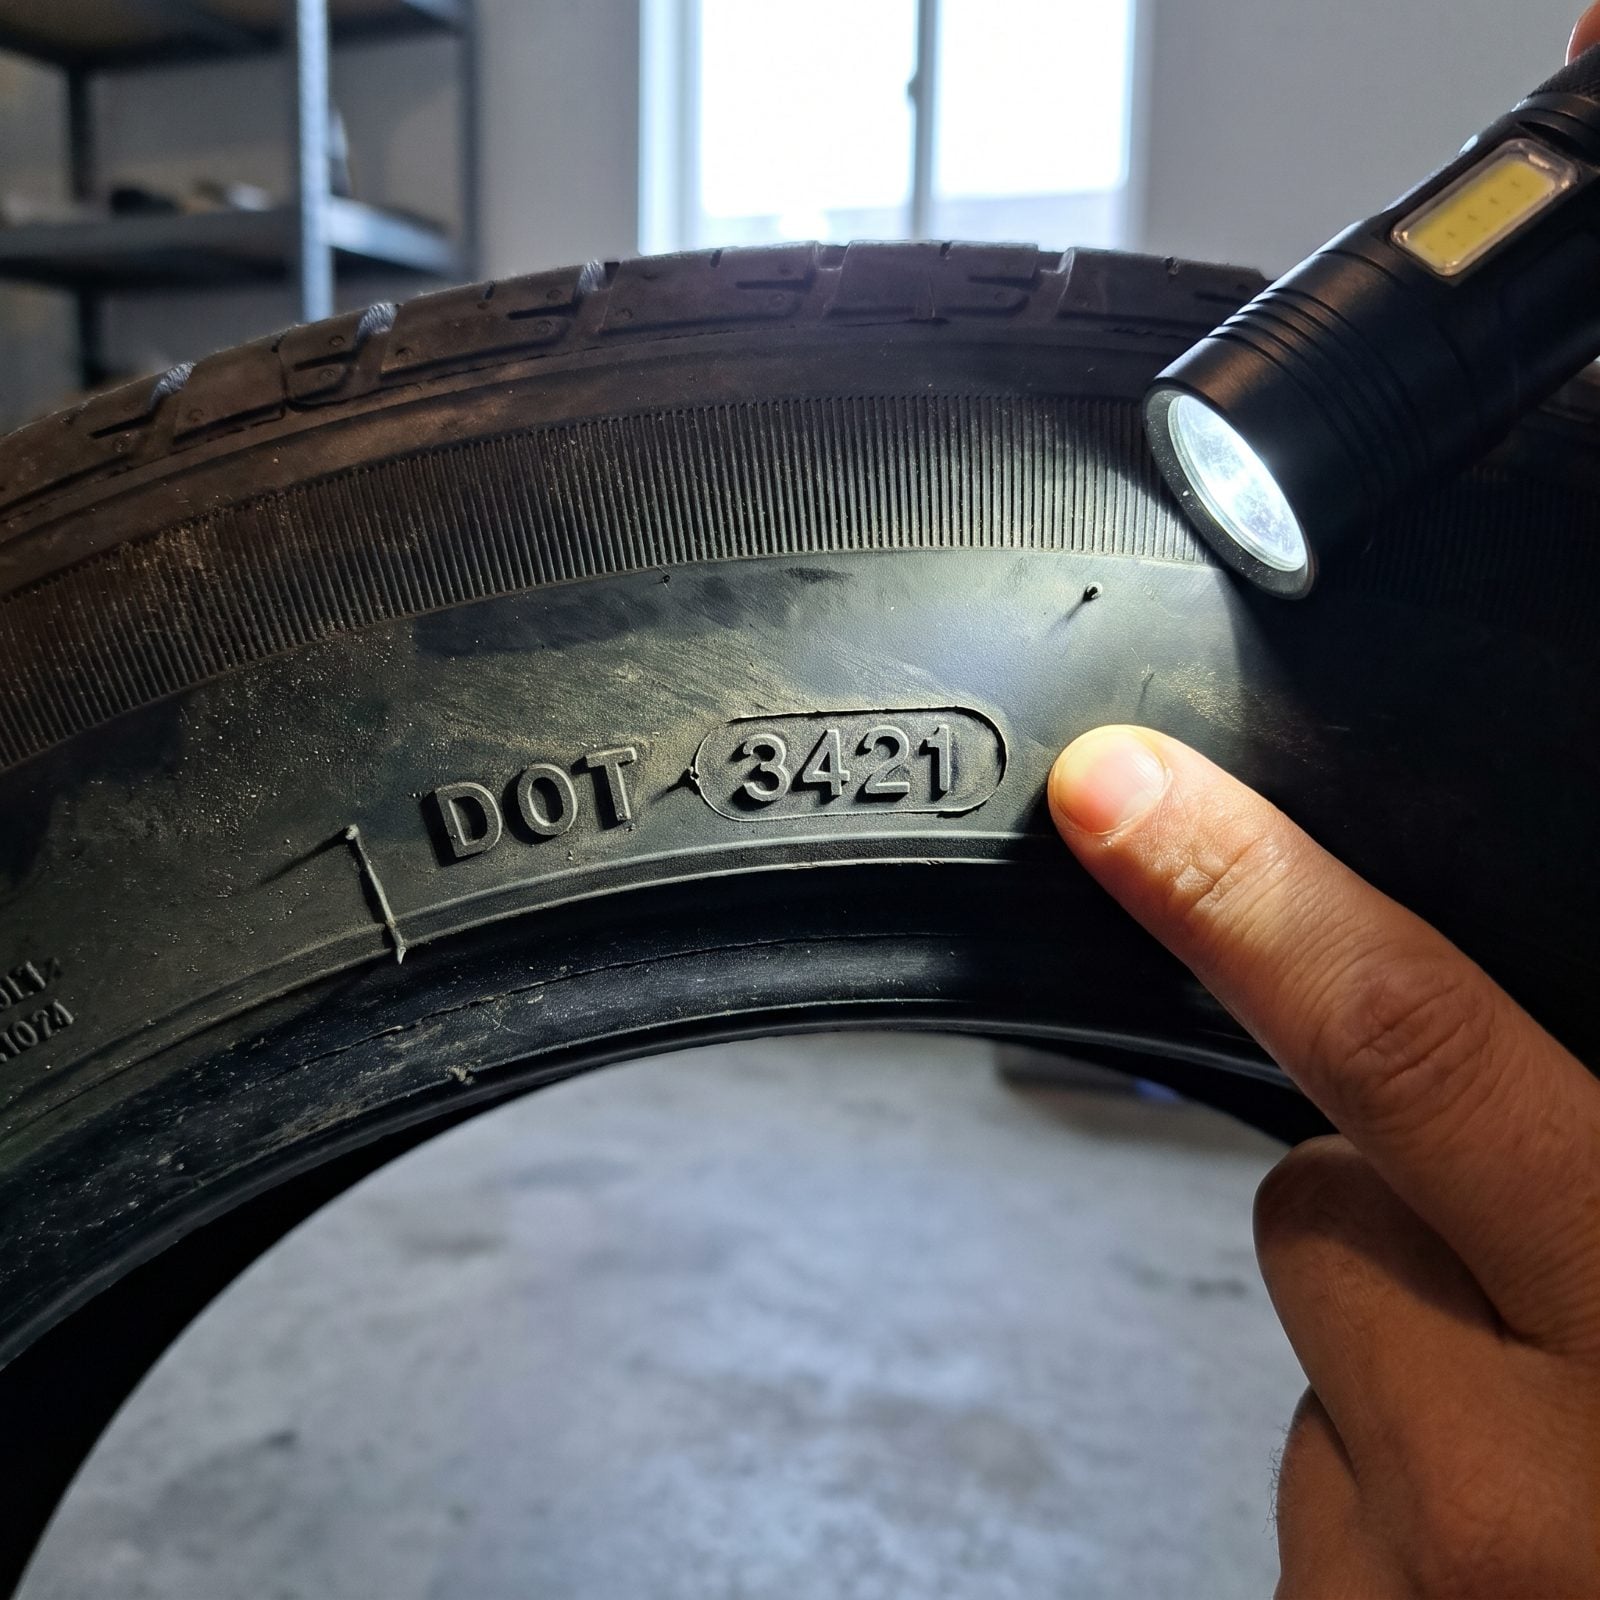
Tread can look healthy on a tire that’s quietly aged out. Rubber hardens over the years whether you drive on it or not, and old rubber gives up its grip in the cold exactly when you need it most.
Find the DOT code on the sidewall. The last four digits are the week and year it was built. “2219” means the twenty-second week of 2019. Most manufacturers say replace tires at six years regardless of tread, and ten years is a hard ceiling nobody should cross.
31. Verify Spare Tire Pressure
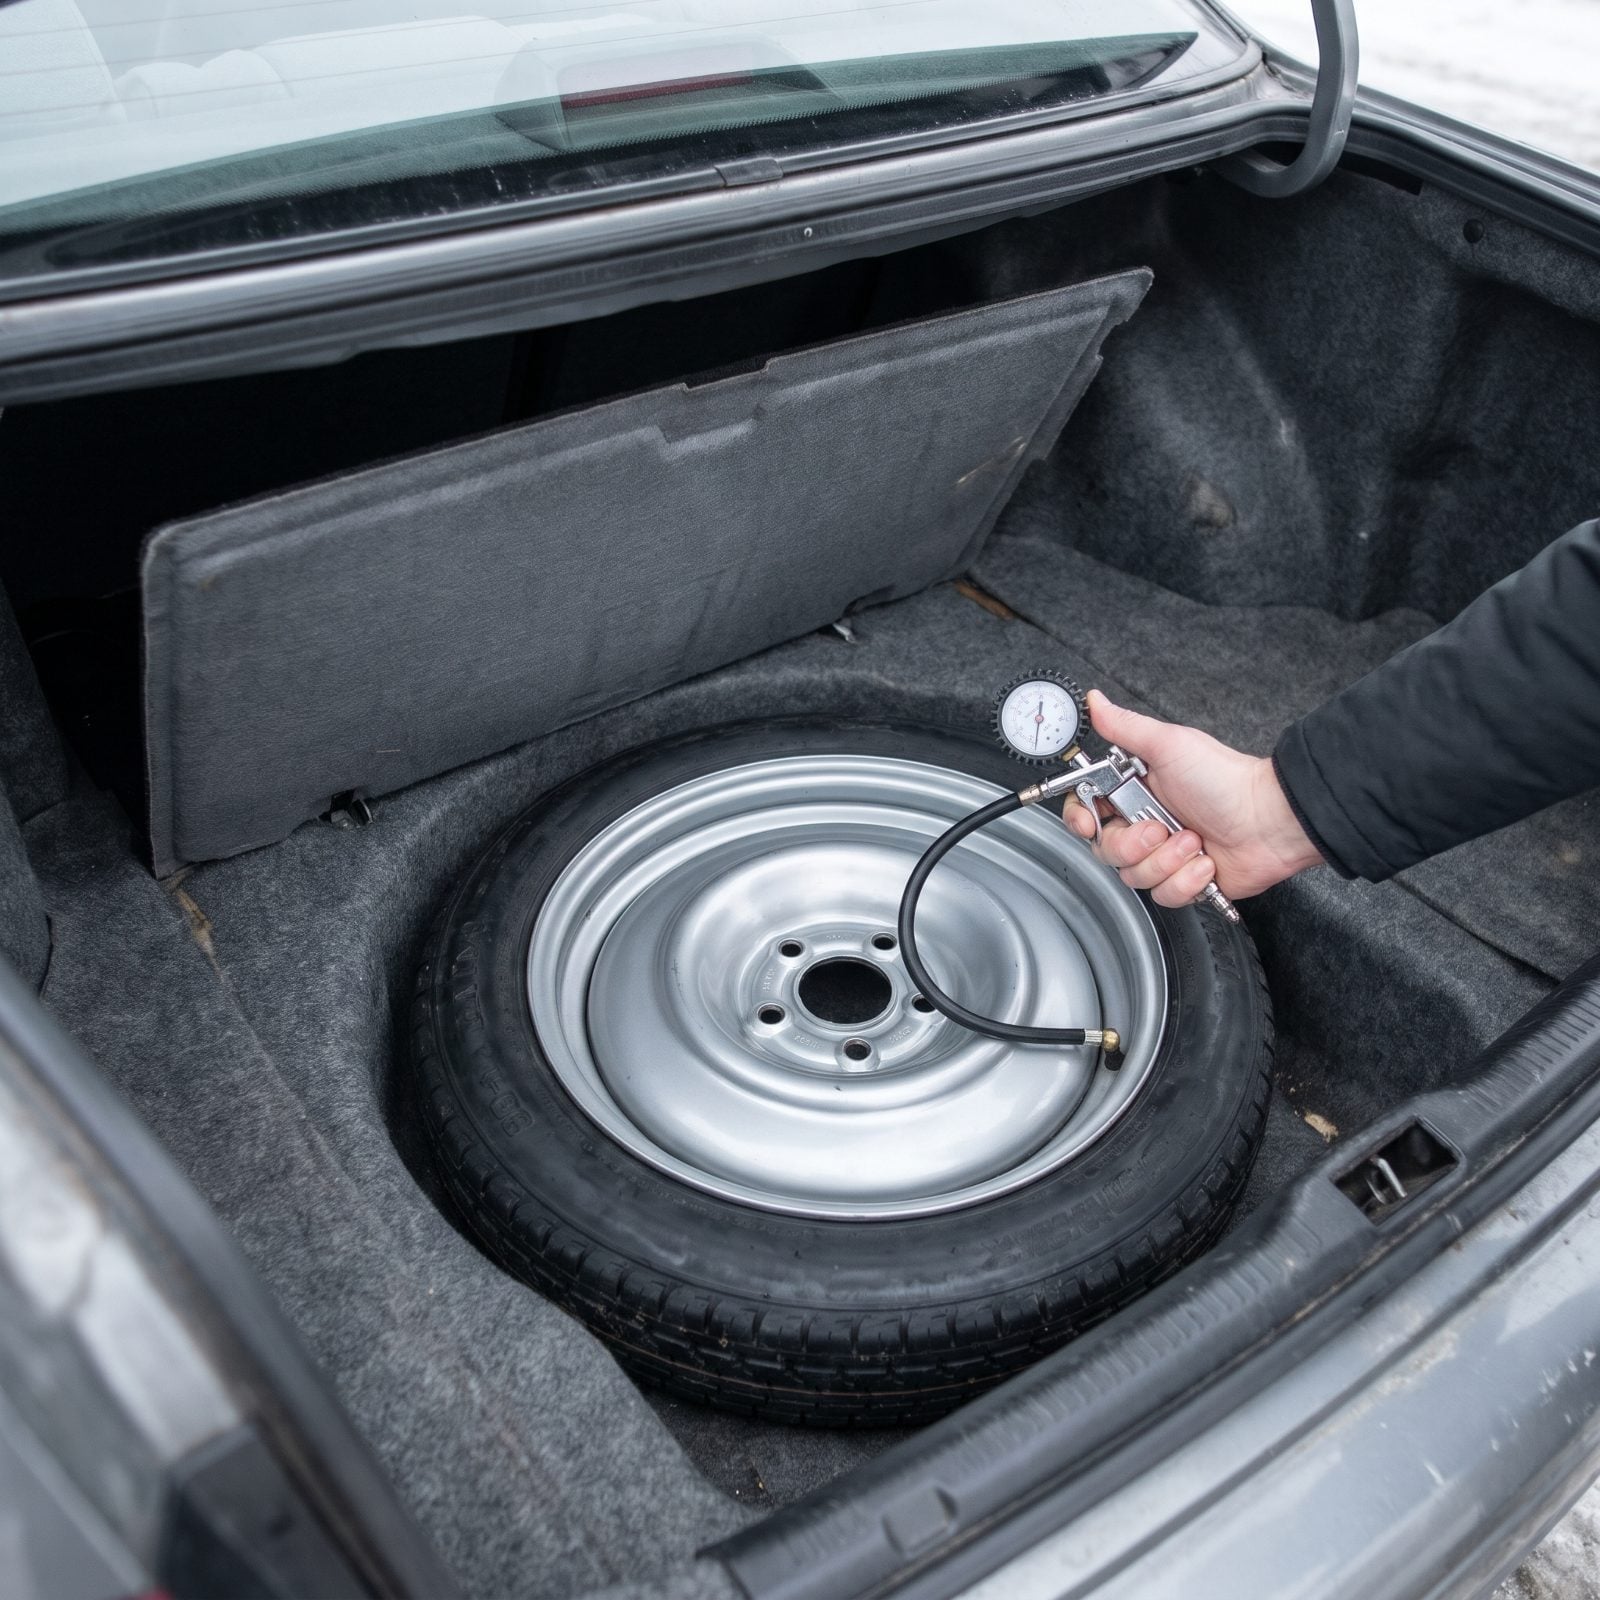
The spare only matters on the day you need it, and that’s always the worst possible day. A flat spare is the cruelest surprise in motoring — found on a freezing shoulder with the real tire already in pieces.
Lift the trunk floor and put a gauge on it. Space-saver spares usually want 60 PSI, far higher than your road tires, and they bleed down slowly over years of sitting ignored in the dark. Full-size spares should match your regular pressure. While you’re down there, make sure the thing is actually bolted in and not sliding around loose. And if yours uses an inflation kit instead of a spare? Check the sealant canister’s expiration date. That stuff goes bad.
30. Locate the Wheel Lock Key
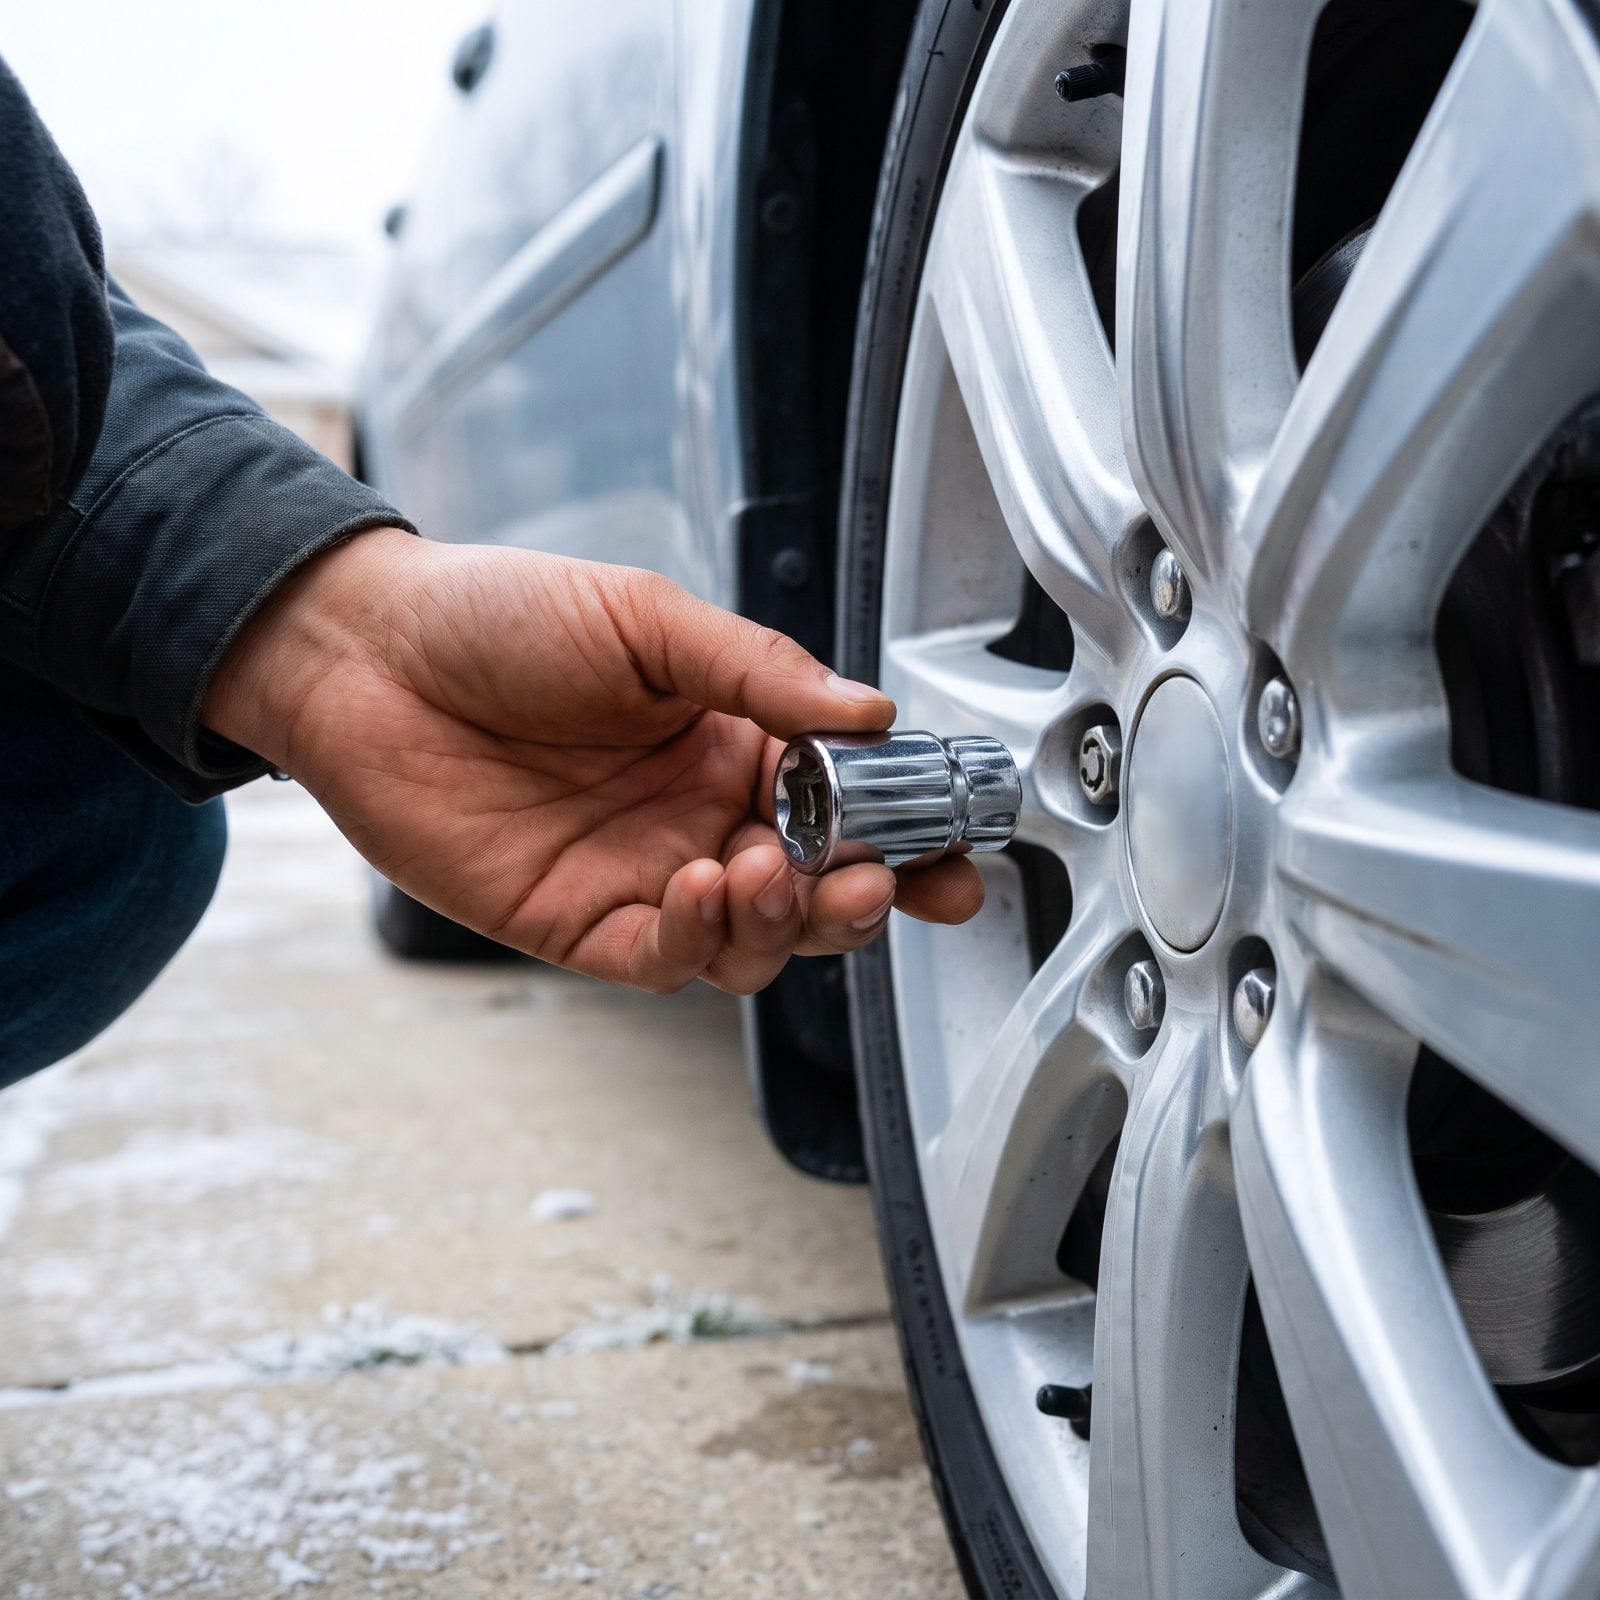
Locking lug nuts keep your wheels from being stolen. They also keep you from changing your own flat if the special key has wandered off, which it loves to do. A tow truck driver can’t get your wheel off without it either.
Hunt it down now. The usual hiding spots are the glove box, the center console, the trunk tool kit, or rattling around loose in the spare well. It’s a small chrome socket with an odd keyed pattern. Once you find it, zip-tie it to the jack handle so it travels with the tools it belongs next to. Lose it on the road and your choices narrow to a specialty extraction kit or a flatbed.
29. Confirm Jack and Lug Wrench Work
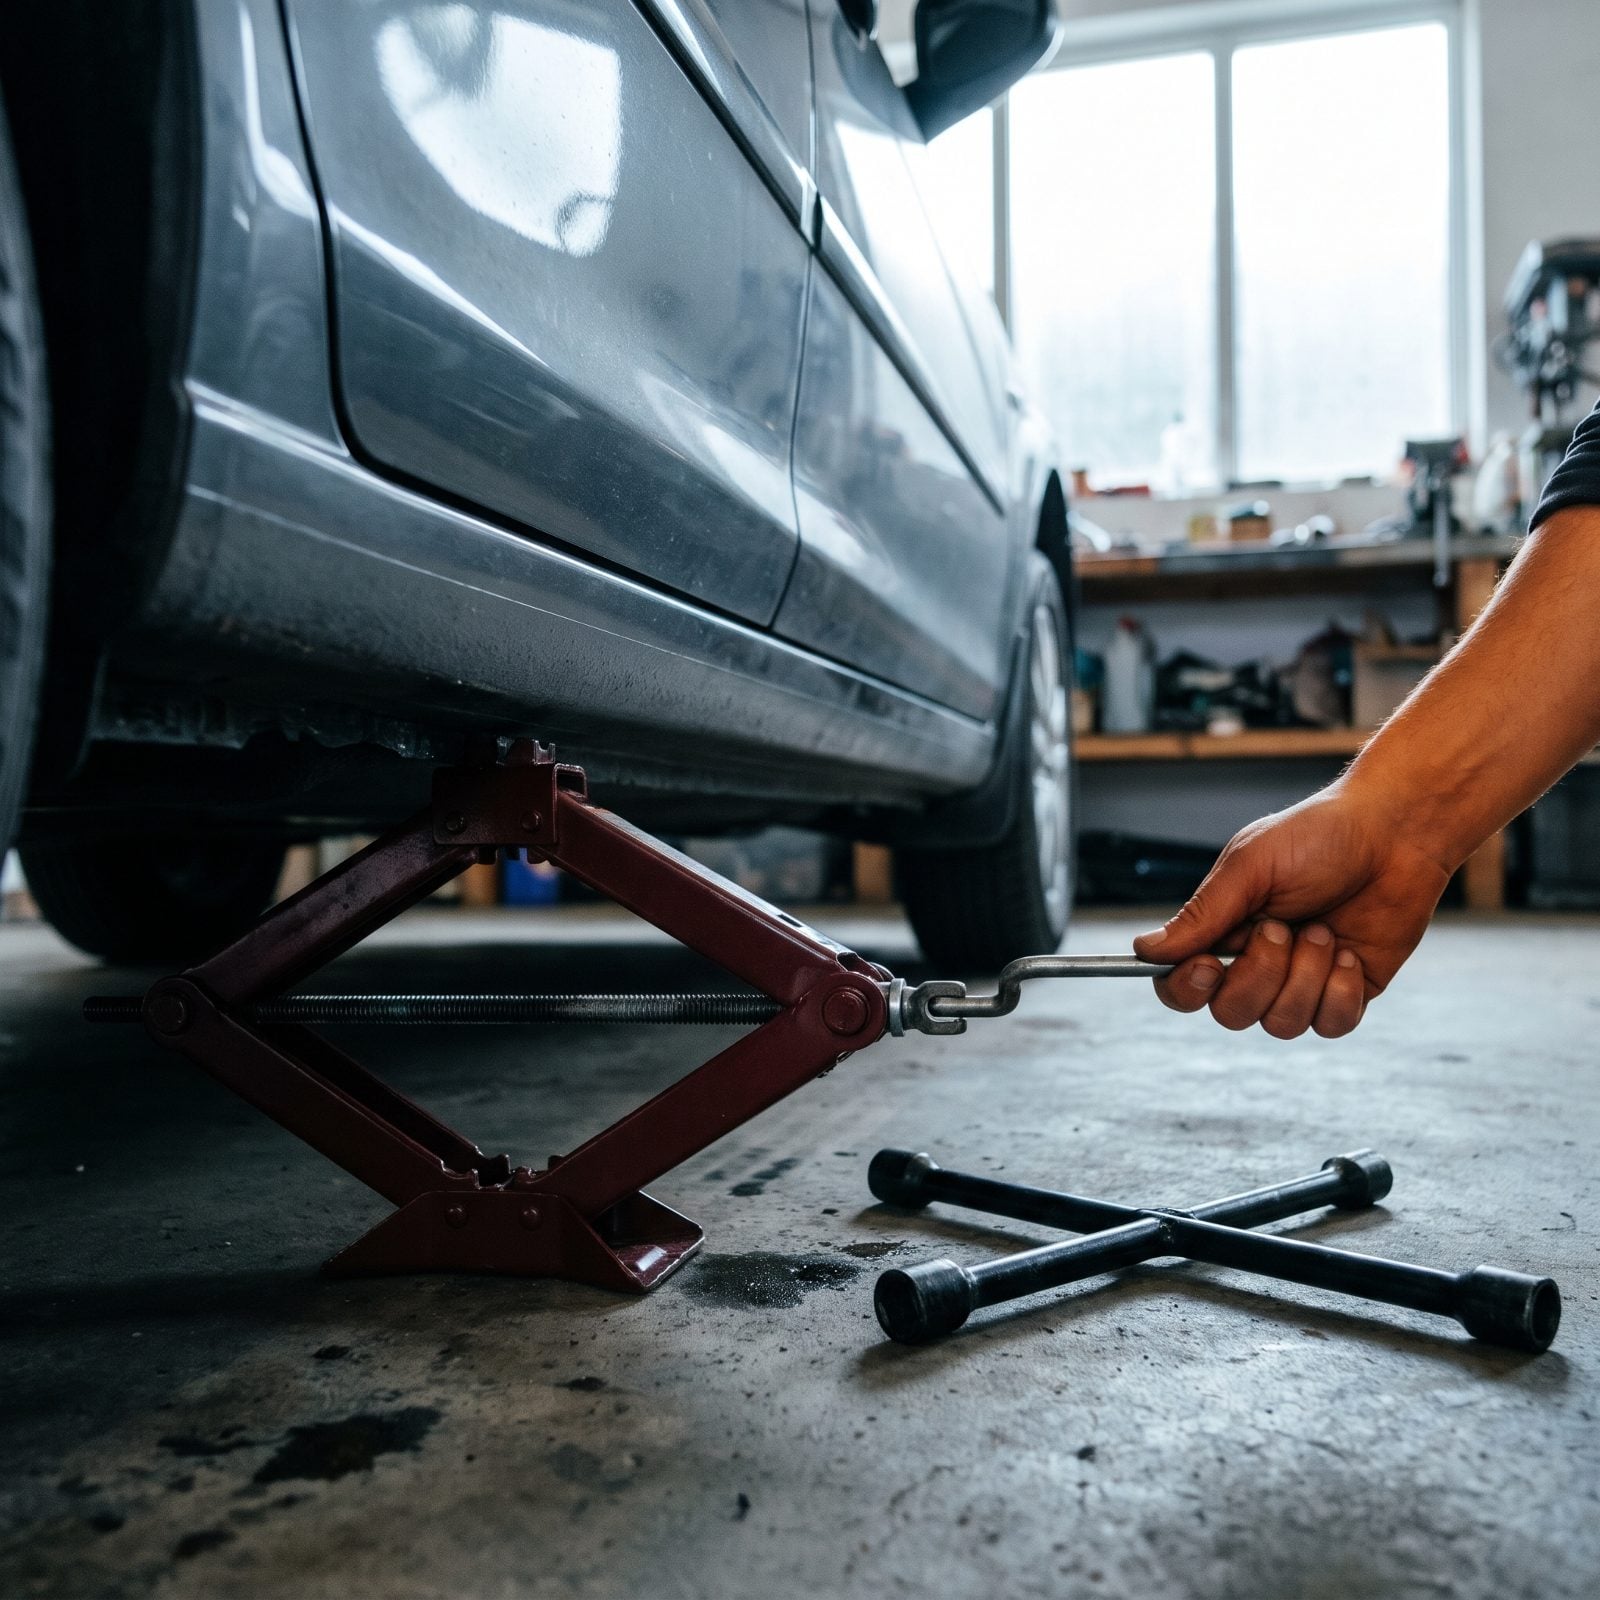
A jack seized from years of sitting is useless, and you only find out when the car’s already crippled on the roadside. Same deal with a lug wrench that doesn’t actually fit the nuts on your car.
Pull everything out and run it. Crank the jack up and down through its full range so you know the thread isn’t rusted solid, and dab a little grease on it if it’s dry. Then set the lug wrench on a nut and confirm it seats properly. Factory wrenches are famously short and give you almost no leverage on a nut some gorilla with an impact gun torqued at the shop.
28. Re-Torque Lug Nuts to Specification
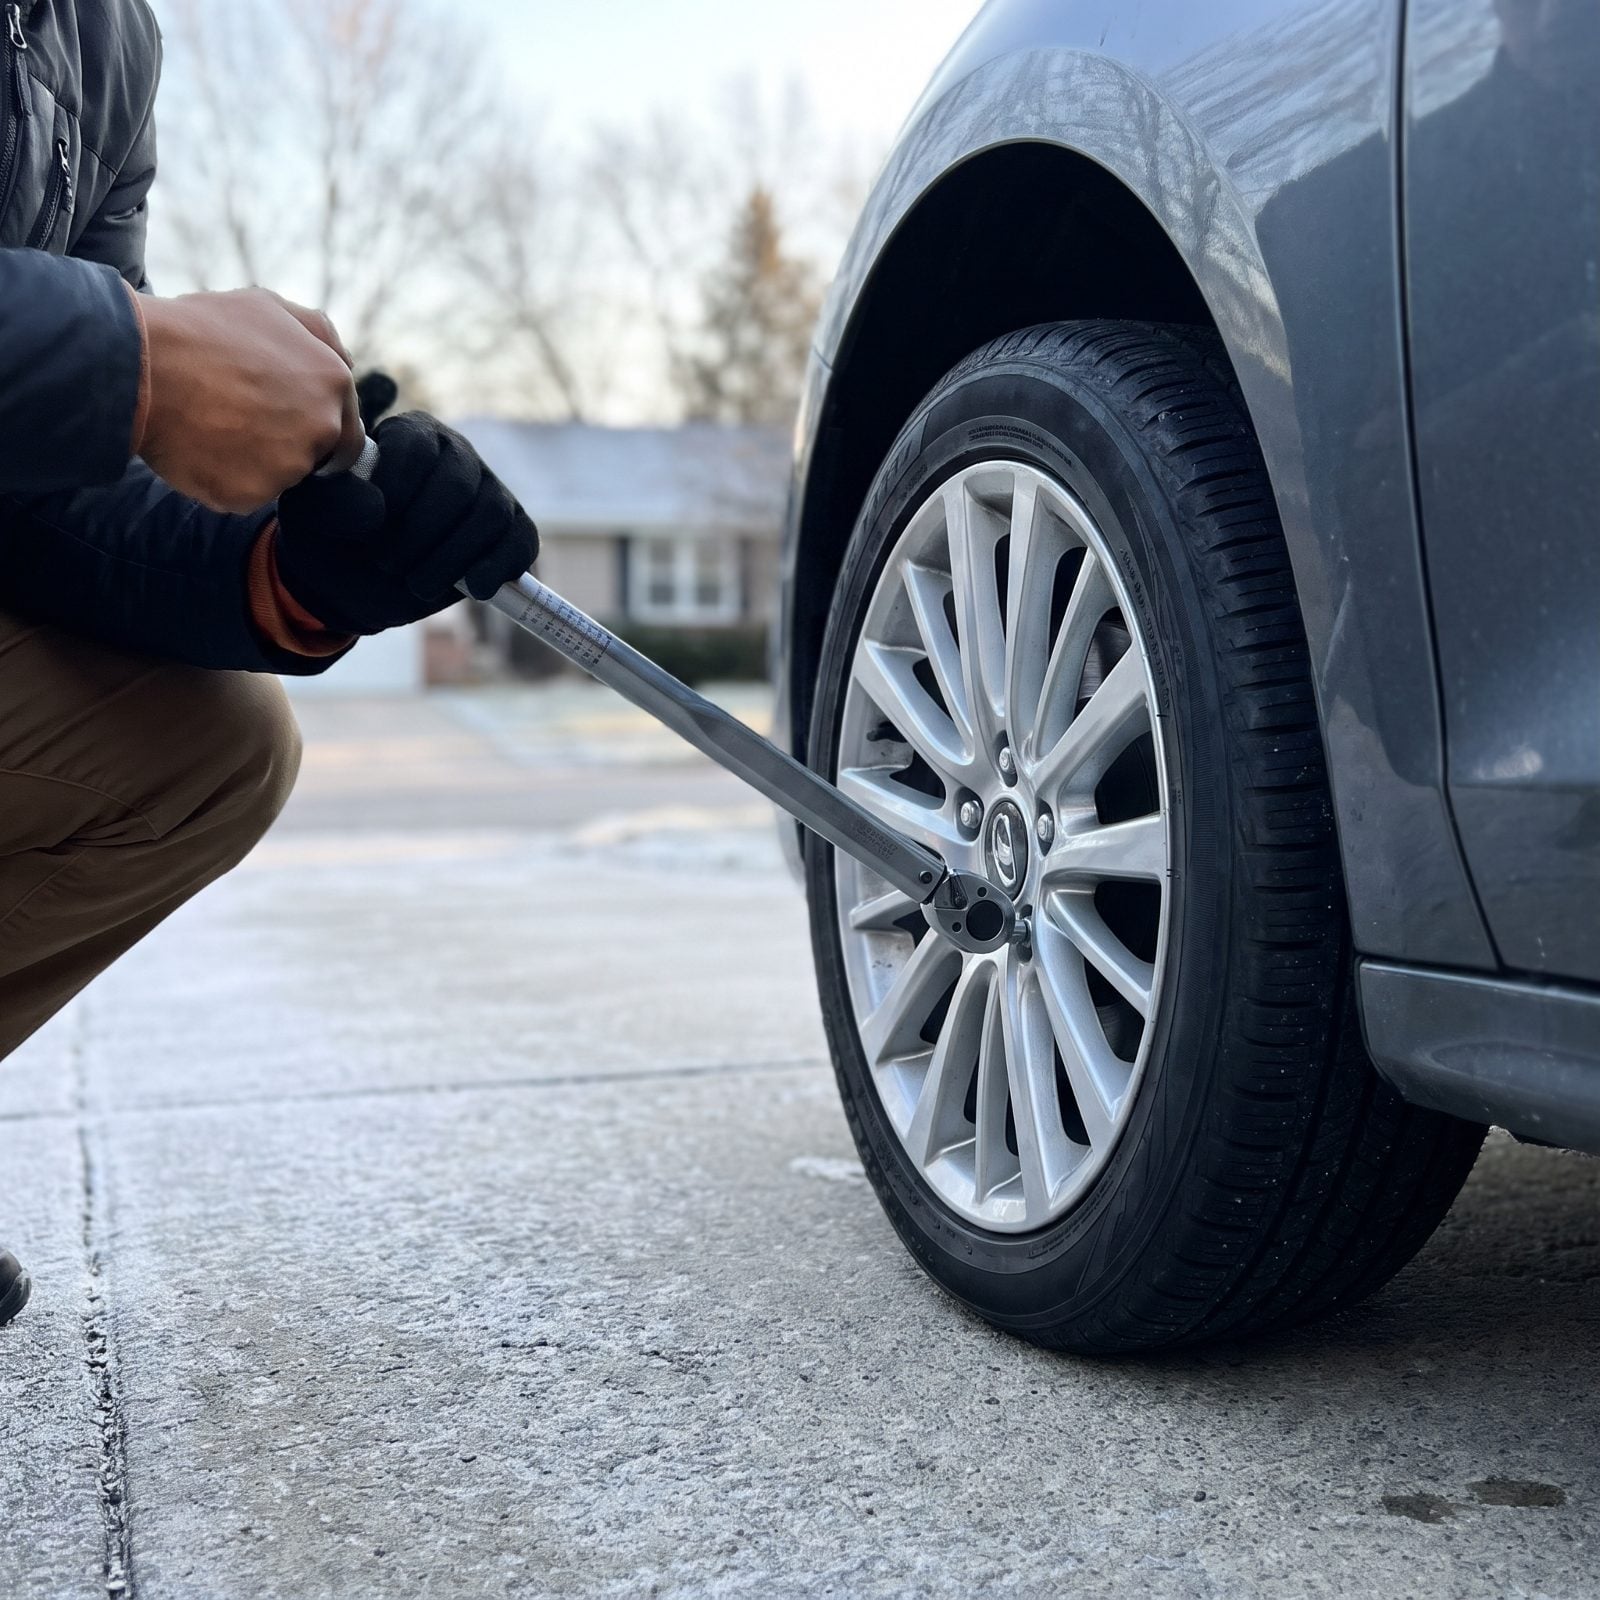
Had tires rotated, swapped to winters, or pulled a wheel off recently? The nuts need checking. Shop air guns love to overtighten, and nuts can settle and loosen in the first hundred miles after a change. A wheel that walks off at speed is not a story you want to star in.
Use a torque wrench, not muscle and guesswork. Most passenger cars want somewhere between 80 and 100 lb-ft, but look up your exact spec before you lean on anything. Tighten in a star pattern, never a circle, so the wheel pulls down evenly against the hub. Did the swap yourself? Drive 50 to 100 miles, then re-check them. They’ll have moved.
Snug isn’t a number. A torque wrench is cheap insurance against the worst roadside story there is.
27. Check Wheel Alignment Warning Signs
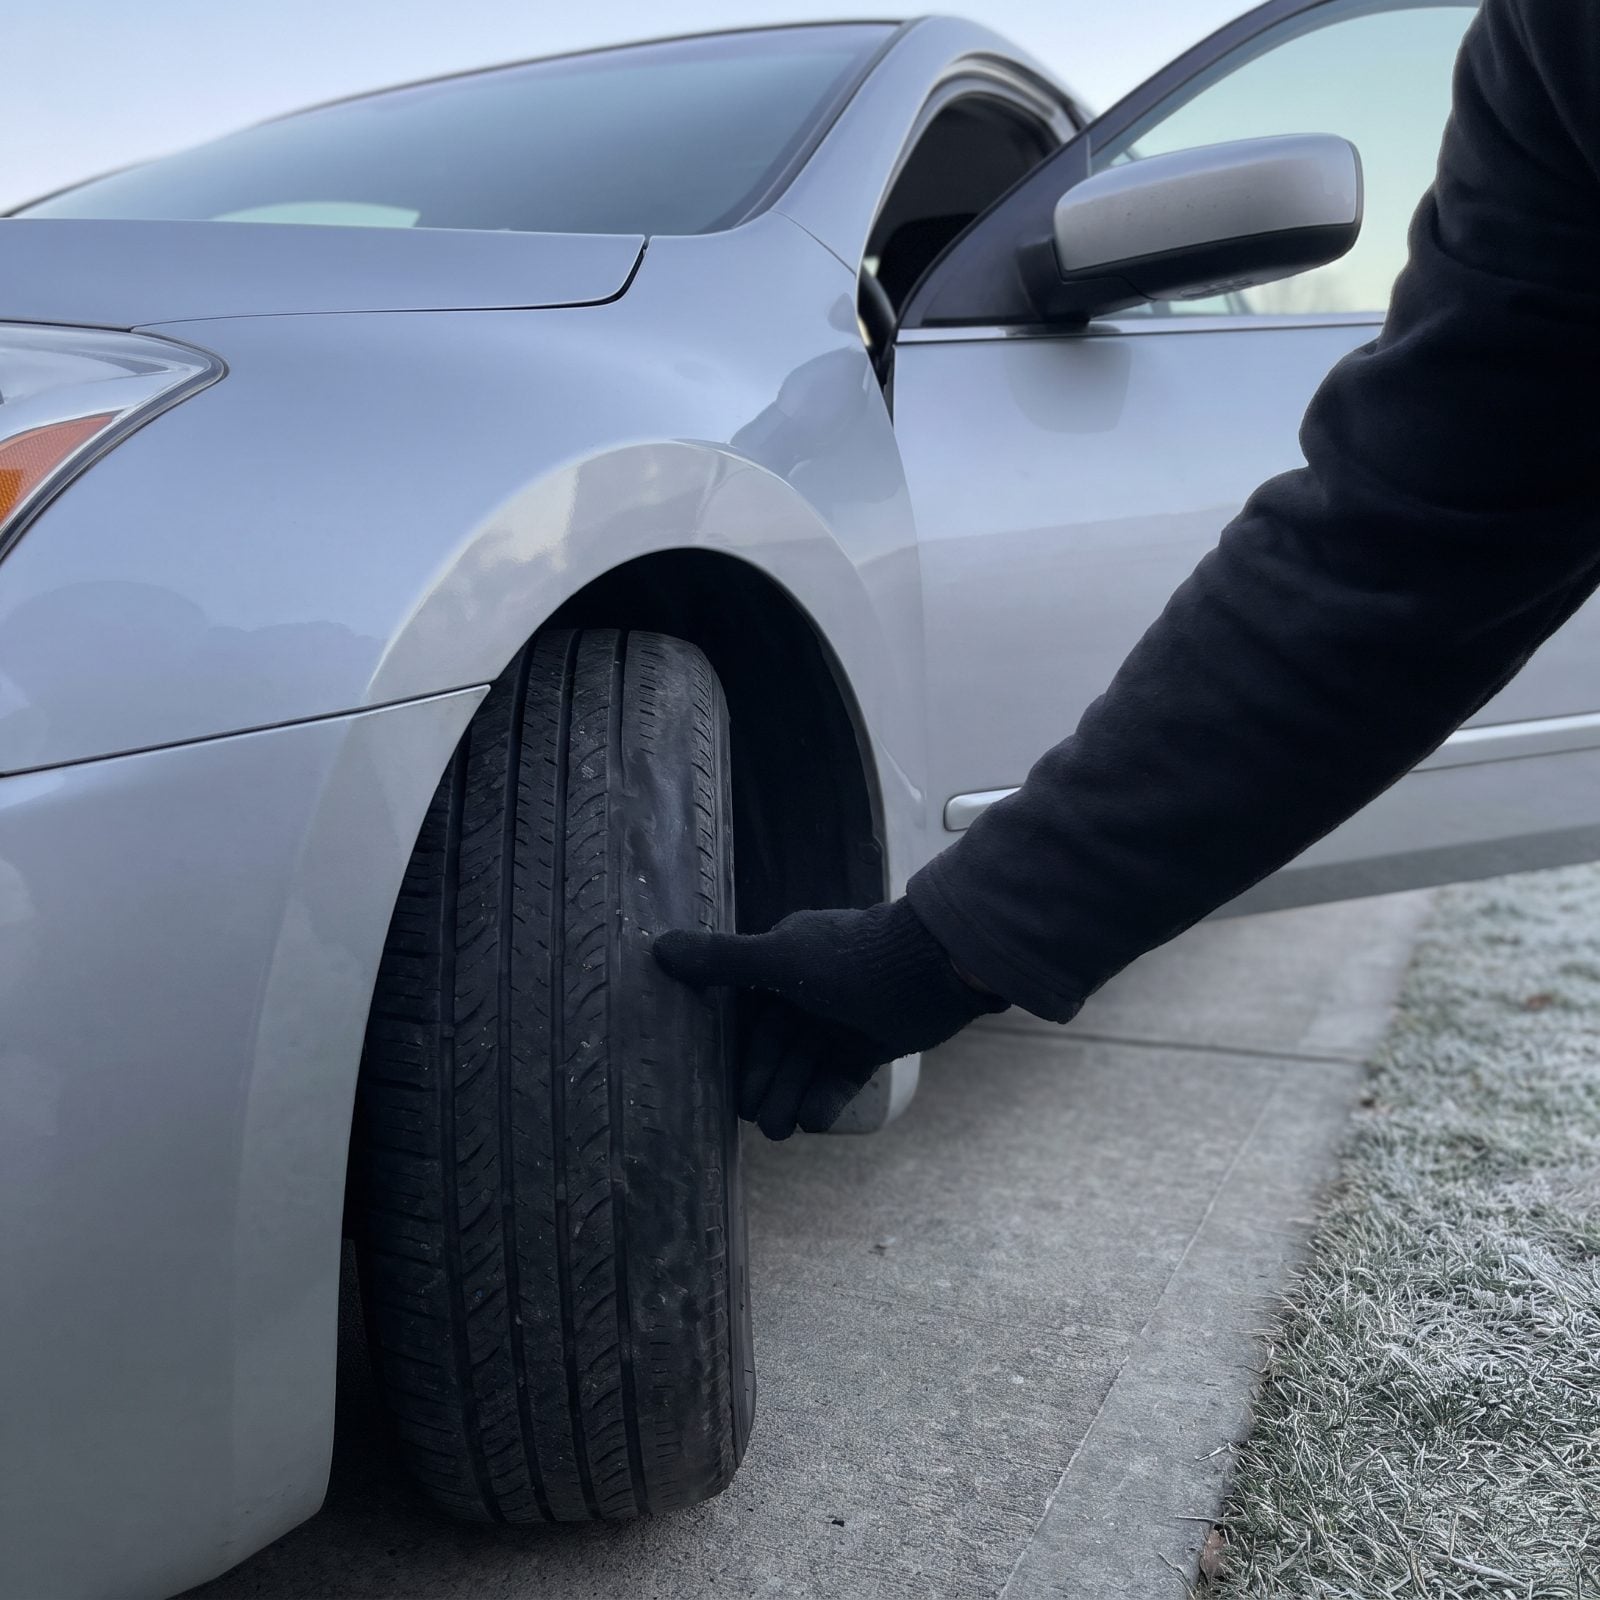
A car that drifts toward the shoulder when you let the wheel go for a second is telling you something, and so is a steering wheel that sits cocked when you’re pointed dead straight. Ignore it and a long highway stretch will chew through the inside edge of a front tire while the outside still looks brand new.
Run your fingers across the inner shoulder of each front tire. Feel for a band that’s noticeably thinner than the rest, or a feathered edge where the tread blocks slope to one side. That’s alignment, not bad luck.
26. Inspect Wiper Blades for Splits
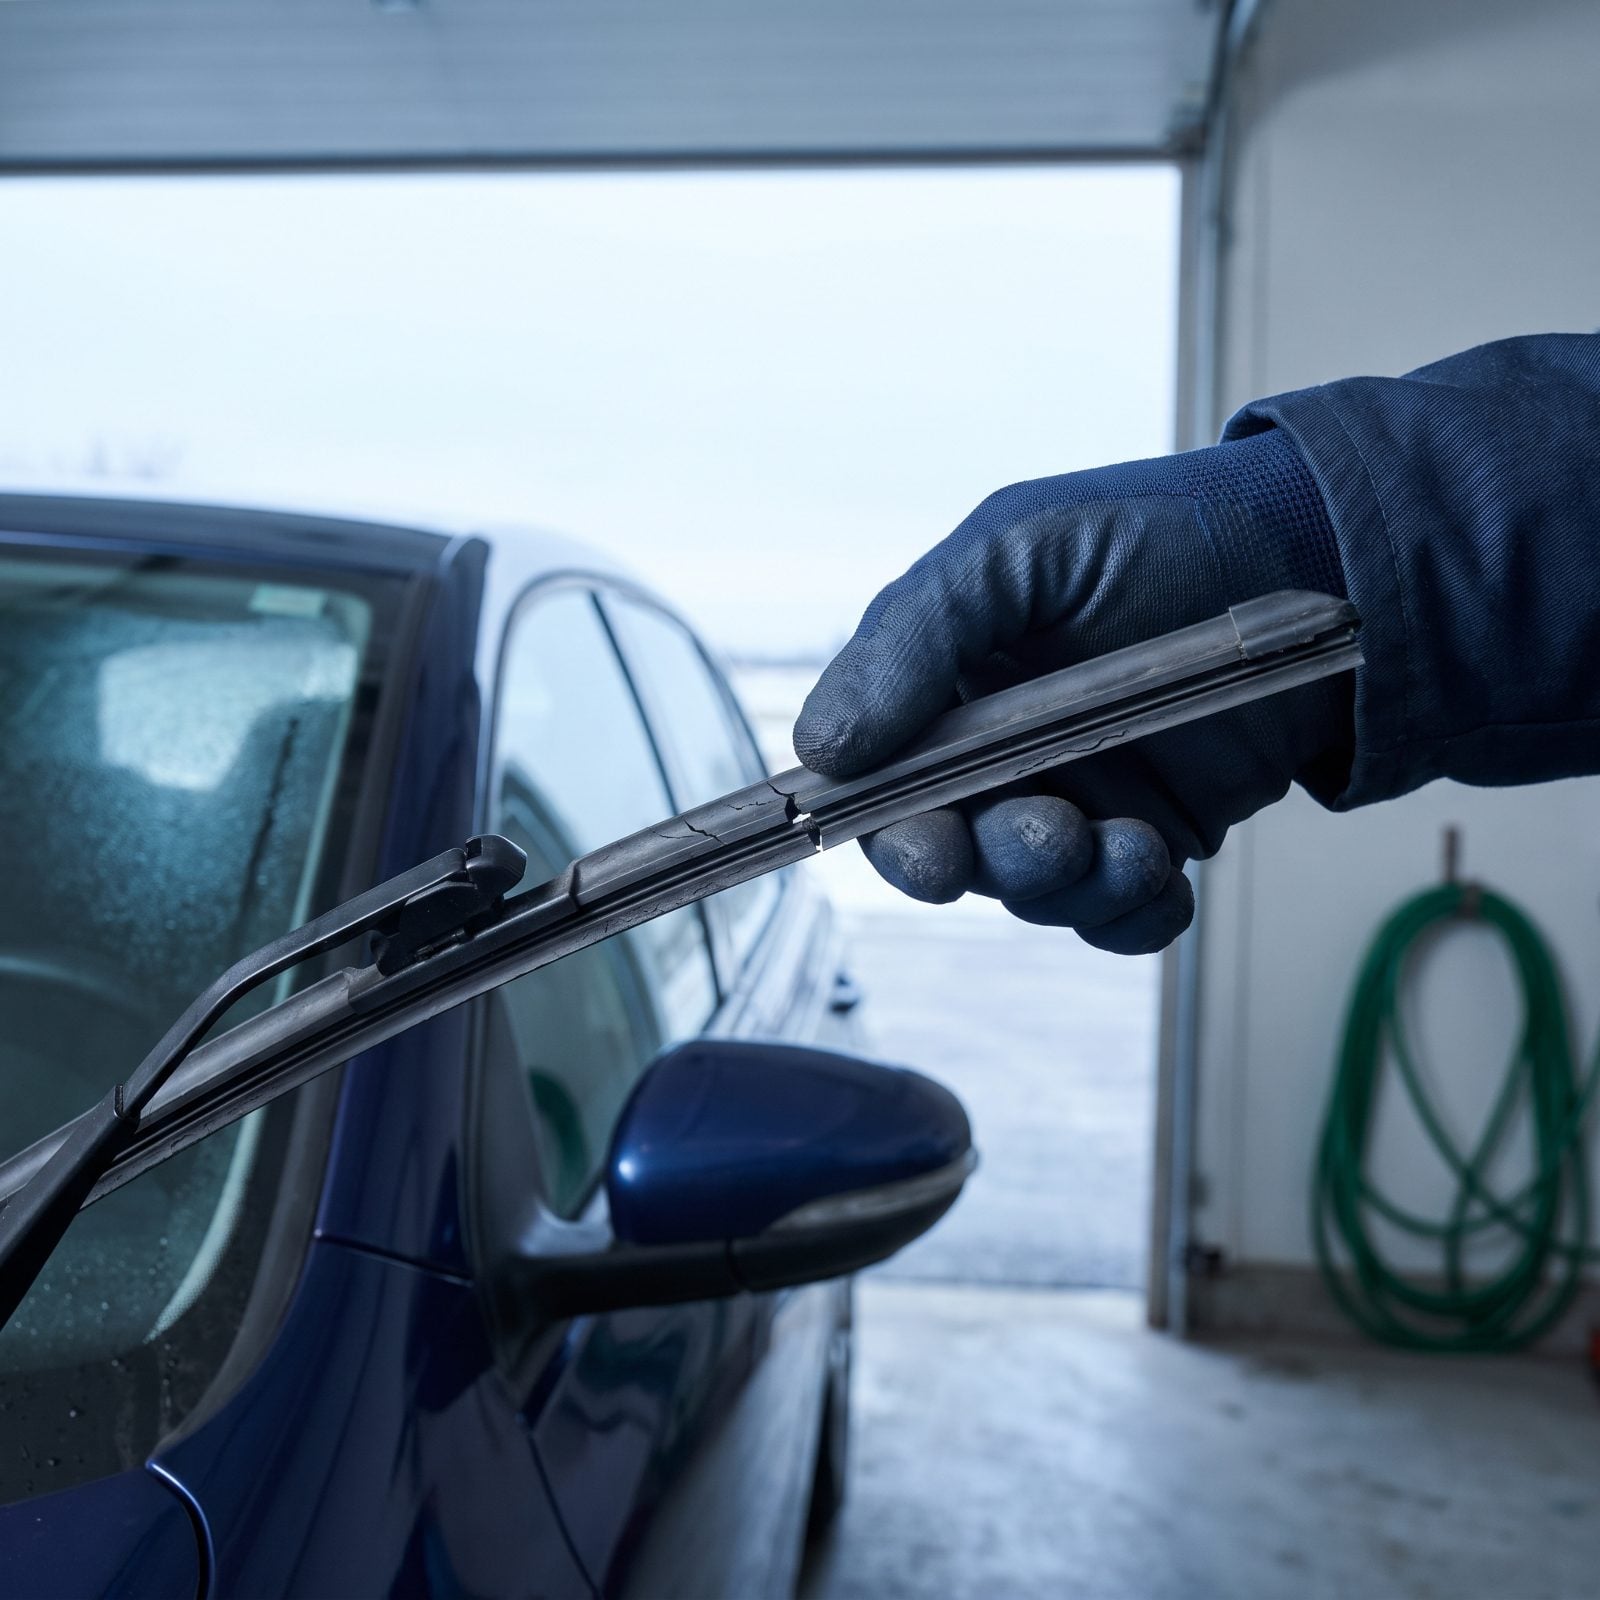
Wiper rubber dies from the edge in. By the time you notice the streak, the blade’s been smearing your sightline for weeks.
Lift each arm off the glass and bend the rubber back with a fingertip. Look for cracks across the lip, a hardened shiny edge, or spots where the rubber has torn away from the frame. Drag your nail along it too — a good blade feels like a clean soft lip, a dead one feels stiff and chipped.
Replacing them every fall can feel like overkill — until you spend one December drive peering through a wet gray haze at 65. Make it non-negotiable. Winter rain mixed with road salt is the worst thing you can ask an old blade to clear.
25. Fill Washer Reservoir With Winter Fluid
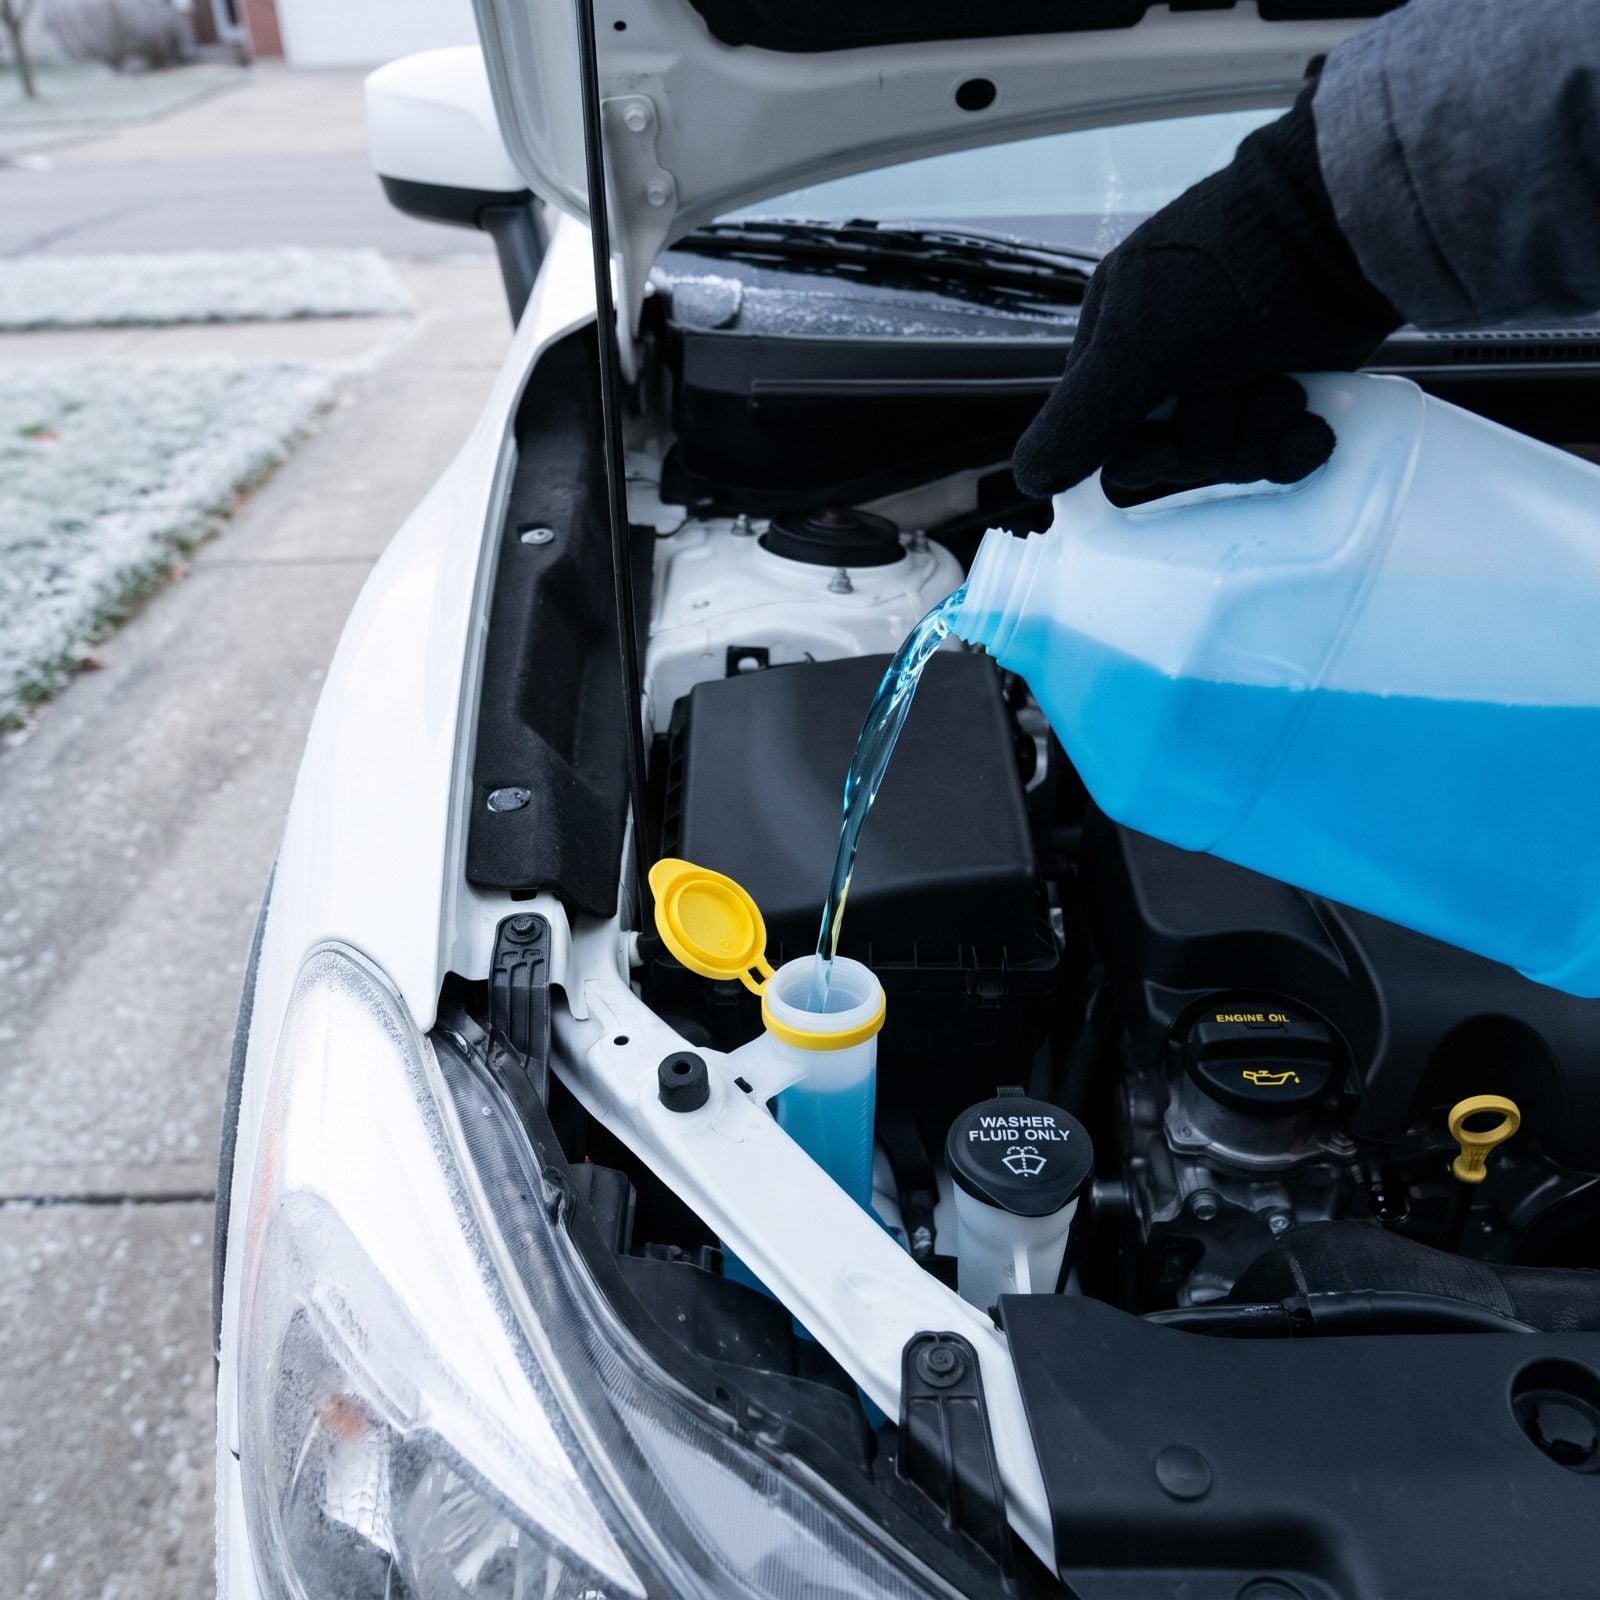
Summer washer fluid freezes. Simple as that. Top off with the watered-down stuff and the first hard cold night turns your reservoir into a block of ice, which can split the tank or the pump — and then you’ve got salt spray on the glass and nothing to clear it.
Grab fluid rated to at least minus 20, lower if you’re heading somewhere genuinely frigid, and pour it in until you see it near the top of the fill neck.
24. Test Front and Rear Washer Jets
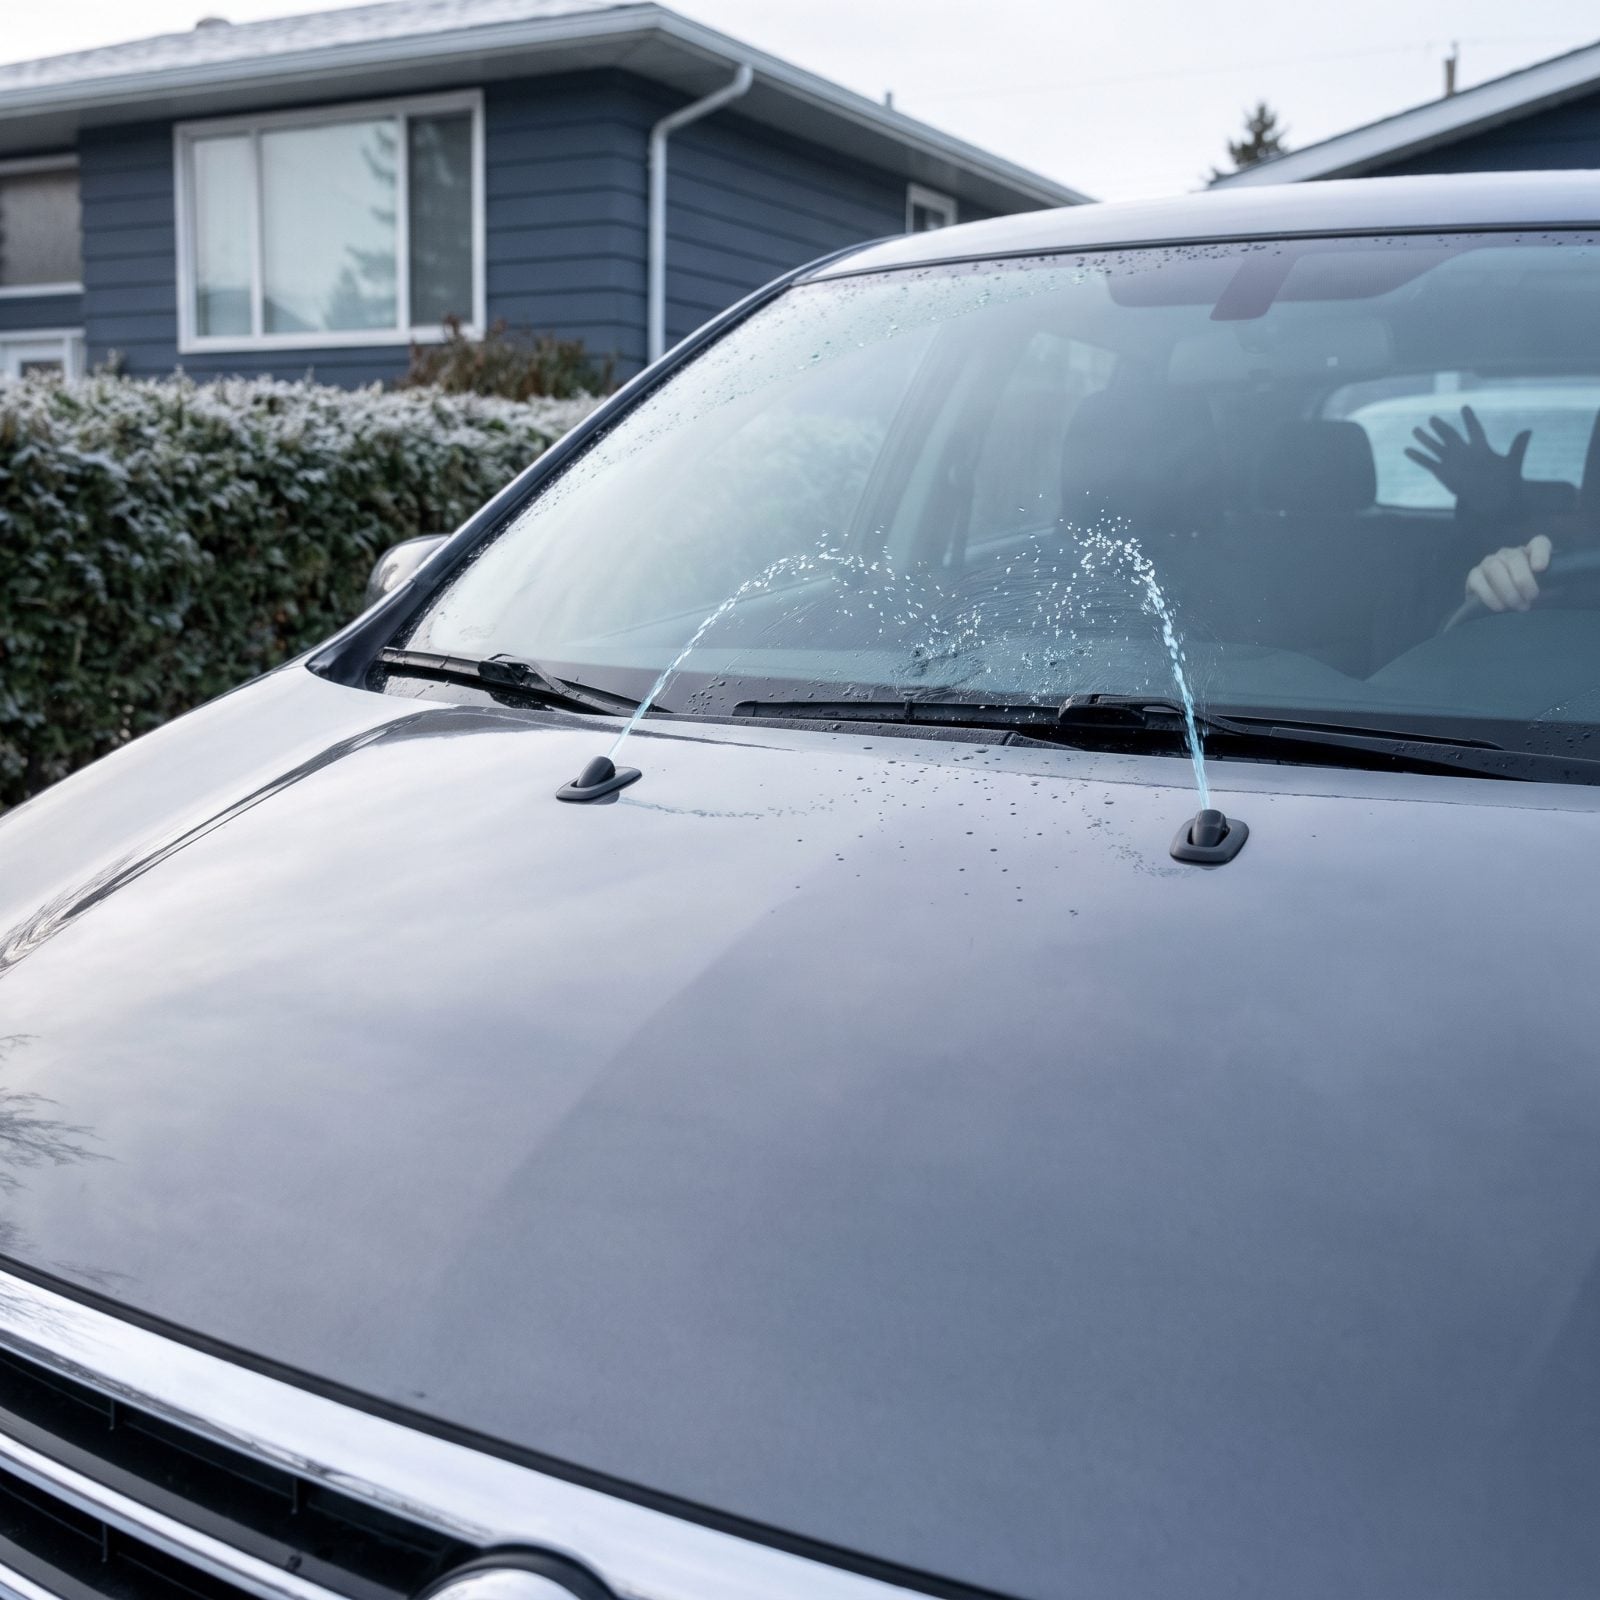
A full reservoir means nothing if the nozzles are clogged. Grit, wax, and dried fluid plug the tiny jet holes, and you find out at the worst possible moment.
Run both the front and the rear washer, then watch where the spray lands. You want the stream hitting high and wide across the sweep zone, not dribbling down the hood or firing off to one side.
Clogged jet? A sewing pin or a strand of fine wire clears the hole in seconds. People forget the rear entirely until a truck flings slush across the hatch and the back glass goes solid gray.
23. Verify Defroster Clears Windshield Quickly
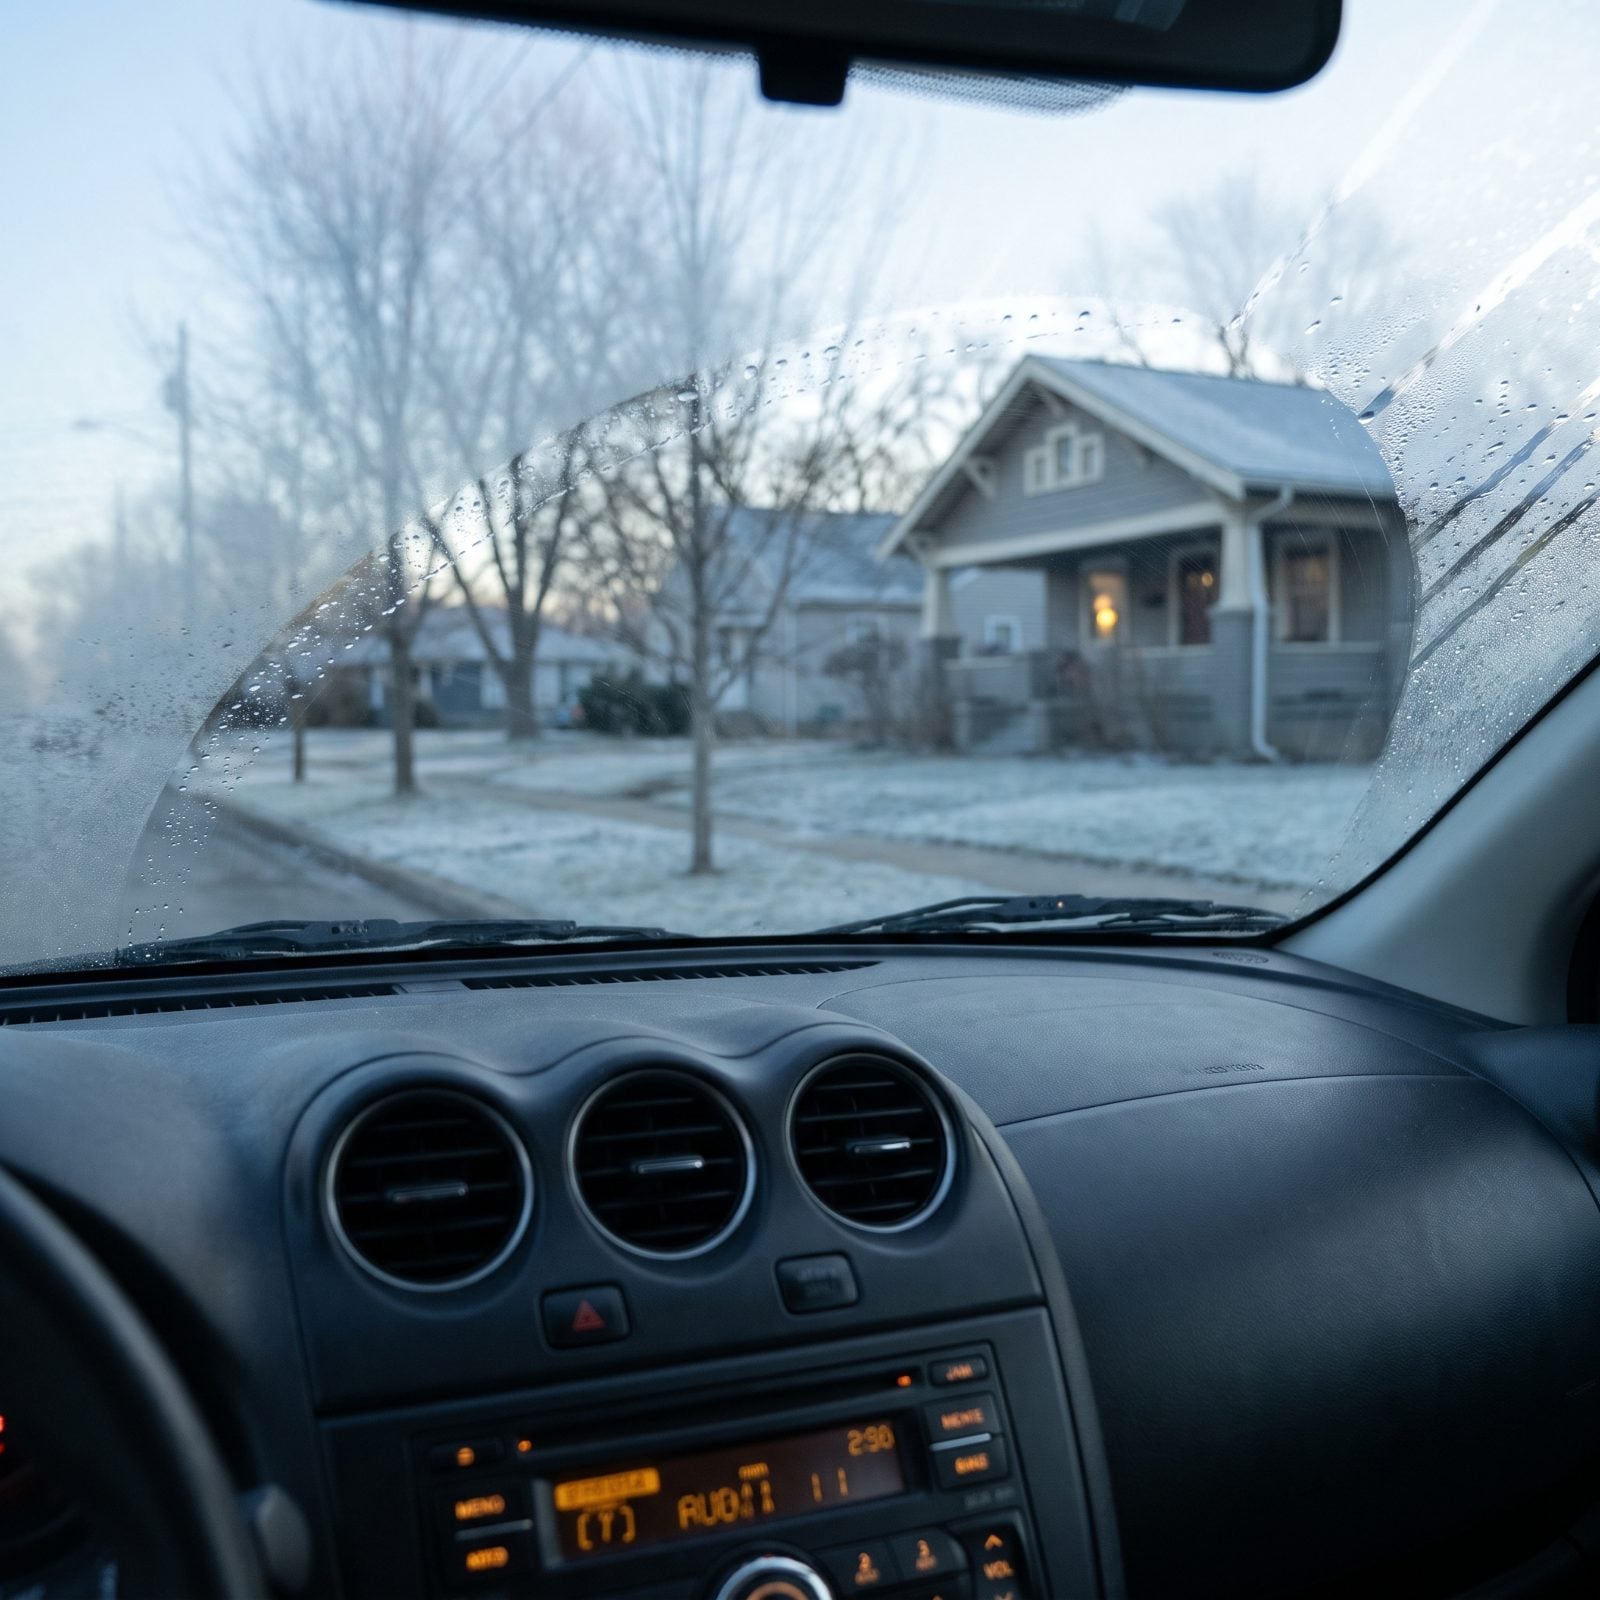
You’ve sat in the cold car watching the fog crawl off the glass at a snail’s pace, late already, scraping a peephole with your sleeve. A slow defroster usually points to a tired cabin air filter, a weak blower, or a heater core that isn’t pulling its weight.
Start cold. Set the defrost to max, high fan, windshield vents. A healthy system clears the driver’s view within a couple of minutes, not ten.
22. Test Cabin Heater at Full Output
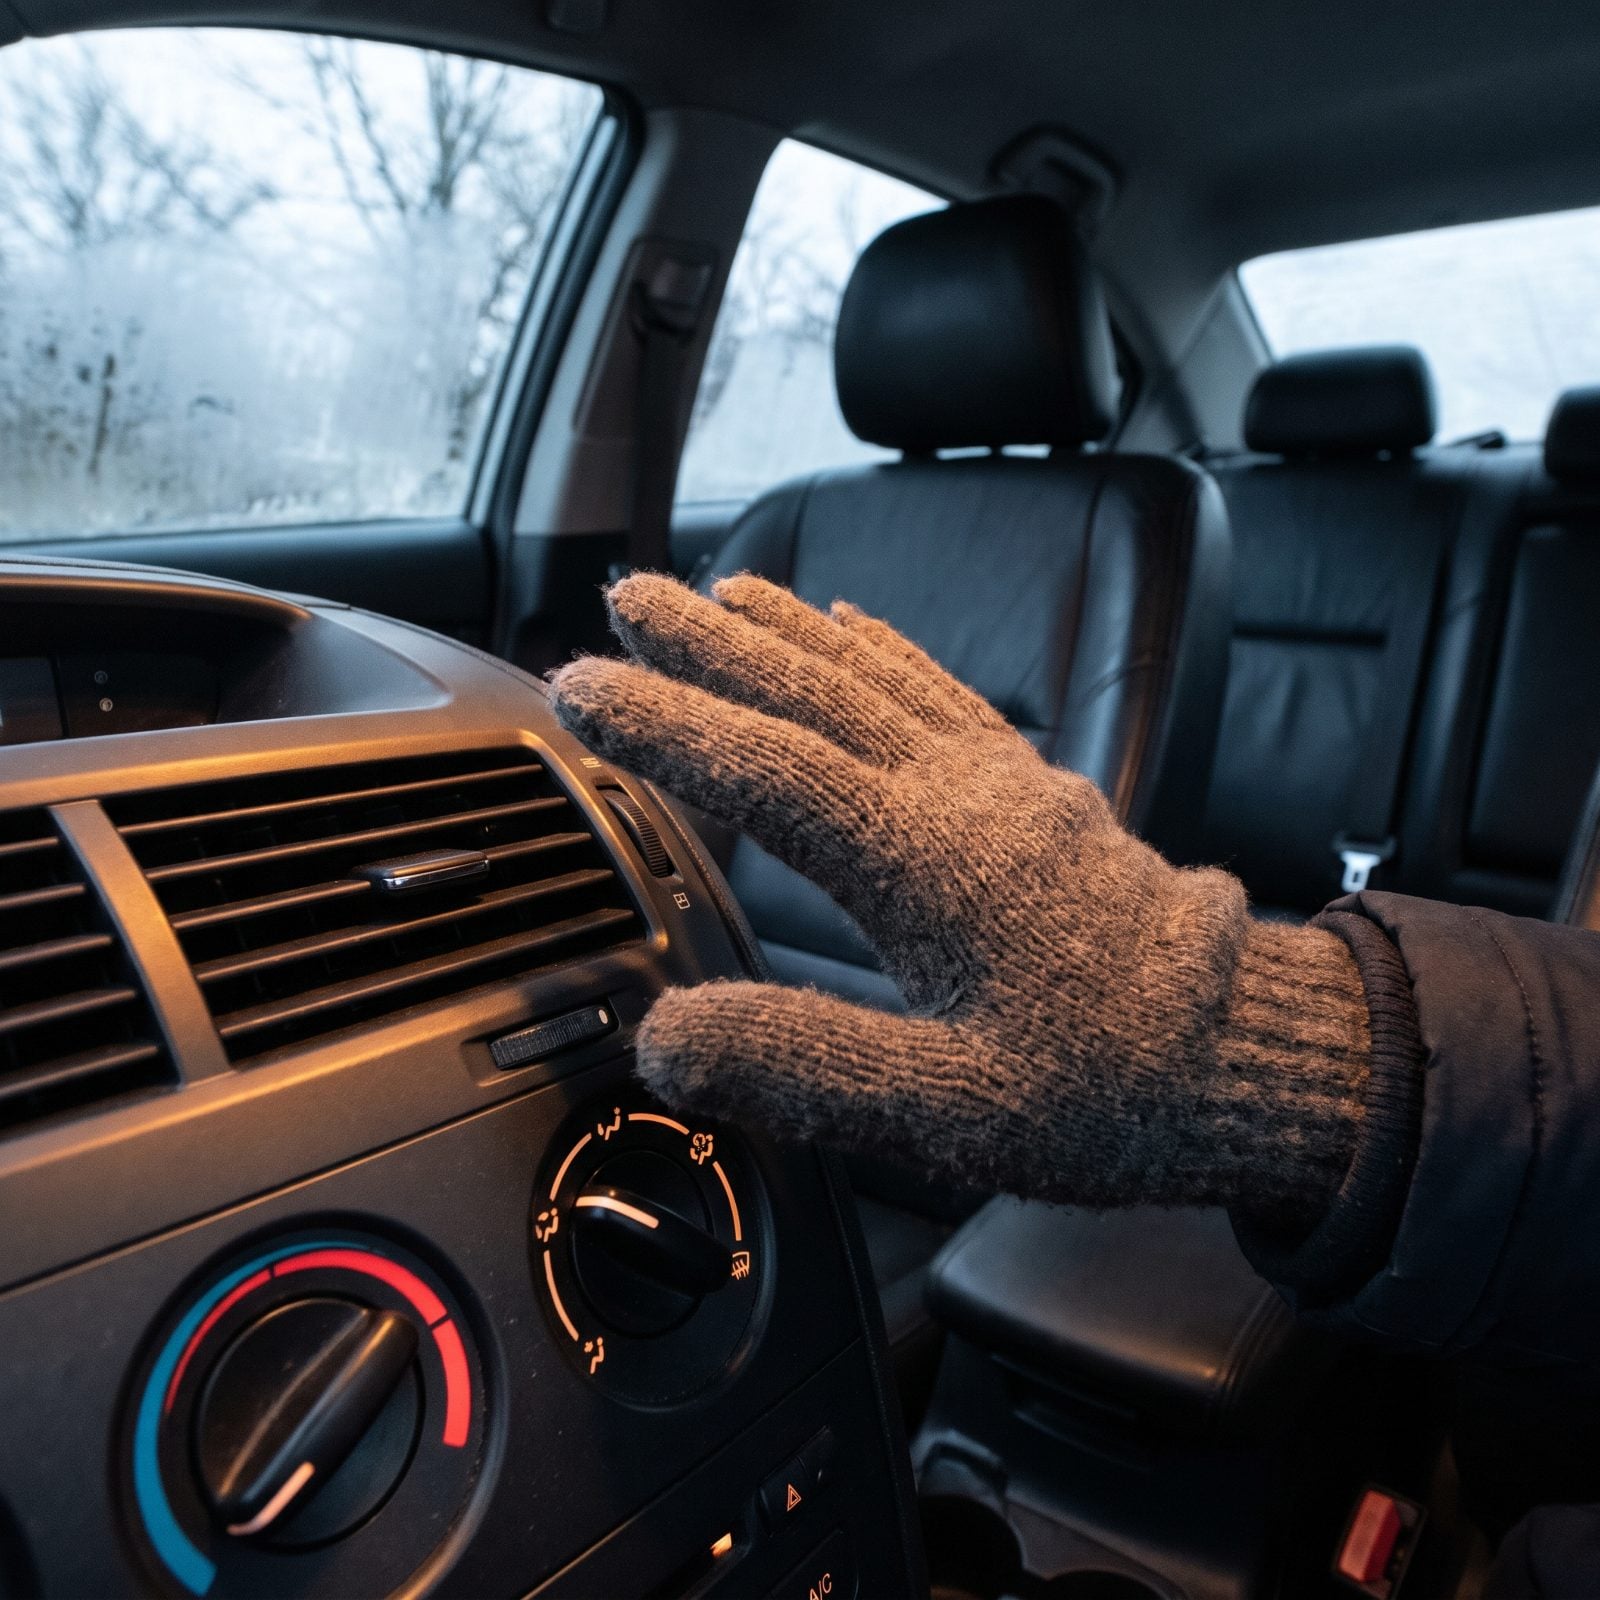
A heater that blows lukewarm after ten minutes of driving will make a four-hour trip miserable, and it can leave you fighting a fogged windshield the whole way. Usual suspects: low coolant or a tired thermostat stuck open.
Let the engine reach operating temperature, then crank the heat to full and hold a hand to the center vent. You want genuine heat, the kind you can’t rest your palm against for long.
Check your coolant while you’re at it — cold and at the reservoir, never the radiator cap on a warm engine. I learned that one the loud, steamy way, and I’d rather you didn’t.
21. Test Low and High Beam Headlights
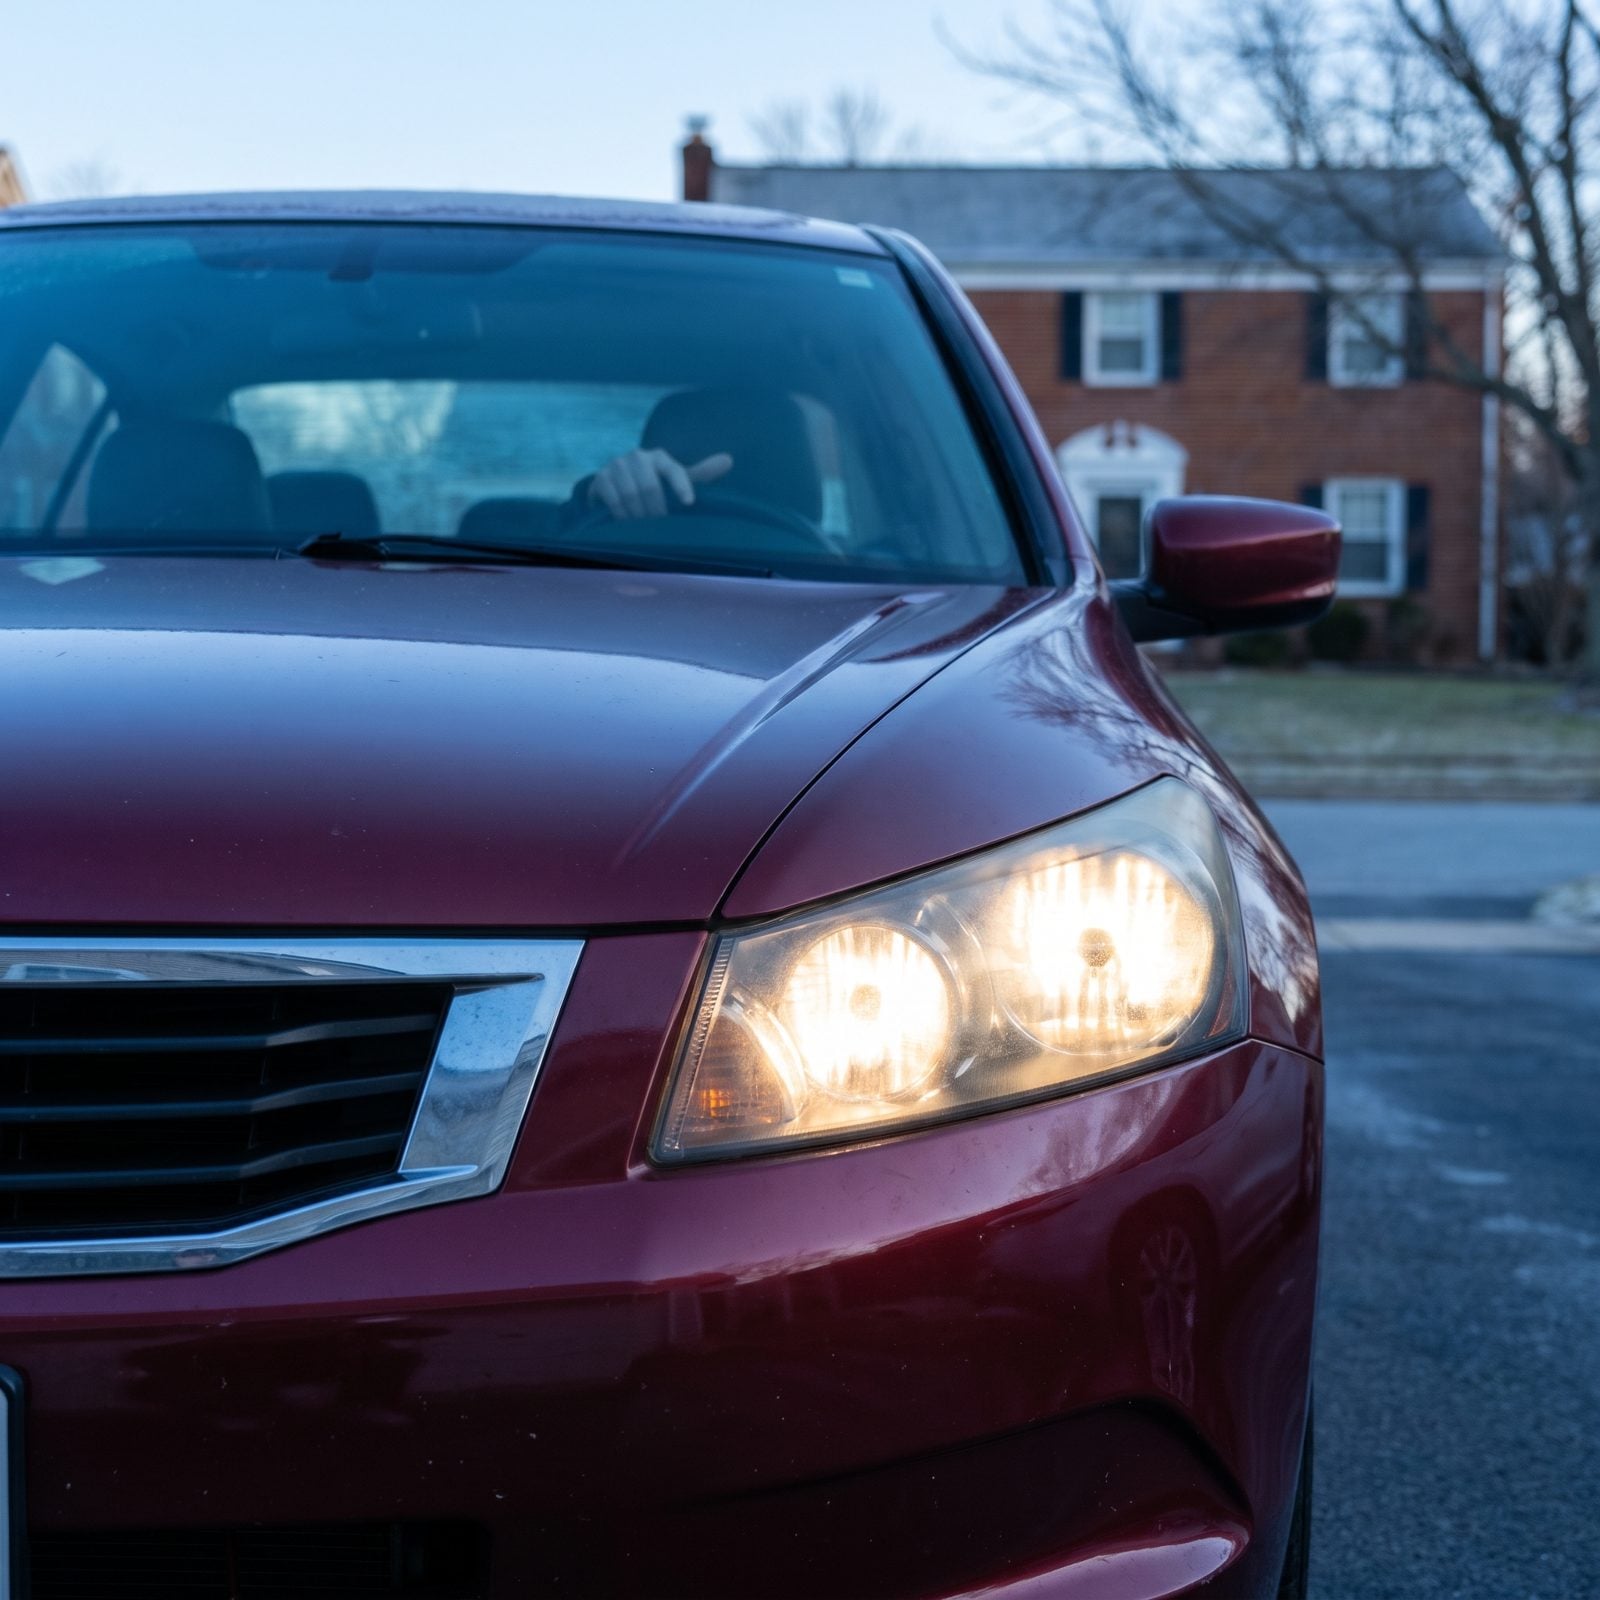
Winter means you’re driving in the dark half the time, and a single dead low beam is both dangerous and a ticket waiting to happen. Hazed, yellowed lenses cut your real output in half even when both bulbs work fine.
Park facing a garage door or wall. Flip low beams, then high beams, and walk around the front. Look for even brightness, both sides matching, a crisp beam pattern on the wall instead of a scattered glow.
20. Check Brake Lights With a Helper
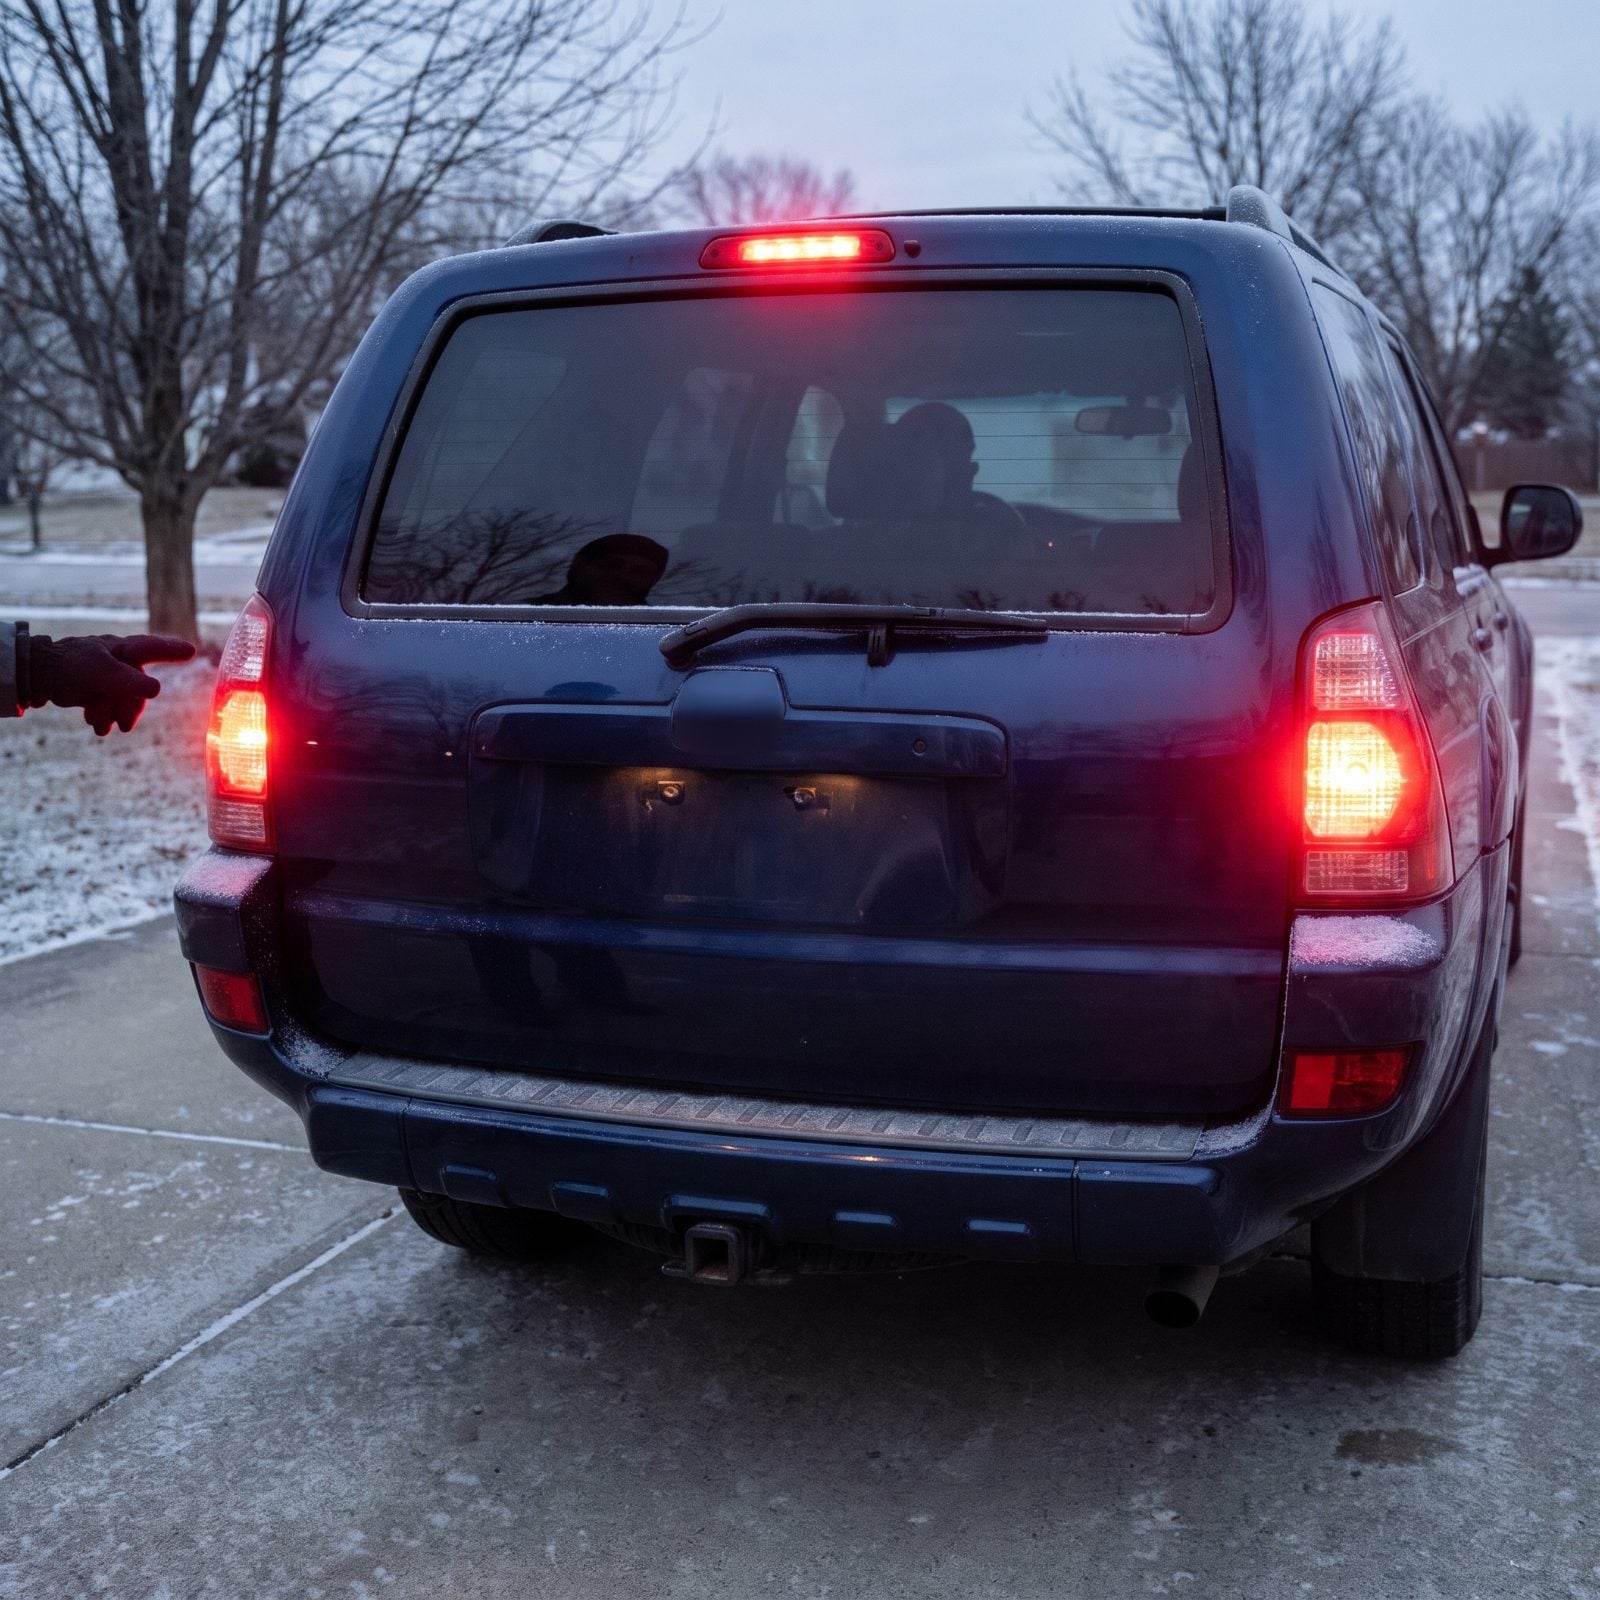
You never see your own brake lights. That’s the whole problem. A burned-out one means the driver behind you gets no warning you’re slowing, which is exactly how holiday rear-enders happen on packed interstates.
Grab someone. Have them stand behind the car while you press the brake pedal, and check all three — both tail corners and the high-mount light up in the back glass.
No helper around? Back up close to a garage door or a reflective surface and watch the red glow bounce back when you press the pedal. Not elegant, but it works.
19. Verify Turn Signals and Hazard Flashers
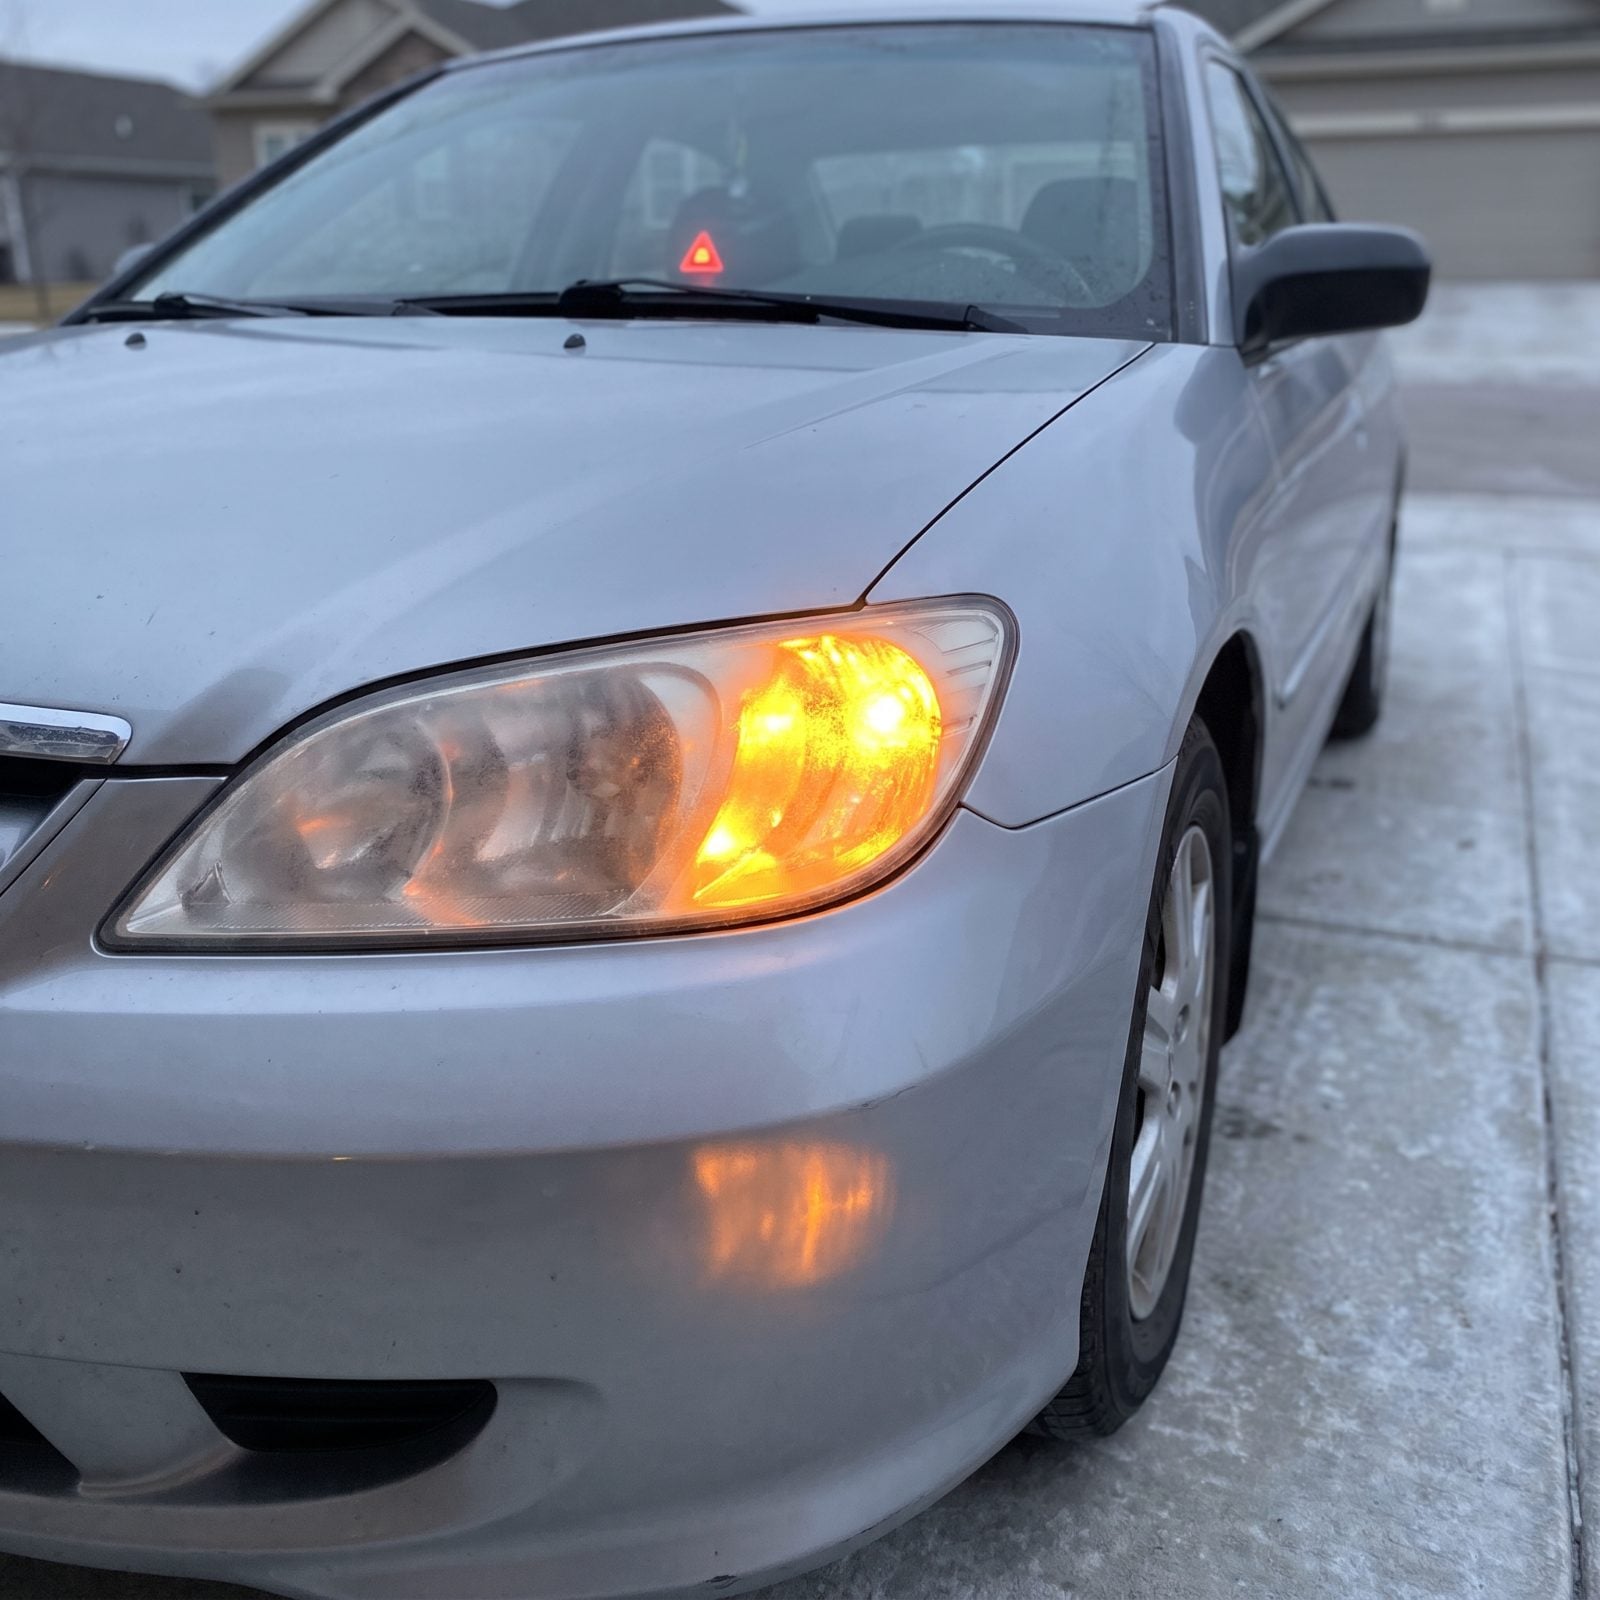
A turn signal that blinks fast is a bulb that’s died — that’s the car telling you, if you know to listen. While you’re at it, add the hazards, which you’ll want working if you ever have to pull over on a snowy shoulder.
Run through all four corners, left and right, front and rear. Then pop the hazards and walk a full lap, confirming every amber lens is actually flashing.
18. Test Taillights and License Plate Lights
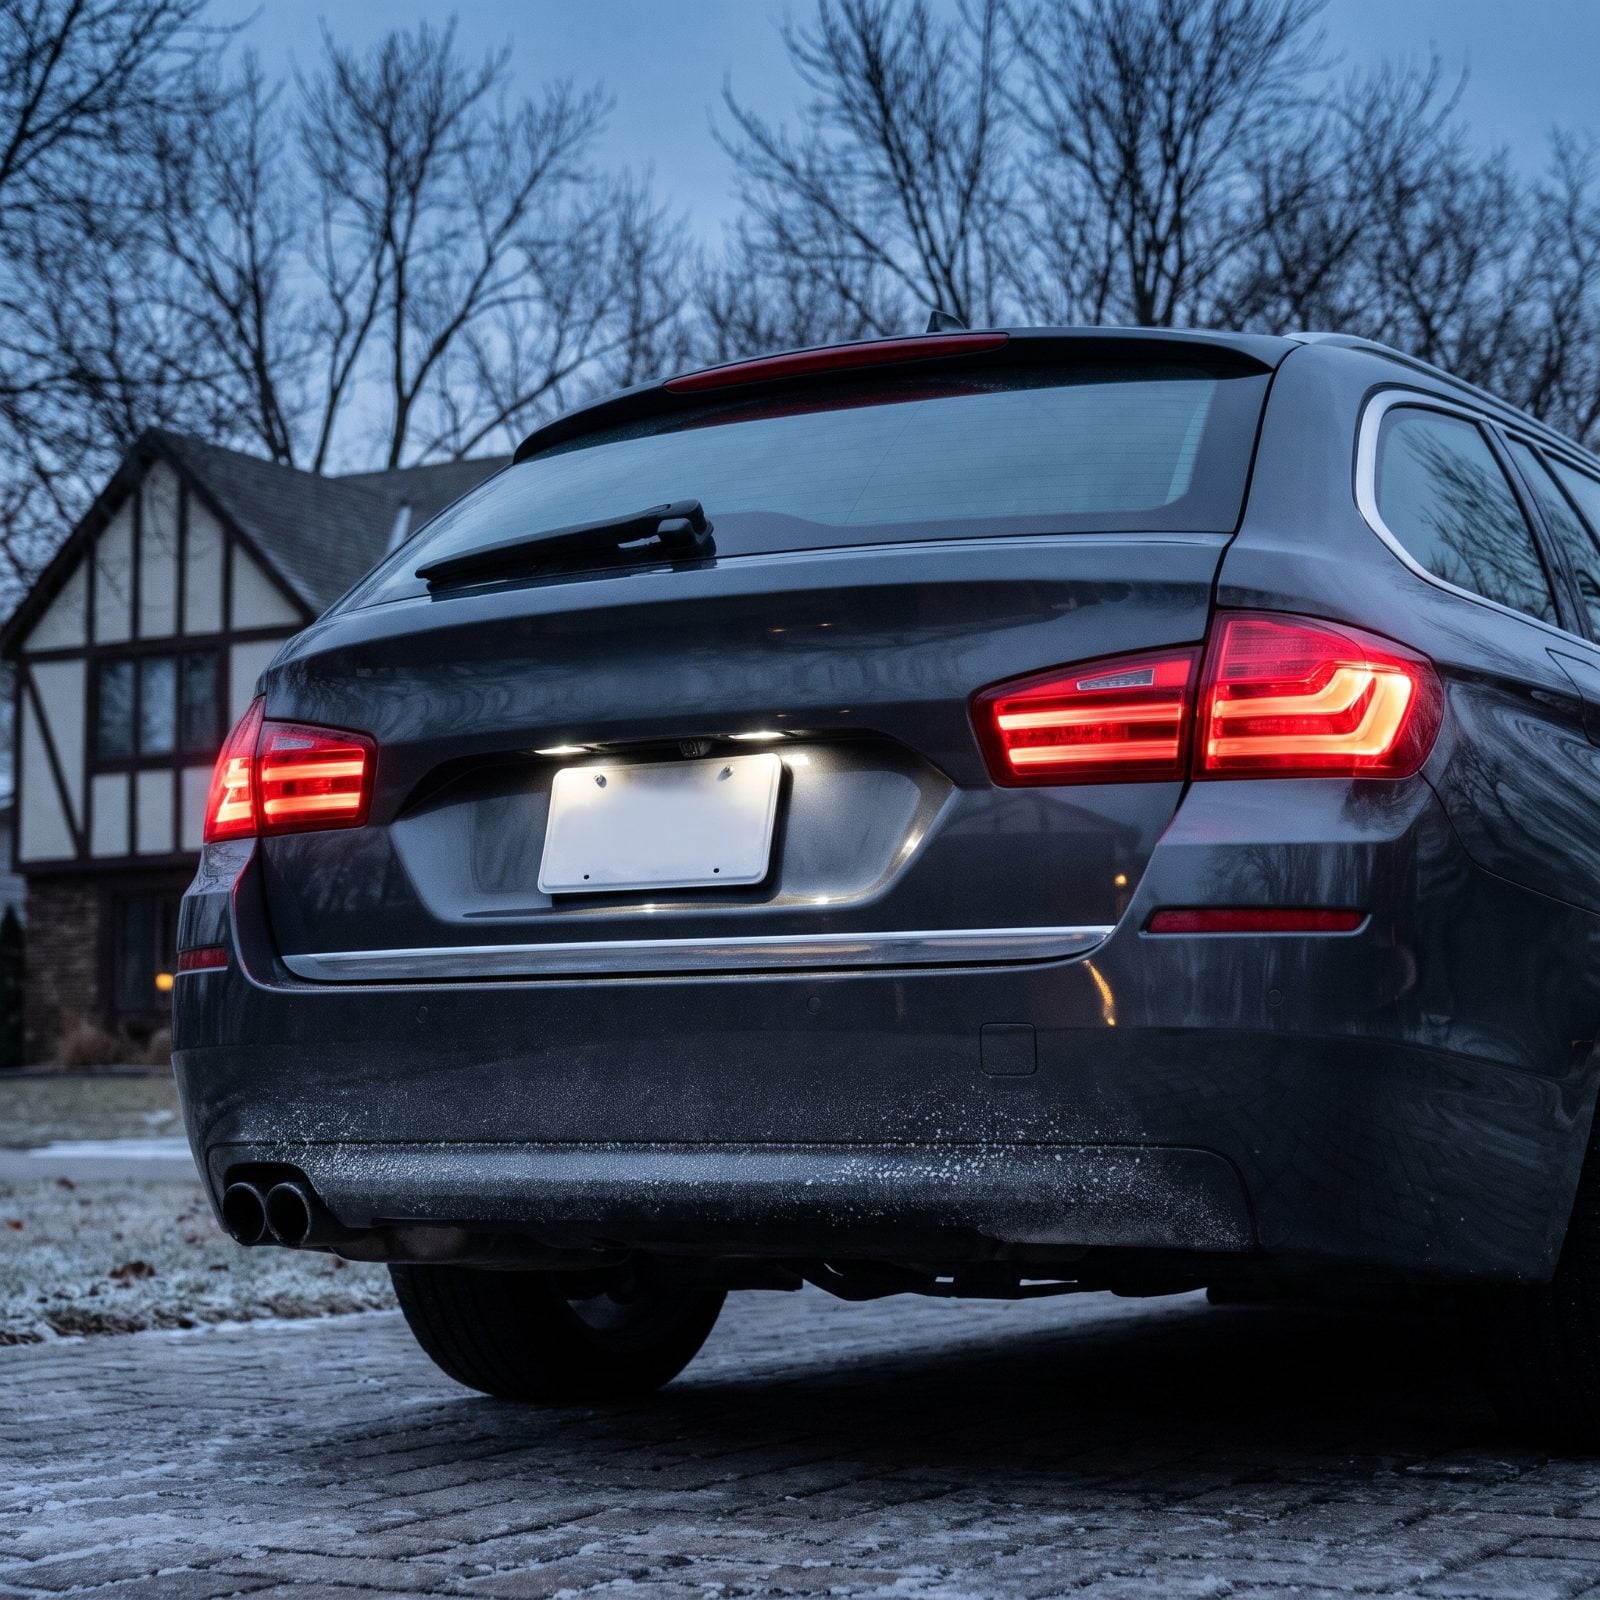
Everyone checks the brake lights and forgets the taillights run on a separate circuit — the steady low glow that keeps you visible when you’re just cruising in the dark. And almost nobody checks the little bulbs over the plate.
Turn your headlights on, then walk behind the car. Both taillights should show a soft steady red, and the plate recess should sit lit under a clean, even white glow.
That plate light is the one most people miss. Easy ticket on its own, and exactly the kind of thing a bored trooper notices on a long holiday night. Two-minute check, one annoyance avoided.
17. Check Headlight Aim for Night Driving
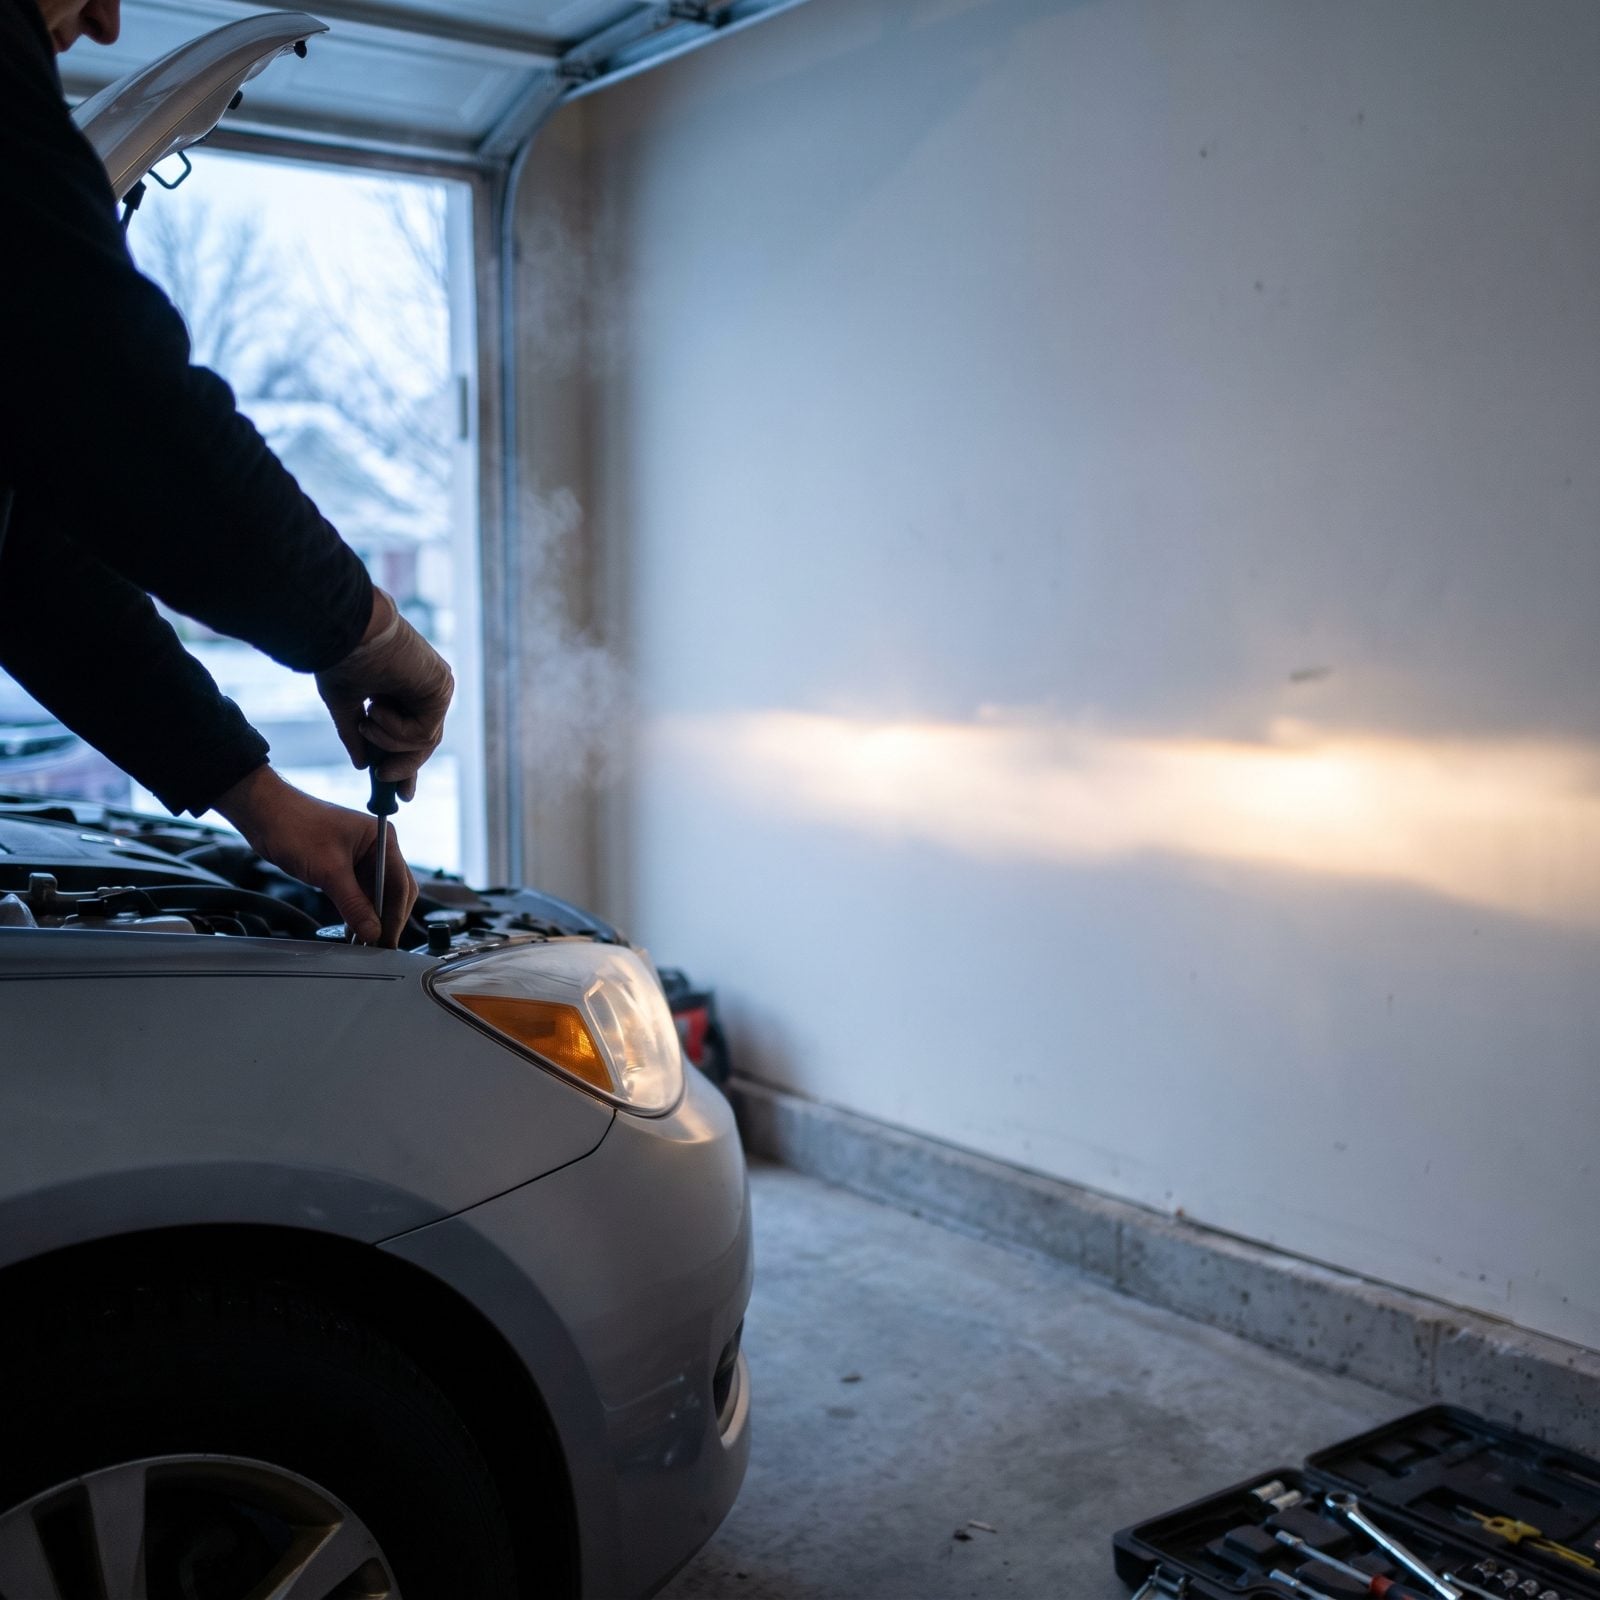
A headlight aimed two inches too high blinds the oncoming driver and lights up the treetops instead of the road. Aimed too low and you’re crawling down a tunnel. Winter nights run long, and half your holiday miles happen after dark.
Park in the garage on level ground, with a half-tank of gas and the car loaded the way you’ll actually drive it. Pop the hood and use a screwdriver on the adjuster screw behind each headlight, watching where the beam lands on the flat garage wall. The hot spot should sit at or just below headlight height, and the sharp cutoff line should land level, never tilting up. Most people check brightness and call it done. Brightness isn’t aim.
16. Inspect Windshield for Spreading Chips
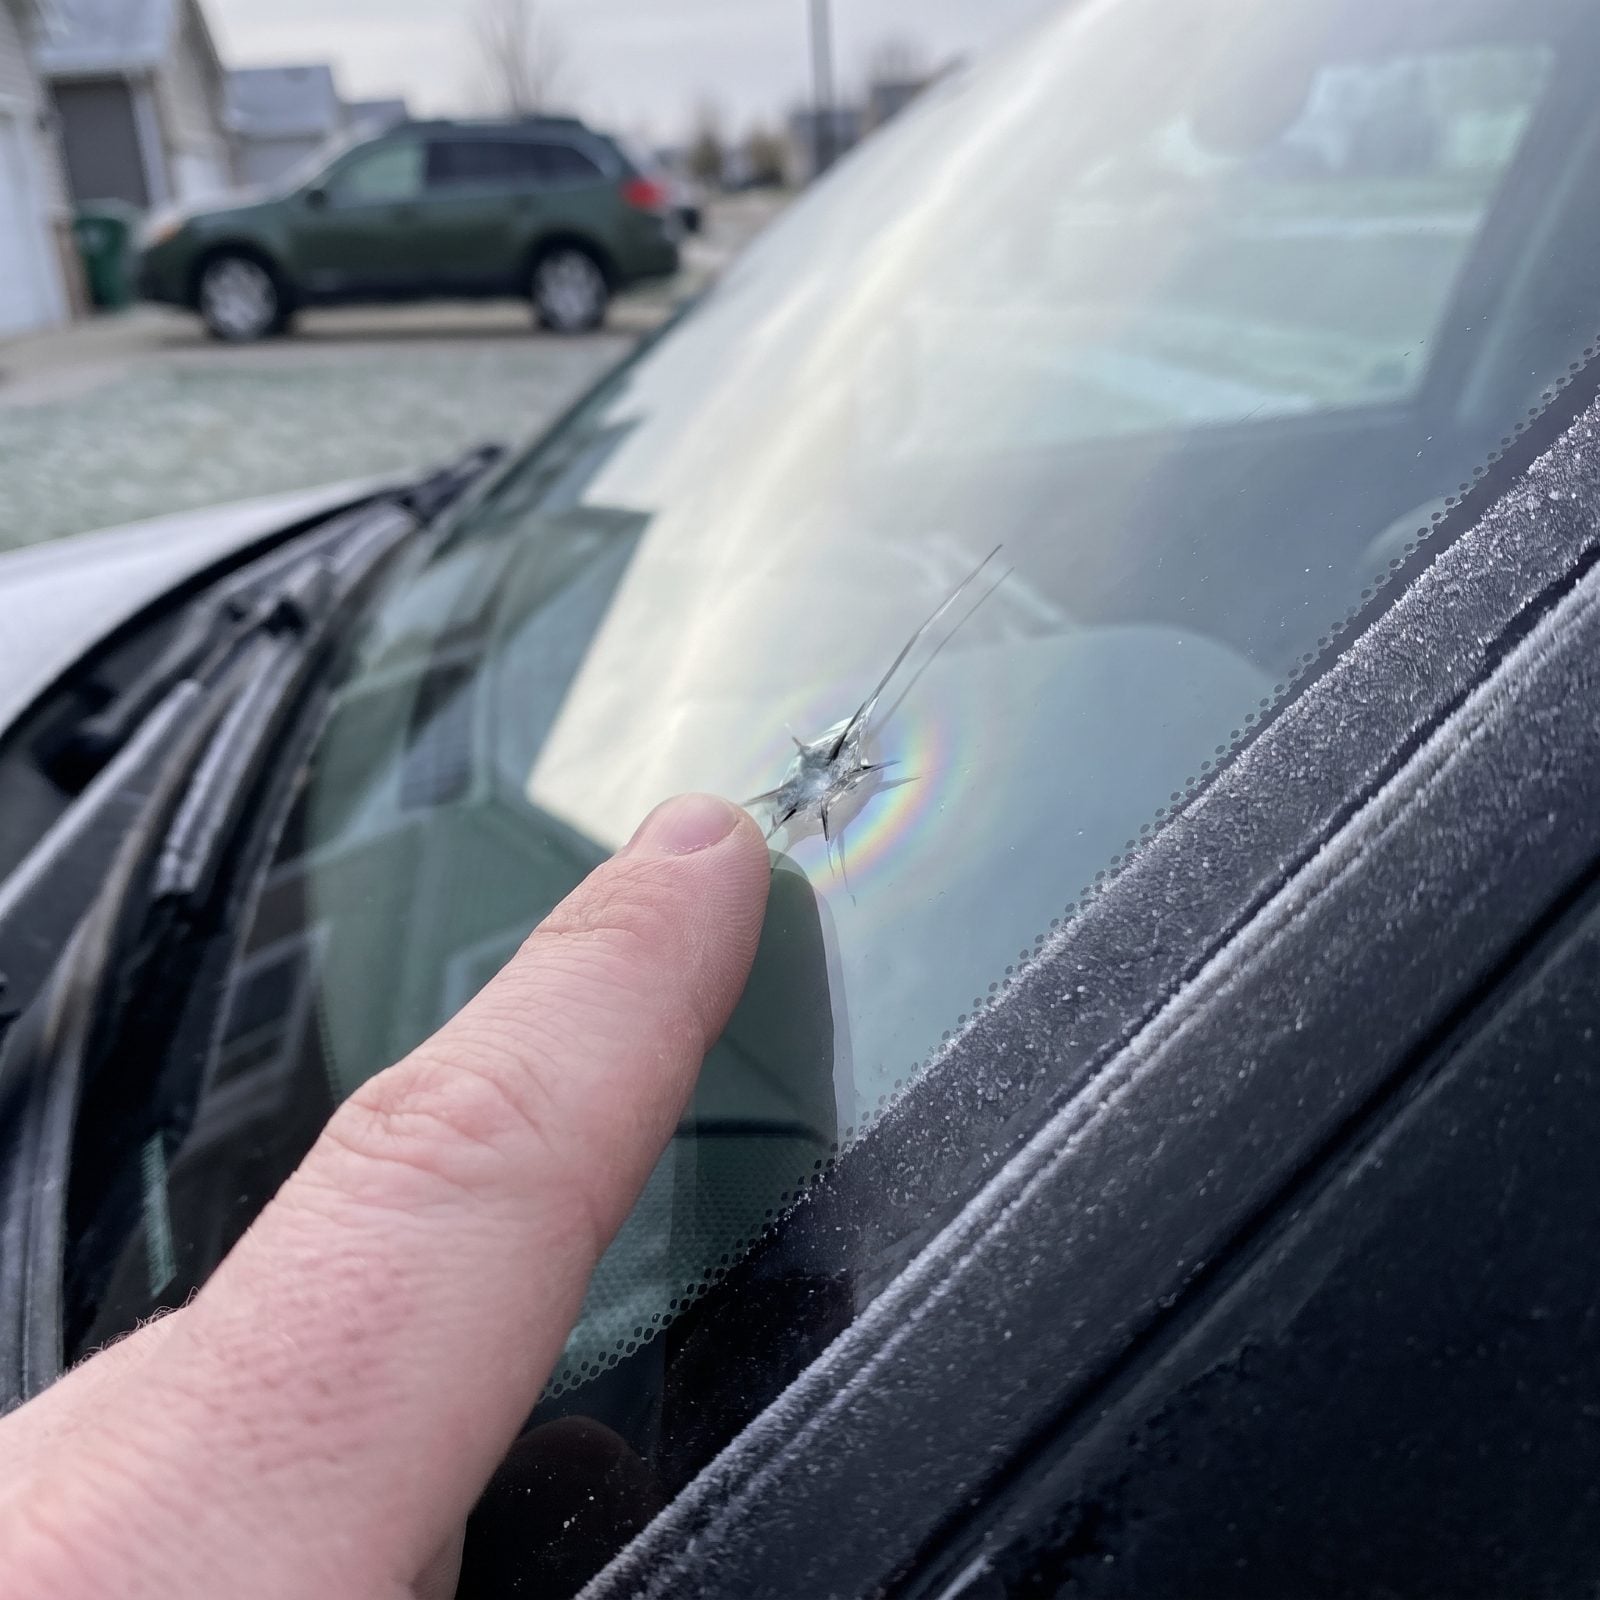
That little chip you’ve been ignoring is a bomb with a thermal fuse. Cold glass plus a blast of cabin heat is exactly the temperature swing that turns a quarter-sized star into a crack running the full width of the windshield. Once it spreads past your sightline, you’re buying a whole new windshield instead of a twenty-minute resin fix.
Run a fingernail across any chip. If it catches, it’s deep enough to grow. Check the bottom corners near the defroster vents too, because that’s where the heat hits hardest. Get chips filled before the trip, and skip the defroster blasting full hot on frozen glass that first cold morning out.
15. Clean Inside Glass to Prevent Glare
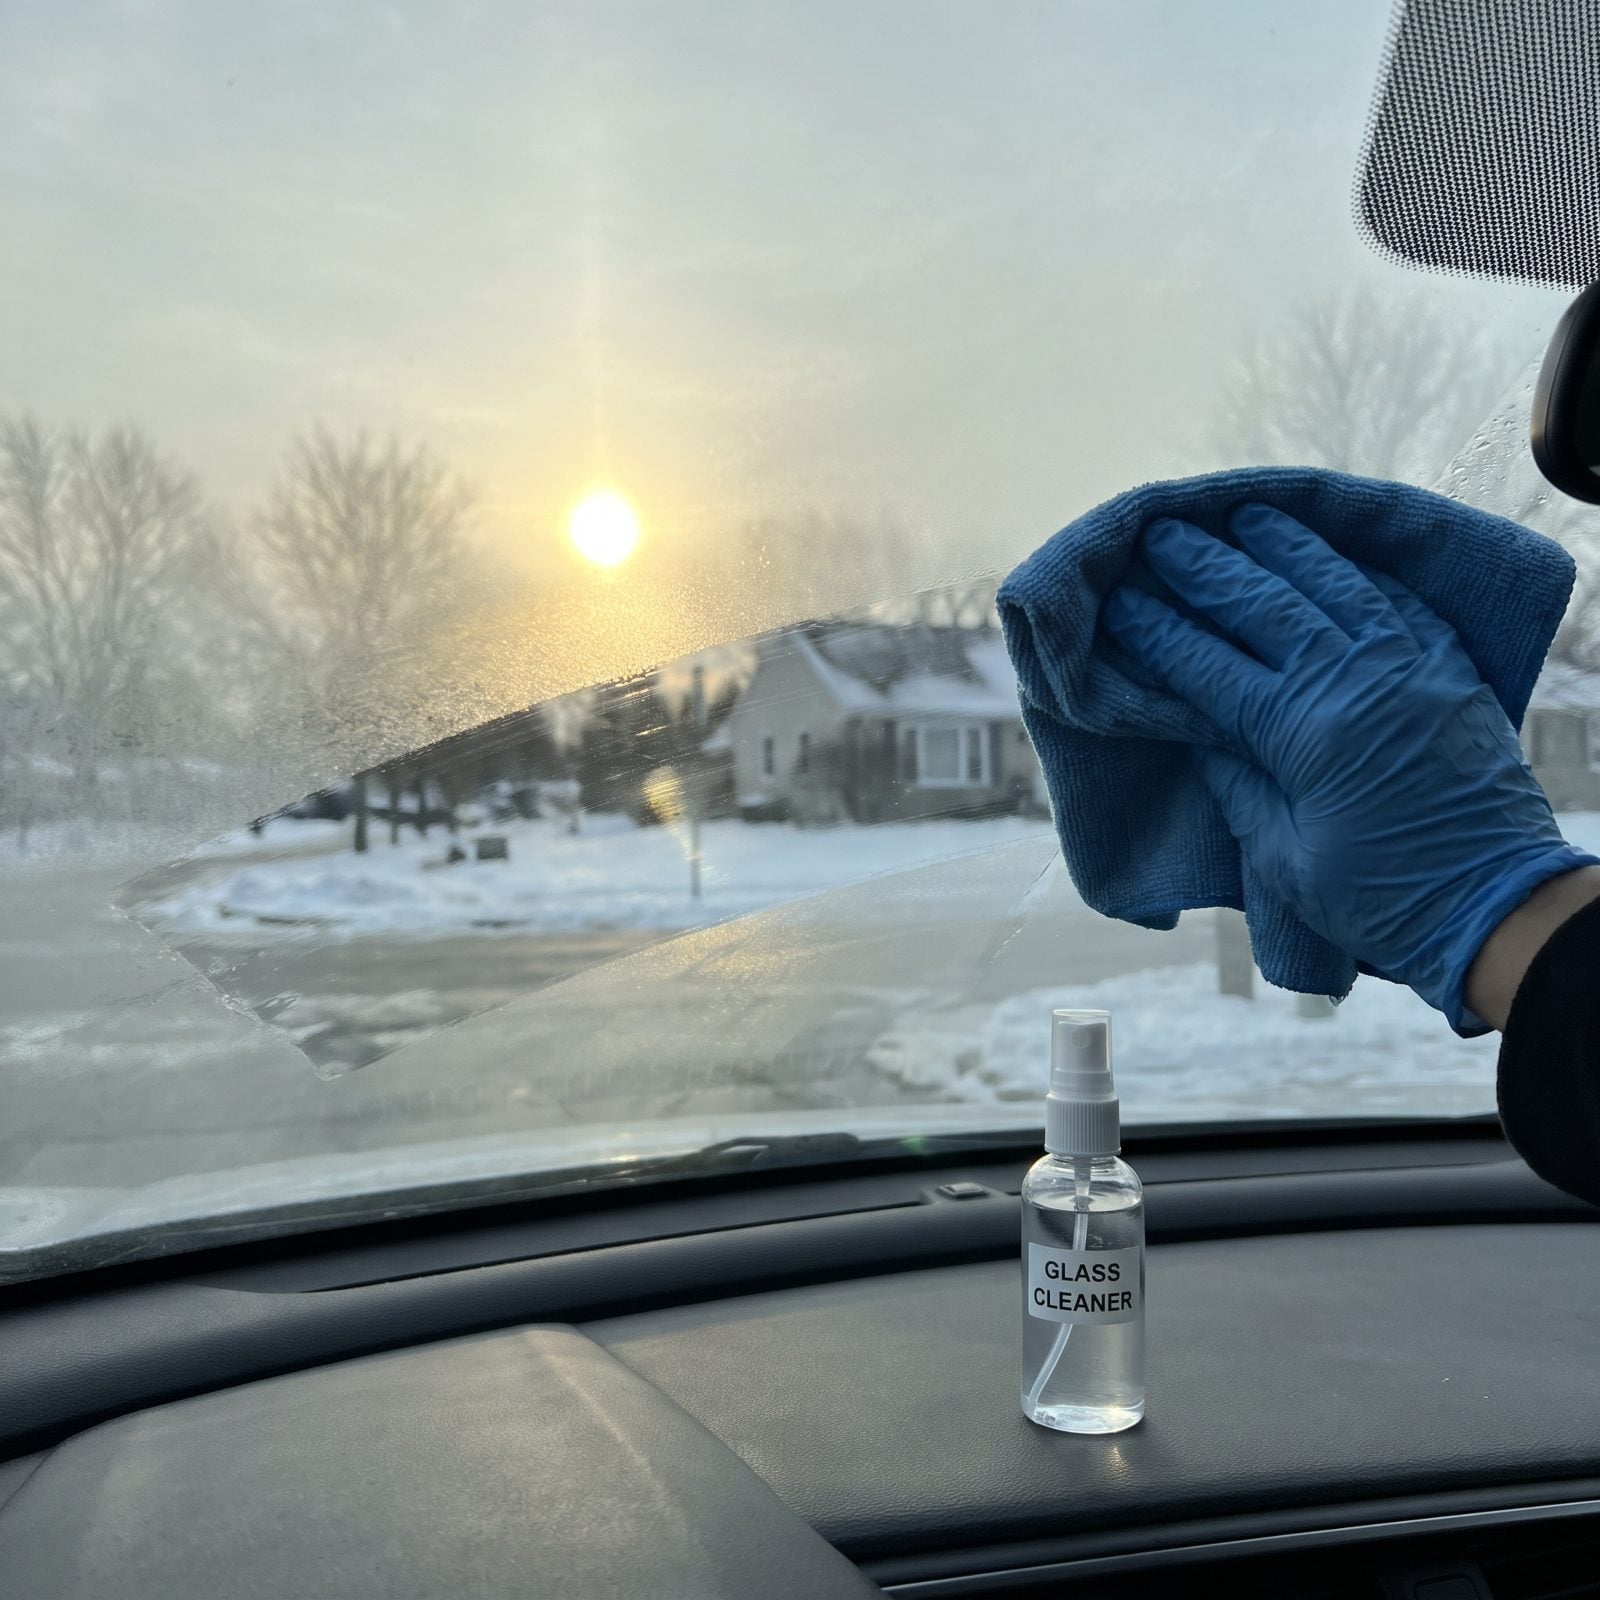
You know the film. That greasy haze that stays invisible until the low winter sun hits the glass head-on and suddenly you’re squinting into a wall of white. Off-gassing from the dashboard, cigarette residue, breath, cooking smells from fast food runs — it all plates onto the inside of the windshield where your wipers can’t touch it.
Spray cleaner on the cloth, not the glass, so it doesn’t drip into the vents. Wipe horizontally on the inside and vertically on the outside, and you’ll tell which side a streak is on at a glance.
The glare that nearly puts you in a ditch at 5pm isn’t the sun. It’s the film the sun lights up.
14. Verify Seat Belts Latch and Retract
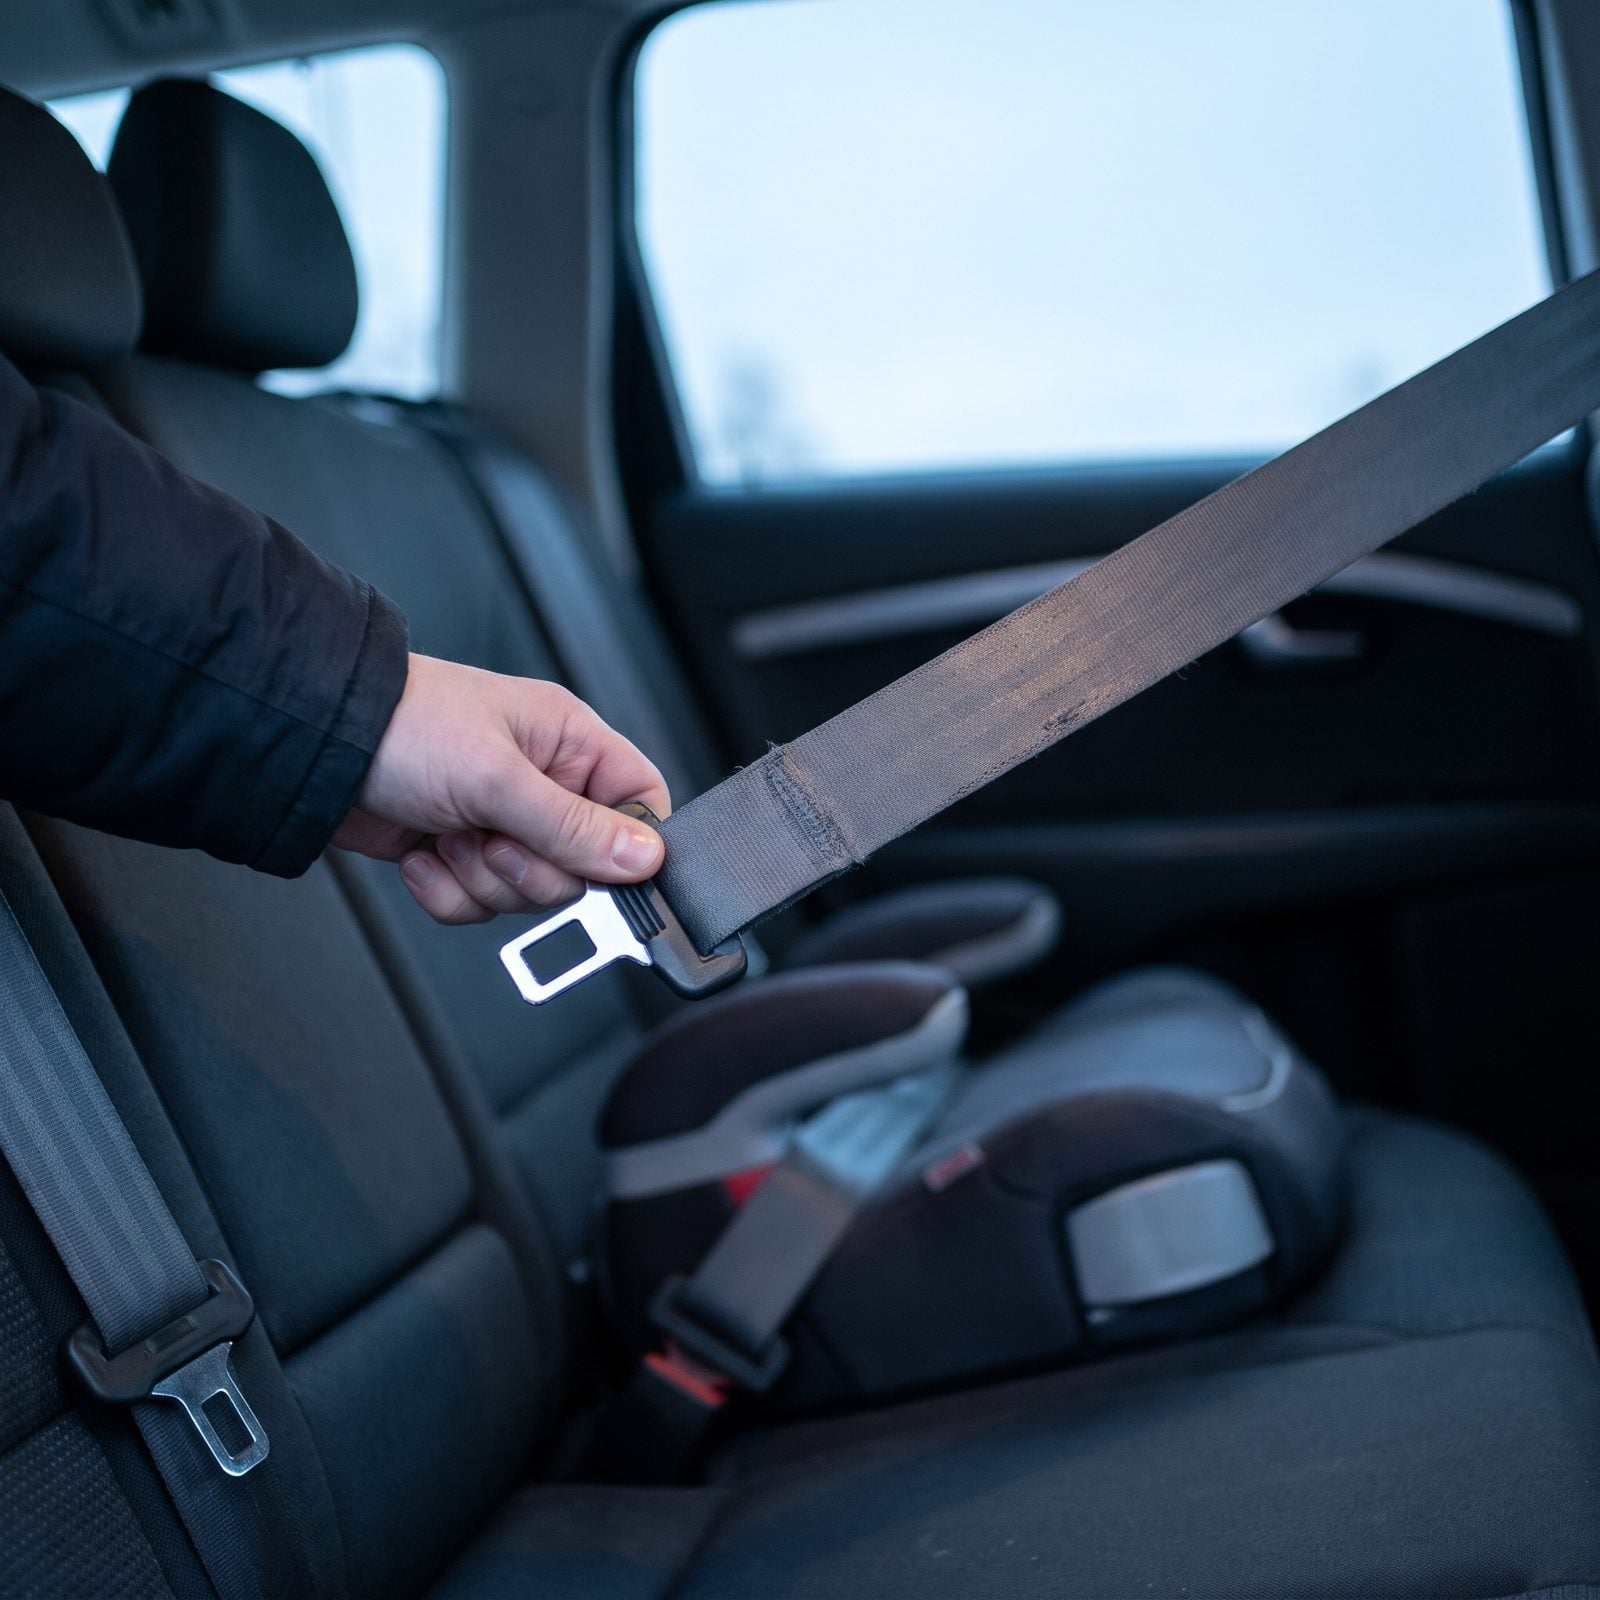
A belt that latches but won’t retract isn’t protecting anyone, and frayed webbing can tear under load. These are the quiet failures nobody tests until the one day they matter — and a holiday car packed with family is exactly that day.
Pull each belt out to its full length and let it retract on its own. It should snap back smoothly and lock up hard when you yank it fast. Run your fingers down the webbing feeling for cuts, fuzz, or thin spots, especially where it passes the door frame and gets pinched. Check the ones nobody uses too — that center rear belt buried in the seat crack. Someone’s riding there this trip.
13. Confirm Dashboard Warning Lights Self-Test
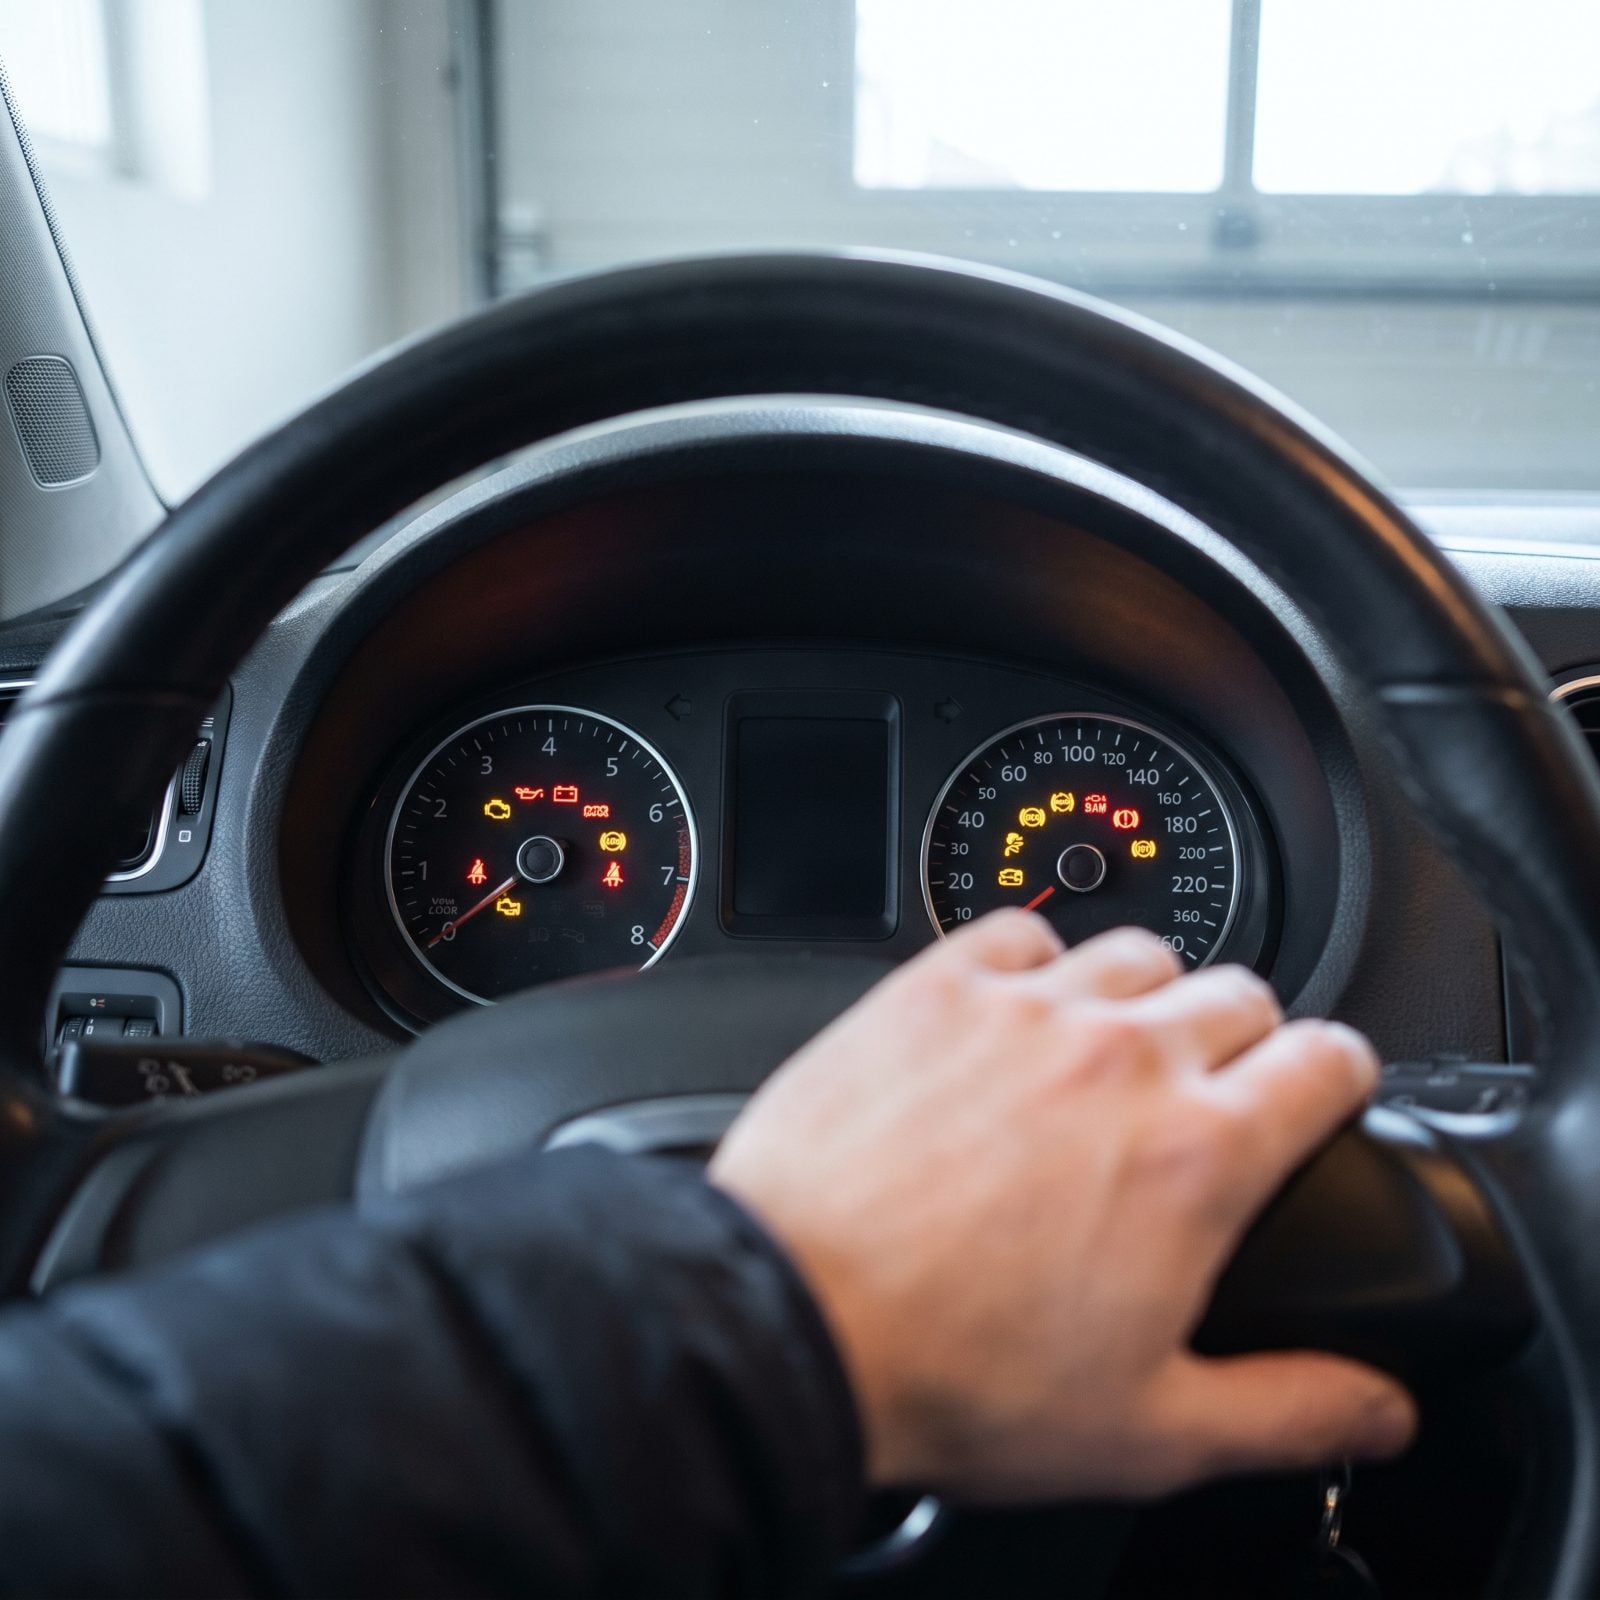
Turn the key to the on position without starting, and the cluster should light up like a Christmas tree for a second or two. That’s the bulb check — every warning lamp firing proves the bulb behind it actually works.
Here’s what most people never think about: a warning light that’s burned out can’t warn you. If the oil-pressure lamp is dead, your engine can be starving and the dash stays dark all the way to the breakdown. Watch for any icon that doesn’t fire during that self-test. A missing light is as bad as one that stays on. Do this before you load up, while there’s still time to swap a bulb at the parts store down the road.
12. Scan Unresolved Check-Engine Codes
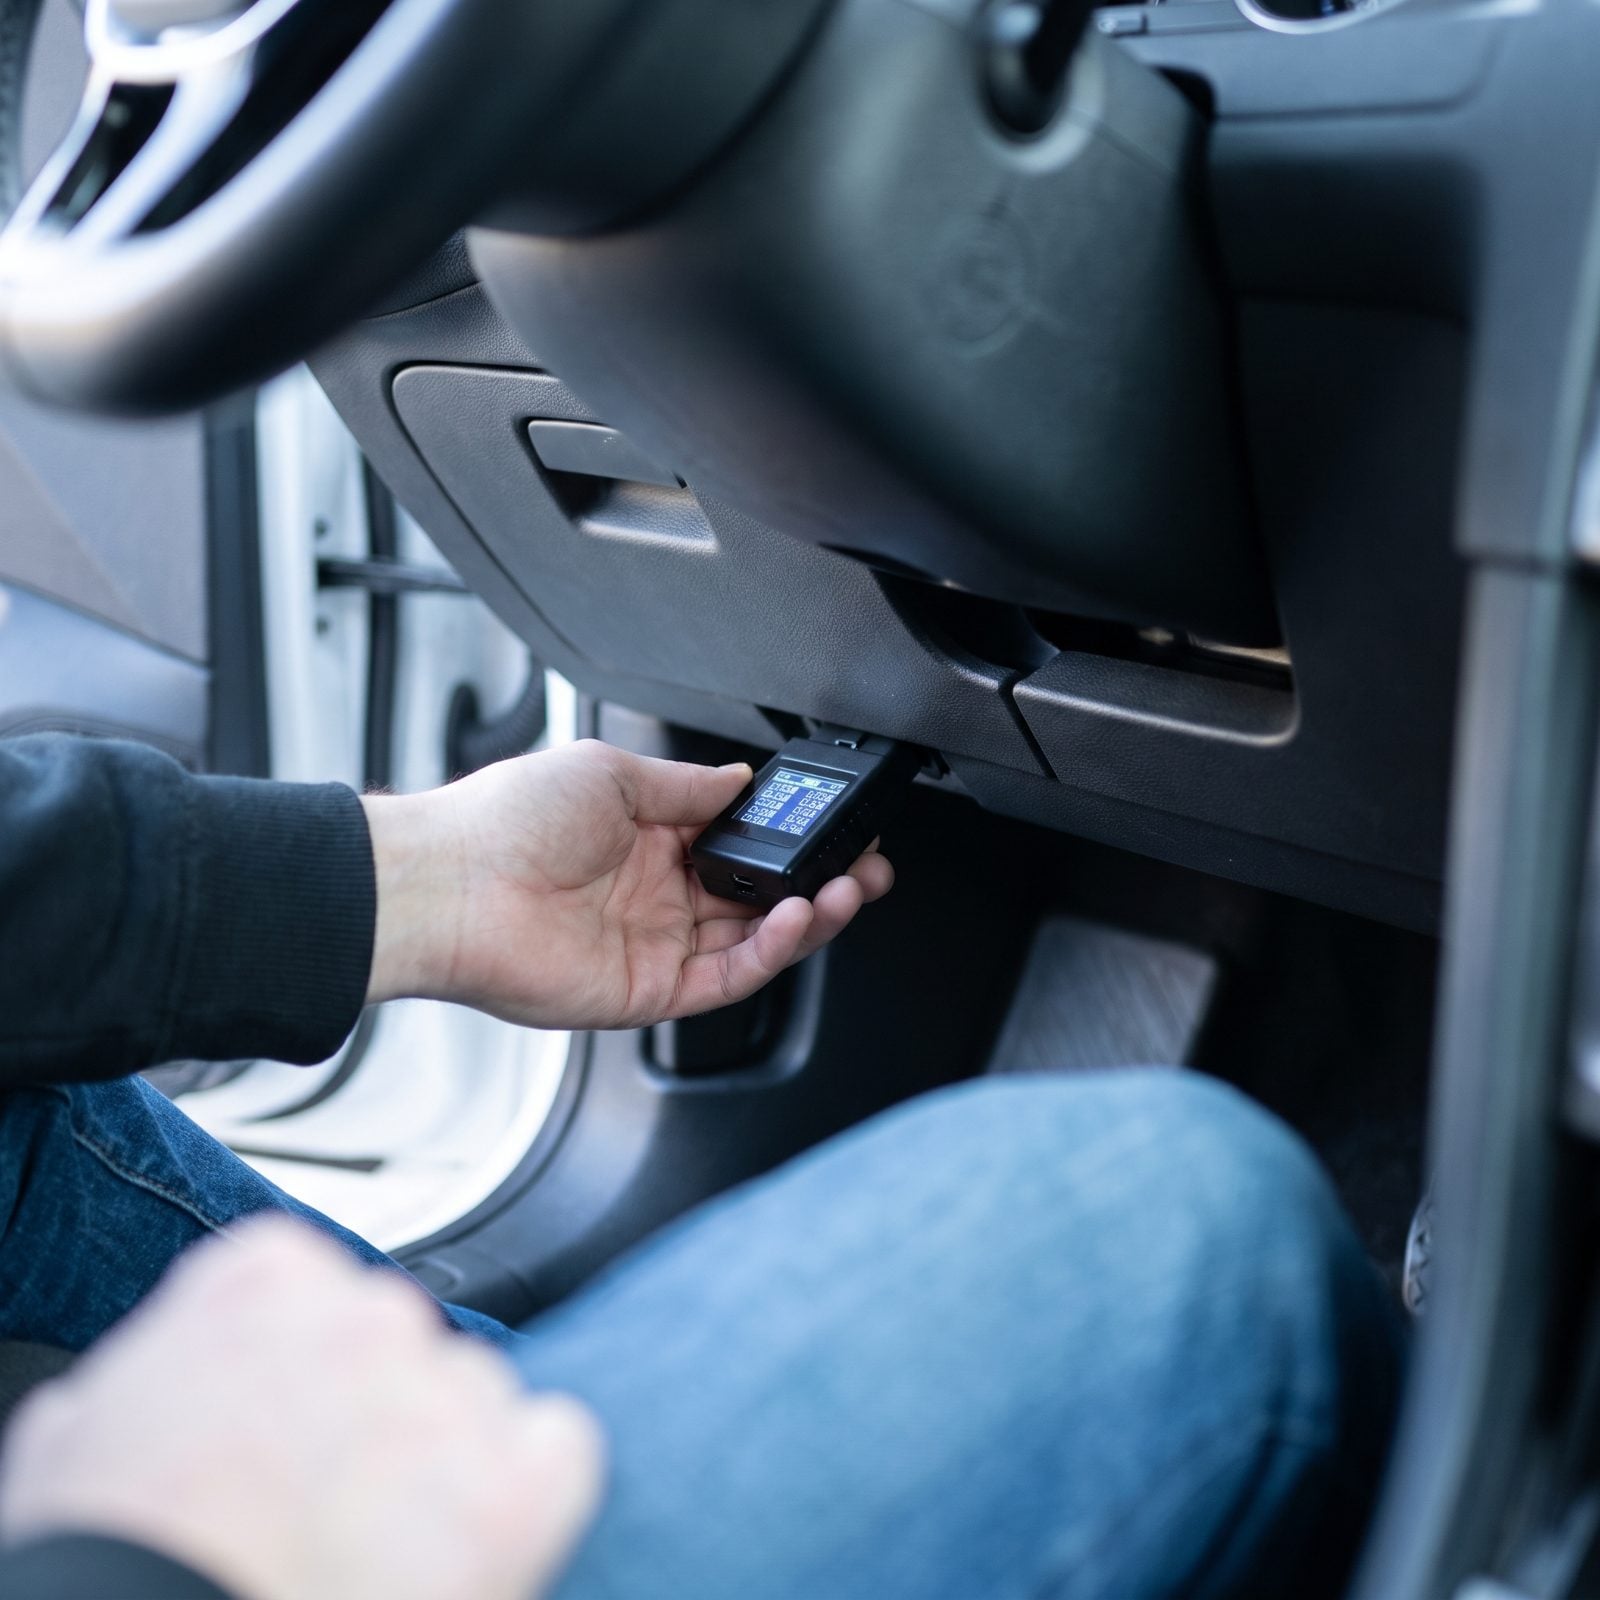
A cheap code reader tells you more about your car’s future than any mechanic’s guess. Even with the check-engine light off, pending codes hide in the computer, waiting to trip into a hard fault the moment conditions line up. Cold starts and long highway pulls are exactly those conditions.
Plug the scanner into the port under the dash, turn the key on, and pull both stored and pending codes. A misfire code or a lean-condition code three days before a 600-mile drive is a gift, not a nuisance.
11. Inspect Serpentine Belt for Cracking
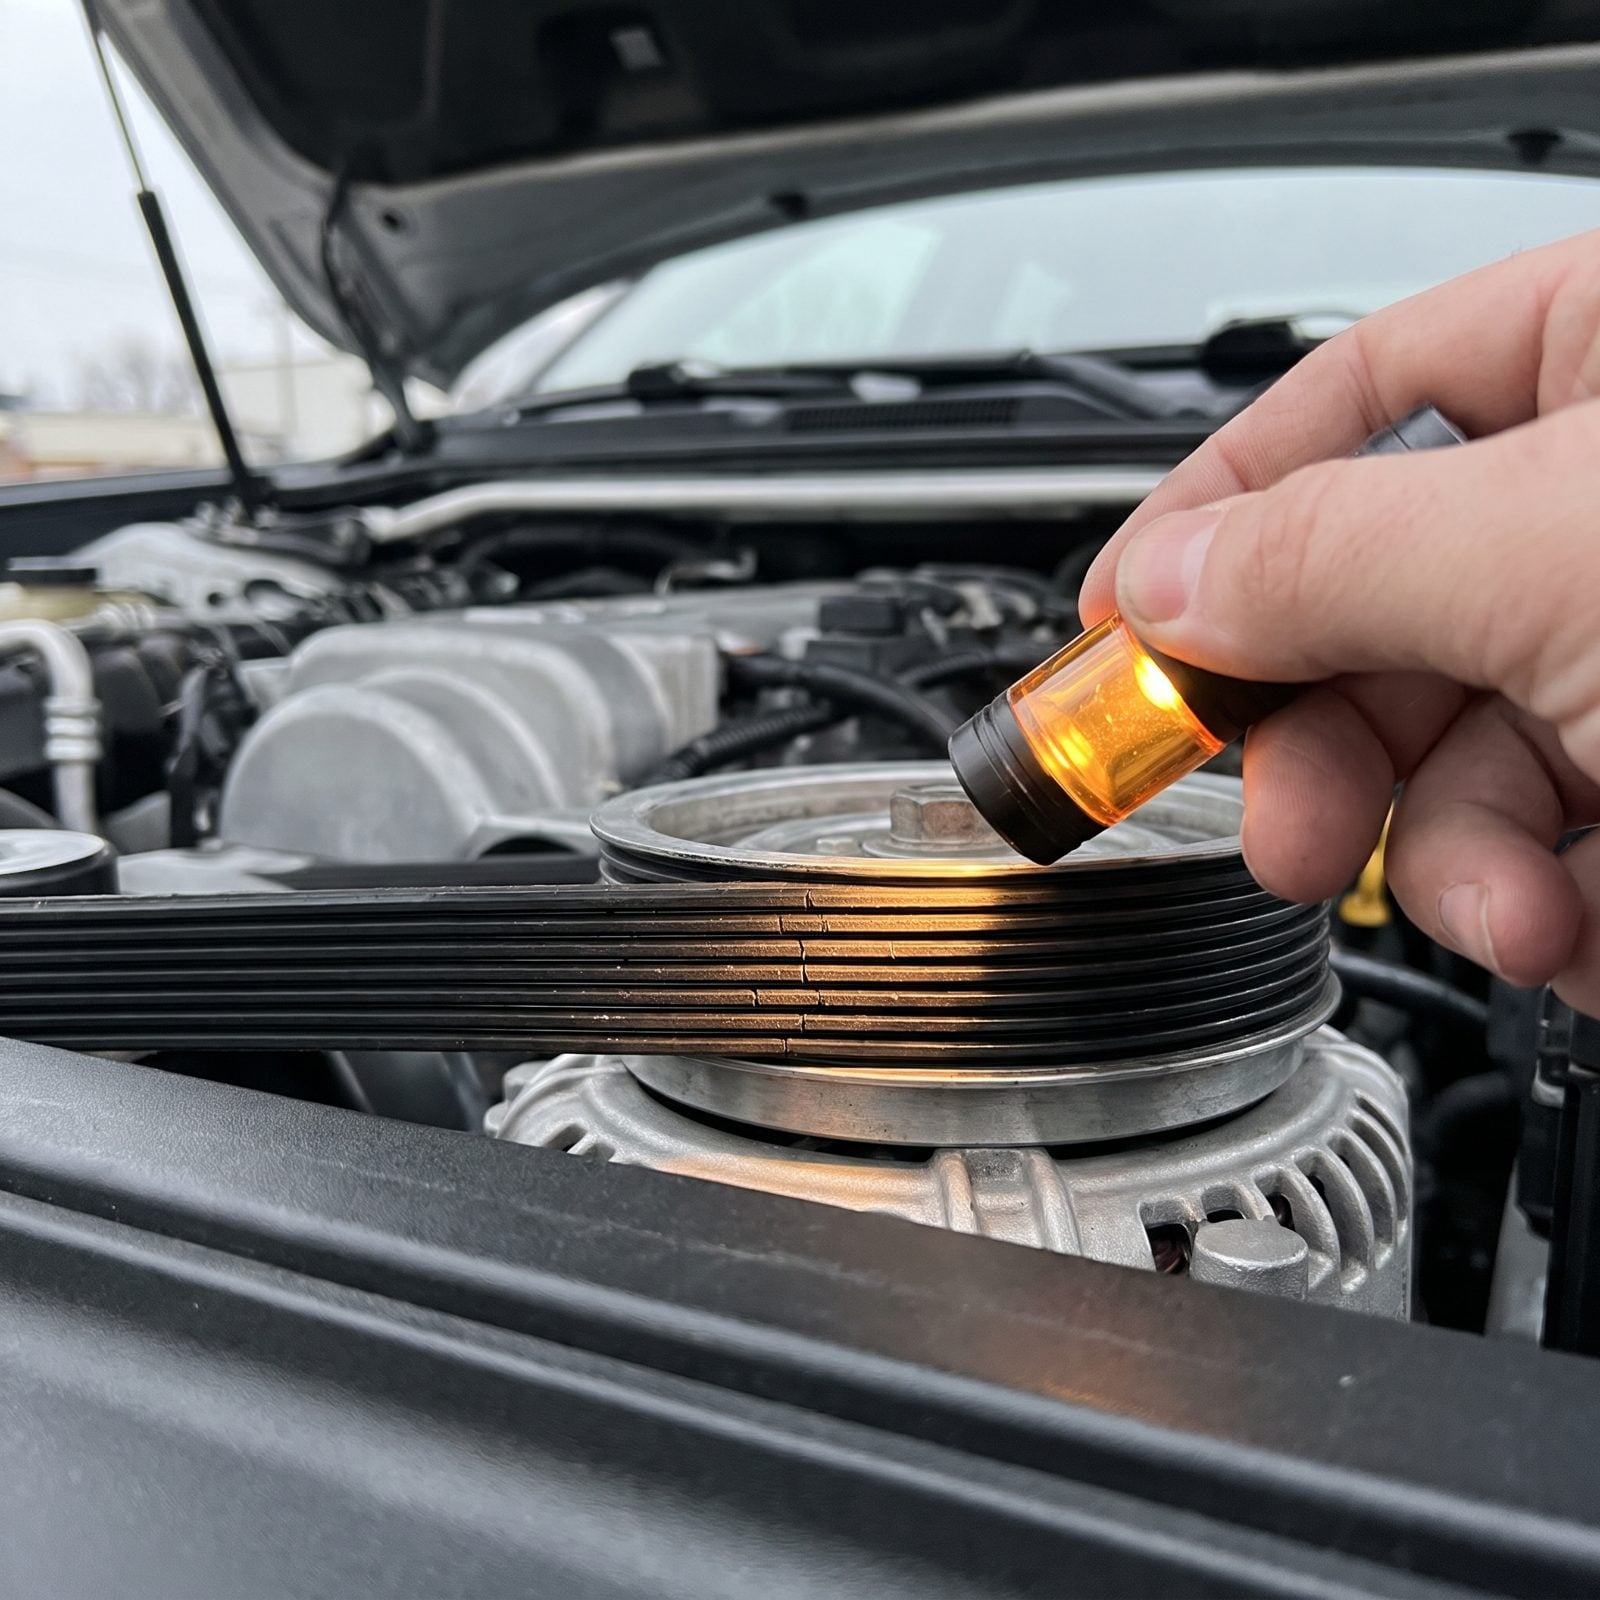
The serpentine belt spins your alternator, water pump, and power steering as a single ribbed belt snaking around several pulleys. When it snaps, you lose charging, cooling, and steering assist all at once — usually on a dark stretch of interstate where no tow truck wants to go.
With the engine off and cool, shine a light along the ribbed underside. Look for deep cracks across the ribs, shiny glazed patches, or chunks of rubber missing. A few hairline cracks are normal on an older belt. But when cracks run close together across the ribs or chunks are missing, it’s near the end. Rubber goes brittle in the cold, so winter is when a tired belt finally gives up.
10. Inspect Exhaust for Leaks and Looseness
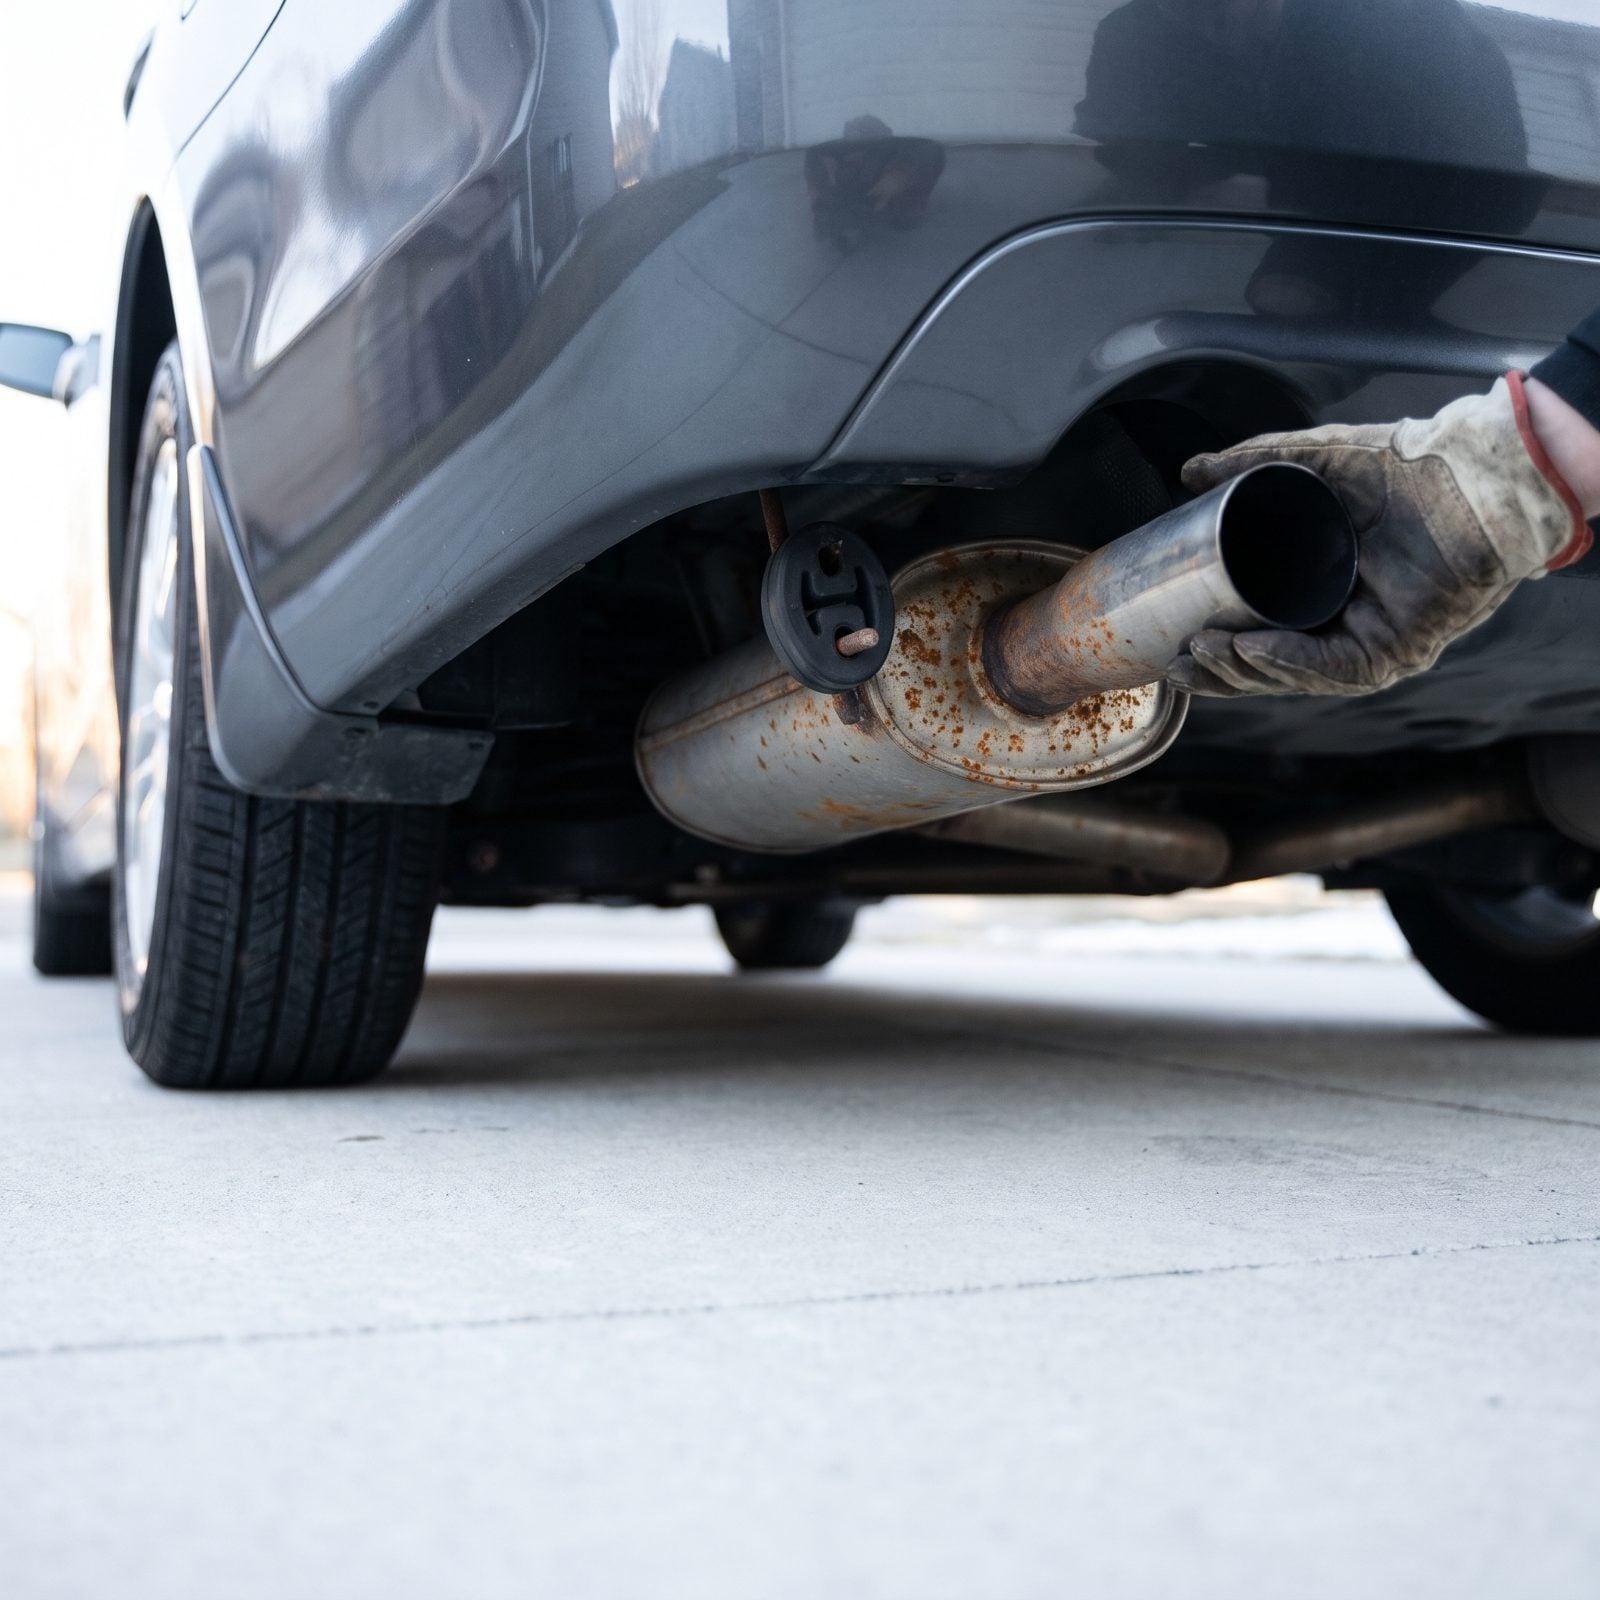
An exhaust leak isn’t just loud. In winter, windows up and the heater on recirculate, a cracked pipe or failed gasket can pull carbon monoxide straight into the cabin. That’s the kind of leak you don’t smell and don’t survive if you doze off at a rest stop with the engine running.
With the car cold, grab the tailpipe and give it a firm wiggle. More than a little movement means a rotted hanger or a cracked joint. Scan the pipe for rust blooms and sooty black streaks, which mark where gas is escaping. Listen on a cold start, too — a ticking or puffing sound that fades as the metal expands is a classic manifold leak.
9. Check Steering for Play or Vibration
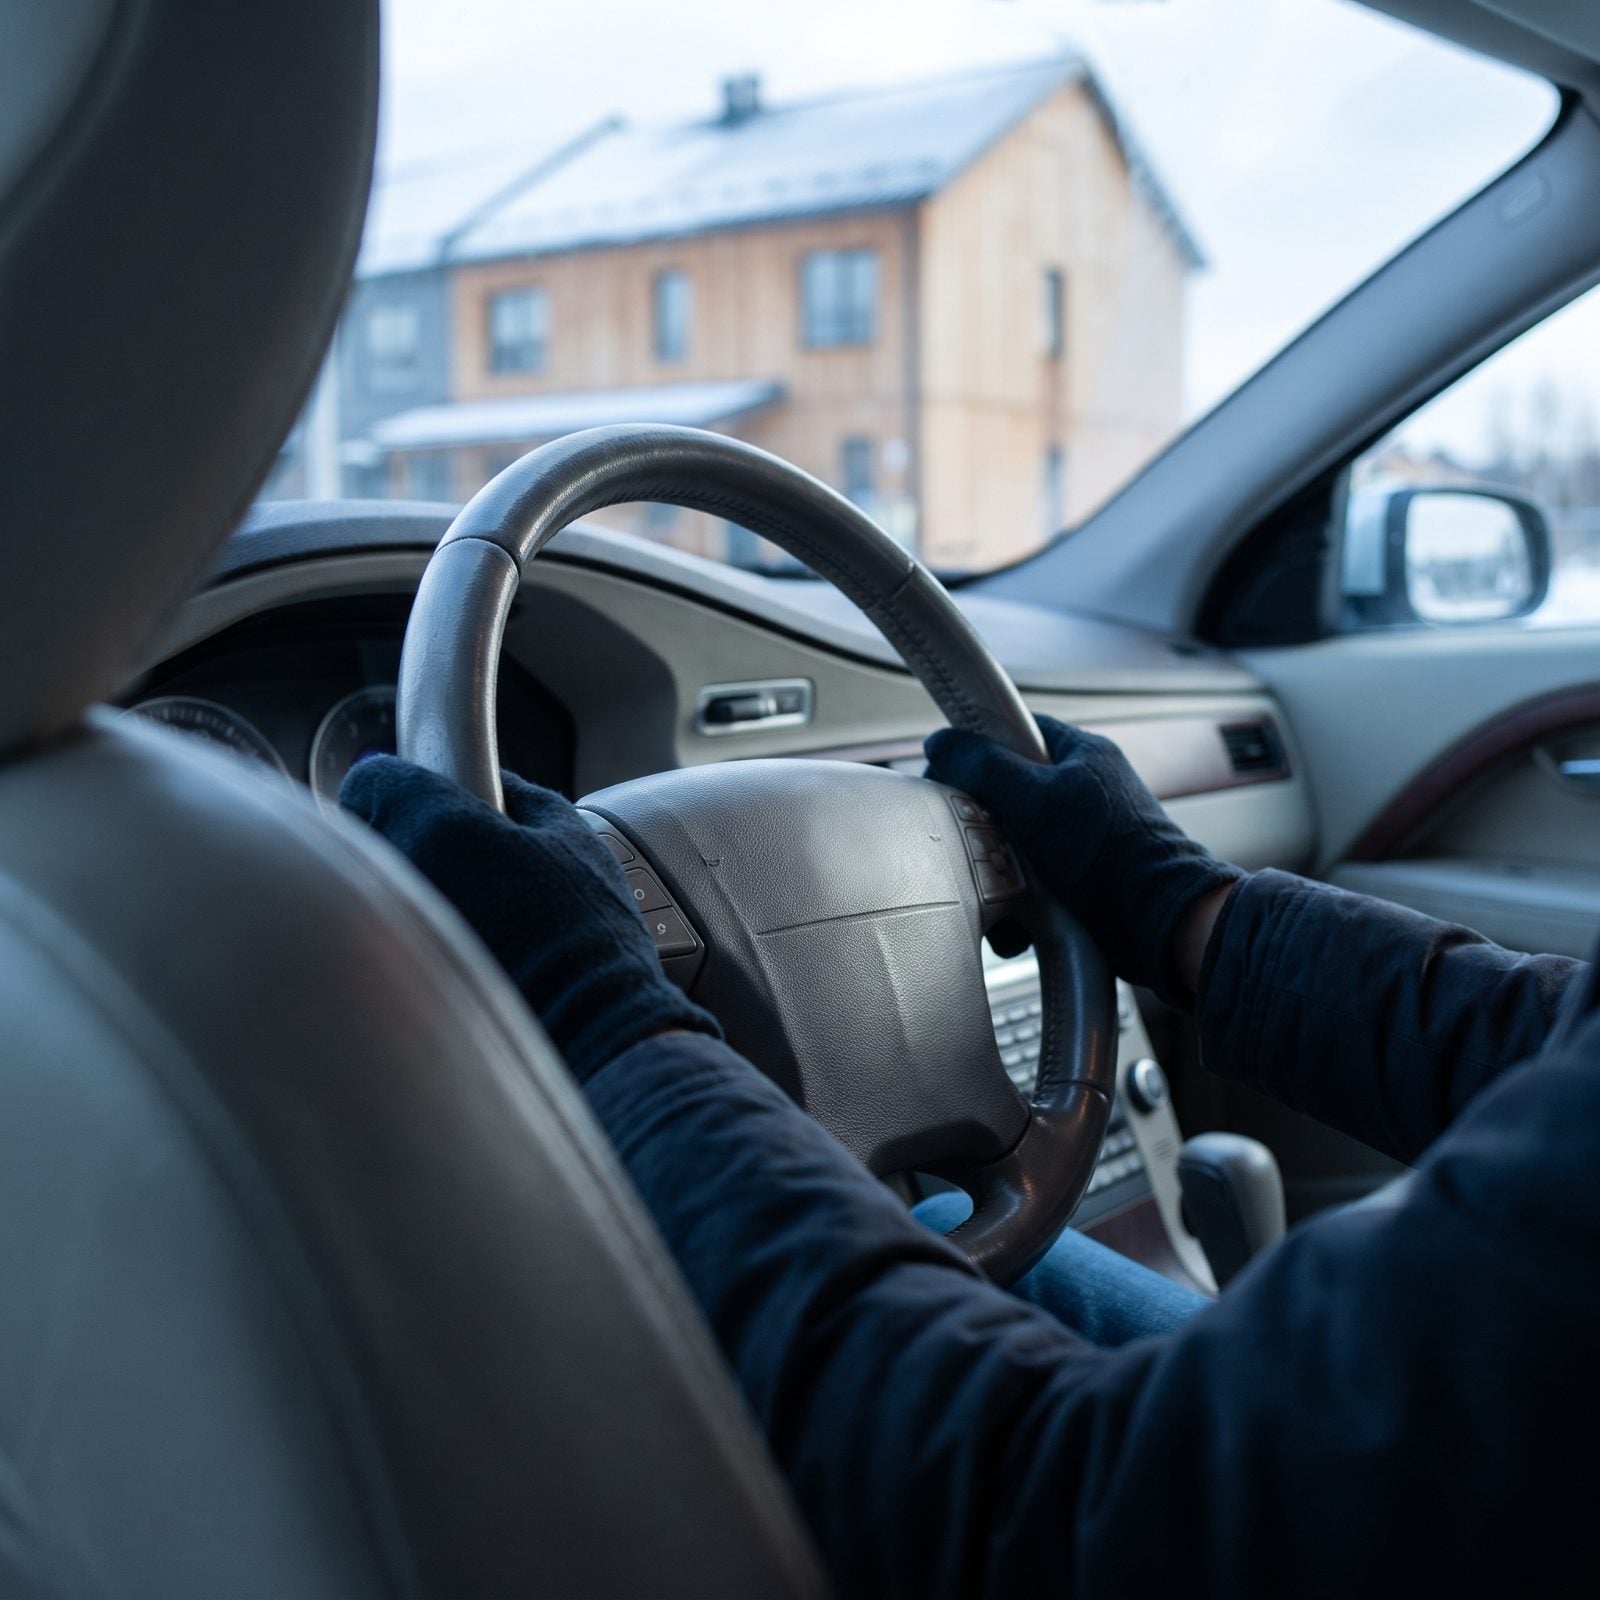
Worn steering components stay quiet until a hard braking moment or a swerve around black ice, and then the car does something you didn’t ask it to. Before you commit to hundreds of highway miles, you want the wheel tight and honest.
With the engine running and parked, rock the wheel a few degrees each way. The front tires should respond almost immediately. More than an inch of dead play at the top of the wheel points to a worn tie rod or steering box. On a short test drive, a shimmy at 50 to 60 mph usually means a wheel is out of balance or a tie-rod end is loose. Either way, sort it before the trip.
8. Confirm ABS Warning Light Turns Off
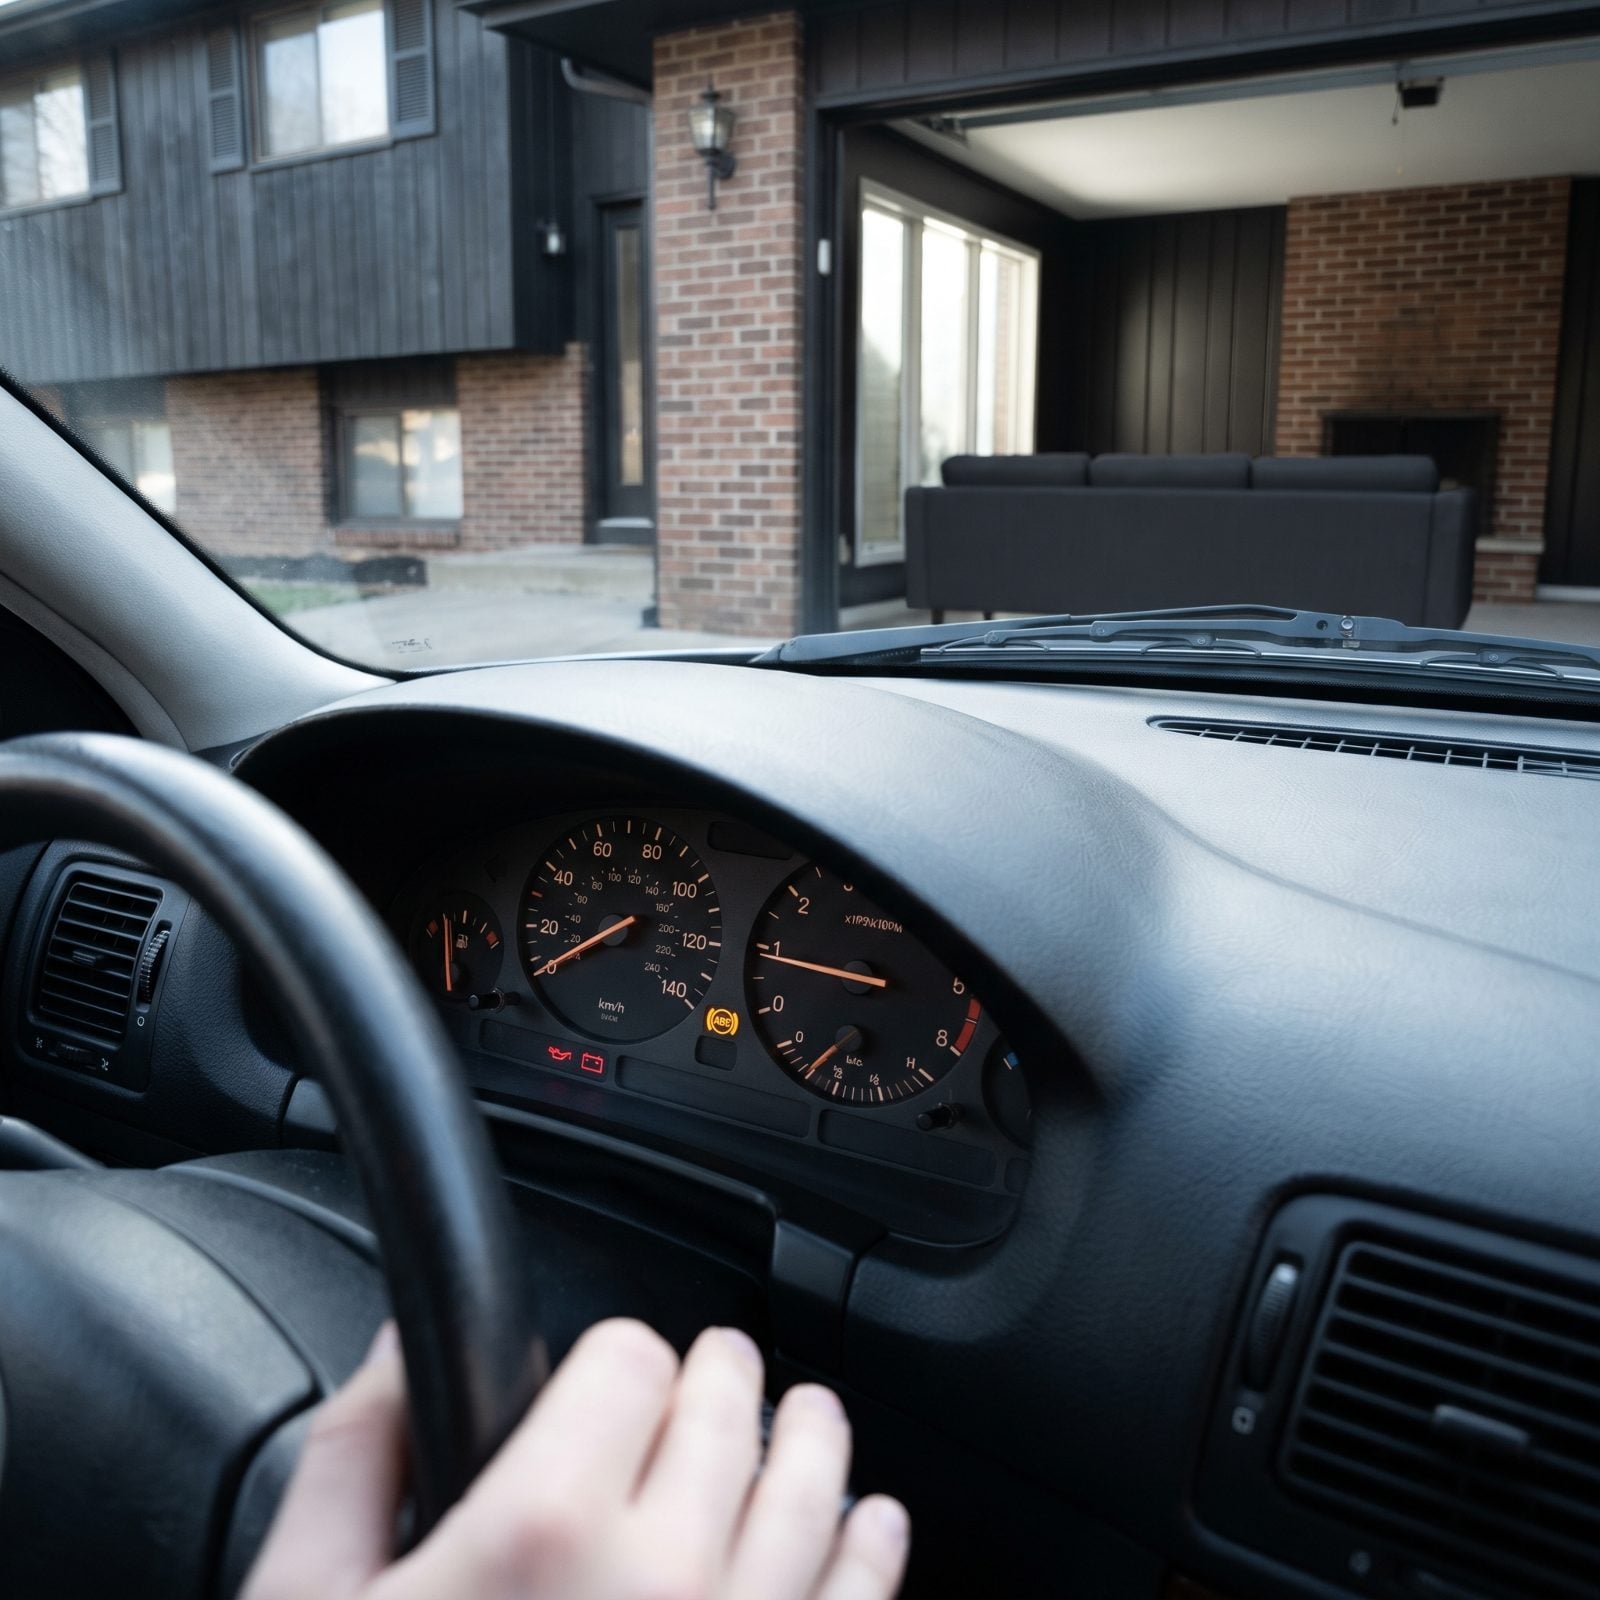
The ABS light should glow for a moment at startup, then go dark once the system confirms it’s healthy. If it stays lit, your anti-lock braking is offline and you’ve got ordinary brakes that lock up and skid when you stand on them. On packed snow or wet pavement, that’s the difference between stopping straight and plowing sideways.
Start the car and watch that amber light. Lingering means a dirty or failed wheel-speed sensor — often the cheapest fix on this whole list. A quick drive to a shop before the trip beats discovering the problem at a panic stop with the family aboard. Don’t wave it off because the brakes still feel fine in the driveway. ABS only shows up when you need it most.
7. Test-Fit Tire Chains Before Departure
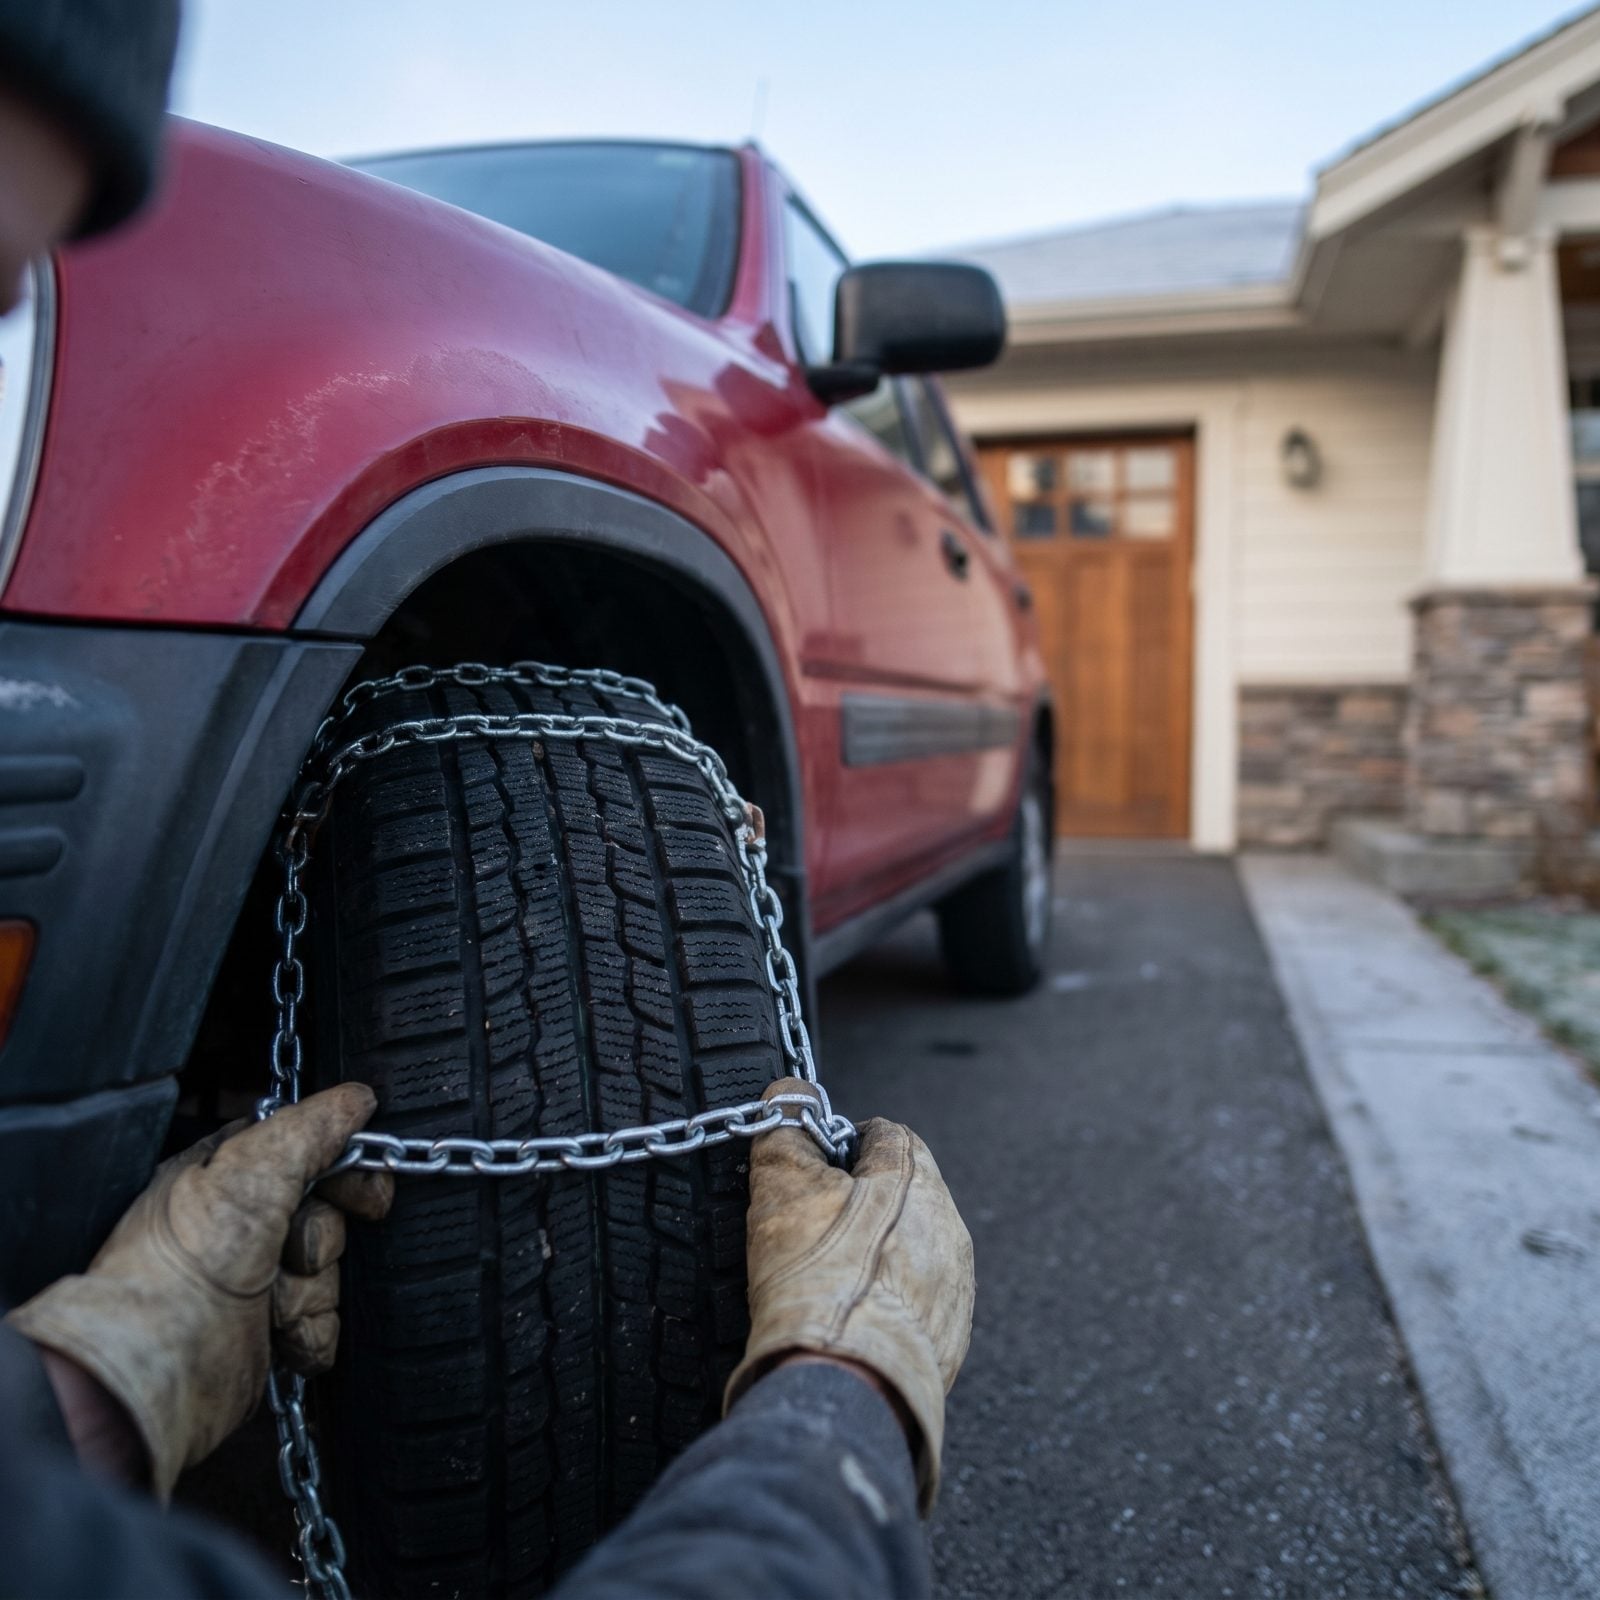
The worst time to learn your chains don’t fit is a mountain pass at dusk with cars backing up behind you. Chains vary by the half-size, and a set that fit your last car might choke on a new tire width. Do the fitting now, in your warm driveway, in daylight.
Lay them over the tire, hook the inside first, then work the outside connector. You want them snug with maybe a finger of play, not sawing against the strut or the brake line. Drive 20 feet and retension. Time yourself, because in a storm you’ll be slower and colder than you think.
6. Check Roof Rack Mounting Points
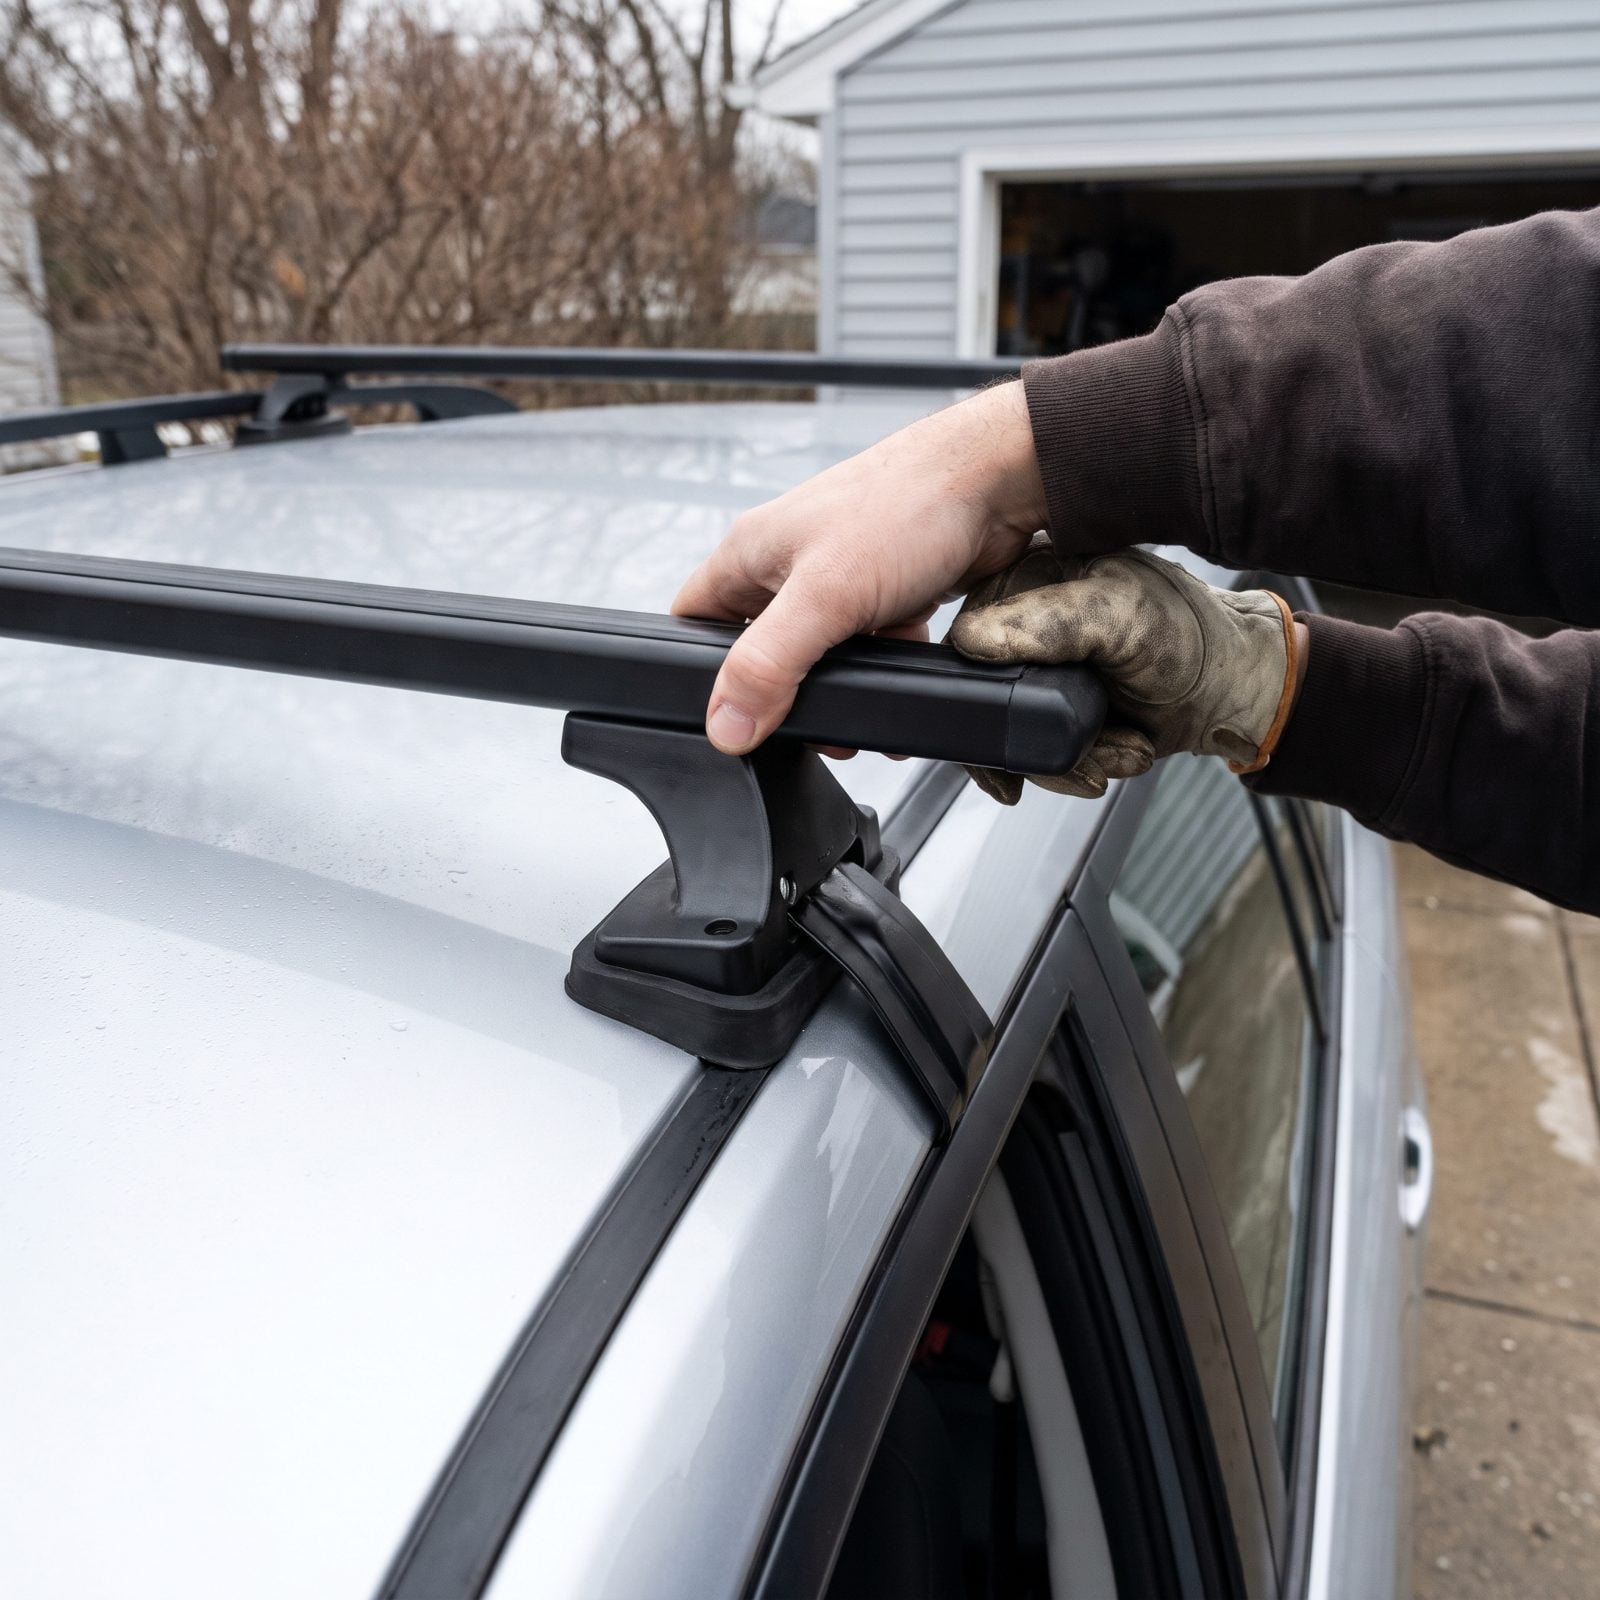
Roof racks loosen. Temperature swings, vibration, that pothole outside the gas station — all of it works the clamps a quarter-turn at a time, so a bar you torqued down in October can be rattling by December.
Grab each crossbar and shove it fore and aft, then side to side. It should not move. Check the foot clamps where they bite the door frame or the factory rails, and make sure the rubber pads haven’t slipped or dry-rotted. If your rack uses a torque dial that clicks when it’s tight, run every foot until it clicks again.
I ignored a soft clamp once and spent an hour on a shoulder re-seating a rack that had walked halfway off. Never again. Sixty seconds now saves that.
5. Secure Cargo Box Latches and Locks
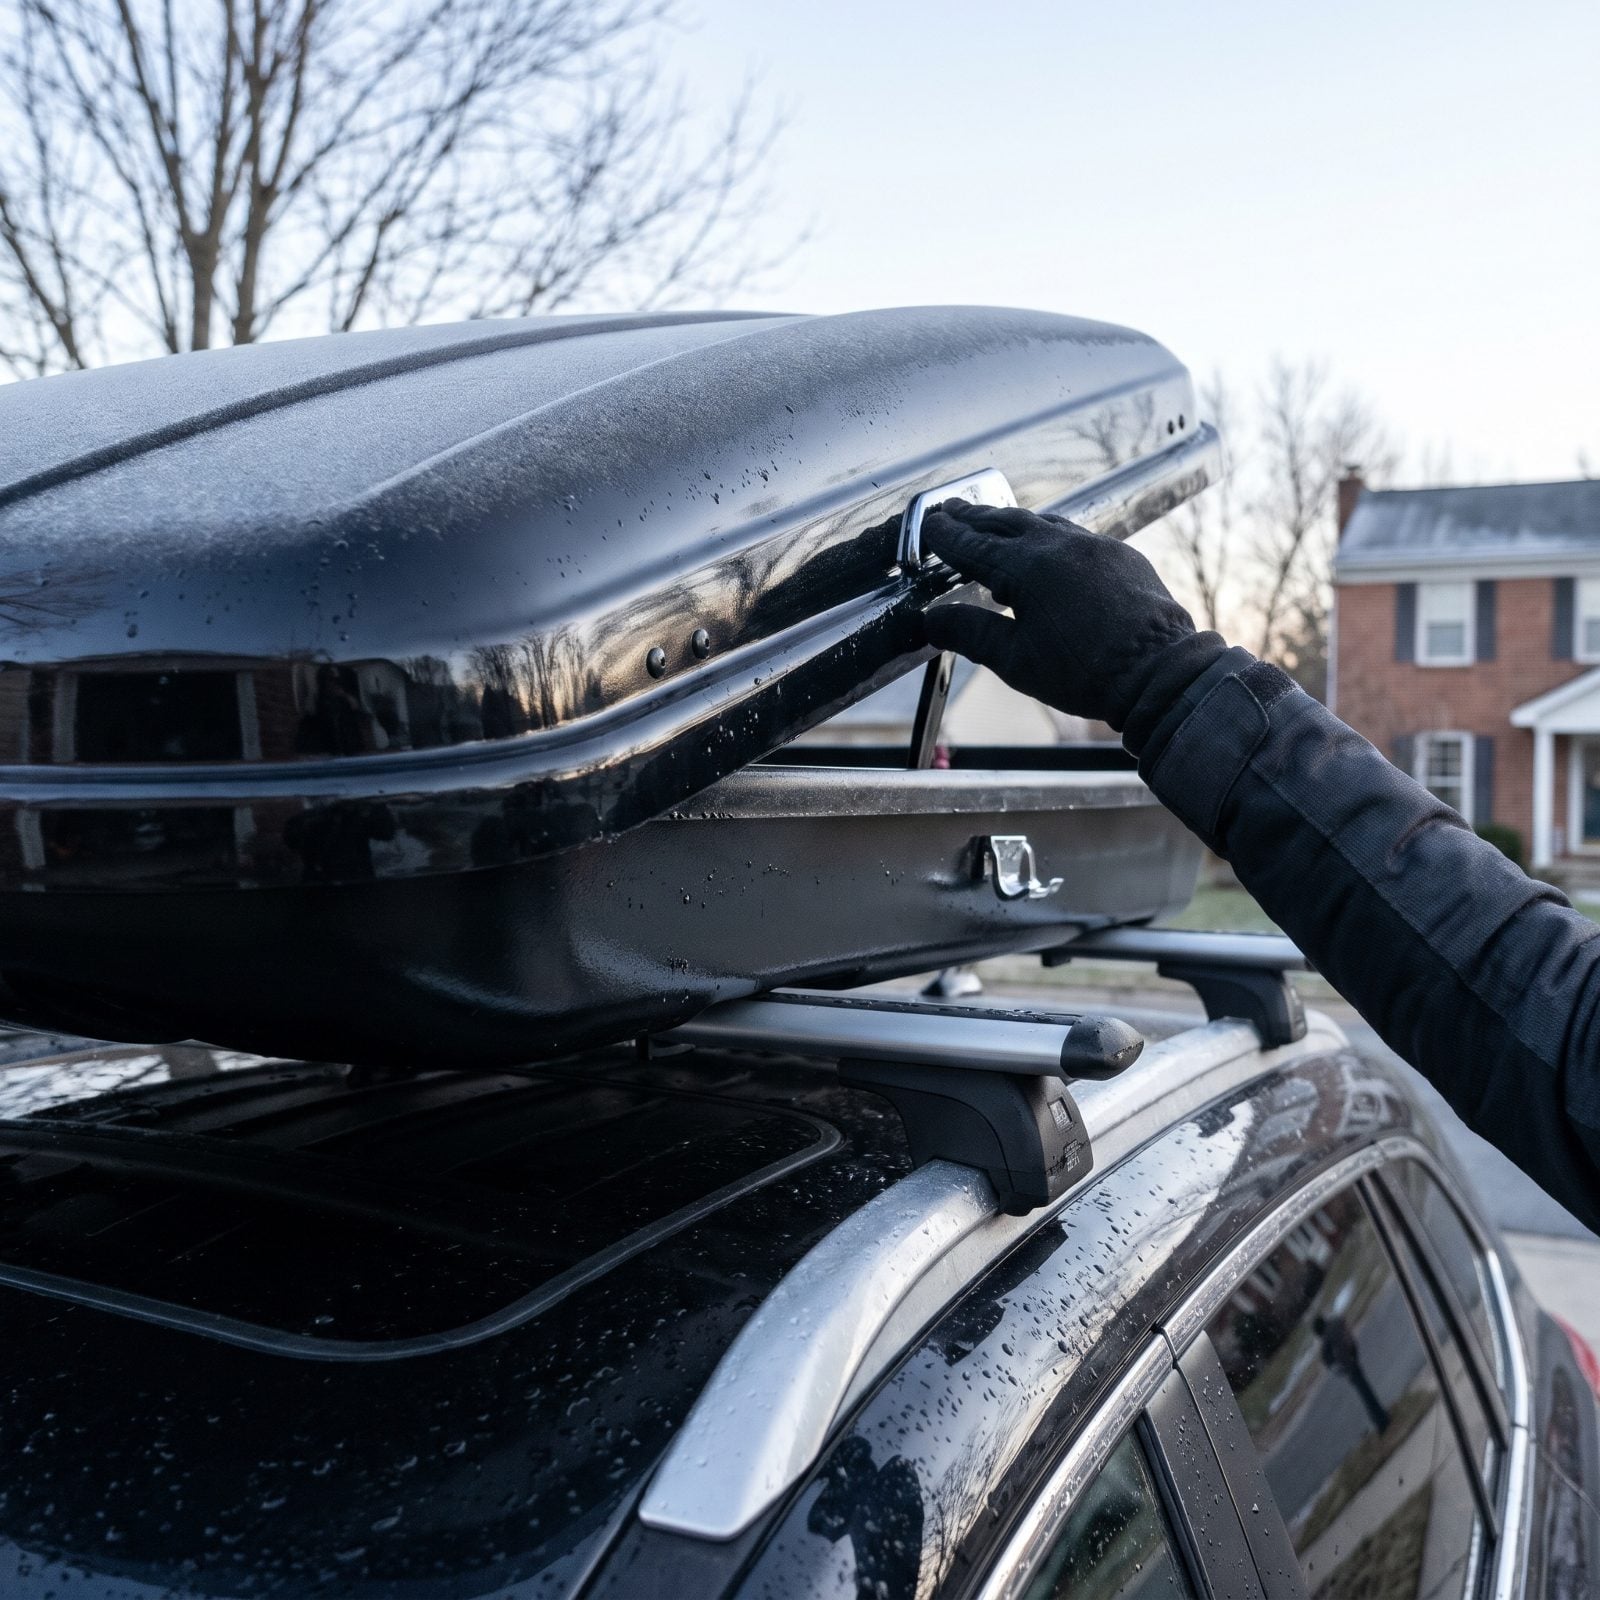
A cargo box that pops open at 70 is a highway hazard, not an inconvenience. The lid catches the wind like a sail, and suddenly your gear is other people’s problem across three lanes.
Close it with weight loaded, since an empty box latches easier than a full one. Press the lid down firmly and work each catch until it seats with a solid click. Most dual-side boxes have two or three per side, and it’s always the rear one you miss. Then lock it and pull up hard on the lid. If it lifts, something didn’t catch.
4. Confirm Roadside Assistance Details Are Onboard

Your roadside plan is worthless if you can’t reach it from a shoulder with one bar of signal and a dying battery. People assume the app will save them, then the app wants a login they don’t remember.
Write the toll-free number and your member ID on a card and tuck it in the glove box, not just on your phone. Confirm the membership hasn’t lapsed. And check the towing distance your plan actually covers — a lot of them cap at a handful of miles, and the nearest shop on a rural route can be well past that. Know what you’re owed before you have to argue for it at 11 p.m.
3. Check Registration and Insurance Are Current
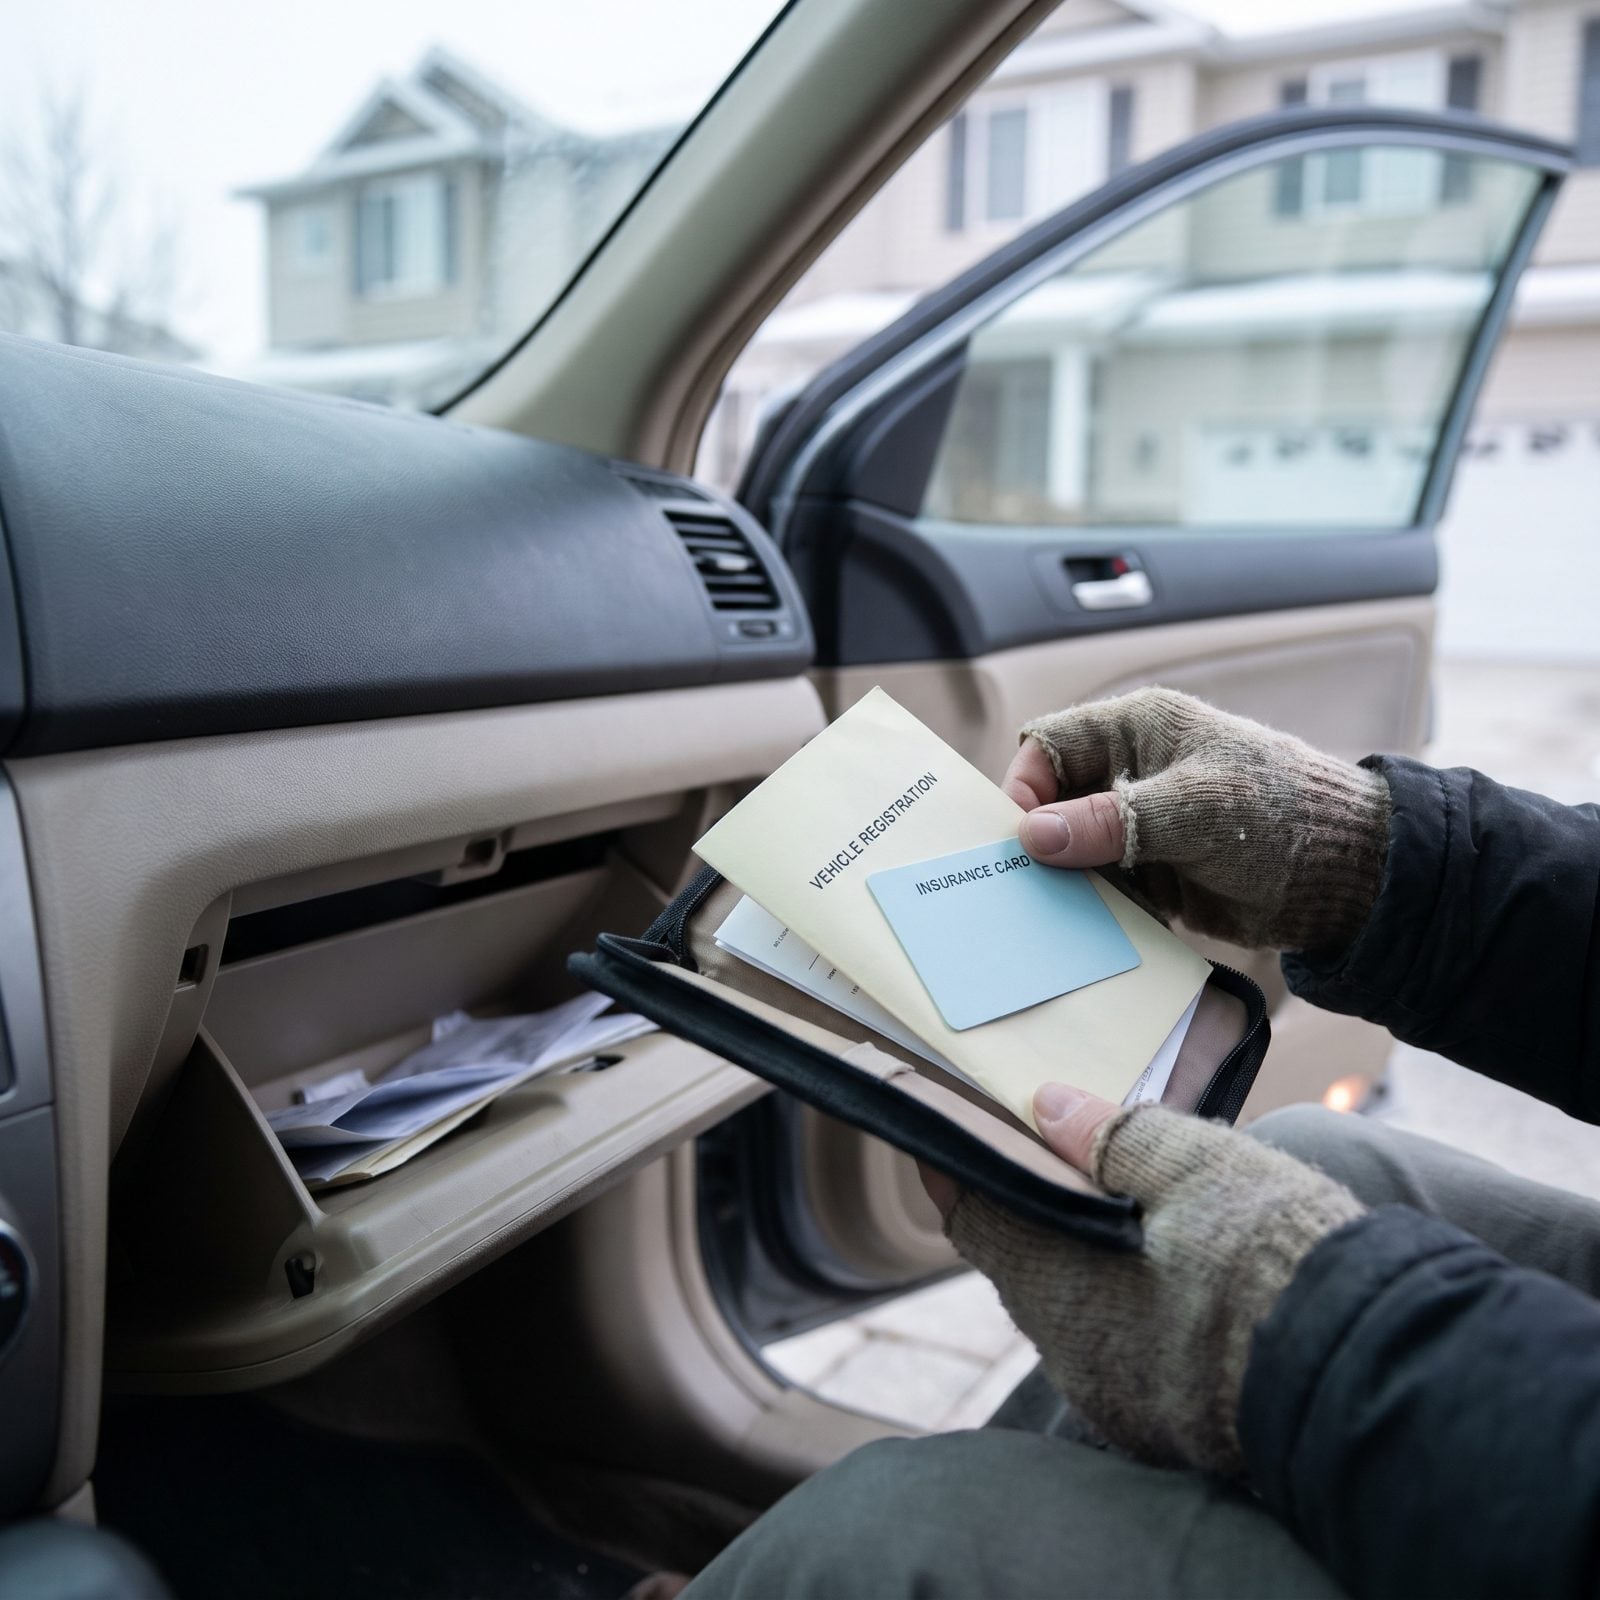
An expired tag is a traffic stop you invited. A long holiday drive crosses county lines and maybe state lines, and nobody wants the trip detoured by a citation a two-minute check would have caught.
Pull the registration and confirm the expiration. Find your current insurance card and toss the old one still floating in the glove box, because handing the cop last year’s card is as good as handing him nothing. Gone digital? Make sure the app works offline too. Dead zones don’t care about your renewal status.
2. Stock a Charged Jump Starter
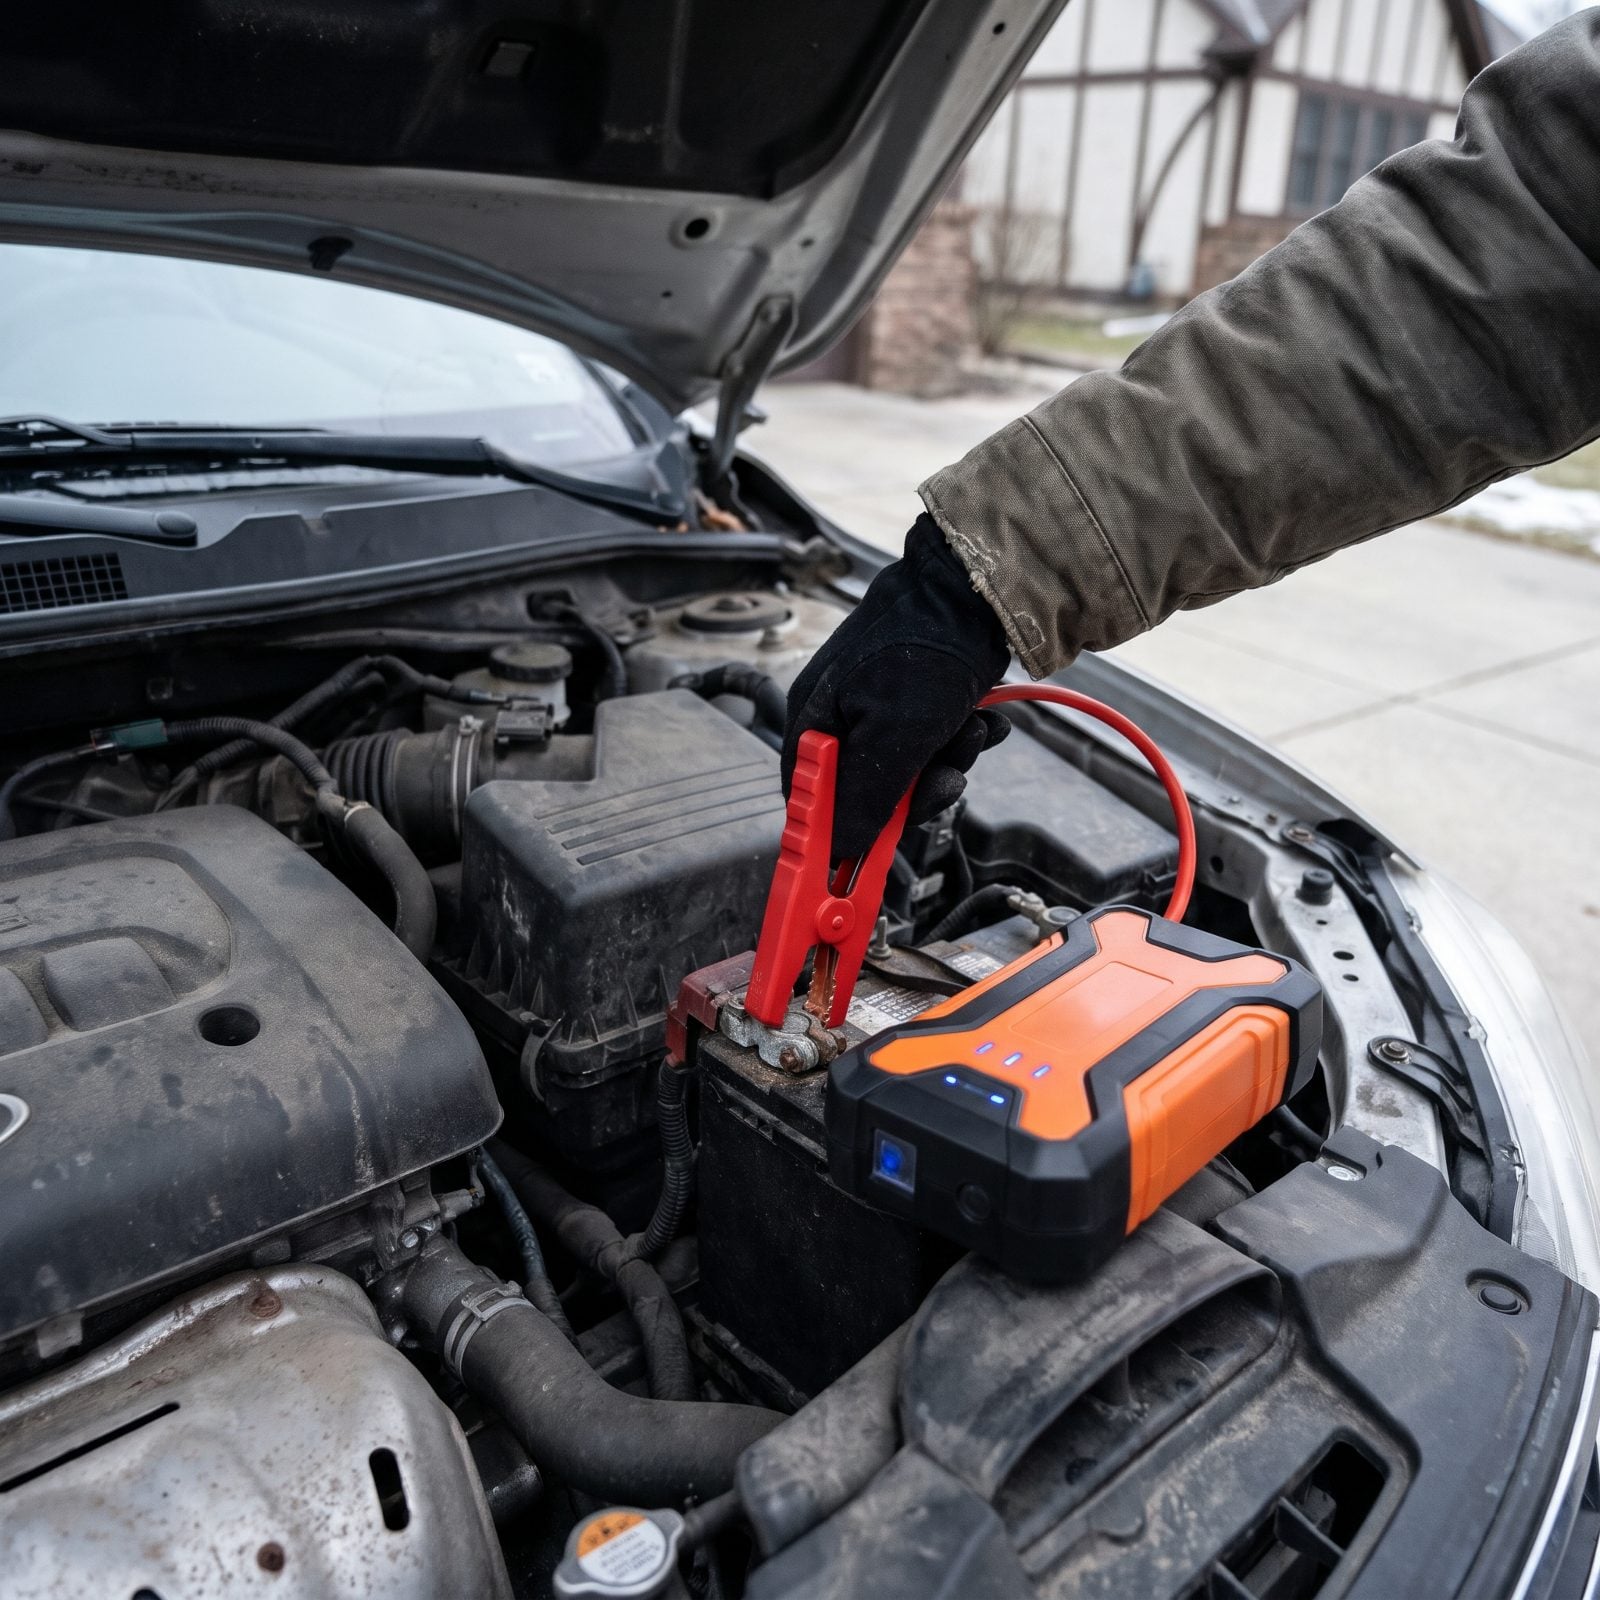
Cold murders batteries. A pack that cranked fine on a mild morning can shrug and die when the thermometer bottoms out, usually on the first frosty day of the trip. A compact lithium jump starter means you don’t need a second car or a good Samaritan.
Here’s the catch: these packs bleed charge in a drawer. Top it off the night before and check the fuel gauge. A unit sitting since last winter is probably at half or less, and half may not turn over a cold engine.
Toss it in the cabin, not the trunk. Lithium hates deep cold, and a frozen pack is a brick when you reach for it.
1. Pack Traction Aid and Compact Shovel
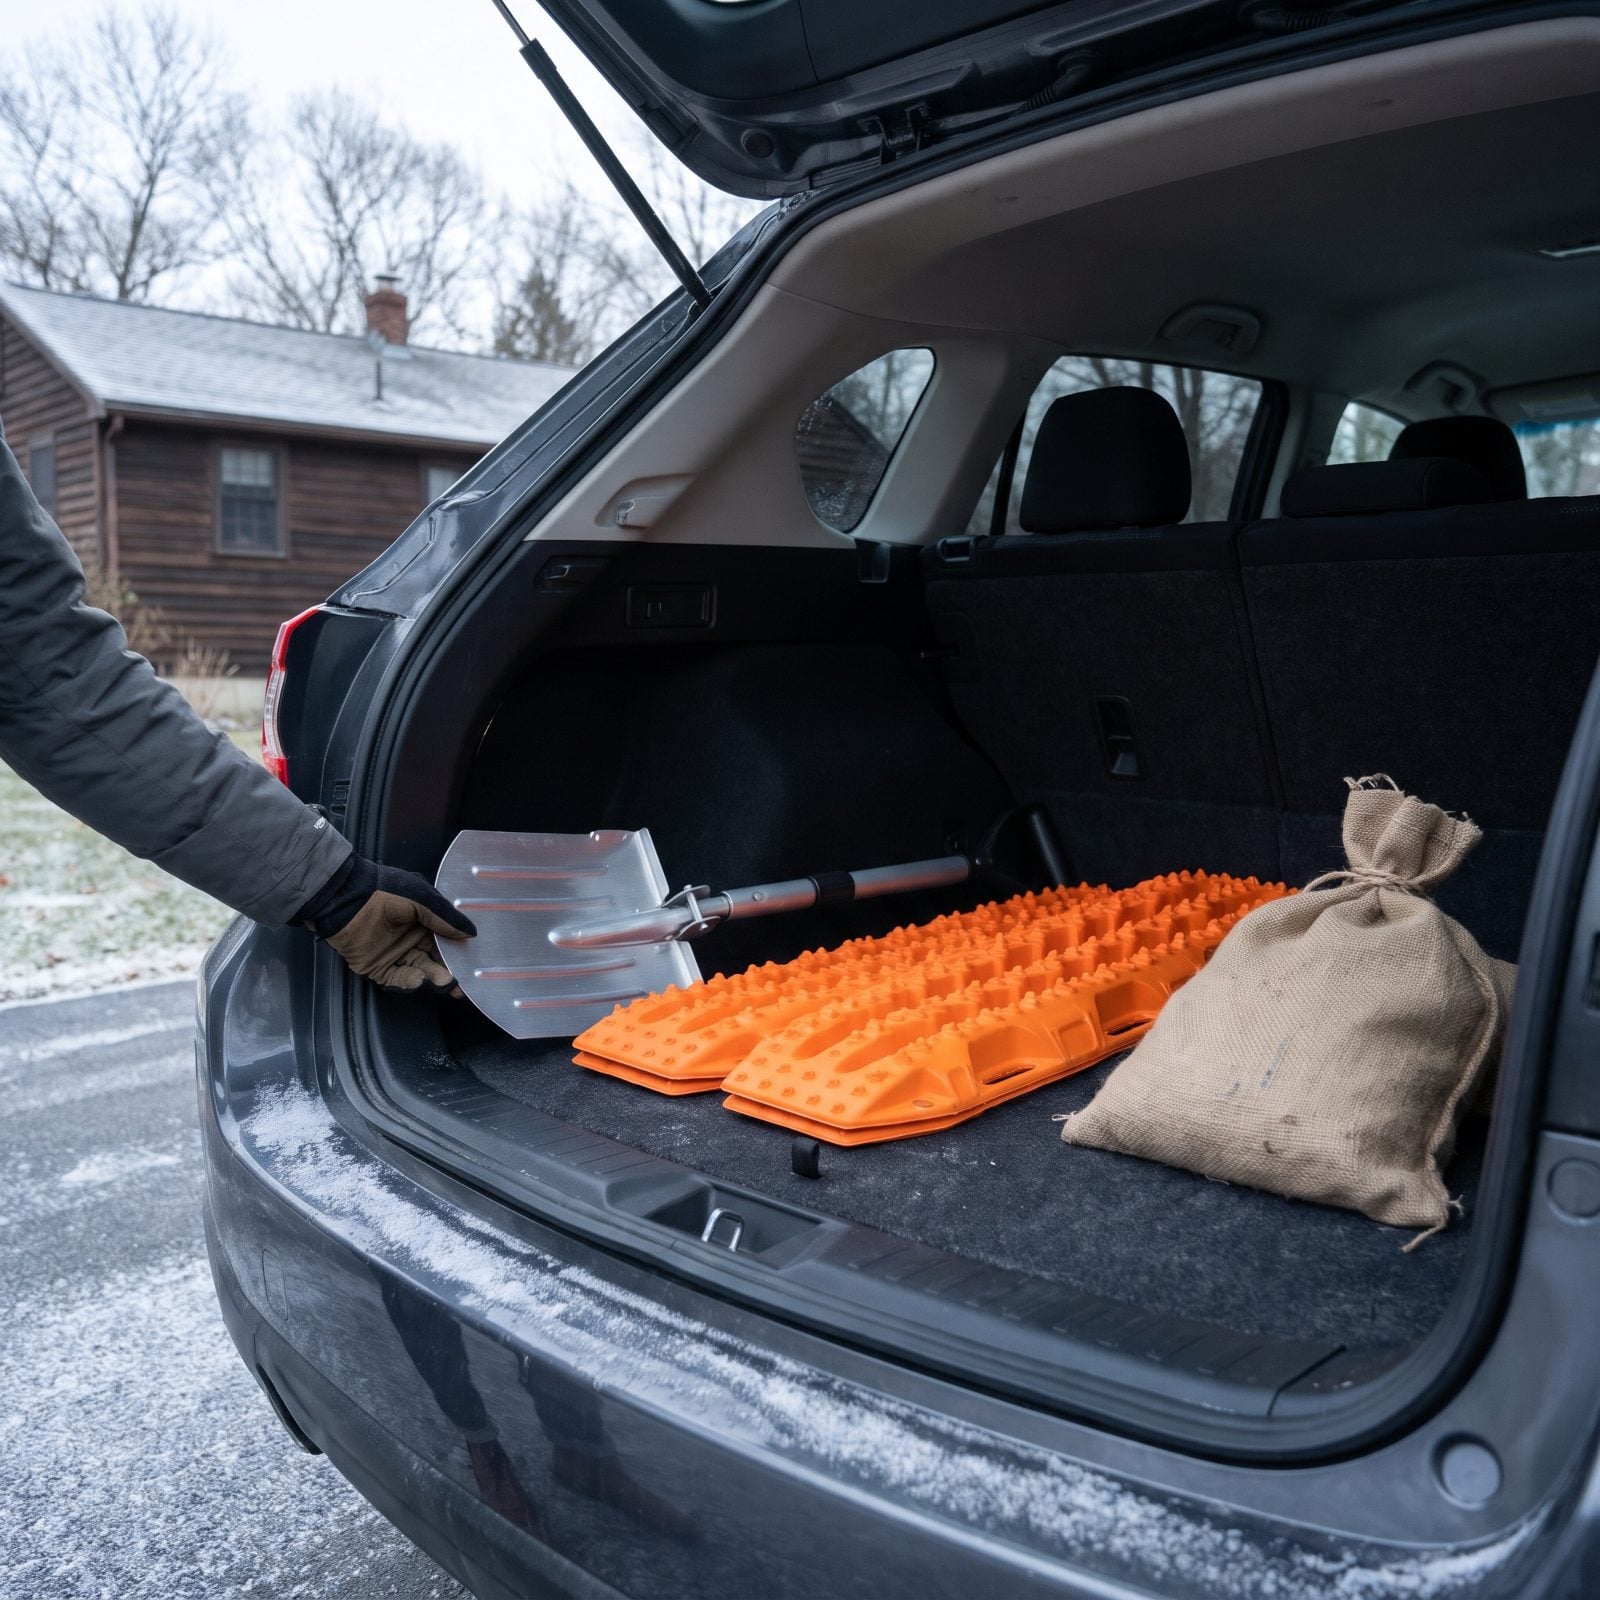
Getting stuck isn’t always a storm. Sometimes it’s a slushy parking spot that freezes solid while you eat dinner, and your drive wheels just spin and polish the ice.
Carry a folding shovel that actually locks open, not a toy that collapses under the first scoop. Pair it with traction mats, a bag of sand, cat litter — even the floor mats flipped rubber-side up in a pinch. Clear ahead of and behind the tires, wedge the traction under the drive wheels, and ease off the throttle. Flooring it just digs you deeper.
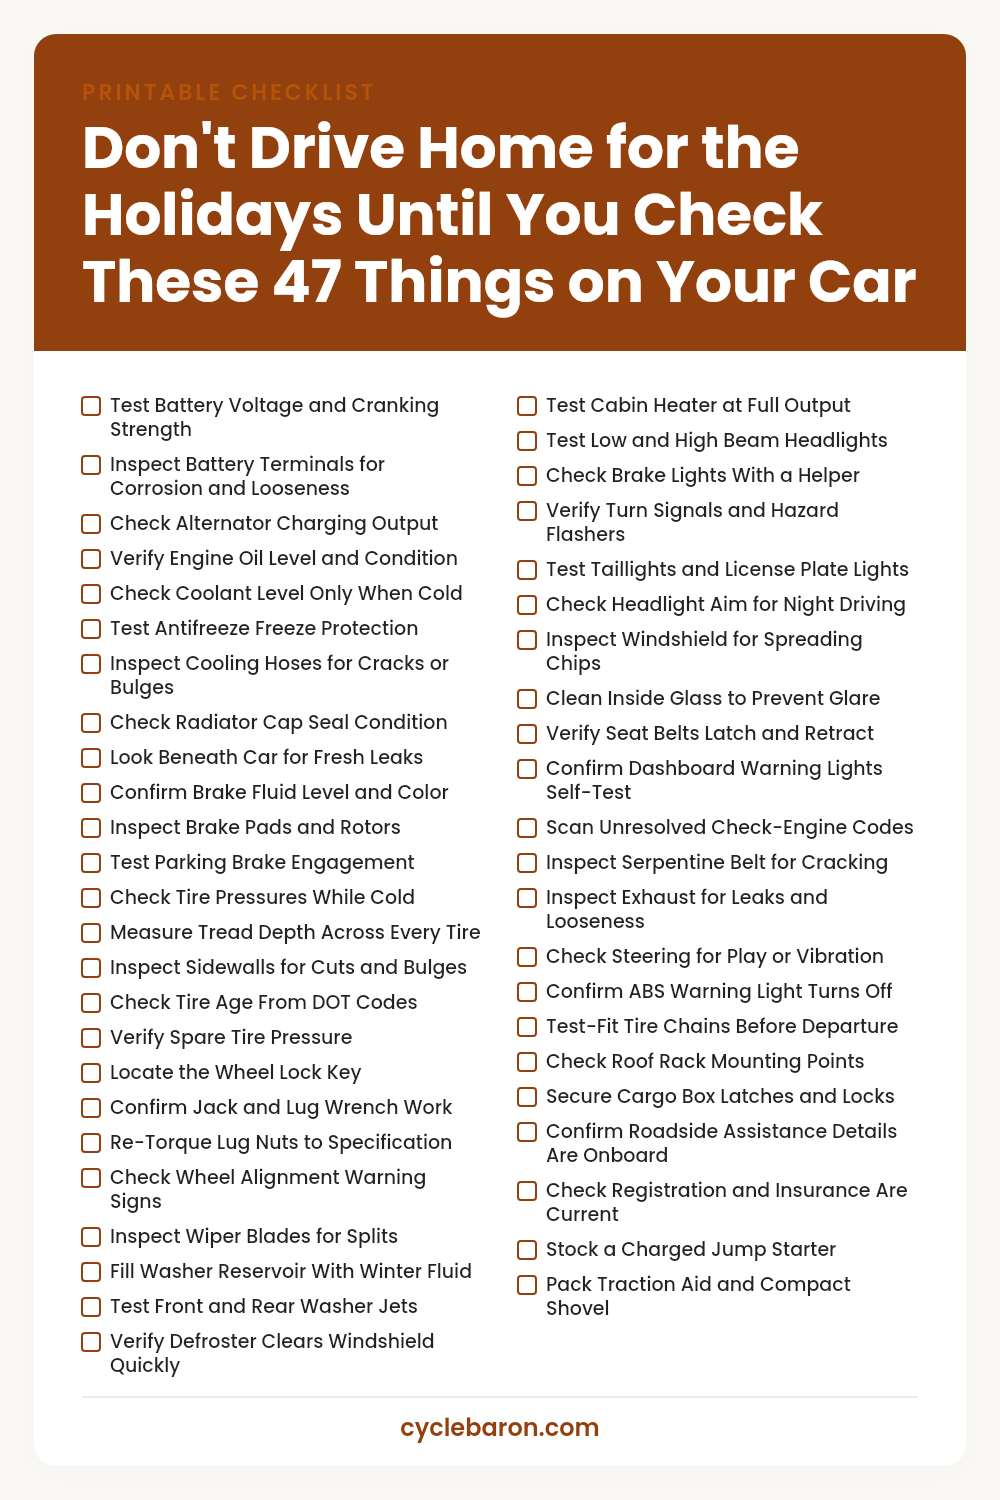
Your Printable Checklist
Save it to Pinterest or print it — every check from the list above on one page.